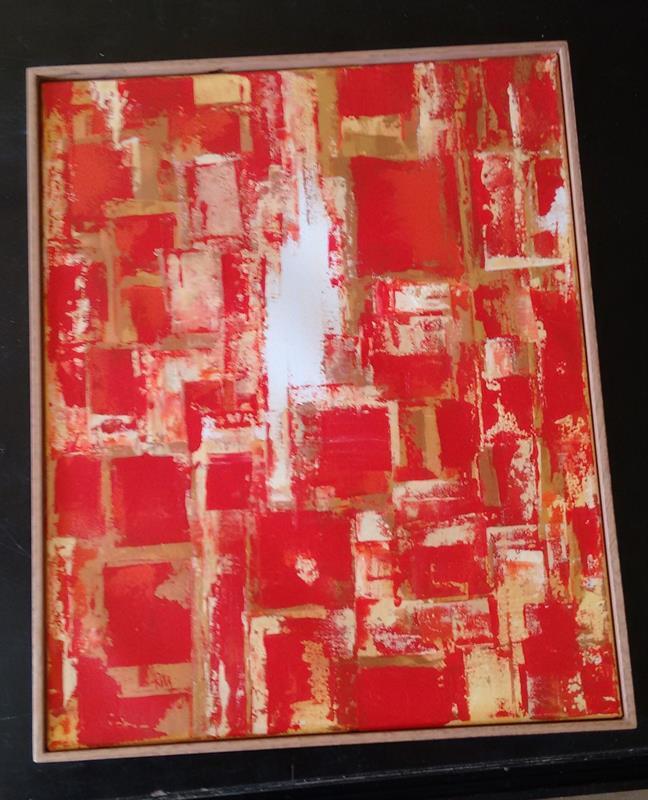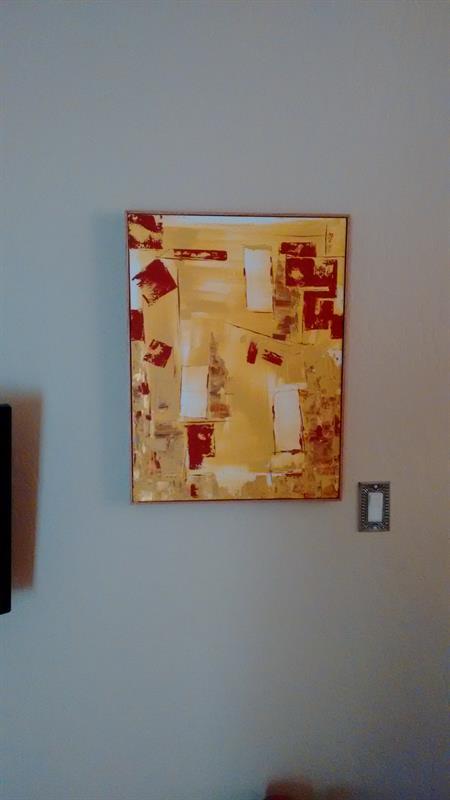
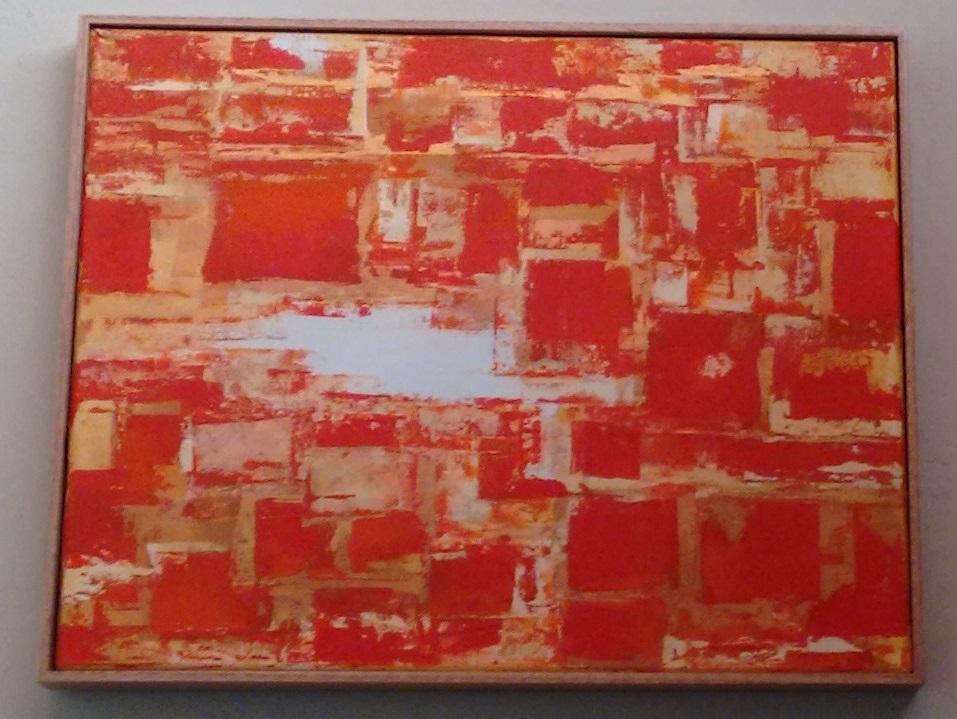


These simple yet elegant picture frames can be used to enhance the display of your art collection.
Tools
Kreg Tools

Other Tools
-
Miter Saw

-
Table Saw
-
Tape Measure
-
Clamps
-
Pin Nailer
-
Air Compressor
-
Shop Vacuum
Materials
Wood Products
- 1 Oak Hard Wood , 1/4" X 1 3/4" , 96"
- 1 Plywood , 1/2" X 1 3/4" , 96"
Hardware & Supplies
- 28 1" pin nails
- 1 Titebond original wood glue
- 1 Minwax Polycrylic Semi-Gloss Finish
- 3 100 - 220 grit sandpaper/disks
- 1 Minwax Weathered Oak Stain
Directions
-
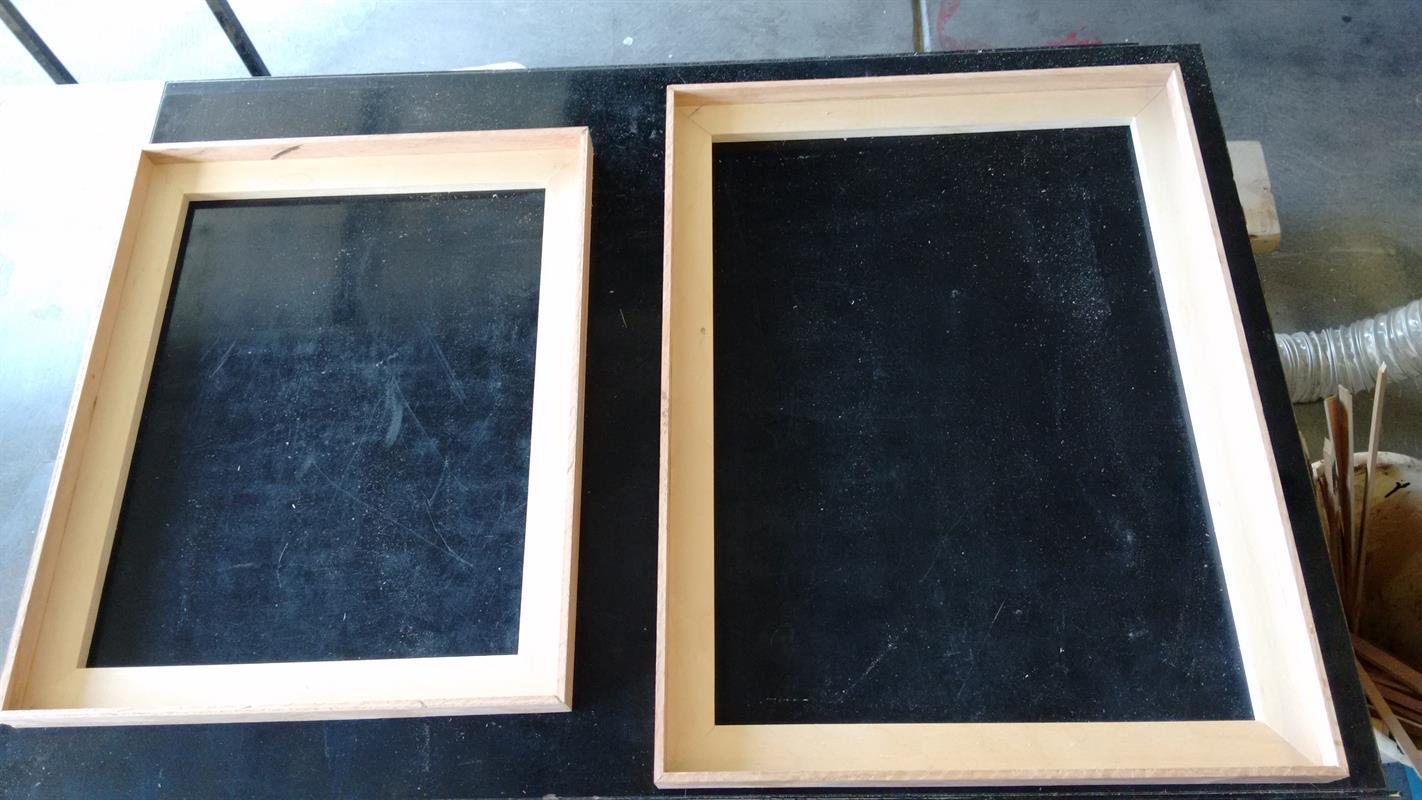
Plywood frame backing
Cut 4 each 1/2" X 1 3/4" X 24" pieces from 1/2" plywood. I used 1/2" Baltic (Russian) Birch plywood that is available in 5' X 5' sheets.
-
Hardwood frame sides
Cut 4 each 1/4" X 1 3/4" X 24" pieces from 1/4" hardwood. I used Oak that I had ripped to 1/4" on my table saw from 3/4" stock.
-
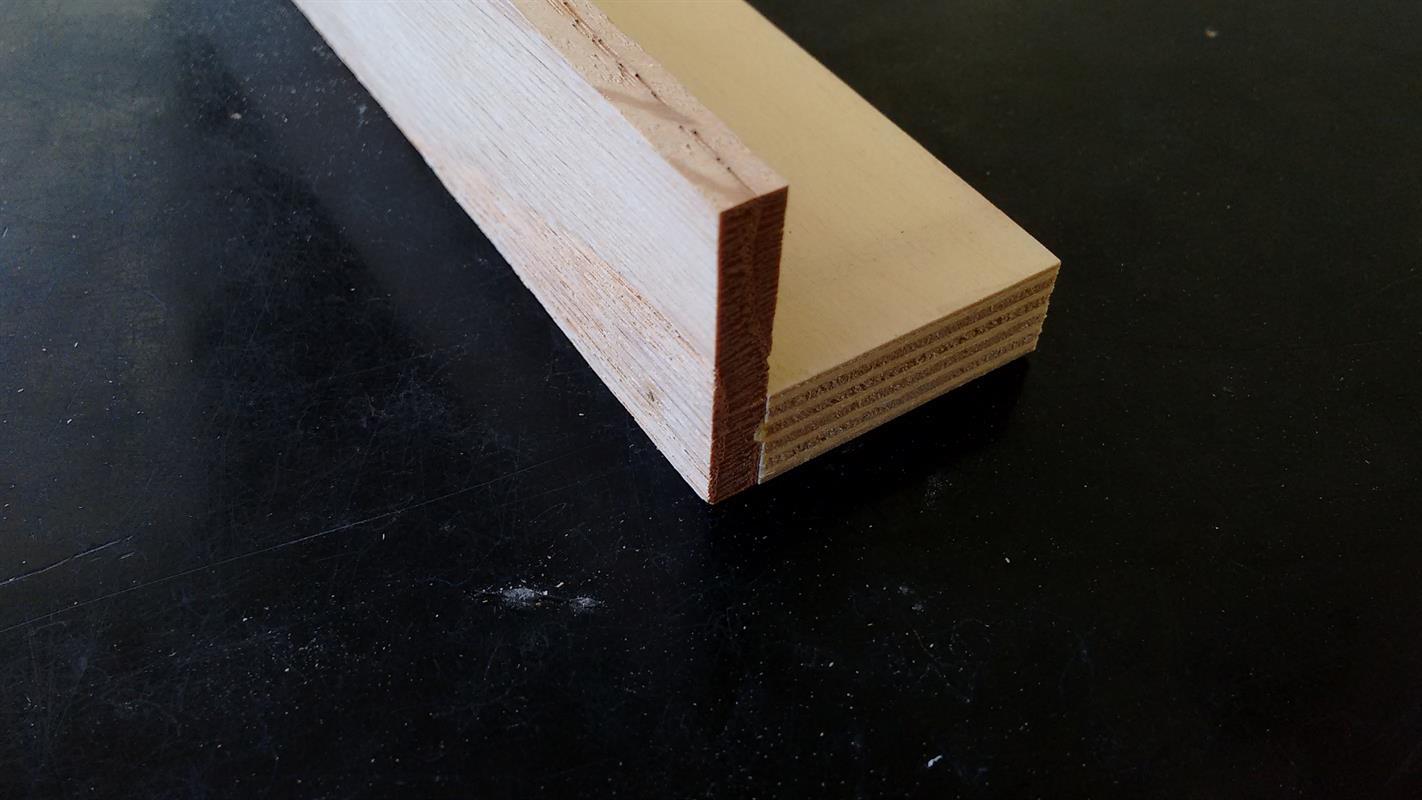
Attach frame side to frame backing
Use Titebond wood glue and 1" pin nails to attach the hardwood sides to the plywood backing.
-
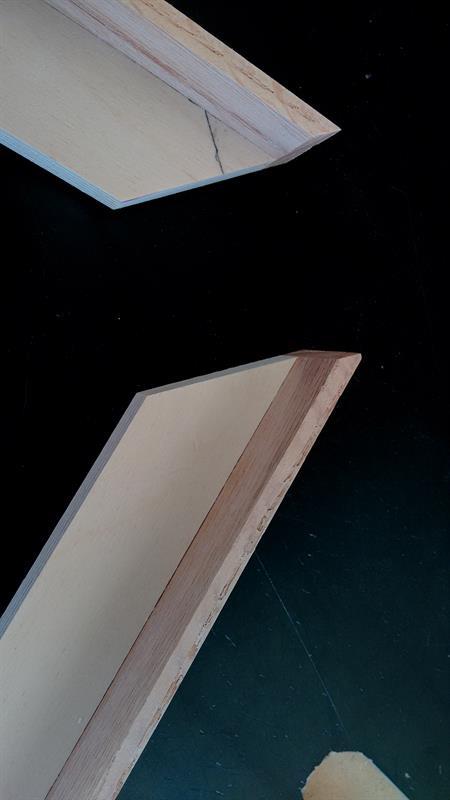
Measure and cut
Use your mitre saw, set to 45 degrees, to cut the side pieces to an inner dimension that is 1/4" wider than the dimensions of your painting. Please note that the corners of the painting are usually the widest dimension as the canvas usually overlaps there. Dry fit the painting to make sure that it fits properly. It is best to make your cuts a little long and then trim slightly until the proper fit is achieved.
-
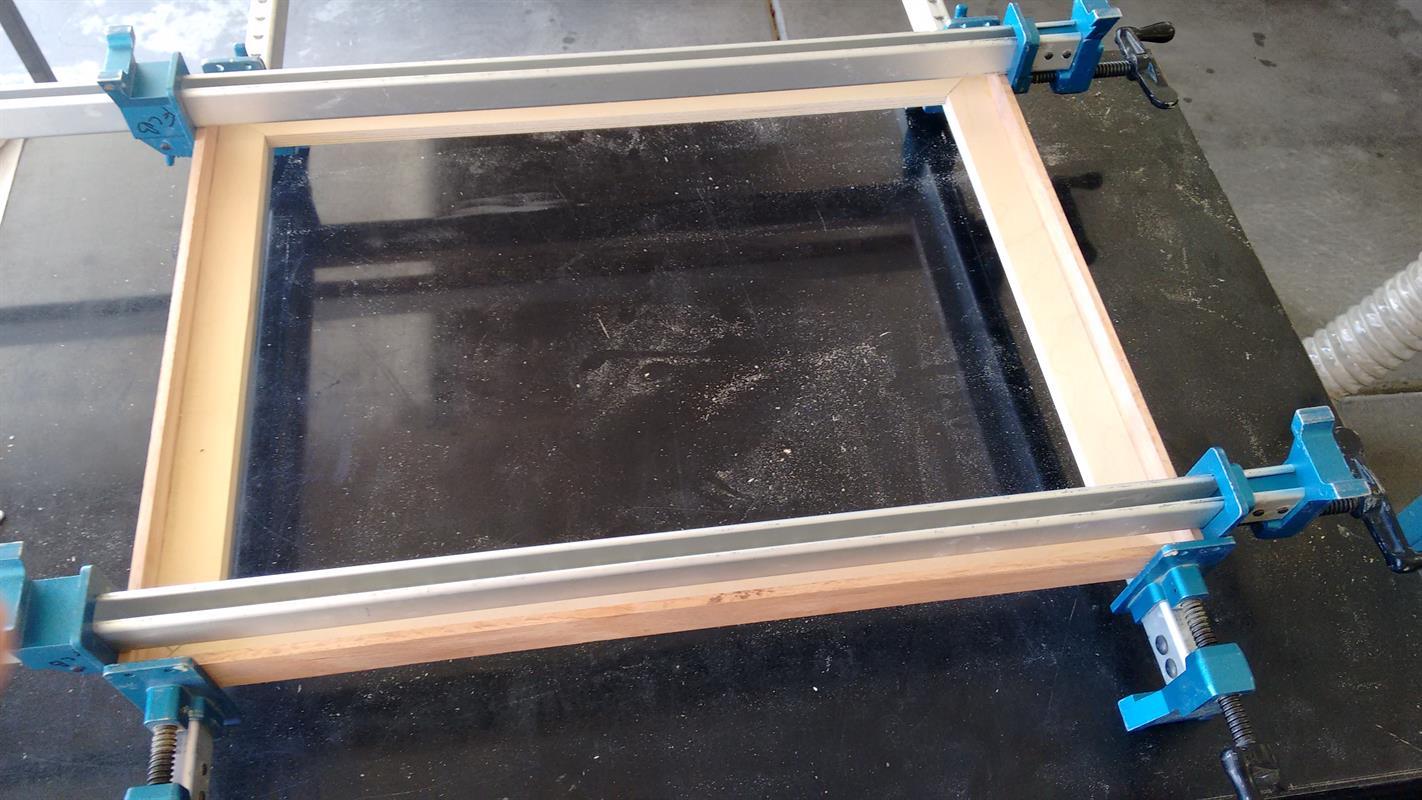
Glue up the frame
Add Titebond wood glue to all corners. Use 4 bar clamps to hold the frame in the proper orientation. Tighten the clamps until the corners are all drawn together. Check for square and readjust if necessary. Allow the glue to dry according to manufacturers instructions.
-
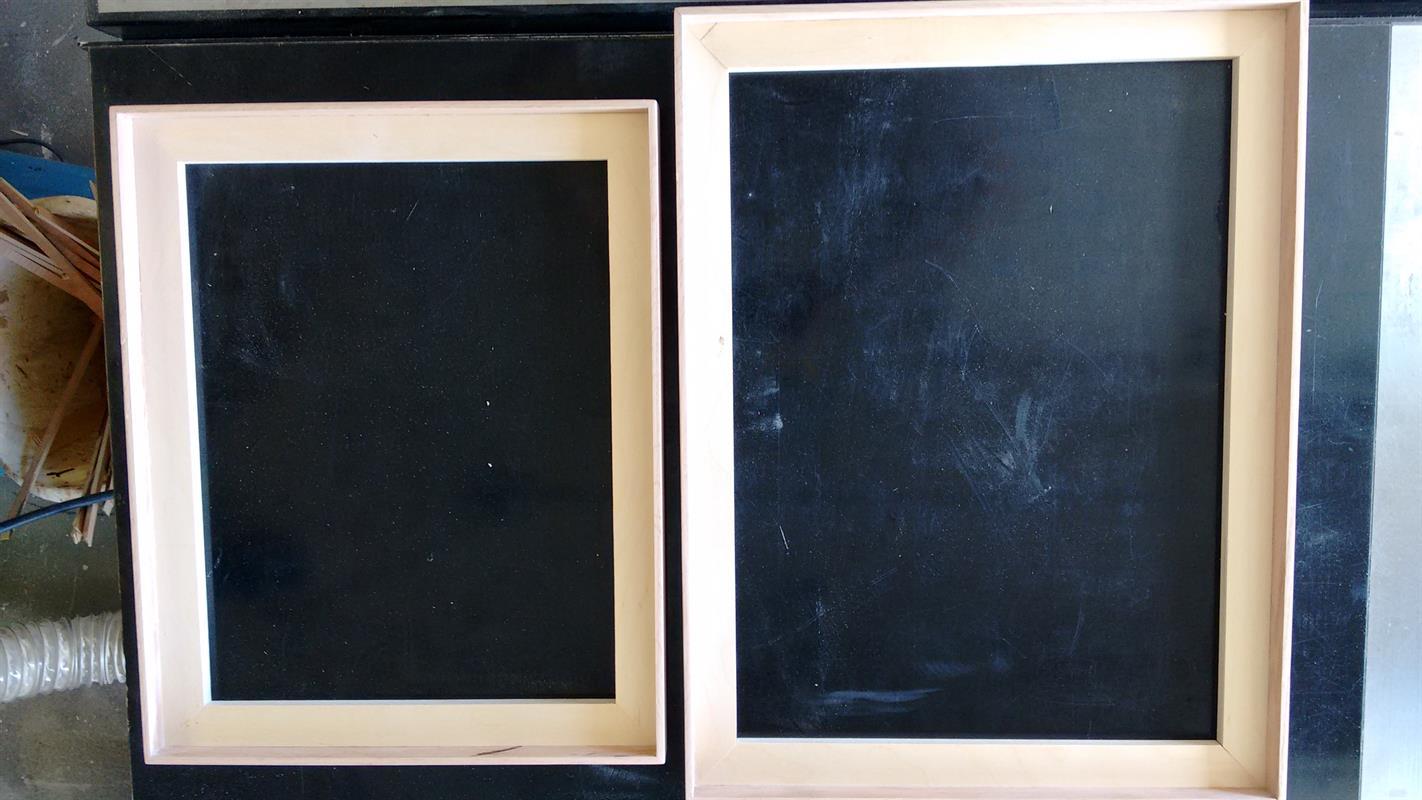
Finish the frame
After the glue is dry, remove the clamps and use 100 through 220 grit sandpaper to smooth the outer hardwood parts of the frame. Now you can either finish or paint the frame. I stained the frames with Minwax Weathered Oak to match the furniture and sealed it with Minwax Semi-Gloss Polycrylic Finish.
-
Insert Painting
I used 1/8" spacers between the frame and the painting sides to insure proper orientation of the picture inside of the frame. Then I used 1 1/4" pin nails shot into the back of the frame to hold the painting.