

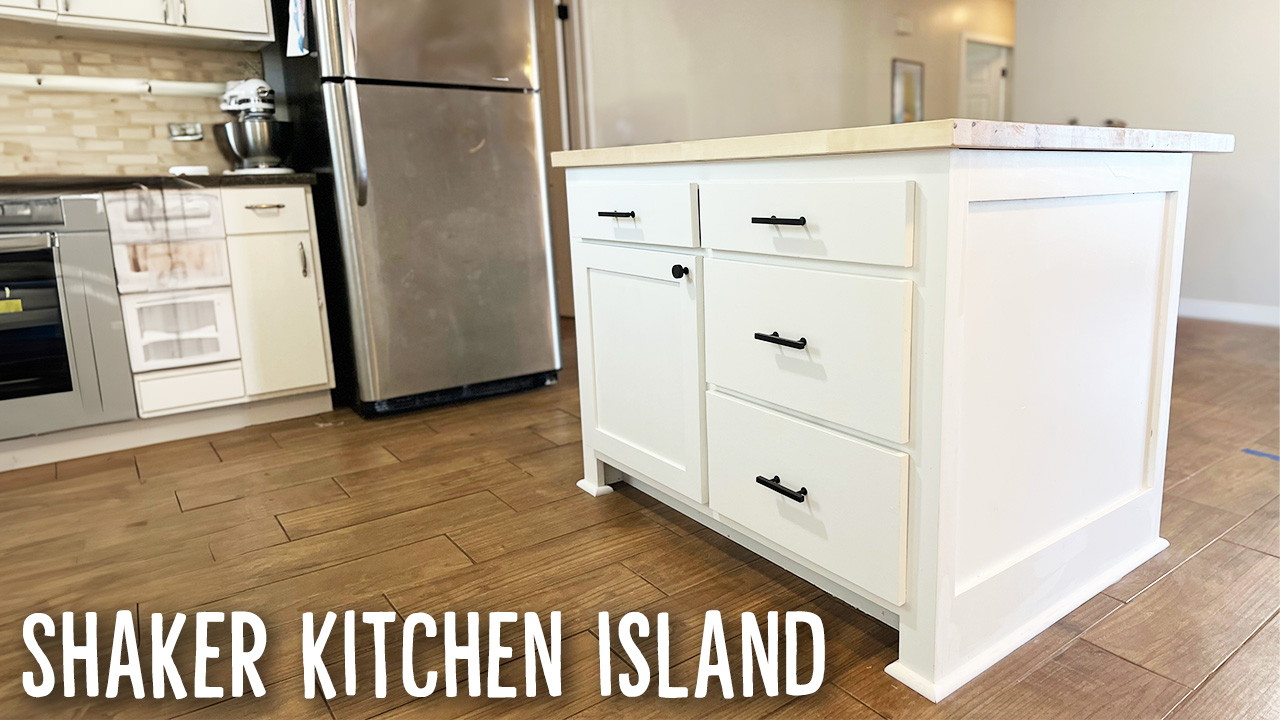


Follow along as I walk you through each step, from cutting materials to assembly and finishing touches. Whether you're a seasoned woodworker or a DIY enthusiast, this Simple Kitchen Island build is possible for you!
Tools
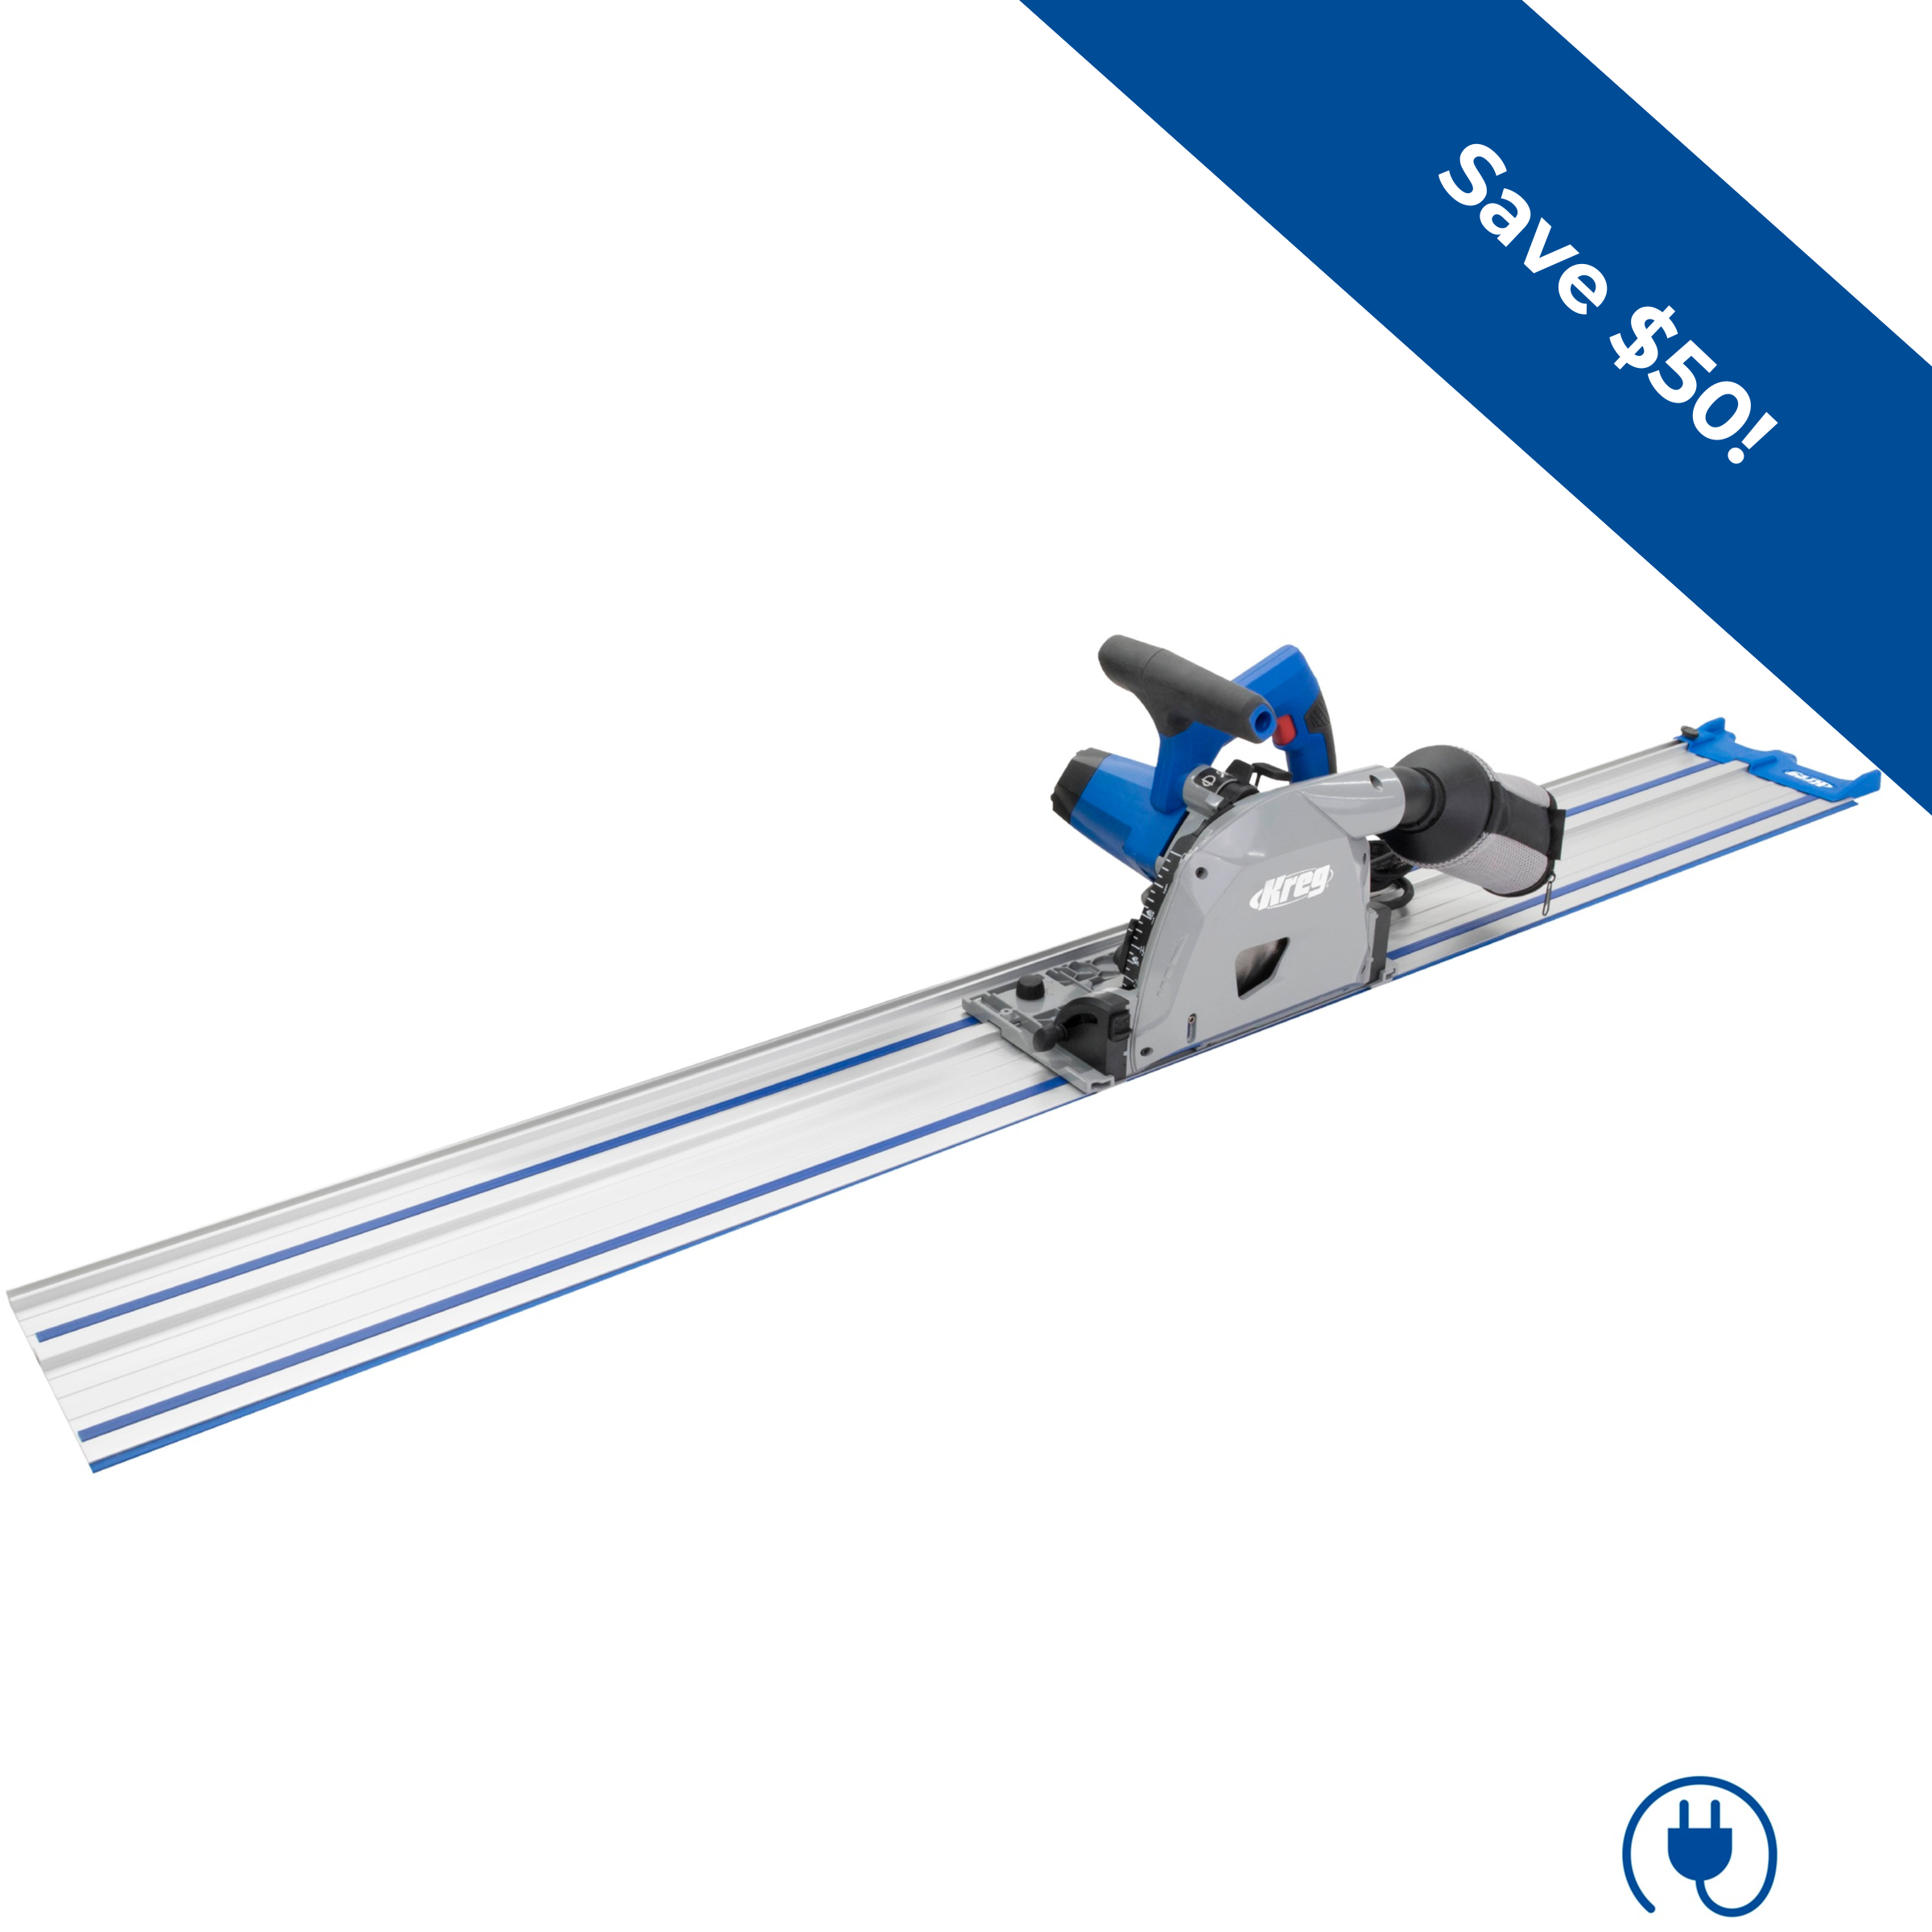
Kreg Tools

Other Tools
-
Table Saw

-
Miter Saw
-
18G Staple Gun
Materials
Wood Products
- 4 Poplar Lumber , 6"X120"
- 3 3/4" Maple Plywood , 4'X8'
Hardware & Supplies
- 65 Pocket Hole Screws
- 1 Wood Glue
Cut List & Parts
- 4 Poplar Frame Pieces , 3"X34.5"
- 3 Poplar Frame Pieces , 2"X42"
- 1 Poplar Frame Pieces , 2"X20.5"
- 1 Poplar Frame Pieces , 2"X4"
- 1 Poplar Frame Pieces , 2"X20"
- 1 Poplar Frame Pieces , 2"X25.5"
- 1 Poplar Frame Pieces , 6"X42"
- 1 Poplar Frame Pieces , 3"X42"
- 2 3/4" Plywood , 23"X34.5"
- 2 3/4" Plywood , 11"X34.5"
- 1 3/4" Plywood , 23"X45"
- 1 3/4" Plywood , 11"X45"
- 1 3/4" Plywood , 20.5"X23"

Directions
-
Cut Lumber
Cut all of your face frame material from poplar boards according to the cut list. These are the pieces that will pocket hole together and make up the island face.

-
Cut Plywood
Cut all of your 3/4" plywood materials according to the cut sheet. These are the materials that will make up your cabinet boxes.

-
Drill Pocket Holes in Lumber
Add all of your pocket holes in the frame pieces you cut previously.

-
Drill Pocket Holes In Plywood
Add all of your pocket holes in the plywood pieces you cut previously.

-
Secure 24" Island Side with Pocket Hole Screws
Secure your 45" Deck to your 34.5" legs

-
Add Bracing
Secure 45" long by 1.75" bracing in the top, bottom and front of your box.

-
Secure Faceframe
Now that your box is finished staple on your face frame.

-
Add Toe Kick
Add your 3/4" toe kick to the underside of your cabinet. 3" offset from the face frame.

-
Start Your Backside Cabinet
Secure your 45" deck to your 34.5" sides. These pieces are your 11" 3/4 plywood pieces.

-
Add Bracing
Just like with your 23" front side, you'll secure bracing to the top, front and bottom of your cabinet cavity.

-
Add Your Faceframe
Secure the face frame for this portion with glue and staples, same as before.

-
Secure your two cabinets to eachother.
Drive screws through the top and bottom braces of your frontside cabinet into the adjacent top and bottom braces of the backside cabinet.

-
Add Side Panels
Add the side panels that you cut according to the cut list to hide the seam that your two cabinets make.

-
Paint according to your preference.
Spray that bad boy!

-
Add Countertop
If you choose to use butcher block material, now is the time to cut it to fit!

-
Secure your Counter
Drive screws up through your braces into the countertop.

-
Add doors and drawers
Add your custom doors and drawers that fit the openings you've created.

-
Add Your preferred Hardware
Pick out the handles and knobs that perfectly suit you and attach them to your doors and drawers.

-
Add Trim
Along the base of your island, where it meets the floor, add trim so that it blends well and looks finished in that area.

-
Touch Up
Fill any nail holes and caulk and paint all of the remaining seams.

-
Enjoy!
Thanks for following along! Find me on YouTube at YouTube.com/thereformationwoodshop

Full Youtube Video: https://www.youtube.com/watch?v=KbQqlNGbVfo