Joining two pieces of wood together in a way that is both secure and good looking is a fundamental skill. Among various joinery techniques, loose tenon joinery has gained popularity for its versatility, strength, and ease of use. We’ll walk you through everything you need to know about loose tenon joinery, from its basic principles to advanced applications.
What is Loose Tenon Joinery?
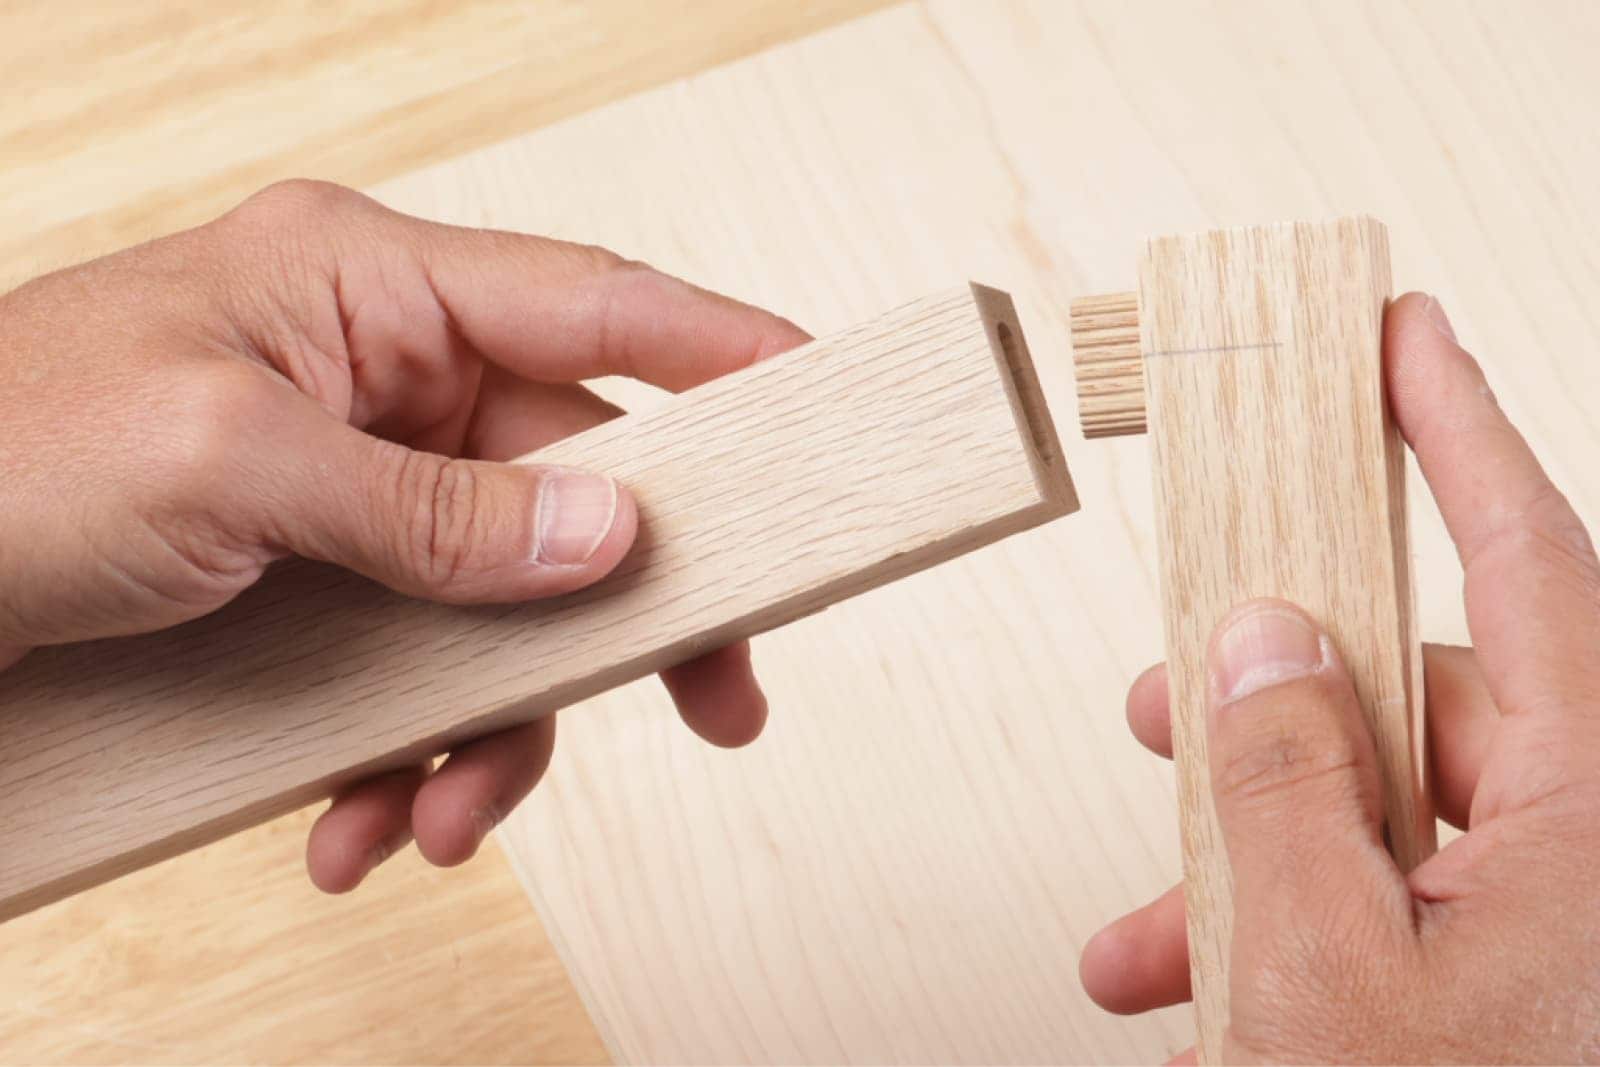
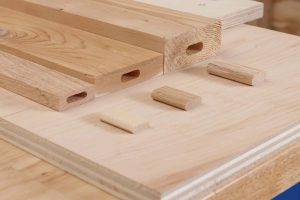
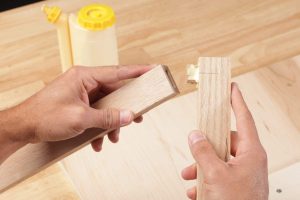
Loose tenon joinery, also known as floating tenon joinery, is a woodworking technique that uses a separate piece of wood (the loose tenon) to join two workpieces.
Unlike traditional mortise and tenon joints — where a mortise is created in one workpiece and another has a corresponding integral tenon cut into it — loose tenon joinery involves creating matching mortises in both pieces and then inserting a separate (loose) tenon.
Components of a loose tenon joint:
Mortises
Precisely cut slots in both pieces of wood to be joined.
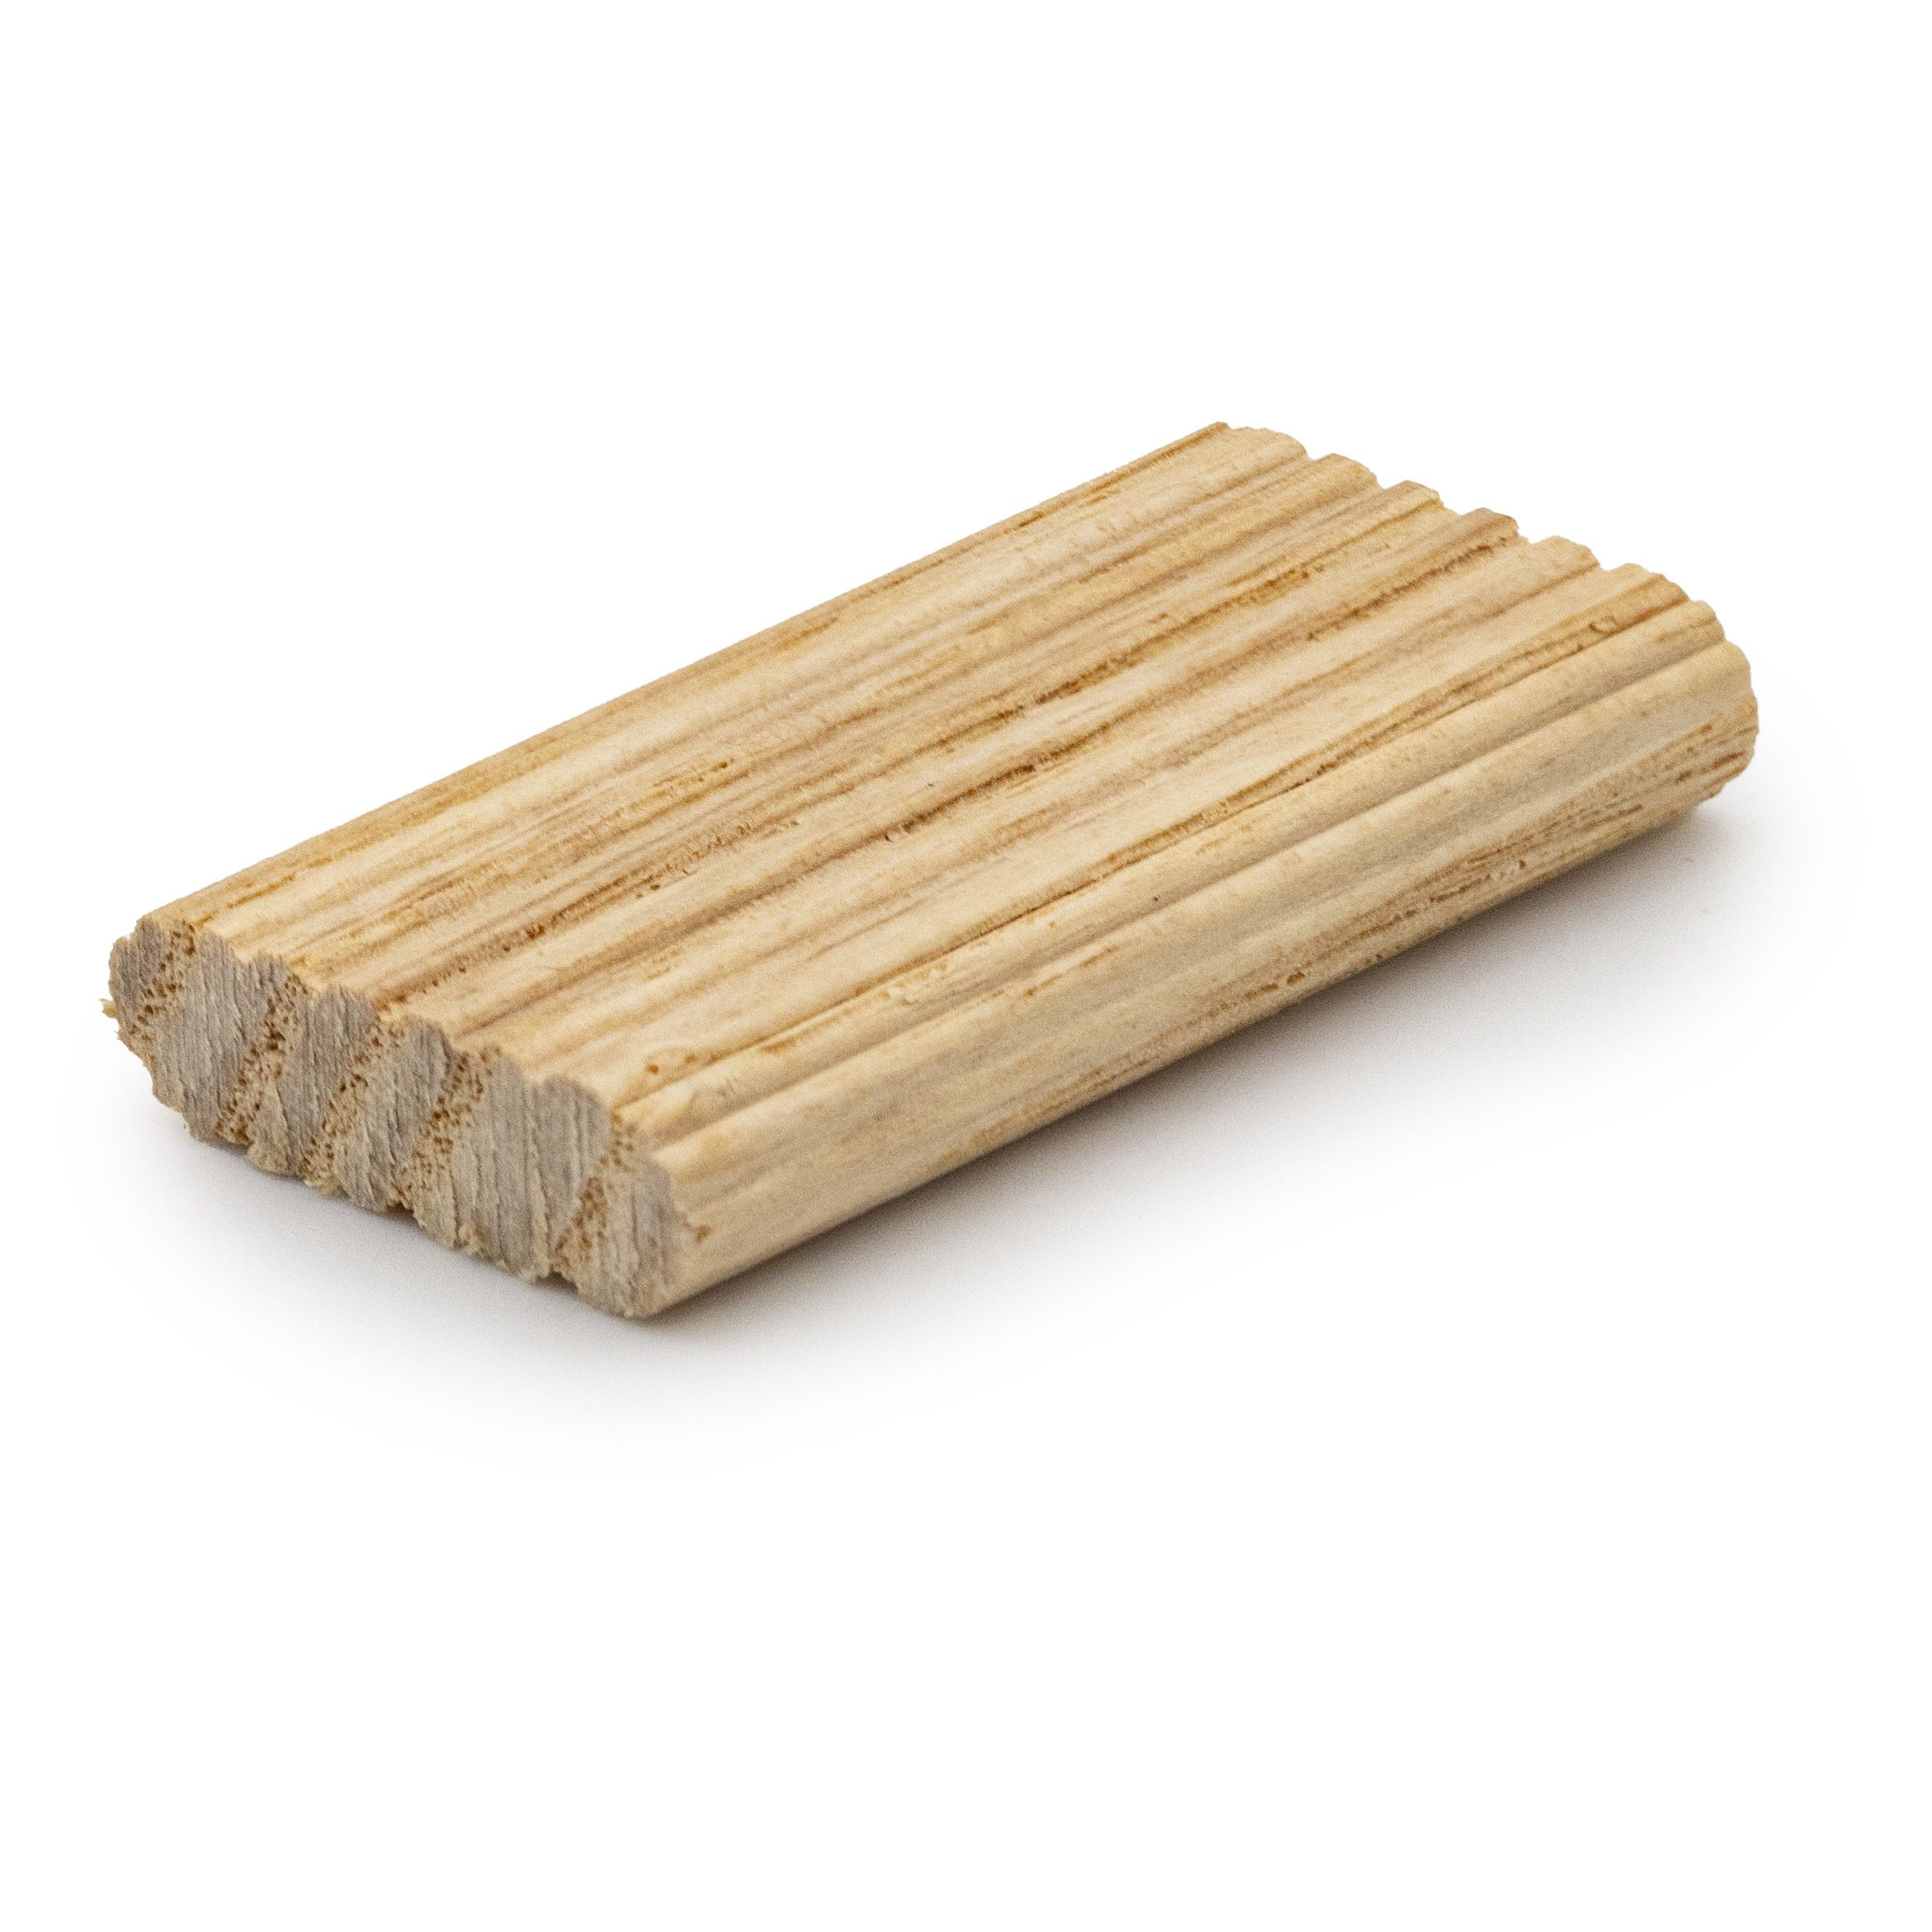
Loose tenon
A separate piece of wood, typically rectangular, that fits into the mortises.
Adhesive
Usually wood glue, used to secure the tenon in place.
How loose tenon differs from traditional mortise and tenon
In a traditional mortise and tenon joint, one piece of wood (the rail) has a protruding tenon cut directly into it, while the other piece (the stile) has a matching mortise. Loose tenon joinery, on the other hand, requires mortises to be cut in both pieces, with the separate tenon bridging the gap between them.
This approach offers several advantages in terms of ease of construction and versatility, making it a more approachable joinery method for beginning woodworkers.
Advantages of loose tenon joinery
Ease of use and accessibility
Simpler than cutting tenons to matching mortises
Allows for easier assembly of complex joints
Can be done with a wider range of tools, including basic hand tools
Precision and strength
Offers excellent alignment and precise fit
Provides large gluing surface area for strong joints
Allows for fine-tuning of fit by adjusting the tenon size to be looser or tighter in mortises
Versatility in various woodworking projects
Suitable for a wide range of applications, from small boxes to large furniture
Easily adaptable to different wood thicknesses
Can be used for both structural and decorative joints
Comparison with traditional mortise and tenon joinery
Faster than cutting traditional tenons
More forgiving of small errors in mortise placement
Tools and materials required for loose tenon joinery
Types of Loose Tenon Joinery
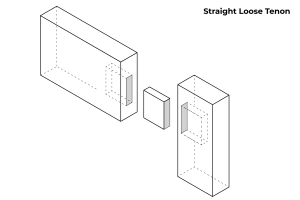
1. Straight loose tenon:
The most common type, using a straight, rectangular piece of wood as the tenon. Ideal for joining pieces at 90-degree angles or in straight-line applications.
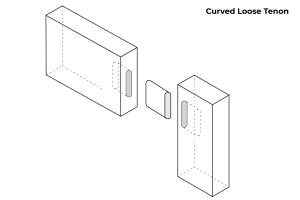
2. Curved loose tenon:
Used for joining curved pieces or creating curved assemblies. The tenon itself is curved to match the arc of the joined pieces.
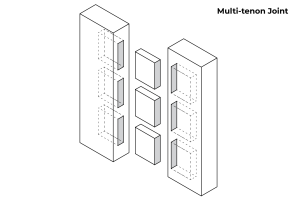
3. Multi-tenon joints:
Employing multiple smaller tenons instead of one large one. This approach distributes stress more evenly and can be stronger in certain applications.
4. Floating spline joints:
A variation where a thin, wide tenon (spline) is used, often visible on the outside of the joint. This can add both strength and decorative elements to the project.
Tools and Materials Required For Loose Tenon Joinery
Essential tools
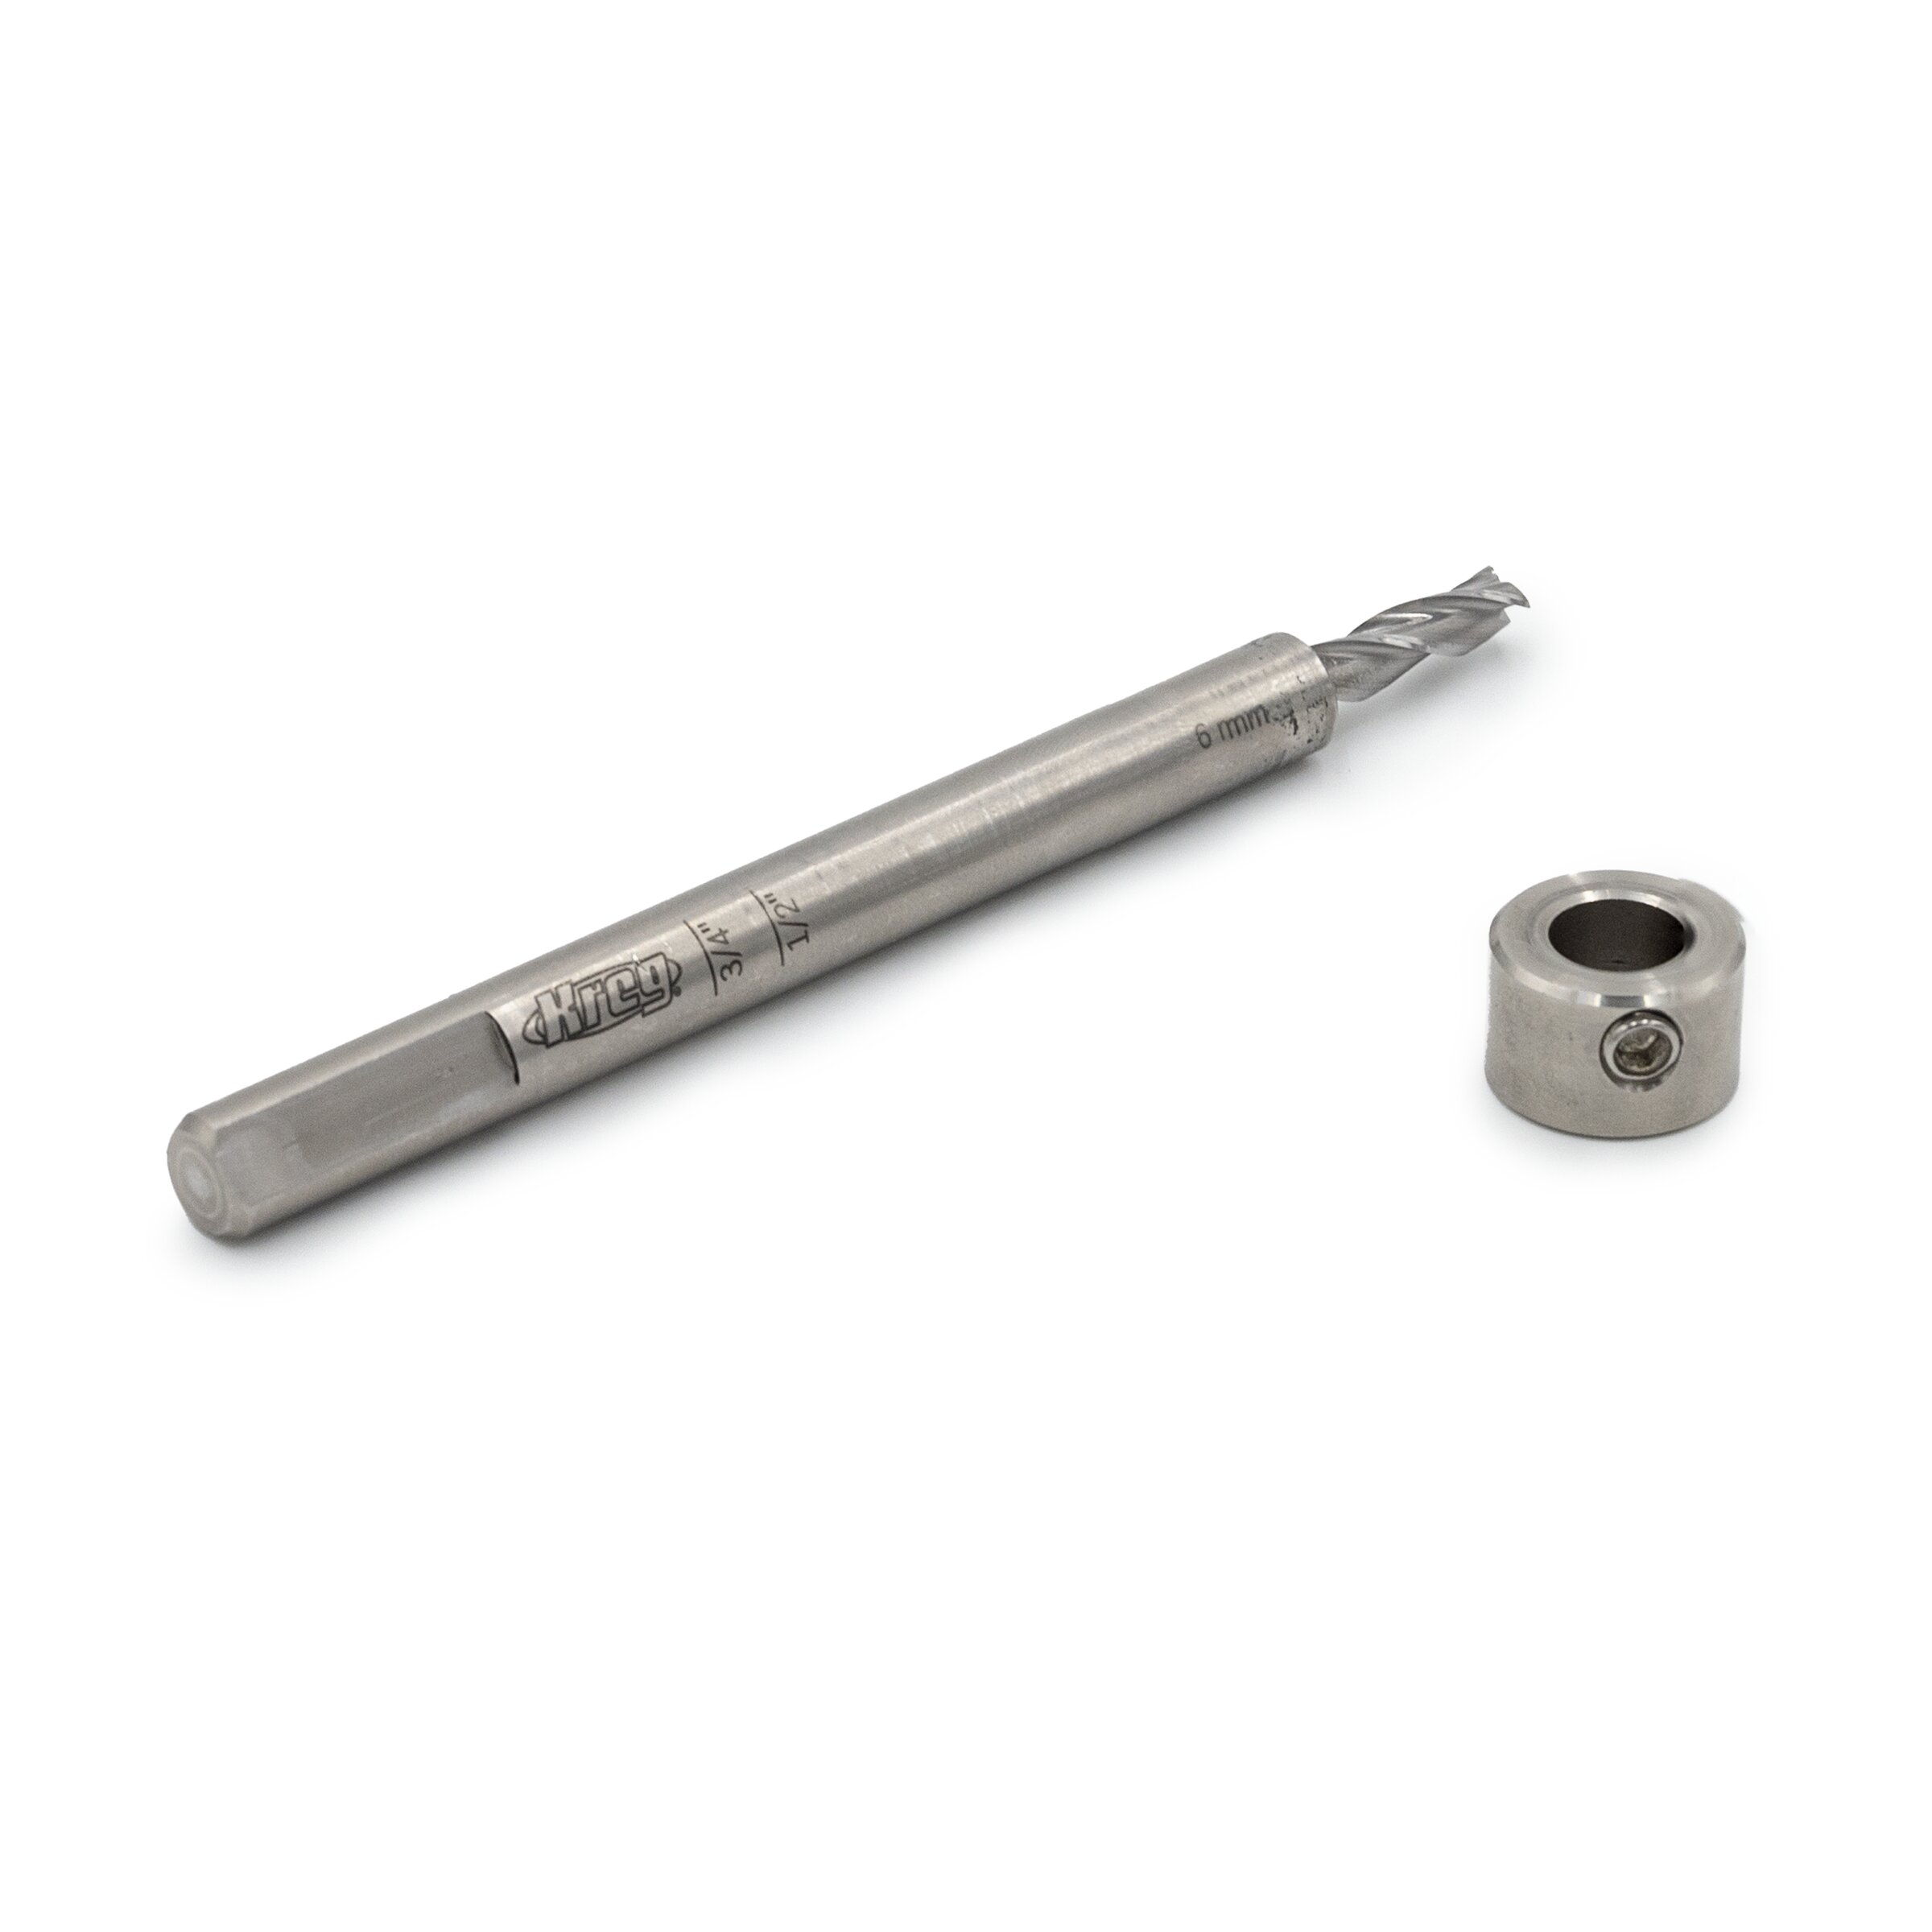
Router or drill press for cutting mortises
Chisels for cleaning up and squaring mortises
Saw (table saw, band saw, or hand saw) for cutting tenon stock
Measuring and marking tools (squares, marking gauges, pencils)
Clamps for assembly
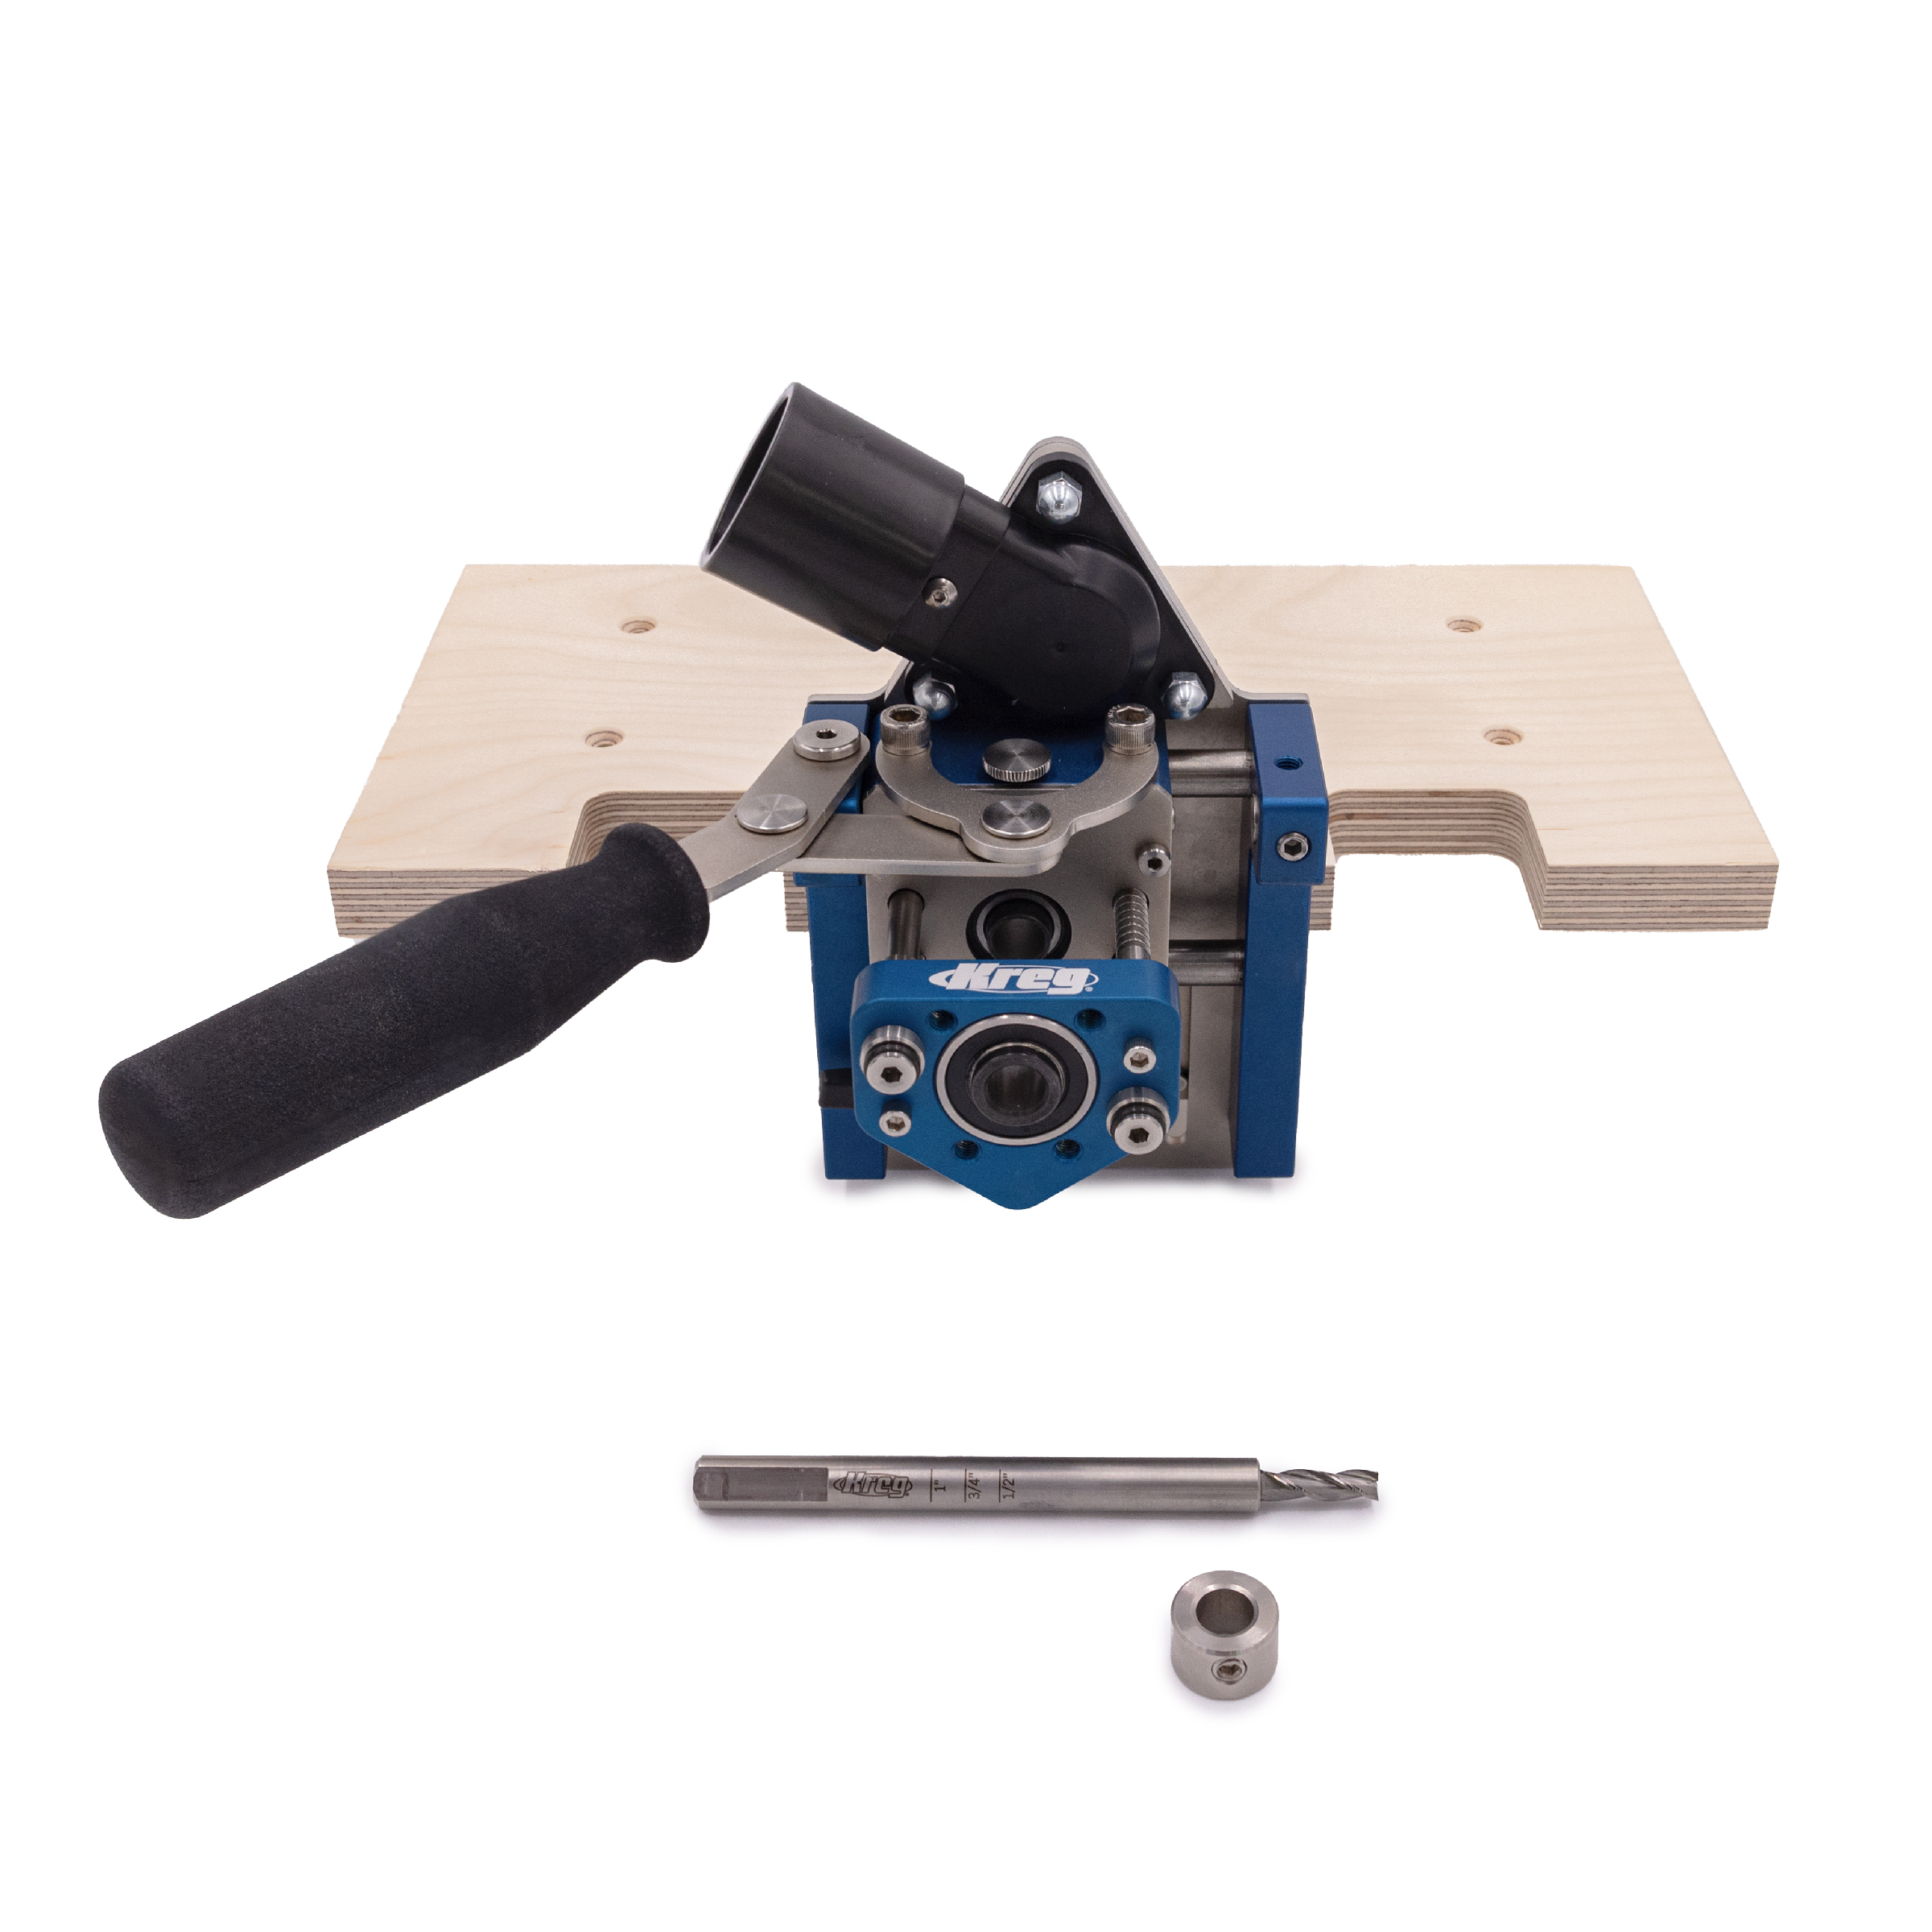
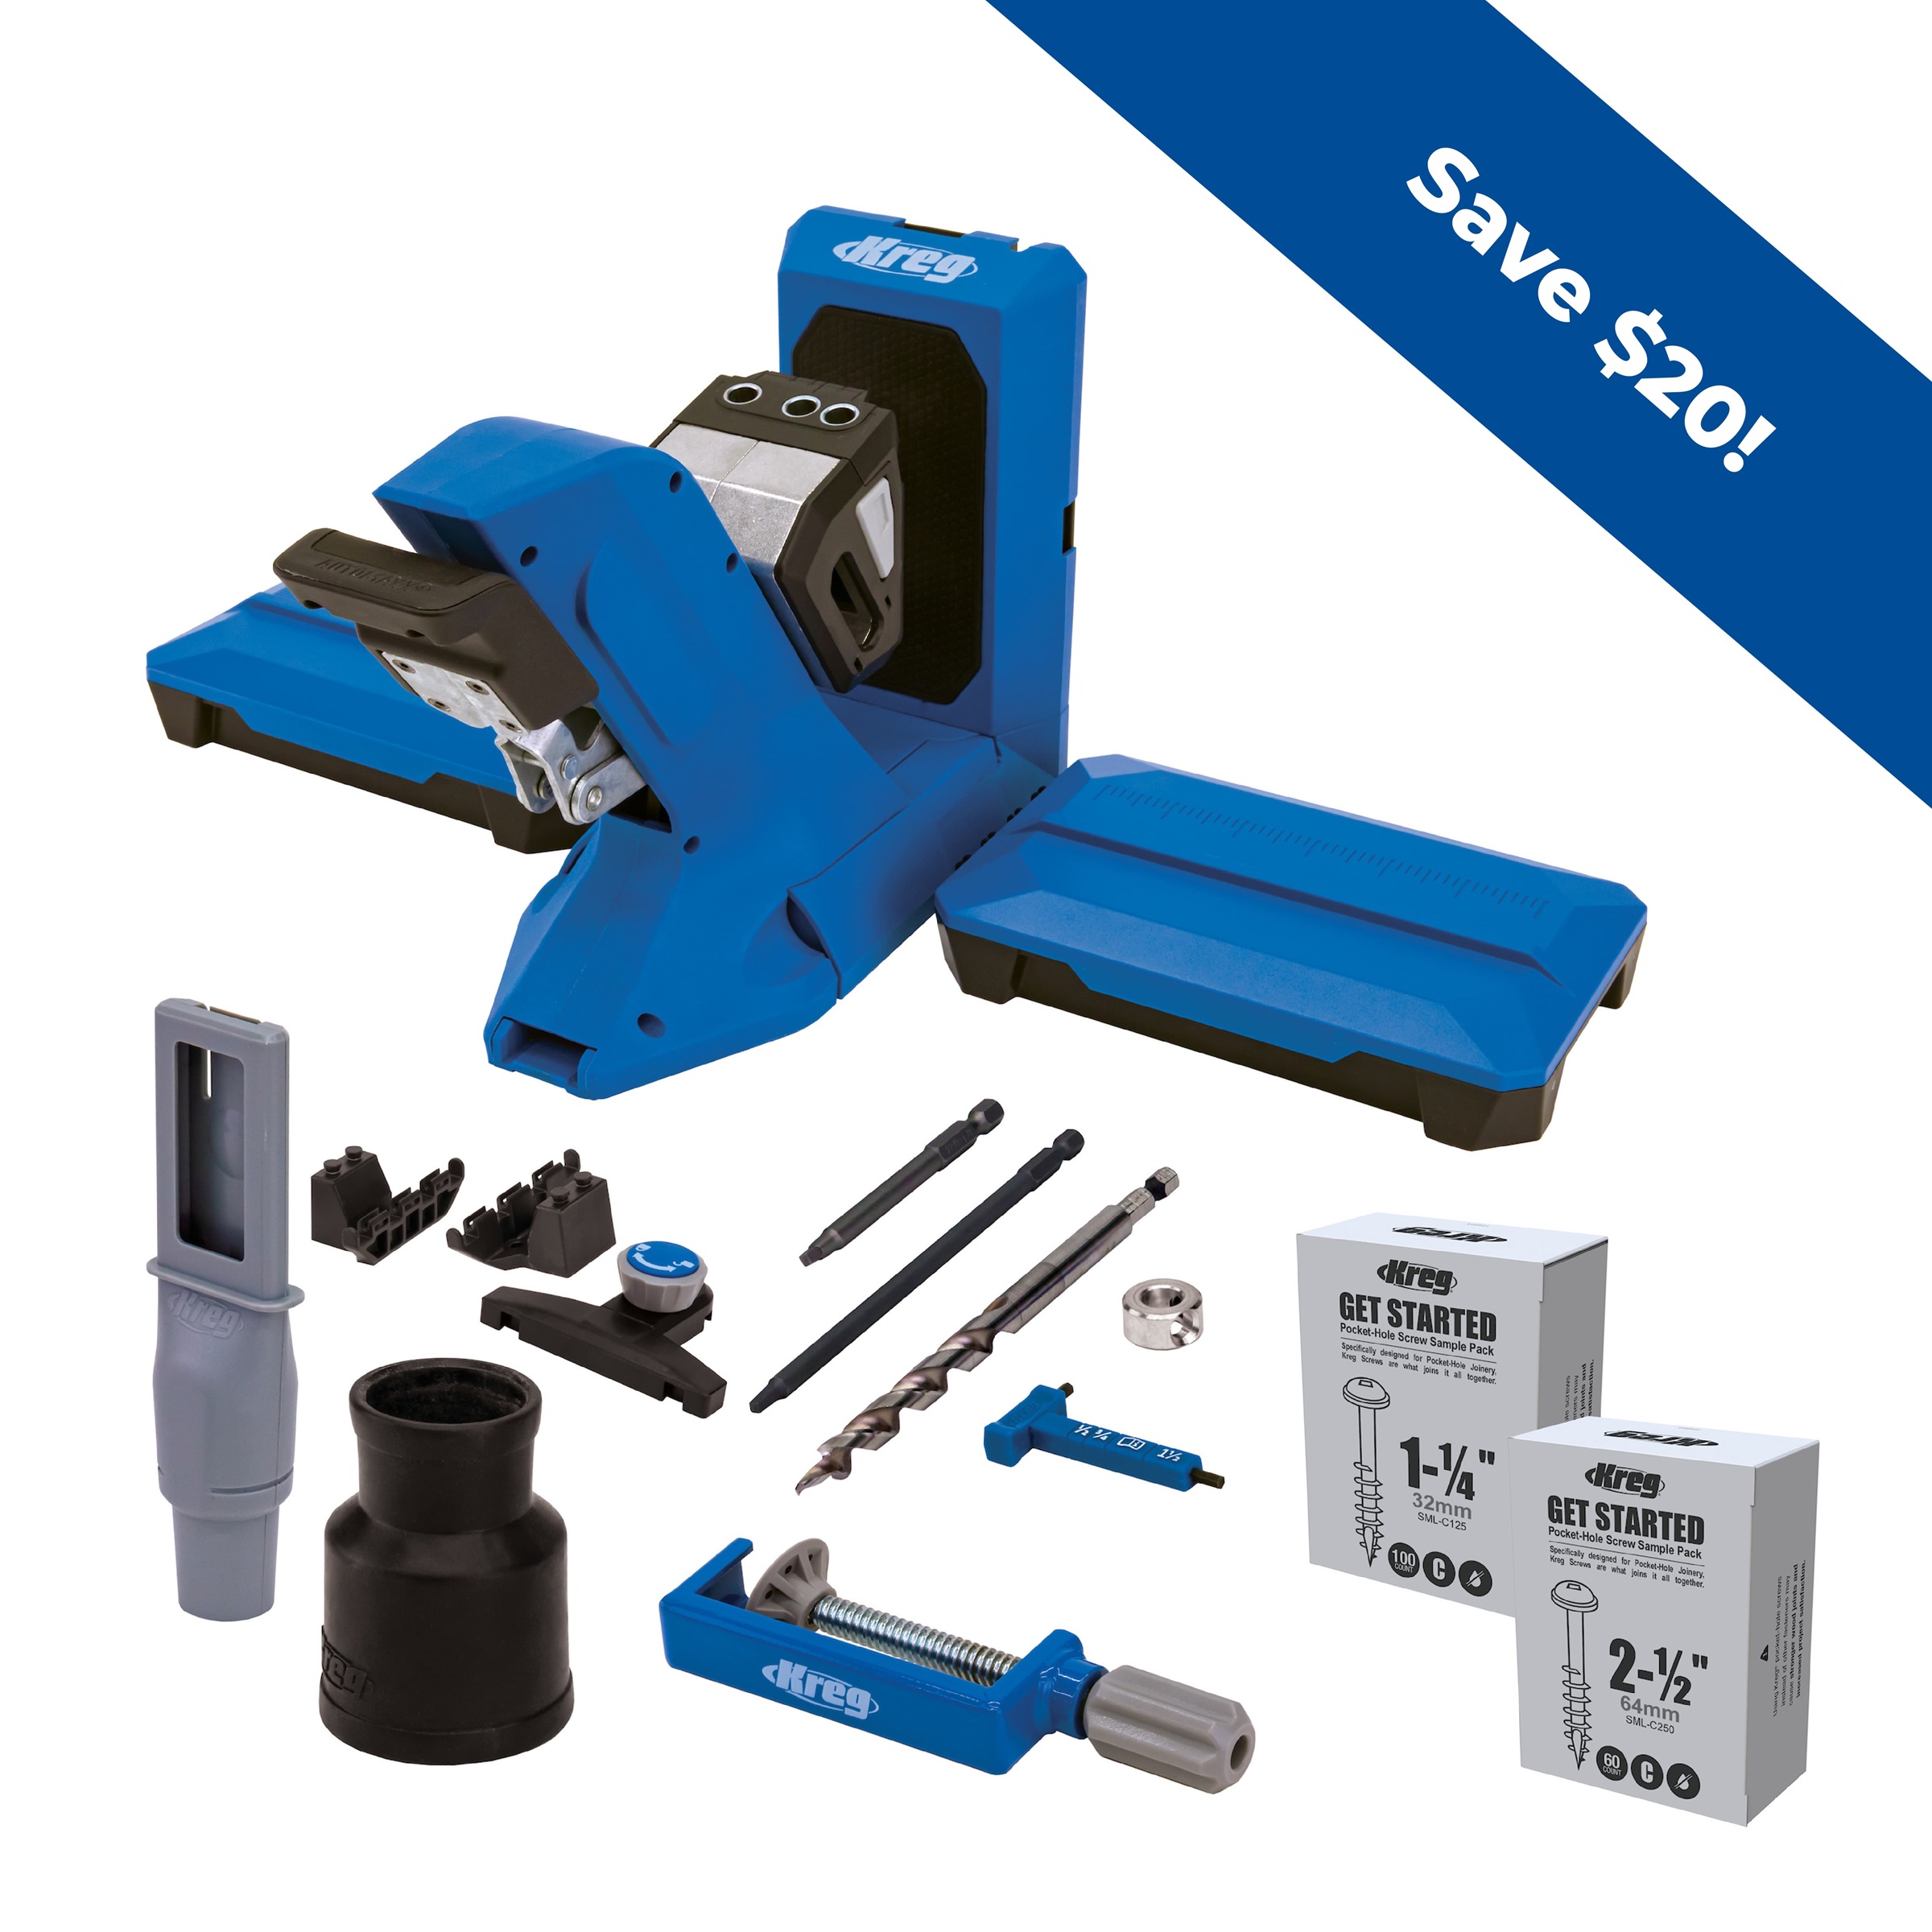
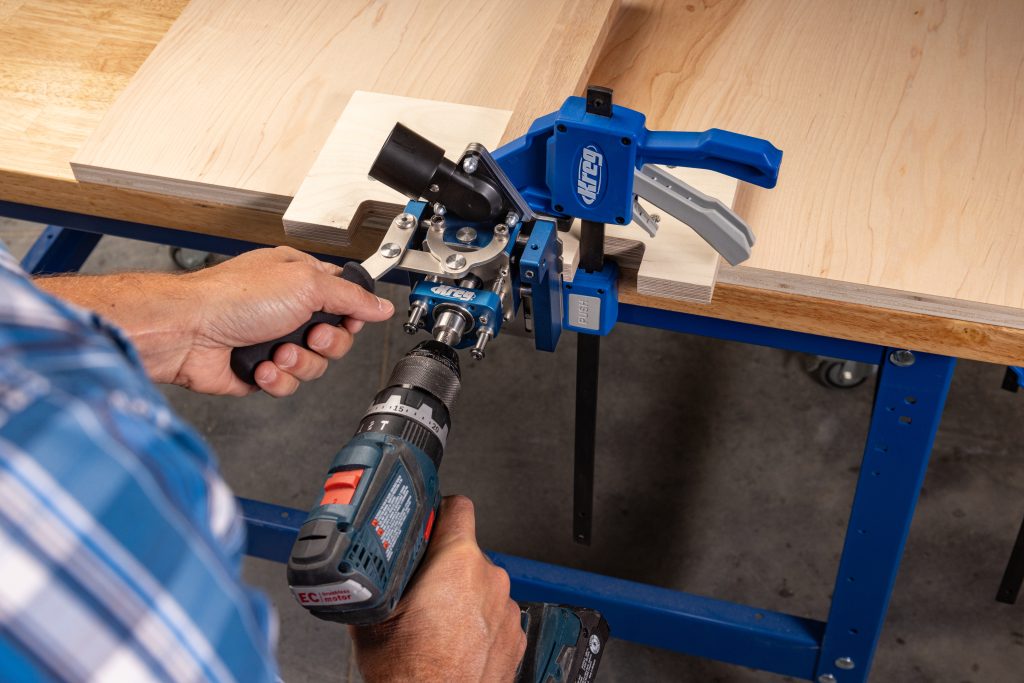
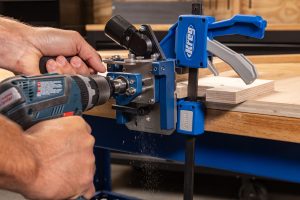
Update (November 2024): Kreg just released their latest tool called the MortiseMate which allows DIYers to cut mortises with just a drill. No router needed!
Recommended materials for tenons and mortises
Hardwoods like oak, maple, or beech for tenons in high-stress joints
the same species as the joined pieces or a complementary wood for Visible joints
Plywood or manufactured wood products for certain applications
Safety equipment and best practices
Safety glasses and hearing protection when using power tools
Dust mask or respirator for protection against dust
Proper ventilation in the workshop
Choosing the right wood for tenons
Select straight-grained, knot-free wood for maximum strength
Consider using quarter-sawn stock for stability in larger tenons
Match the wood species to the project
Step-by-step guide to creating loose tenon joints
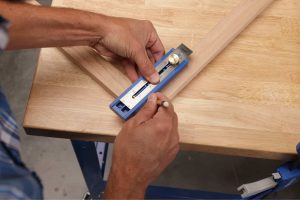
1. Measure and mark
a. Determine the size and placement of your mortises
b. Mark the mortise locations clearly on both pieces to be joined
c. Use a marking gauge or a tool like the Multi-Mark™ to ensure consistent depth and width
2. Cut the mortises
a. Set up your router or drill press with an appropriate bit
b. Make multiple passes to reach the desired depth, cleaning out waste between passes
c. Use a chisel to square up the ends of router-cut mortises if necessary
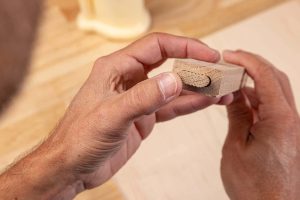
3. Prepare the loose tenons
a. Cut tenon stock slightly oversized in width and thickness
b. Plane or sand the tenons for a snug fit in the mortises
c. Round over the edges slightly to ease insertion
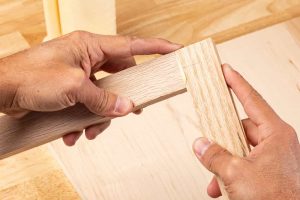
4. Fit and assemble the joints
a. Test fit the tenons in both mortises, adjusting as necessary
b. Apply glue to the mortises and tenon
c. Insert the tenon and clamp the joint, checking for square
5. Finishing touches and adjustments
a. Clean up any squeeze-out before the glue dries
b. Once dry, sand or plane any protruding material flush with the surface
c. Apply finish as desired
The Kreg MortiseMate simplifies mortise cutting, combining the precision of a router with the simplicity of a drill. Featuring an auto-indexing step-down mechanism, micro adjustment screws, and integrated mini work surface, the MortiseMate makes it easy to create professional-quality hidden joints with just a drill.
Applications of loose tenon joinery
Common projects utilizing loose tenon joints:
Table and chair construction
Cabinet face frames and doors
Bookcases and shelving units
Picture frames and mirrors
Furniture making
Joining table legs to aprons
Connecting chair rails to legs
Attaching headboards and footboards to bed frames
Creating strong corner joints in dressers and chests
Doors and frames
Joining stiles and rails in frame-and-panel doors
Constructing sturdy door frames
Creating window sashes and frames
Decorative woodworking
Joining mitered corners in boxes and small containers
Creating intricate geometric patterns in cutting boards or wall art
Assembling complex shapes in sculptural pieces
Structural uses in larger woodworking projects
Timber frame construction elements
Outdoor furniture and structures (pergolas, arbors)
Boat building and repair
Tips and techniques for perfect loose tenon joints
Ensuring alignment
Use a router template or jig for consistent mortise placement
Create a setup block to quickly set router depth for multiple identical joints
Consider using a Festool Domino or similar specialized tool for rapid, precise joints
Troubleshooting common issues
Loose fit
Make a new, slightly larger tenon or use shims
Tight fit
Sand or plane the tenon carefully for a smooth insertion
Misaligned mortises
Use a slightly oversized tenon and trim to fit
Enhancing joint strength and durability
Size tenons appropriately — generally 1/3 to 1/2 the thickness of the joined pieces
Use multiple smaller tenons instead of one large one for wider stock
Consider adding reinforcement pins for high-stress joints
Creative uses and innovative designs
Experiment with contrasting woods for decorative exposed tenons
Use curved tenons for joining curved pieces or creating bent laminations
Combine loose tenon joinery with other techniques for unique effects
Comparing loose tenon joinery with other joinery methods
Traditional mortise and tenon joints vs loose tenon joints
Pros of loose tenon
Easier to create precise fits
More versatile for angled joints
Allows for easier dry-fitting and adjustment
Cons
May not be as strong in some applications
Requires creating two mortises instead of one
Pocket-hole joinery
Pros of loose tenon
Stronger and more durable joint
No visible screw holes
Better for solid wood construction
Cons
More time-consuming to create
Can require more specialized tools
Biscuit joinery
Pros of loose tenon
Stronger joint, especially for end-grain connections
More precise alignment
Greater versatility in joint types
Cons
Takes longer to create than biscuit joints
Requires more careful layout and execution
Doweling
Pros of loose tenon
Easier to create precise alignment
More forgiving of slight misalignments
Often stronger, especially in larger joints
Cons
May take longer to execute than simple dowel joints
Requires more specialized tools for efficient production
FAQs about loose tenon joints
How strong is a loose tenon joint?
A properly executed loose tenon joint can be as strong as a traditional mortise and tenon joint, offering excellent strength and stability due to its large gluing surface and mechanical interlocking properties.
How long should loose tenons be?
Loose tenons should typically be 1/3 to 1/2 the thickness of the joined pieces and extend into each piece by at least 1-1/4 inches, with longer tenons used for larger or high-stress joints.
Are loose tenons stronger than dowels?
Loose tenons are generally stronger than dowels, especially for larger joints or those subject to significant stress, as they provide a larger gluing surface and better resistance to twisting forces.
What is the depth of a loose tenon?
The depth of a loose tenon mortise should typically be slightly longer than half the length of the tenon, allowing the tenon to extend fully into both joined pieces while leaving a small gap in the center for glue and potential wood movement.
To learn more about the new MortiseMate loose tenon jig, check out this video: