If you love woodworking or DIY projects and haven’t used a trim router yet, you’re in for a treat. This small but mighty tool can transform your builds from rough and functional to polished and professional. Whether you’re cleaning up plywood edges, adding rounded corners, or carving decorative details, a trim router delivers big results without an intimidating learning curve.
Introduction to Trim Routers
What Is a Trim Router and Why You Need One
A trim router (sometimes called a palm router) is a compact, handheld version of a full-size router. While larger routers handle heavy-duty shaping and joinery, trim routers shine on lighter, detail-oriented tasks:
- Edge shaping and decorative profiles.
- Flush trimming veneers and laminates.
- Sign making and freehand carving.
- Small joinery and hardware recesses.
Their lightweight design and one-hand control make them approachable for beginners while still versatile enough for experienced woodworkers and DIYers.
Key Benefits of Trim Routers
- Easy to handle — lightweight and beginner-friendly
- Precision control — perfect for delicate details
- Versatile — compatible with a wide range of router bits
- Compact size — read about the difference between trim routers vs full-size routers
- Budget-friendly — an affordable way to elevate your projects
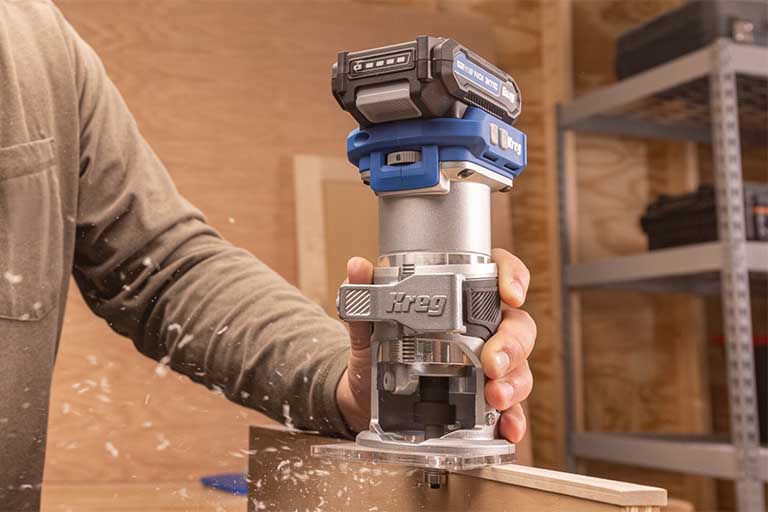
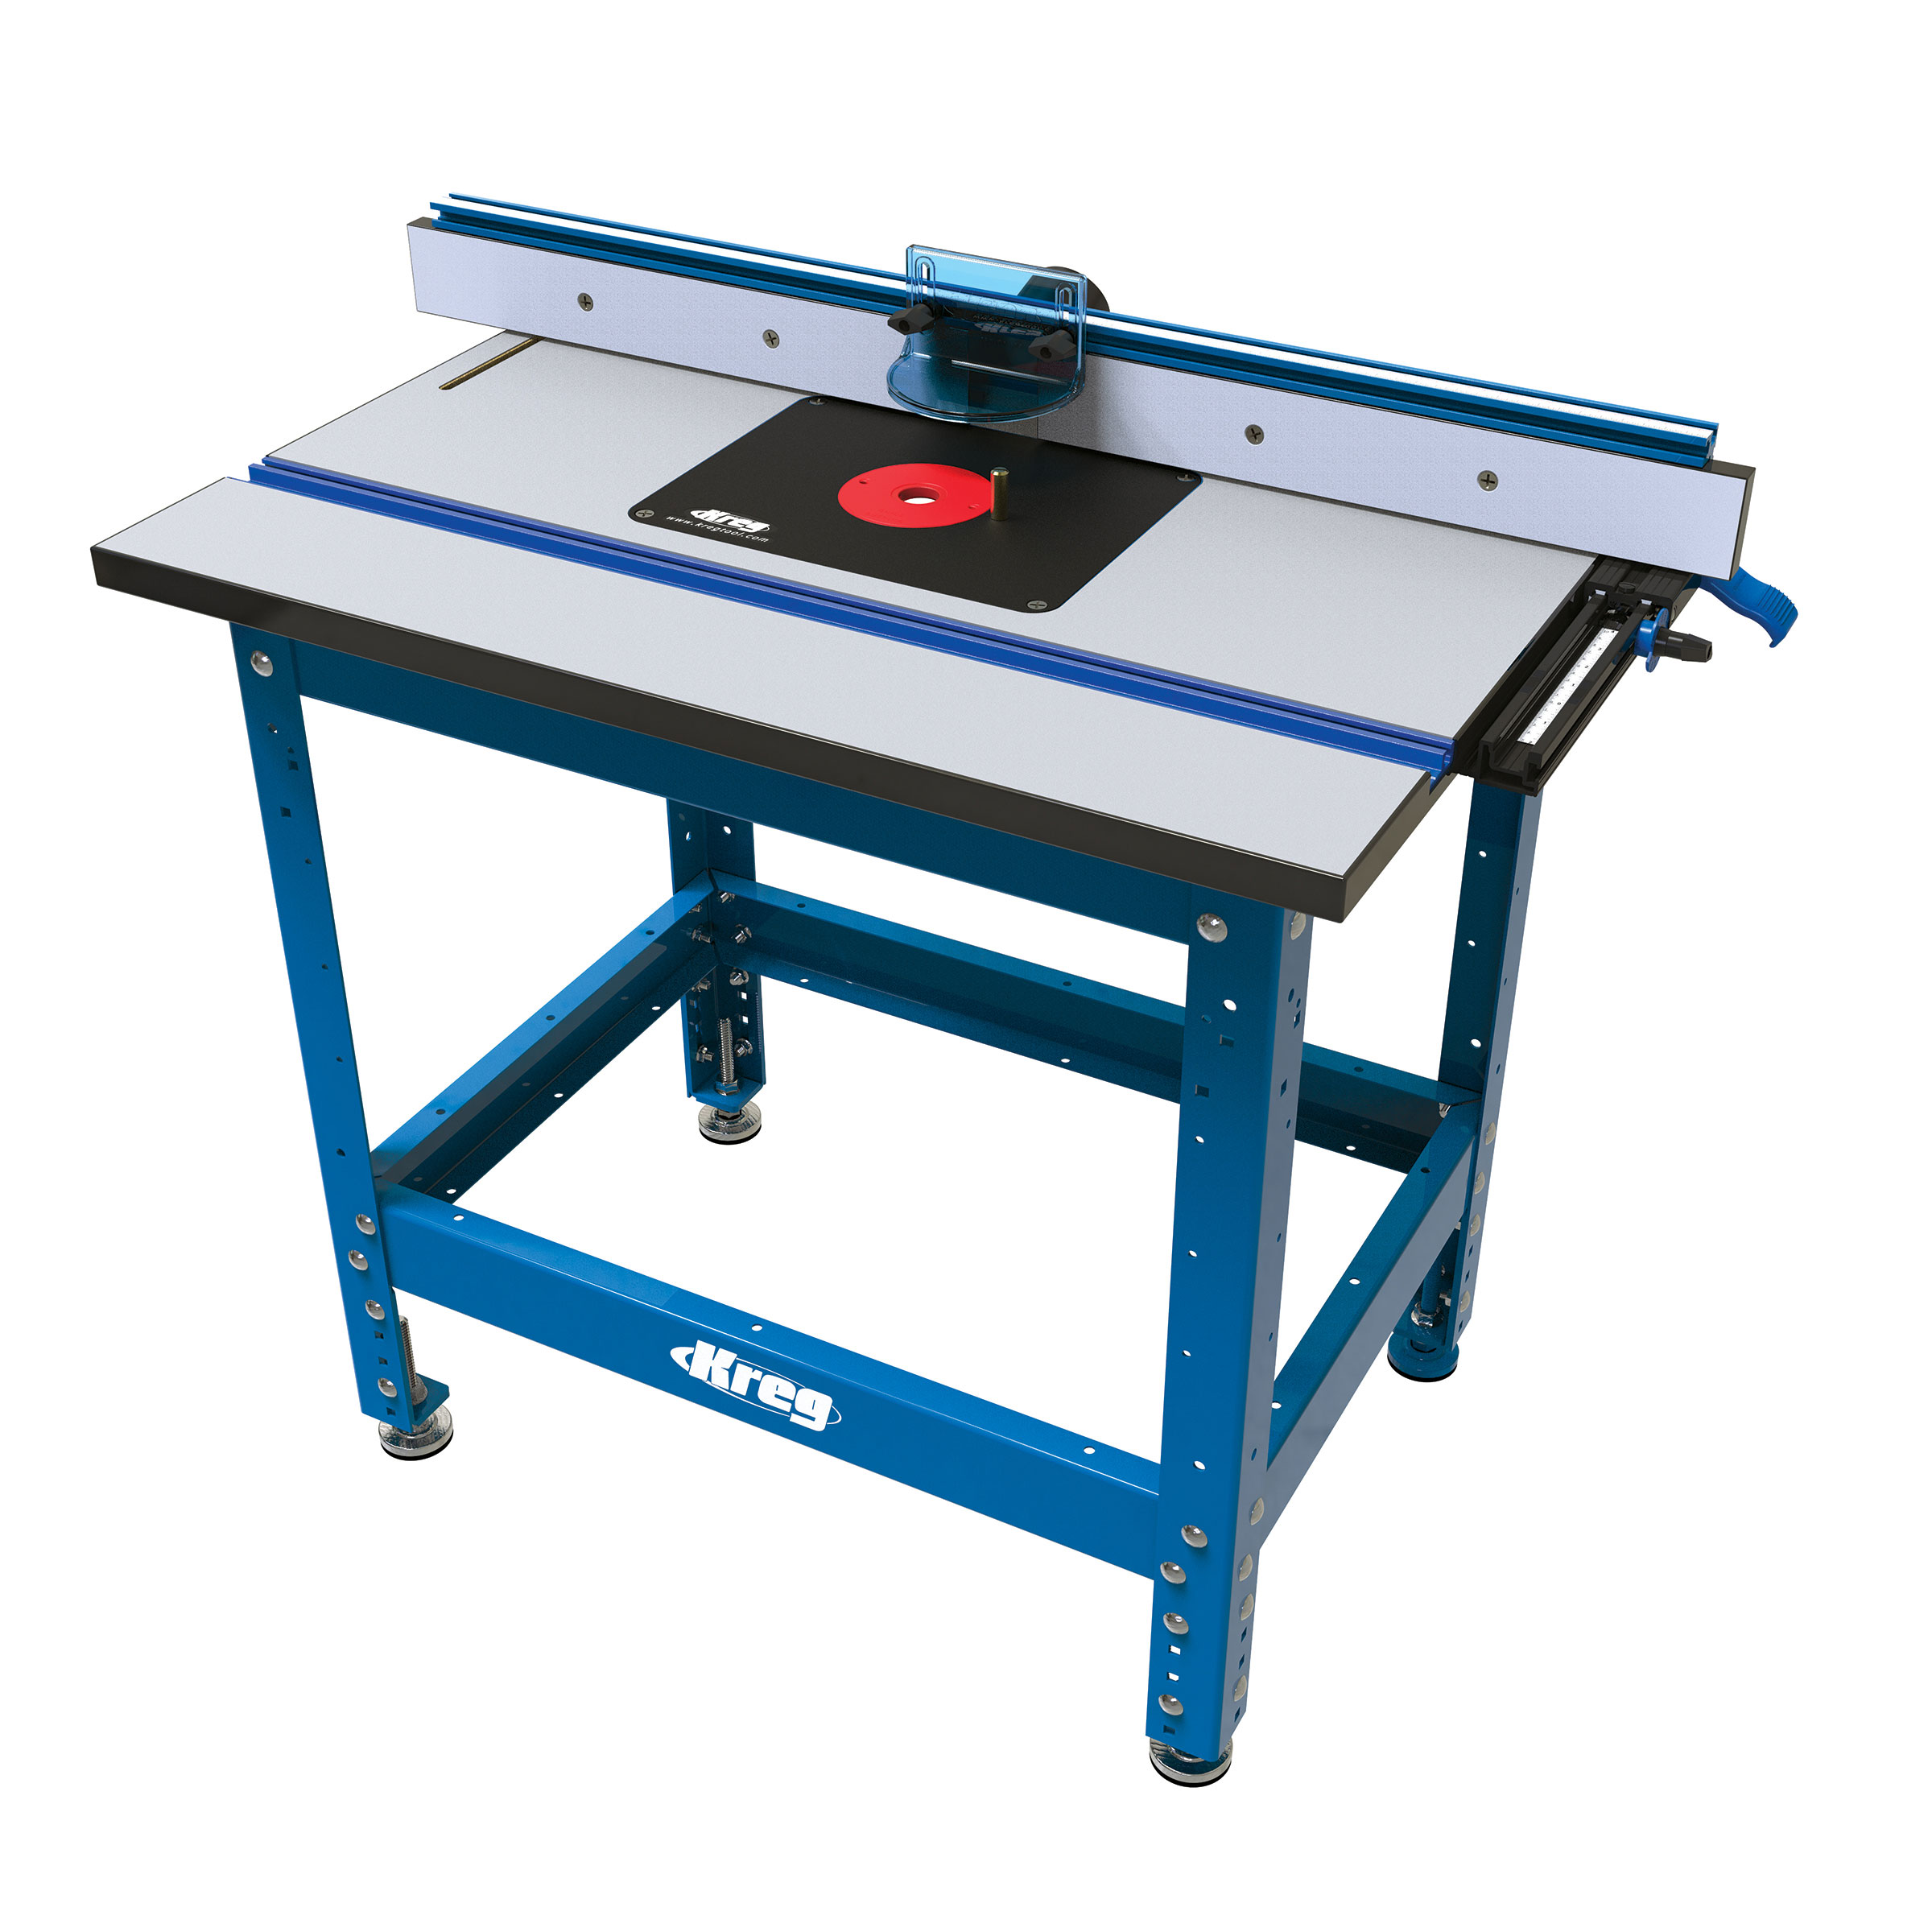
Key Components of a Trim Router
Before you start routing, it helps to know the main components:
- Motor housing
The heart of the tool, usually with a top-mounted power switch. - Base
Rests flat against your work for stability and control. - Collet
Holds the router bit securely in place. Most trim routers accept ¼-inch shank bits. - Depth adjustment ring or lever
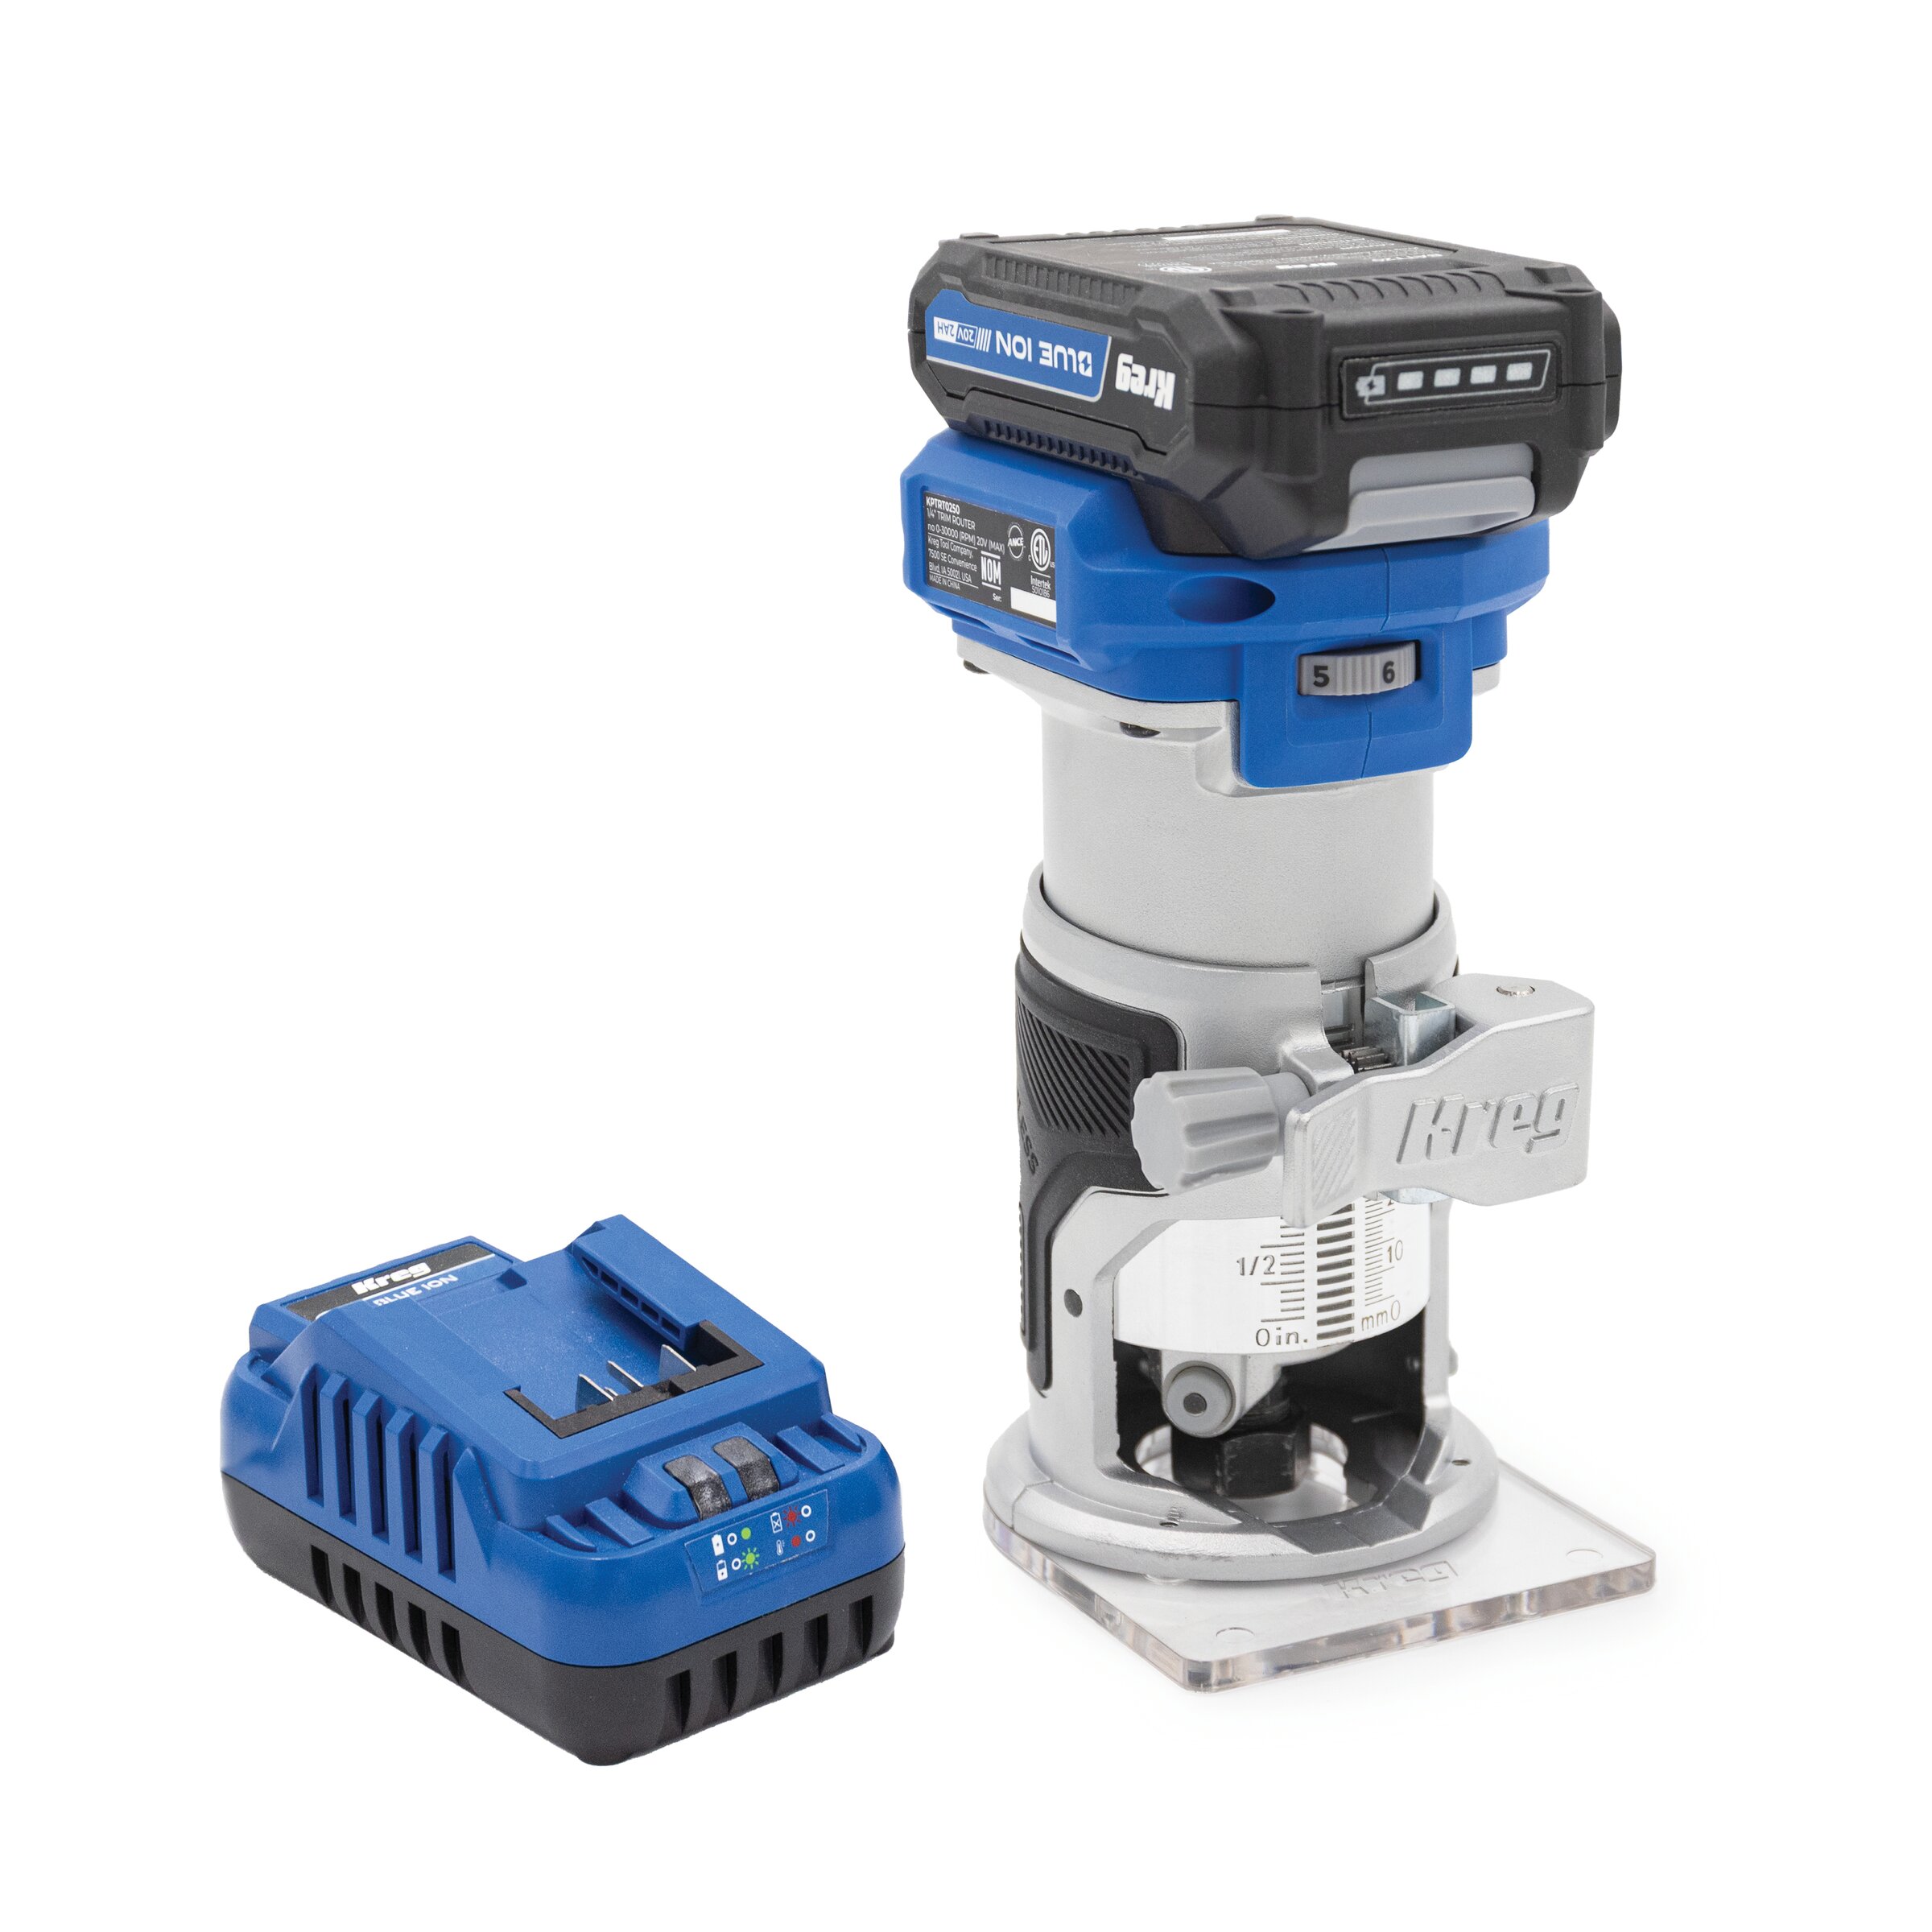
Sets how deep the bit cuts. - Corded or cordless power source
Today’s cordless trim routers offer freedom and flexibility without sacrificing performance.
![]()
Getting Set Up
Choosing the Right Router Bit
Router bits are what actually shape or cut your material. While there are dozens of options, beginners only need a handful of essentials:
Flush Trim Bits
Use the bearing to ride along a guide edge or template, trimming your workpiece perfectly flush.
Best for: laminate, veneer, or plywood
V-Groove Bits
Cut sharp, narrow “V” shapes into wood surfaces for decorative lines or lettering.
Best for: sign making, engraving, and accents
Roundover Bits
Soften sharp corners for a clean, rounded look.
Best for: furniture edges, tabletops, shelves
Straight Bits
Create flat-bottomed grooves or recesses for inlays, dados, or hardware pockets.
Best for: shallow mortises or routing recesses.
Pro Tip: Start with shallow cuts and make test passes on scrap wood first. It’ll save you from surprises on your project piece.
Installing a Router Bit
Setting up your trim router is simple:
- Unplug or remove the battery.
- Loosen the collet.
- Insert the bit ¾ of the way in, but don’t bottom it out.
- Tighten securely and double-check before powering up.
- Adjust your cutting depth using the base or depth ring.
![]()
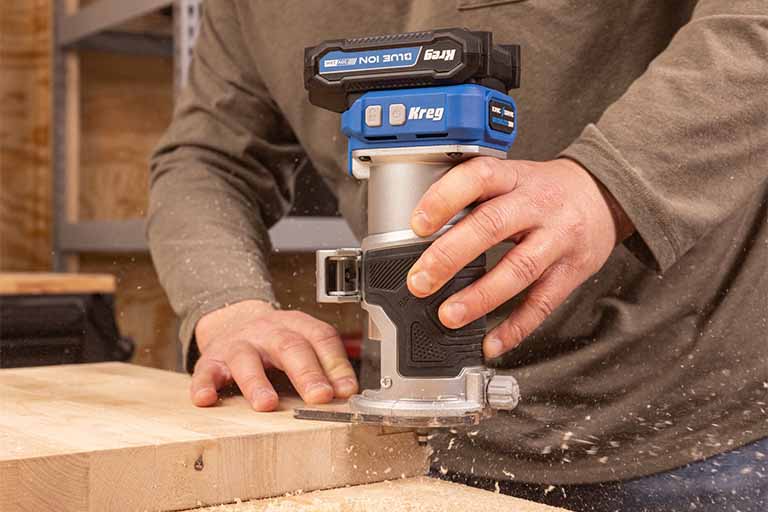
Basic Trim Router Techniques
Once your trim router is set up, try these core techniques to build confidence and unlock its versatility.
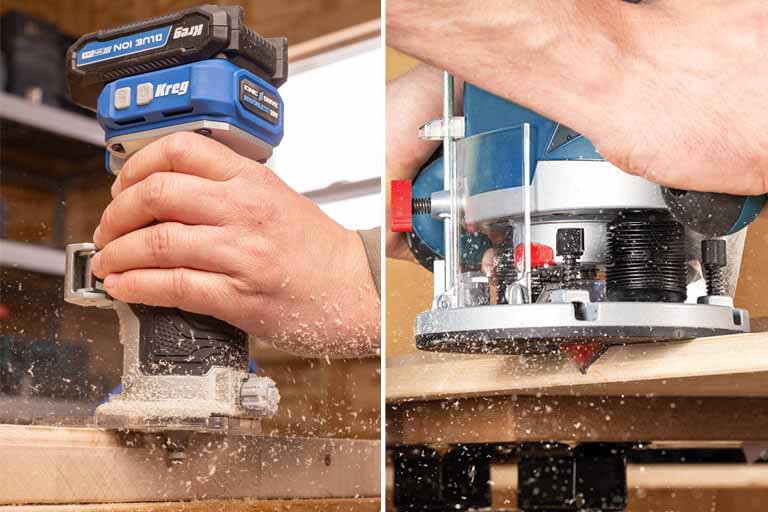
Flush Trimming
When to use it:
- Trimming one surface to match another, like cutting laminate or veneer flush with plywood.
How to do it:
- Use a flush trim bit with a bearing to follow your guide surface.
- Clamp materials securely so nothing shifts mid-cut.
- Move the router slowly and steadily, letting the bit do the work.
Edge Profiling
Want to give your project edges some style? Use a profile bit to cut shapes into edges:
Common profiles:
- Roundover — smooth, curved edges
- Chamfer — clean, angled cuts
- Ogee — decorative “S” curves for furniture
Tips:
- Always move with the grain when possible to avoid tear-out.
- Use shallow passes for cleaner results.
- Keep the router base flat against your work surface at all times.
Freehand Routing
Trim routers are small enough for creative, freehand work, like sign making or engraving:
- Use a v-groove or engraving bit for sharp, detailed cuts.
- Sketch your design first with pencil or chalk.
- Make light, controlled passes and take your time.
![]()
Advanced Uses and Accessories
Once you’ve mastered the basics, trim routers open up a world of advanced techniques:
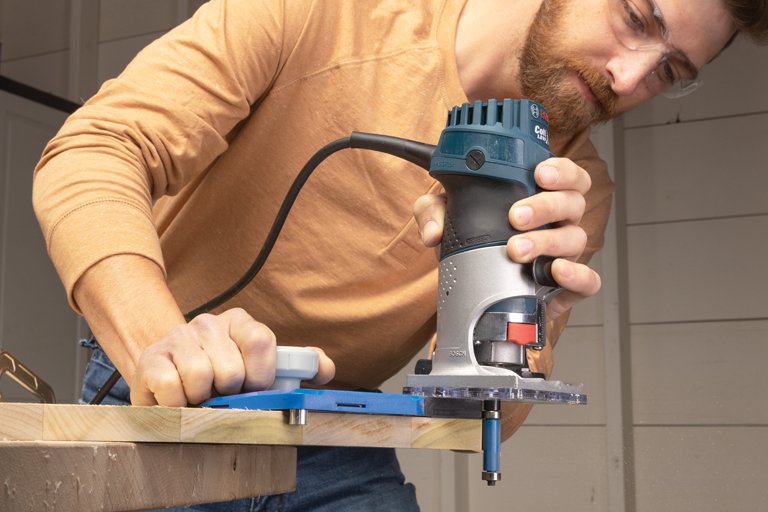
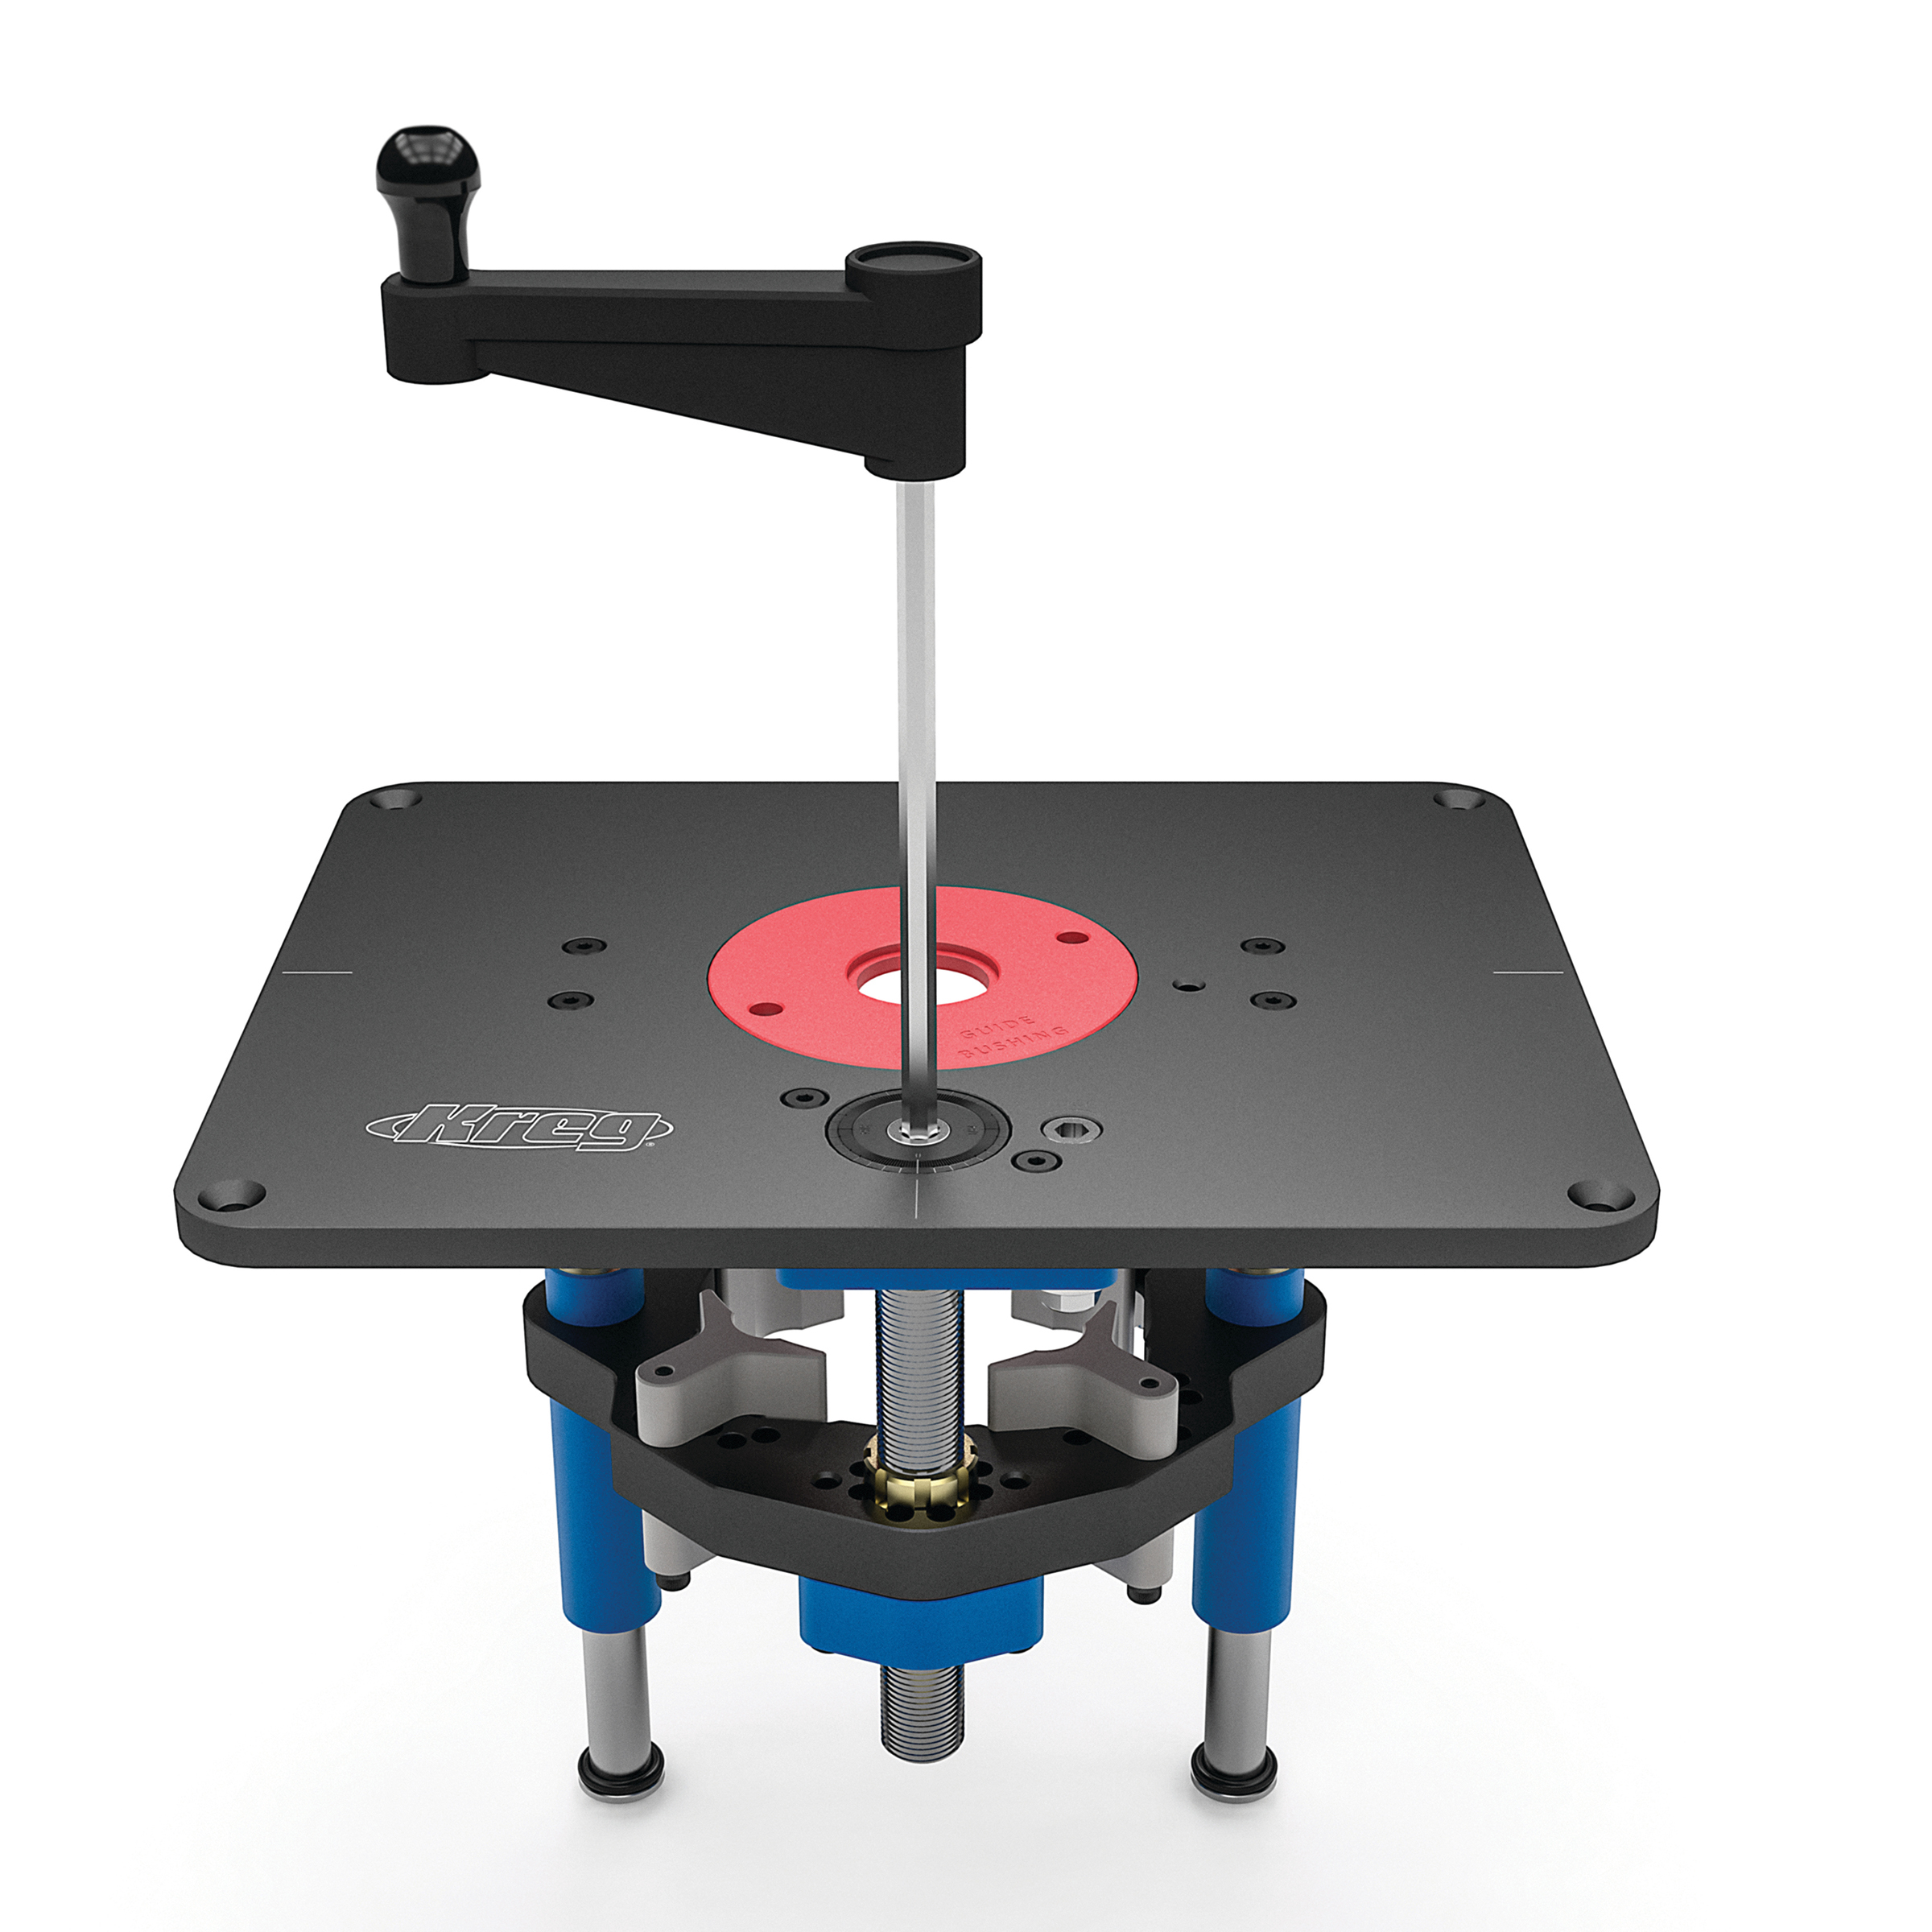
Template Routing
Use a template guide bushing to follow patterns and make perfect duplicates. Great for rounded corners, cutouts, and repetitive shapes.
Inlays
Create decorative contrast by routing shallow pockets and fitting inlays for lettering, accents, or mixed materials.
Joinery
Cut dados, rabbets, and hinge mortises for small boxes, drawer parts, and hardware installs.
Laminate Trimming
Perfectly trim overhanging laminate for countertops, cabinet doors, or furniture panels.
![]()
Troubleshooting Common Trim Router Issues
Even with practice, you’re bound to run into a few hiccups along the way. Don’t worry – most common trim router problems have simple fixes. Here’s how to spot and solve them.
Burn Marks on the Wood
The problem: You notice dark scorch marks along the cut edge.
Possible causes:
- Moving too slowly, causing friction and heat buildup.
- Dull or dirty router bit.
- Bit is spinning too fast for the material.
How to fix it:
- Use a sharp, clean bit.
- Adjust your speed (both movement and motor RPM if adjustable).
- Make lighter passes, especially on hardwood.
Depth Inconsistencies
The problem: Your cut starts at one depth and ends at another.
Possible causes:
- Router bit wasn’t securely tightened and slipped during the cut.
- Base wasn’t flat on the surface.
- Depth adjustment shifted mid-project.
How to fix it:
- Make sure the collet and bit are tightly secured before every use.
- Double-check your depth setting.
- Practice keeping the base level, especially on narrow edges.
Tear-Out or Chipping on Edges
The problem: Your cut looks rough, especially at the start or end.
Possible causes:
- Cutting against the grain.
- Dull or wrong type of bit.
- Removing too much material in one pass.
How to fix it:
- Use sharp bits and make multiple light passes.
- Cut in the correct direction: clockwise for outside edges, counterclockwise for inside cuts.
- Back up the edge with scrap wood to prevent chip-out at the exit point.
Wobble or Uneven Cuts from Unstable Bases
The problem: Your router feels shaky or your cut isn’t even.
Possible causes:
- Narrow workpiece with too little surface area for the router base.
- Trying to route freehand without enough support.
- Uneven or warped material surface.
How to fix it:
- Use an auxiliary base (a wider piece of MDF or plywood) attached to the router base for stability.
- Clamp your work securely.
- Avoid routing directly on warped or bowed boards.
![]()
Tips to Improve Precision and Finish Quality
Start shallow
Light passes prevent burning and chipping.
Keep moving
Pausing can leave marks or gouges.
Use both hands
Even small routers benefit from extra control.
Test on scrap
Always dial in depth and speed on a test piece first.
Clean your bits
Resin buildup dulls edges and affects performance.
Use guides and fences
Perfect for straight lines and dados.
Stay sharp
Replace dull bits to keep cuts smooth and efficient.