When you’re picking materials for your DIY projects, one of the biggest challenges can be figuring out how to get it home. Boards are long and can be heavy. Plywood is just plain unwieldy. Here are some techniques you can use to make it easier to get your materials home.
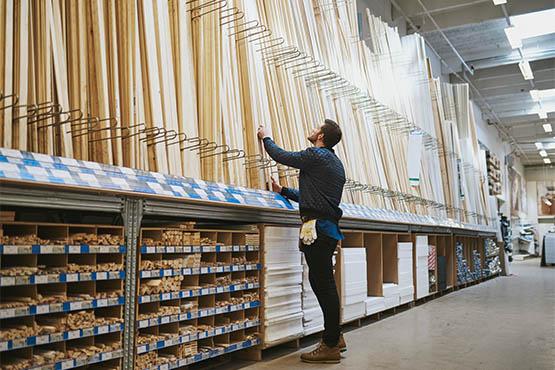
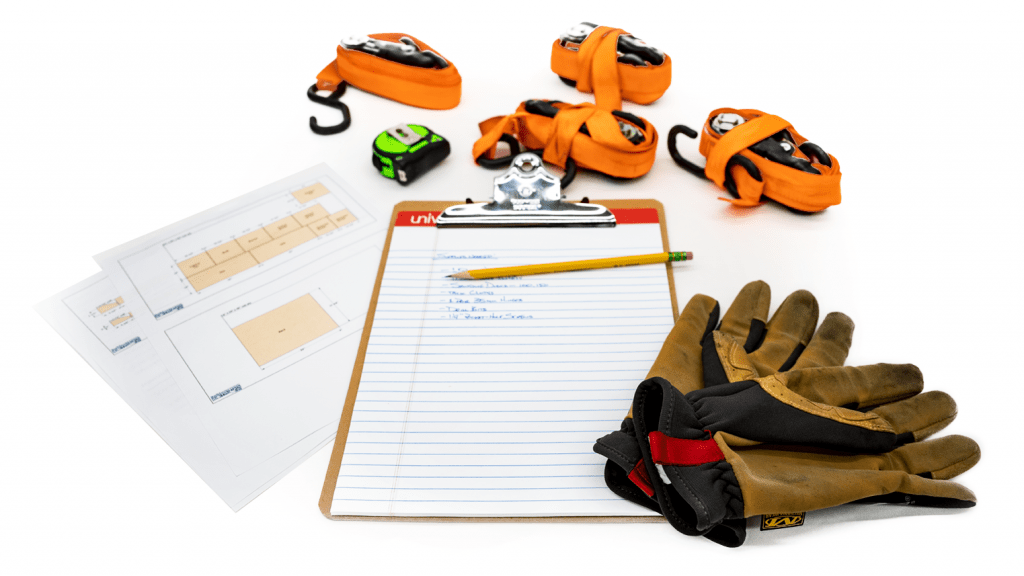 First, here are some tips for staying organized while shopping for materials
- Take a copy of the materials list for your project. This should list the size and quantity of every part.
- As you pick out your materials, organize them before you head to the cutting area, so that you’ll be able to hand them off to the person cutting efficiently. You’ll have an easier time keeping track, and they’ll appreciate your organization.
- If your project plan came with a cutting diagram, take it along. A cutting diagram shows which parts get cut from which boards and sheets.
- Take a tape measure with you so you can double-check cuts, and a pencil to mark the parts.
- If you’ll be hauling the materials home, bring a pair of gloves, as well as ratcheting tiedown straps to secure your materials.
Buy materials in smaller sizes if possible
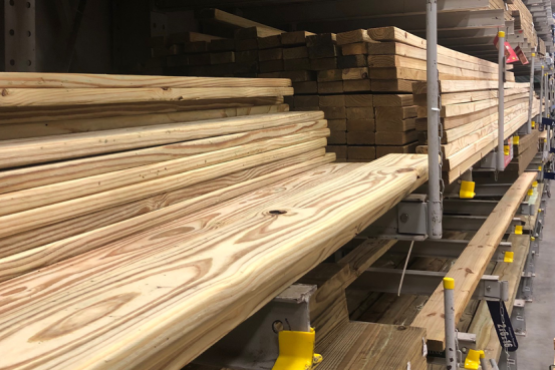
Home centers commonly sell boards in 8′-long and longer sizes. If you have a pickup or large SUV, hauling these boards may not be a problem. But that’s not the case with smaller vehicles.
For most projects, though, you’ll take those long boards home and cut them into shorter pieces. So, you might want to consider buying shorter boards instead. Many home centers sell commonly used boards in lengths from 2′ to 4′ that are easy to handle and to haul in just about any vehicle. You’ll pay more per foot for these boards, but you’ll be able to get them home.
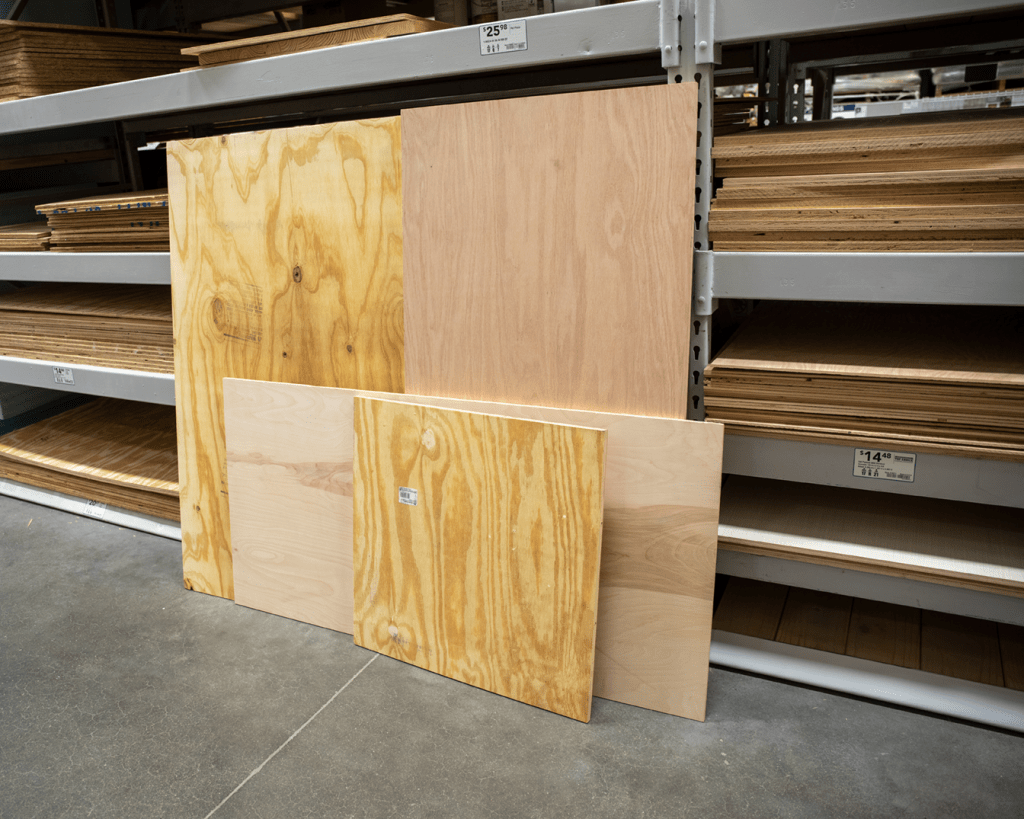
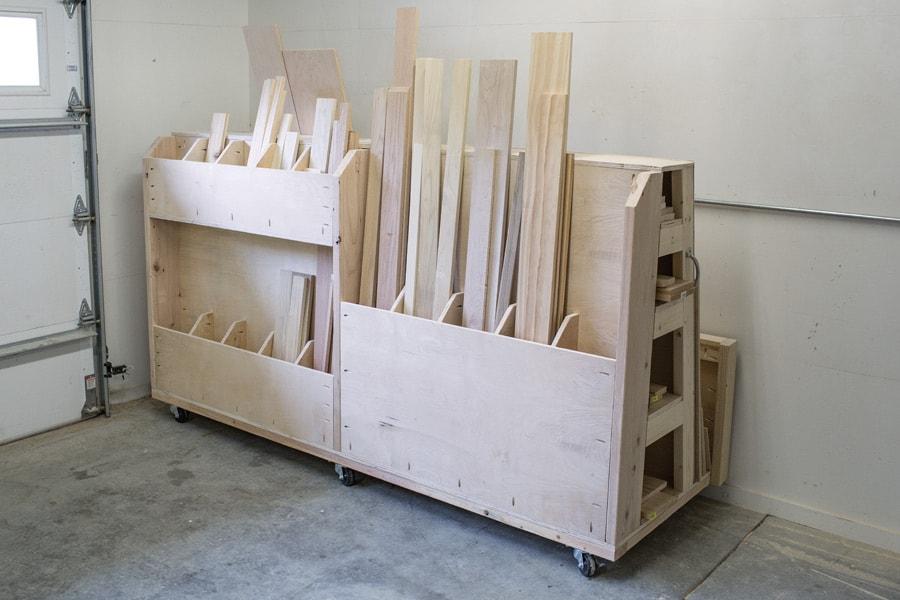
Plywood is an even bigger problem—literally. Standard 4′ x 8′ sheets are heavy and just plain huge. Once again, though, you can buy plywood most places in smaller sizes. 2′ x 2′, 2′ x 4′, and 4′ x 4′ are common. As with shorter boards, the convenience of smaller sheets does come at a higher price.
 Have the materials cut in the store
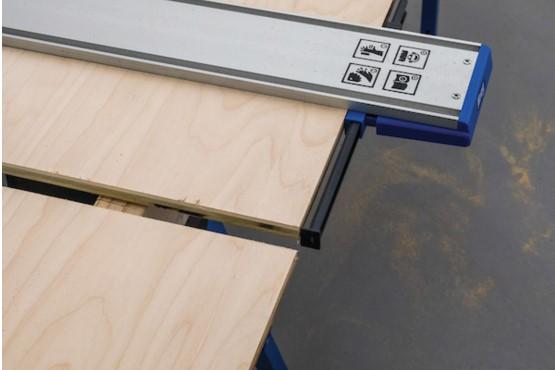
Another great way to get shorter boards and smaller sheets is to have them cut in the store. Almost all home centers offer cutting services for boards and plywood.
Usually, the first few cuts are free. After that, they’ll charge a small fee per cut. And, you’re not restricted to getting materials cut to standard sizes. You can have them cut to any size your project requires. Just know that stores don’t guarantee accuracy any closer than about 1/8″.
If you’re going to have your materials cut in the store, make sure you go in organized to get the best results.
 Have the materials delivered
If you just don’t have any good way to haul materials, or you’d rather get your materials full-size, delivery is an option.
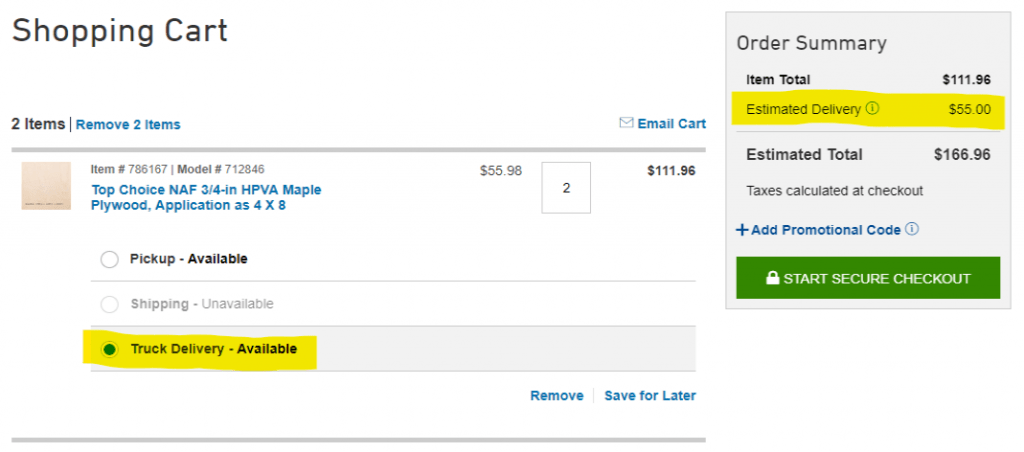
You can go to the building materials counter or the pro desk (it’s not just for professionals) to order materials, or you can order online, and then specify “truck delivery” at checkout. The order will come from your local store, and can usually be delivered in a just a day or two.
To do this, you’ll need to know how many of each size board and sheet you’ll need, If you’re not exactly sure, order a little extra.
Truck delivery always has a minimum fee. So, it doesn’t make sense for just a couple boards, but it may when you get to a couple sheets of plywood or more. The delivery fee is often the same for a large order, though, so you’ll get better value when you get more material delivered. If you have a big project, delivery makes great sense. Or, if you have multiple upcoming projects and a place to store materials, consider having materials for all those projects delivered at one time.
One disadvantage to delivery is that you’re not the one selecting your materials. You’ll have to depend on the home center associates to select straight, flat, clean boards and sheets.
Rent a truck
Because truck delivery to your home can be expensive, a good alternative can be to rent a truck. Companies, such as U-Haul, offer pickup trucks and smaller moving vans for as little as $20 per day, plus $1 or so per mile. For the price of a few boards, you can get a pickup or enclosed van/truck and have all day to get your supplies home. You also get the freedom to go to multiple store, if necessary, rather than having to depend on just one.
Secure your materials safely
If you’re hauling your own materials, you’ll want to know how to secure them properly. This is important to protect your materials, and it’s critical for safety, to ensure that nothing works loose or falls.
Pickup trucks used to have 8′-long beds, which meant that you could load full sheets of plywood and boards, close the gate, and be on your way. Today, most trucks have beds that are 6′ long or less. That means materials will hang over. So, you need to tie them down.
Bungee cords or light ropes aren’t the best choice. Instead, use ratcheting tiedown straps. You can pick up a set for less than $20 while you’re at the home center.
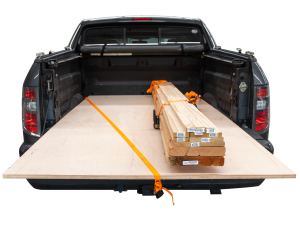
To tie your load properly, first lay plywood flat on the floor of the truck bed. Then secure a tiedown strap to a hook inside the front of the bed. Drape the strap over the end of the sheet in back, and then hook to the trailer hitch, if you have one, or to a sturdy part like the bumper. Then pull out slack strap and tighten the ratchet.
To secure boards, first organize them in a tight bundle, or two if needed, and wrap a tie-down strap around. Tighten it until the board in the middle of the bundle can’t move. You can use the excess strap to tie the other end of the bundle or use a second tiedown.
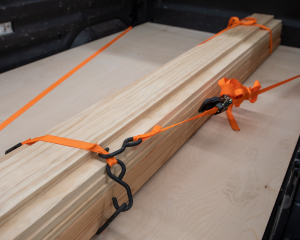
Next, connect another tiedown strap to a hook at the front of the truck bed. Secure the other end to the rear strap on the board bundle, and then tighten the strap. This will prevent the boards from sliding backward out of the bed.
If you have an SUV or van with a roof rack, you can use it to haul long boards—though hauling plywood on a roof rack is tricky.
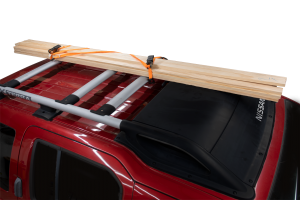
Make sure all the boards are tightly bundled, and then secure the bundle to the rack’s front and rear crossbars by hooking the strap around the bar, and then tightening the ratchet mechanism. Make sure the tiedown is tight enough to prevent boards in the middle of the bundle from moving.
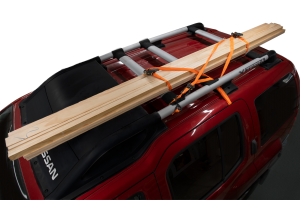
Next, connect a third tiedown to the rear strap on the bundle, attach the other end of the strap to the front crossbar, and tighten the ratchet mechanism.
Associated Products
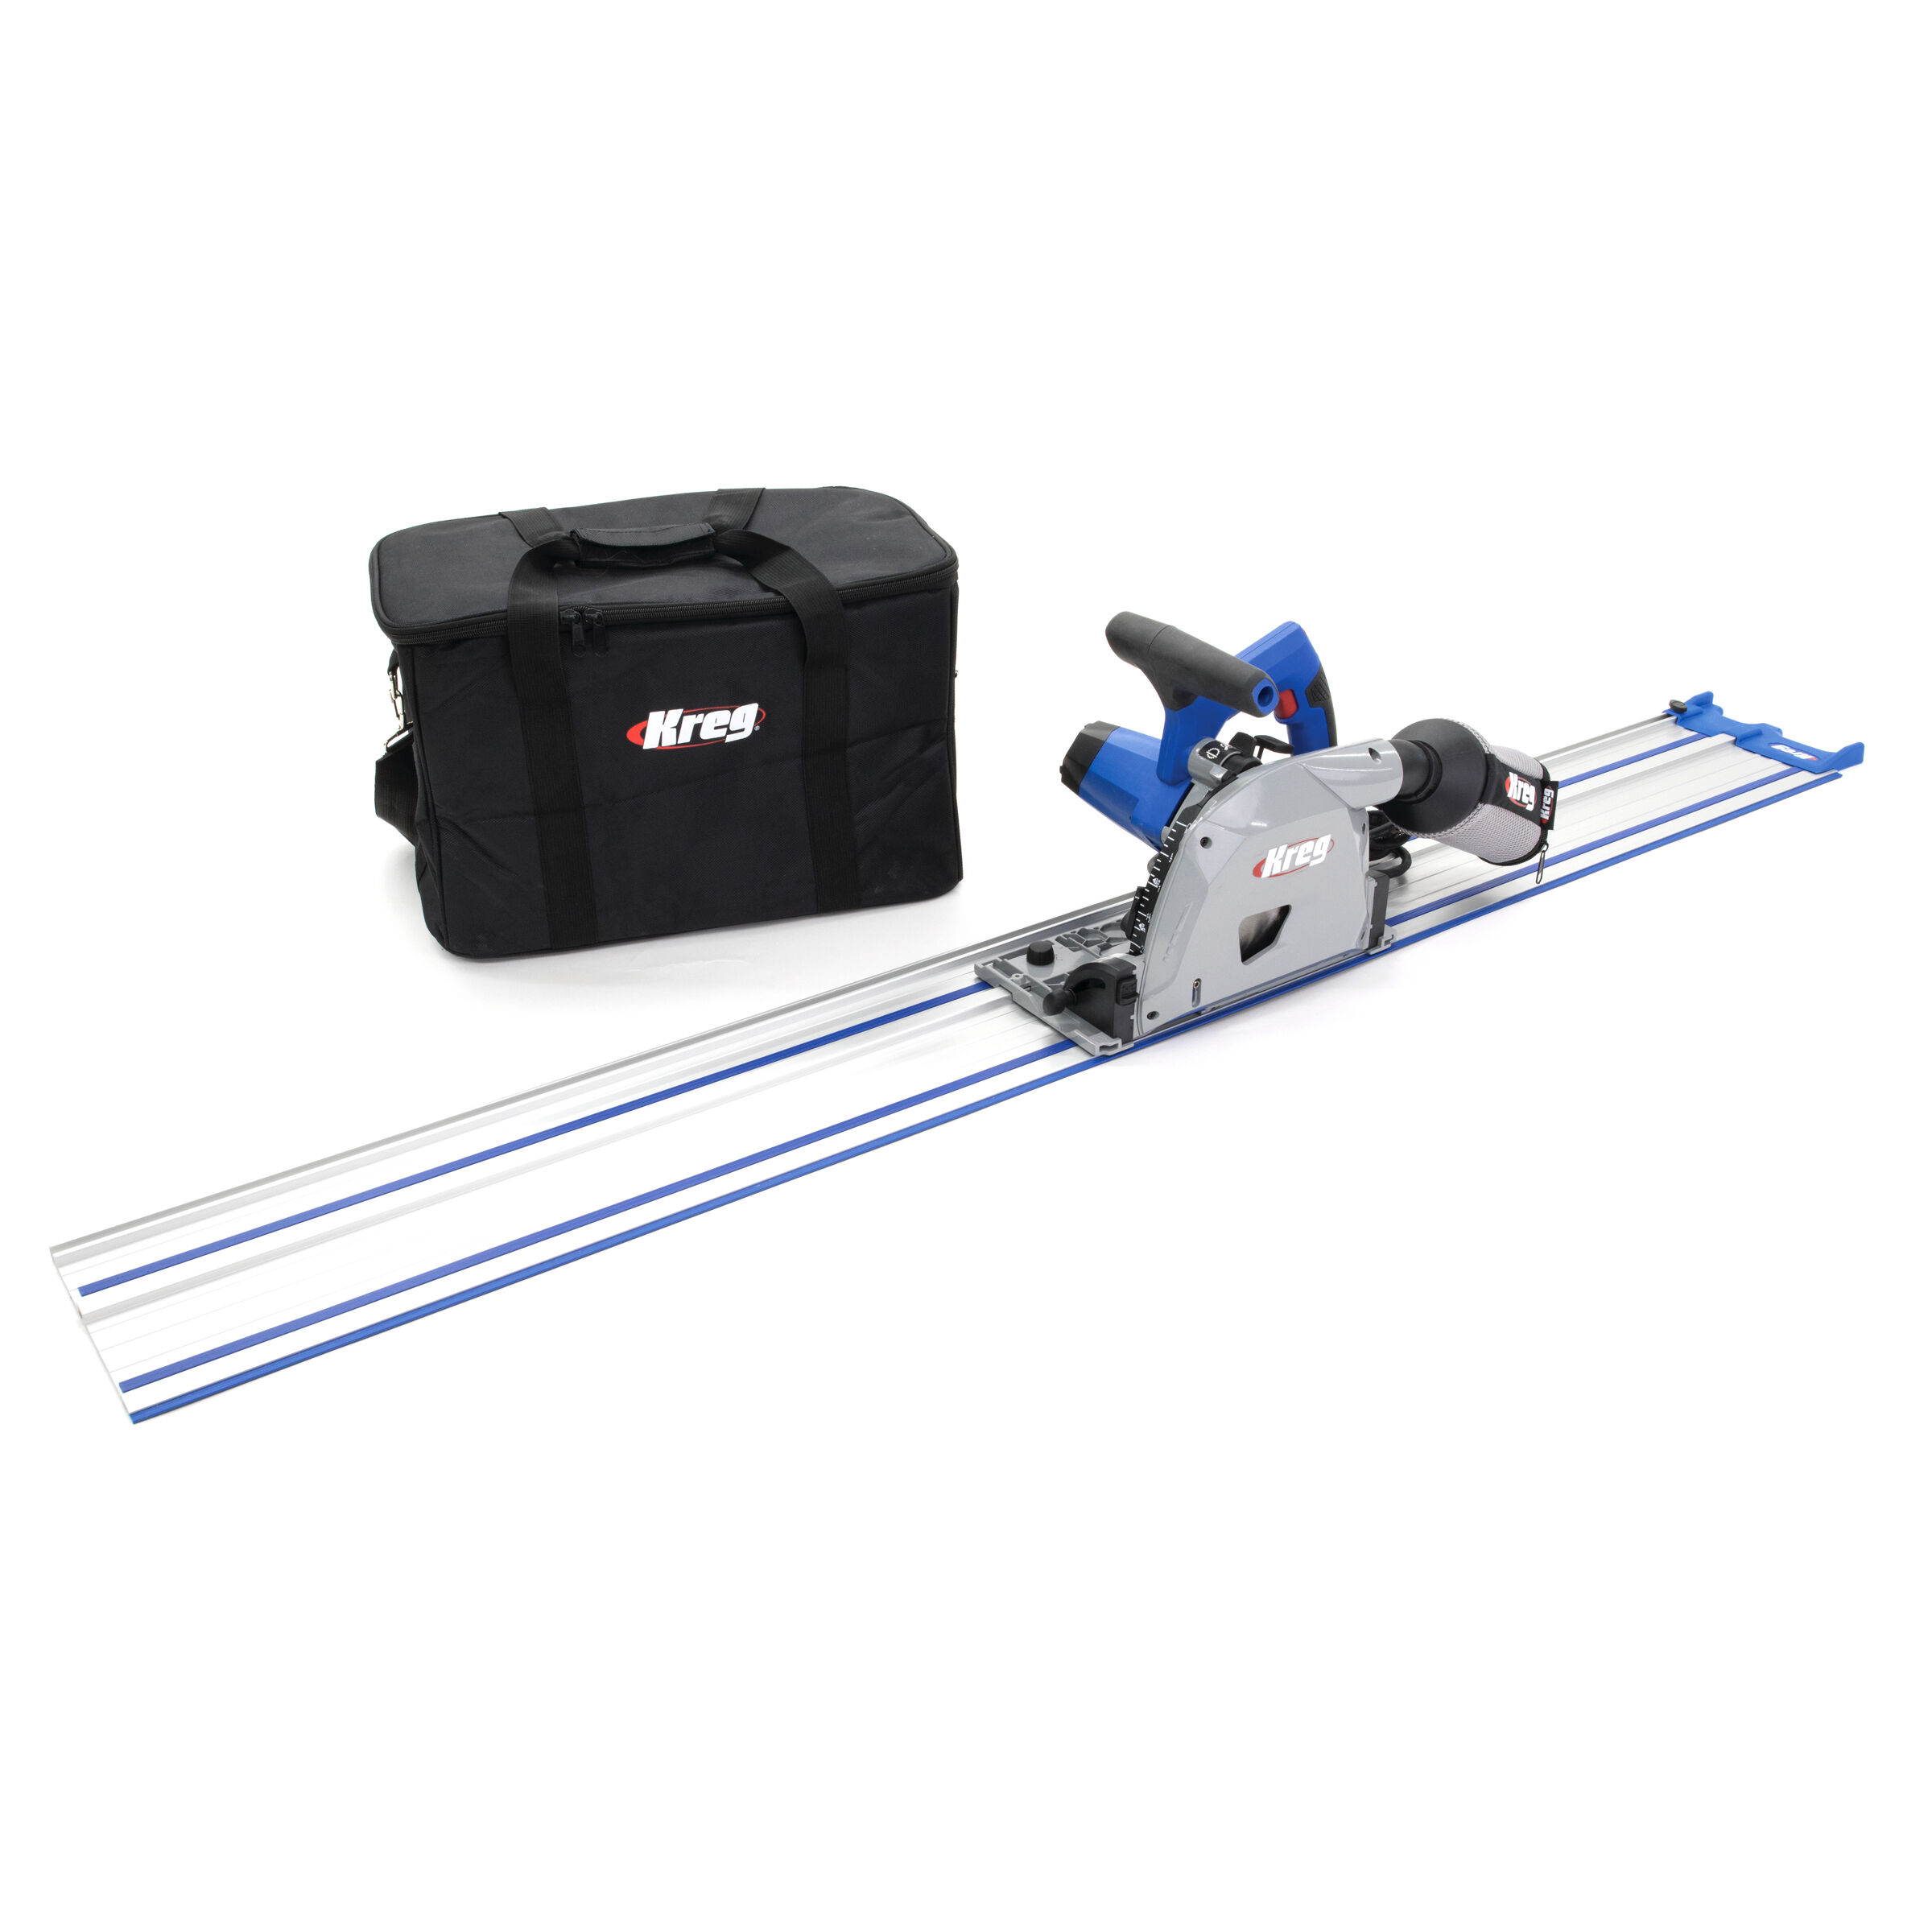

Accu-Cut™

Straight Edge Guide

Kreg® Pocket-Hole Jig 520PRO
In-Line Clamp