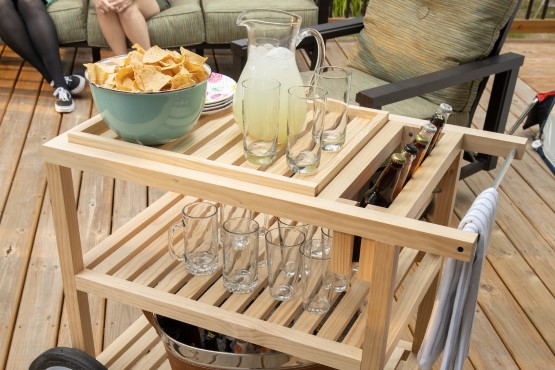
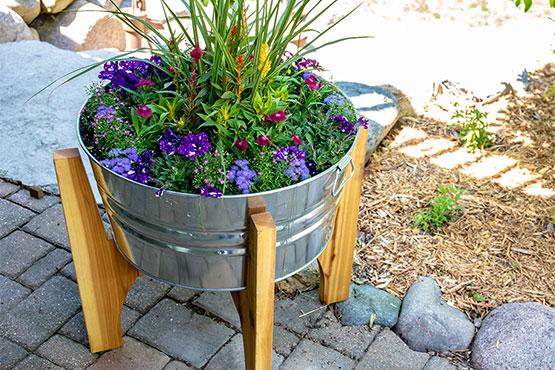
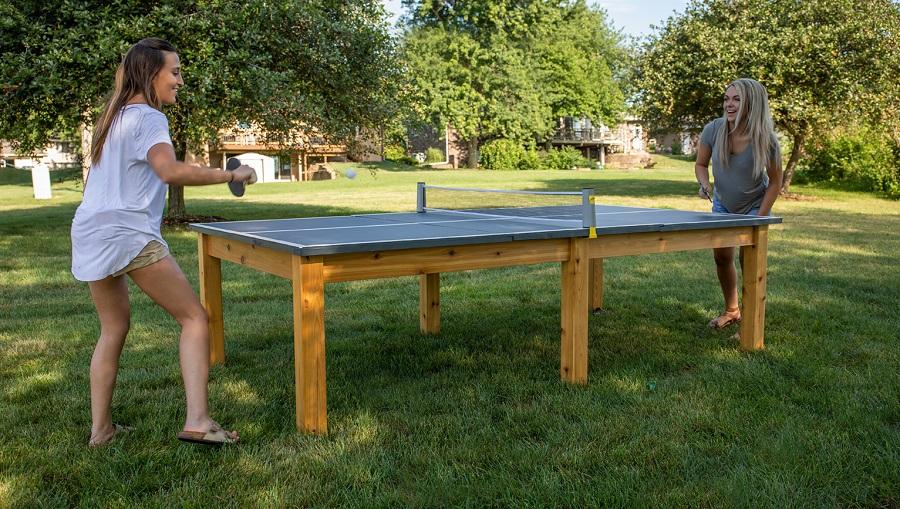
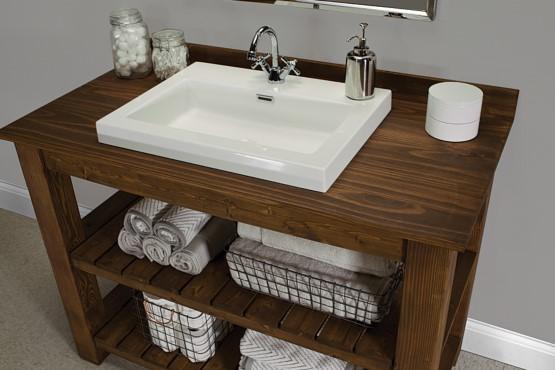
When you’re building projects, 2×4 and 4×4 boards might not be the first materials that come to mind. There are many kinds of projects they’re great for, though. Heavy-duty shelves and workbenches are great examples. Outdoor projects like potting benches and picnic tables are also perfect for 2×4 and 4×4 construction. You can even build furniture, like a farmhouse table with these big boards.
Whatever project you’re building with big boards, here are some tips that will help you get great results.
Select the right types of boards for your project
When you go to buy 2×4 and 4×4 boards, make sure you take your time to select the best boards. First, select the right boards for the project you want to build. You’ll commonly find three types in home centers: Pine (or SPF), cedar, and pressure-treated.
Pine
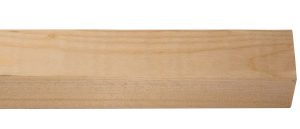
Pine 2×4 and 4×4 boards are often marked as SPF, which means it can actually be spruce, pine, or fir. These construction-grade boards are almost identical in appearance and strength. That’s why they’re mixed together and labeled SPF for construction-grade boards. Pine/SPF boards are well suited for any indoor projects, including furniture that you want to create with a rustic look. Pine/SPF is also the perfect choice for projects that will go in garages and basements. For outdoor projects, pine/SPF isn’t a good choice, though. It has no resistance to decay, and it wicks up moisture readily. So, pine will rot quickly, even when stained or finished, if it’s exposed to rain or high-moisture conditions.
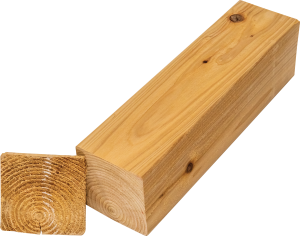
Cedar
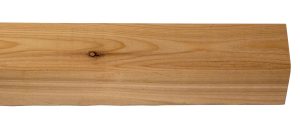
Cedar is a great choice when you’re building outdoor projects. Unlike pine, cedar is naturally resistant to decay, so it will last well outdoors. Cedar is a great-looking wood, too, so you can use clear finish or stain to create an attractive project. Paint also adheres well to cedar. Light weight and easy workability make cedar friendly to build with, as well.
Pressure-treated
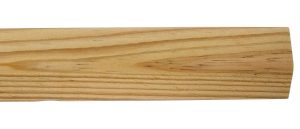
Pressure-treated wood is usually southern yellow pine that has been treated with preservative chemicals to resist decay. You can learn how it’s made here. Though pressure-treated lumber will last well outdoors, it’s intended for projects like decks, landscaping, and fences. Pressure-treated 2x4s and 4x4s are often wet due to the treating chemicals, and they tend to warp and twist as they dry. Plus, sanding and finishing pressure-treated wood is challenging. For these reasons, pressure-treated 2x4s and 4x4s aren’t well suited for building standalone outdoor projects.
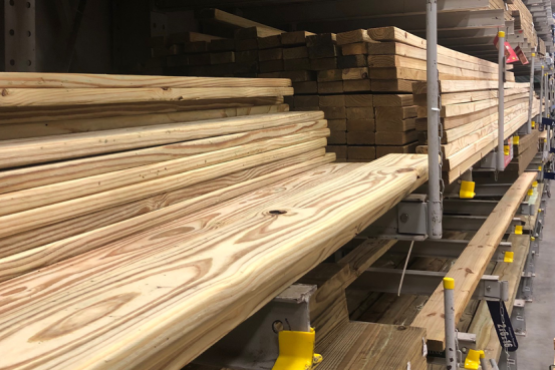
Select straight boards to get great results
Whichever type of 2×4 and 4×4 boards you’re buying, take your time to select good boards. Don’t be afraid to dig through the stack to find boards that are straight and free of the defects shown here. The sorting isn’t always easy, but it’s well worth the effort. Just be nice and restack the boards you leave behind.
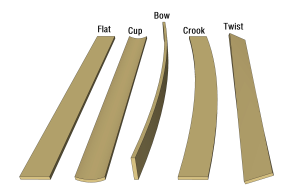
Watch out for common defects
Wood is a natural material, and it moves and shifts after being cut. This means boards that start out flat and straight can end up anything but. The illustrations shown here are exaggerated to show what common defects look like compared to a flat, straight board. It’s hard to find 2x4s and 4x4s that are completely free from defects. Be sure to get the best boards you can, though, and that you’ll be able to cut around any defects that may be present.
Use extra-large joints for extra strength
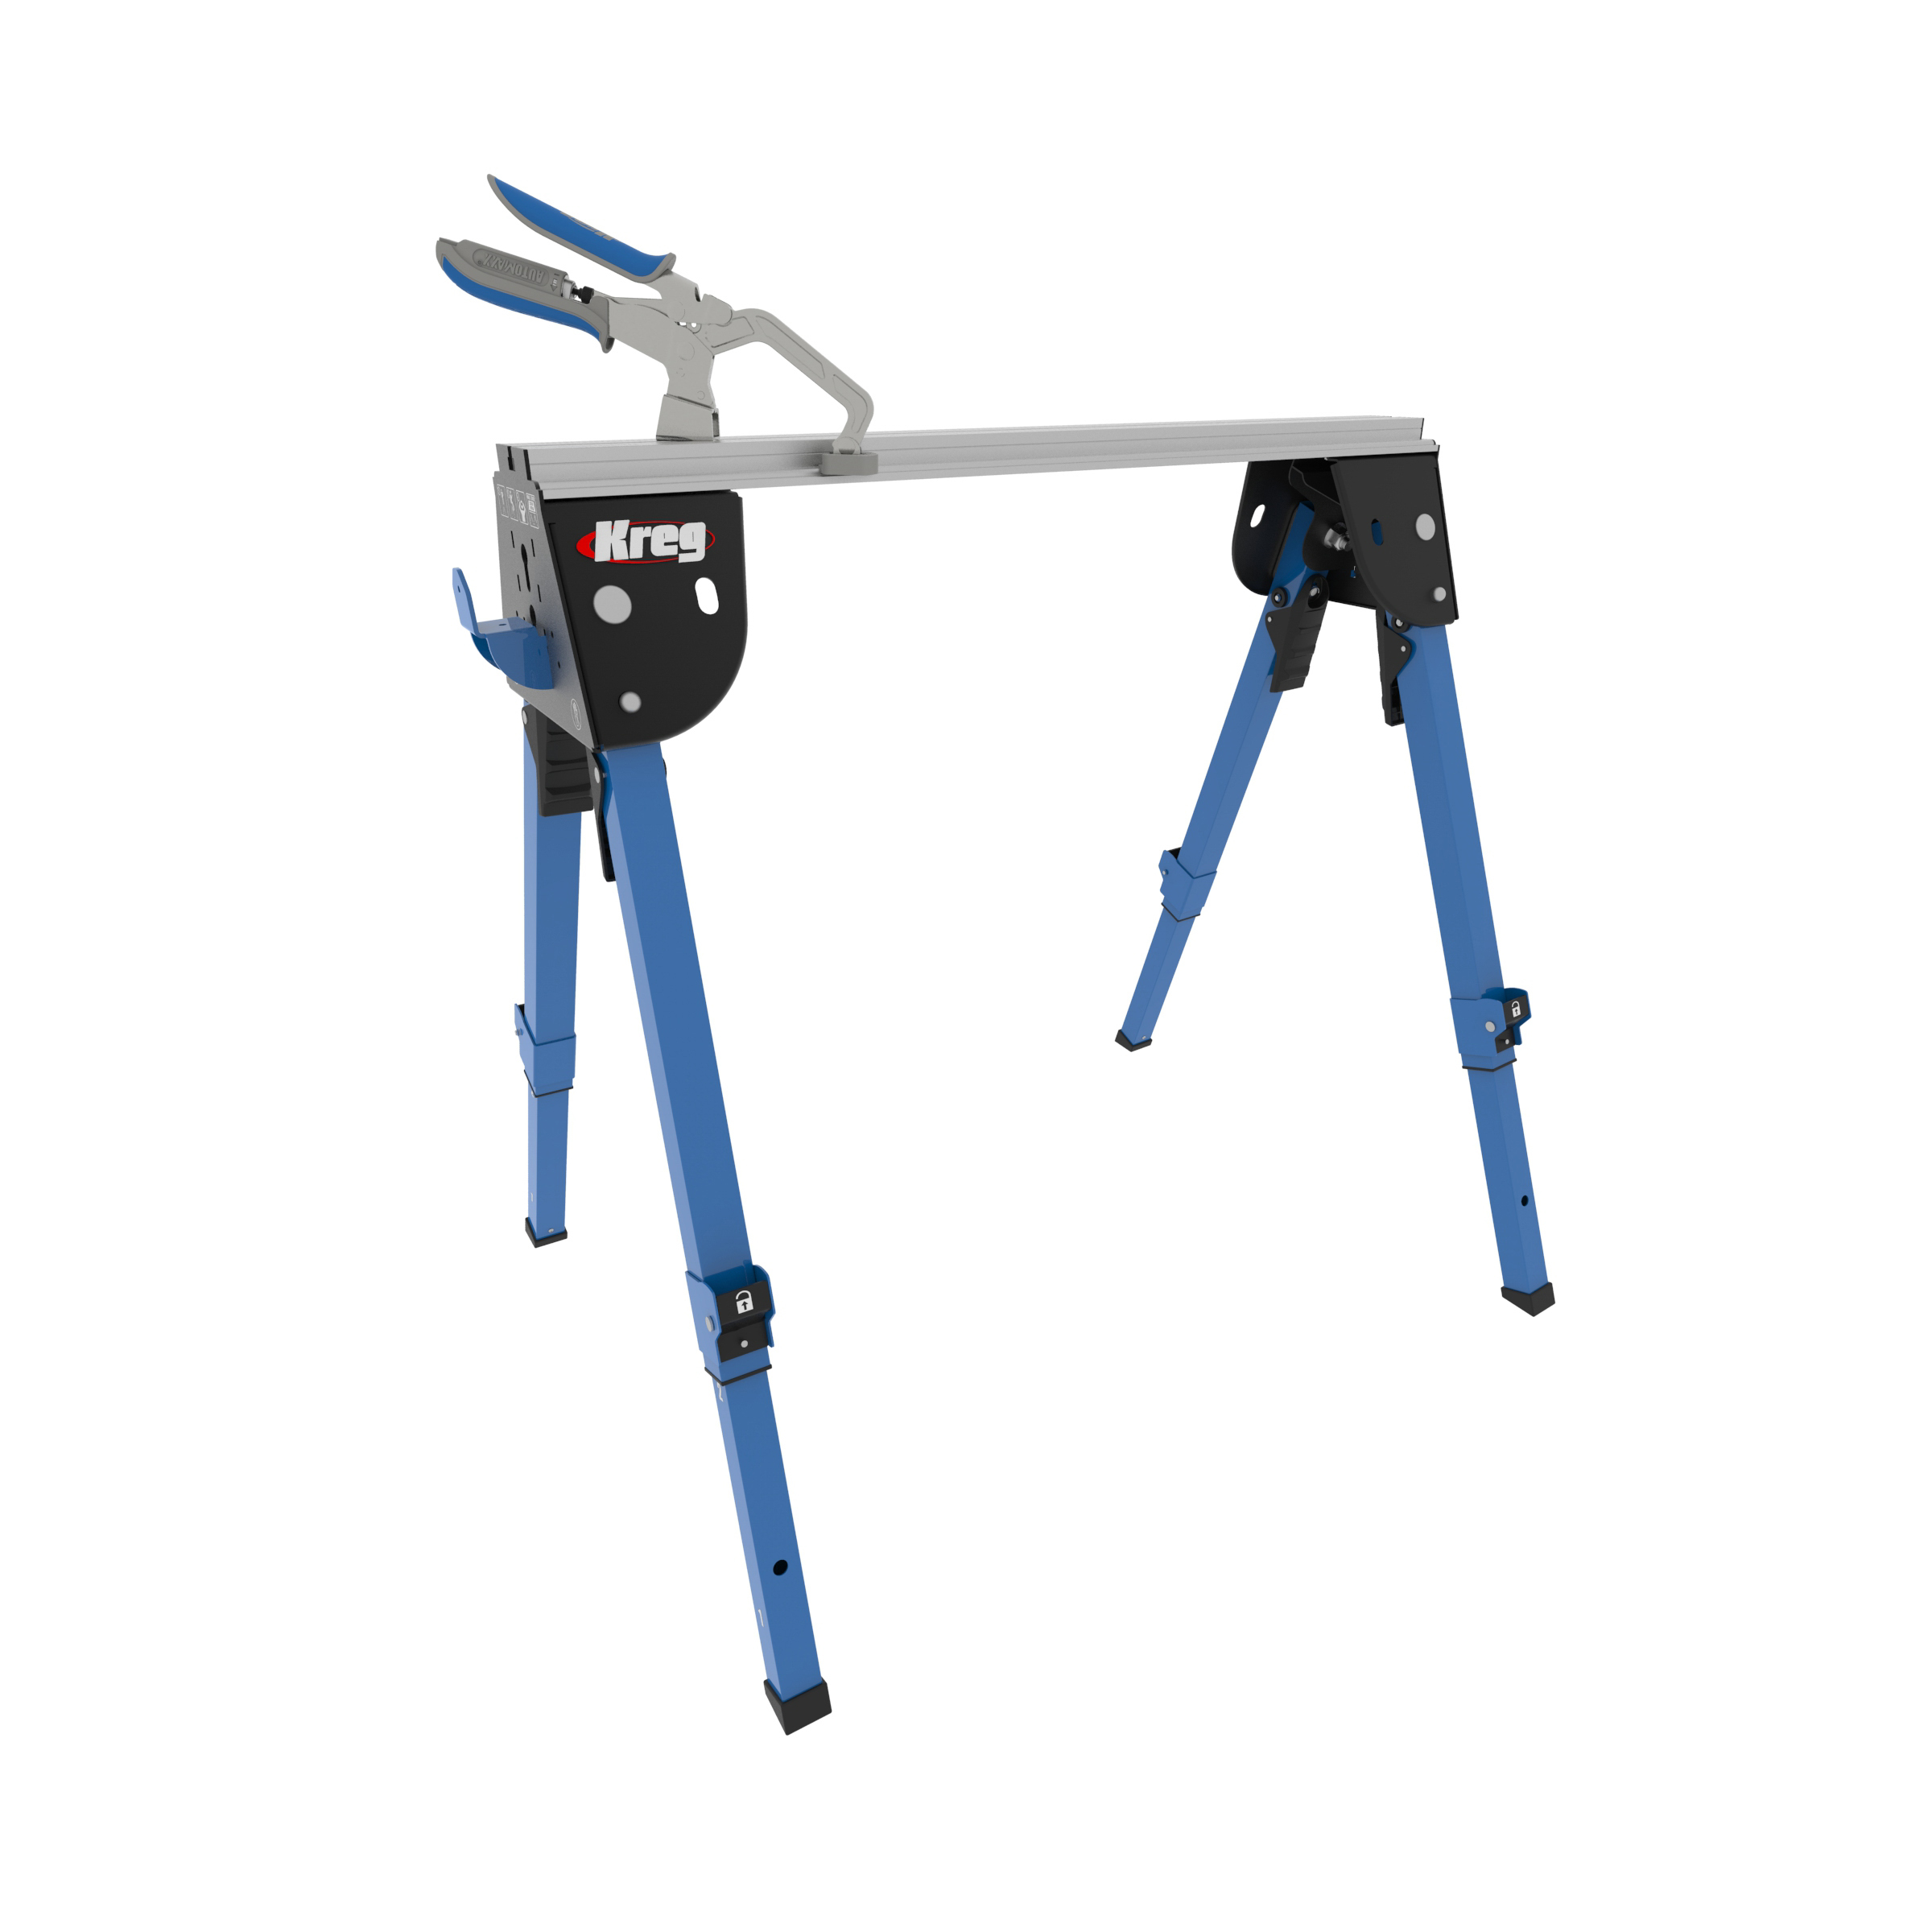
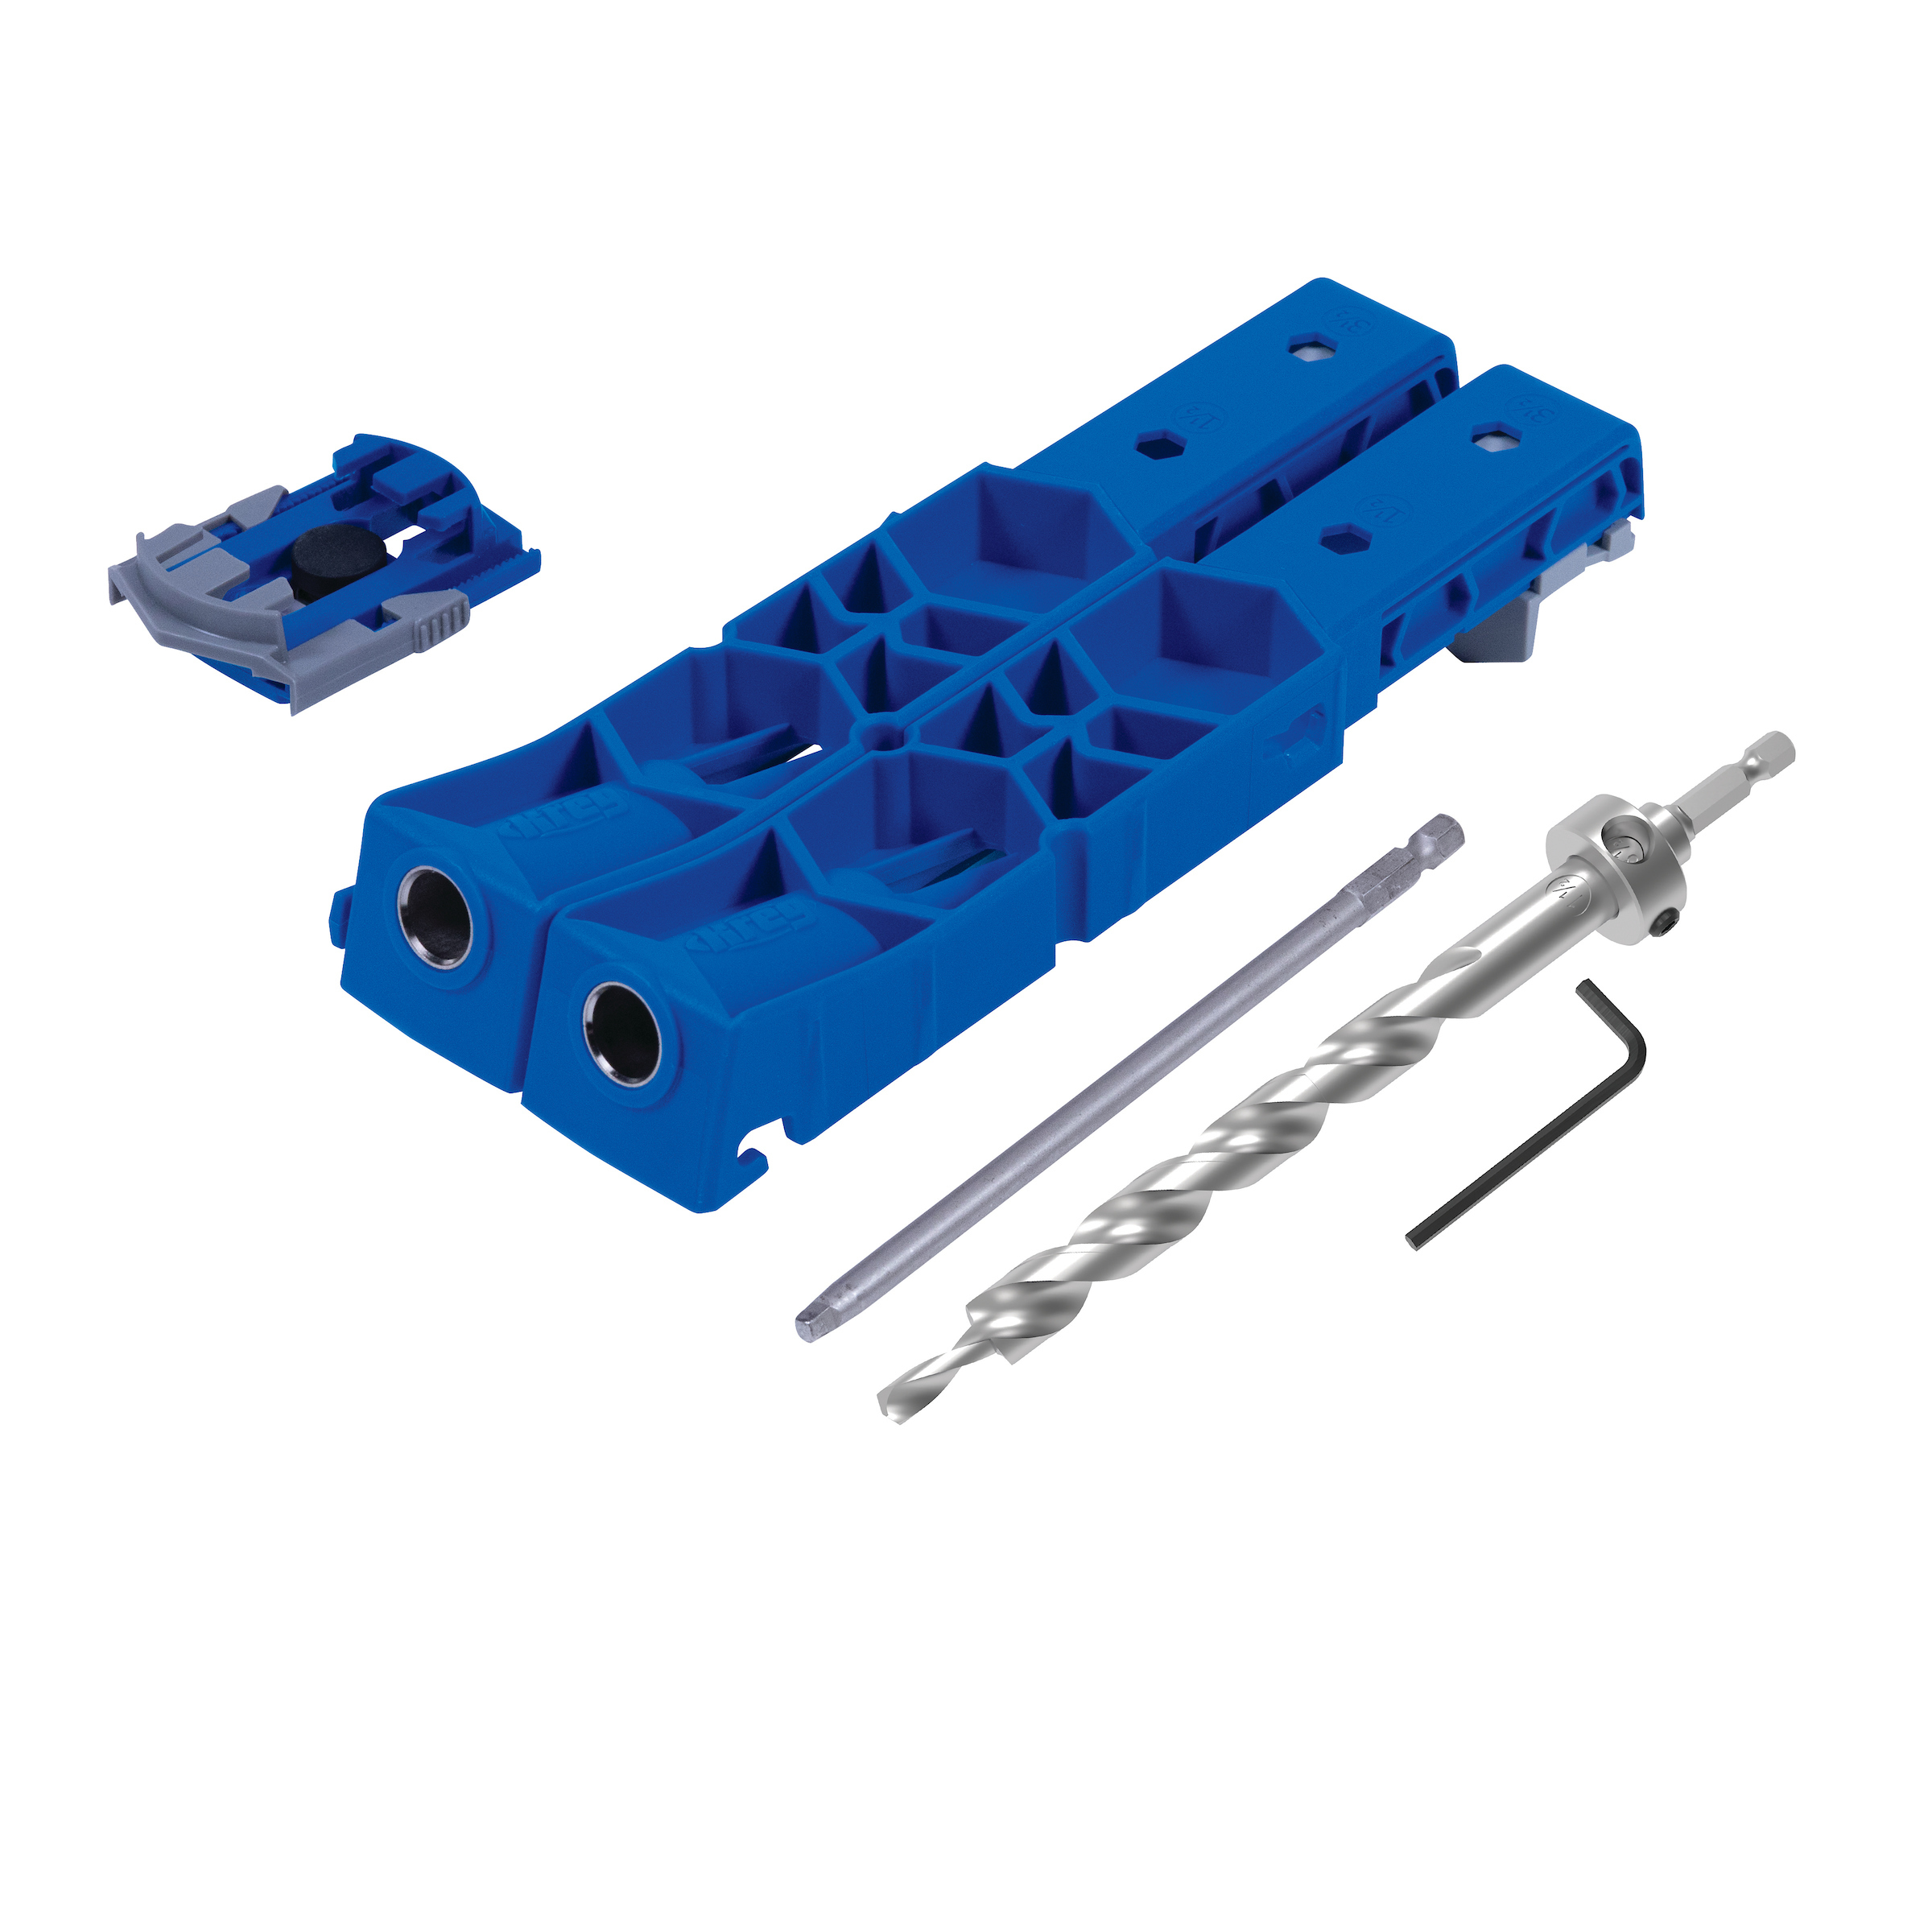
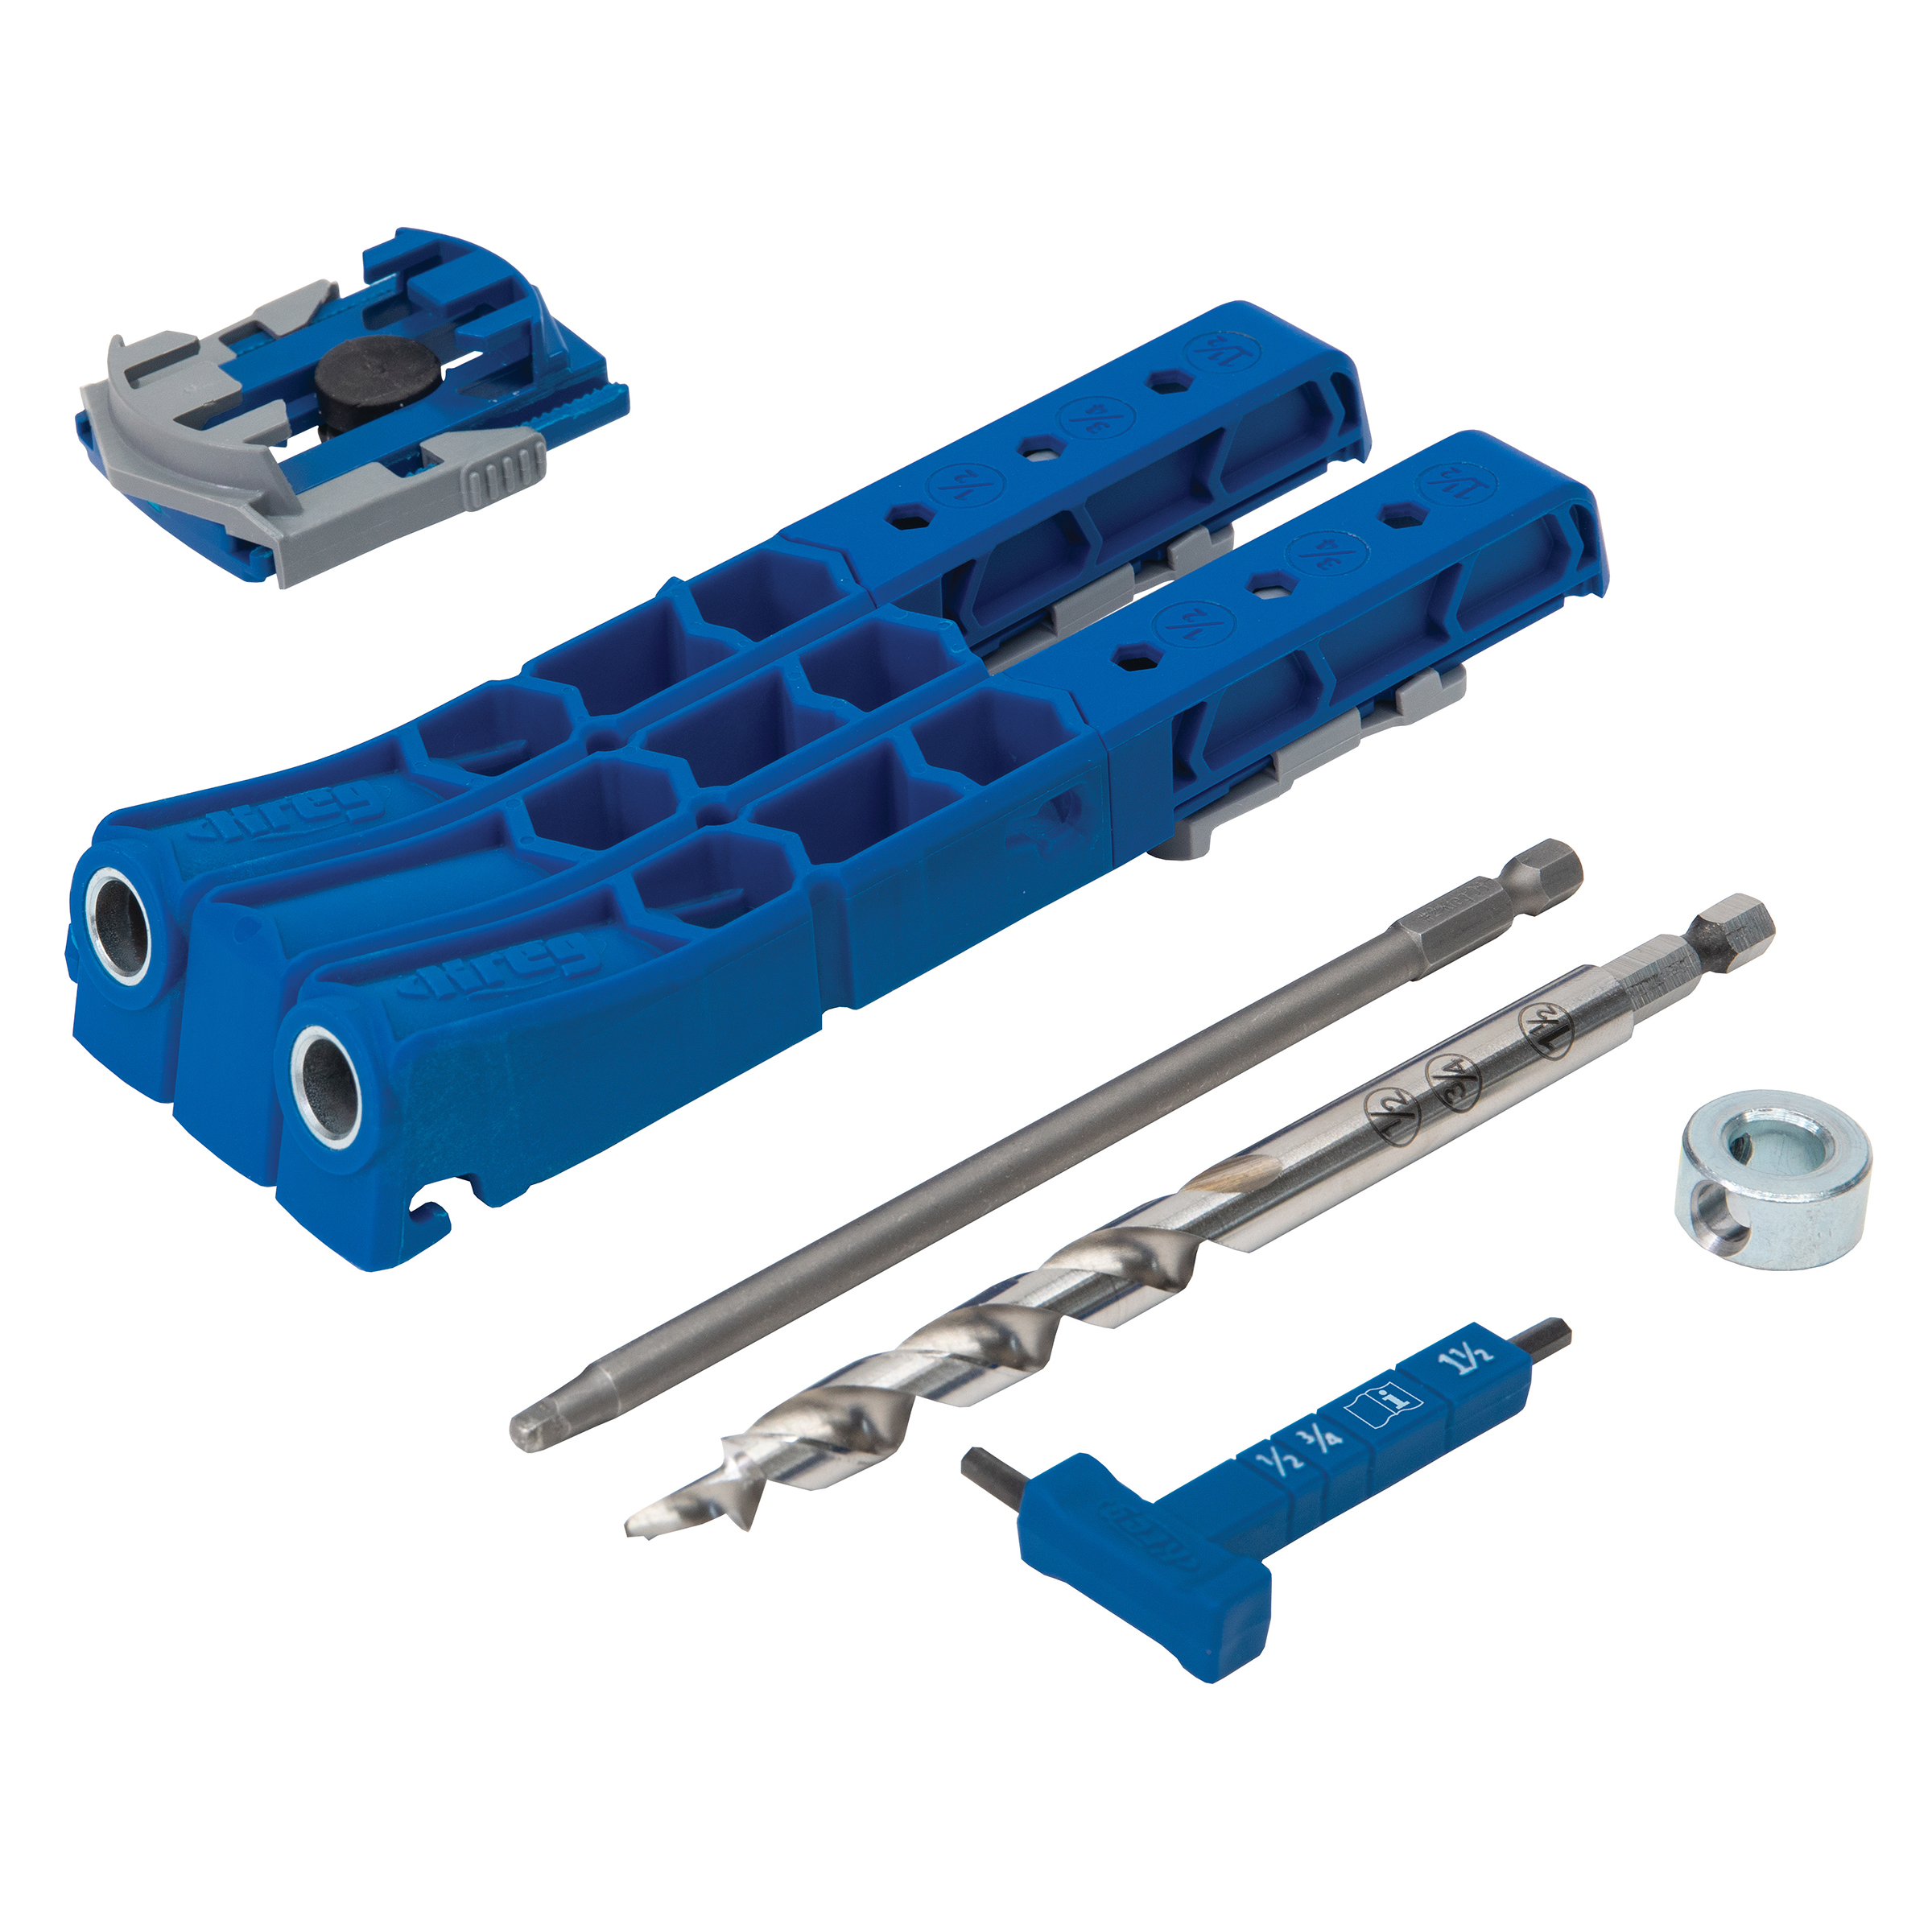
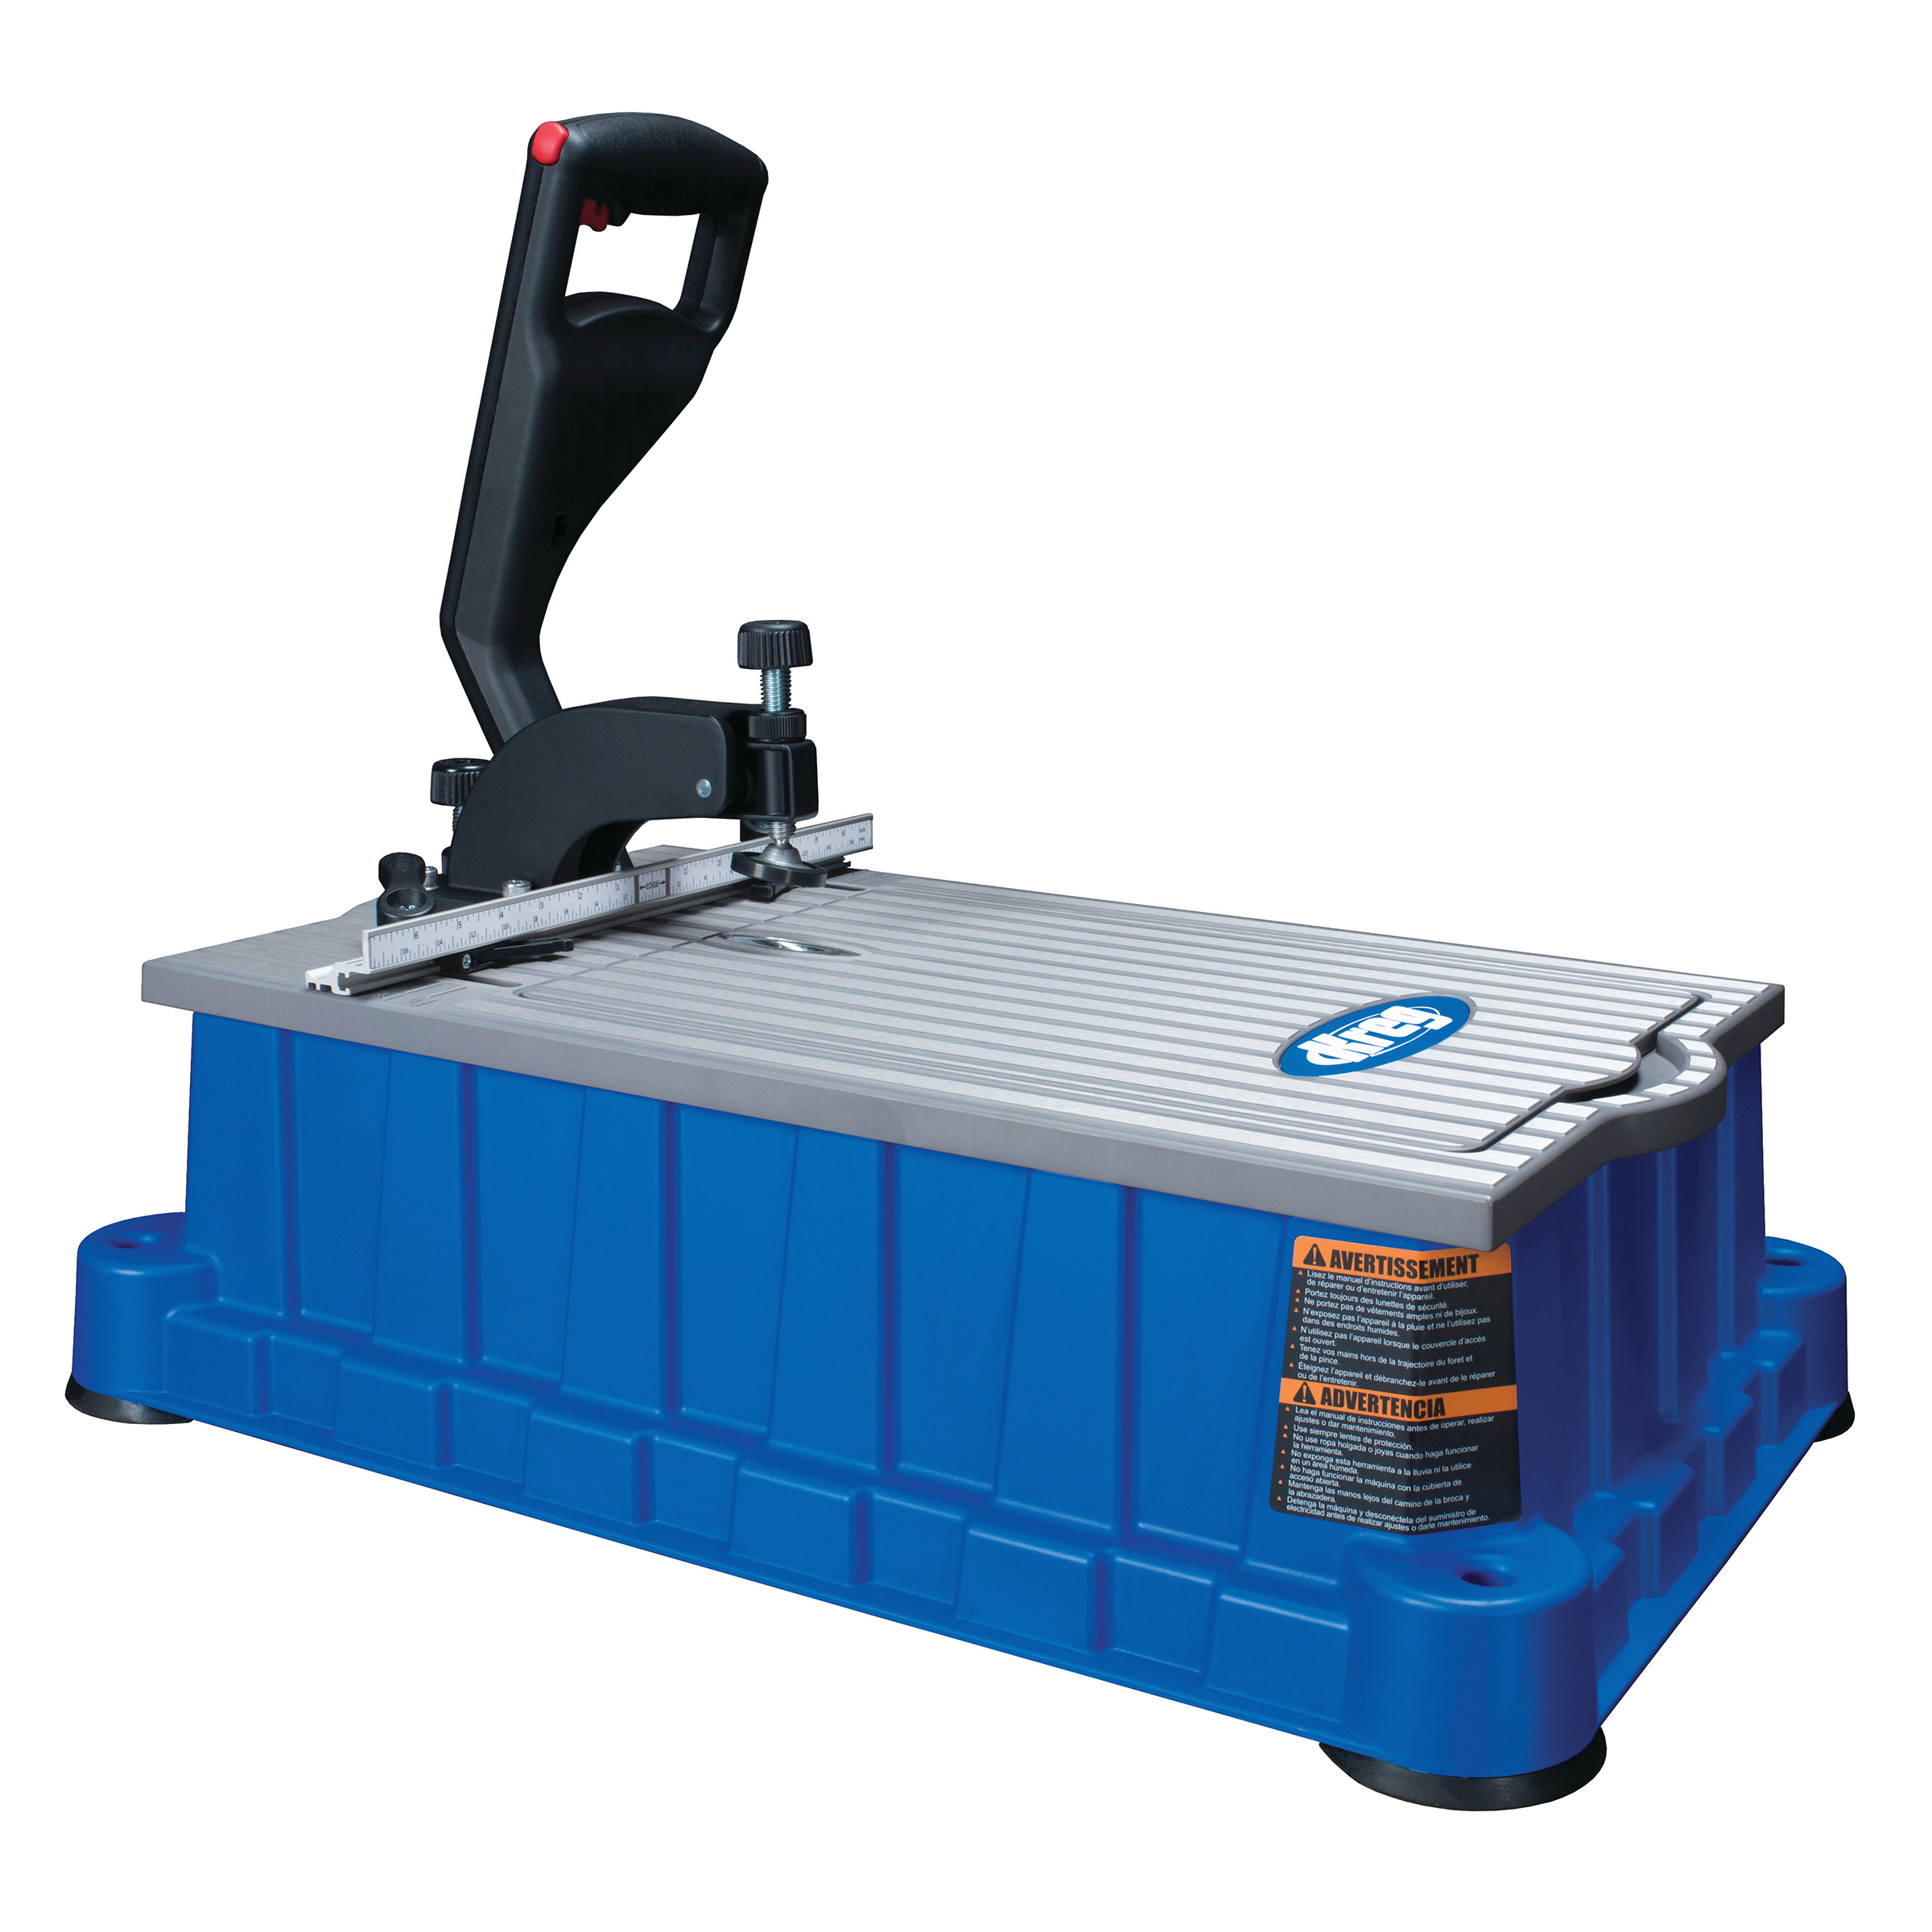
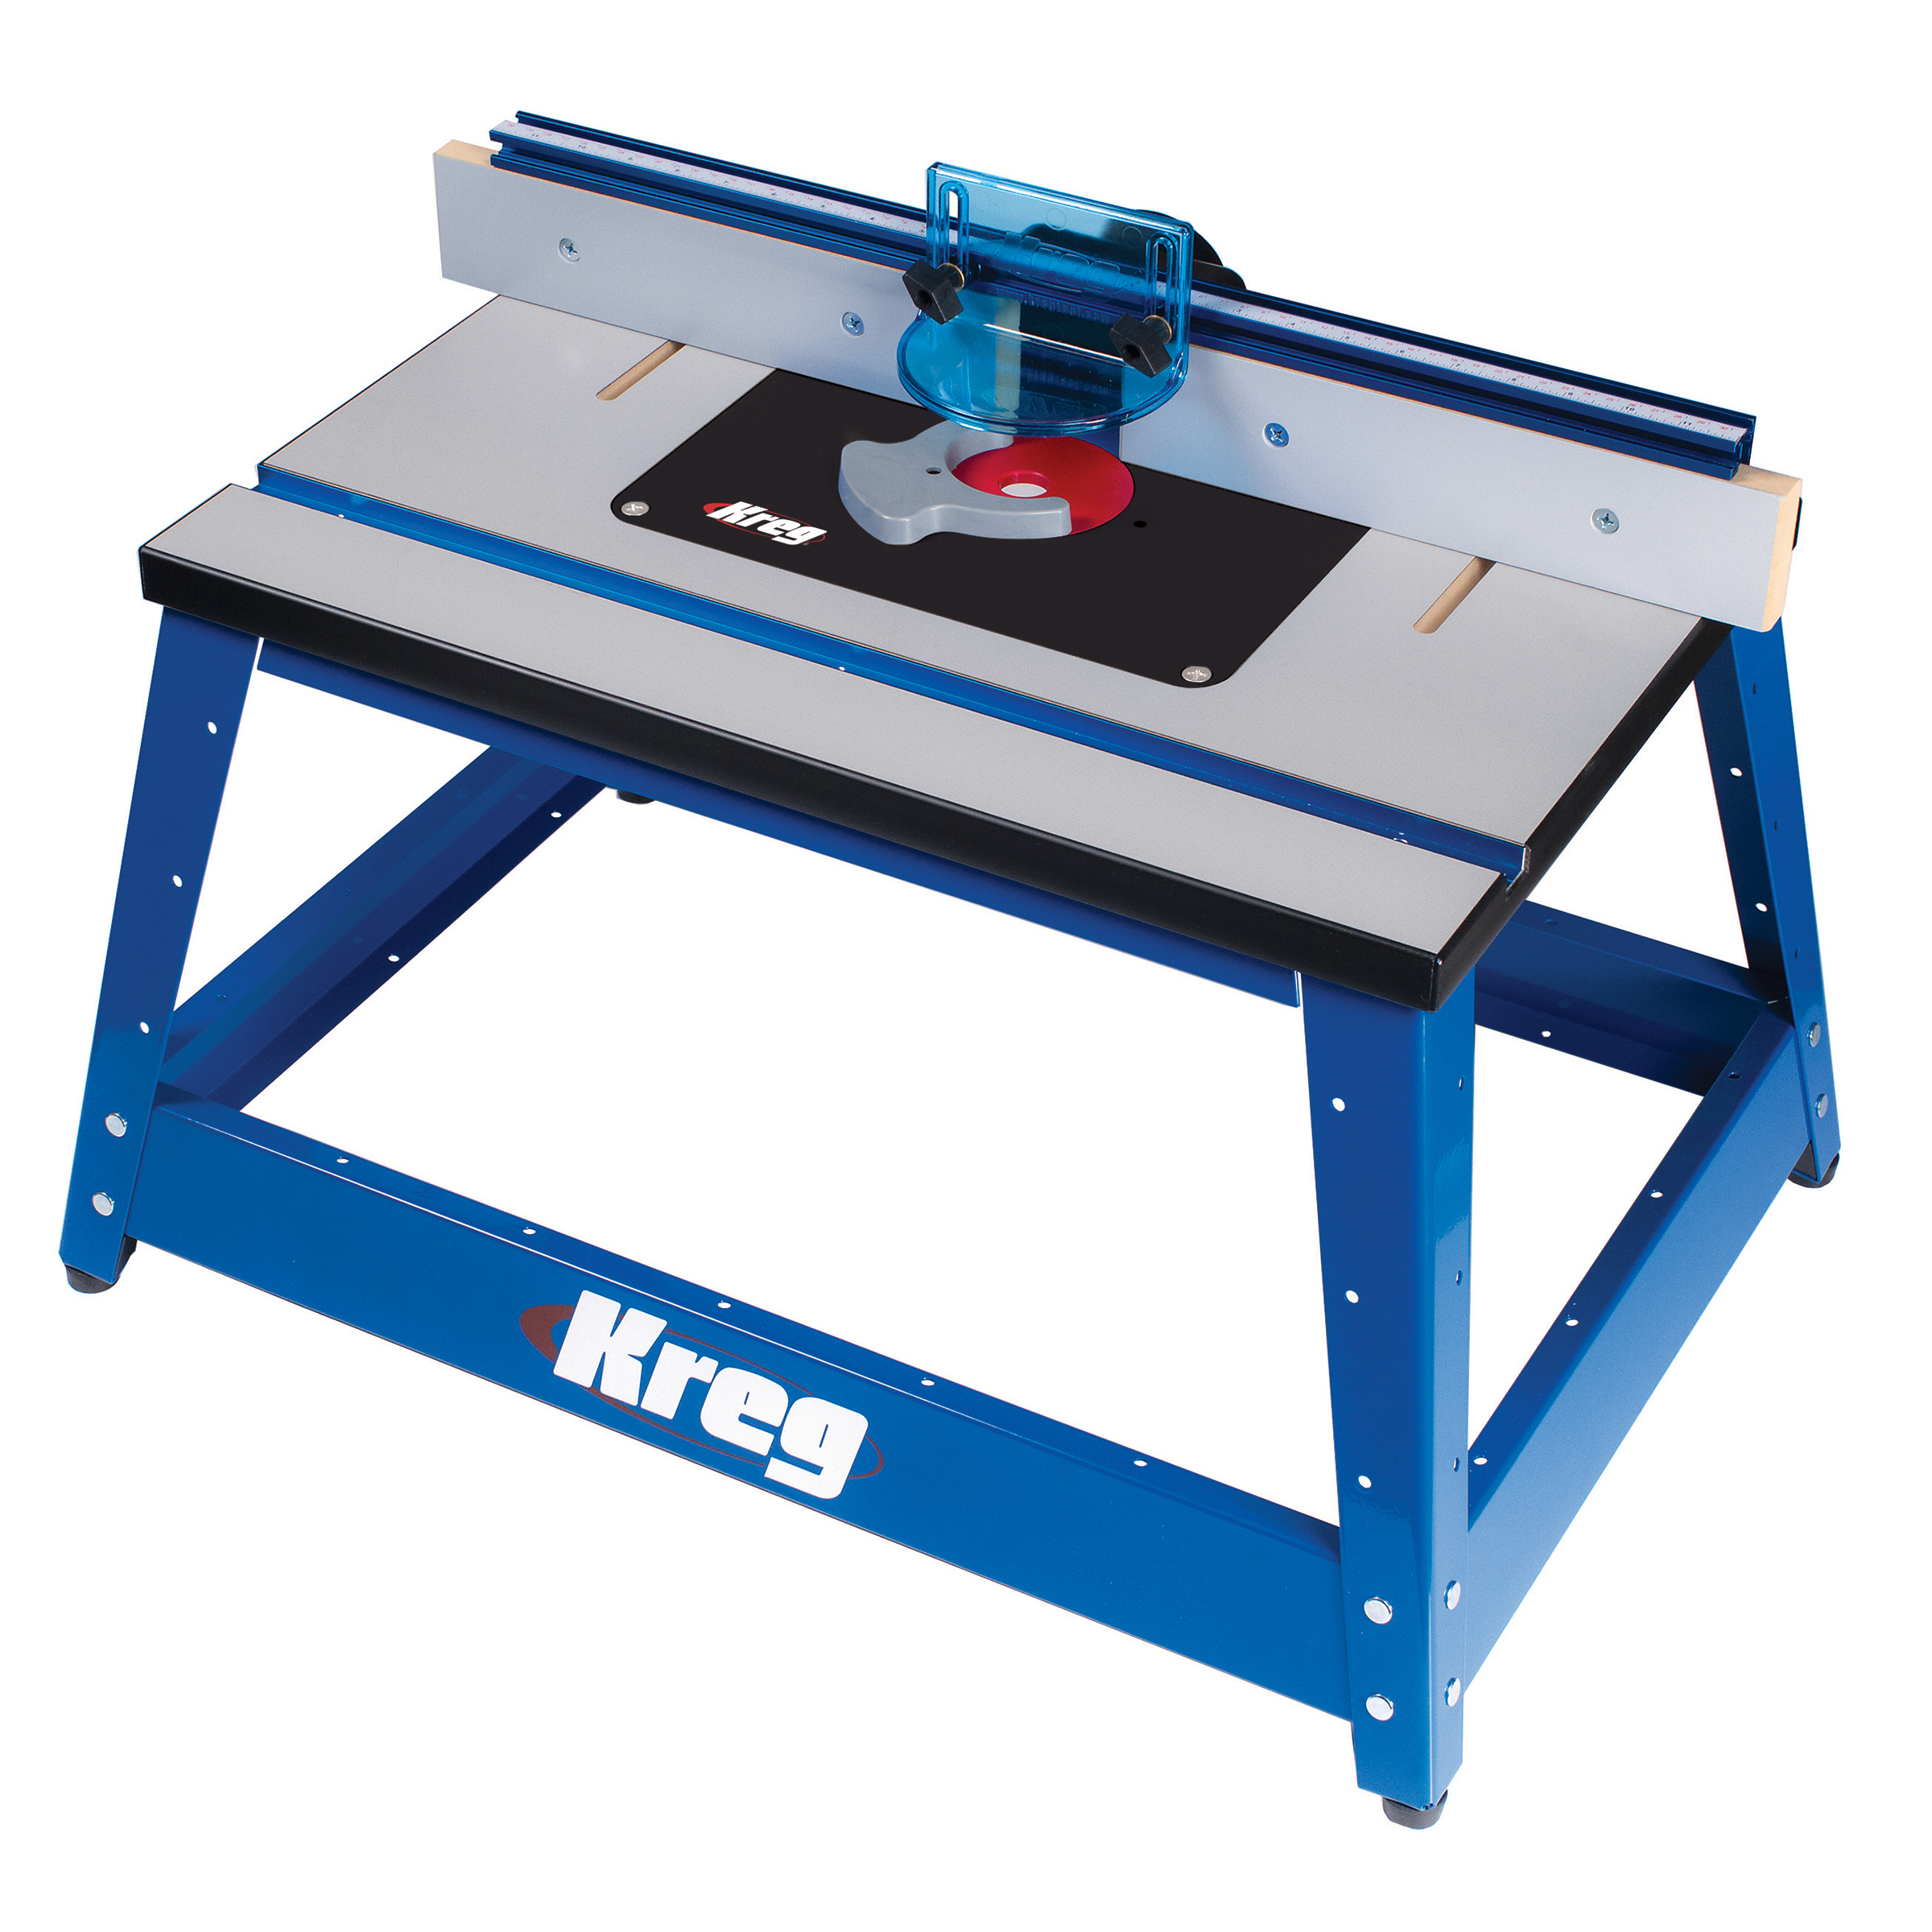
When you’re building with 2×4 and 4×4 boards, you want to be sure you assemble them with joinery that’s just as strong as the material you’re using. An oversize pocket-hole jig like the Kreg Pocket-Hole Jig XL, along with XL Pocket-Hole Screws, offers the perfect choice for extra holding power. The XL works just like our Kreg pocket-hole jigs you’ve used before, so it makes joinery fast and easy.
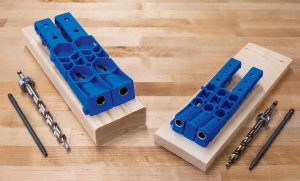
An extra-large jig
When you look at the Pocket-Hole Jig XL side by side with another one of our jigs—the Pocket-Hole Jig 320—you can clearly see that the XL is, well, extra-large. Otherwise, these jigs are strikingly similar. Both feature material thickness sliders, hardened drill guides, and include a stepped drill bit with etched markings and a stop collar. That means the XL is just as easy to set up and use as any Kreg Pocket-Hole Jig.
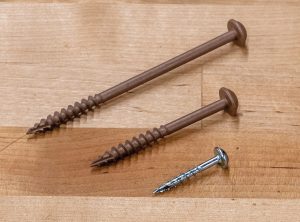
Super-size screws
The XL uses its bigger bit to drill a larger pocket hole for our larger XL Pocket-Hole Screws. Here you can see a 1 1/4″-long standard Kreg Pocket Hole Screw (the size used for 1-by boards and 3/4″ plywood) alongside XL Pocket-Hole Screws. Not do we make the XL screws longer, we also make them much larger in diameter. The XL screw is a #14 size, while the standard screw is a #8. This large size large size makes XL Pocket-Hole Screws super strong. Plus, the aggressive threads hold exceptionally well in soft woods like pine and cedar. As a result, XL pocket-hole joints are about twice as strong as our standard—and already very strong—pocket-hole joints.
Two sizes for 2x boards
We make XL Pocket-Hole Screws in two sizes. The 2 1/2″-long screws are for 2×4 boards. For 4×4 boards—and bigger if you want—you can use the 4″-long screws. We make both sizes super durable by giving them a three-layer Protec-Kote™ anti-corrosion finish. So, they’re great for interior and exterior use, including use in pressure-treated wood.
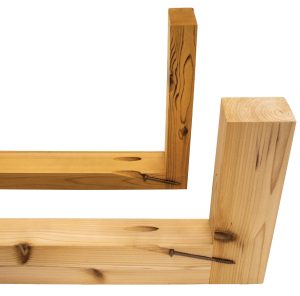
Do some prep work to pretty up your boards
When you have your boards and your joinery decided, you’re almost ready to start building. But before you do, take a look at the boards. Usually, 2x4s and 4x4s look leave something to be desired in the appearance department. But you can make the boards look great with a few simple steps.
Start smooth and square
The ends of 2×4 and 4×4 boards are often rough, and they’re not always perfectly square. Before you start cutting project parts, trim a small amount off one end of every 2×4 and 4×4 board. You don’t need to remove much. Just 1/8″ or 1/4″ is enough. By making this trimming cut, you’ll get a smooth end that you know is square. Then make the rest of the measurements and cuts from that board starting on the freshly trimmed end.
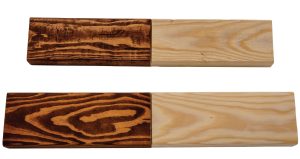
Sand your boards before you apply finish
After you’ve cut your 2x4s and 4x4s into project parts, take time to sand them before assembly. It’s a lot easier to remove all the scratches, rough surfaces, and identification stamps now. If you don’t, these imperfections will just get magnified by any finish you apply. Sanding takes time, but the difference in the result is obvious, as shown here with two pieces from the same board. Start with 80-grit sandpaper on a random-orbit sander to smooth everything out and to get through the stamping marks. If you’re painting your project, you can stop there. If you’re staining, go over the boards again with 120-grit, and then 150-grit.
With these handy tips, you’ll be able to turn economical 2×4 and 4×4 boards into many kinds of projects. And you can be confident they’ll be built to last and look great.
Associated Products

Straight Edge Guide
Portable Crosscut

6" Bench Clamp