String art wall decor
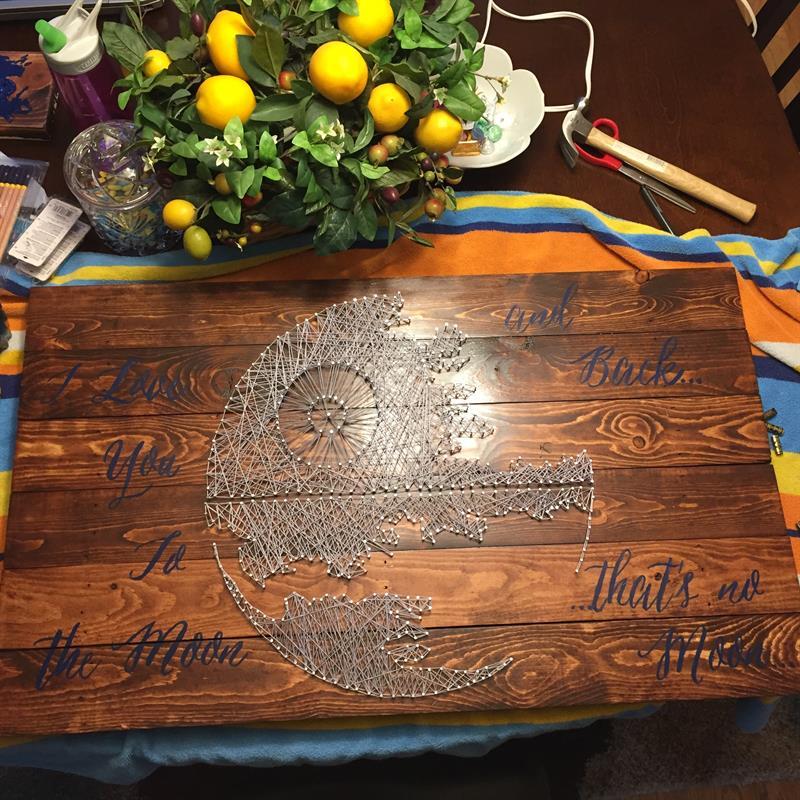
By Hesitant Handymanmy wife and I had a very specific style in mind for our baby's room, and we wanted to make something special. We decided to make a piece of string art to go on the baby's wall that represented the unique style we'd chosen.
Directions
-
Cut the lumber
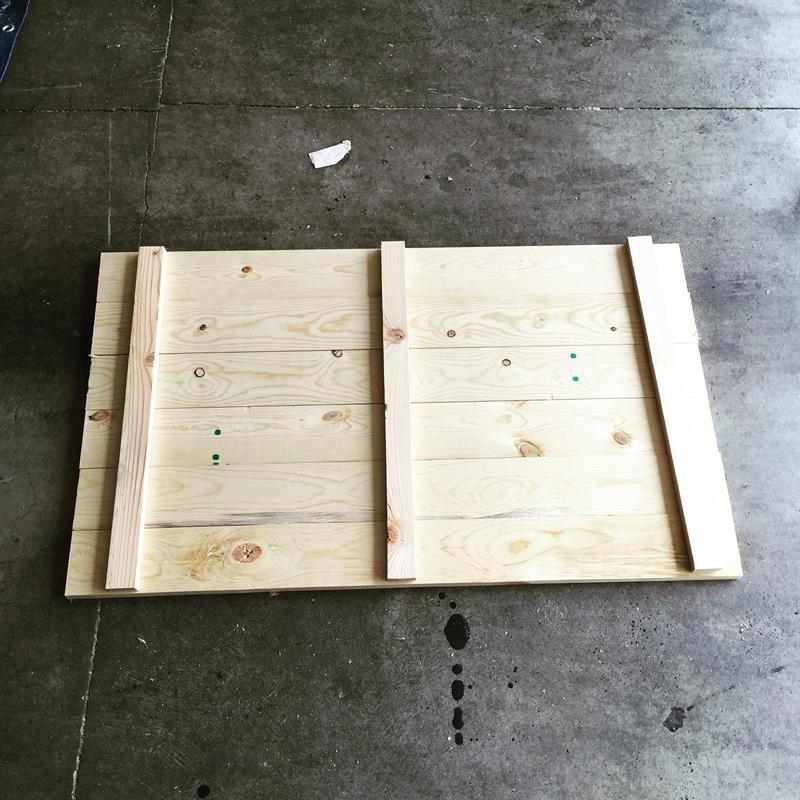
This size of your piece may vary based on the specific size you want to make. Our project was decently large at 21"x36". We cut the three 1x4 boards in half as the face pieces, then cut three lengths of 1x2 at 20.75" to mount our face boards onto. The backside of the sign will look like this
-
Sand the boards
This is one of those things that could also be done after assembly, but it's easiest to do it beforehand as you don't have to worry about the sawdust getting into the crevices between planks as much. I sanded it down with a 220 grit.
-
Assemble the boards
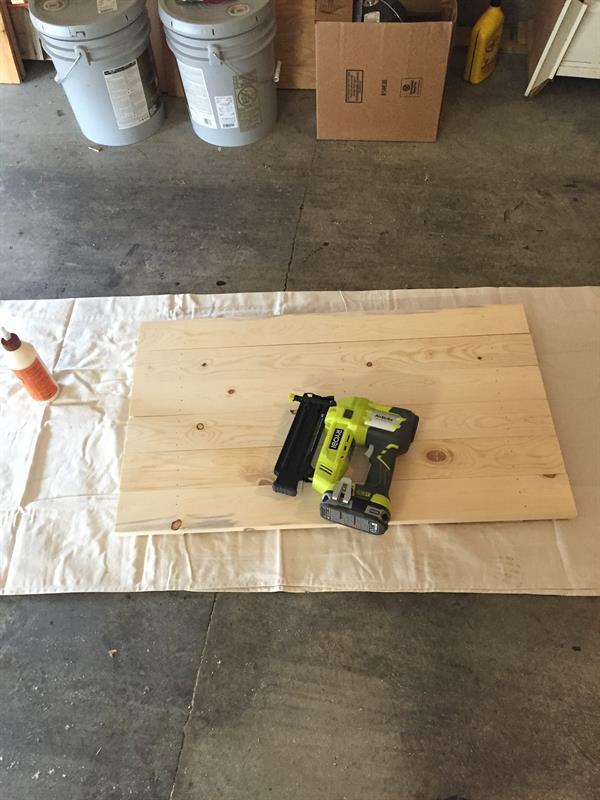
The assembly was fairly quick--I laid the three 1x2 lengths on the floor square with each other, then started with a single plank on top I applied wood glue to the 1x2s, set down the face board, then affixed it with three 1.25" Brad nails in each backer board. Repeat as necessary (if your work piece is smaller/larger)
-
Stain the boards
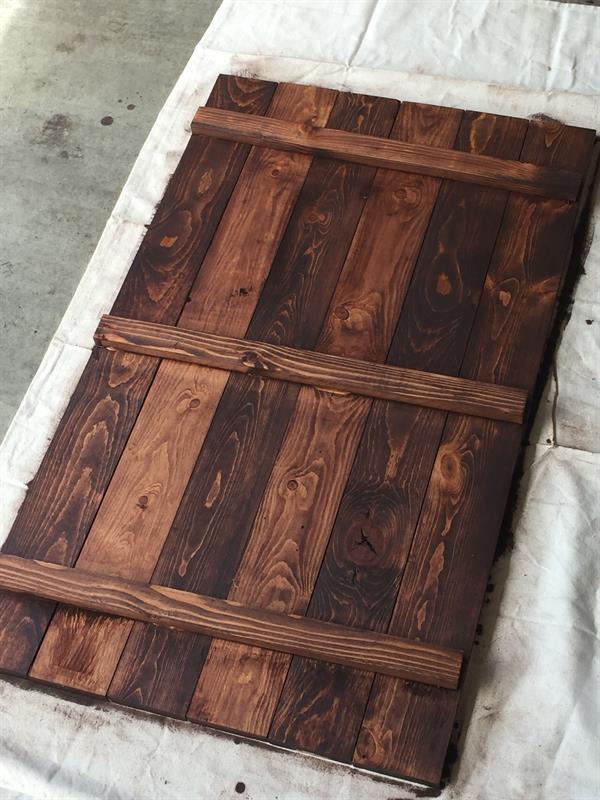
There's probably some debate to be had--do I stain and clear coat before or after I drill the pilot holes (step 7)? I wouldn't fault someone for drilling holes and then staining, but in my build I did the staining and clear coat first--I didn't want to wind up with the stain & shellac in the holes, and I was successful in getting the nails in without damaging the finish. My only advice is to be cautious if you do it--it's a shame if you unintentionally distress your finish in the later steps.
Our choice of stain for our project was the Varthane Carrington.
-
Add topcoat
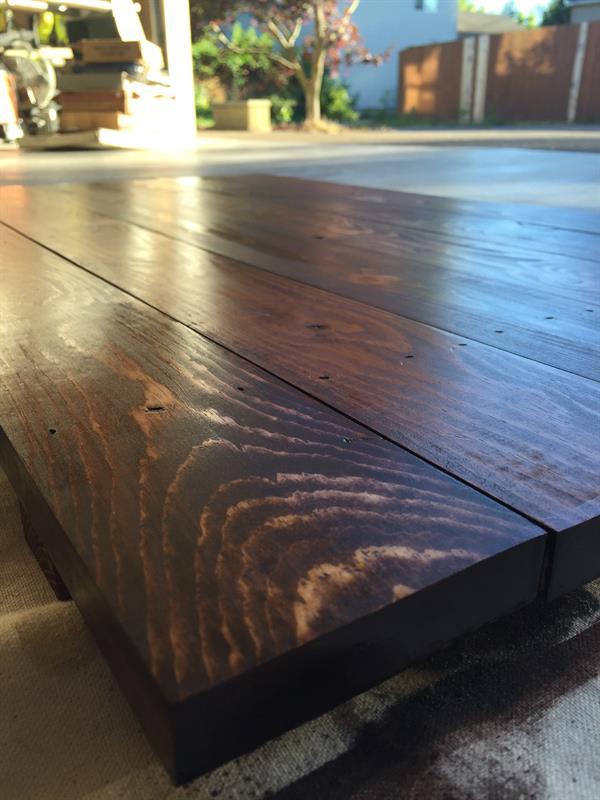
For our project, we used shellac--it provided a decent, glossy finish that really made the stain shine. I gave it two coats of shellac, brushed on (you may be better off spraying, I just lacked the equipment at the time)
-
Mark your nail holes
So with our project, we had a photo of the design we wanted to do, the trick was getting it traced on to the workpiece. We borrowed an LCD projector and cast it up onto the piece. My wife then went over the nail spots with a fine tipped marker and discretely marked where the nails were. You make have other methods, so use what works for you. I will say the fine tipped marker left marks small enough that even before I put pilot holes on, you couldn't really see them unless you were really looking for them.
-
Drill shallow pilot holes
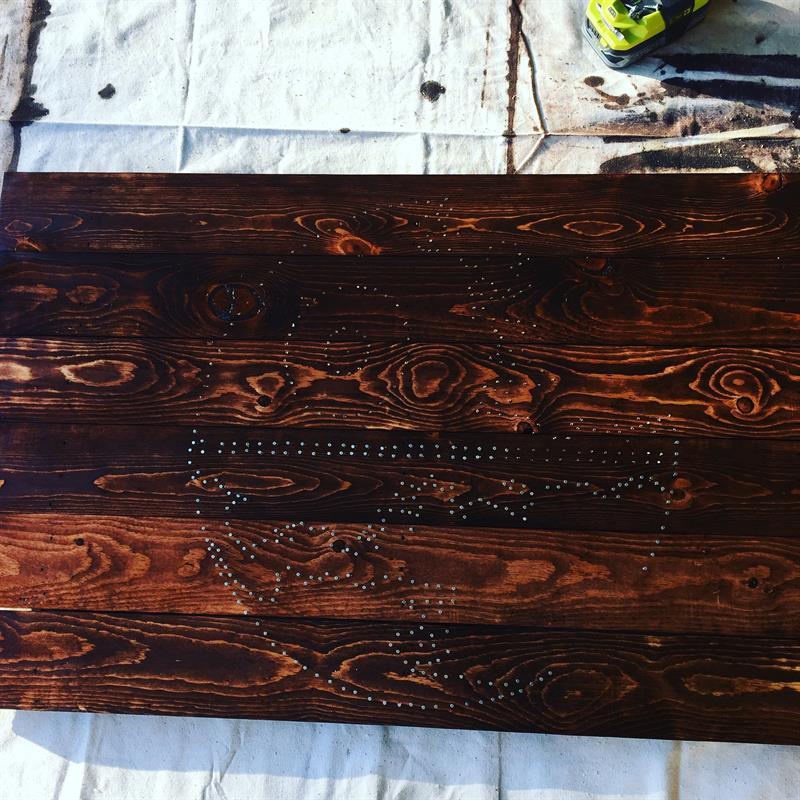
This is pretty time consuming, depending on the intricacy of your design. The pilot holes don't need to be deep--just a quick tap of your trigger will do it. You really just want to ensure your nails go in straight. Just make sure the bit you're using is the right size so your nail fits snugly.
-
Add nails
So each pilot hole gets a nail--very gently tap the nail so it adheres to the workpiece properly, being careful to not punch it out the backside of your workpiece. I used 3/4 inch wire nails, if I were to go back and do it again I would've used 1 inch nails for my wife's sanity in the next step...
-
Weave the design
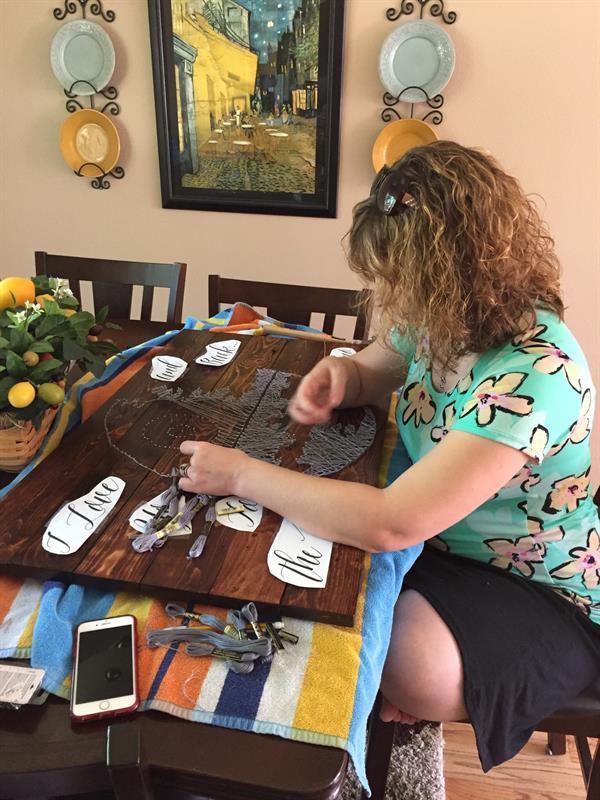
This is where things get tricky--my wife did all of this step because she's a lot more creative with the artsy-craftsy bit, but her method was to first outline the segment of the art, then go across one diagonal, back across the other diagonal, and then finally do some random directions to give it good texture.
-
Paint your whimsical saying
Maybe you don't want string art to have a whimsical saying--fair enough. Skip this step. If you want something, there's a lot of ways to get lettering onto the piece. My wife printed her saying, cut apart the words, then colored the back of the paper with a pencil. She taped the words where she wanted them, then carefully traced the words to transfer the faint graphite outline to paint in (she probably got that trick from a Nancy Drew book... It was pretty clever!).
You can use other methods, too--stencil, or if you're really daring, freehand it!


