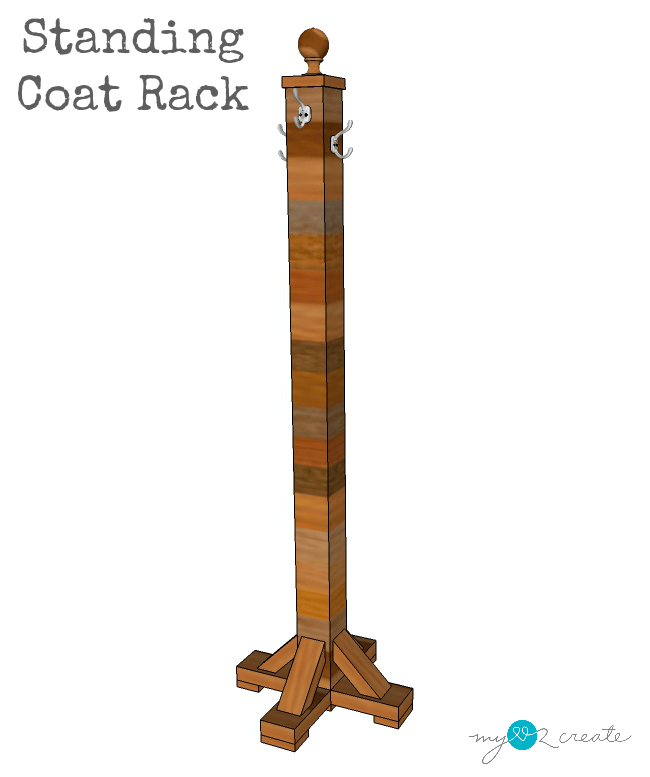
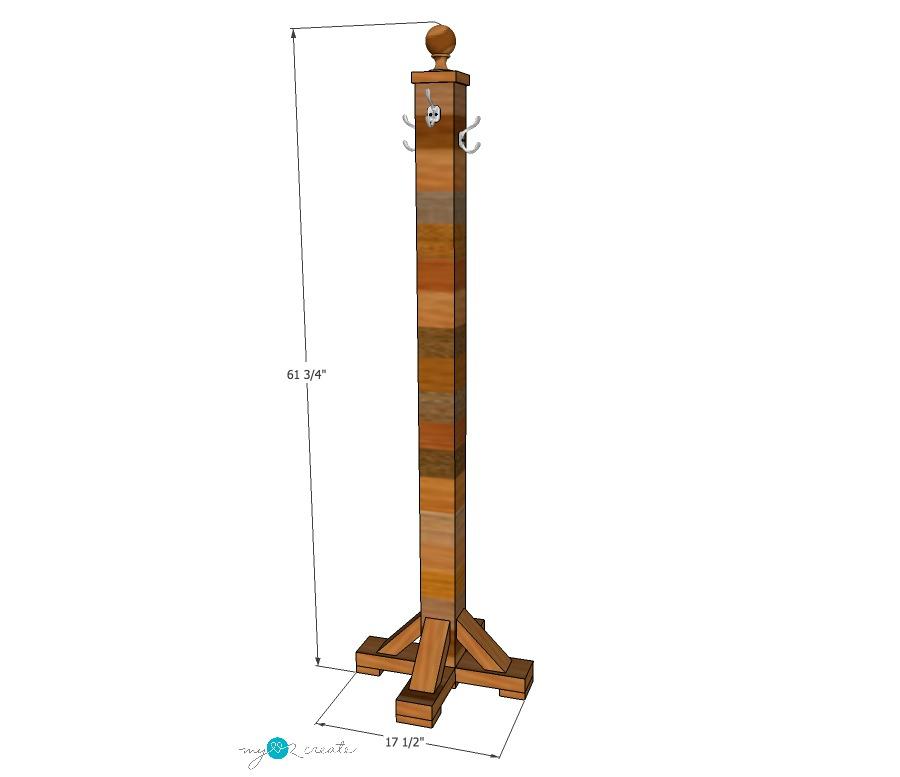
Standing Coat Rack
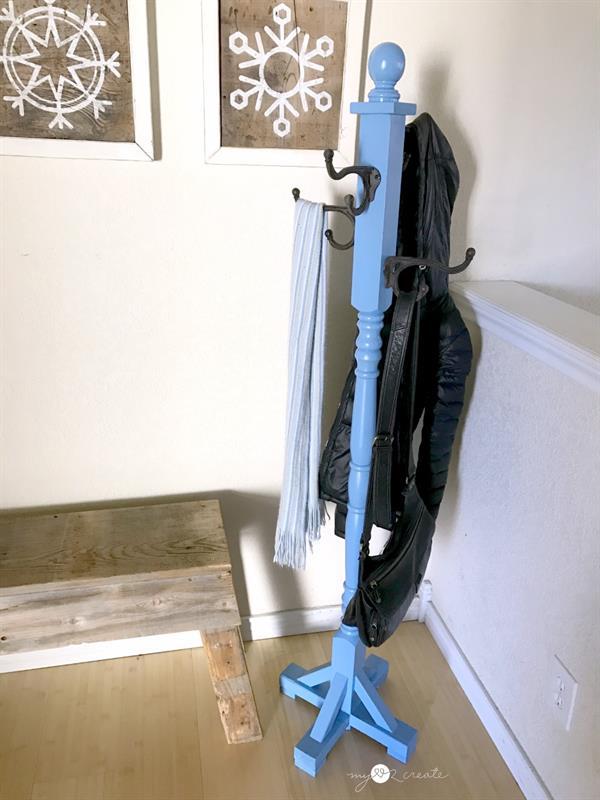
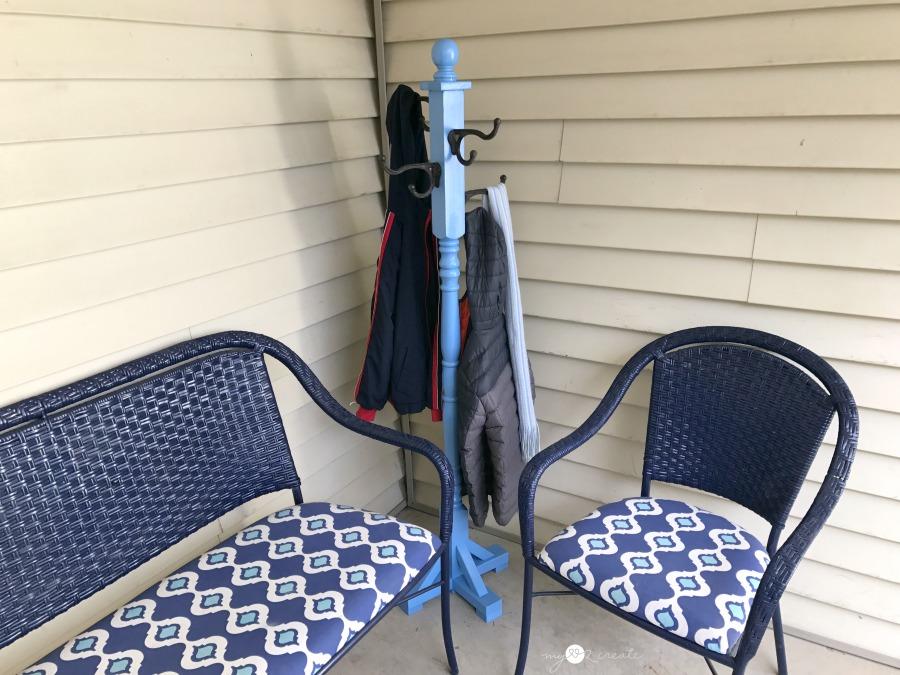
By My Love 2 CreateClear the clutter in your entryway, mudroom or guest room by building an easy standing coat rack. This simple design is perfect for the beginning builder, proving that anyone can DIY and hang their coats in style!
Directions
-
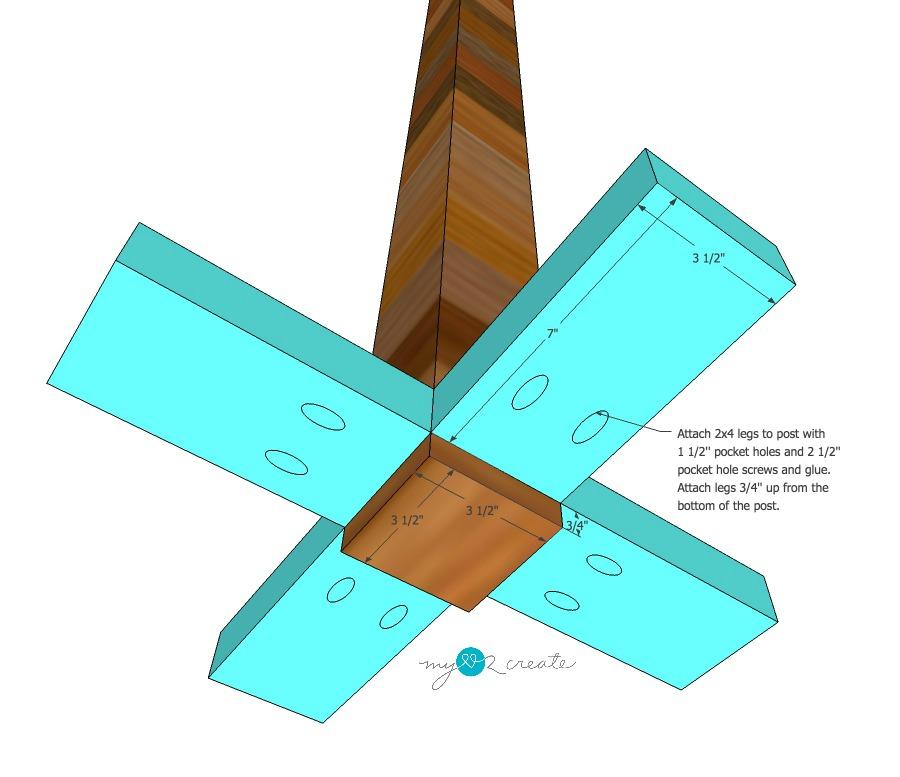
Attach legs to Post
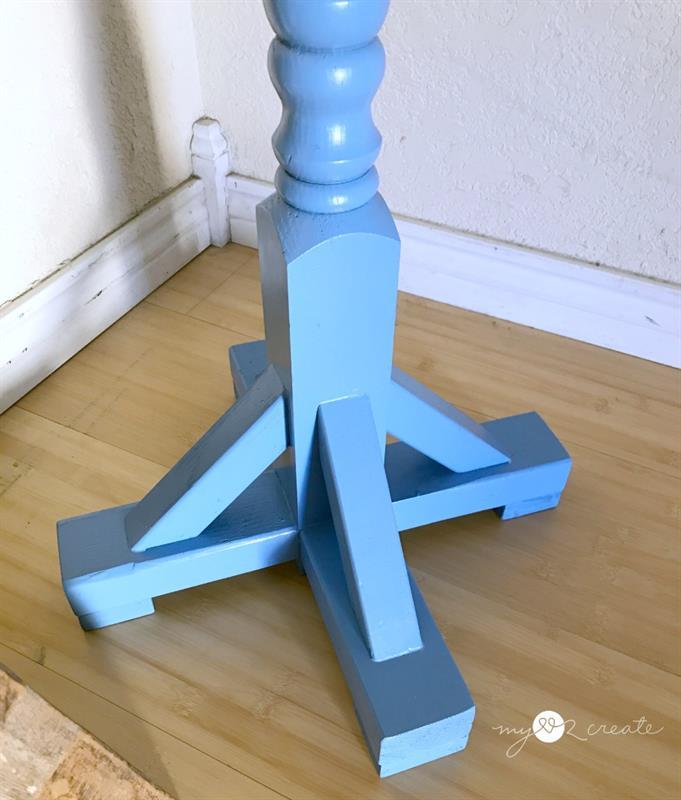
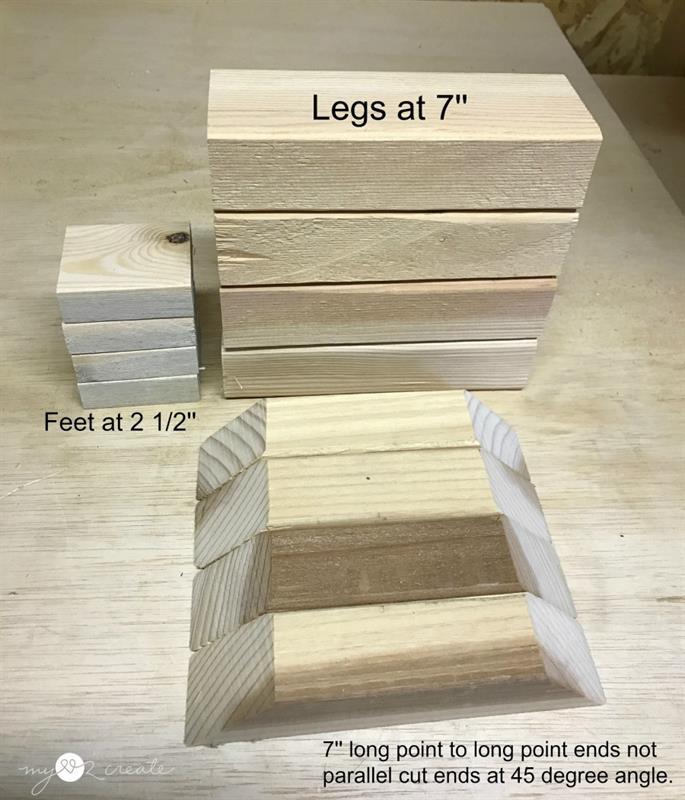
Mark 3/4'' up from the bottom of the post on all four sides. After drilling 1 1/2'' pocket holes into one side of your 7" 2x4 legs, attach them to all four sides of your post with wood glue and 2 1/2'' pocket hole screws.
-
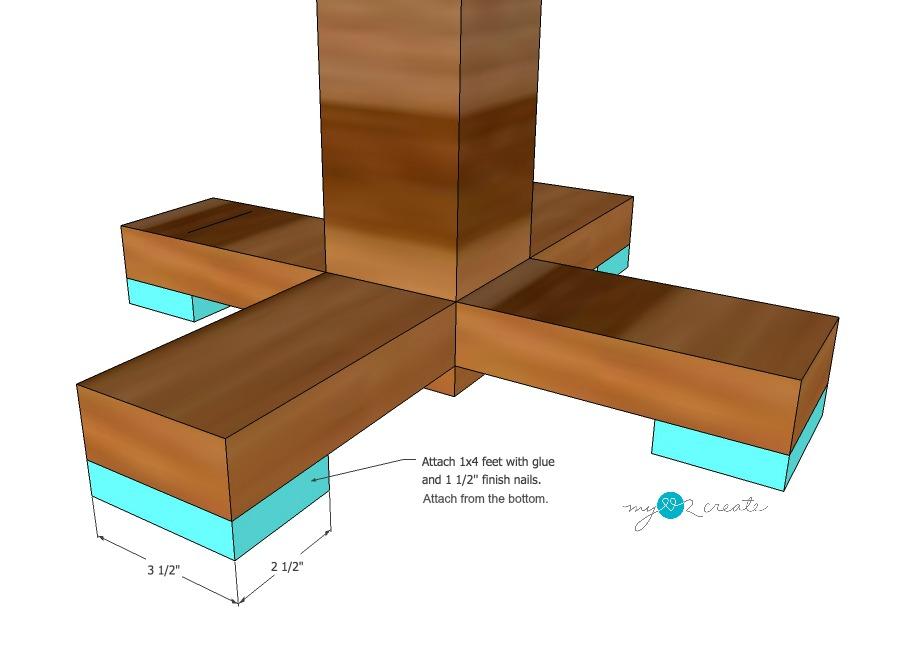
Attach feet to legs
Attach the 2x3 feet to the bottom of the legs flush to the outside edge, use wood glue and 1 1/2'' finish nails. Make sure to nail in from the the bottom.
-
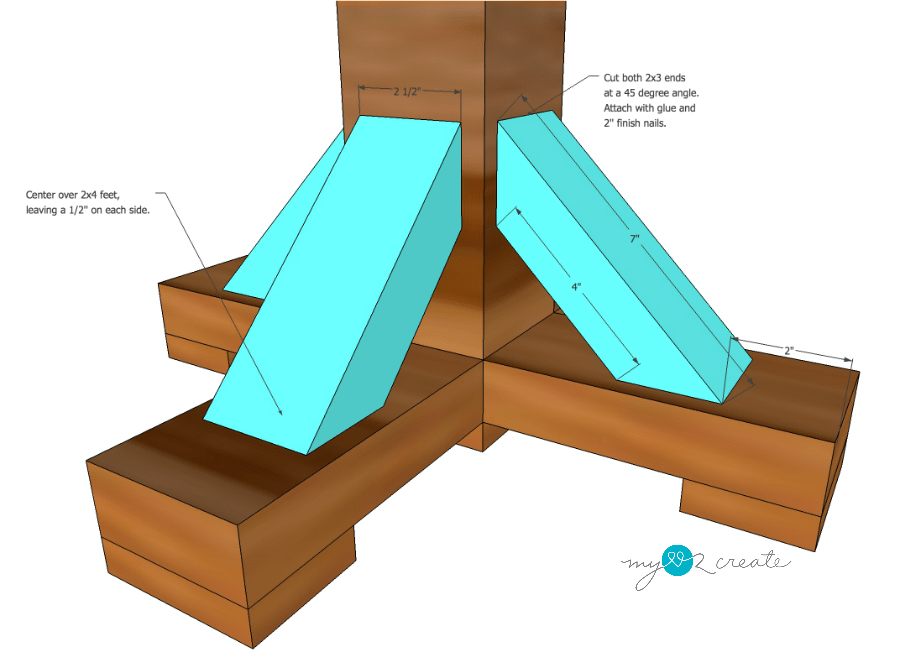
Add angle supports
Centering your angle supports on the legs and the post and attach them with wood glue and 2'' finish nails, nailing in at an angle.
-
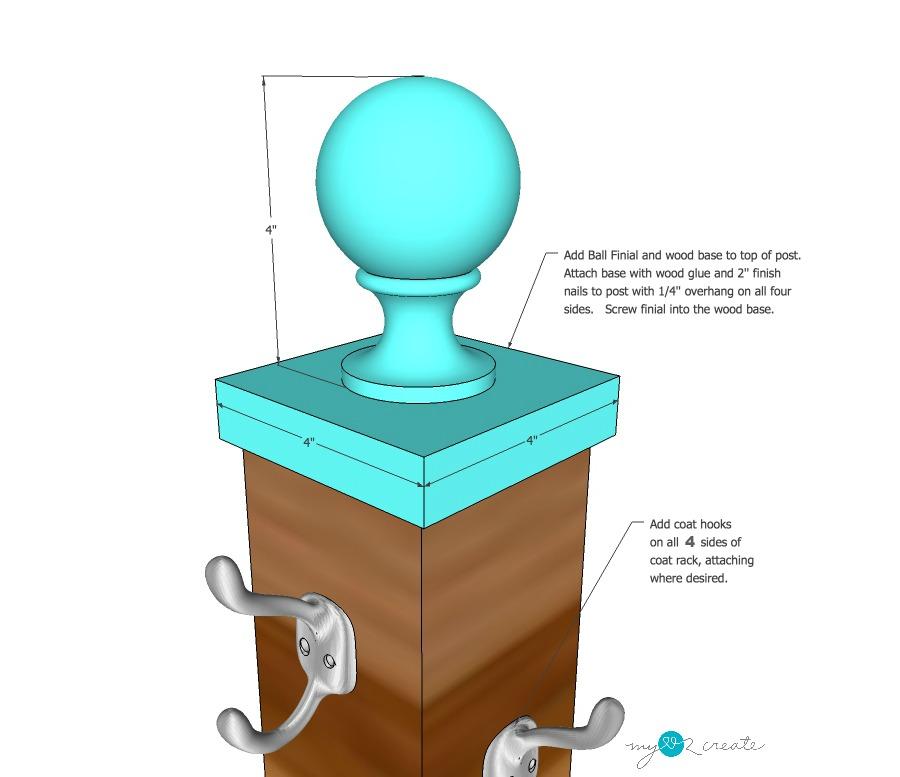
Add base and finial
Attach the 4'' base and 4'' ball finial to the top of your post with wood glue and 2'' finish nails.
-
Fill holes and finish
Fill all holes with wood filler and finish as desired. After your finish is complete attach hooks to all four sides of your post at the top. You can stagger them as desired. Enjoy your new coat rack!
-
Tips
To save money try to use scrap wood on this build. You can also get creative with your post, in the photos you can see I used a newel post or tall baluster instead of a 4x4. I got it at my local Restore for only $1, I adjusted the wood sizes to match the width of my post, but I still used the same measurements. For more details check out my blog post. http://www.mylove2create.com/2016/12/standing-coat-rack.html


