Rustic Farmhouse Coffee Table
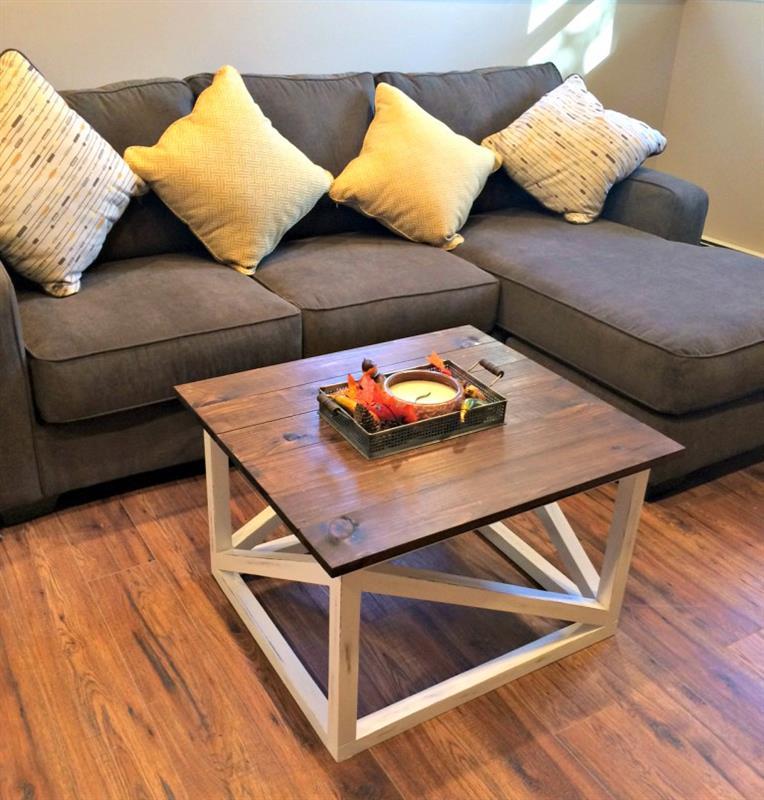
By Viva las DIYAfter a few weeks of searching thrift stores, Home Goods, Overstock etc. for a coffee table for my newly renovated basement I gave up! I couldn’t find what I wanted within my budget… soo you guessed it… I decided that I would build our own! This turned out to be the best option!
Directions
-
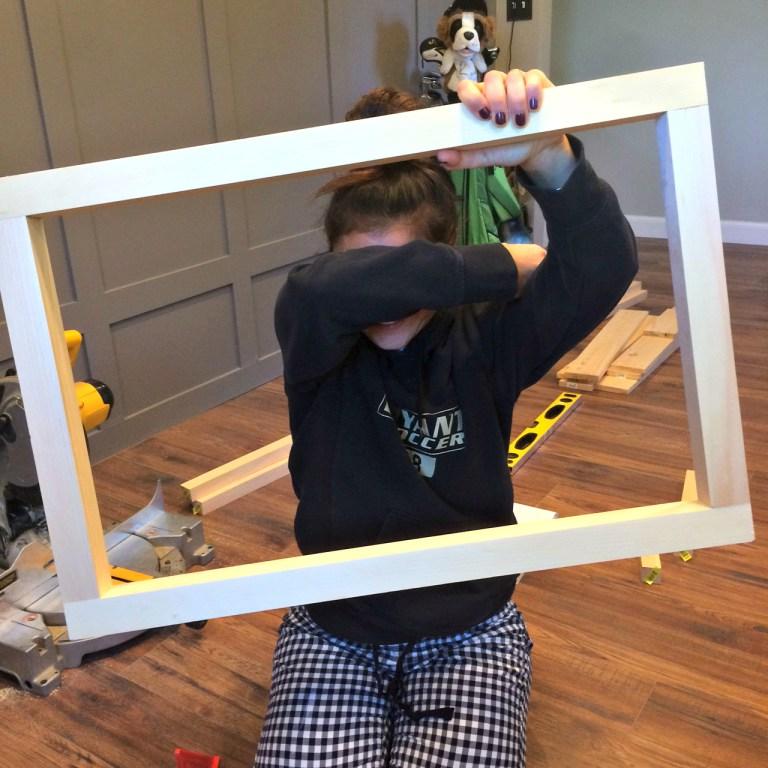
Step 1 – Cut and make 2 photo frame
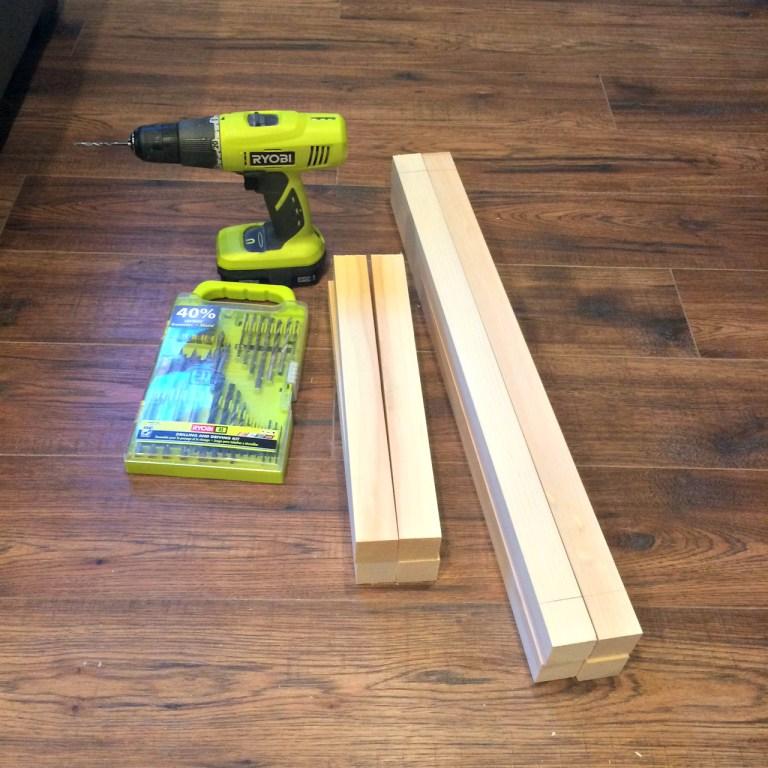
Start by cutting your 2x2's into the 4 table legs and the 4 length pieces – this would make up 2 sides of the table. We used our Miter Saw to make sure that we had square cuts – pretty important so you don’t build yourself a wobbly table. The dimensions you need are dependent on your table size requirements.
Use your Speed Square to make sure the angles are at a right angle. Secure with 2 pocket hole screws and some glue. Repeat for the other side and the secure on the bottom piece.
Repeat until you have 2 matches pieces.
-
Step 2 – Cut top and bottom side
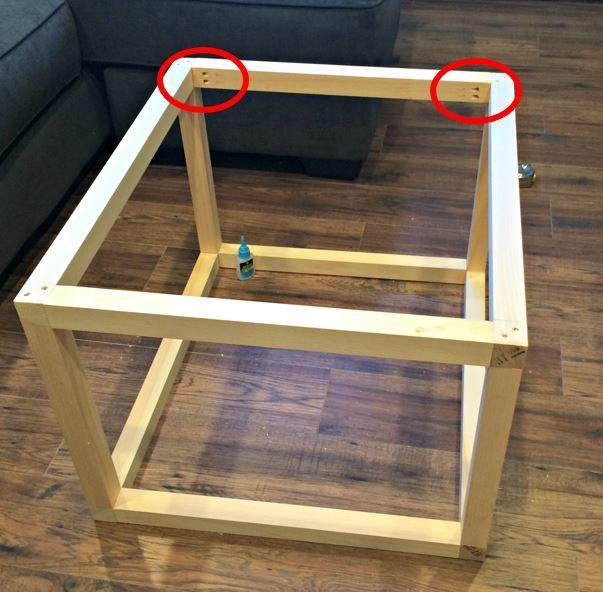
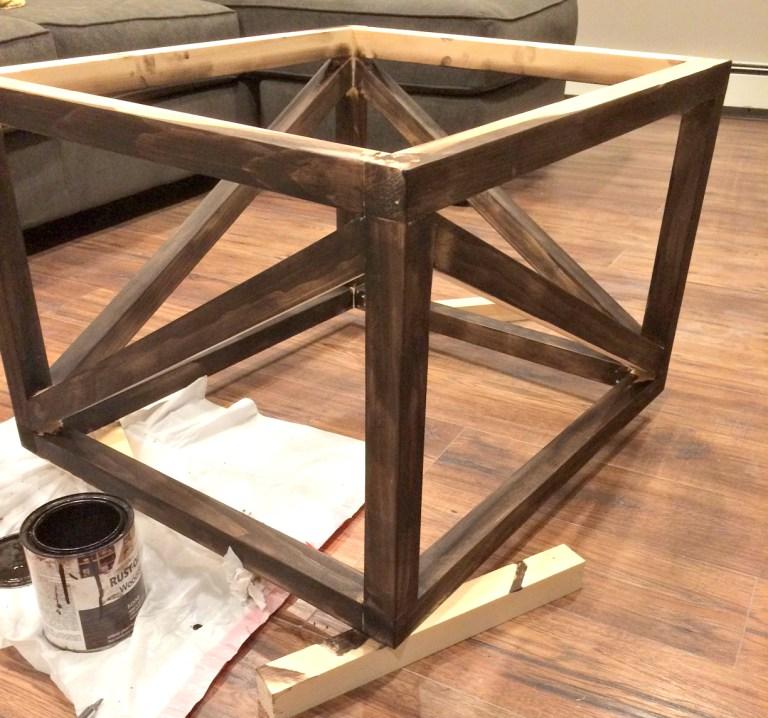
Now you can cut the top and bottom pieces for the other 2 sides to create the cube for the base.
Use your Kreg Jig to create 2 pocket holes on the inside so the screws would not be seen from the outside.
Once you have these 4 pieces cut and pocket holes created you can begin to attach and secure them using 2″ screws and some more of that DAP glue. I actually think the glue is stronger than the screws but we used both to be safe. This DAP stuff is fantastic – it begins to stick in 30 seconds and it has cured dry in 30 minutes. Again use your speed square to make sure the pieces are at right angles.
-
Step 3 – The Hardest Part
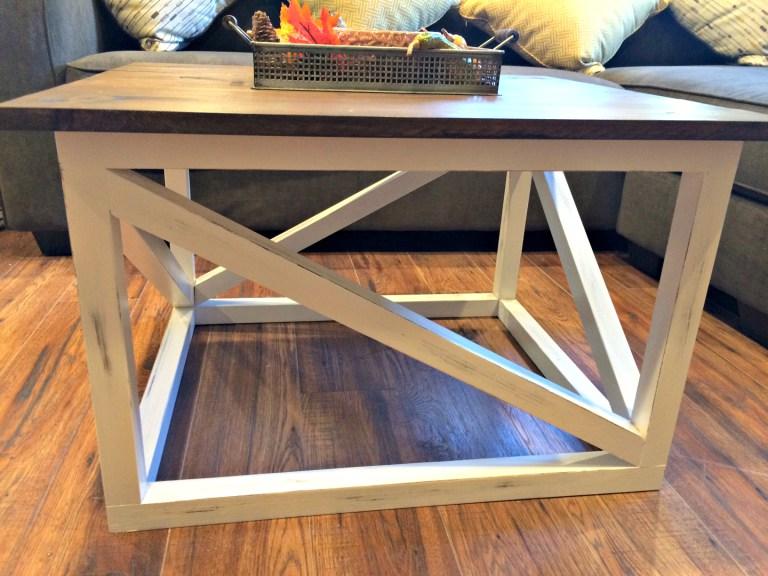
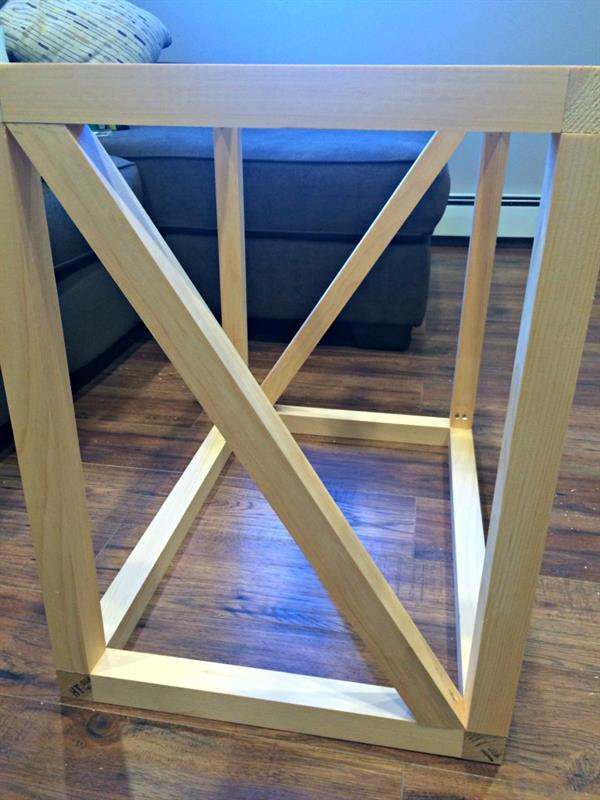
Now that you have the basic cube you can begin the hardest part of this build. I say the hardest purely because you will need to cut at an angle. Because our table base is not a square shape, the angle is not 45 degrees. Sticking to Jason’s theory of don’t waste time, we didn’t do the math to work out the angle. Instead he simply held the piece up whilst I drew a line on the wood piece for the angle – Easy! It gave us the angle and the length in one go!!
Jason simply adjusted the Miter Saw so it matched the marked angle and cut away. We worked on one side at a time – cut and secure, cut and secure etc…
These are diagonals are mainly for decoration so they do not need to be super secure – we used a single screw and some glue!
-
Step 4 – Fill any holes and sand
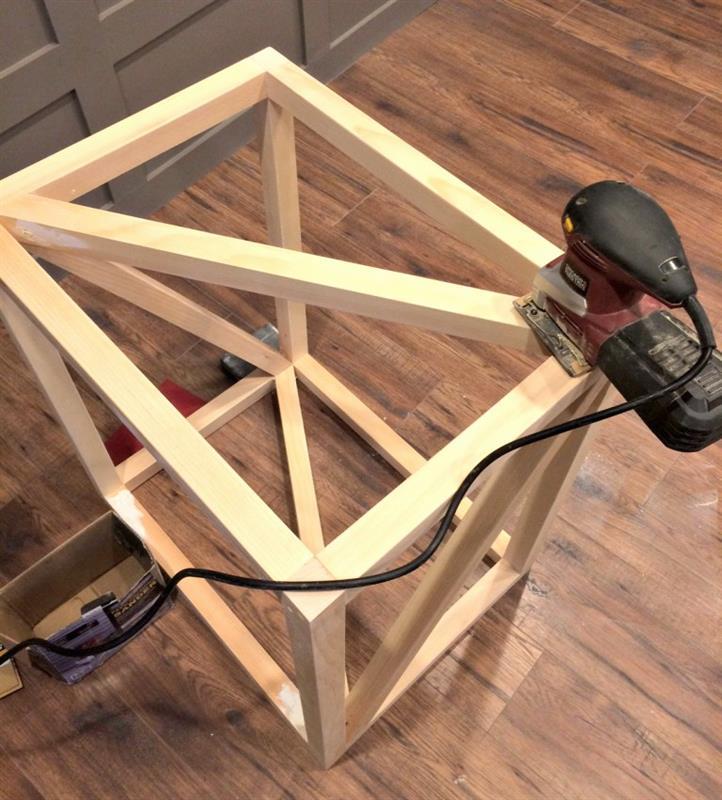
I filled any pocket holes or small join gaps with some wood filler I had left over from our paneled wall project.
Once it had dried I used my orbital sander with 240 grit sand paper all over to get a nice smooth finish. I did not have any joins that needed heavy sanding but if you do you could use a wood plane or some harsh sand paper.
-
Step 5 – Stain and Paint Bottom
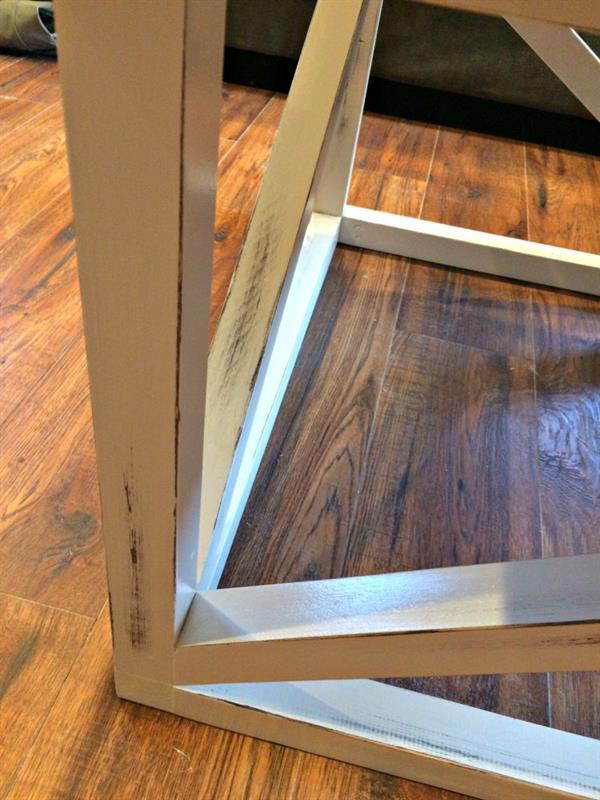
Bear with me here because I can already hear you asking “Why would you stain and THEN paint the bottom?” I wanted to slightly distress the bottom so I had to apply a stain first so the darker color would show through.
Using a rag, I roughly applied my favorite stain, Minwax Kona, which I have used on previous projects and let it soak in and dry over night.
The following evening I applied 2 coats of the white paint I used on my kitchen table and bedroom dresser, I like to keep things matching throughout my house. I used a paint brush to get those hard to reach corners and then a foam roller for the rest. The foam roller avoids leaving drip marks.
-
Step 6 – The Top
Between the drying of the first coat and applying the second coat of paint, I began working on the top.The kind man in Home Depot cut the top pieces to the 30″ long that I required. Normally I would ask Jason to cut them at home but my car wouldn’t fit the 9′ long boards. Tip: Home Depot doesn’t usually charge for cuts, so ask away! Well, I say they don’t usually, but I was left on my own to ask for the cuts, while Jason scurried away to look at ride-on lawnmowers and snow blowers. I don’t think the man had the heart to charge me!
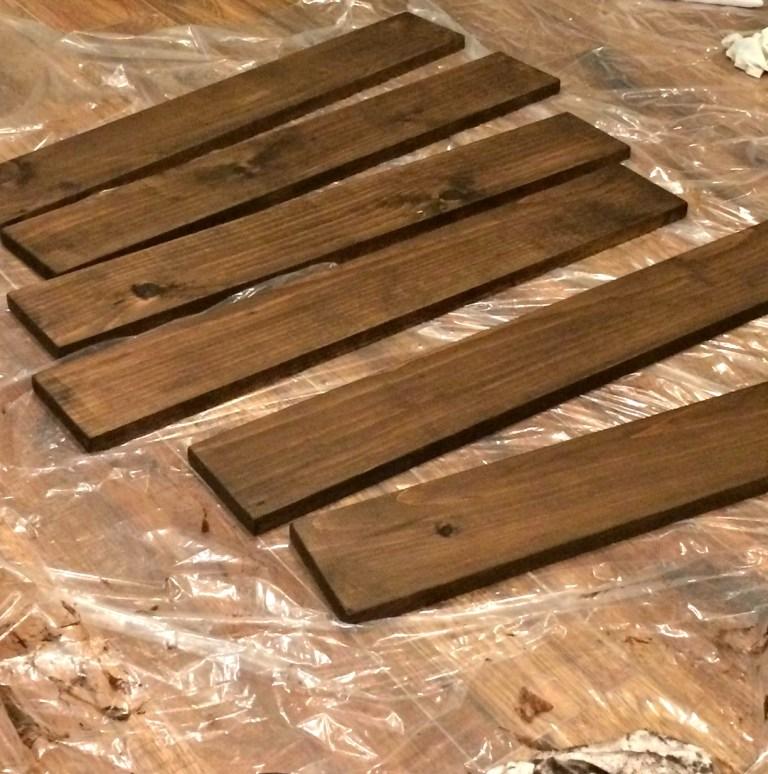
I sanded the top pieces with my sander until they were nice and smooth. I then applied some pre stain wood conditioner and then stained the top using the Kona stain
-
Step 7 – Attach the top
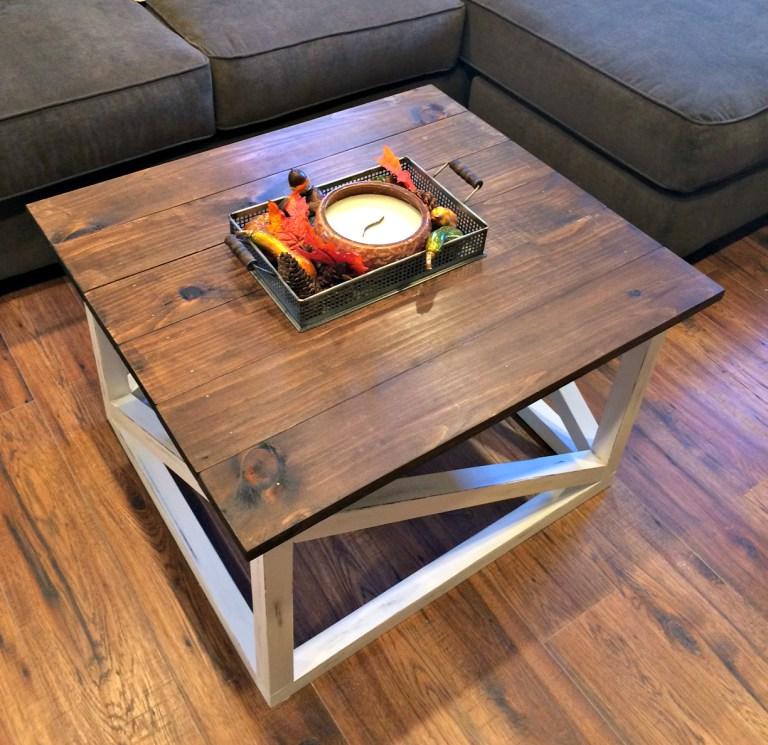
This part is very simple. Line up each length of wood and secure to the frame with a couple of 1 1/2″ nails in each end that go into the base. Measure to make sure you have the same over hang on all sides – mine was 1 1/2″ all around.
It would not be right for me to write a blog without telling all my secrets: I originally planned to counter sink the nails, fill and stain over them but I surprisingly like the look of the nail heads showing. I guess it makes the table look more rustic? I just made sure they were all in a straight line and flush!
I then finished the top with a light coat of polyurethane to protect it.
-
Enjoy
Enjoy your new coffee table. Be sure to check out more DIY woodworking projects with us @ www.vivalasdiy.com!
I look forward to seeing you there!


