Rolling Printer Cart
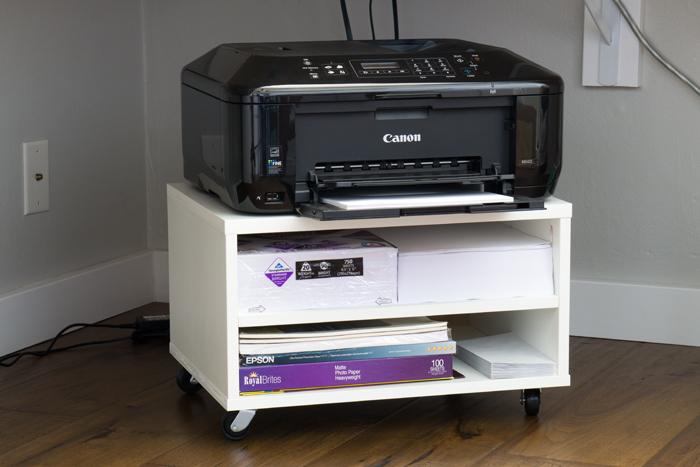
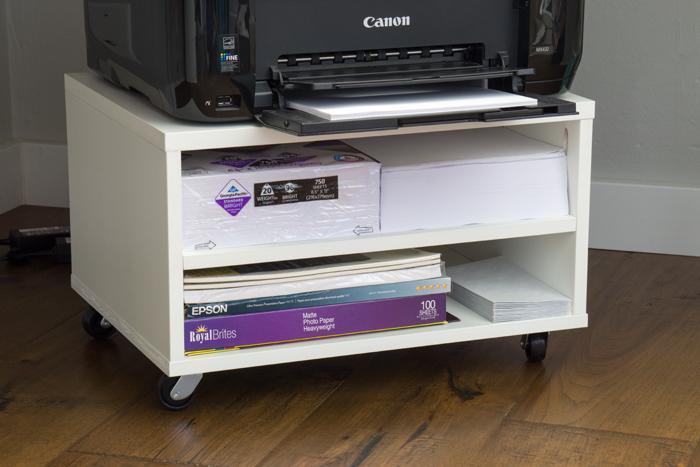
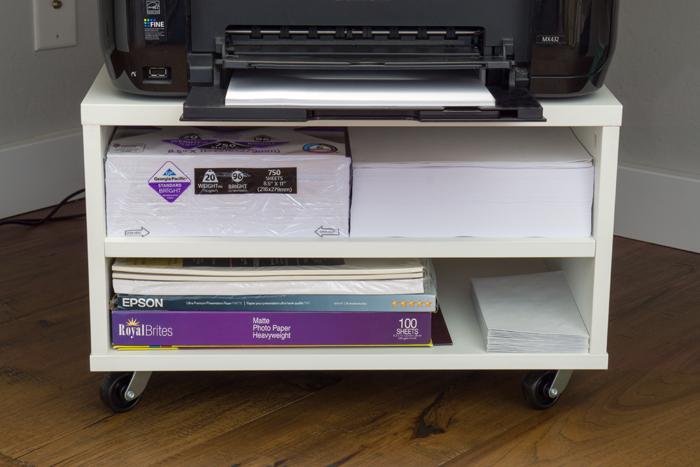
By Girl, Just DIYBuild this compact Rolling Printer Cart to store your printer under your desk or table. The two shelves in the cart are perfect for storing printer paper, card stock, labels, and envelopes.
Directions
-
Cutting and Prepping Components
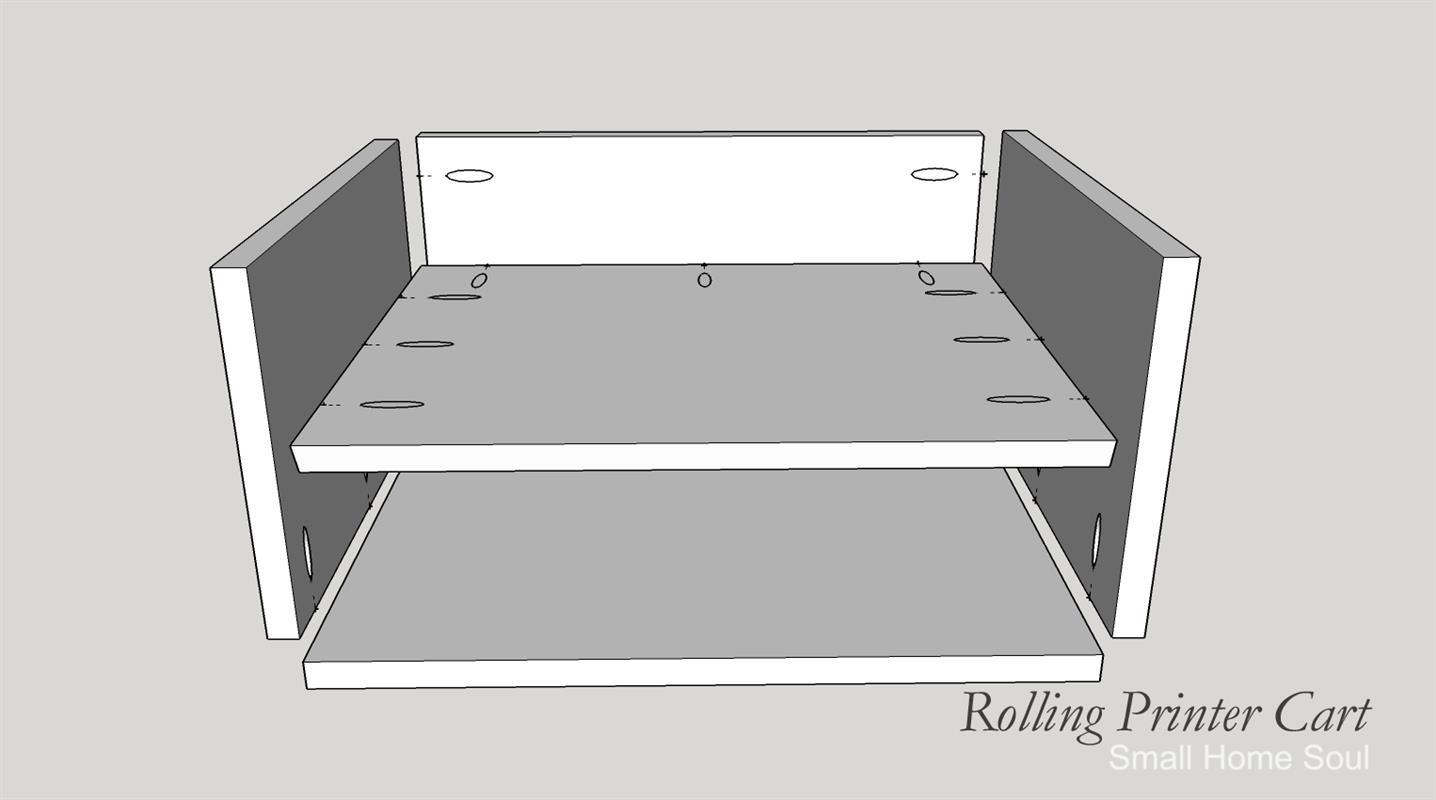
(1) Review all steps before assembly. (2) Cut all components for the Rolling Printer Cart according to the Cut List. (3) Using the Kreg Pocket-Hole Jig pre-drill all pocket holes as illustrated in the steps. Note: The top and bottom pieces have NO pocket-holes. (4) Pre-paint or stain all pieces before assembly.
-
Attach Back to Top
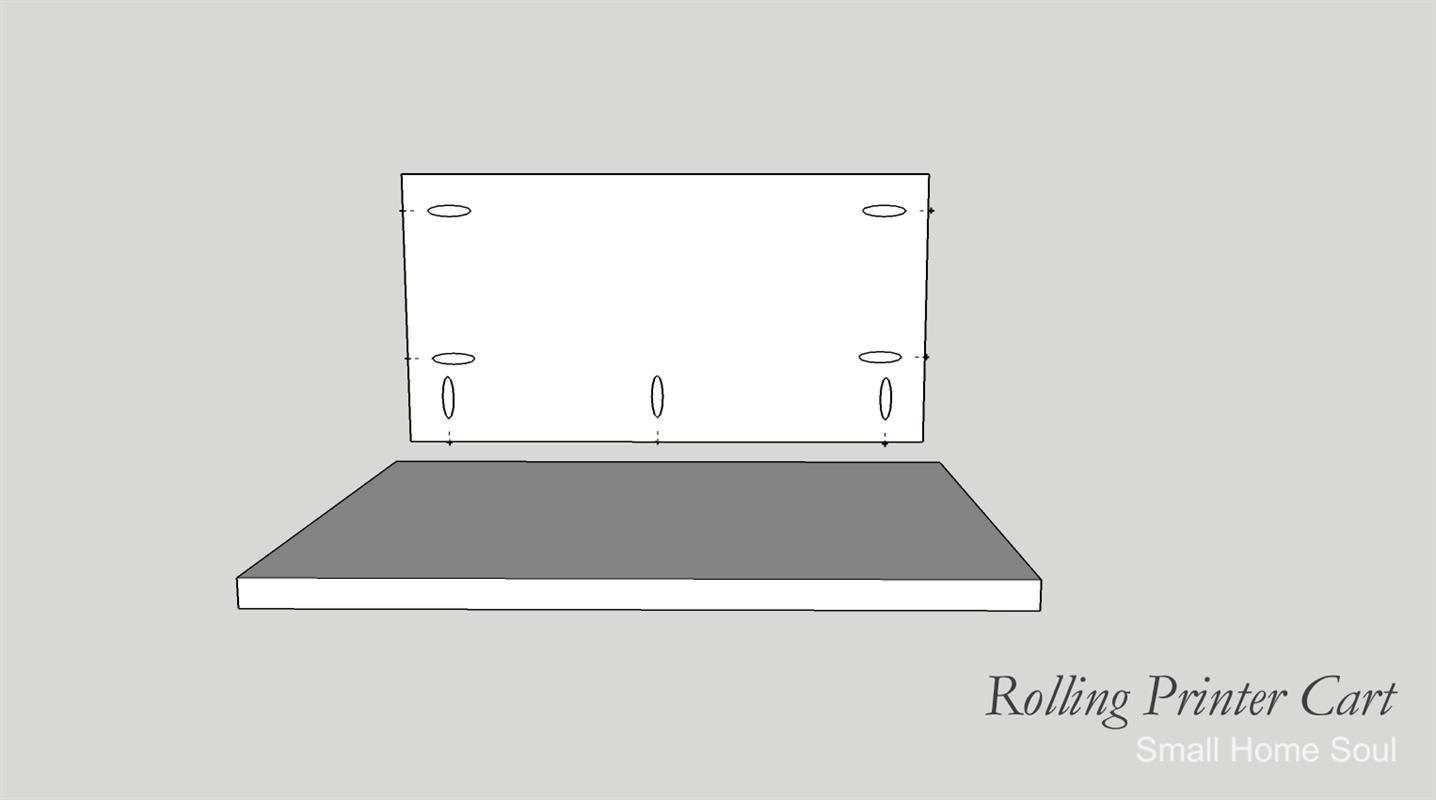
(1) Lay the Top Board on a flat surface. (2) Align the Back Board on top of and even with the back edge of the Top Board with pocket-holes facing in. Leaving 3/4" on either side. (3) Brace the Back and Top Boards using a block behind or a Kreg Right Angle Clamp in the outside hole(s) if you have one. (4) Insert the 1-1/4" Kreg Screws first in the center hole and then the other two keeping the edges flush as you screw. (5) The 4 (four) pocket-holes on the sides will be used in the next step.
-
Attach Sides
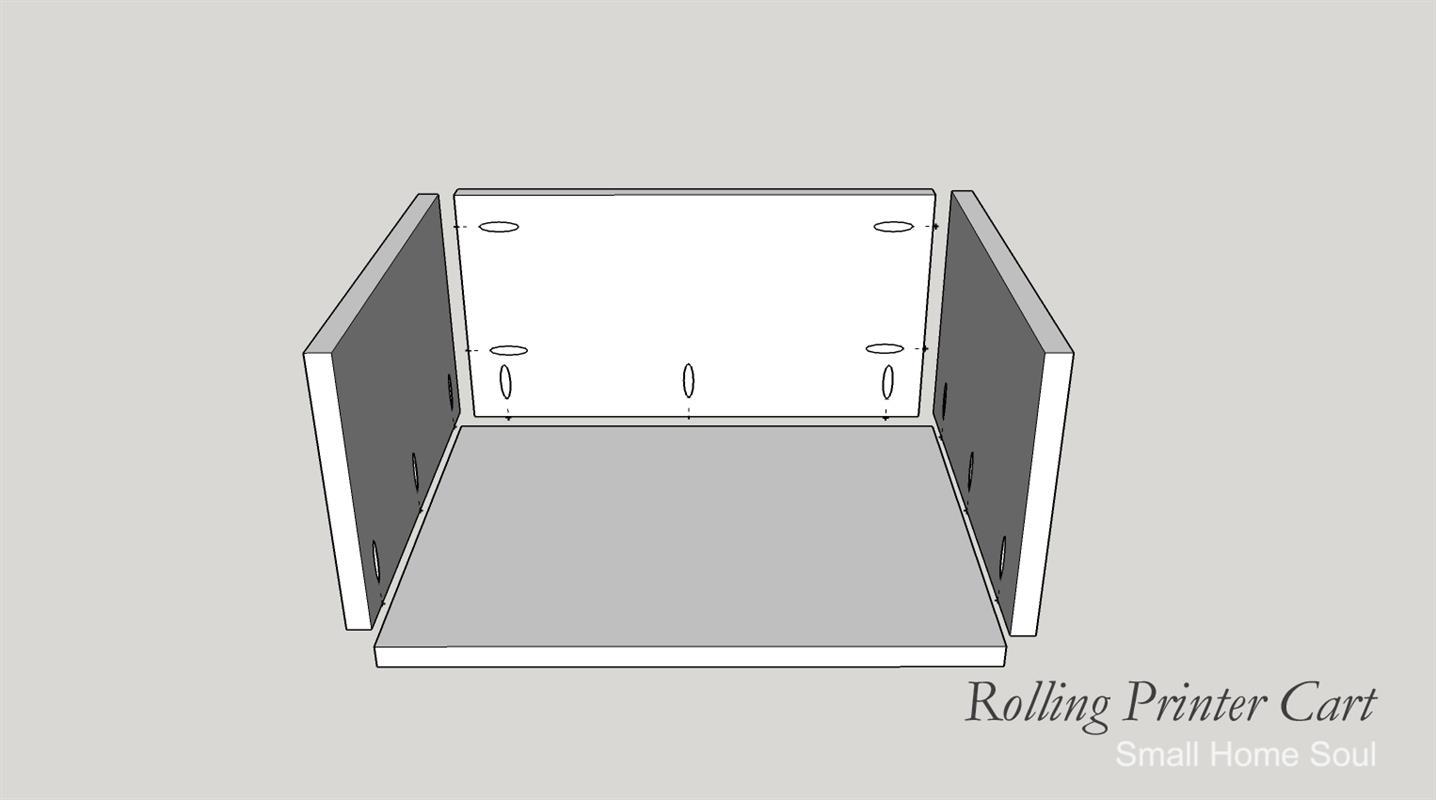
(1) Following similar steps as above attach first the left and then the right Side Boards to the Top Board with the 1-1/4" Kreg Screws. (2) Return to the Back Board and attach the back board to the 2 (two) side boards using the 4 (four) side pocket holes.
-
Attach Shelf
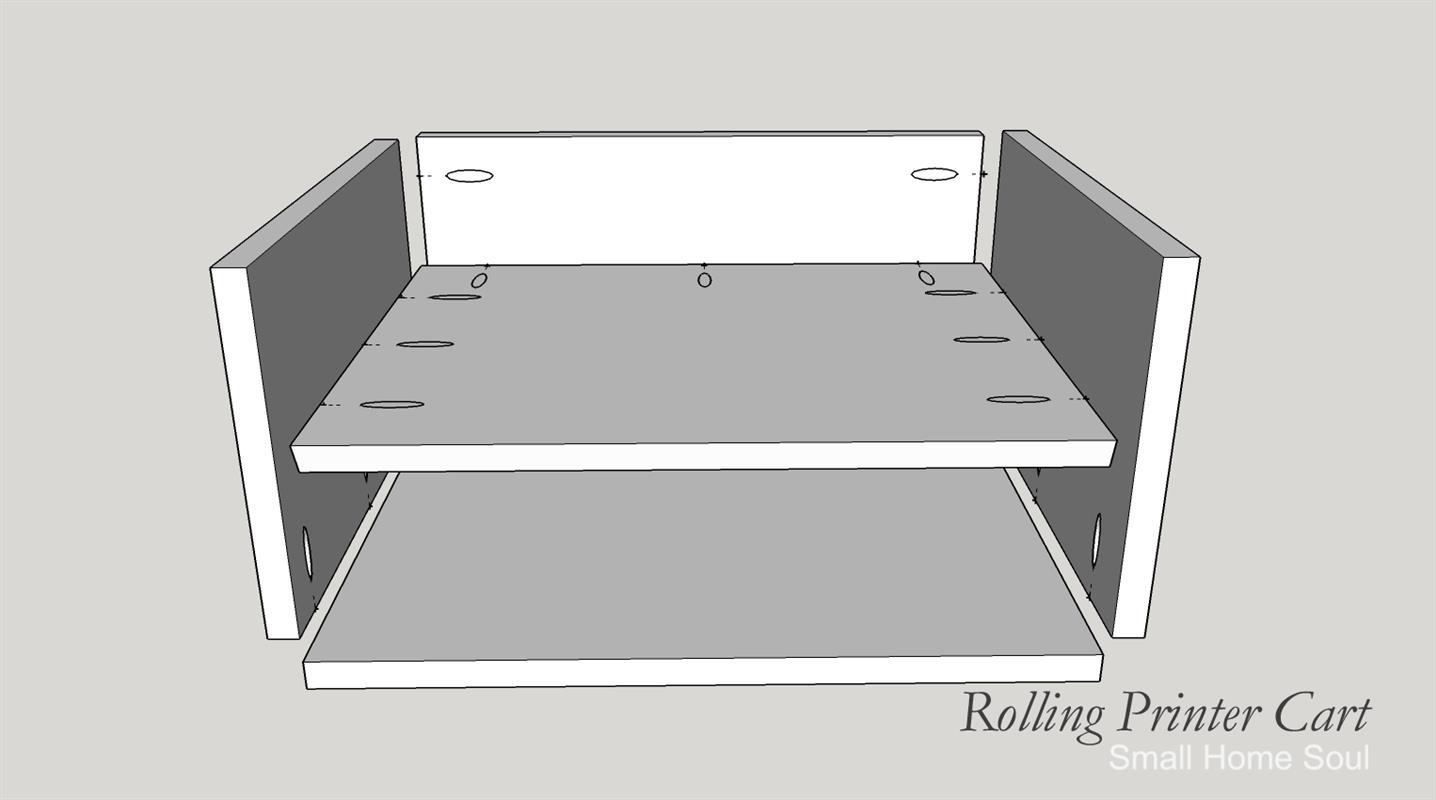
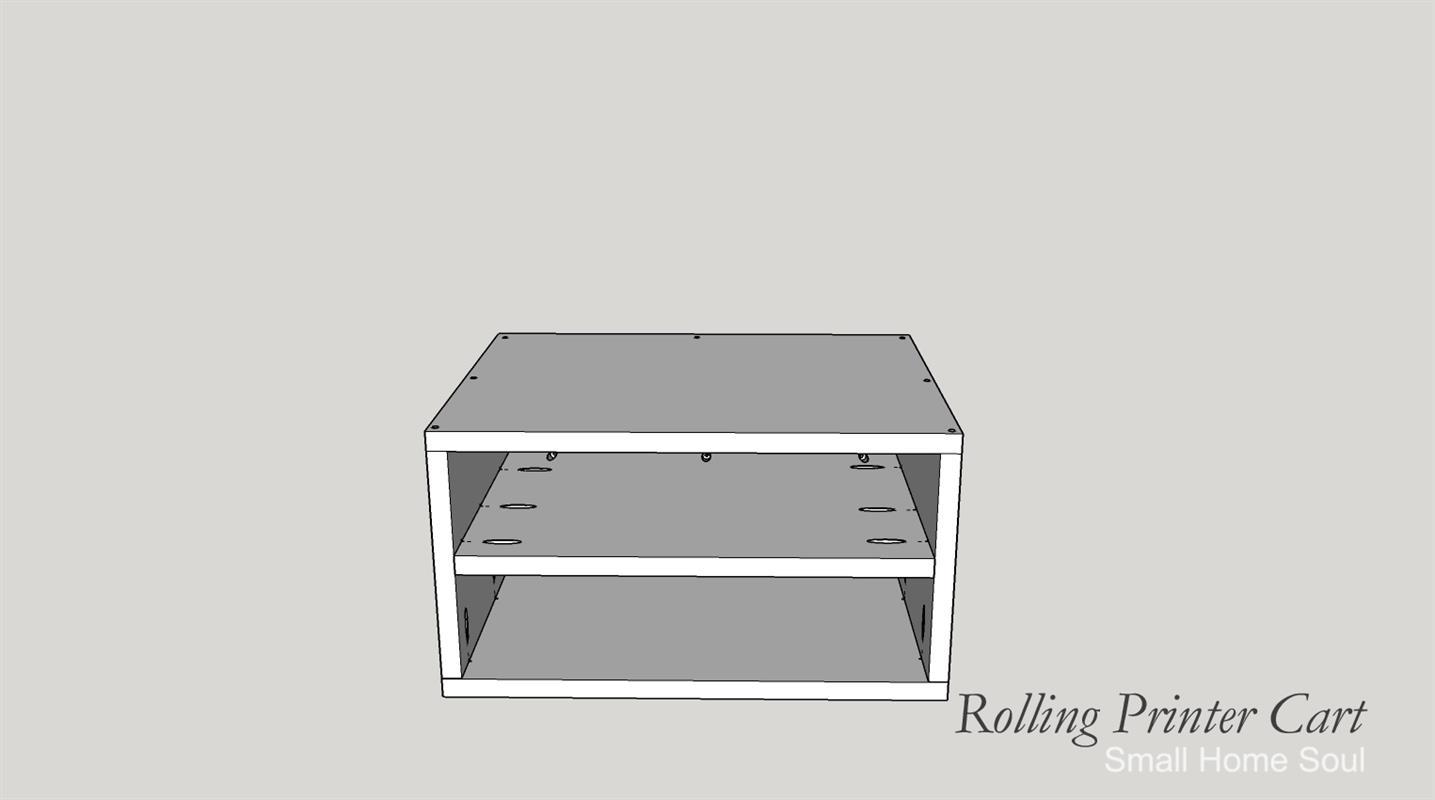
(1) From a scrap of 2x4 or 4x4 cut 2 (two) pieces to a length of 3-3/4" which will be used as spacers for installing the Shelf. (2) Use 9 (nine) 1-1/4" Kreg Screws to attach the Shelf to the Sides and Back.
-
Attach Bottom
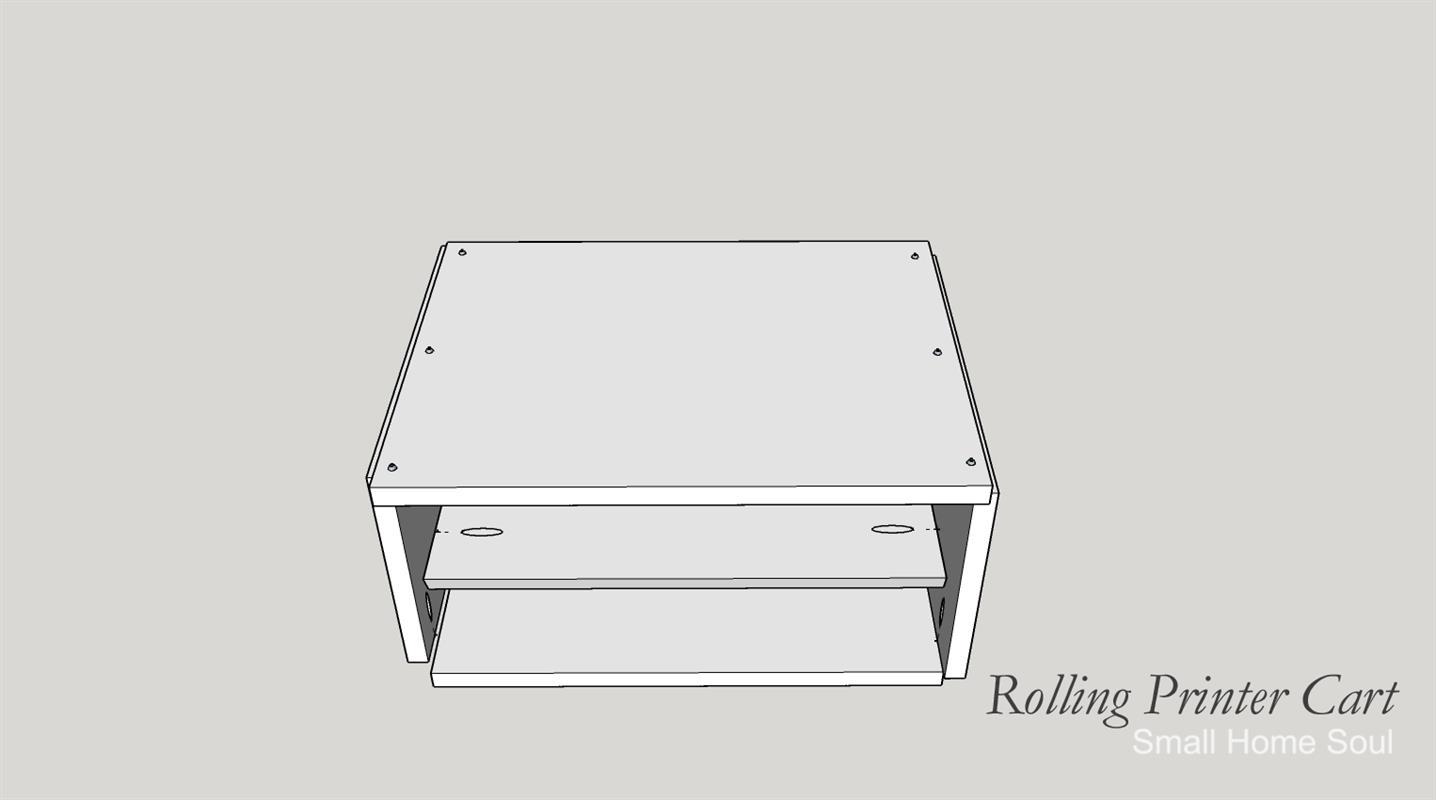
(1) Place the Bottom Board over the 3 (three) sides and align the edges. (2) Using a drill bit that's narrower than the threads of the #6 wood screws, pre-drill 3 (three) holes along the left edge to a depth of 1". (Use some painter's tape to mark the depth of the drill bit.) (3) Insert the 1-1/4" wood screws. (4) Continue this process along the back and right edges.
-
Attach Casters
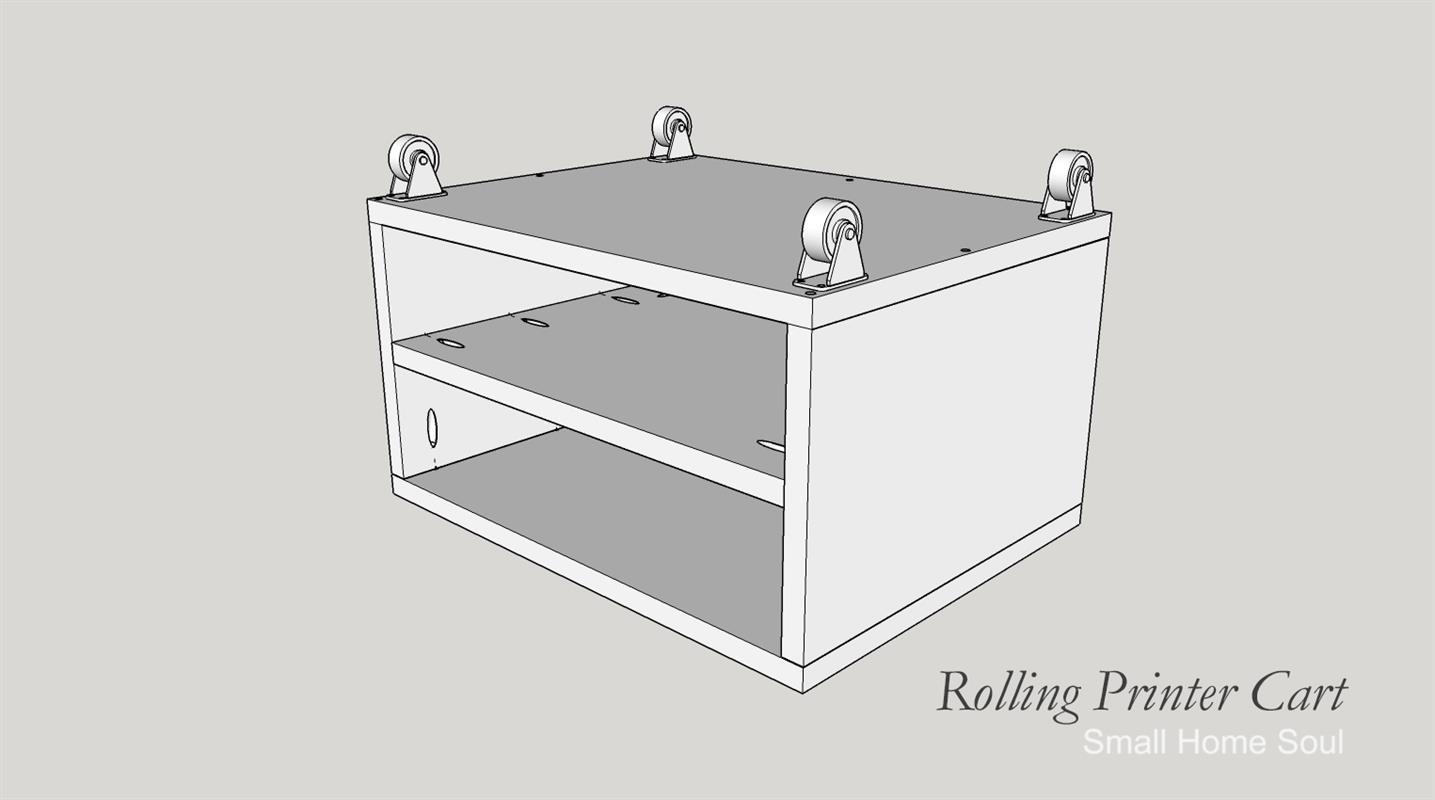
(1) Lay the casters in each corner 1" from either edge. (2) Mark the screw holes with a pencil or marker. (3) Pre-drill the holes to a depth of 1/2" with a bit that's narrower than the threads on the 5/8" #6 wood screws. (4) Screw the casters in place.
-
Completed Assembly
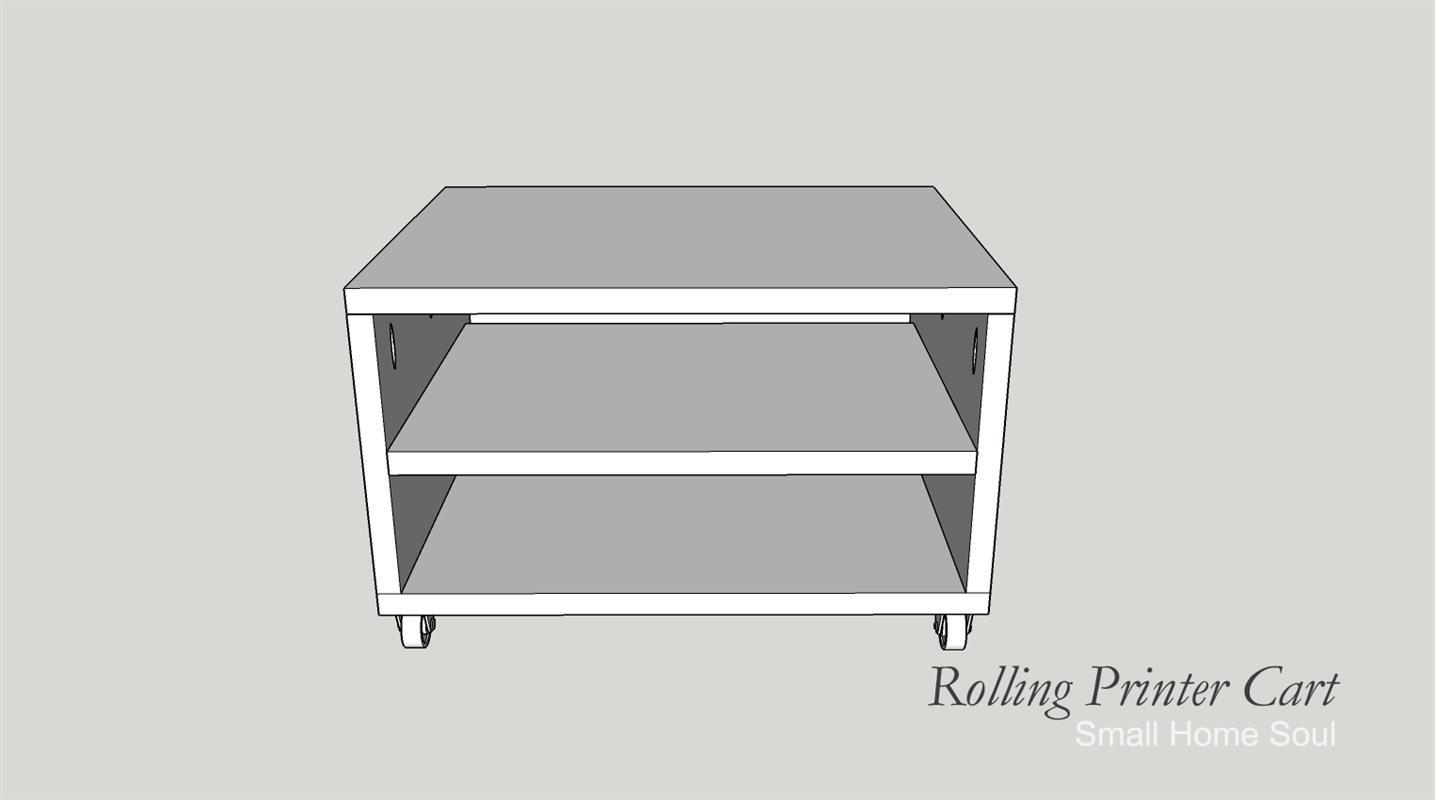
Your fully assembled cart will look like this.
-
Success!!
Congratulations you've just built your own Rolling Printer Cart!!
Visit my website www.smallhomesoul.com for more inspiring DIY projects.


