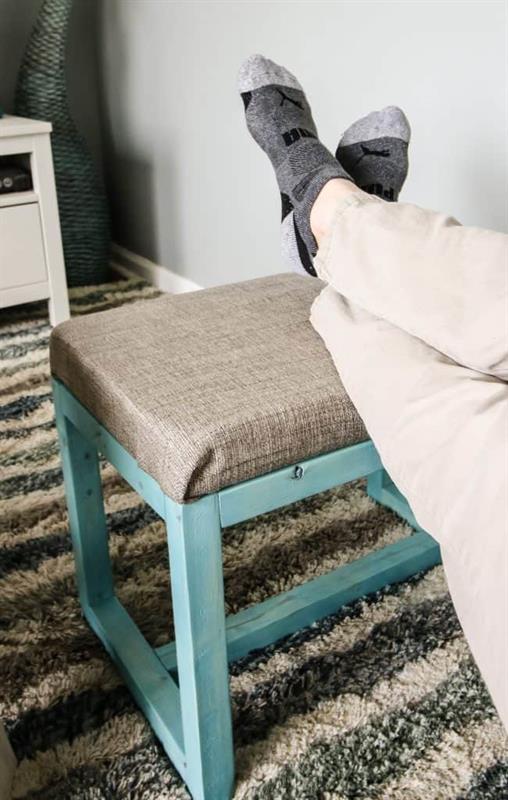
Quick and Easy Ottoman
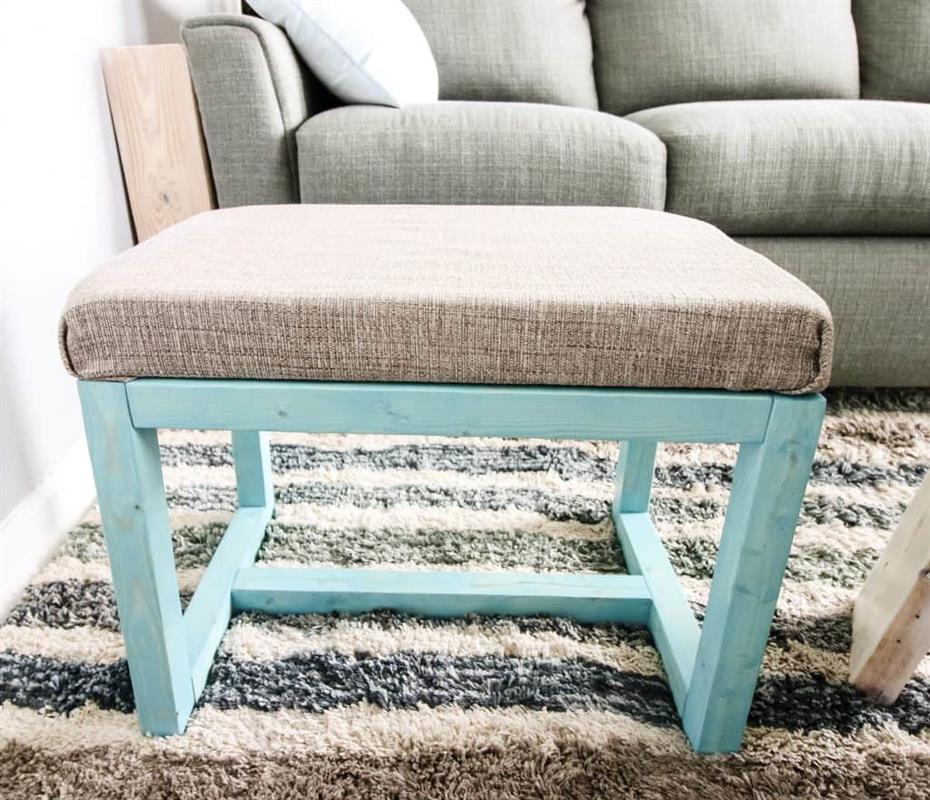
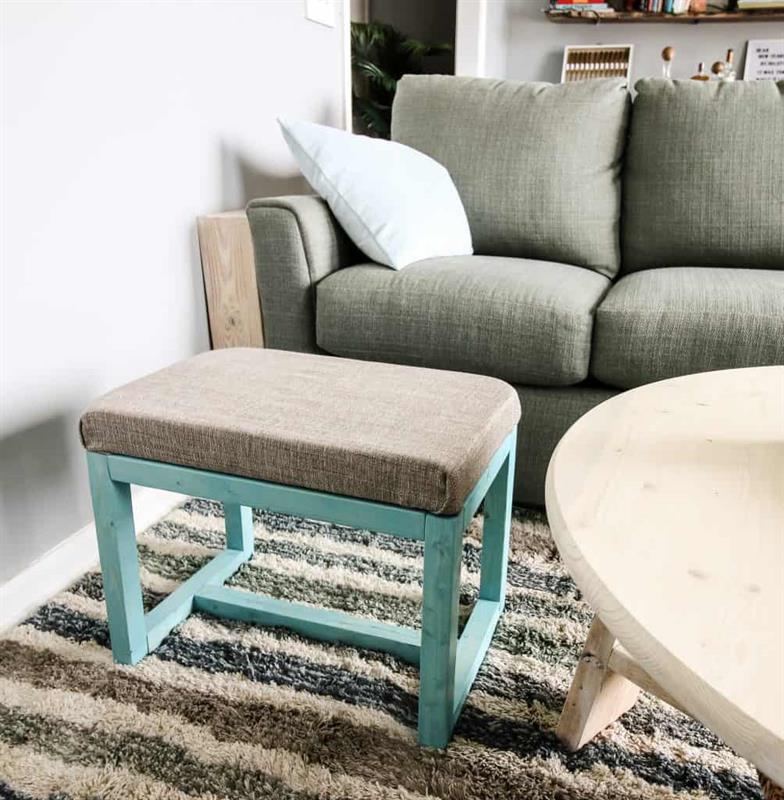
By Charleston CraftedIf you don't have anywhere to rest your weary soles, run out this weekend and build this DIY ottoman. Your feet will thank you. This quick and easy ottoman can be put together in a weekend with a single 2x4, scrap plywood and a cushion. It's easily customizable for color and fabric!
Directions
-
Cut down 2x4
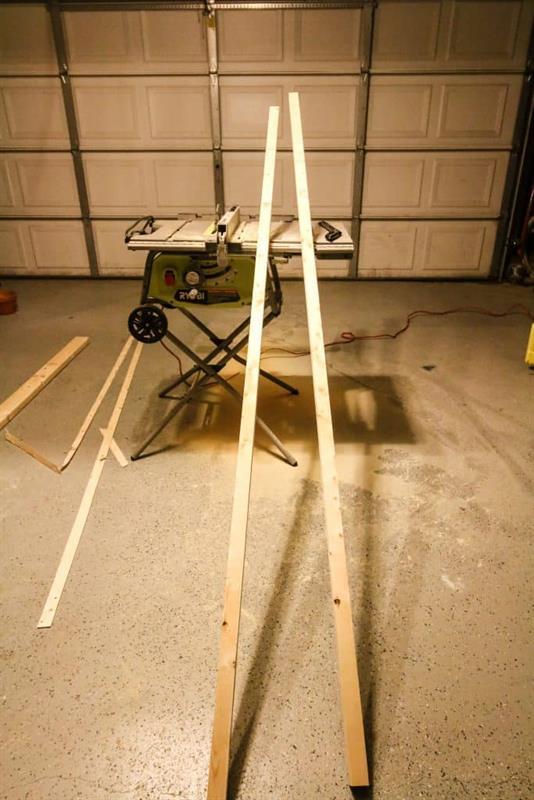
Cut down your 2x4 by setting your table saw to 1.75" and cutting the 2x4 in half. Then reset your saw to 1.5" and cut off the rounded of edges of the two pieces, leaving you with two 1.5"x1.5"x8' boards.
-
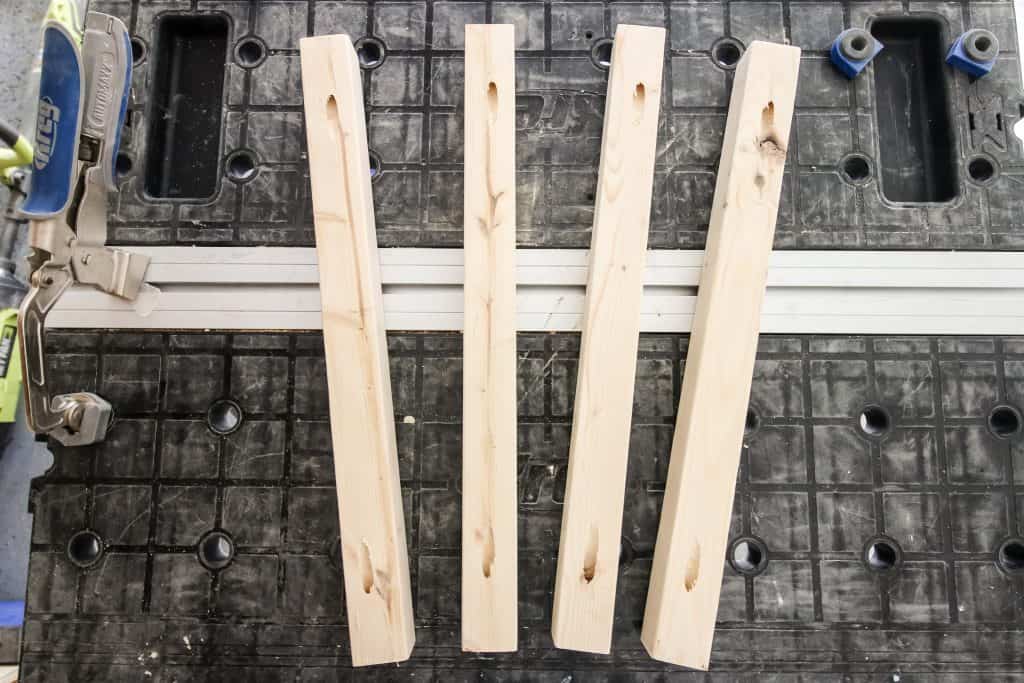
Cut Leg Pieces
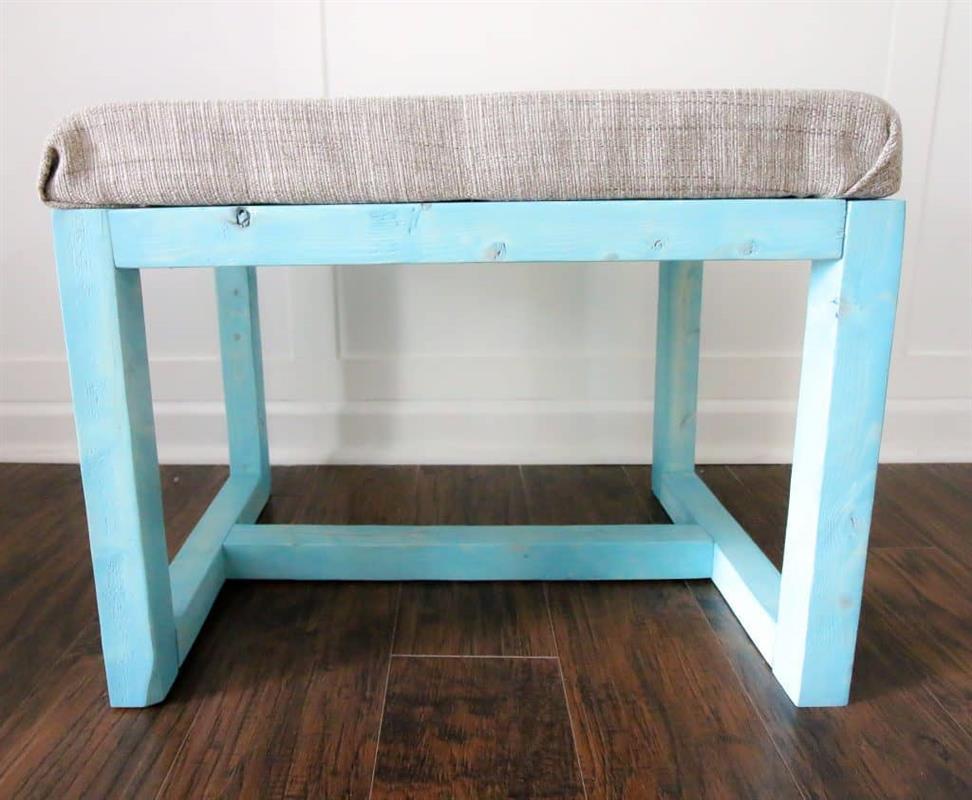
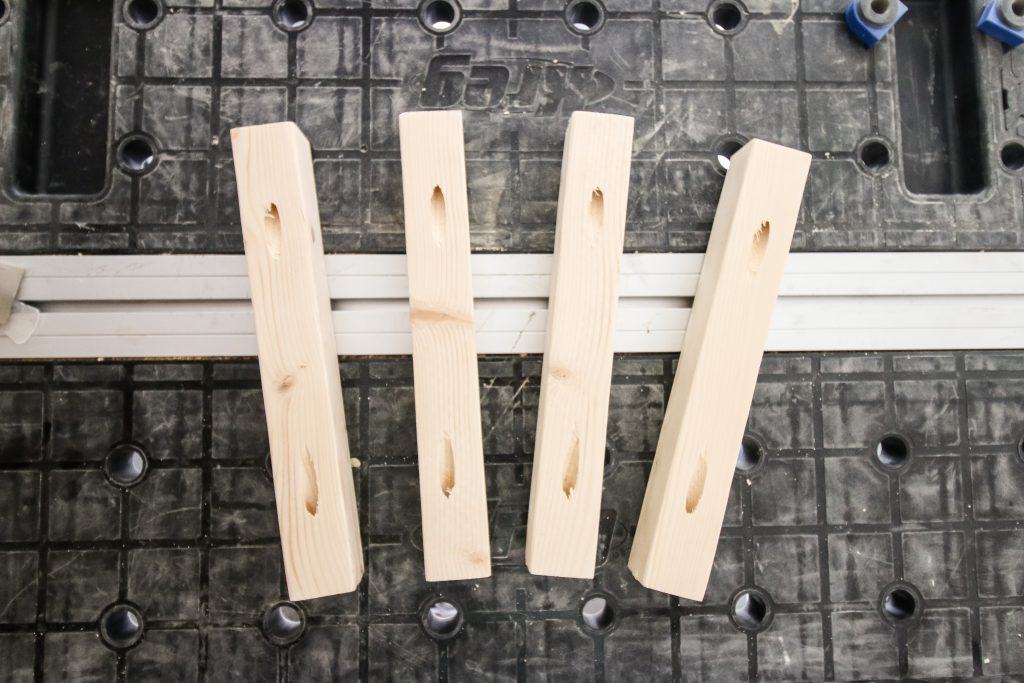
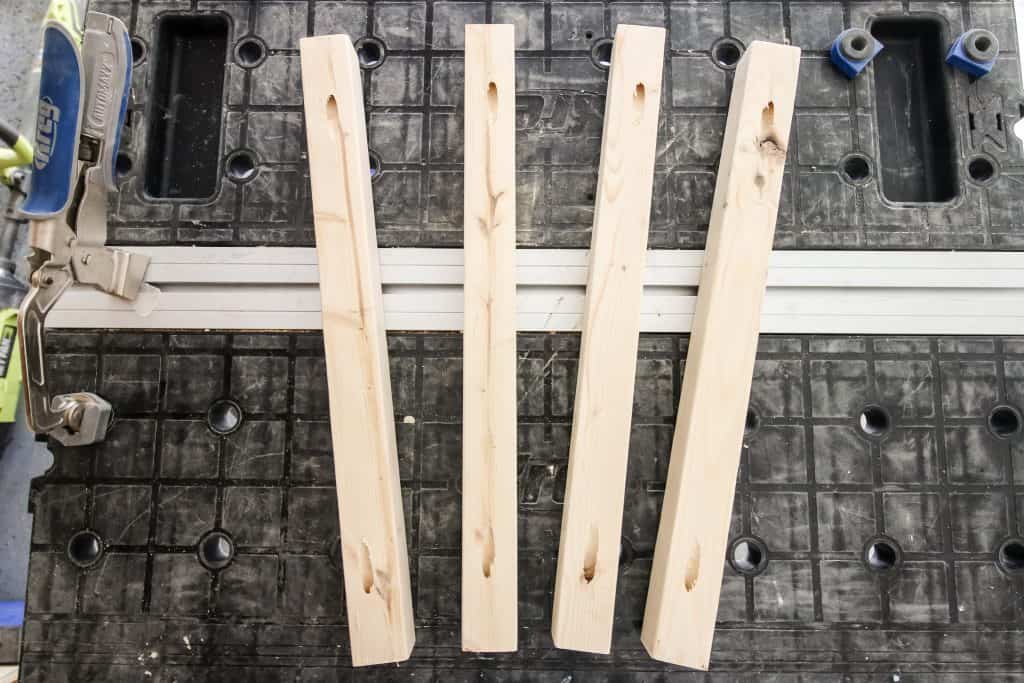
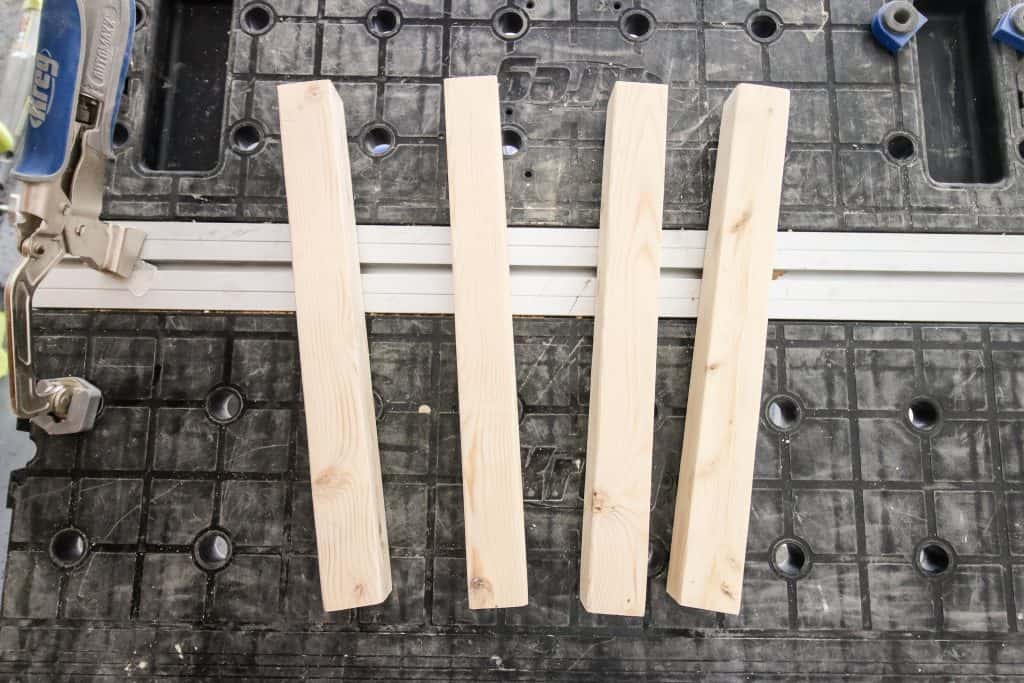
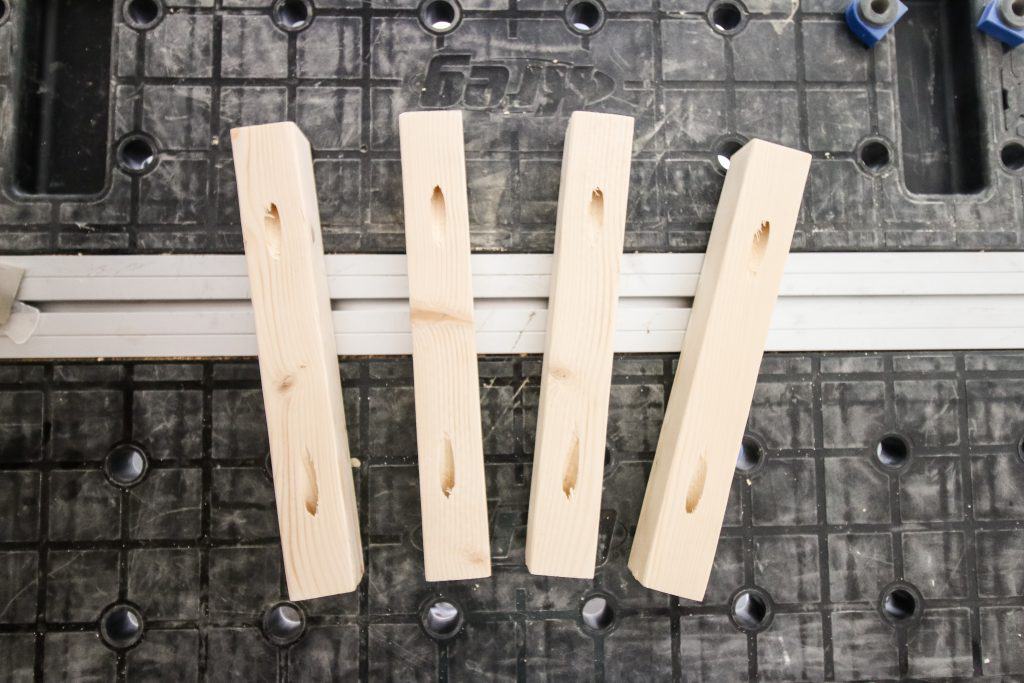
Cut all your leg pieces. This will require four 11" horizontal leg pieces and four 14" vertical leg pieces. Drill on pocket hole on either end of each horizontal leg piece and nothing on the vertical pieces.
-
Cut Supports
Cut four 18" support beams and drill a pocket hole on each end of each.
-
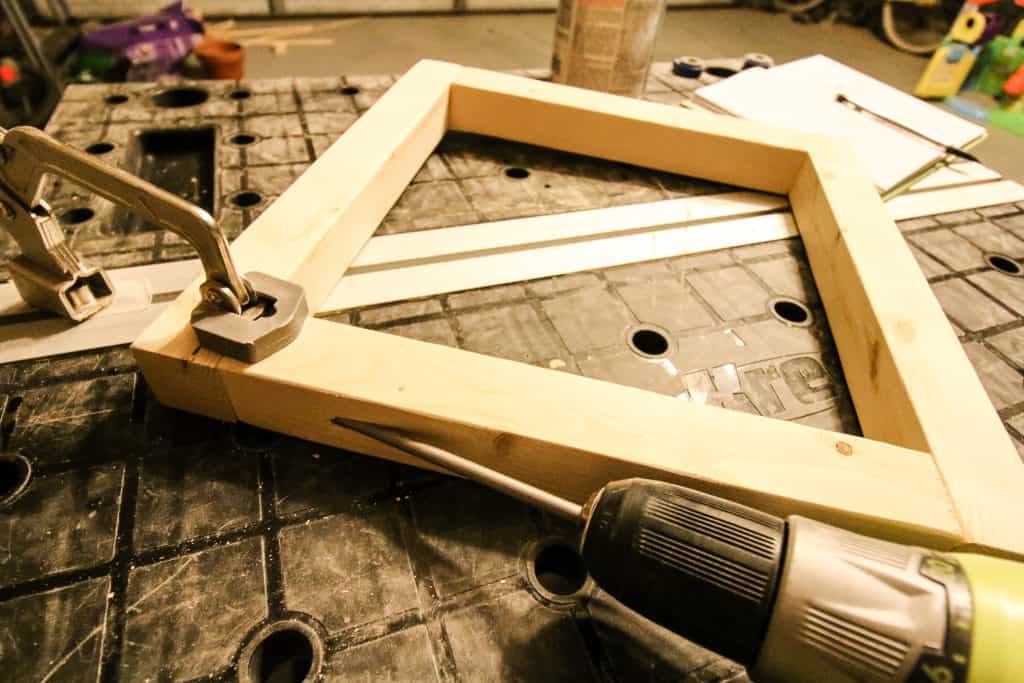
Assemble Legs
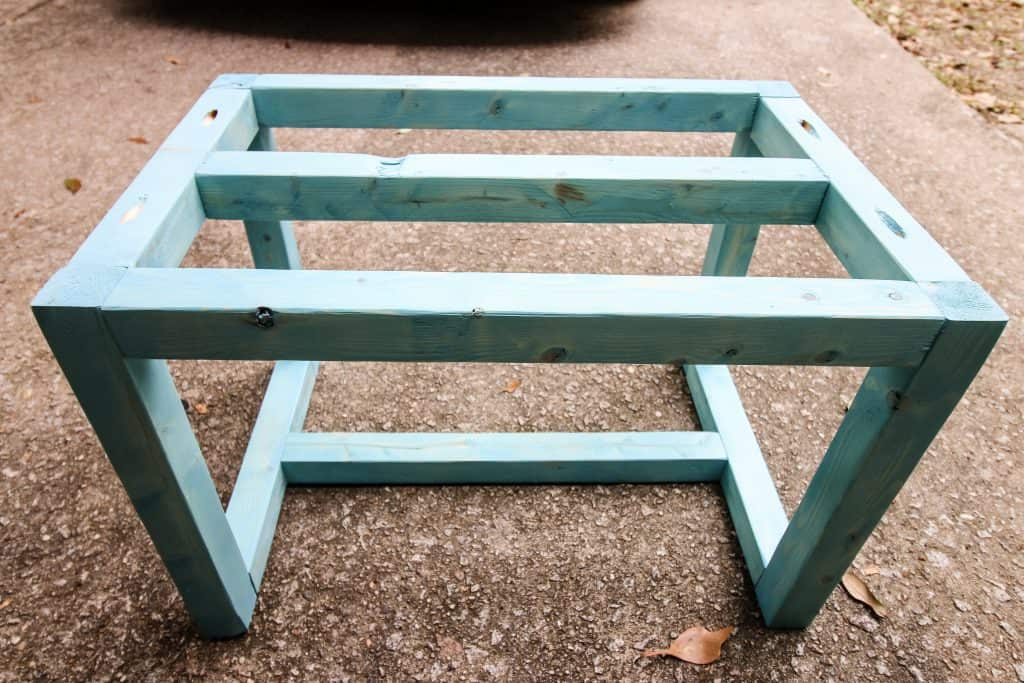
Attach two horizontal leg pieces flush on the inside edges of two vertical leg pieces. Align the pocket holes on the outside or you won't be able to get your drill inside the square! Do this for two legs.
-
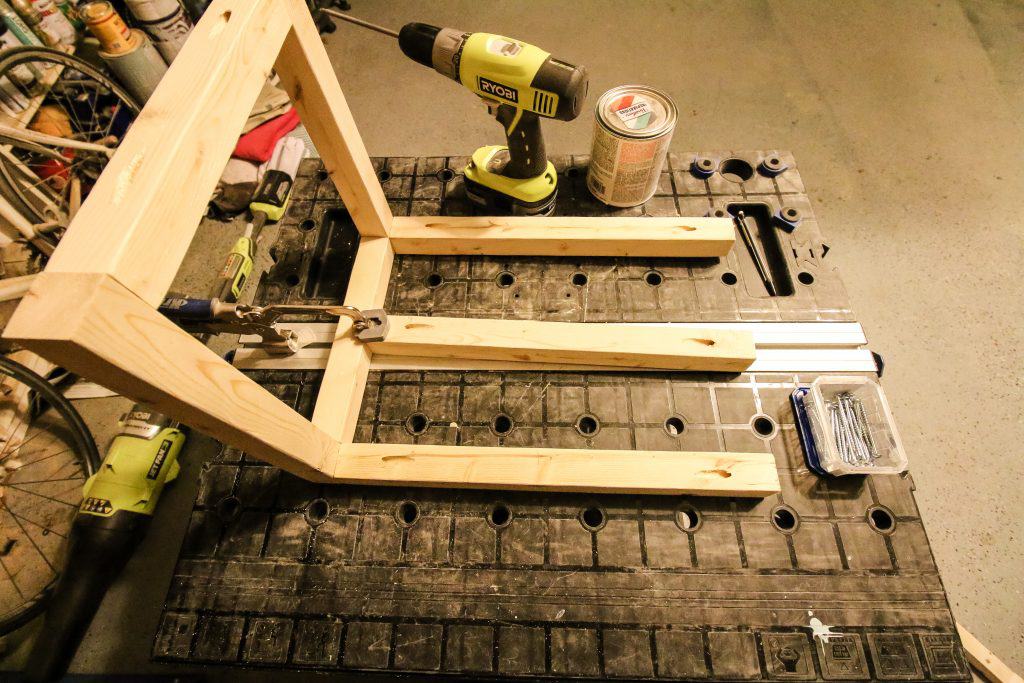
Attach Top Supports
Attach the three top supports to the legs. Align one beam on each side flush with the top of the leg and one beam in the middle.
-
Attach Bottom Support
Attach the bottom support beam in the center between the two legs along the bottom of the stool.
-
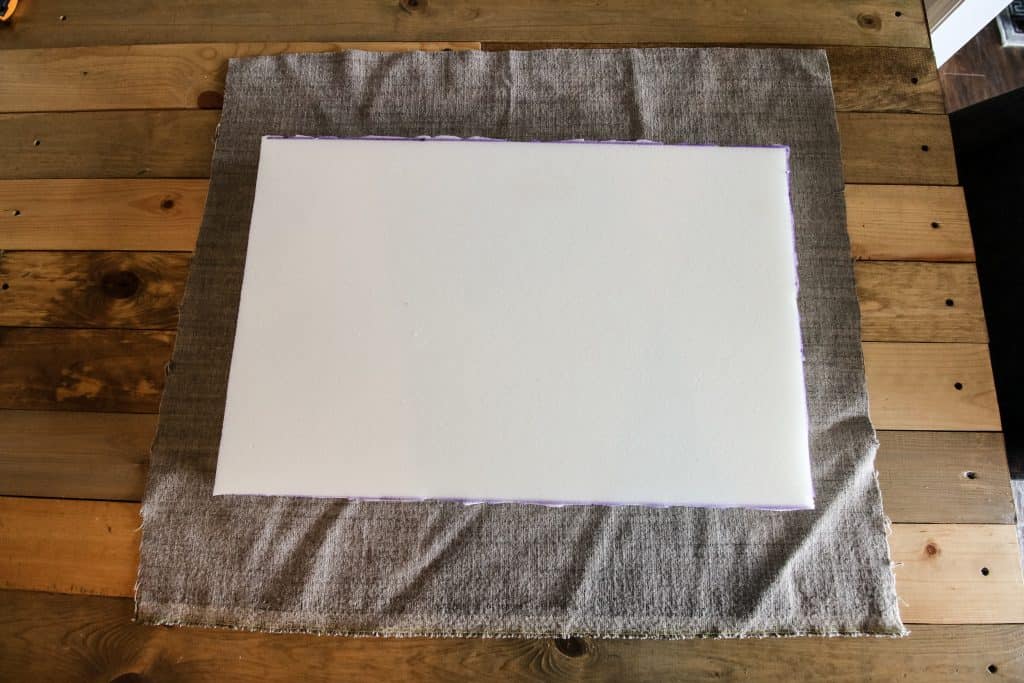
Make Cuts for Padded Top
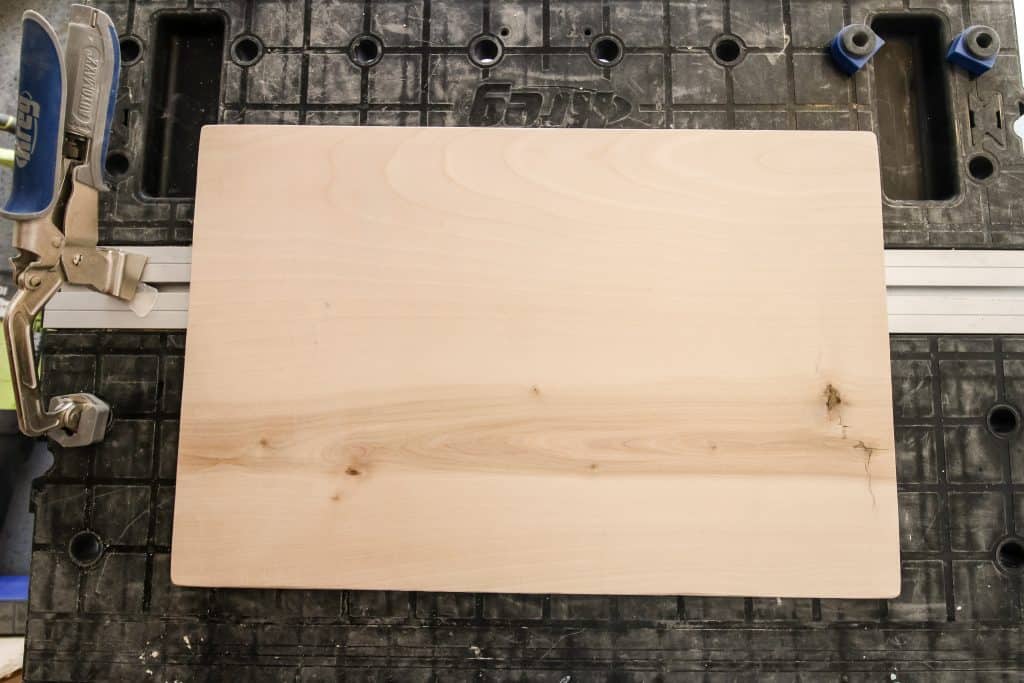
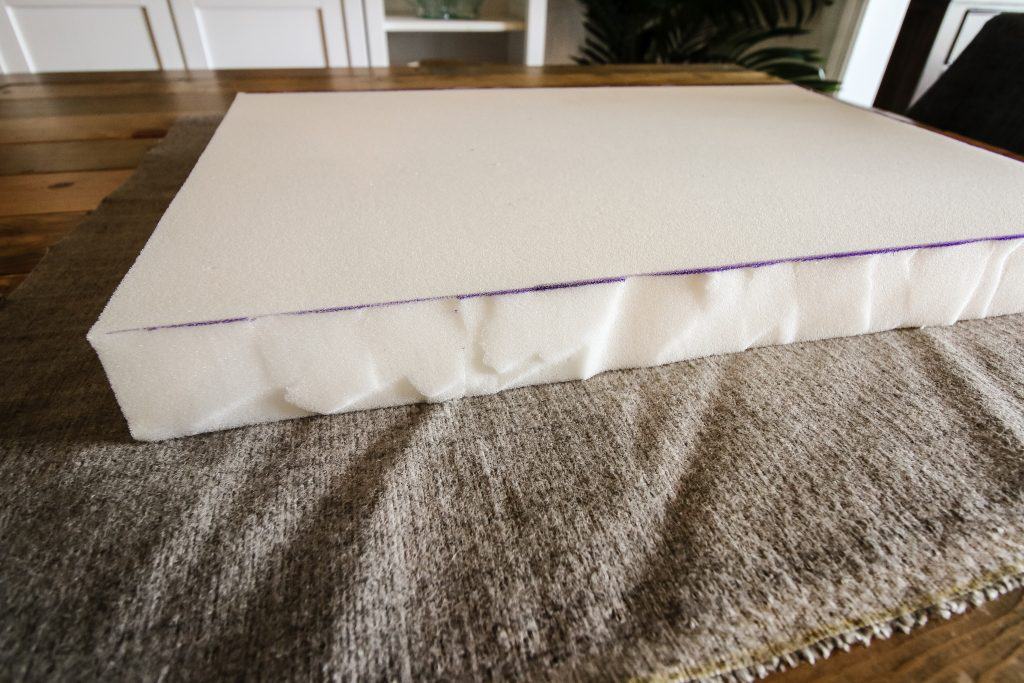
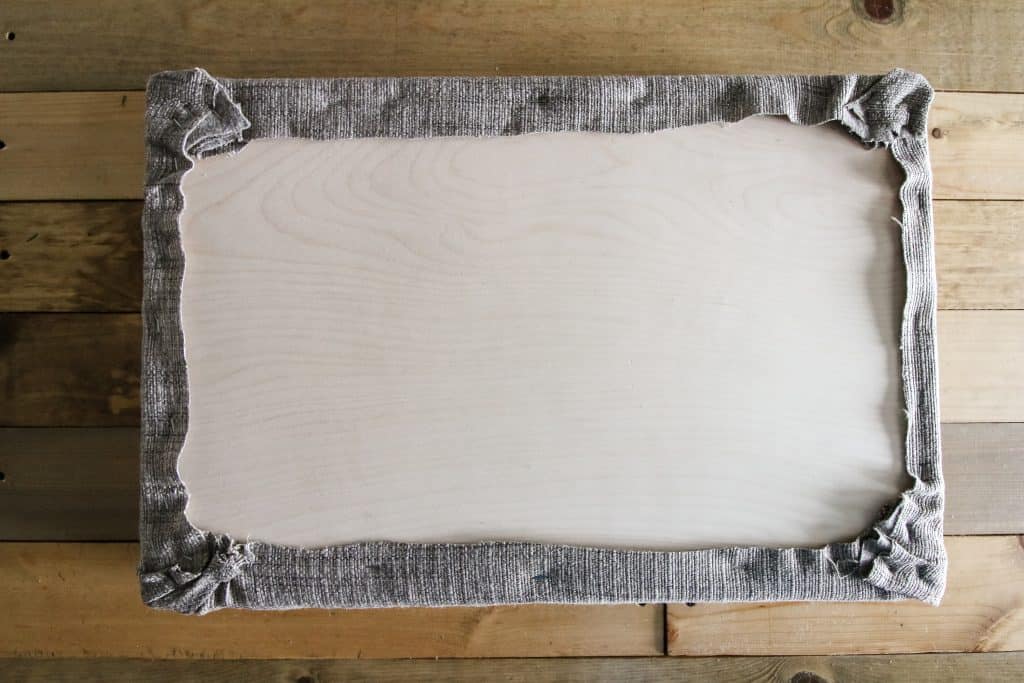
Cut out the foam and plywood to 14"x21". Cut a piece of upholstery approximately 18"x25". It should be enough to fold up and over the edges of the foam and plywood.
-
Staple Top
Place the plywood on top of the foam. Use a staple gun with 1/4" staples to attach the folded up edges of the upholstery onto the plywood top. Trim off any excess.
-
Attach Top
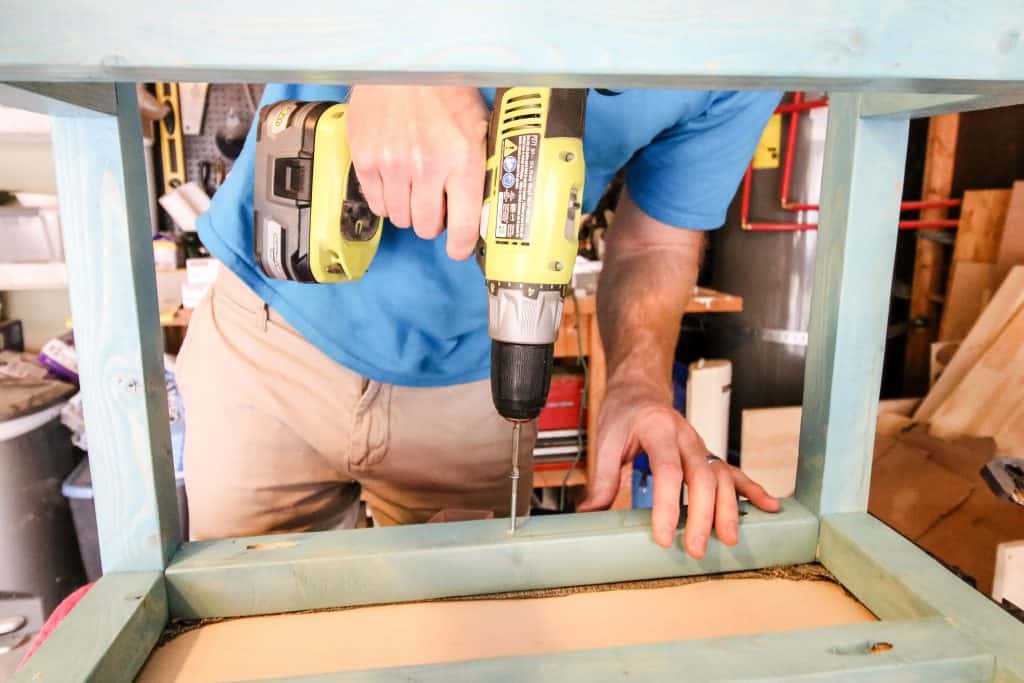
Using four 1 3/4" screws (not with pocket holes), attach the top to the base by drilling through the top frame and into the plywood of the top.
-
Paint or Stain
Paint or stain the wooden base of the ottoman to fit your decor style.
-
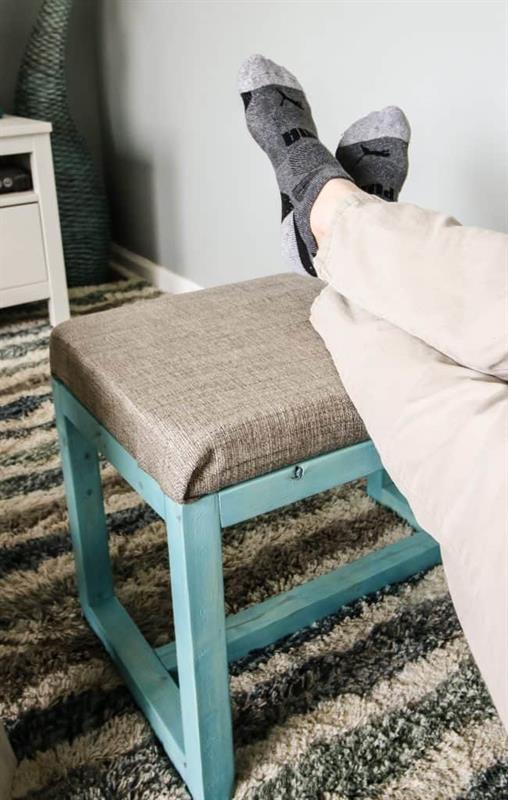
Put your feet up!
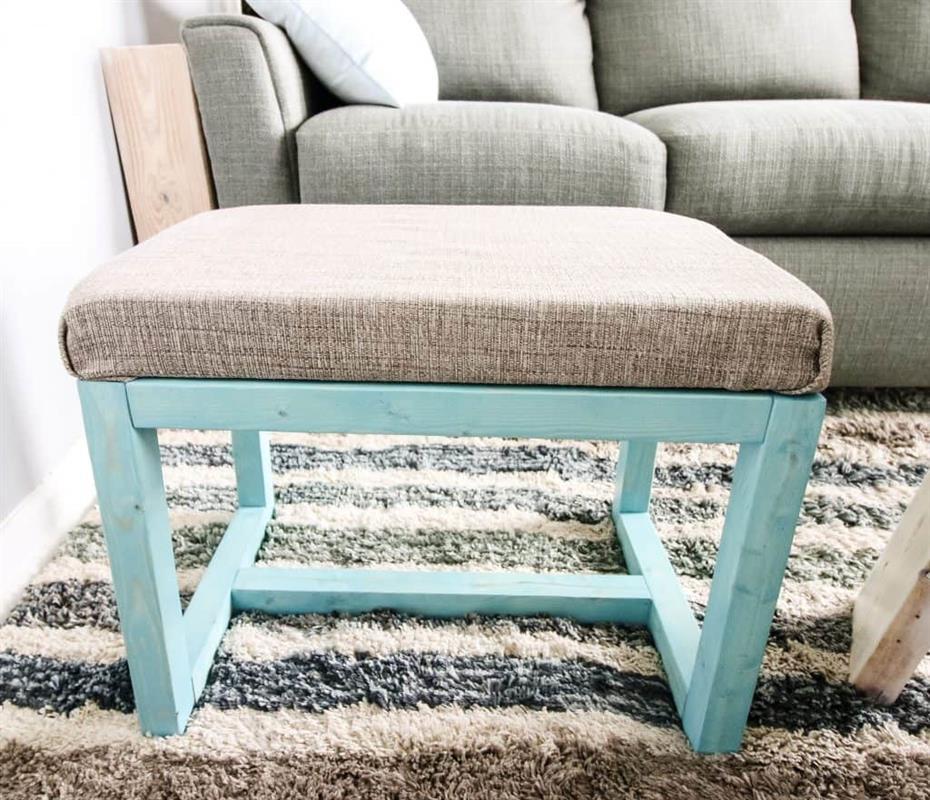
Enjoy putting your feet up on this super simple quick and easy ottoman!
-
Check out www.CharlestonCrafted.com
When you're done, head over to www.CharlestonCrafted.com to check out more about this project and lots of other projects. We're encouraging people to try DIY to make their home personal by doing things themselves!


