Privacy Screen for Hiding AC Unit
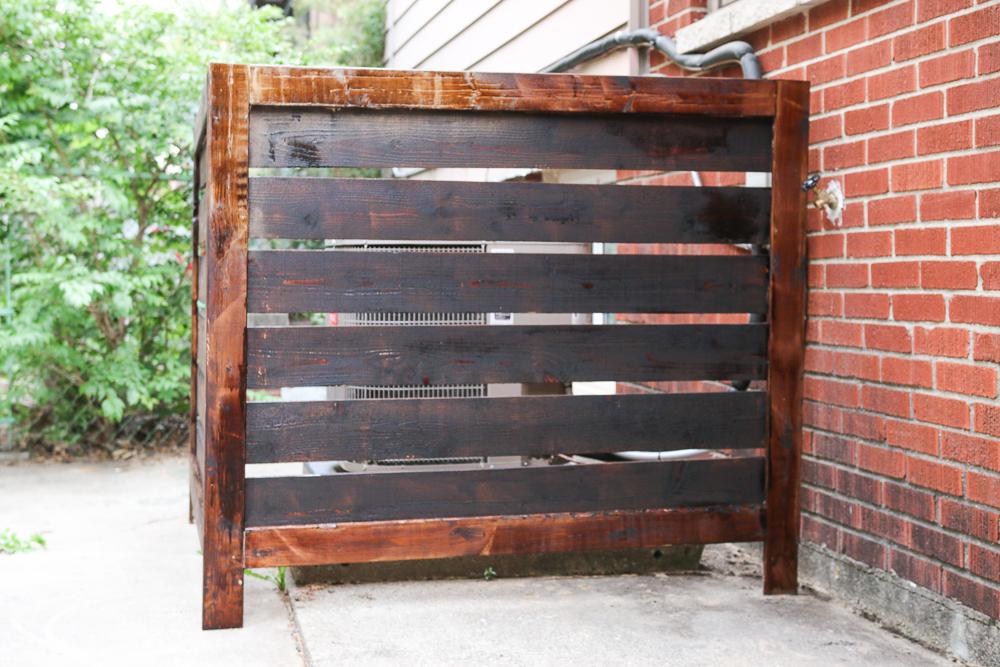
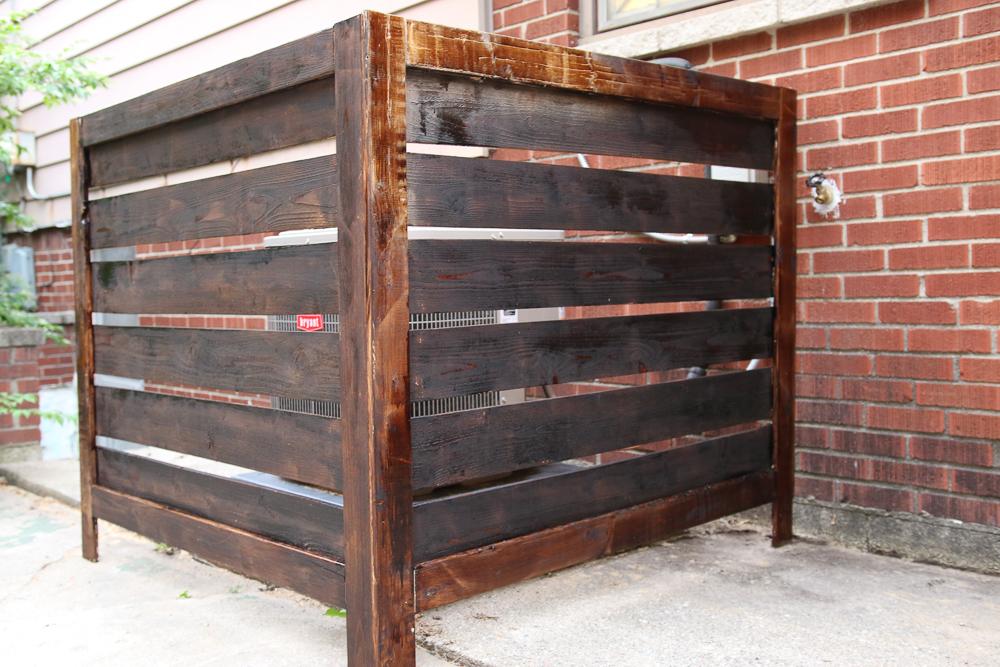
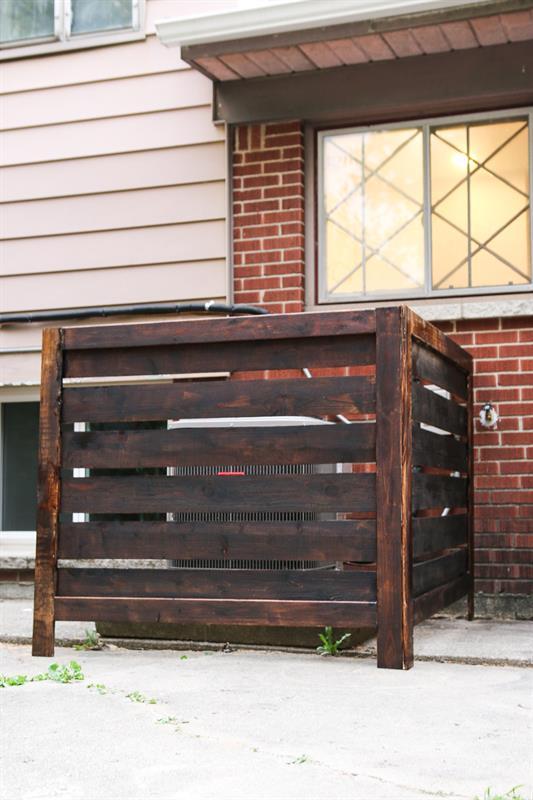
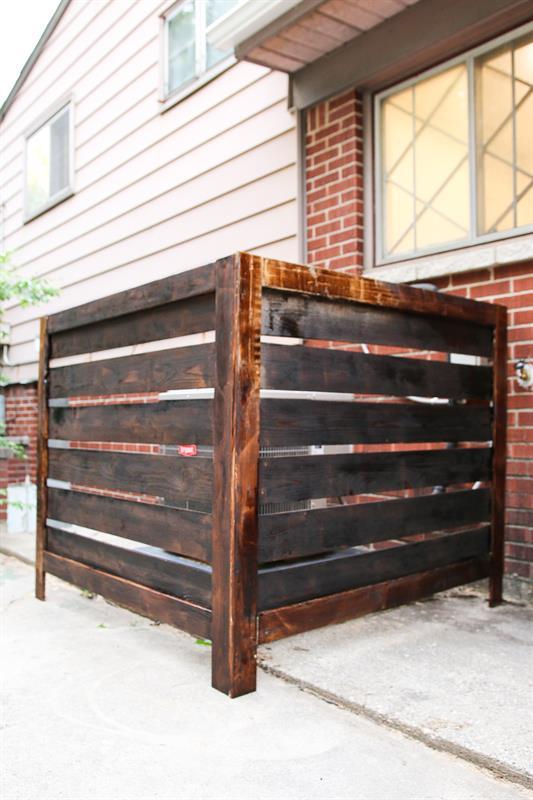
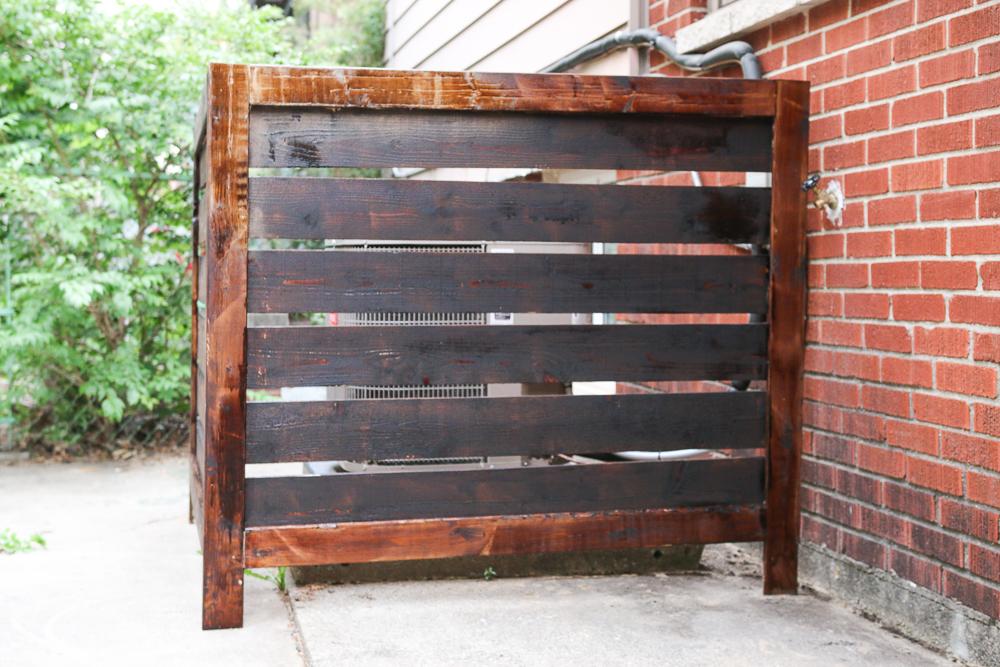
By The Weathered FoxLearn how to make this easy, customizable outdoor screen to hide an air conditioning unit. These plans can be easily modified to boost curb appeal by hiding garbage/trash cans, electrical boxes, and other unsightly outdoor eyesores. Always be sure to respect clearance distances for your a/c unit.
Directions
-
Cut Pieces to Desired Length
Check with your air conditioning unit's user manual to be sure your privacy screen doesn't impede air flow. This screen gives our air conditioning unit 12 inches of space between the screen, plus plenty of airflow between the slats.
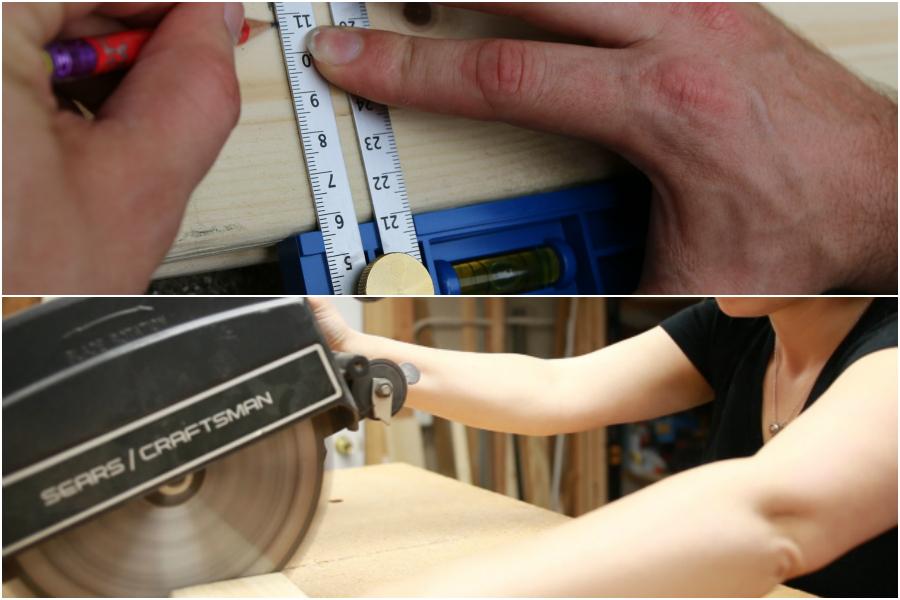
Cut your wood to your desired length, and sand any rough edges.
-
Assemble the Frame
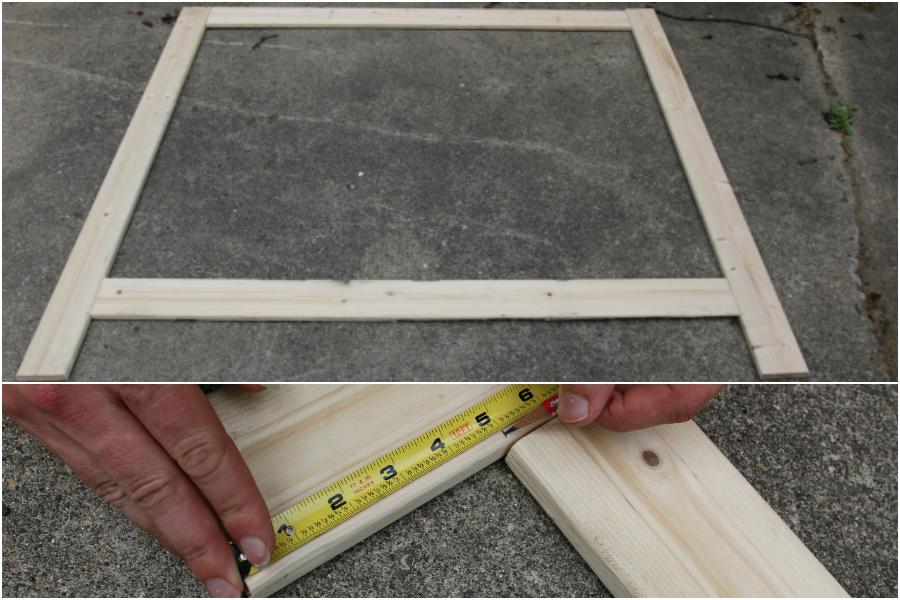
Lay out your frame on a flat surface, and decide the length of your legs. We chose to make our legs 5 inches. Mark your leg length on each end.
-
Drill Pocket Holes
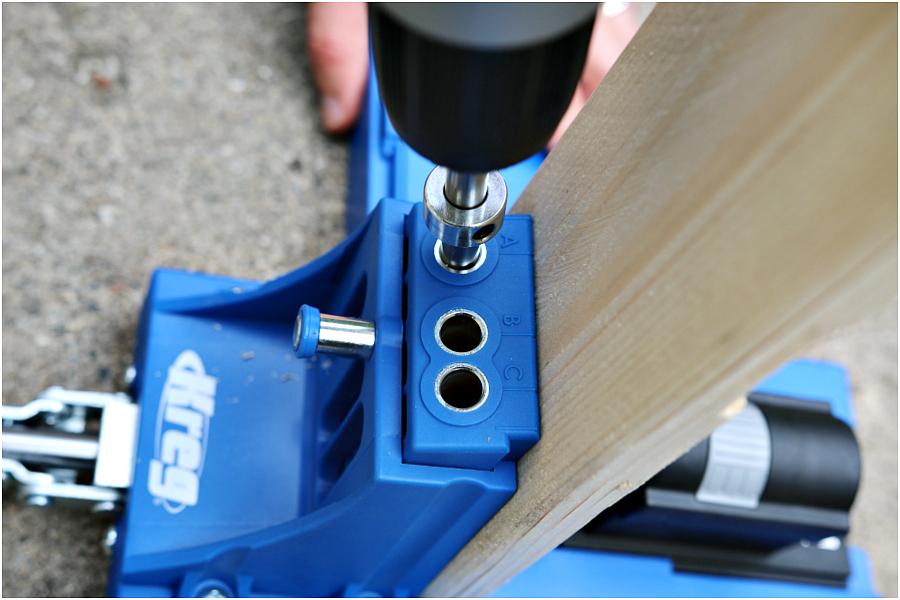
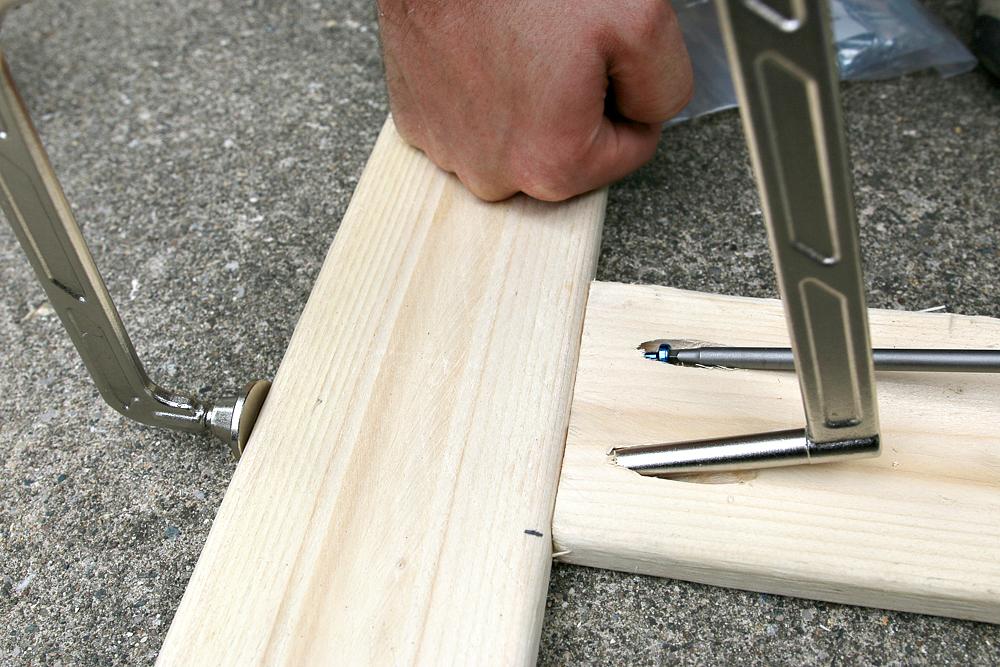
Using your Kreg Jig, drill two pocket holes on each end of the horizontal boards. I used holes 'a' and 'c'.
-
Add Kreg Screws
Add construction adhesive to your boards, then secure the frame with your kreg screws. Using a right angle clamp helped keep the boards secure while attaching.
-
Nail Fence Boards
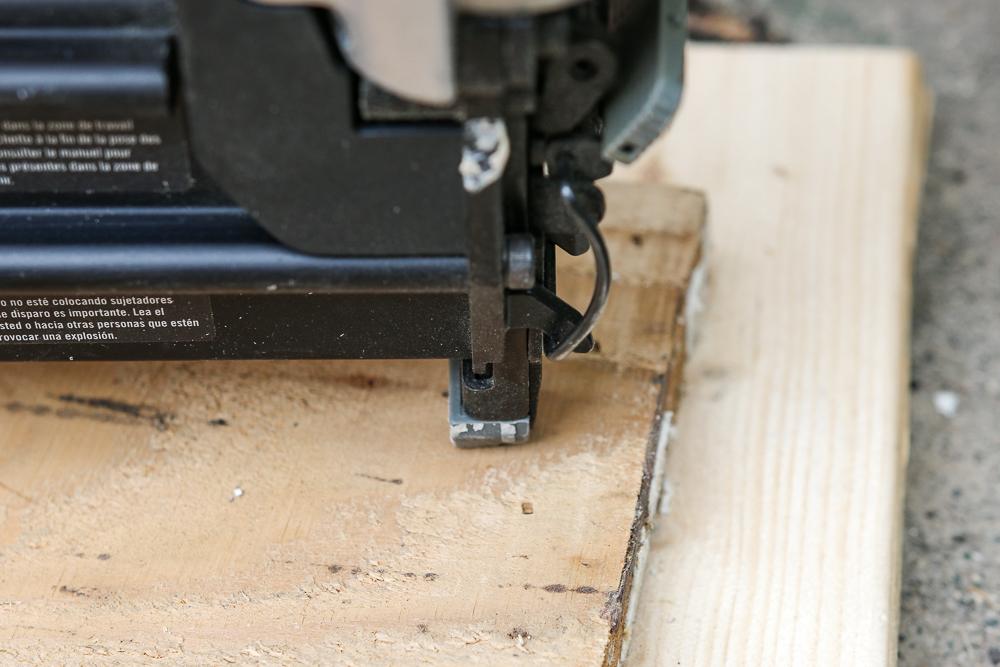
Space out your fence boards until you have a desired look. Be sure to keep the boards spaced far enough to allow proper airflow through your privacy screen. Add construction adhesive to the boards along the frame, and attach boards with nails using a brad nailer.
-
Paint or Stain as Desired
Paint or stain your privacy screen as desired. This could be done at any step. We chose a stained look and finished with an outdoor sealer.
-
Connect Frames with Screws
Once all of your frames are assembled, connect the frames using adhesive and screws. You can screw right from face of one frame into the side of another to secure them together.


