Pottery Barn Kids Inspired Modular Storage System
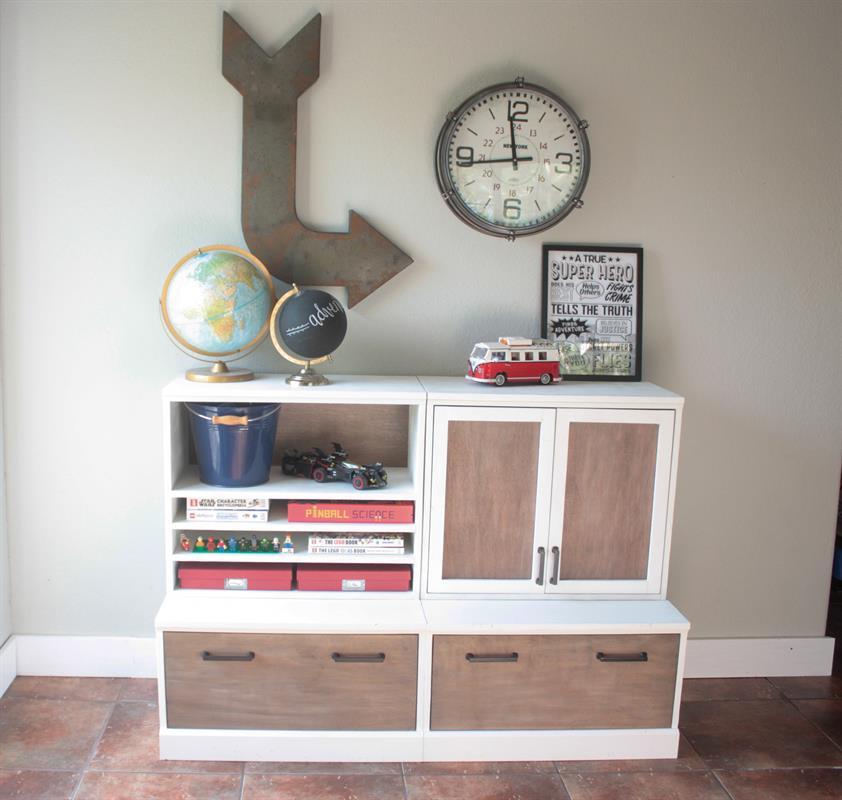
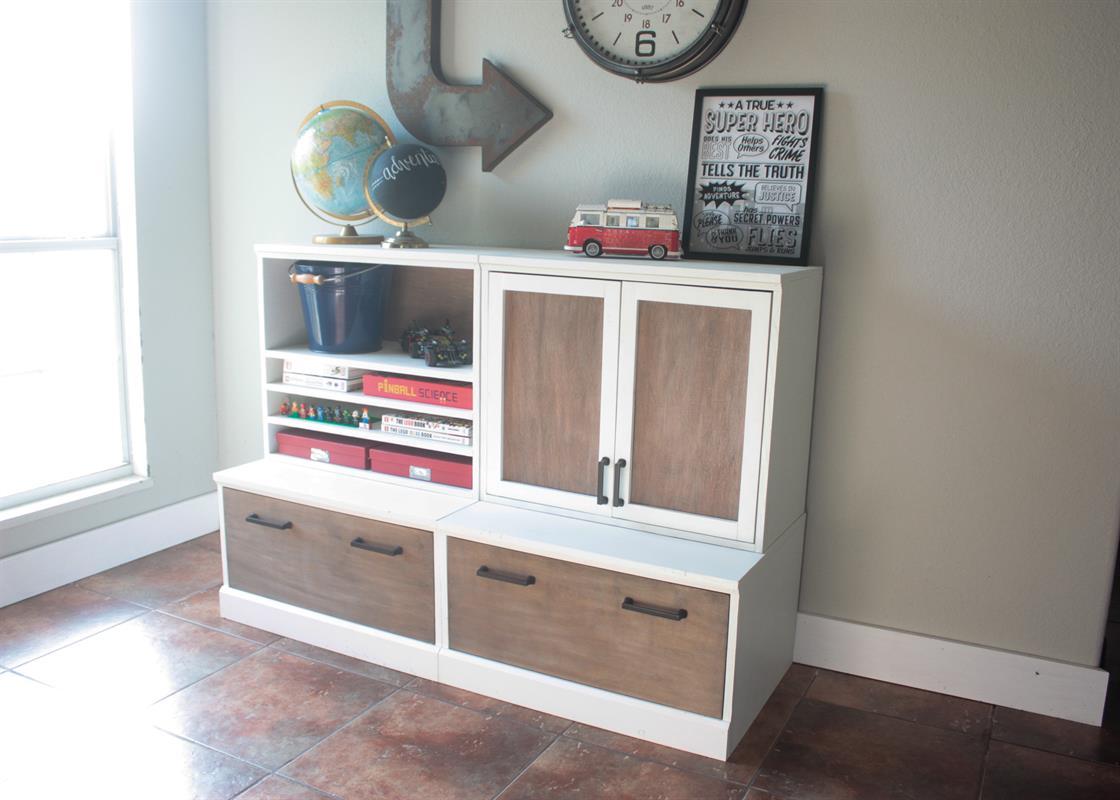
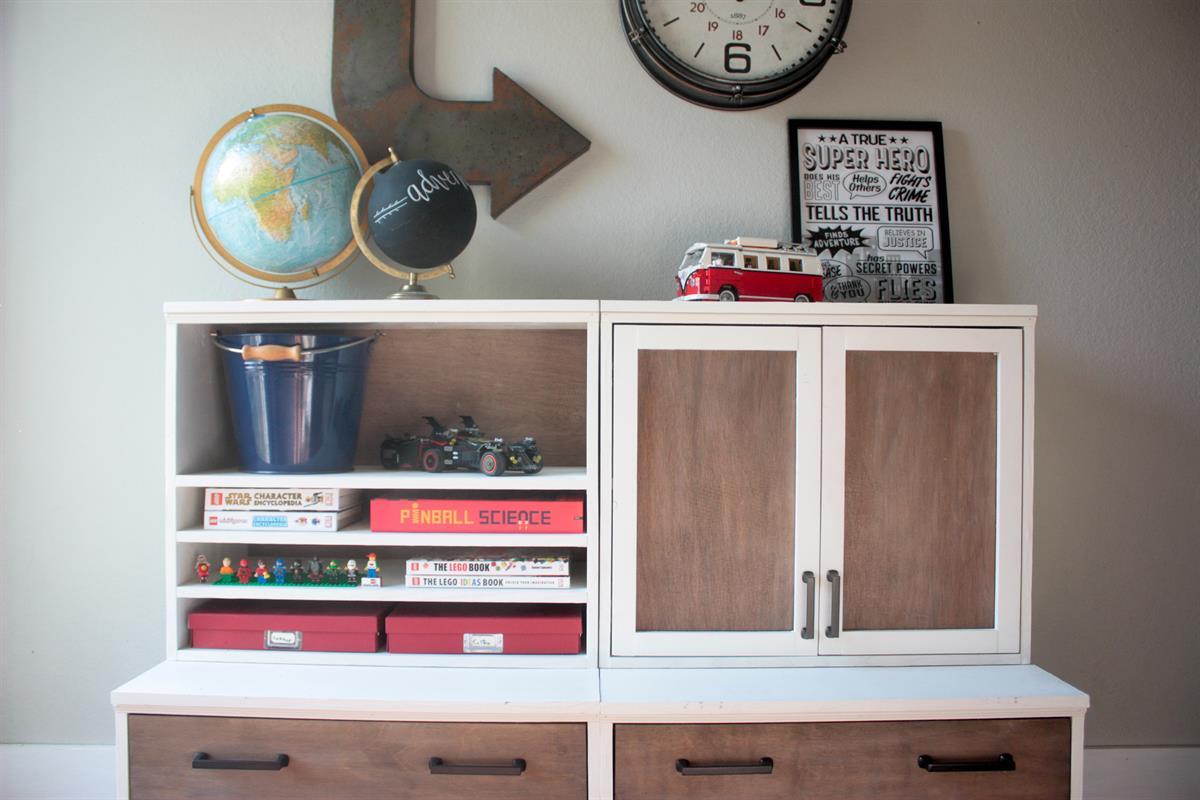
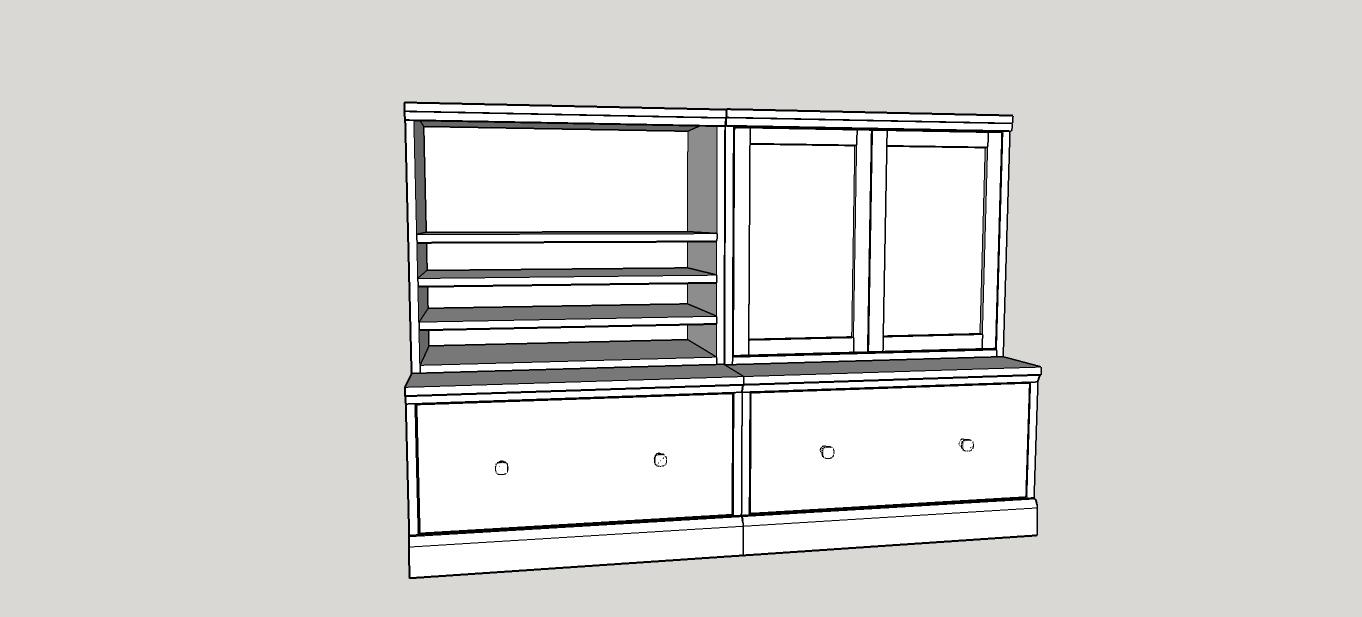
By The Inspired WorkshopThis simple solution to so many of your storage issues can be custom designed any way you like!! Pick the base you like, then pick the top cabinet(s)that fit your needs most! Stack them three high if you like or separate them around the room, make a wall of storage or just a small set!
Directions
-
Step 1
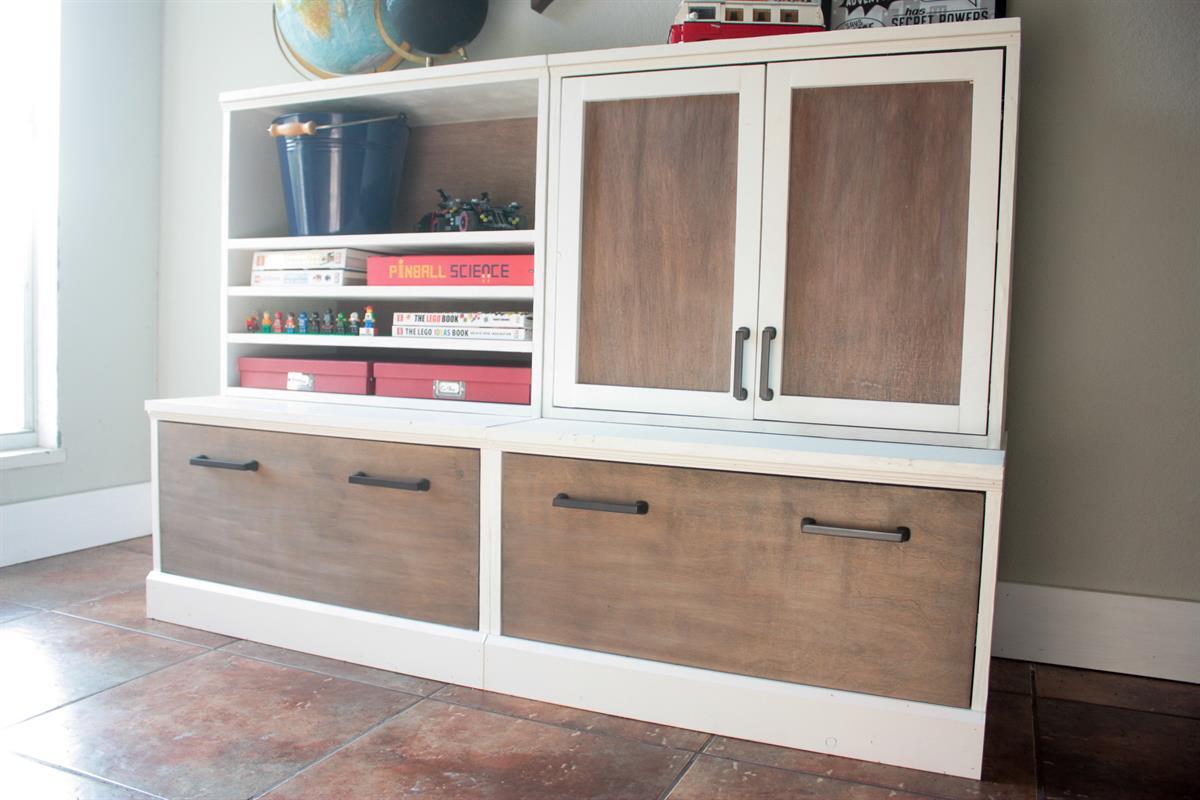
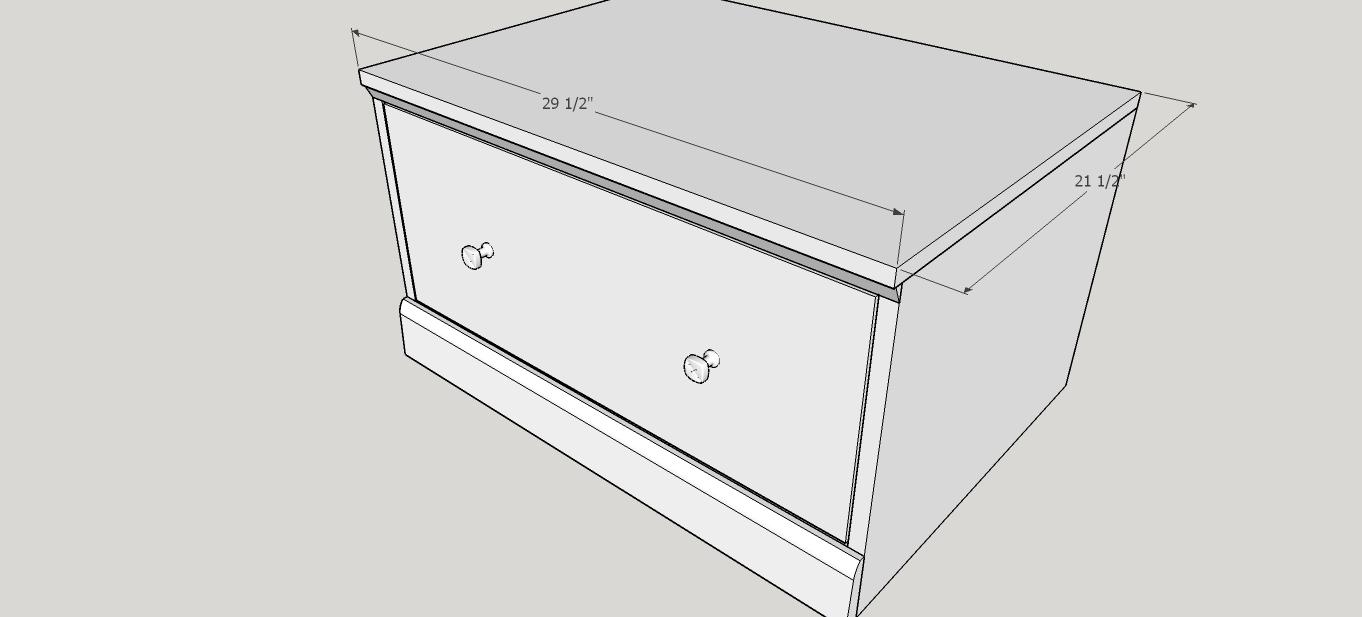
We will start off with the Drawer Bases! The cut list is for 2 drawer bases as in the cover photos, if you are only wanting to build one, you will need to adjust the cut list, if you are building both make sure and repeat each step twice!
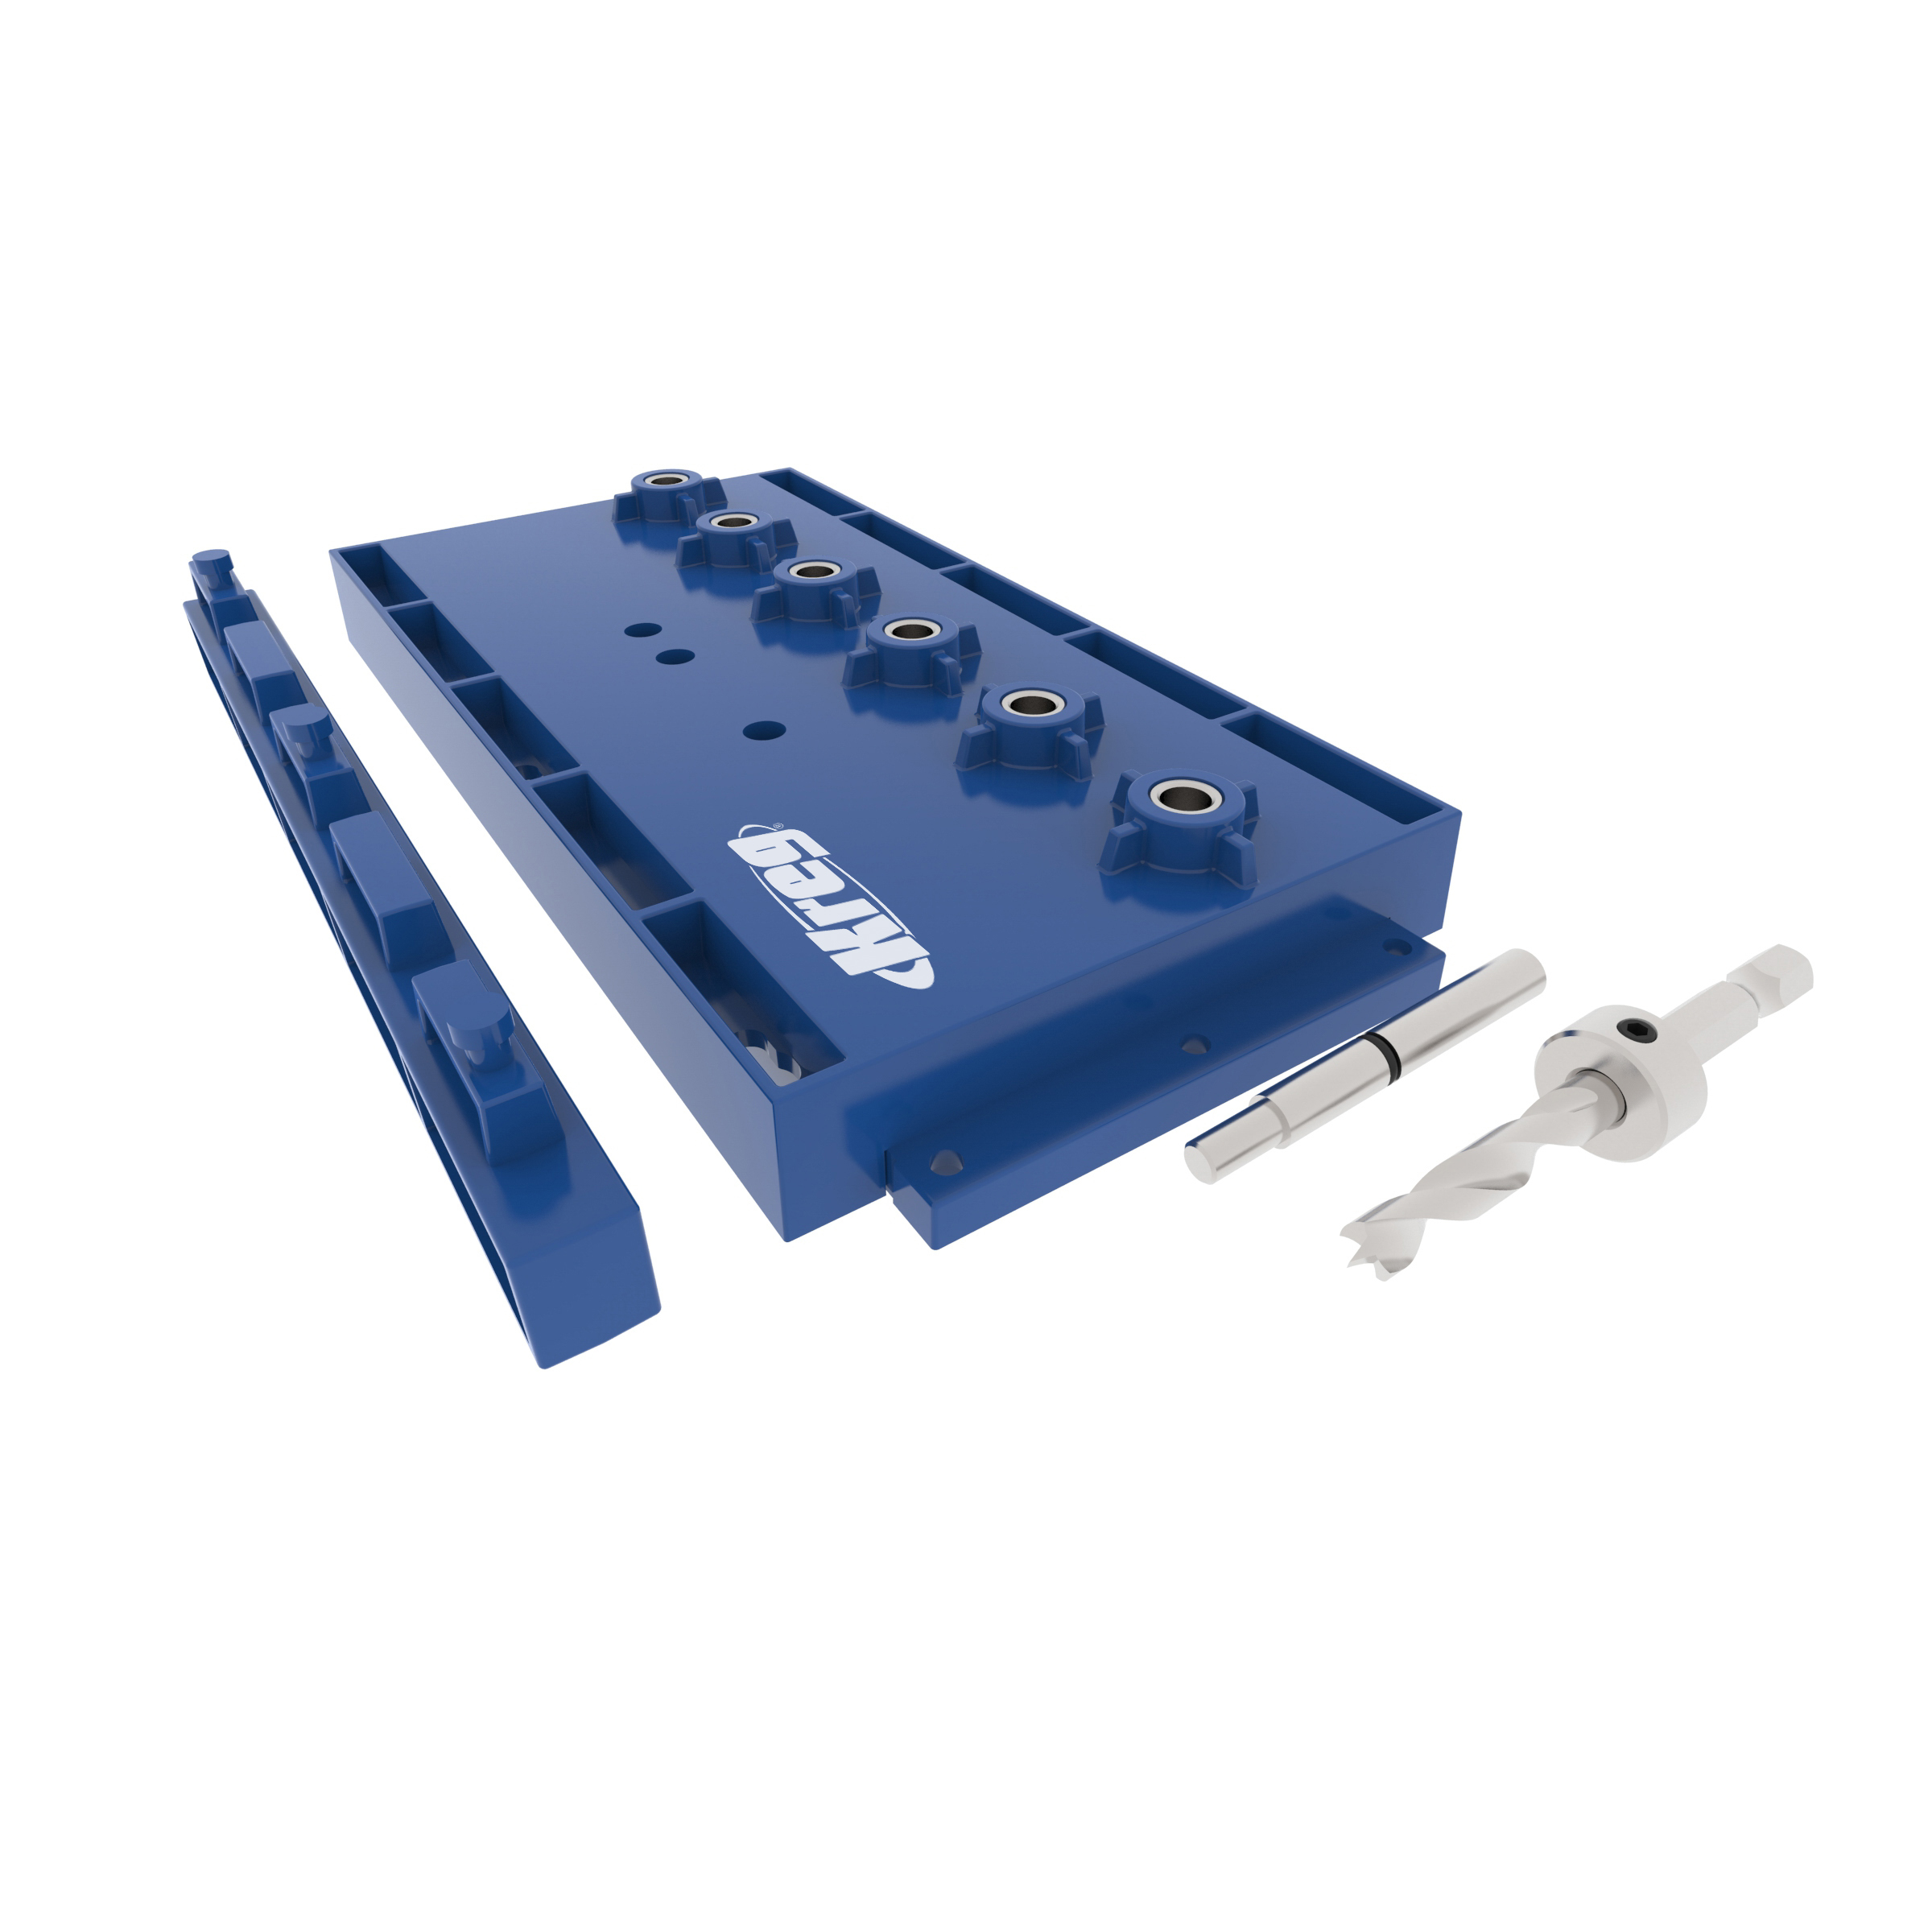
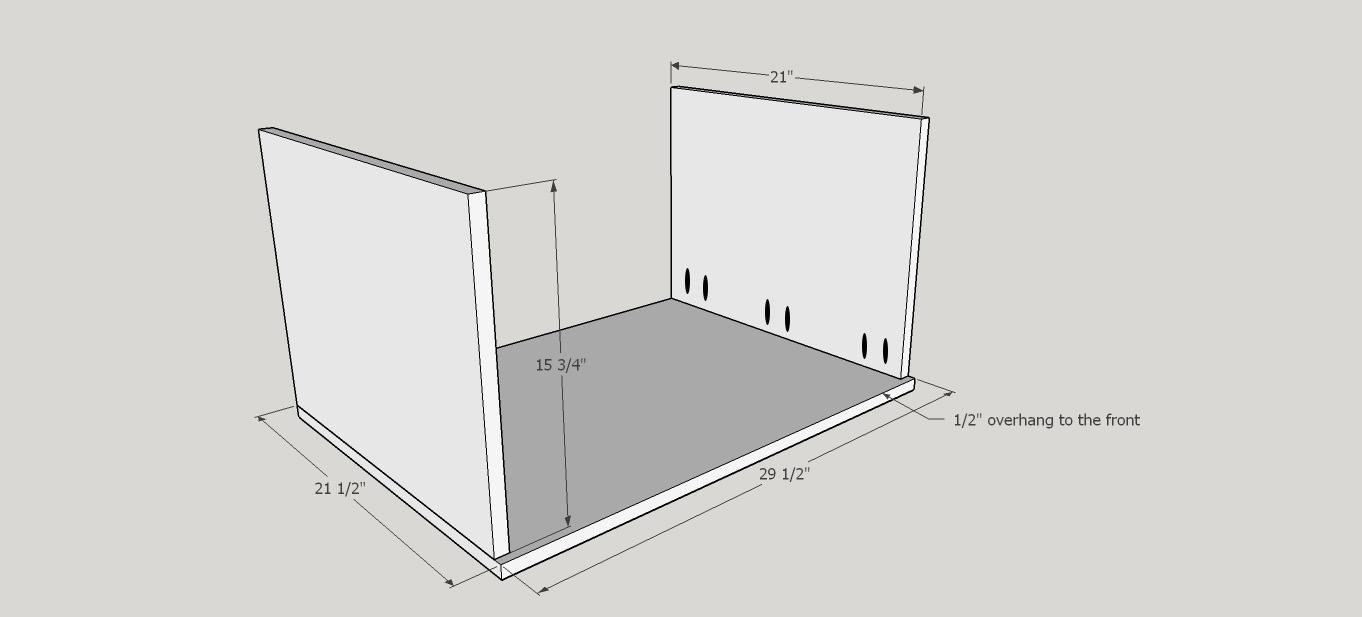
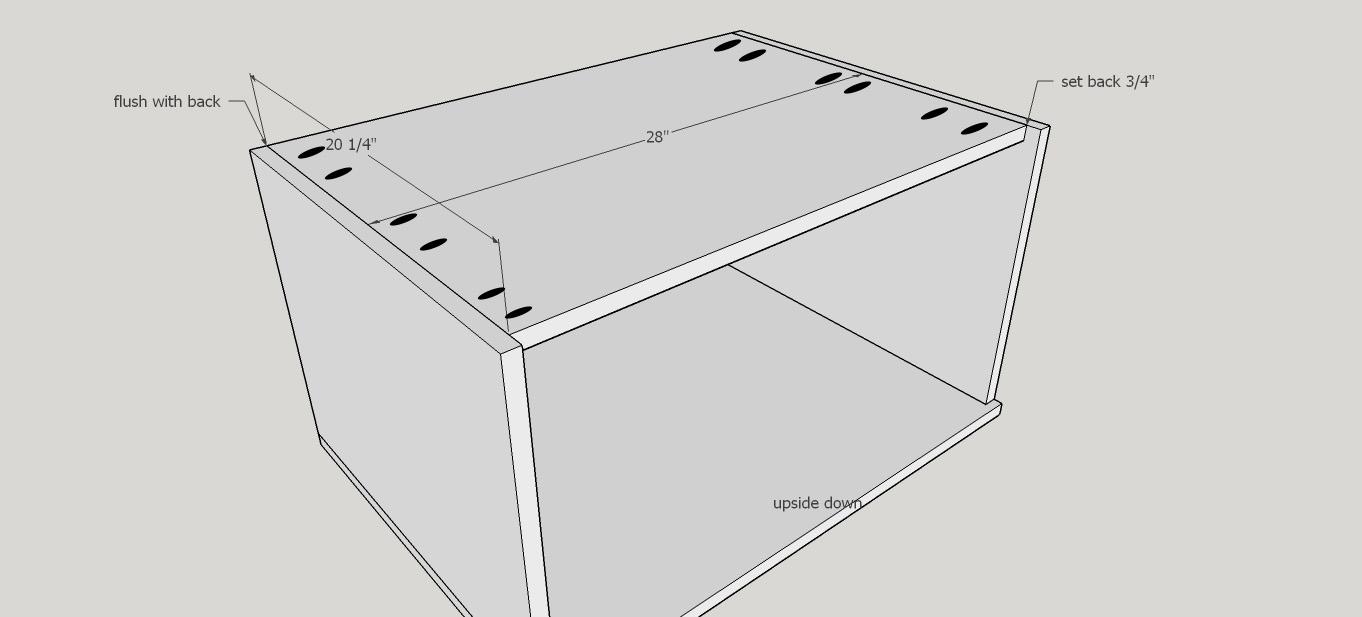
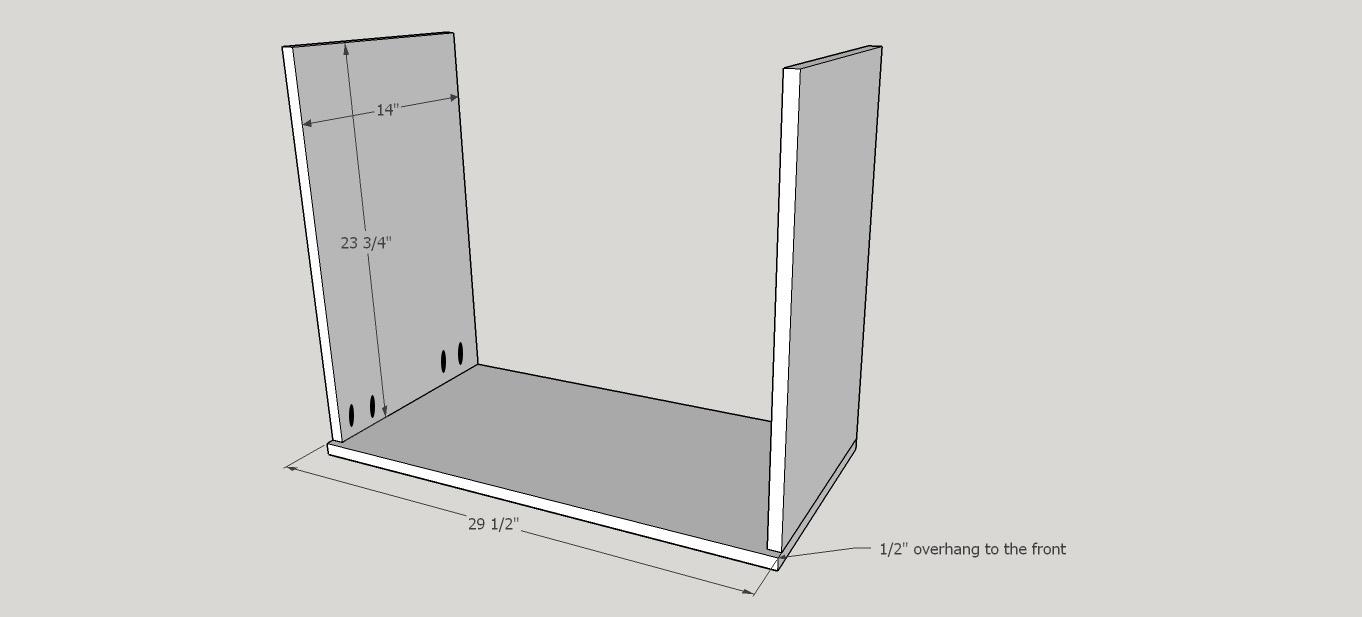
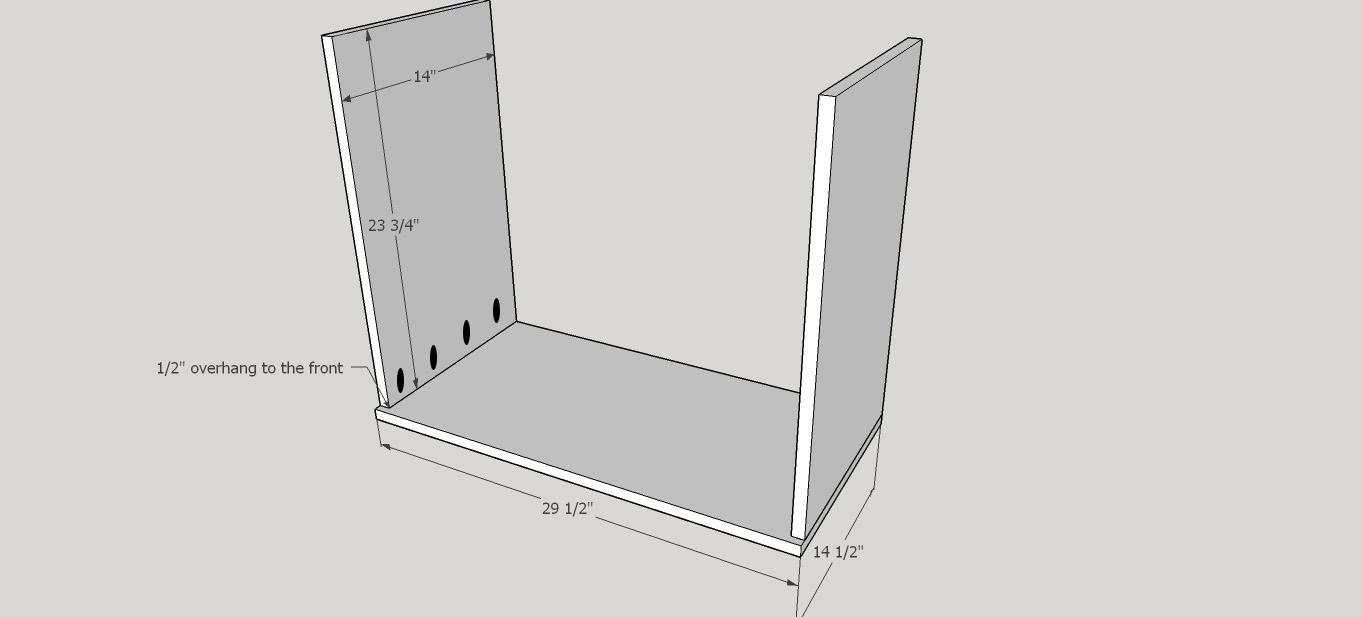
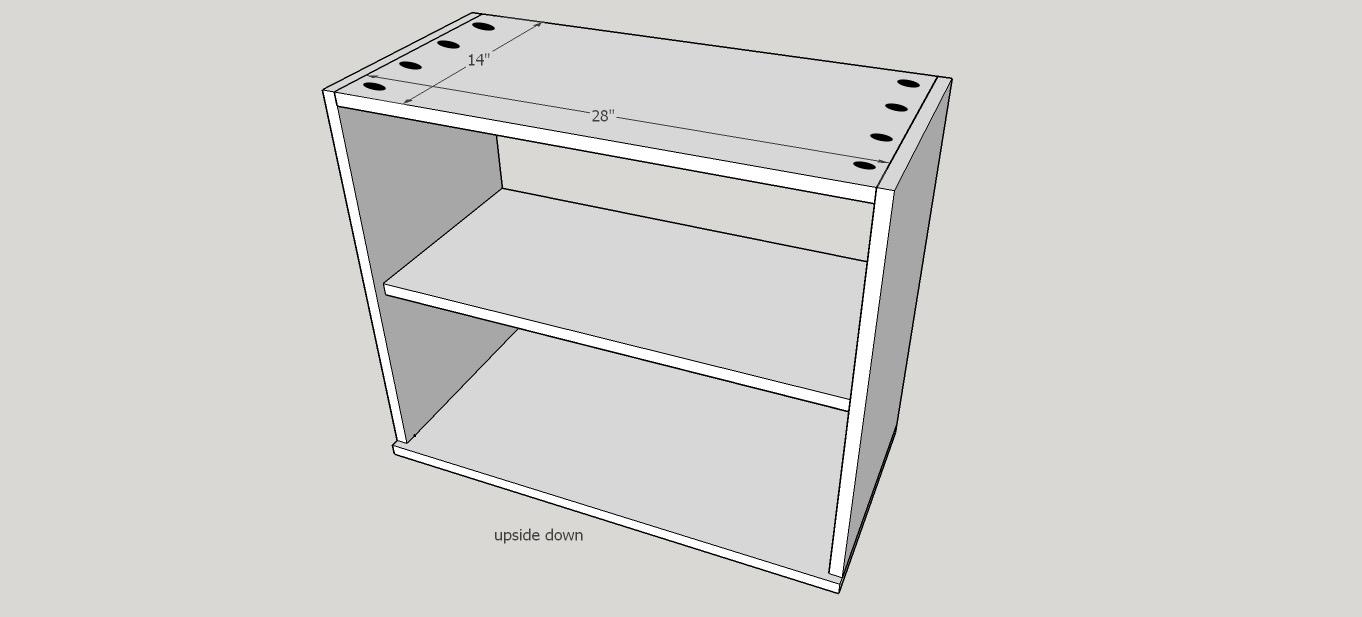
Attach your sides to your top: pocket holes drilled at 3/4" (since our plywood is 3/4" thick) and using 1 1/4" pocket hole screws with some wood glue will get the job done!
-
Step 2
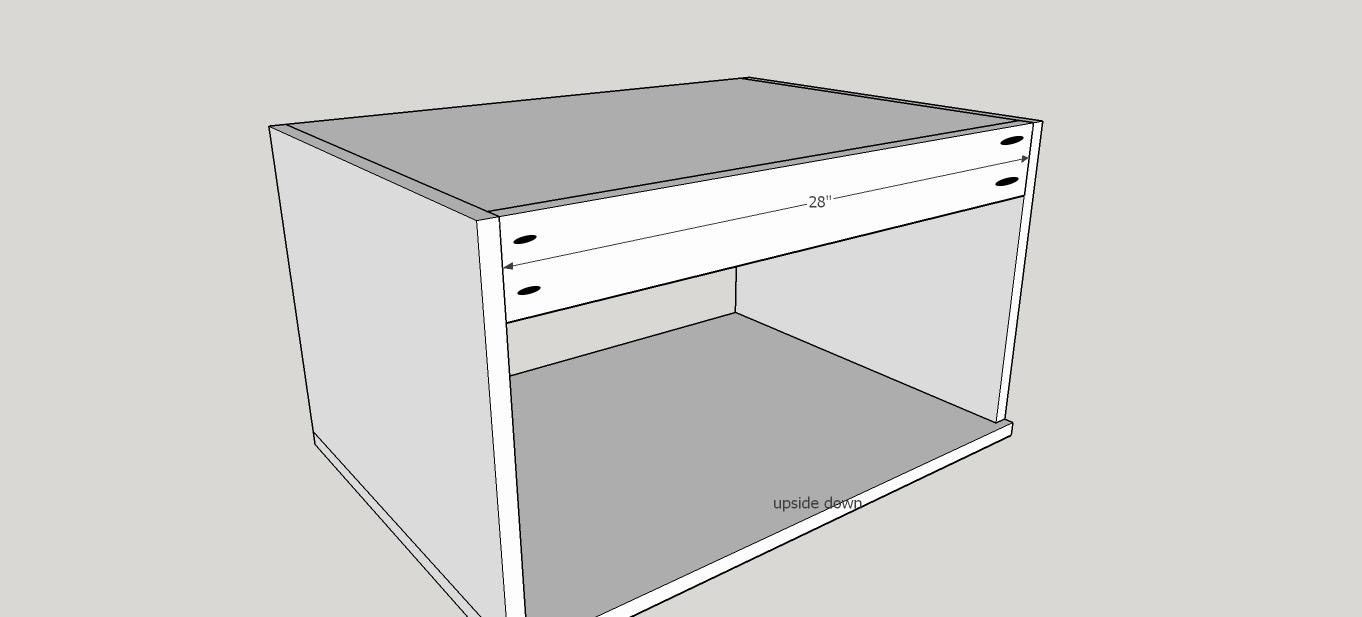
Next add the bottom to the drawer base. It will be flush with the ends of the sides. Drill 3/4" pocket holes, and use 1 1/4" screws with glue!
-
Step 3
Next add the front brace rail, this will be covered up by the molding so you can place your pocket holes to the front! Drill 3/4" pocket holes and use 1 1/4" screws and glue to attach.
-
Step 4
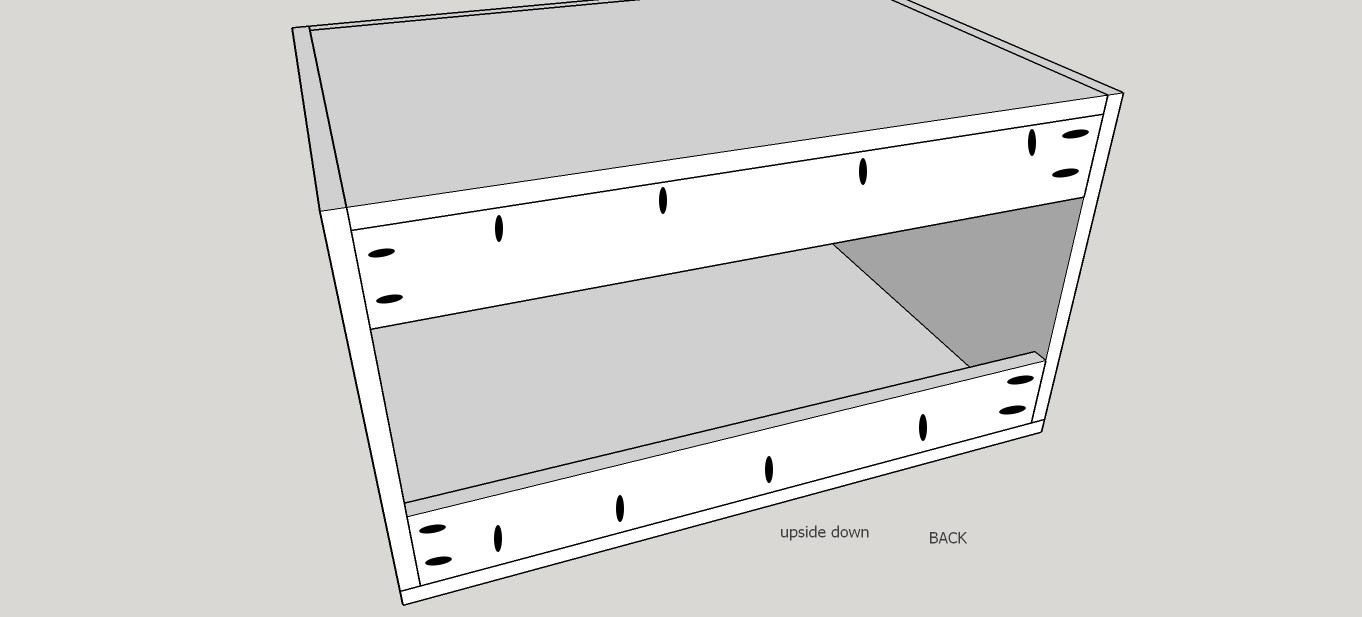
Instead of a wasting a solid piece of plywood for the back I used two strips that were left over after ripping down my other pieces, they were roughly 4" - 5" wide and I placed one at the top and one at the bottom and they were pocket holed into the top and bottom boards as well as the sides! Again, using 3/4" pocket holes, 1 1/4" screws and glue to attach!
-
Step 5
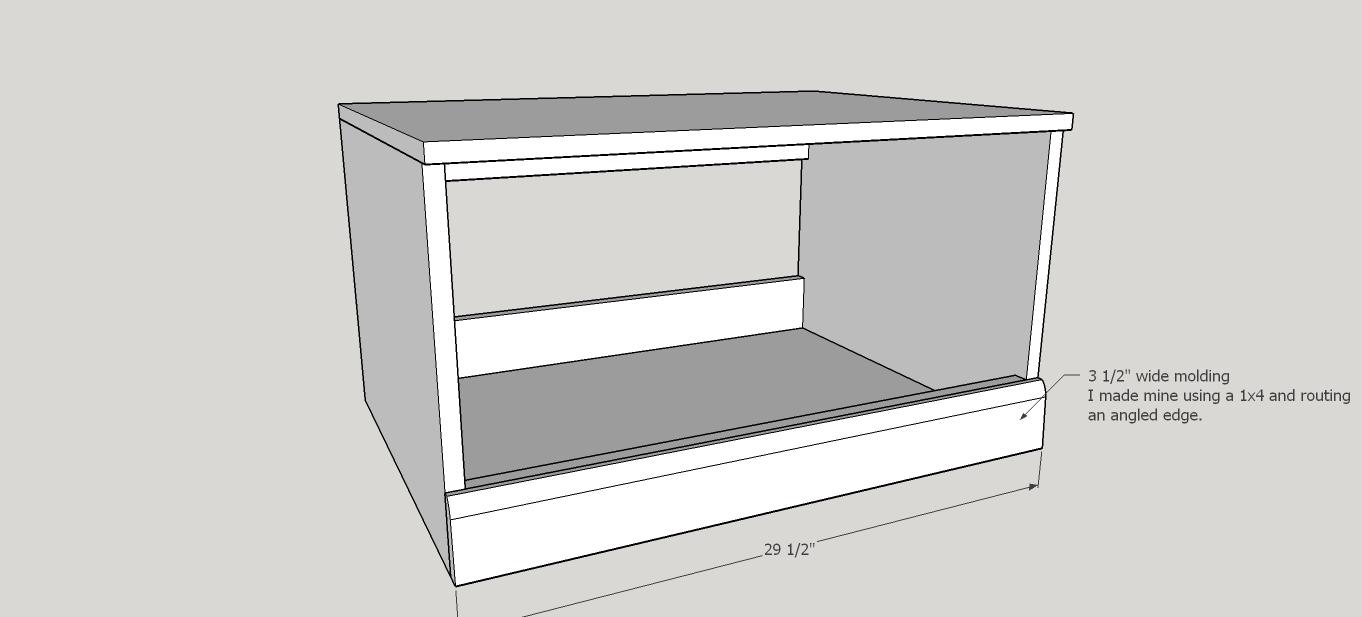
Add the bottom molding to the drawer base! I used a 1x4 that I just routed an angled edge onto instead of buying molding! I just glued and brad nailed it into place with 1 1/4" brad nails!
-
Step 6
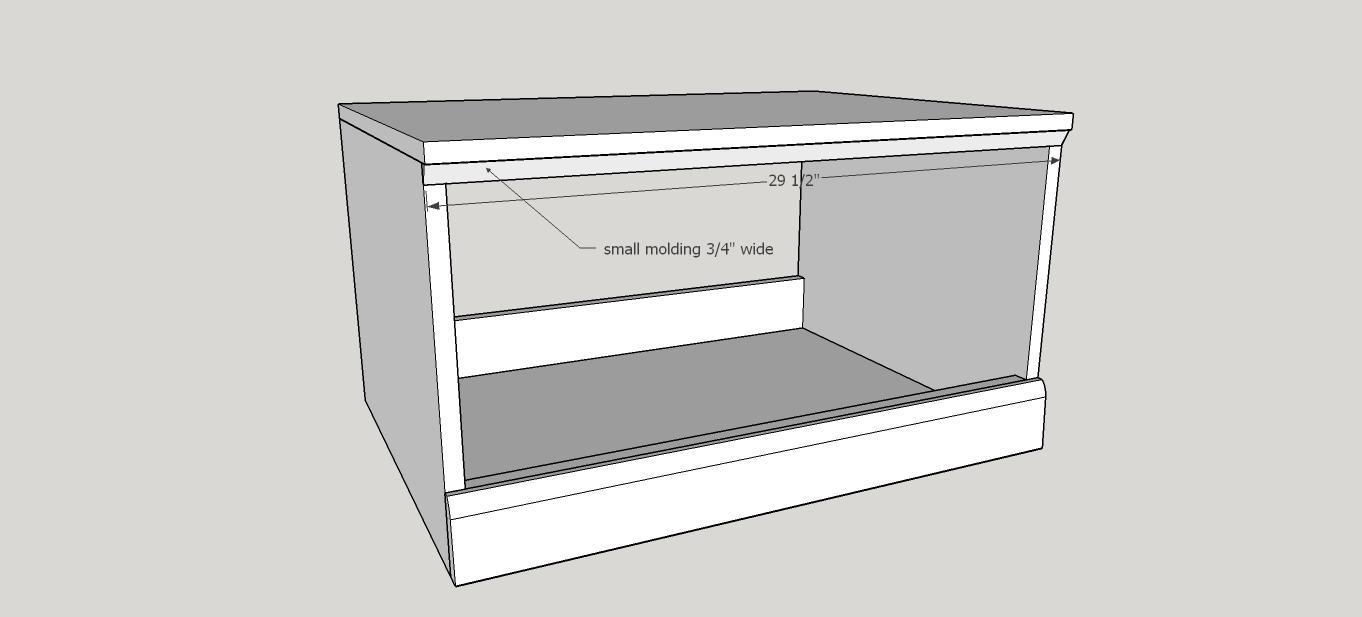
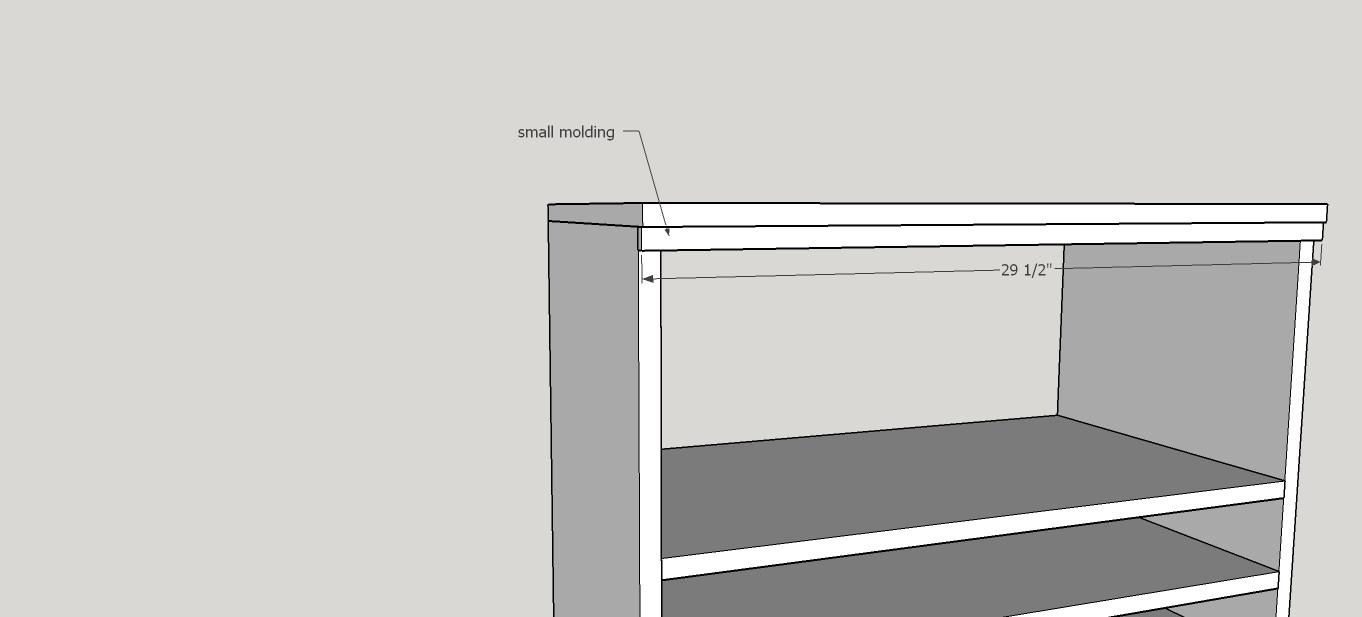
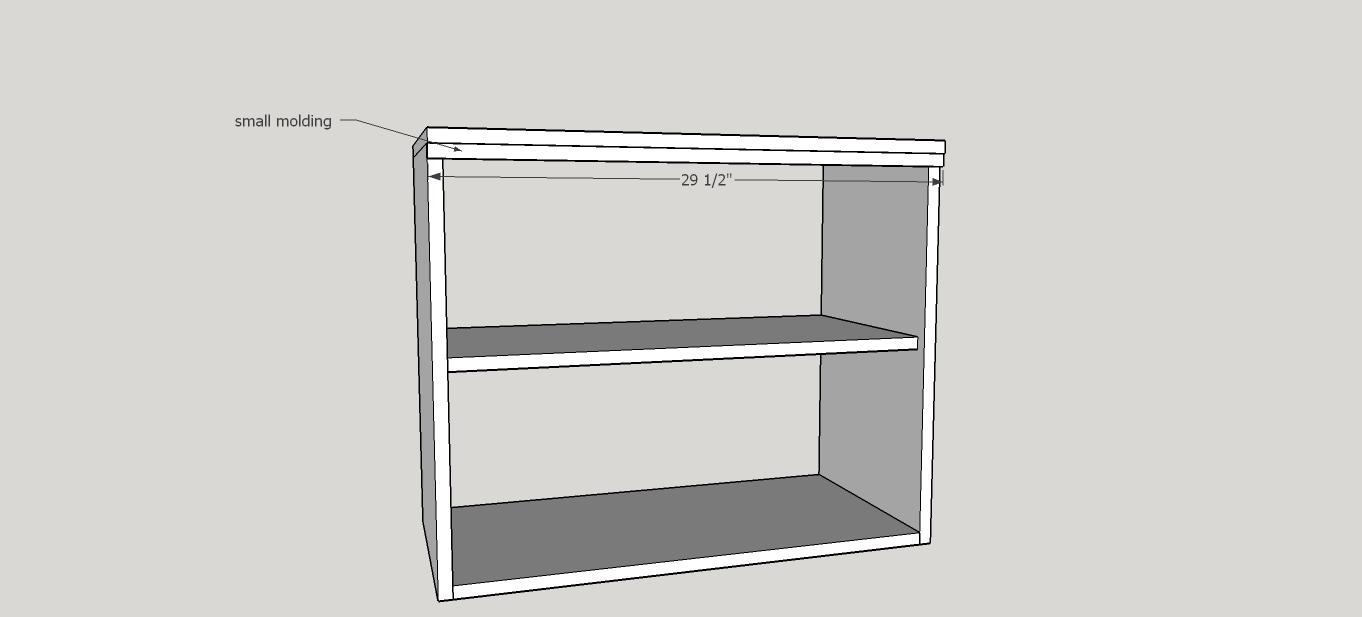
Next I added the small little molding at the top, just to give it a little character! I again used wood glue and 1 1/4" brad nails to attach!
-
Step 7
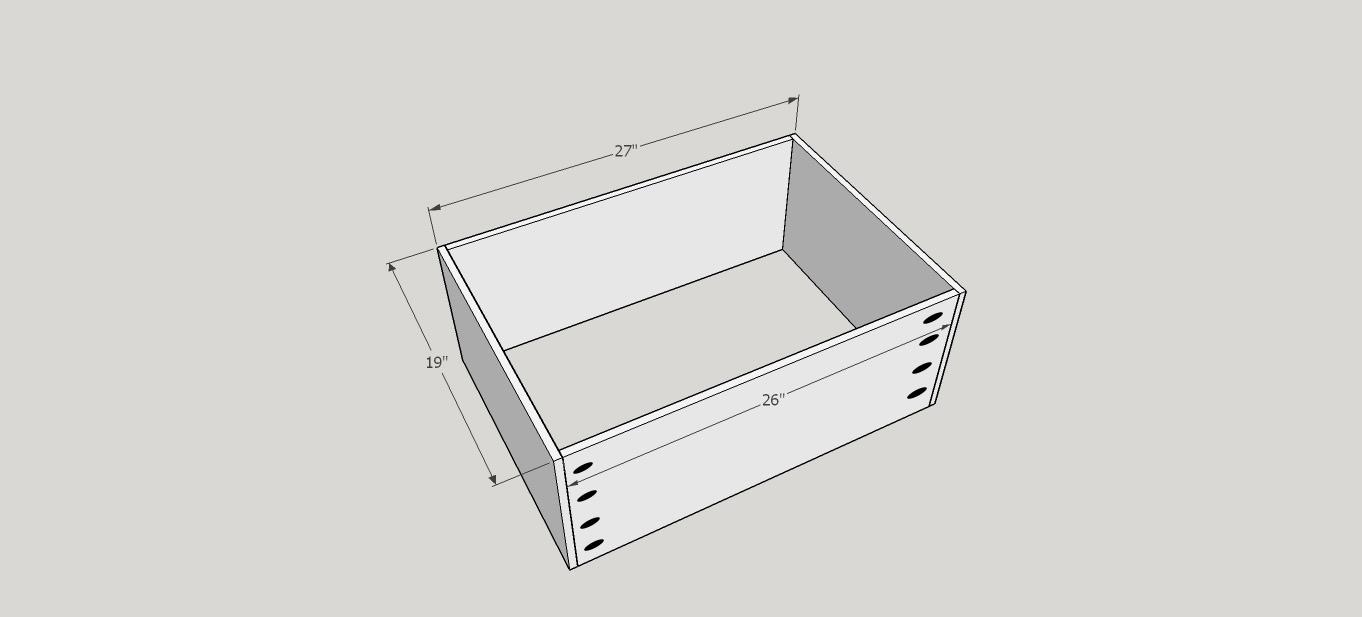
The carcass for the drawer base is built, now we need the drawer! Using 1/2" plywood to lighten the load, we will now use pocket holes drilled at 1/2" and use 1" pocket hole screws and glue to attach!
-
Step 8
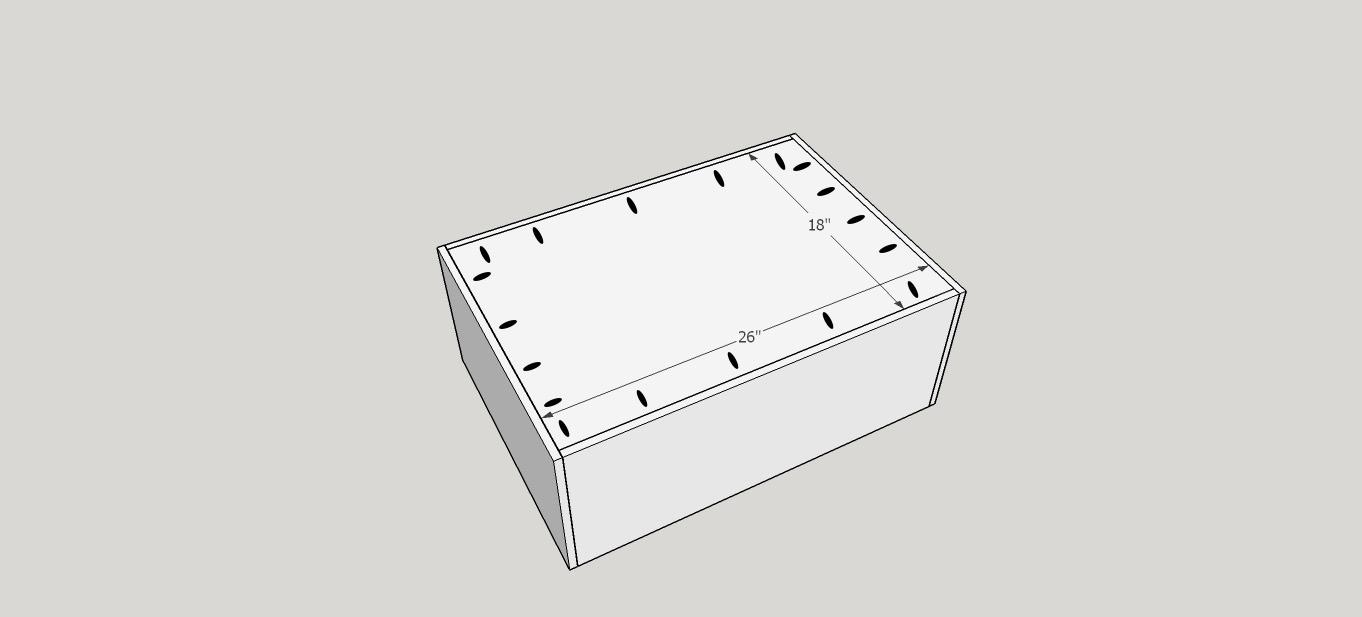
I fit the drawer bottom inside the drawer box to help keep it sturdy! 1/2" pocket holes all around and 1" screws with glue to attach!
-
Step 9
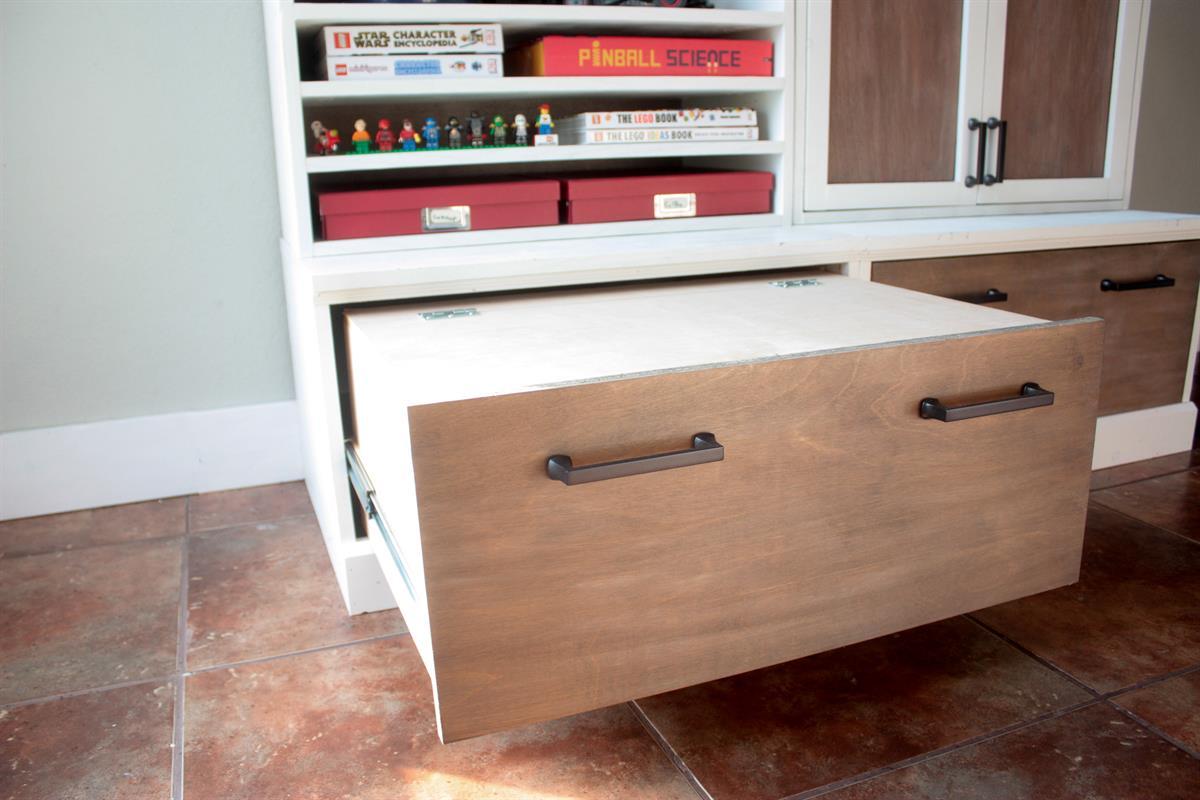
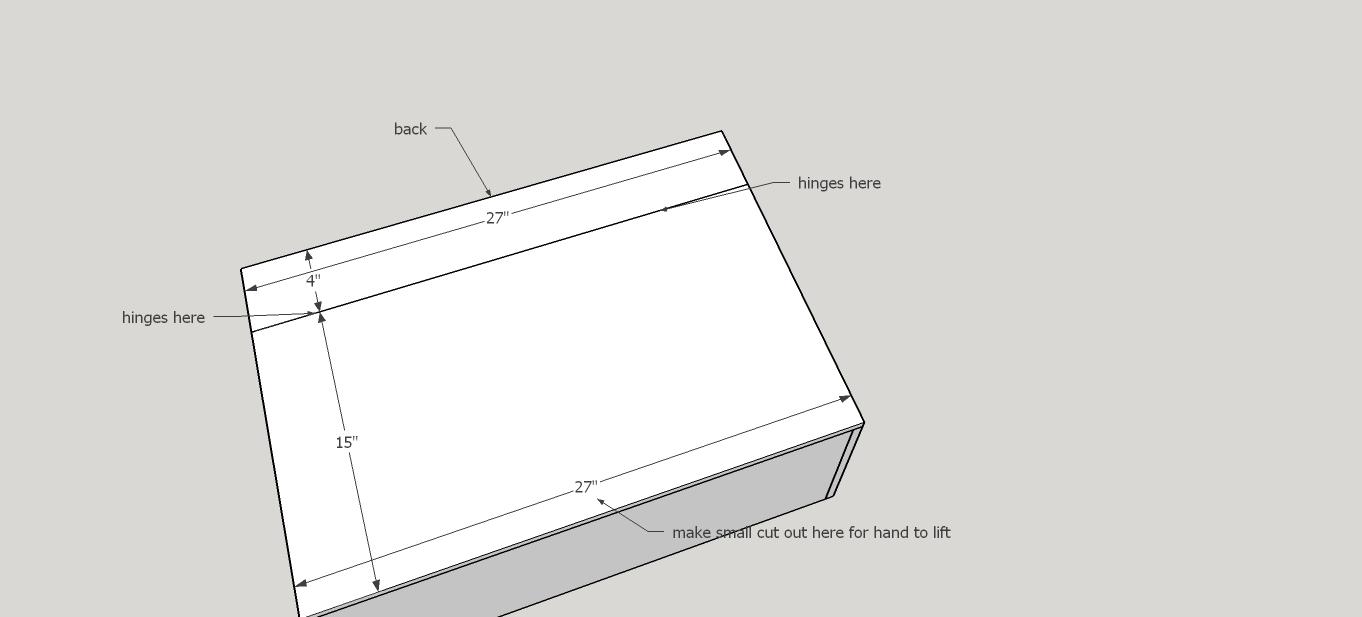
My kids love to sit on the floor while doing their homework, so I added a lift-able lid to the drawer to create a desk surface for them to write on! I just attached it with 3" utility hinges on the back so we can still use the drawer for storage!
-
Step 10
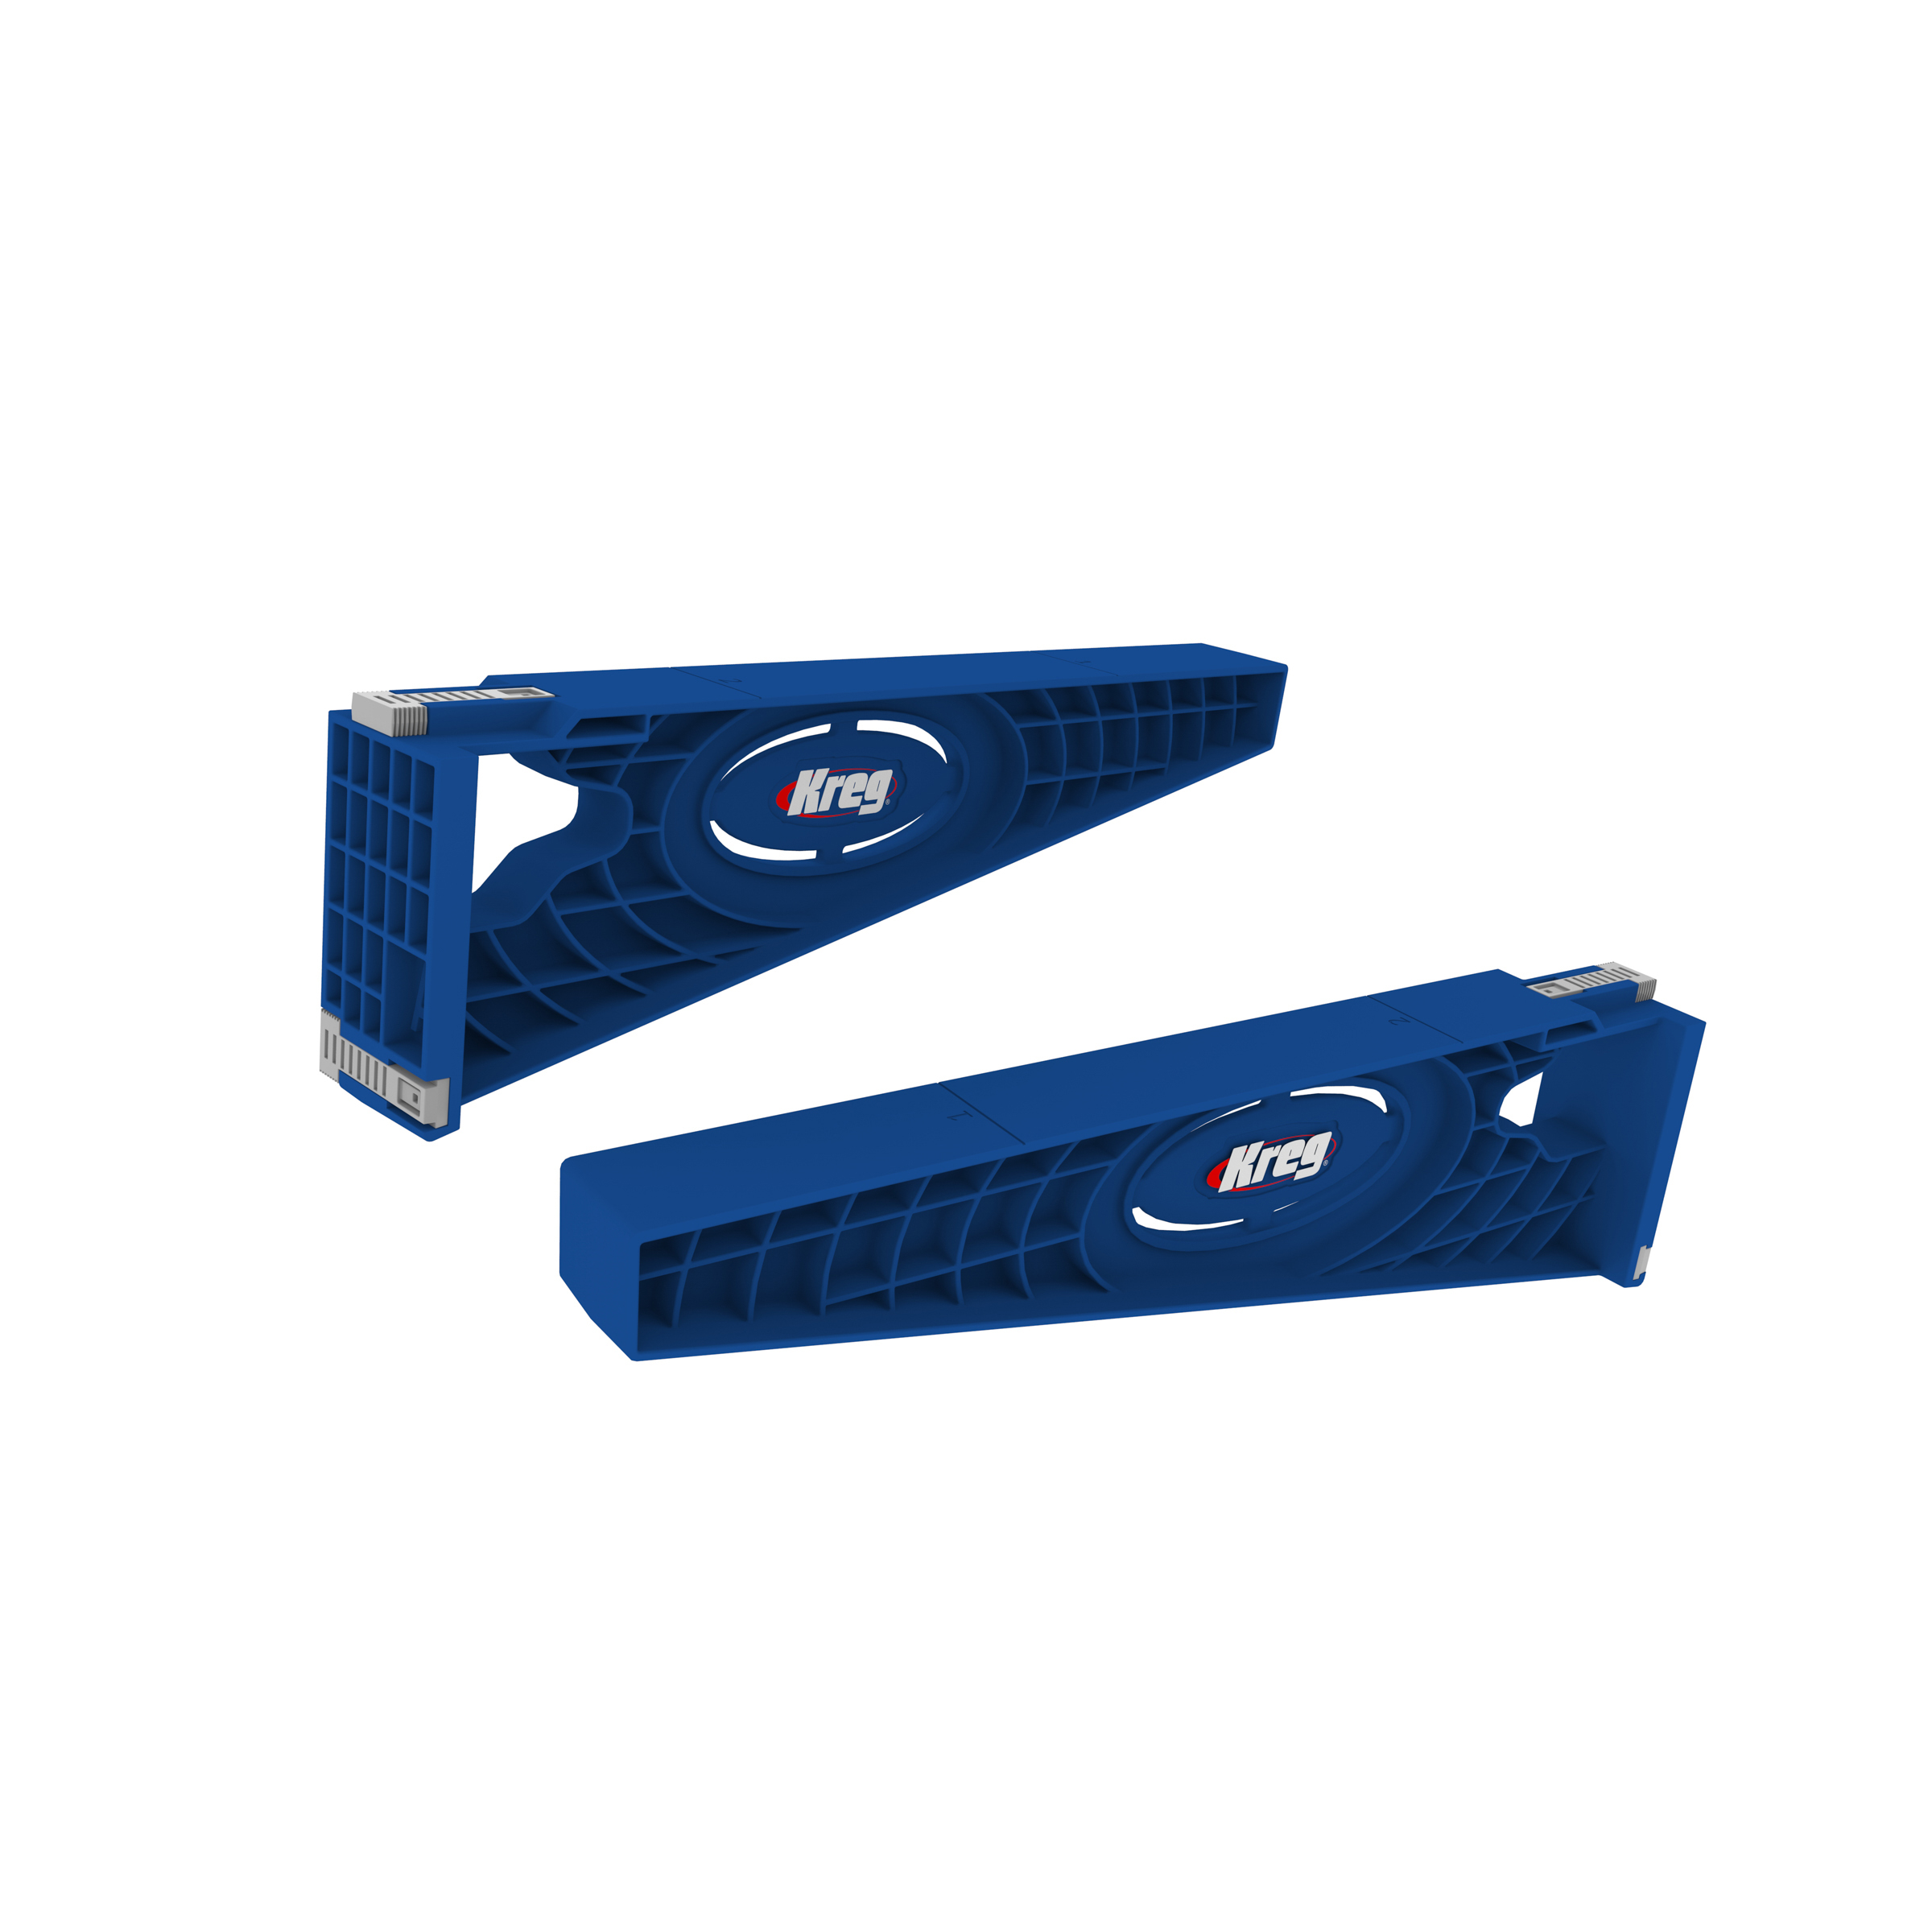
You can do drawers so many ways, I like to add the drawer face after I have installed the drawer. Using 18" drawer slides I attached the drawer and then centered the drawer face and glued and brad nailed the drawer front! After adding your hardware of choice, the drawer base is complete!
-
Step 11
Art Cubby:
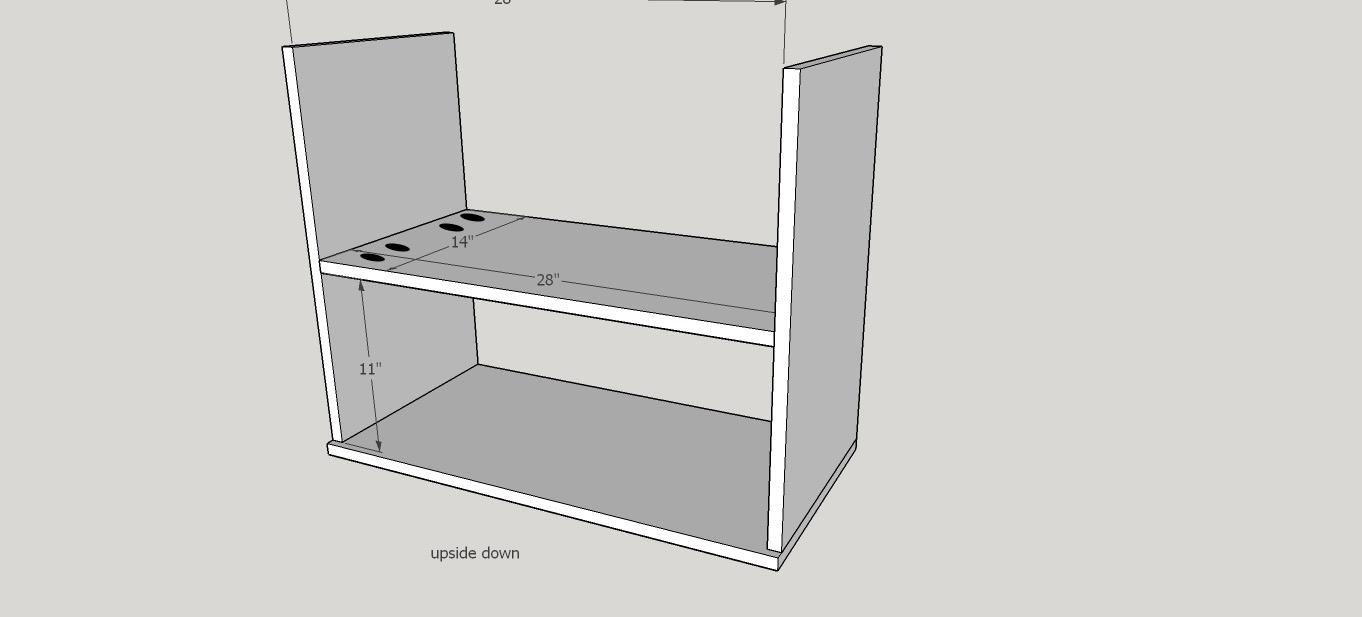
Starting out the same way we did the drawer base, attach the sides to the top with 3/4"pocket holes and 1 1/4" screws! -
Step 12
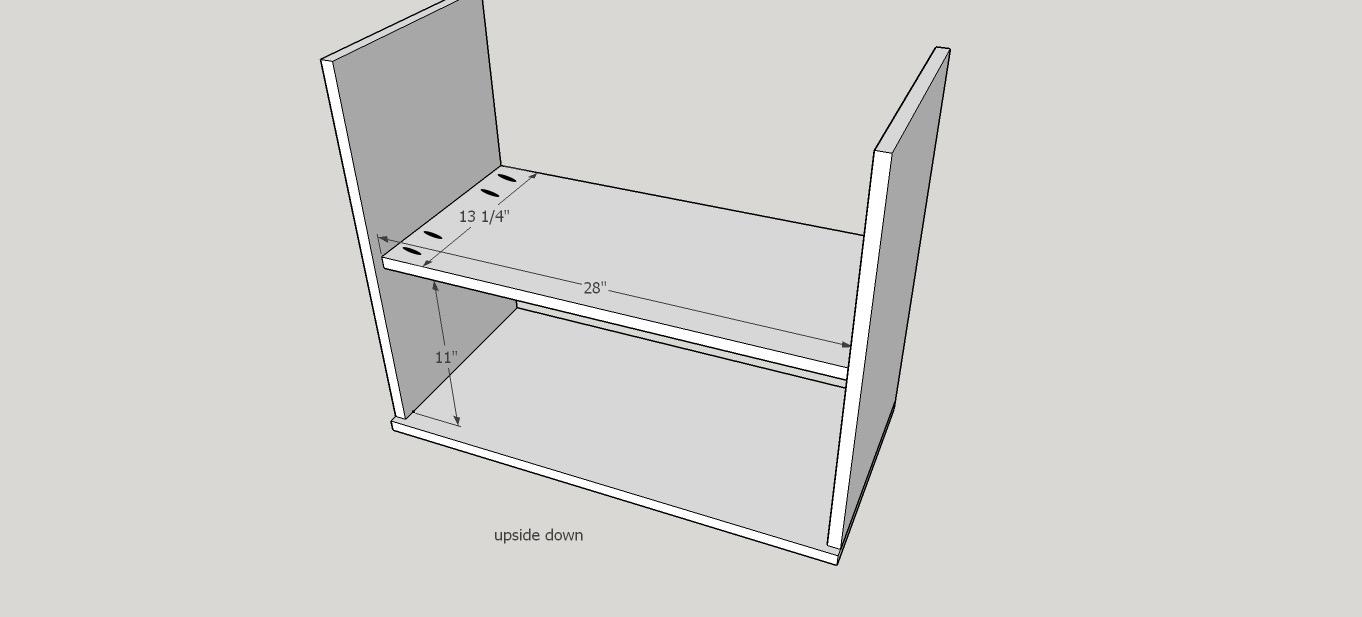
Add the first shelf 11" from the top of the cubby. Using 3/4" pocket holes, 1 1/4" screws and wood glue.
-
Step 13
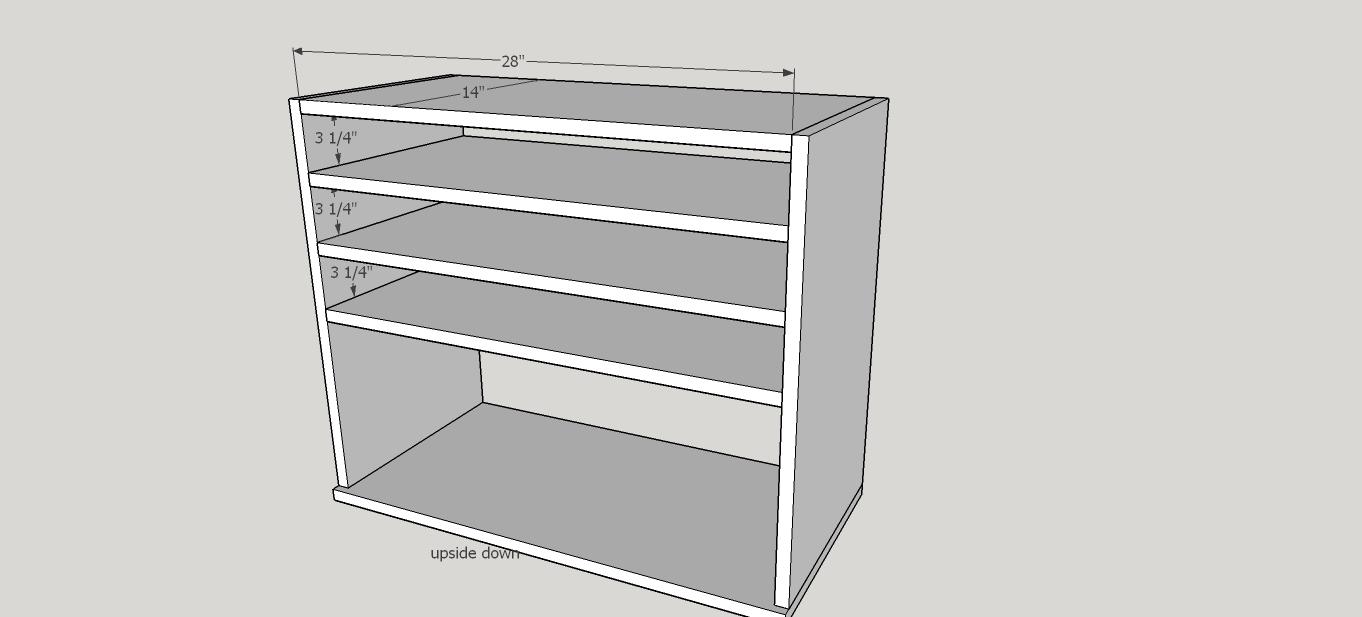
On the art cubby I did go ahead and paint the other shelves at this point before I attached them. I was worried there would be no way to paint them once they were in, there is only 3 1/4" between them!! Once they were painted I attached them with 3/4" pocket holes and 1 1/4" screws! You could use a shelf pin jog here though and create removable shelves that could be any height you want...and I'm upset that I didn't do that now! Lol!! The bottom is flush the ends of the side boards.
-
Step 14
Last add that little touch of charm with the small molding and the art cubby is almost ready to go!
-
Step 15
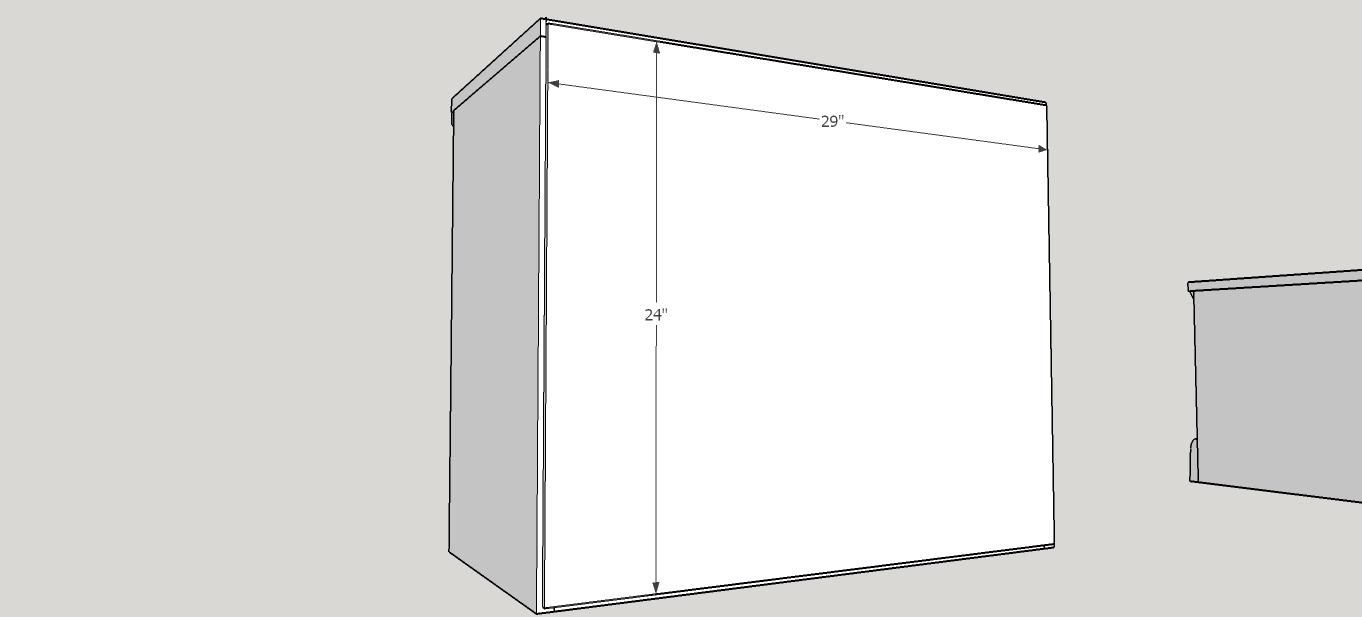
Last add the 1/4" plywood to the back of the shelf! I just brad nailed mine with 1 1/4" brad nails.
-
Step 16
Cabinet w/ Doors:
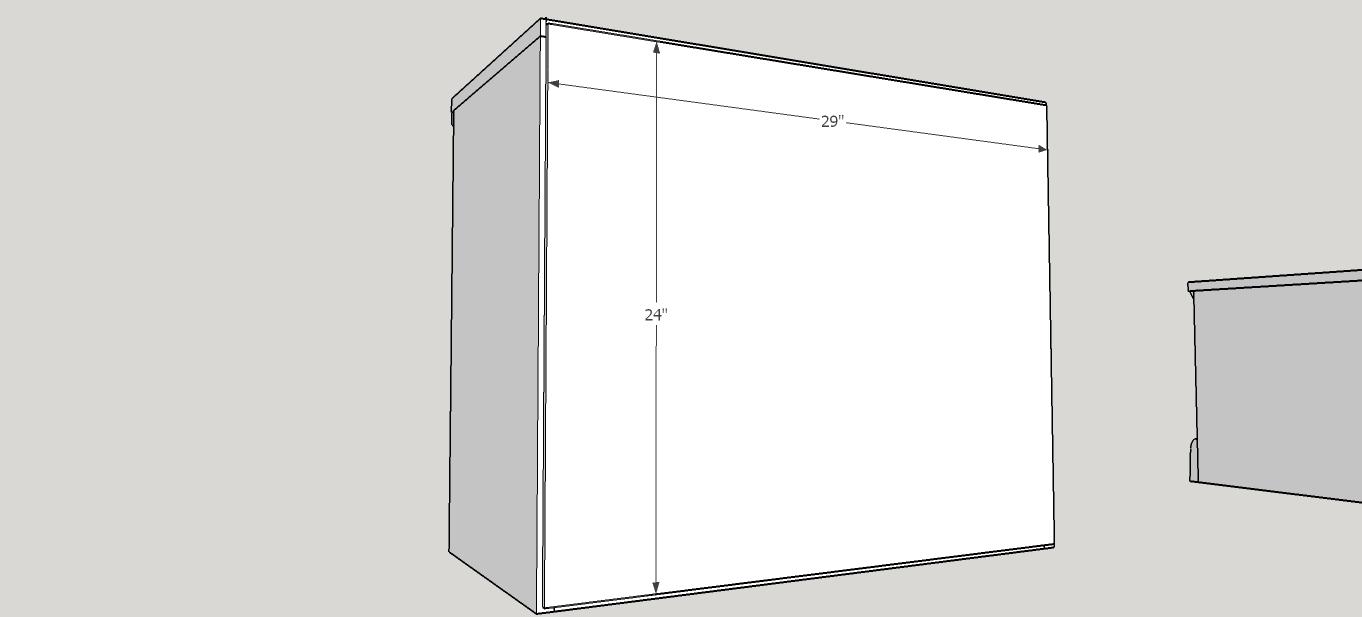
This one starts out the same as all the others! Using 3/4" pocket holes attach the sides to the top with 1 1/4" screws and glue! -
Step 17
Add the shelf 11" from the top! 3/4" pocket holes, 1 1/4" screws with glue...unless you are smart and use the shelf pin jig and then you can have your shelf wherever you want it!!
-
Step 18
Next attach the bottom with 3/4" pocket holes and 1 1/4" screws and glue. The bottom is flush with the bottom of the sides!
-
Step 19
Next add that little character with the small molding, just brad nail it on there!
-
Step 20
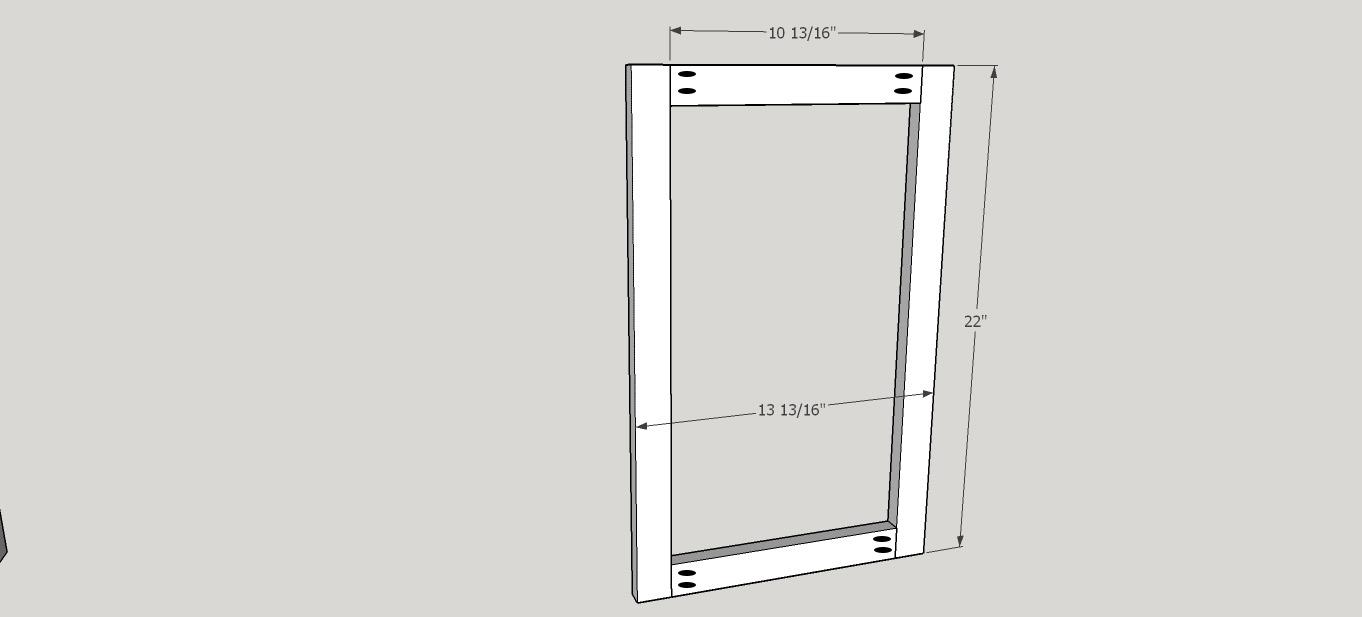
Next comes the doors for the cabinet! Using 1x2s pocket holed together with 3/4" holes and 1 1/4" screws with glue.
-
Step 21
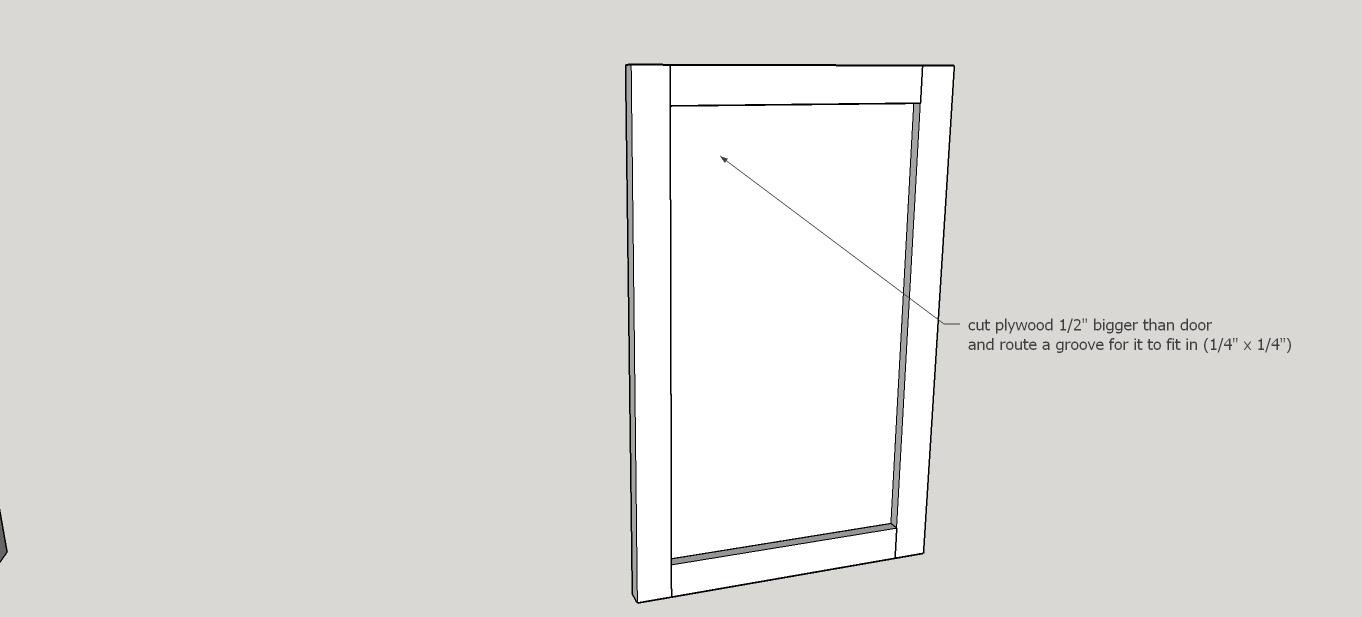
Now, you can do doors a number of ways just like drawers and everything else in woodworking, but I just routed a 1/4" wide and 1/4" deep slot along the inside of my 1x2s and brad nailed it to the door frame! Works for me! I used inset hinges to attach the doors to the cabinet.
-
Step 22
Brad nail the 1/4" plywood to the back of the cabinet with doors and you are done!!
-
Step 23
Play around and arrange them a multitude of ways to get the most storage and a look you love! Come check out builditcraftitloveit.com for other parts of the modular storage system not pictured here and for finish and other must have answers to questions you may have!


