Party Cart / Potting Bench
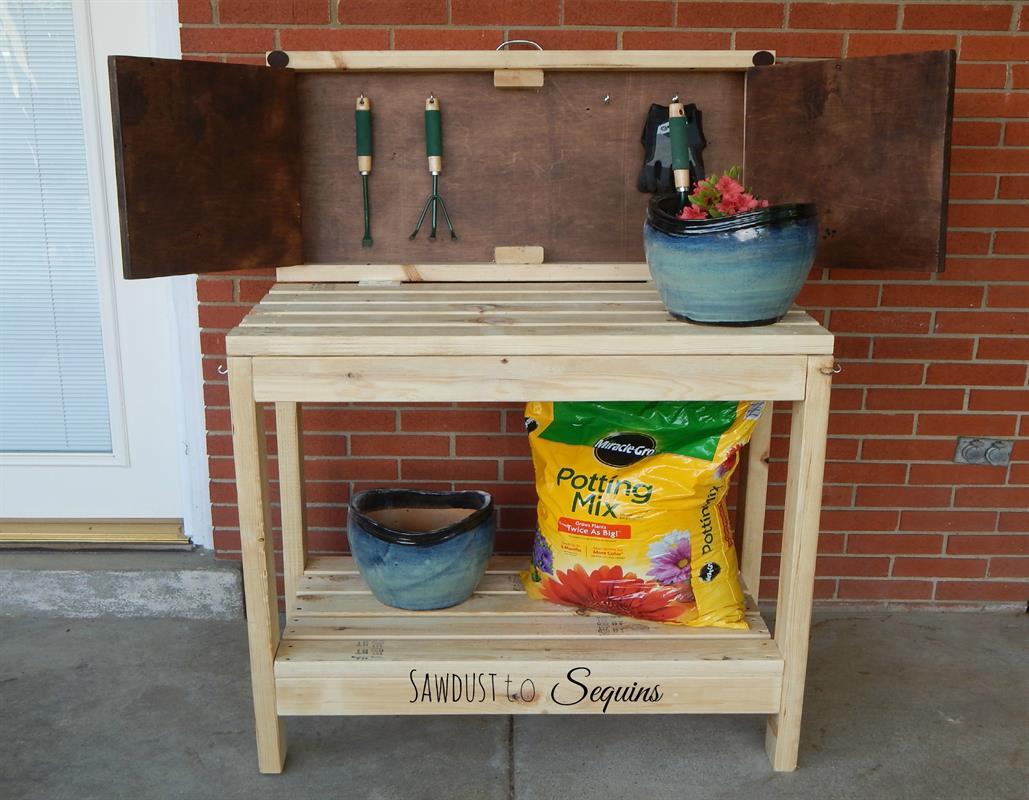
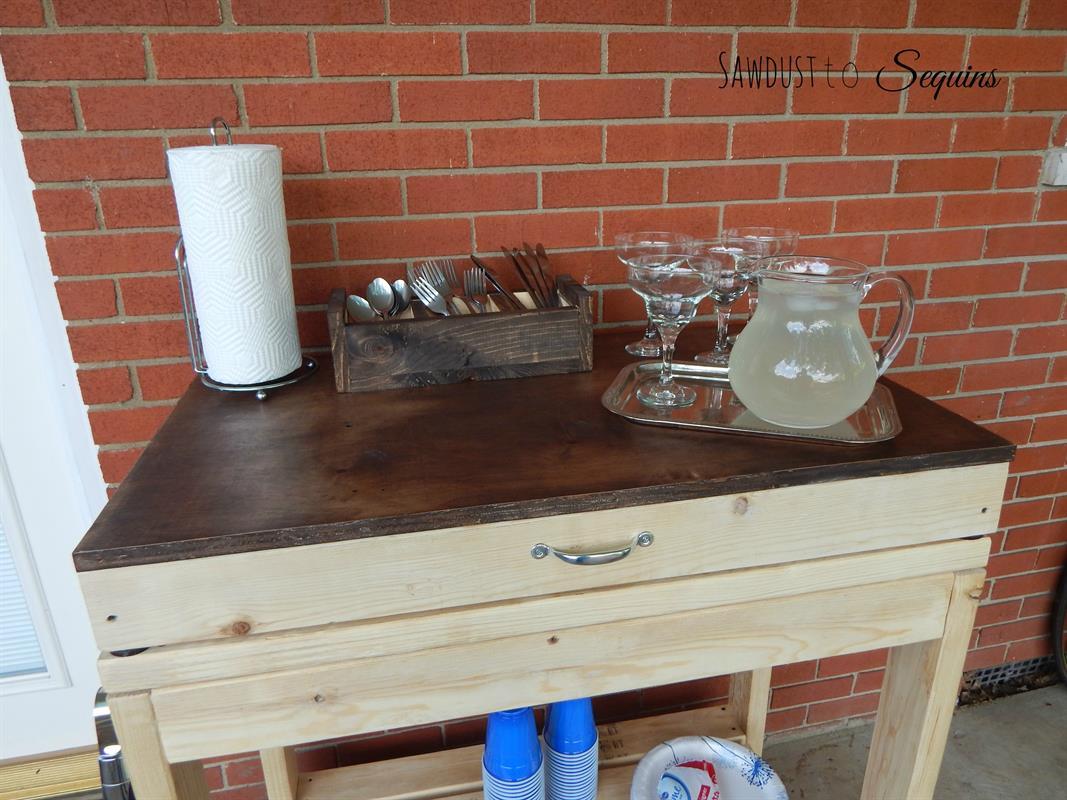
By The Crafted MakerThis is a party cart that turns into a potting bench. When entertaining outdoors, the top acts as a serving station to place food, drinks, or condiments. When you are ready to do some gardening, flip the top up and open the doors to reveal your gardening tools.
Directions
-
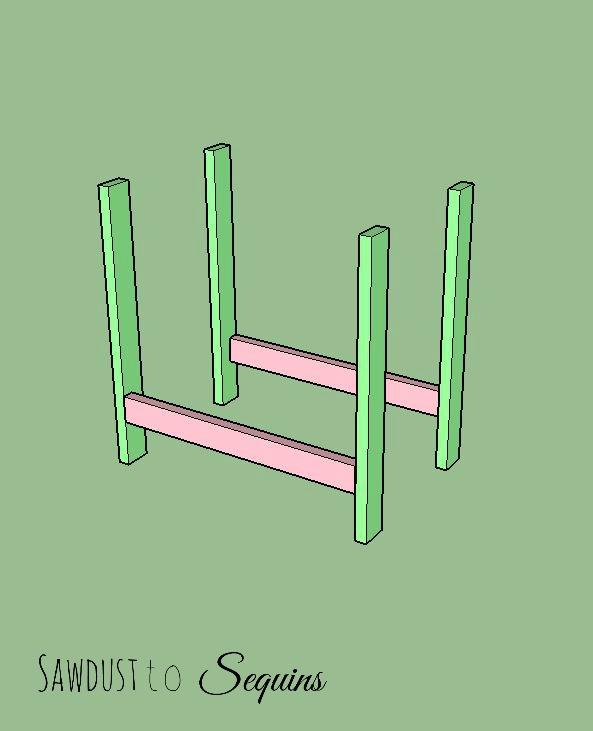
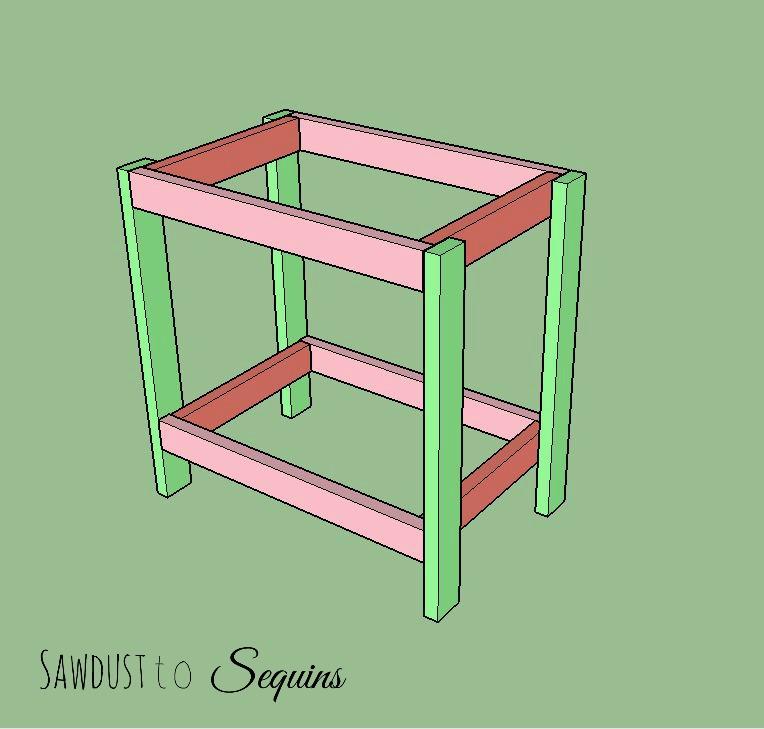
Leg Supports
Make two leg support sections by
joining (2) 2X4 @ 36” with (1) 2X4 @
33”. The 33” boards will start 6” from
the bottom. Attach with 2 ½” wood
screws. -
Join Leg Supports
Join the two leg support sections
by attaching (2) 2X4 @ 17”. The 2X4
will lay flat against the 36” legs.
Repeat the same process for the
top shelf supports. Attach with 2 ½”
wood screws. -
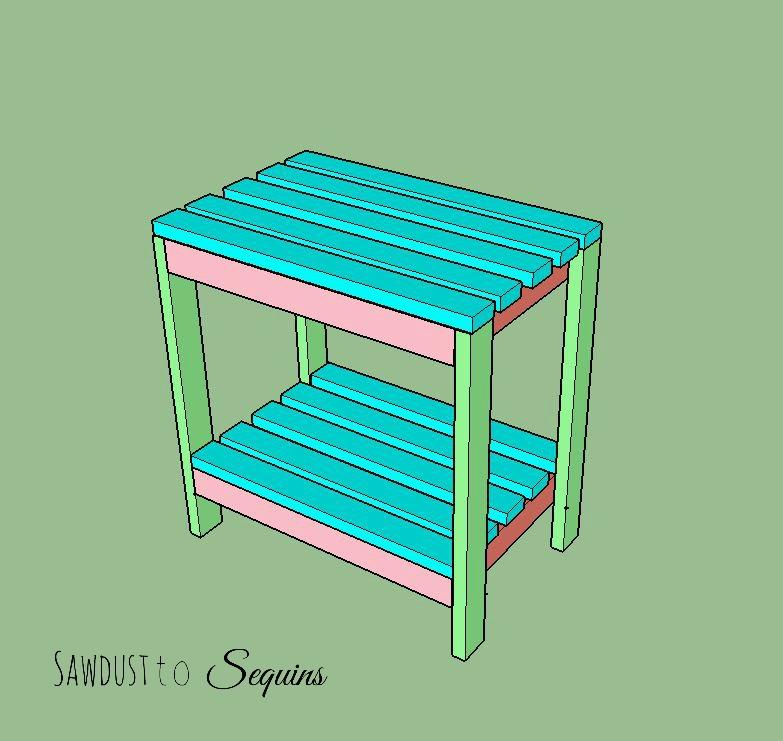
Attach Shelf Boards
You will need (5) 2X4 @ 33” for
the bottom shelf and (5) 2X4 @ 36”
for the top shelf. Attach with 2 ½”
wood screws. -
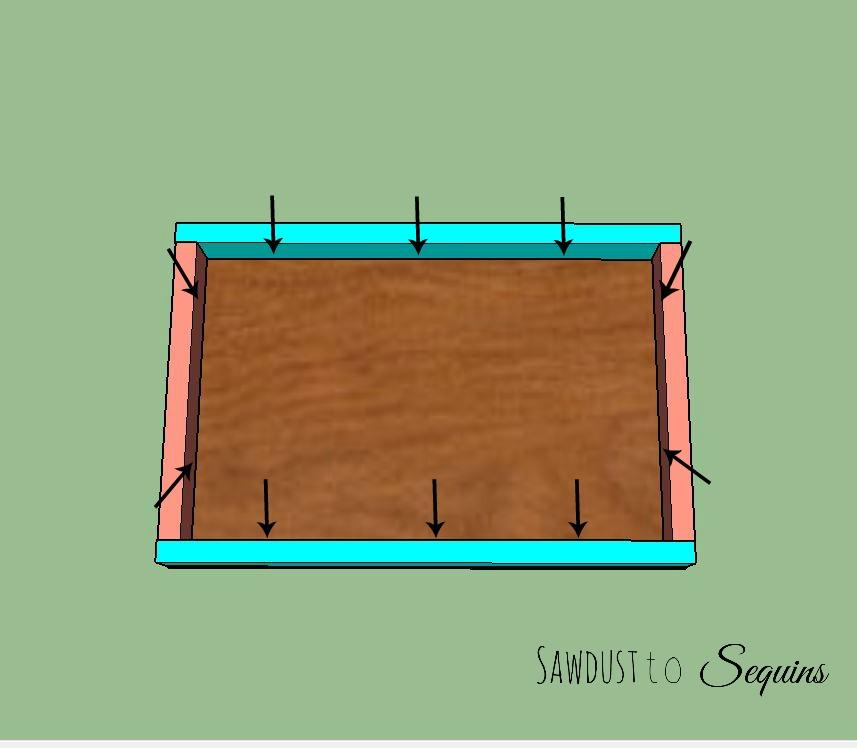
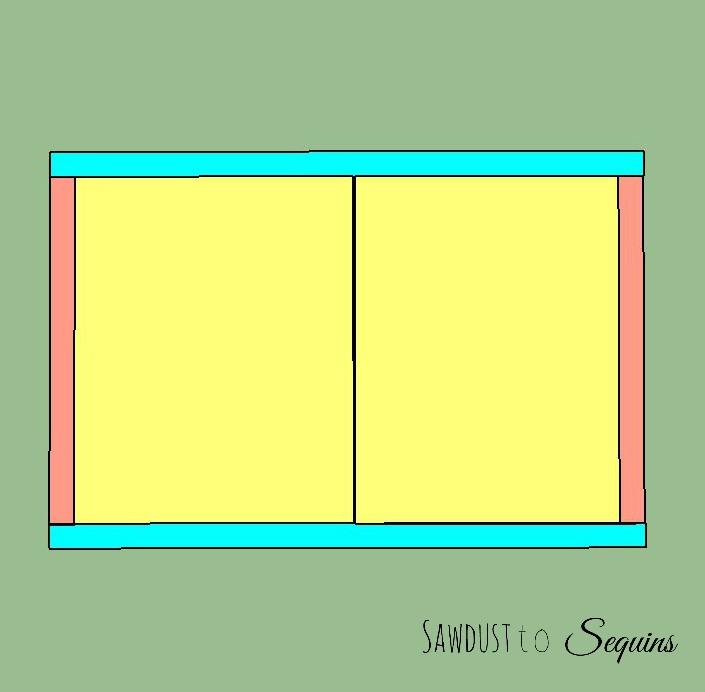
Assemble Top
Drill pocket holes in (2)
2X4 @ 36” and (2) 2X4 @ 17”. Pocket hole
placement is shown by the arrows in the
picture. Lay your ¾” plywood on a flat surface
and attach your 2X4 boards with pocket
hole screws. -
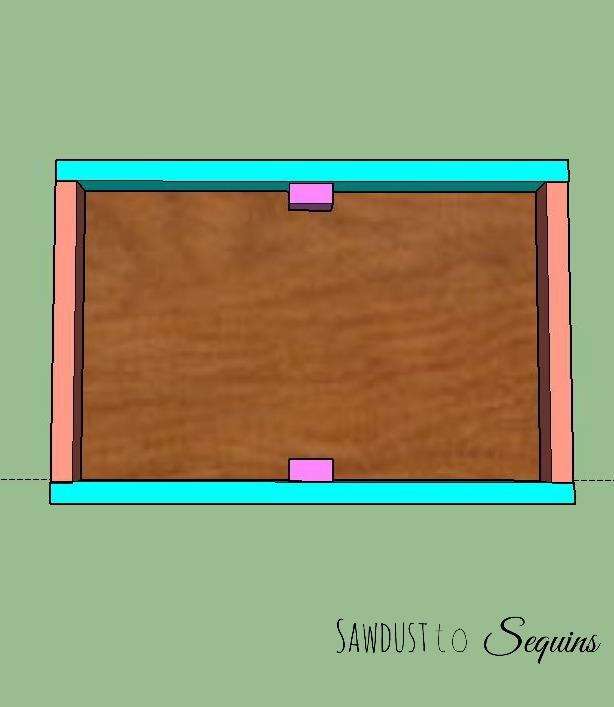
Install Door Supports
Attach your (2) 2X4 cut @ 2 ¾”
to the middle of the top and bottom of
the inside. This will give your doors
something to rest on. -
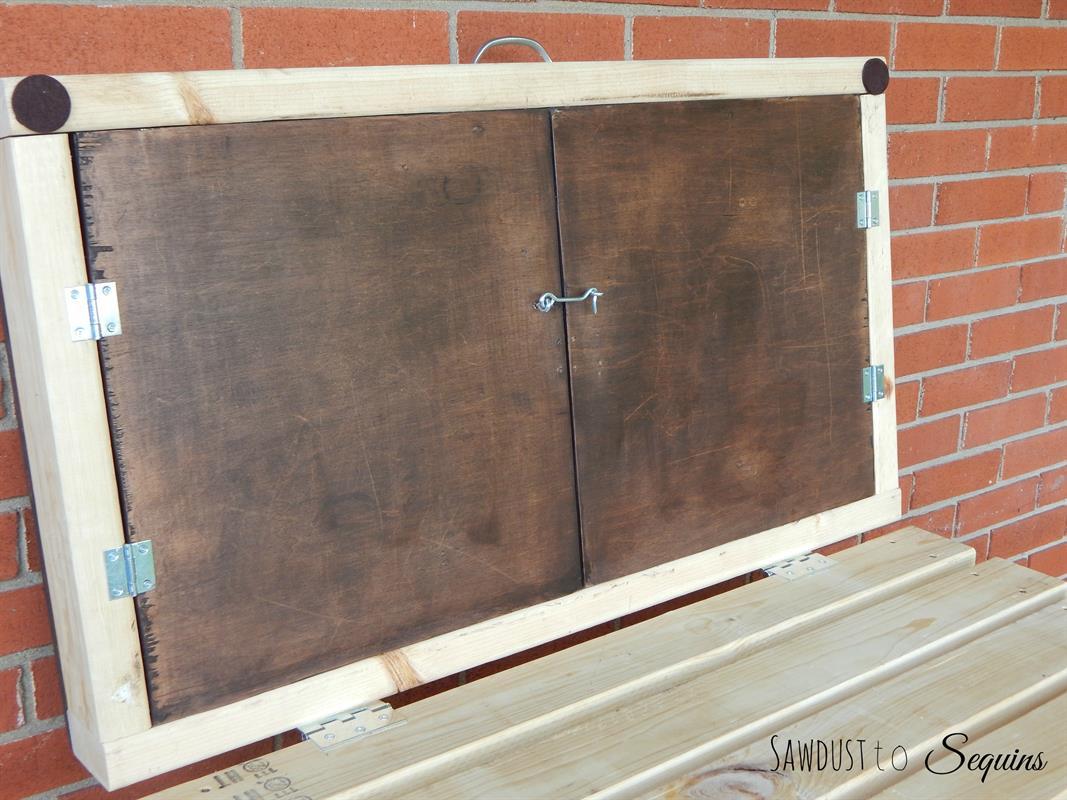
Assemble Doors
Attach the
¾” plywood cut @ 16 ½” x 17”
to each side of the top frame.
Place hinges 4” and 11.5" from the top
of the door. Drill
pilot holes on this step to keep
the wood from splitting. -
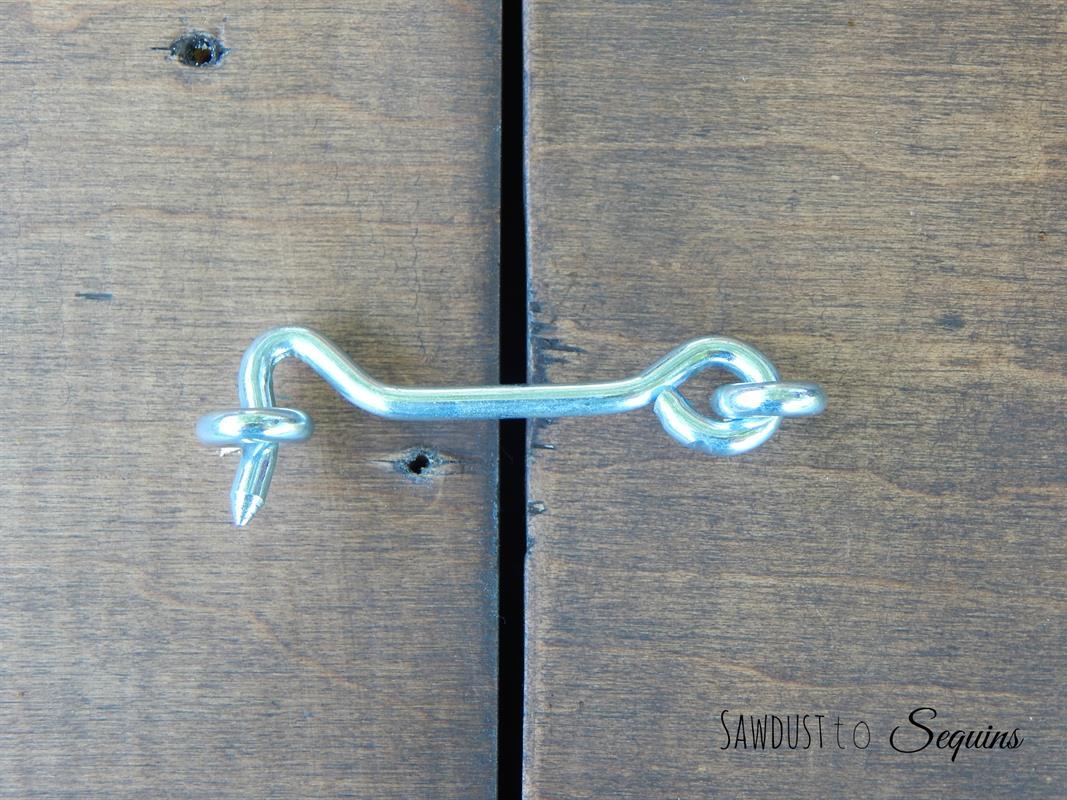
Install Hardware
Attach the latch closure to the outside of the doors to prevent opening when in a closed position.
Attach hooks on the inside of the cabinet to hold all of your gardening tools.
Attach a drawer pull to the outside of the cabinet to assist in raising and lowering. -
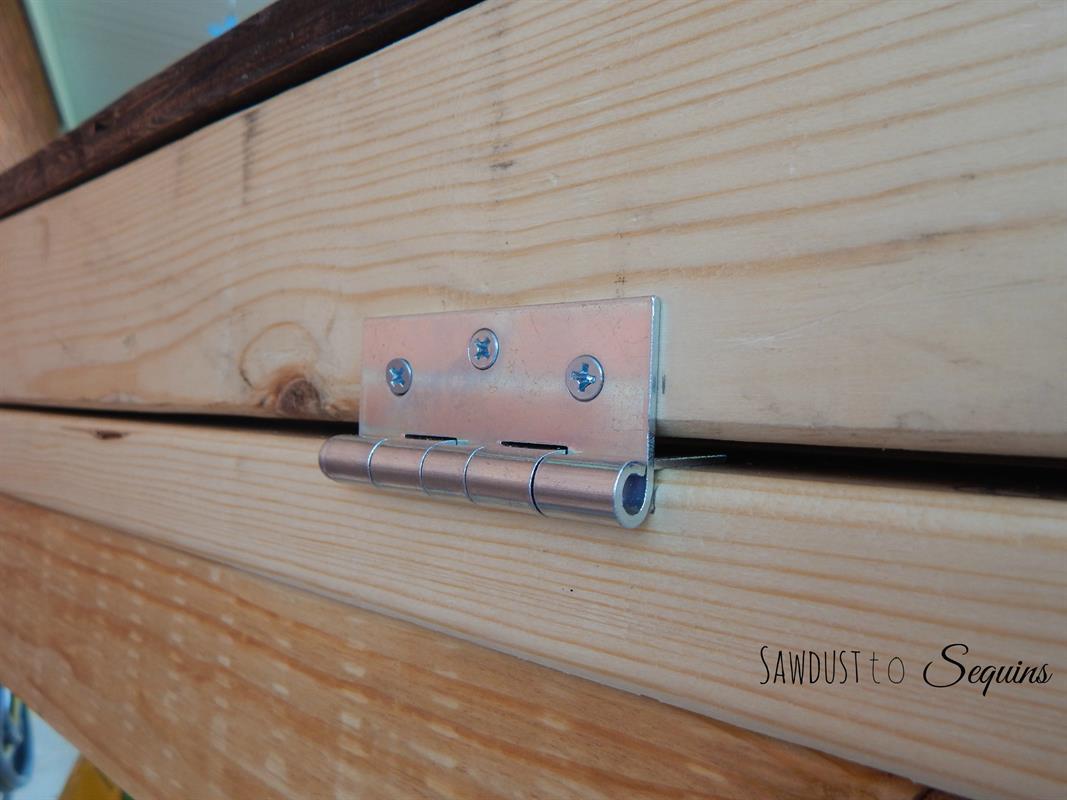
Attach Top to the Base
Attach the top cabinet to the lower frame with (2) 3” hinges. Place the hinges 6” from both sides of the back.


