Paint and Stain Storage Shelf
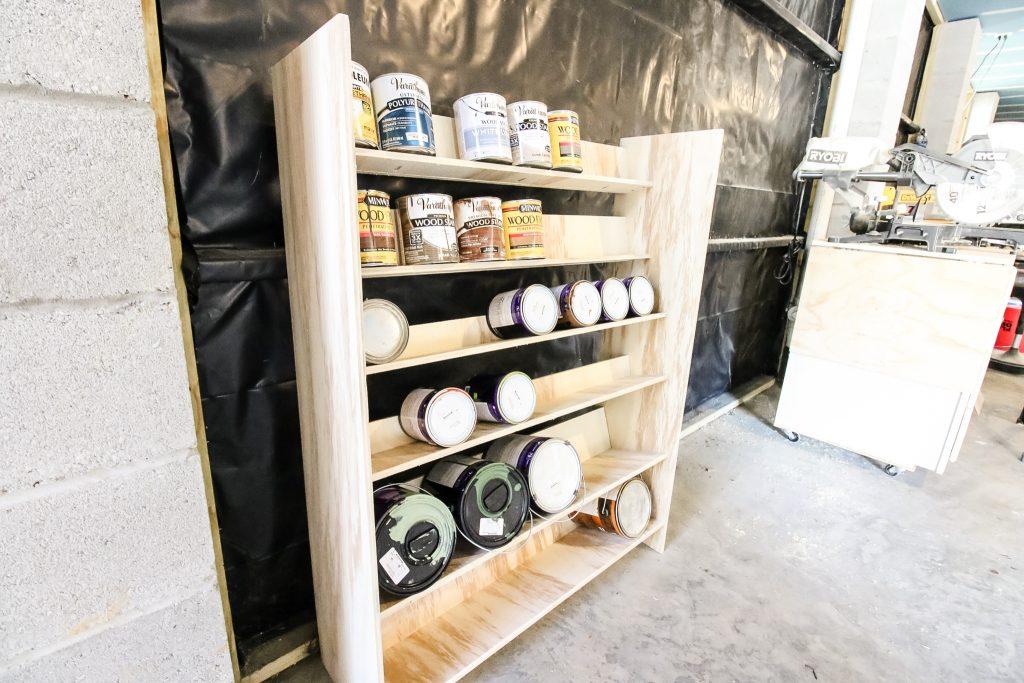
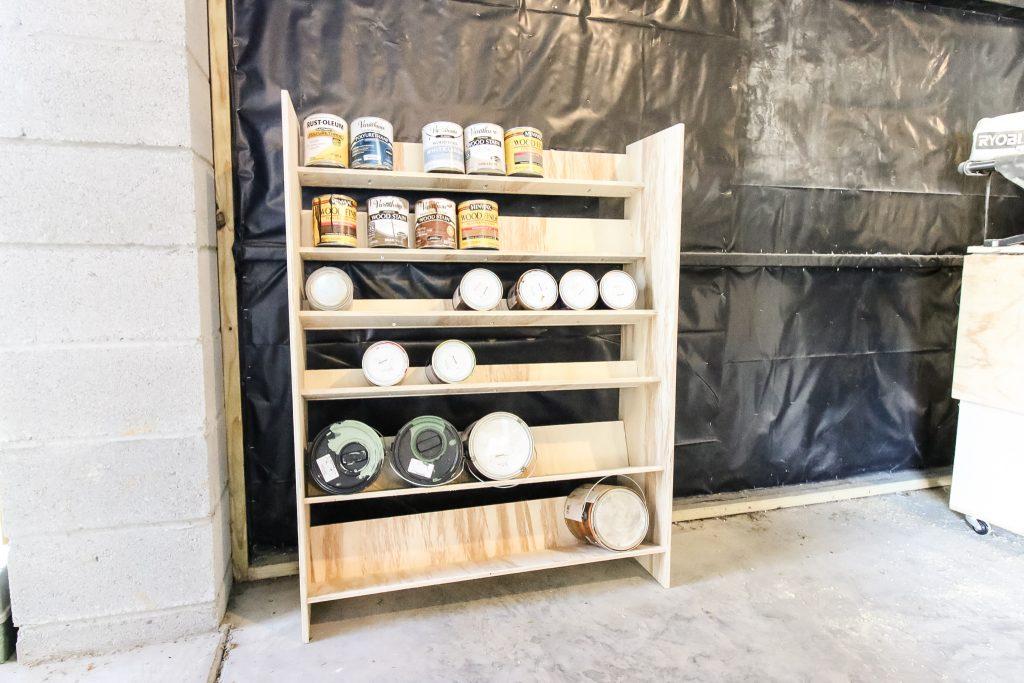
By Charleston CraftedThis project has you covered for a way to store paint and stain in an organized way. This easy DIY garage paint storage system will display your paints and stains and keep you organized!
Directions
-
Build Top Shelves
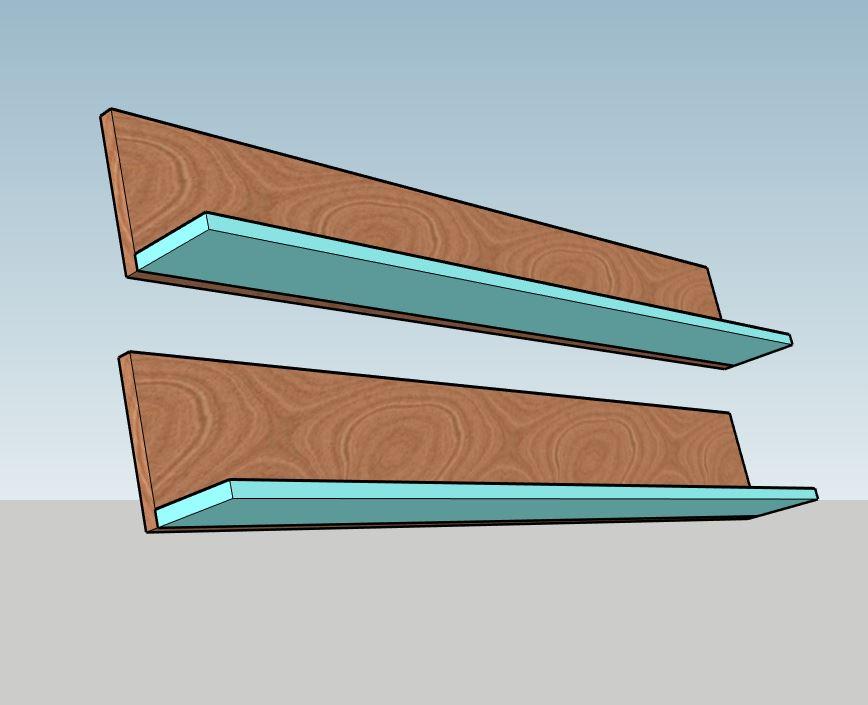
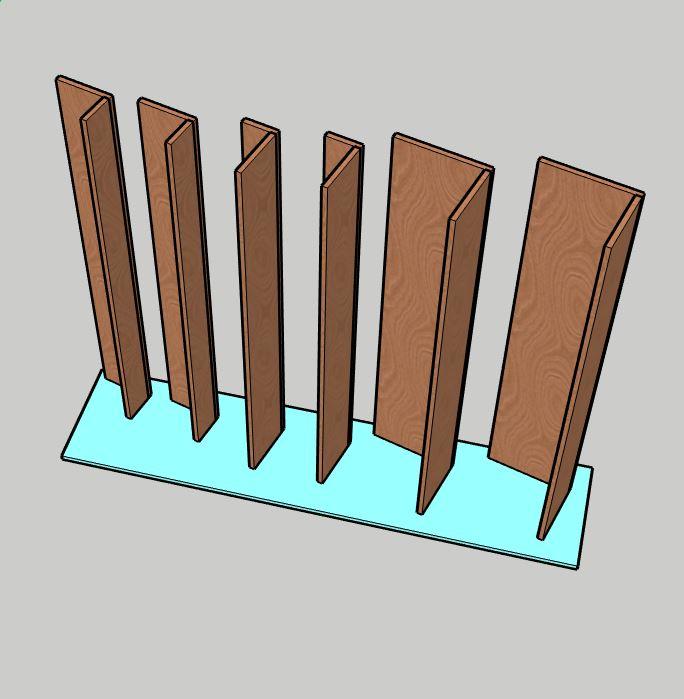
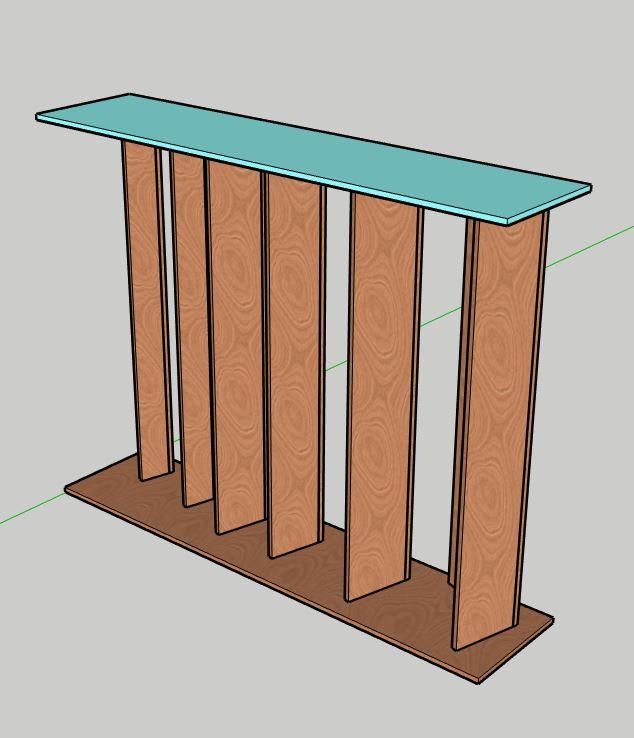
Attach a Top Front board to a Top Back board using pocket screws in the three pocket holes you drilled.
Repeat for the second top shelf.
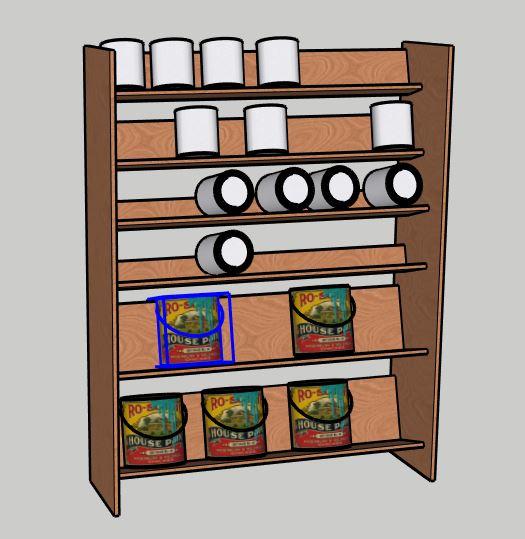
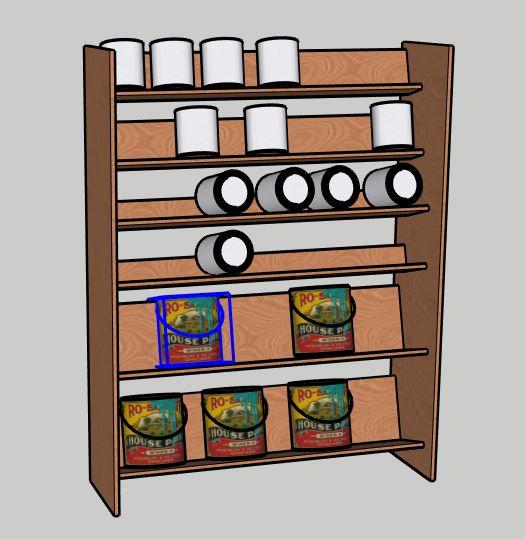
These shelves are designed for stain cans so you can see the front of the can. -
Build Middle Shelves
Attach a Middle Front board to a Middle Back board using pocket screws in the three pocket holes you drilled.
Repeat for the second middle shelf.
These shelves are designed for quart sized paint cans so you can see the name of the paint on the top of the can. -
Build Bottom Shelves
Attach a Bottom Front board to a Bottom Back board using pocket screws in the three pocket holes you drilled.
Repeat for the second bottom shelf.
These shelves are designed for gallon sized paint cans so you can see the name of the paint on the top of the can. -
Attach Side One
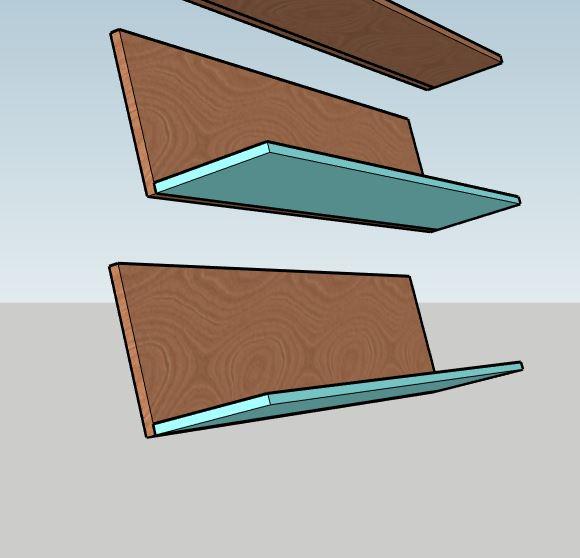
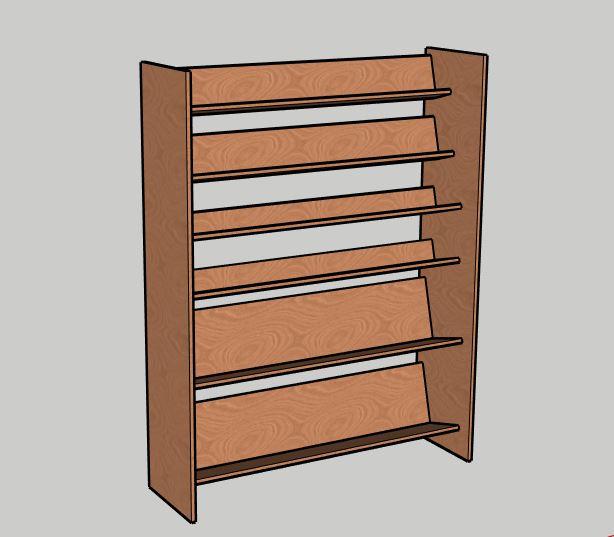
Lay one of the Sides down and lay out each of the shelves on the board.
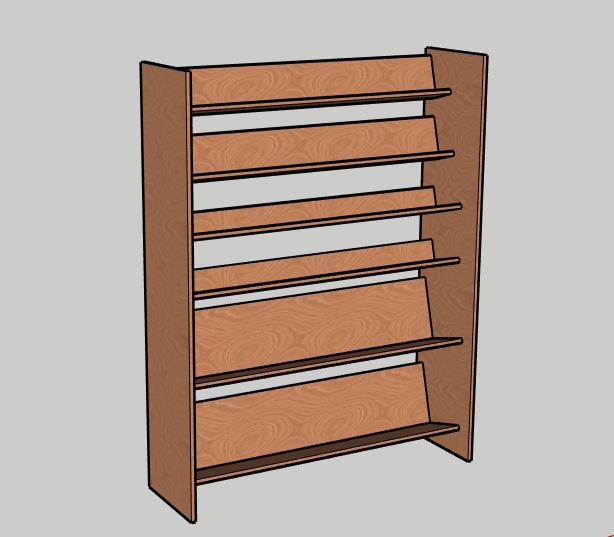
Arrange with spacing and tilt how you like, but ours were done as follows for the height of the front lip of each shelf.
Each shelf was angled about 15 degrees back.
Top Shelf 1- 43" from bottom of Side
Top Shelf 2- 35" from bottom of Side
Middle Shelf 1- 29" from bottom of Side
Middle Shelf 2- 22" from bottom of Side
Bottom Shelf 1- 13" from bottom of Side
Bottom Shelf 2- 4" from bottom of Side
Attach with two pocket holes drilled on one side of each shelf. -
Attach Side Two
Line up the second Side with the same distances as Side one and attach with pocket holes on the other side of the shelves.
-
Stain or Paint
Bust out one of the stains or paints you're about to store on this project and color it as you'd like. Or leave natural.
-
Enjoy
Enjoy your handiwork and tag @CharlestonCrafted on Instagram with a picture!


