Mid-Century Modern Plywood Media Console
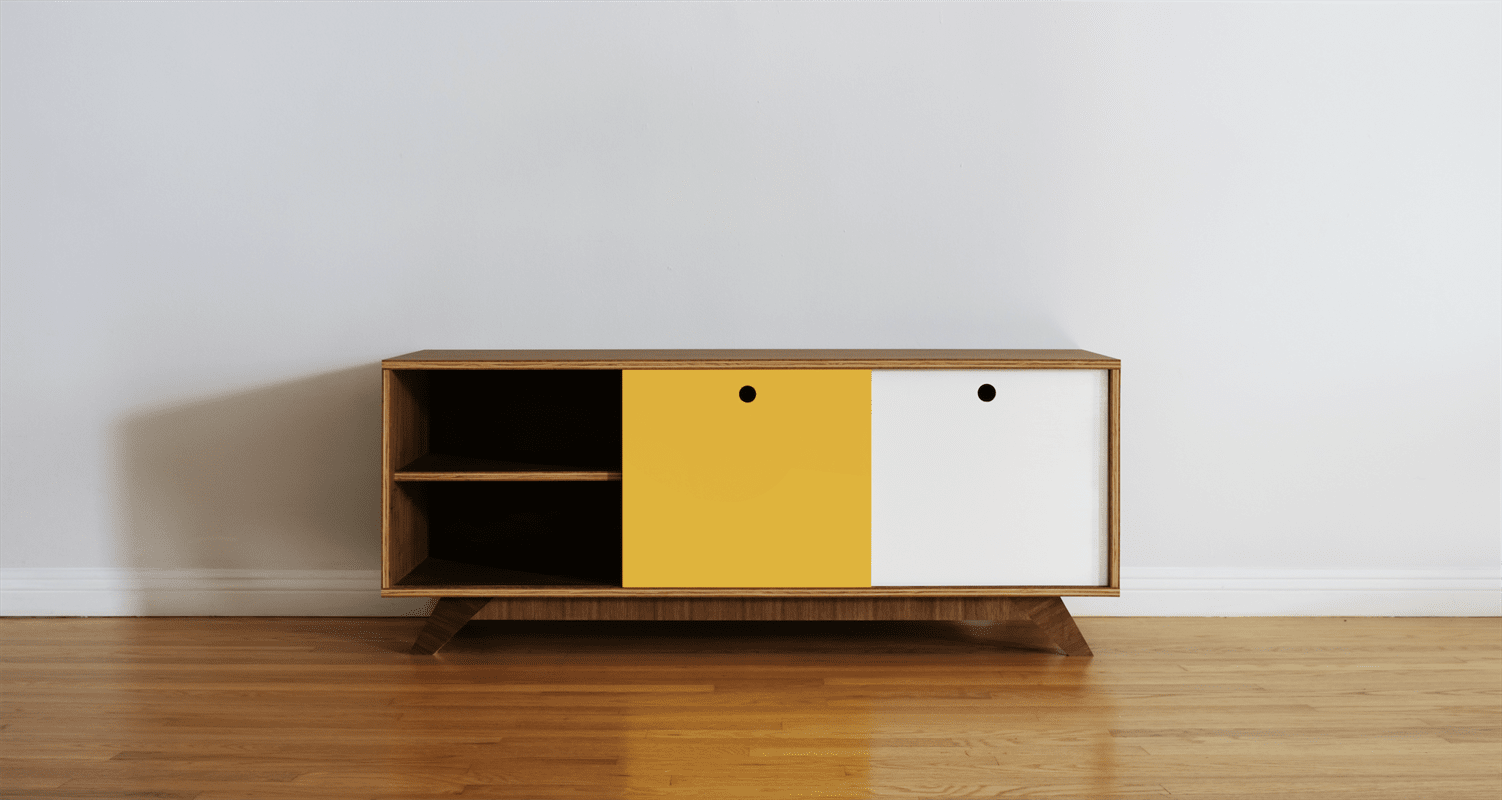
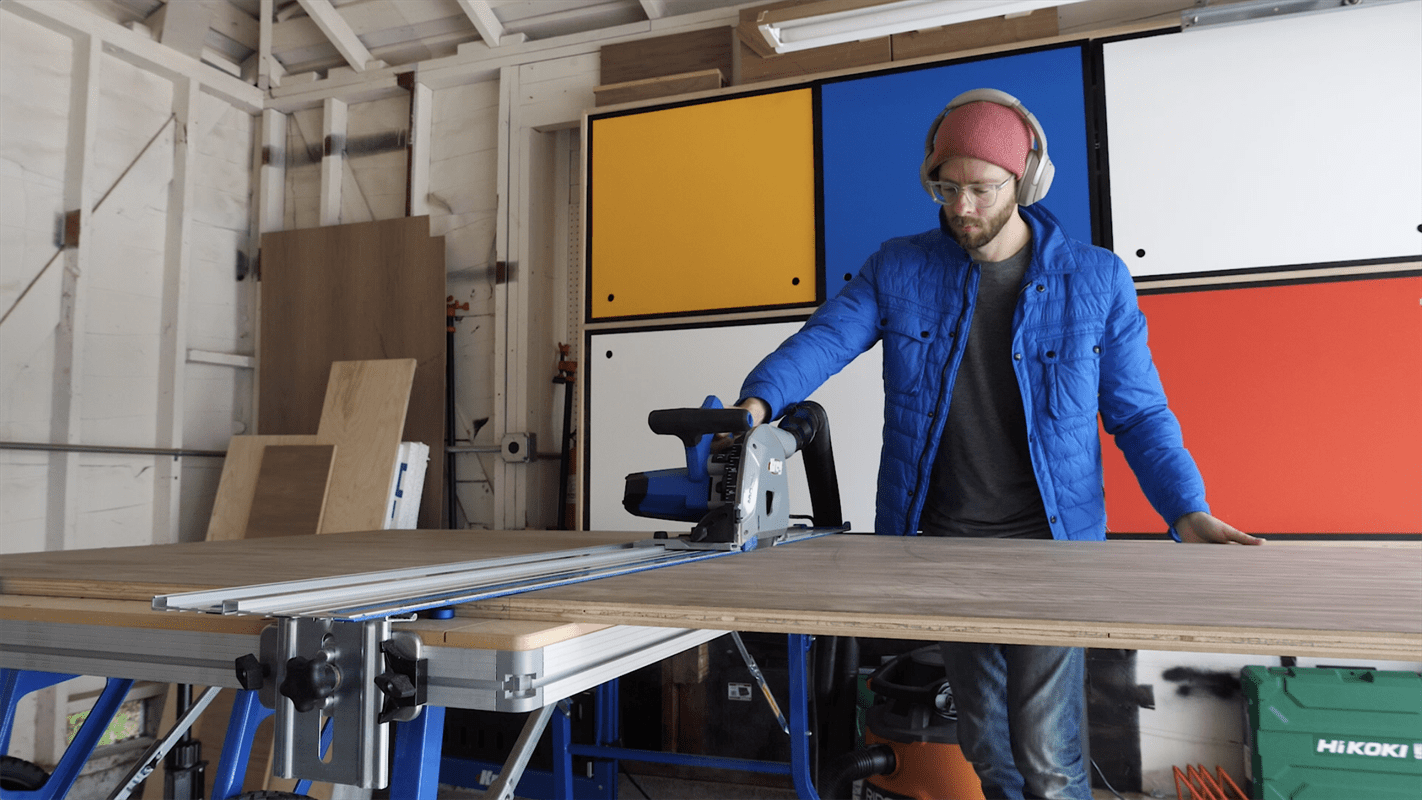
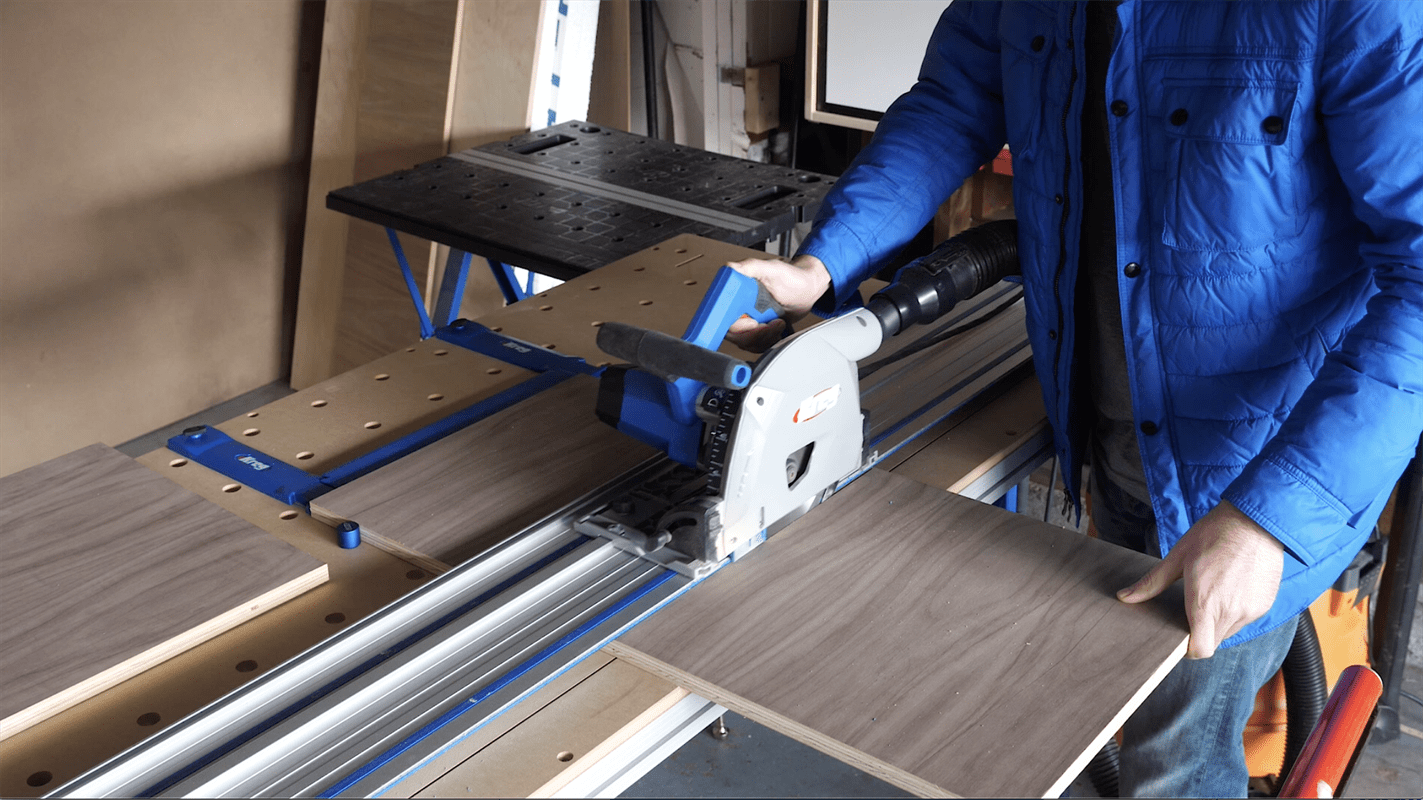
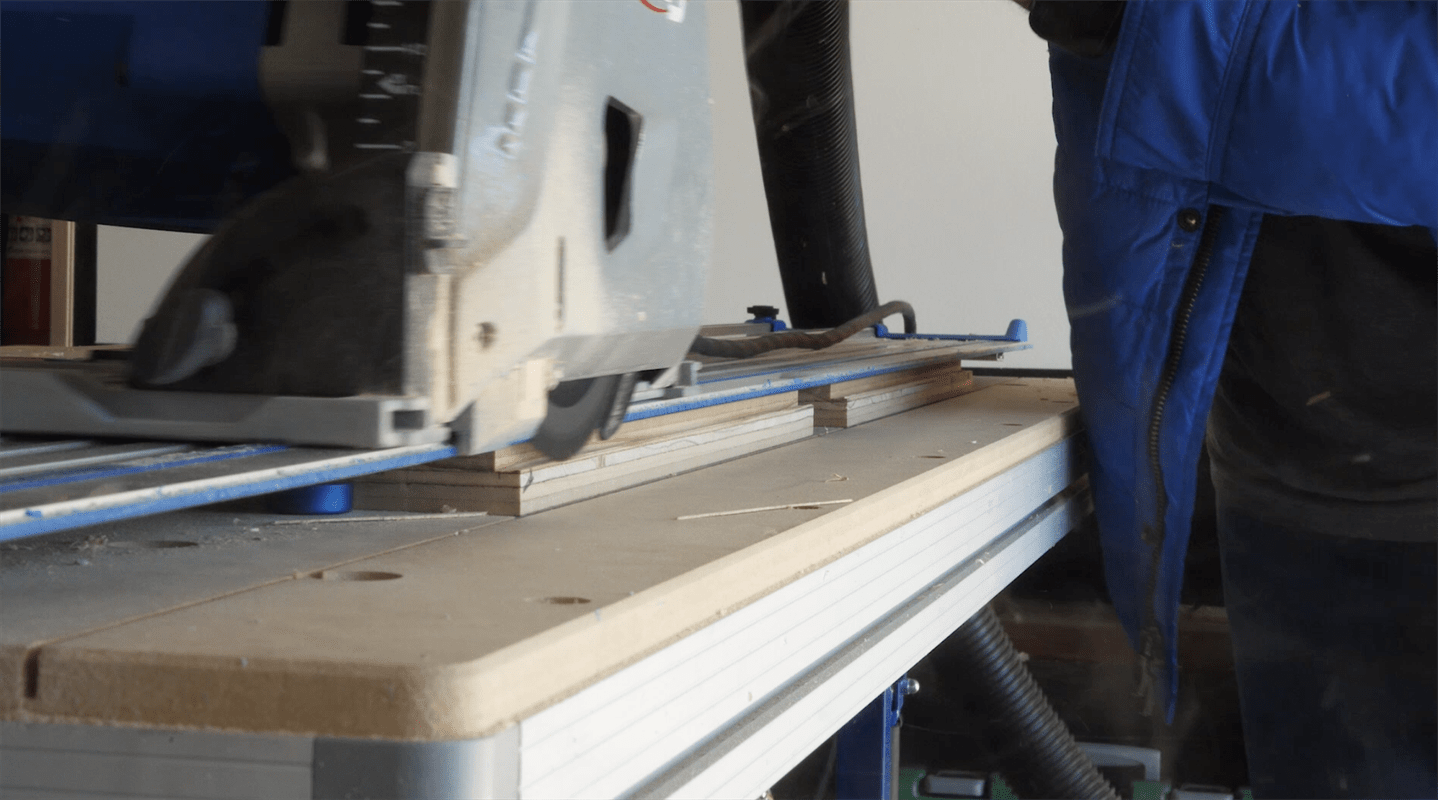
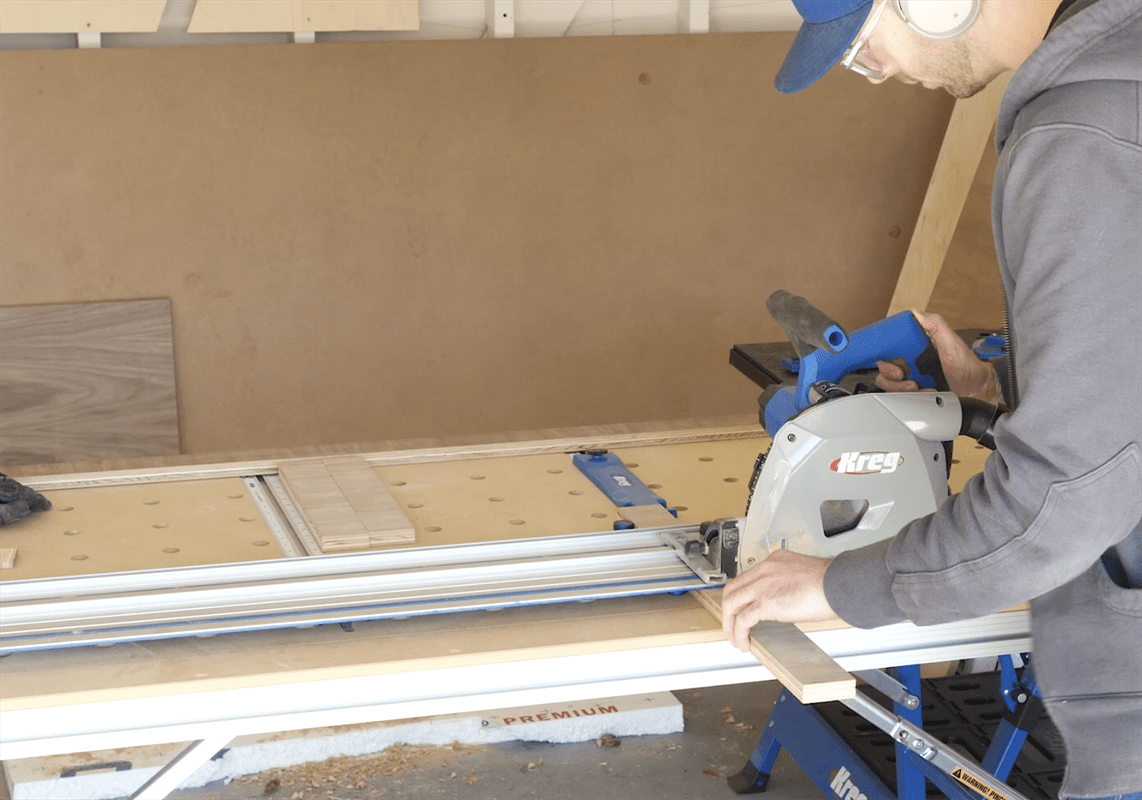
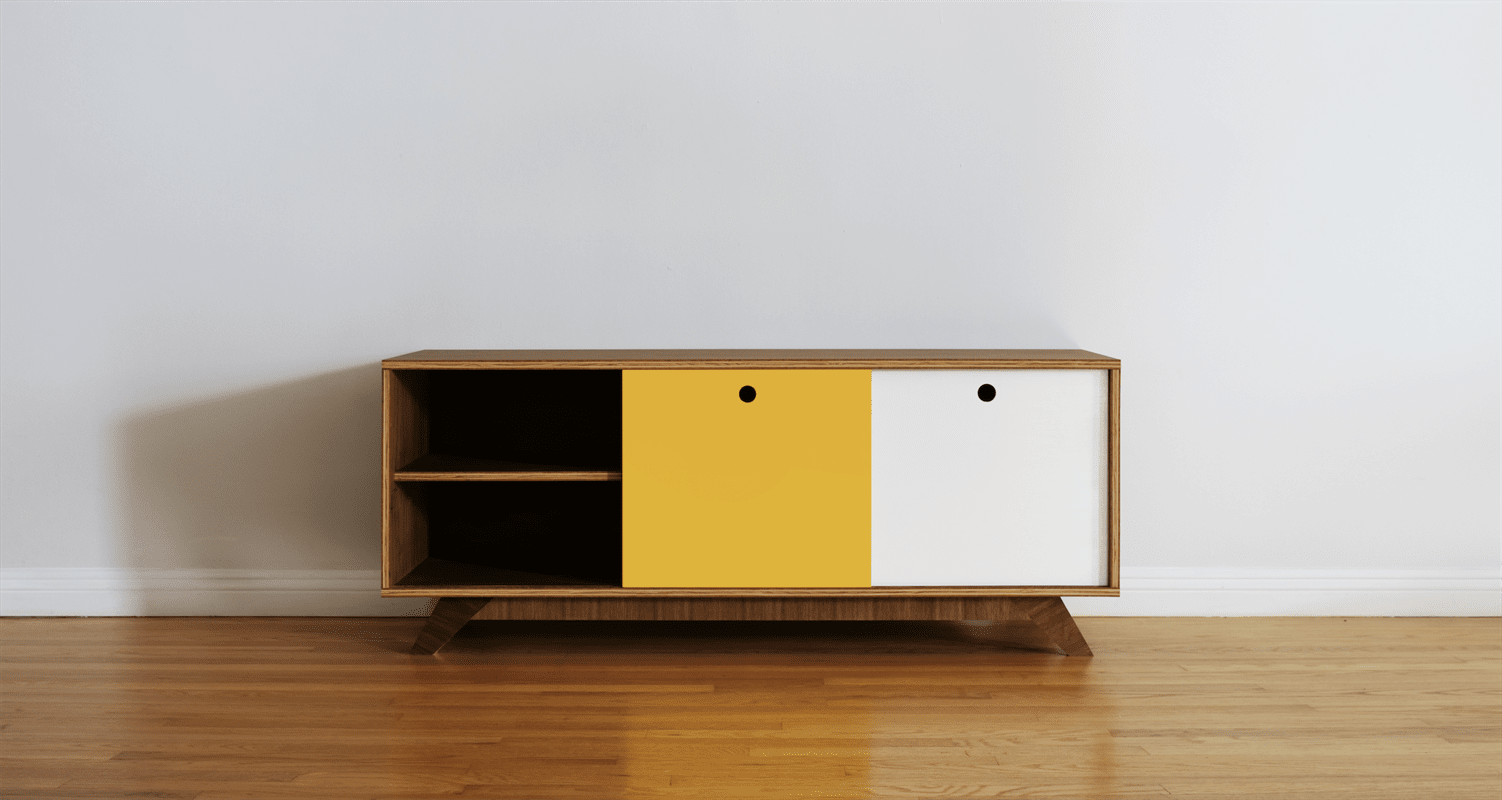
By Four Eyes FurnitureA Mid-Century Modern inspired TV / Media Console with sliding doors. You can build this project with limited tools. I used the Kreg Adaptive Cutting System and a drill and sander.
Directions
-
Intro
This project isn't hard, but there are a few steps that are easier explained visually than verbally. Make sure to check out the full video on my youtube page.
Link - https://youtu.be/4C1Namjo0dM
-
Top, Bottom, and Sides
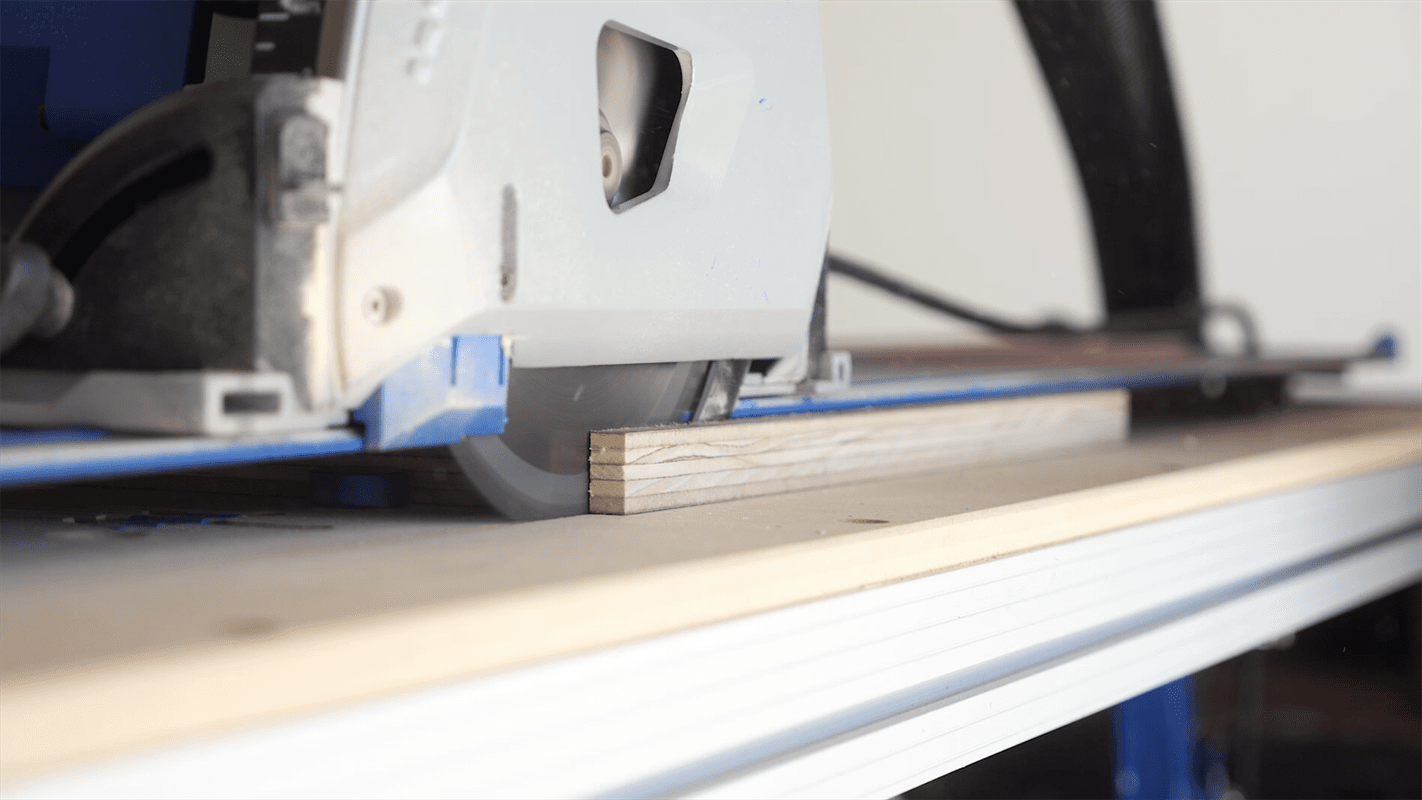
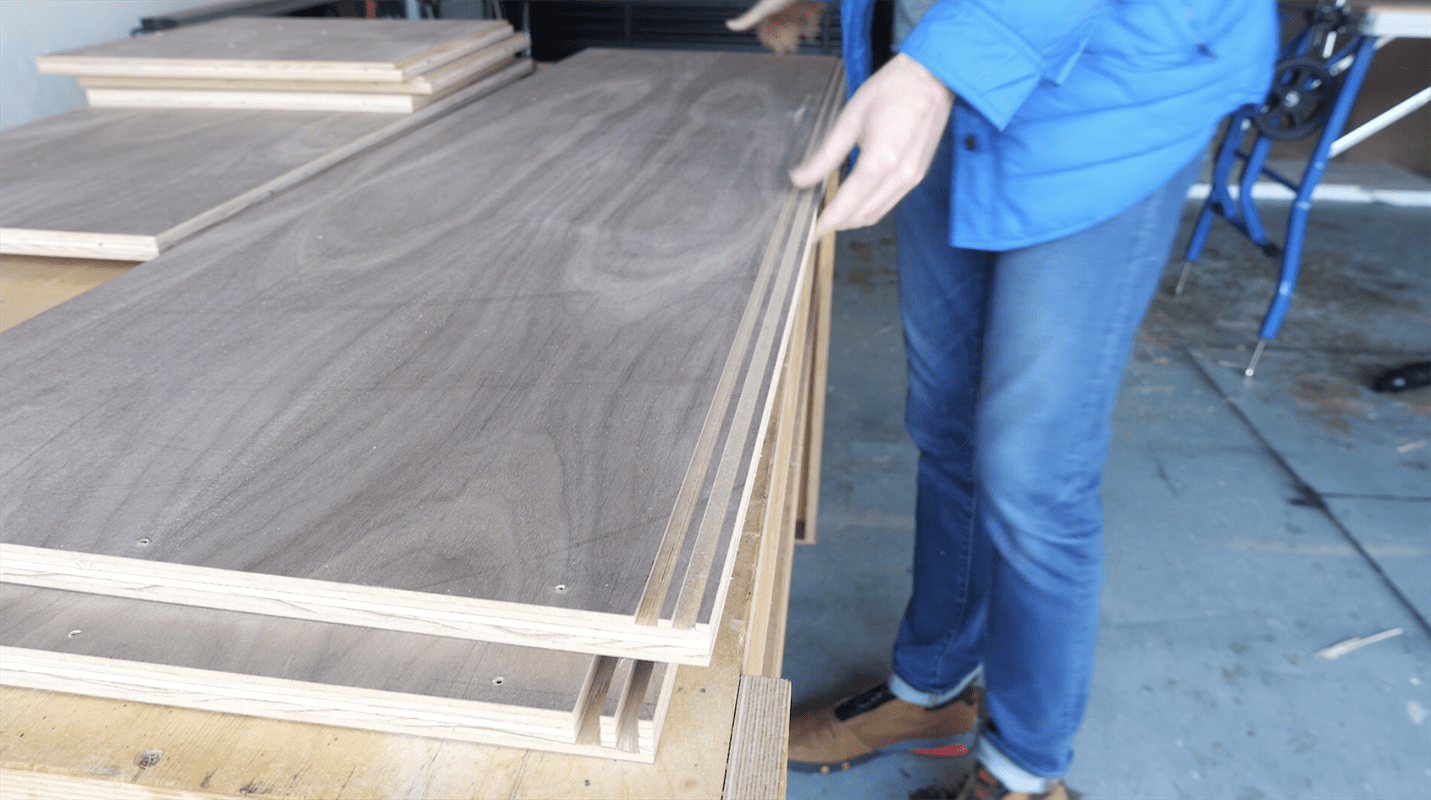
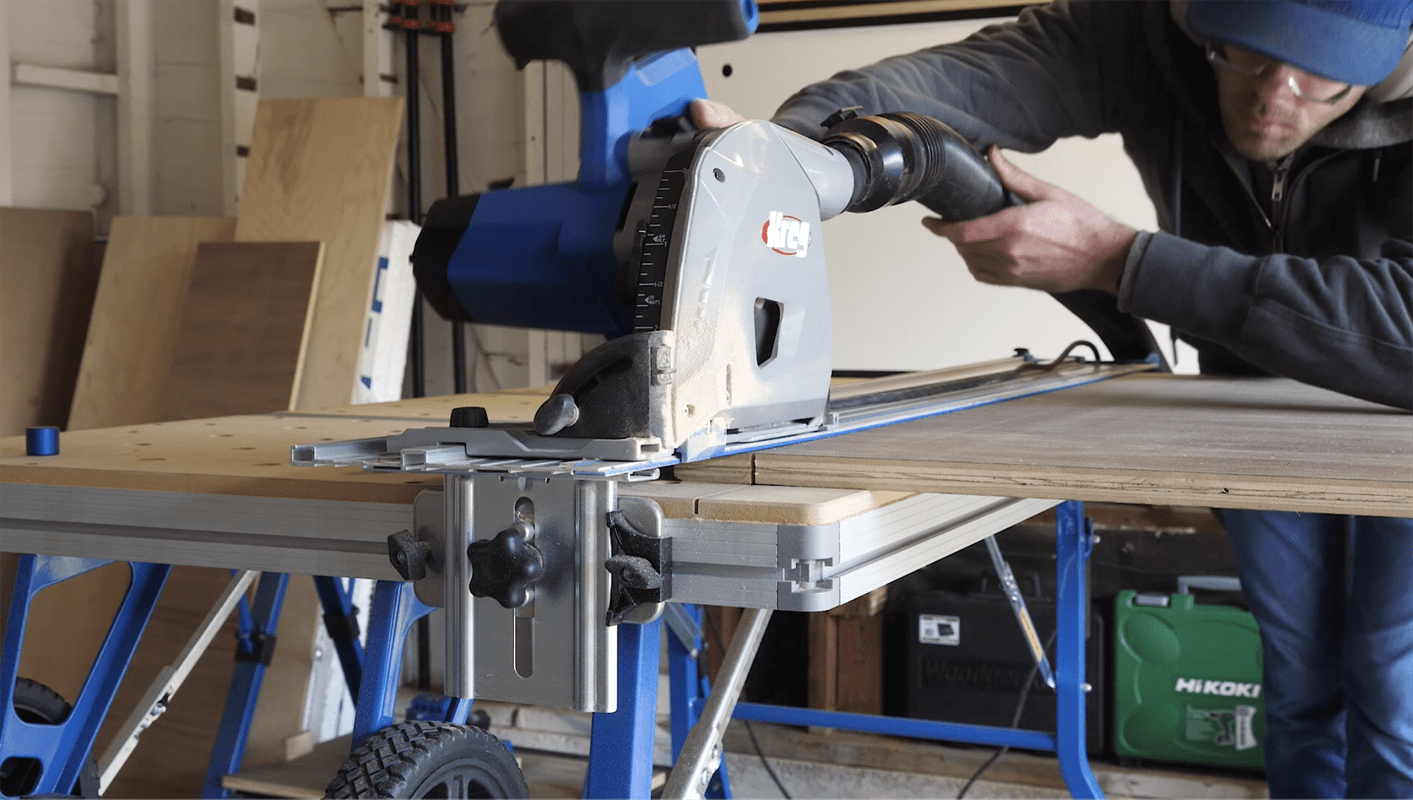
From your 3/4" sheet of plywood, cut out your top, bottom, and 2 side pieces to the following dimensions.
Top and Bottom to - 54"L x 16.25"W
Sides to - 16"L x 16.25W -
Vertical Partition
From 3/4" sheet of plywood, cut out your vertical partition - 16"L x 14.75"W
-
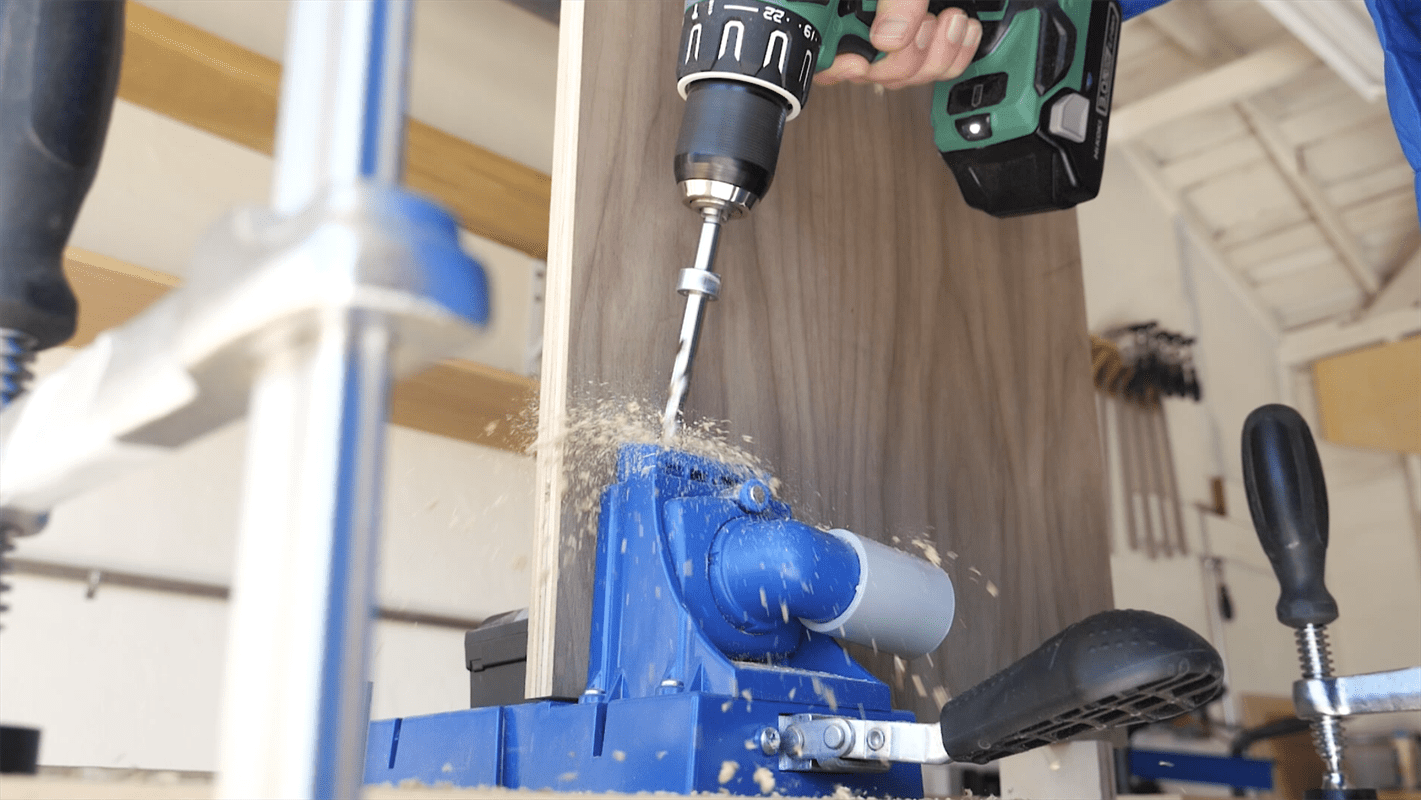
Pocket Holes
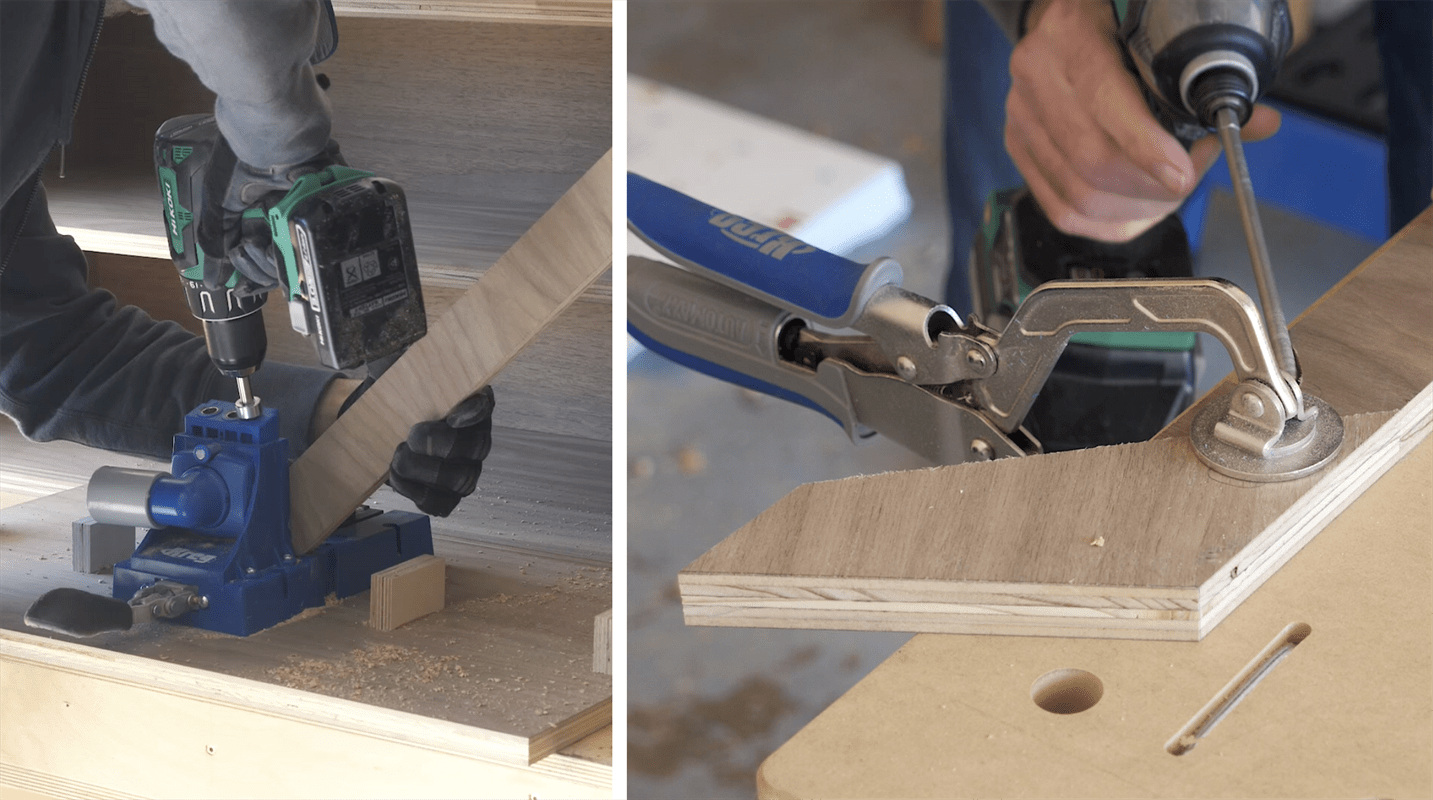
Cut Pocket Holes into the top and bottom edges of the 2 side pieces, and into the top and bottom edges of the vertical partition.
-
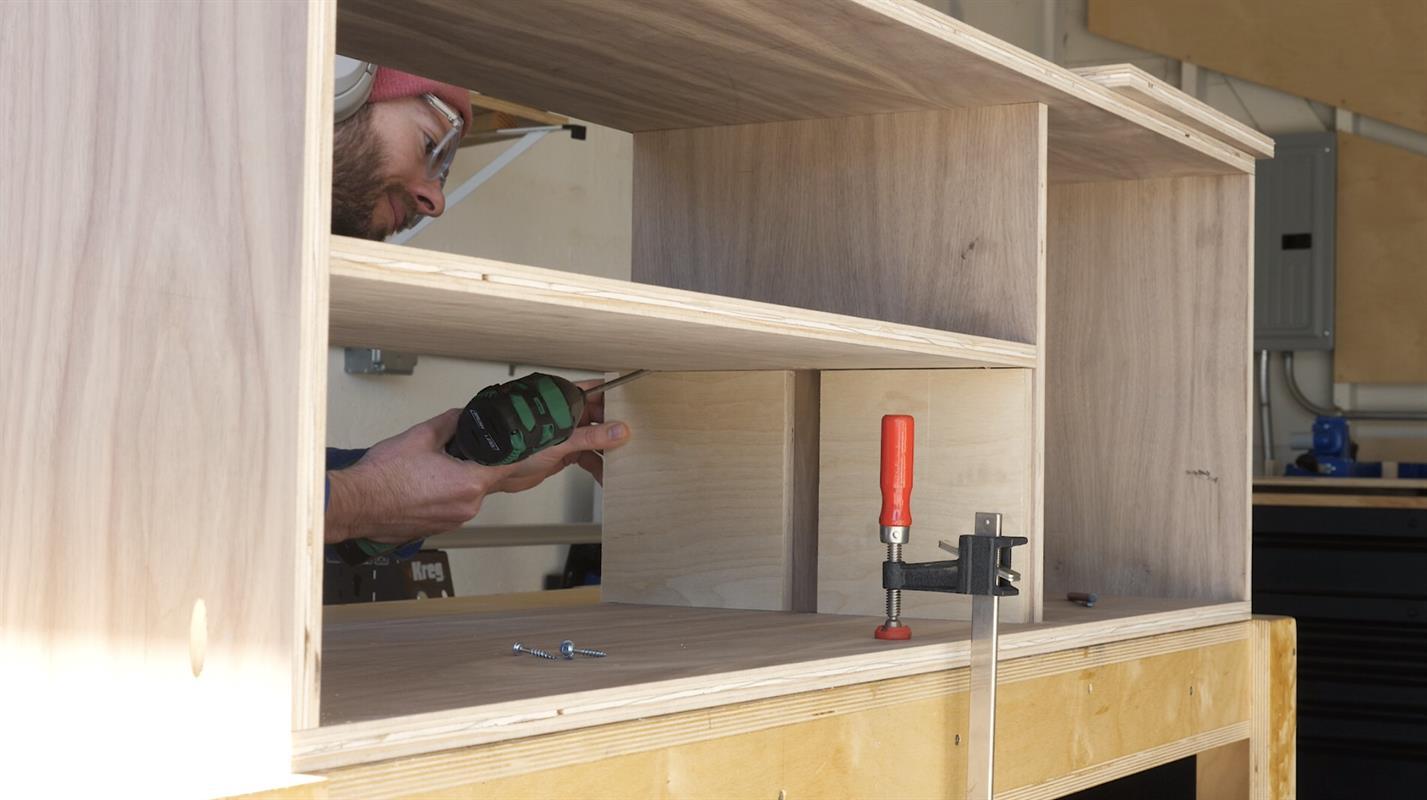
Dry Assemble & Measure for Shelves
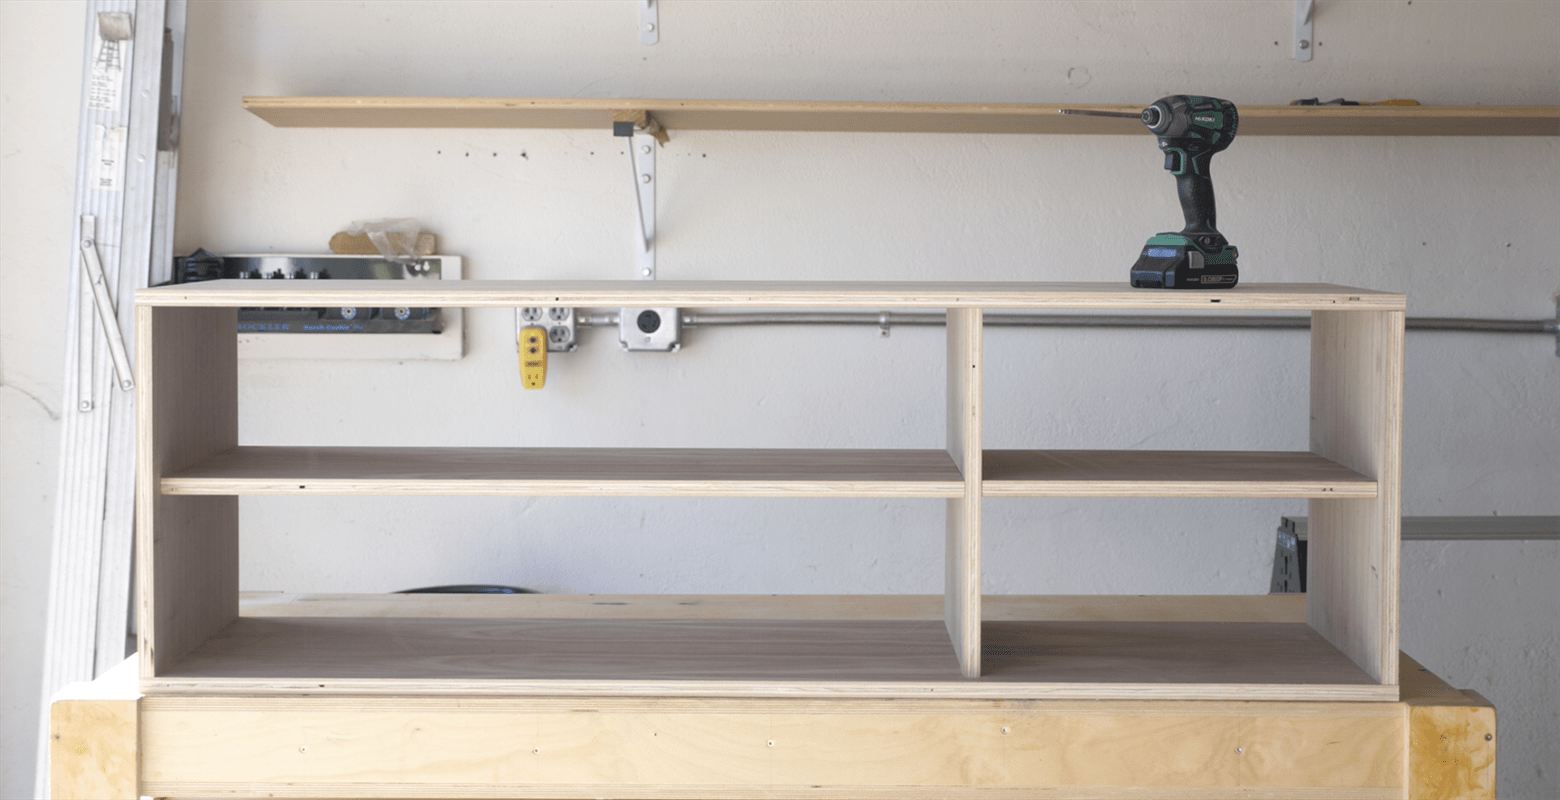
Assemble the Top, Bottom, Sides, and Vertical Partition (Do Not Use Glue Yet). The vertical partition should be approximately 17" from the Side Piece on the right hand side, and 1/4" away from the back edge (to allow for a back panel)
Measure your gaps to determine how long your shelves need to be.
-
Cut Shelves
From 3/4" sheet of plywood, cut out your 2 shelves. In theory they should be 34.75"L x 14.75"W and 17"L x 14.75"W. But in reality make sure to cut your "L" dimension to fit the gap that you measured in the previous step.
-
Pocket Holes/assemble/disassemble
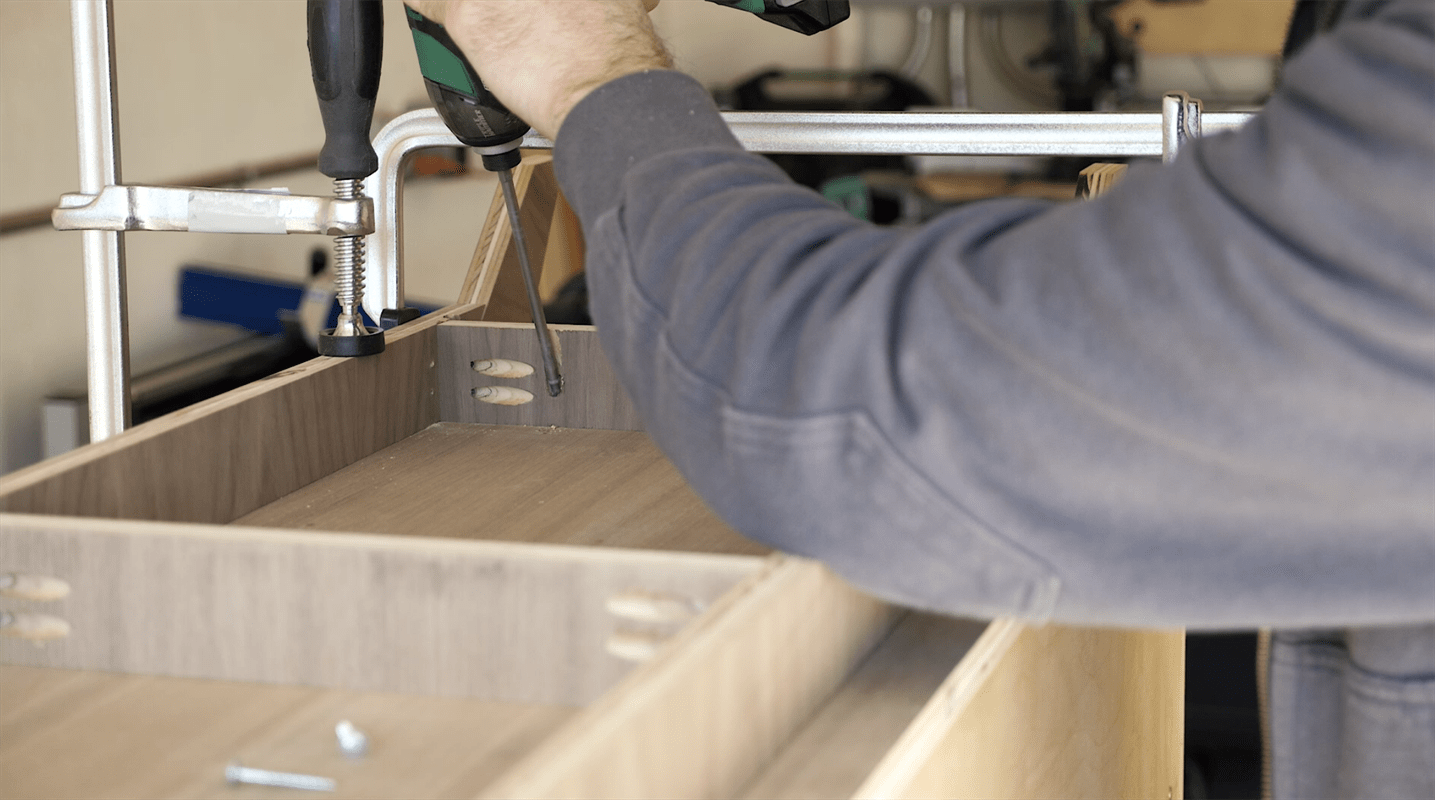
Drill Pocket Holes into both shelving pieces and complete your dry assembly to make sure everything is fitting right. If it is, disassemble and proceed.
-
Cut Rabbets
With your pieces disassembled cut a rabbet along the back-inside edges of the two side pieces. The rabbet should be 1/4" wide and 1/4" deep
-
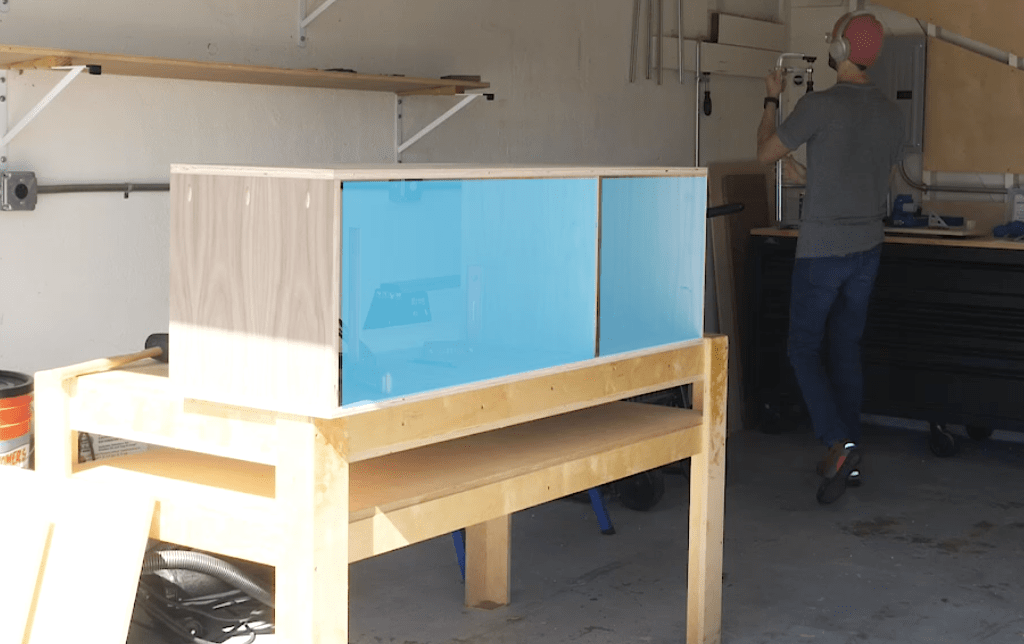
Cut Grooves for Sliding Doors
Cut groves along the inside front edges of the top and bottom pieces to allow for a pair of sliding doors. The first grove should start 1/4" from the front edge and be 1/4" wide, and the second groove should start 3/4" from the front edge and be 1/4" wide.
In your bottom piece cut the groves 1/8" deep, and in the top piece cut your grooves 3/8" deep.
-
Assemble
Now you can reassemble your top, bottom, side pieces, vertical partition and shelves. This time with glue (if you'd like)
NOTE: You may want to sand the inside faces of your plywood now as it will be easier to reach before assembly.
-
Back Panel
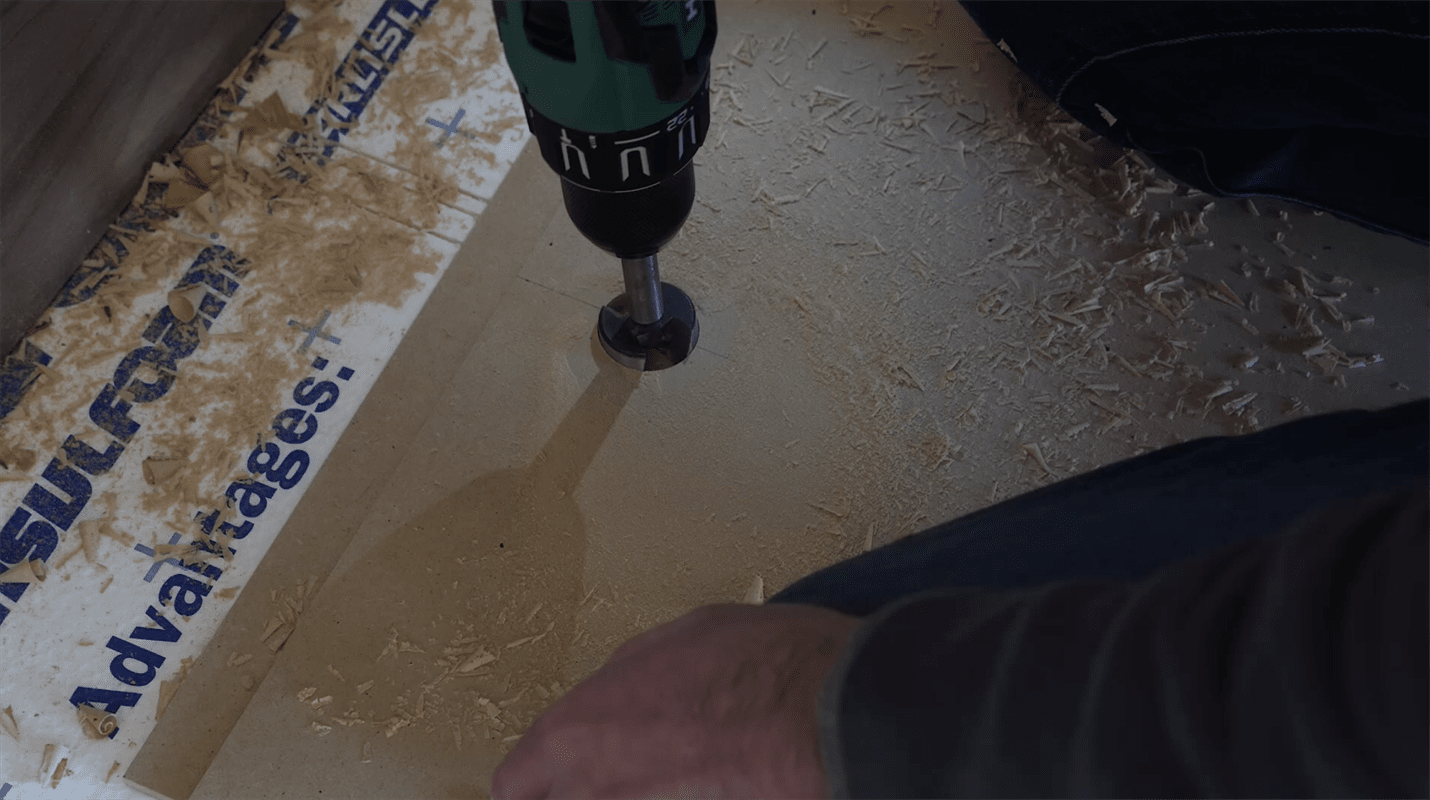
From a sheet of 1/4" plywood cut your back panel. Measure the gap between the rabbets you cut into your side pieces to determine the length, and measure the gap between the top and bottom to determine the width. If you want to feed chords through the back panel, use a forstner bit to drill out some holes in the appropriate locations. Attach to the cabinet with nails or screws.
-
Cut Doors
From a sheet of 1/4" plywood cut out your doors. Doors should be 18"L x 16.25W
Note the width should be slightly longer (about 1/8 - 1/4 of an inch) than the gap between the bottom of the grove in your bottom piece, and the inside face of the top piece. This will give you the ability to insert the door by lifting it into the top grove so that it can clear the bottom, and the set into the bottom grove so that it is held in place, but can slide freely.
Use a forstner bit to drill "finger holes" into the doors before you install them.
-
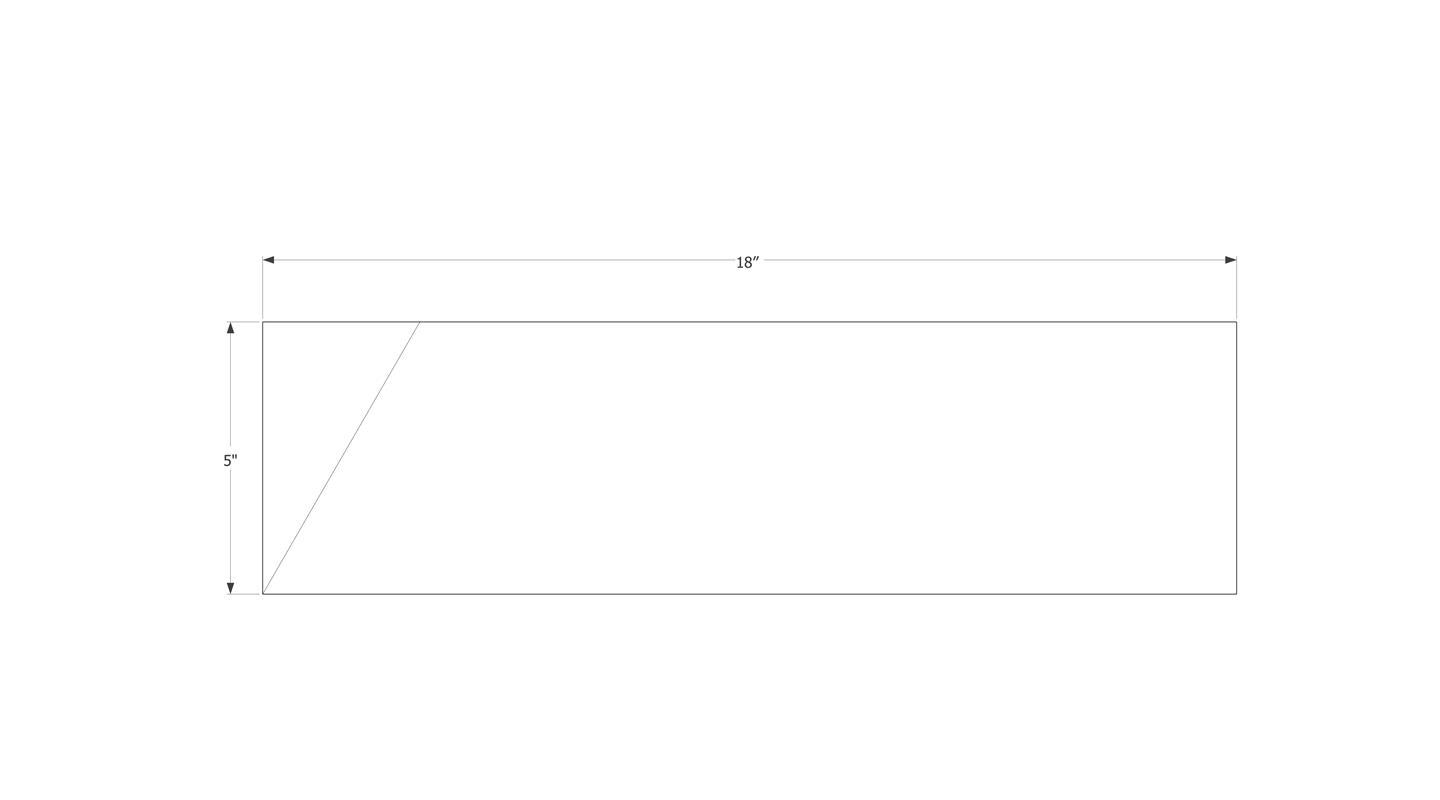
Cut Out "blank" for Legs
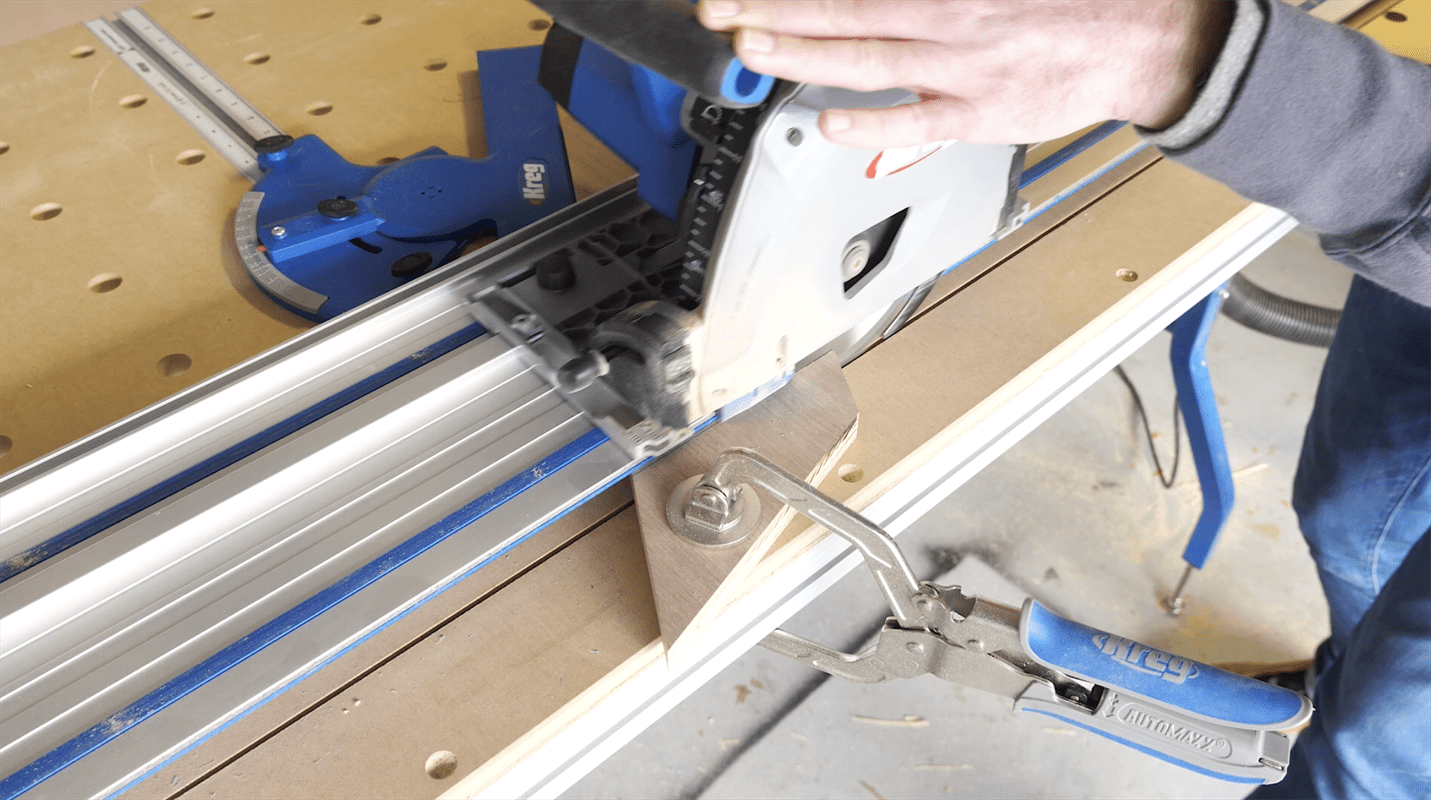
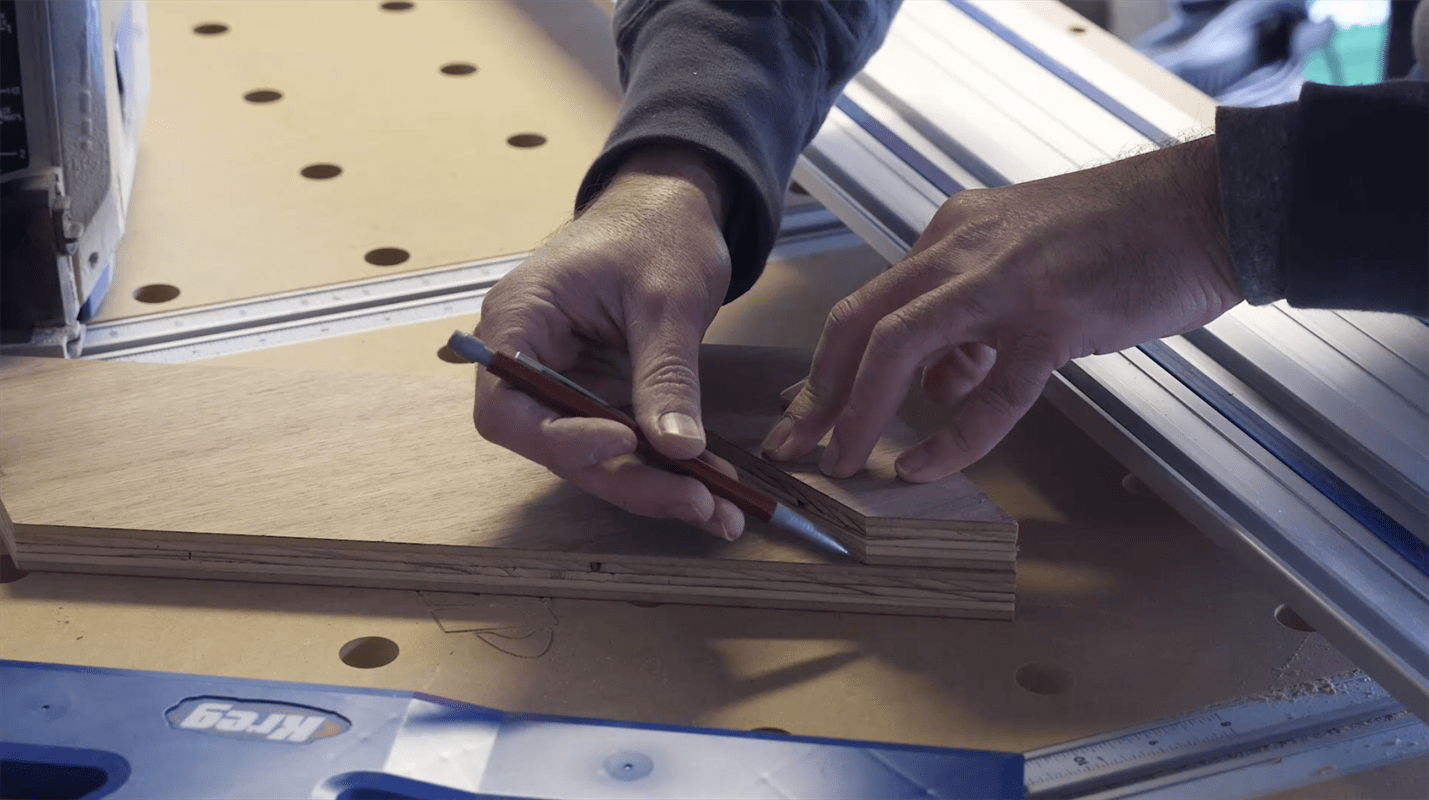
From 3/4" sheet of plywood, cut out a piece that is 18 x 5 inches. And then cut a 30 degree angle off of 1 end to create a shape similar to what is pictured here.
-
Measure Out First Leg
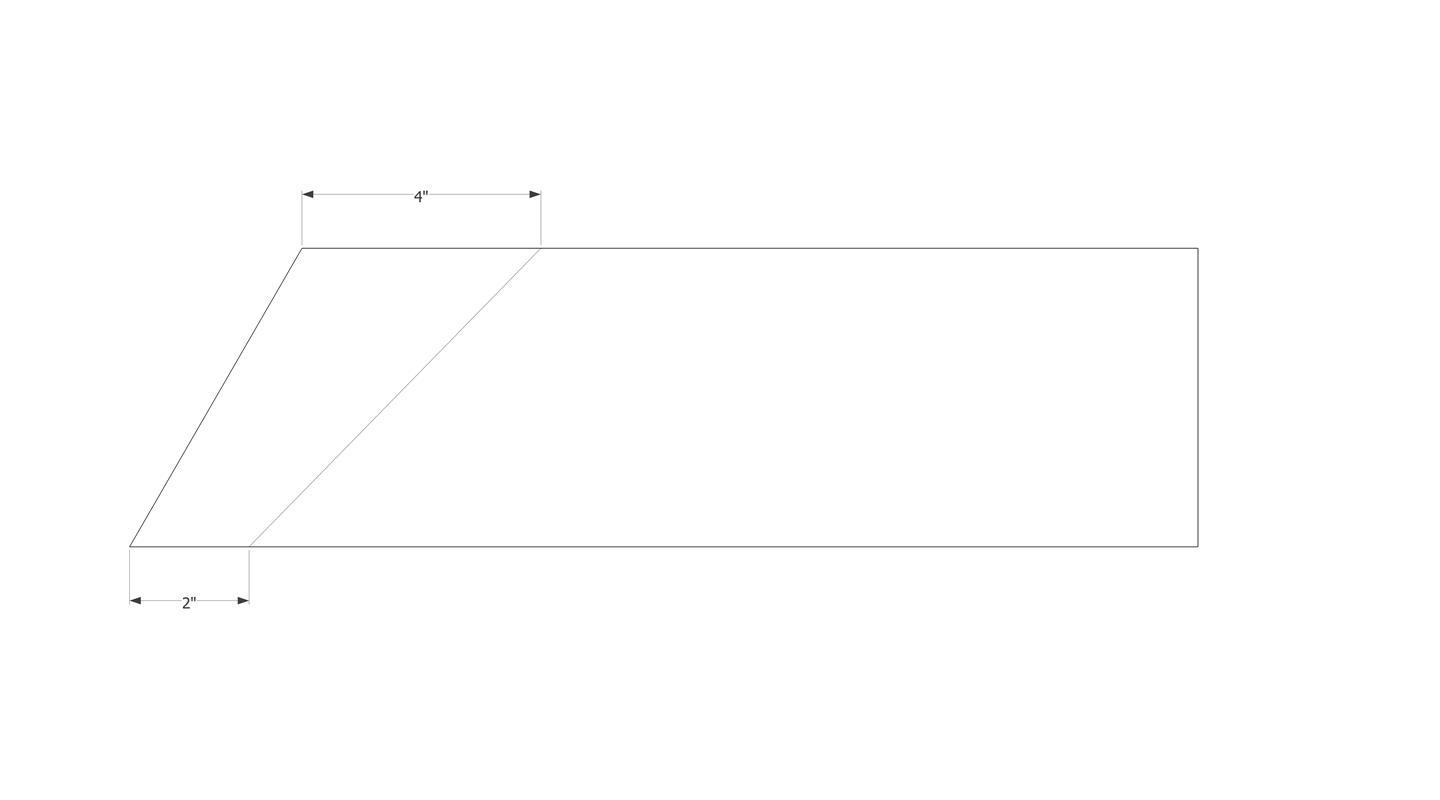
Mark the taper of your leg. It should go from 2" wide at the bottom, to 4" wide at the top. Connect the marks with a line.
-
Cut Out Leg
Cut out the Leg by cutting along the line you just marked.
-
Cut Out 3 More Legs
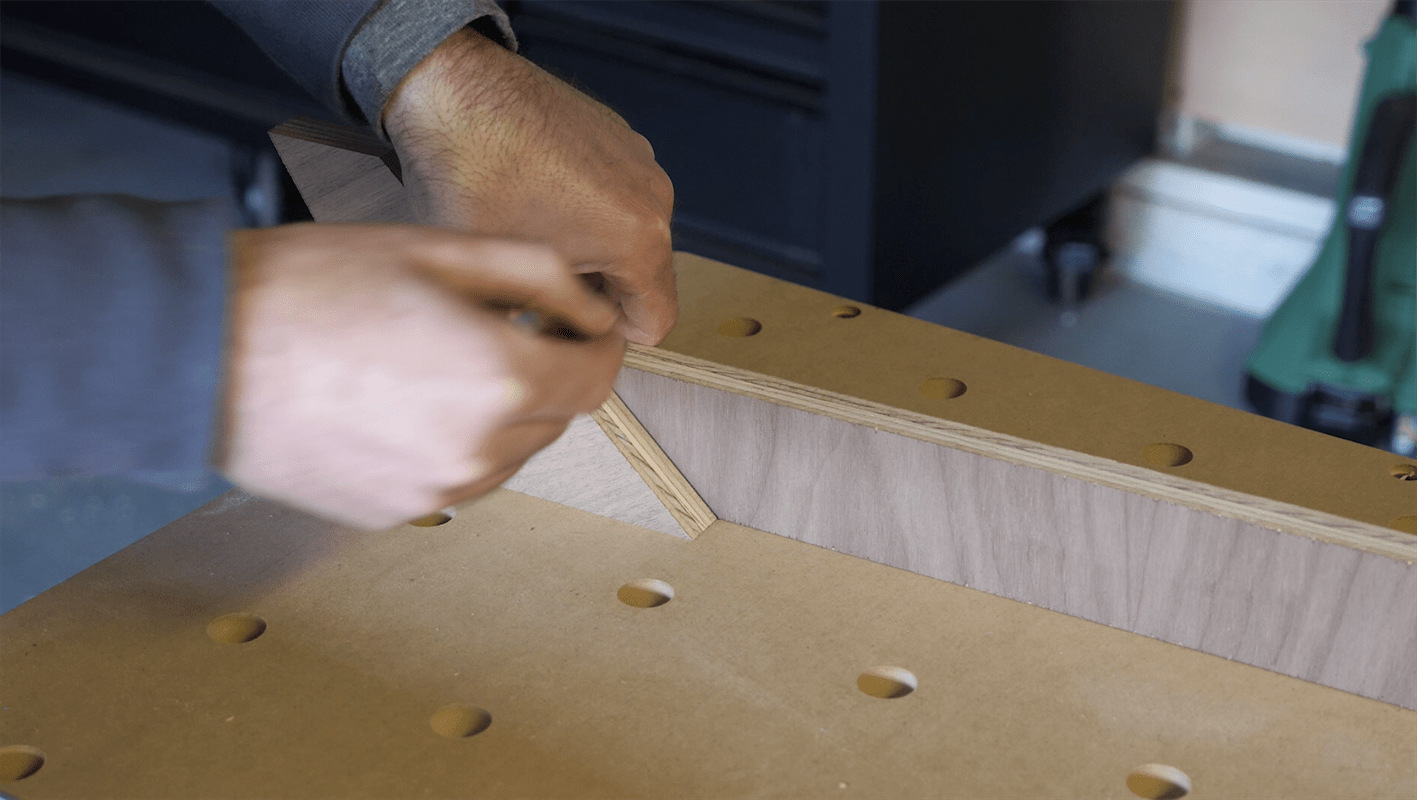
Use the first leg you cut out as a template to mark out the next leg and cut along the line. NOTE that the inside angle you just cut matches with the remaining work piece. You should be able to rotate the first leg 180 degrees to match up the angle, strike a line for the outside edge and cut along that line. Then repeat until all 4 legs have been cut out.
-
Cut Out Long Strips for Stretchers
Cut out 4 pieces that are 43"L x 2"W
-
Cut Long Stretchers to Length
Using your legs as a template, mark out a line on each end of two of the pieces so that their total length ends up being 42", and then cut along those lines.
-
Attach Legs to Stretchers
Drill two Pocket Holes on the ends of the long stretchers, and use glue and screws to attach a leg to each end.
-
Cut Short Stretchers
Using your 2 remaining "long strips" (step 17,) cut out 5 short stretchers that are 12"L x 2"W
-
Pocket Holes in Short Stretchers
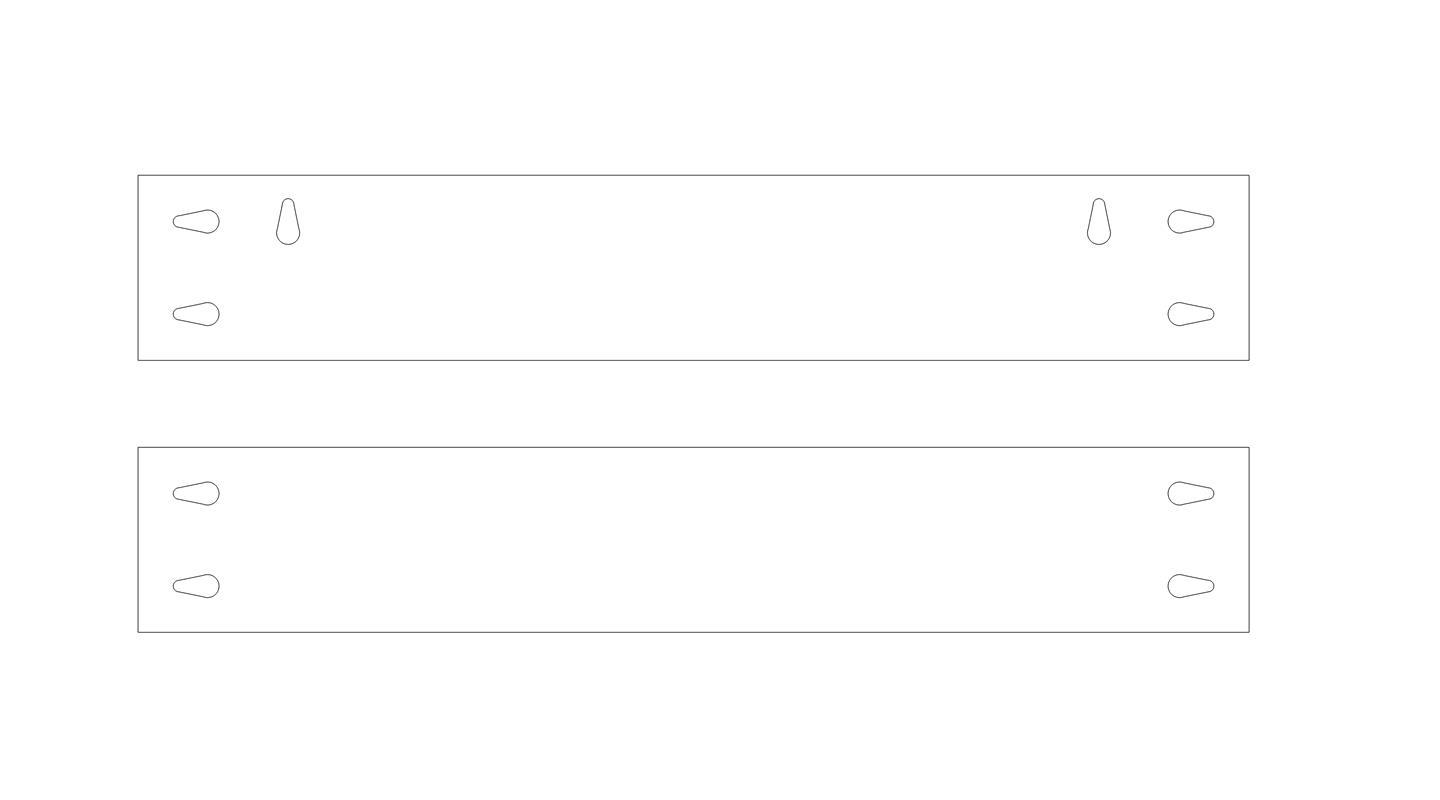
Cut 2 Pocket Holes on each end of the short stretchers. And on two of the short stretchers, cut a 2 pocket holes along one edge about 2 inches in from the end.
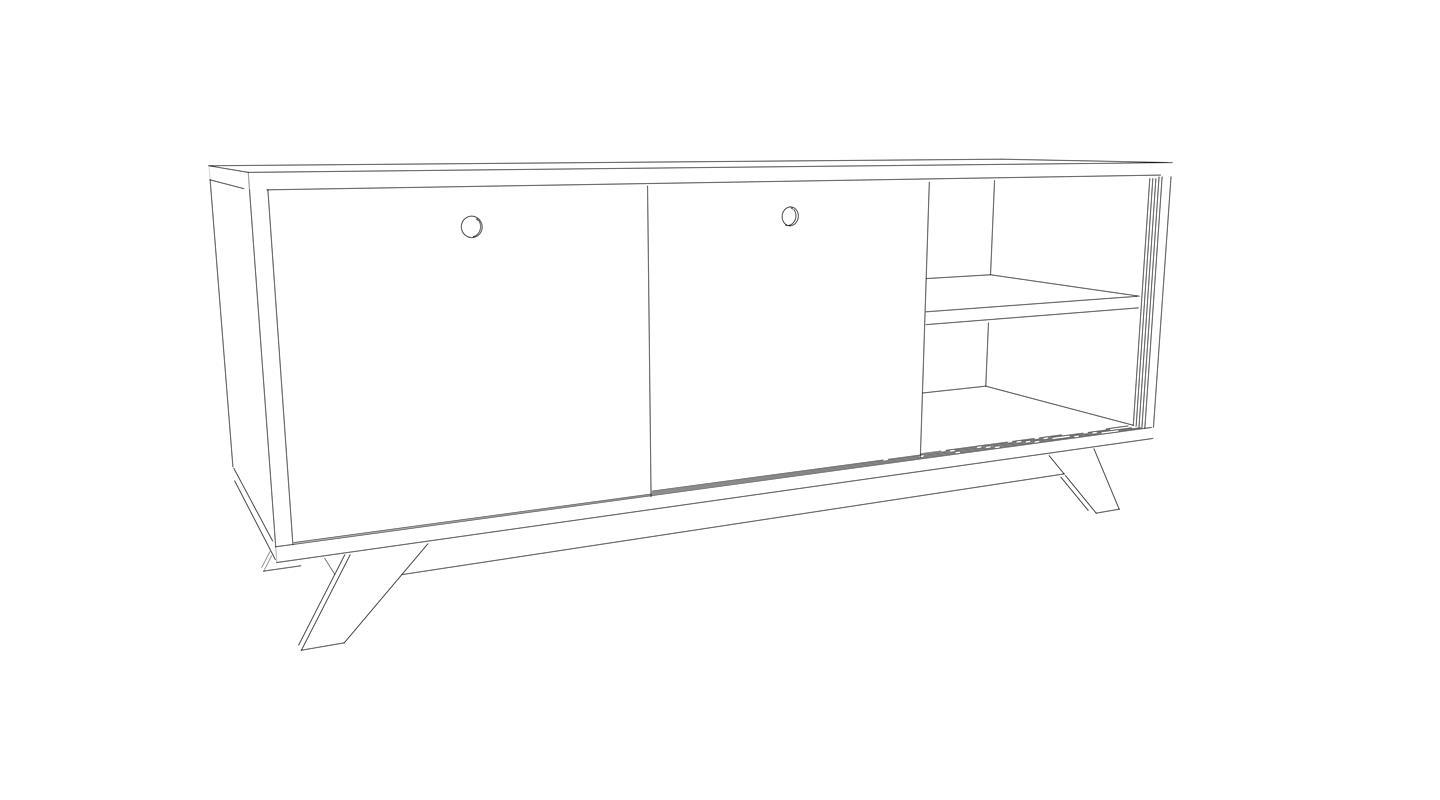
NOTE: looking at the included drawing, you should have 3 pieces that look like the bottom piece (with 4 pocket holes total) and 2 pieces that look like the top piece (with 6 pocket holes total) - The extra pocket holes will be used to attach the base to the cabinet a little later
-
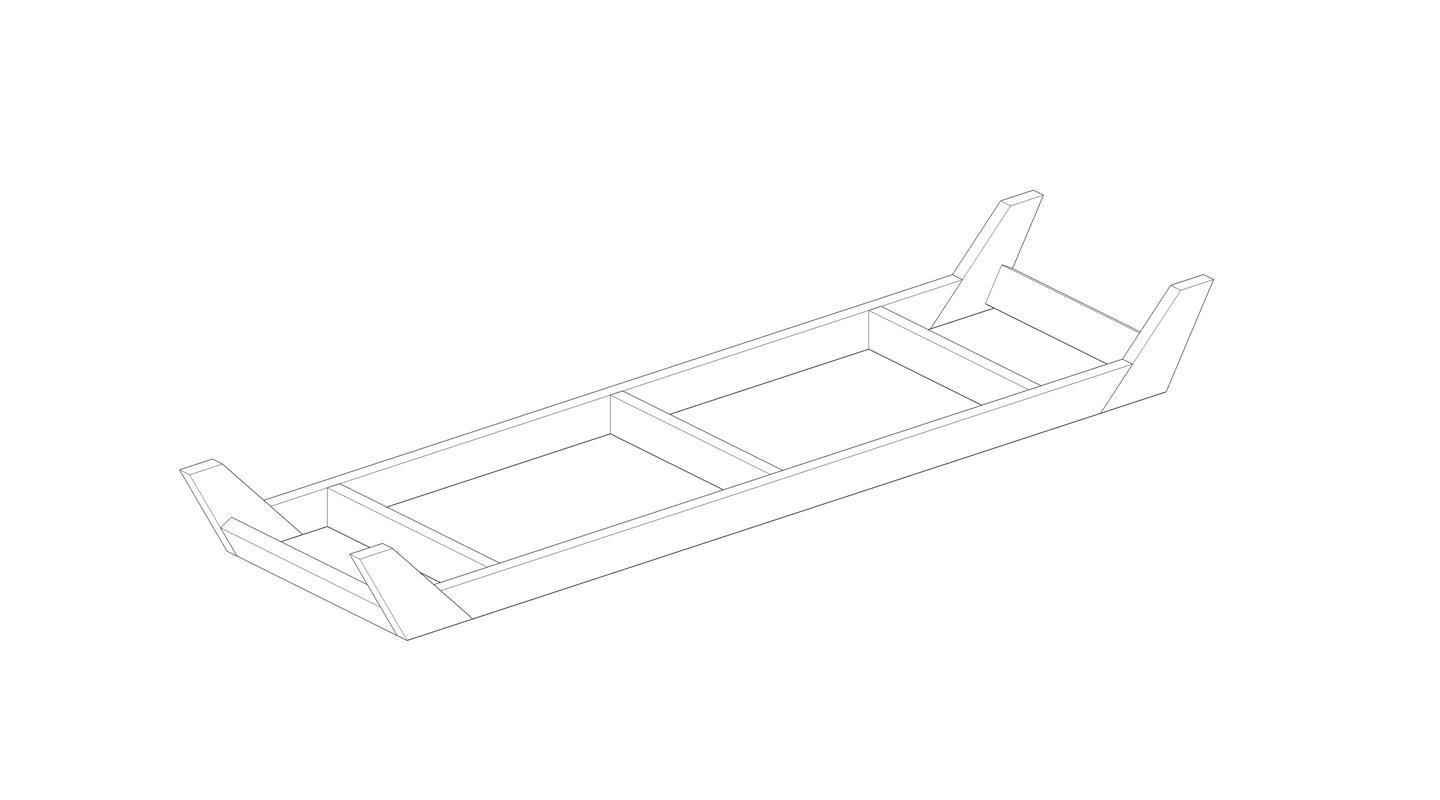
Assemble Base
Use screws through the pocket holes to attach the two leg sub assemblies together. The two stretchers with the extra pocket holes should be in position 2 and 4 with the pocket holes facing towards the top of the base, so that they can connect to the cabinet.
The two stretchers on the ends (position 1 and 5) should be angled to match the legs.
-
Attach Base to Cabinet
Flip the entire unit upside down and place the base on the underside of the cabinet. Use 4 screws through the pocket holes to attach the base to the cabinet. Have somebody help you flip the whole thing back to right side up.
-
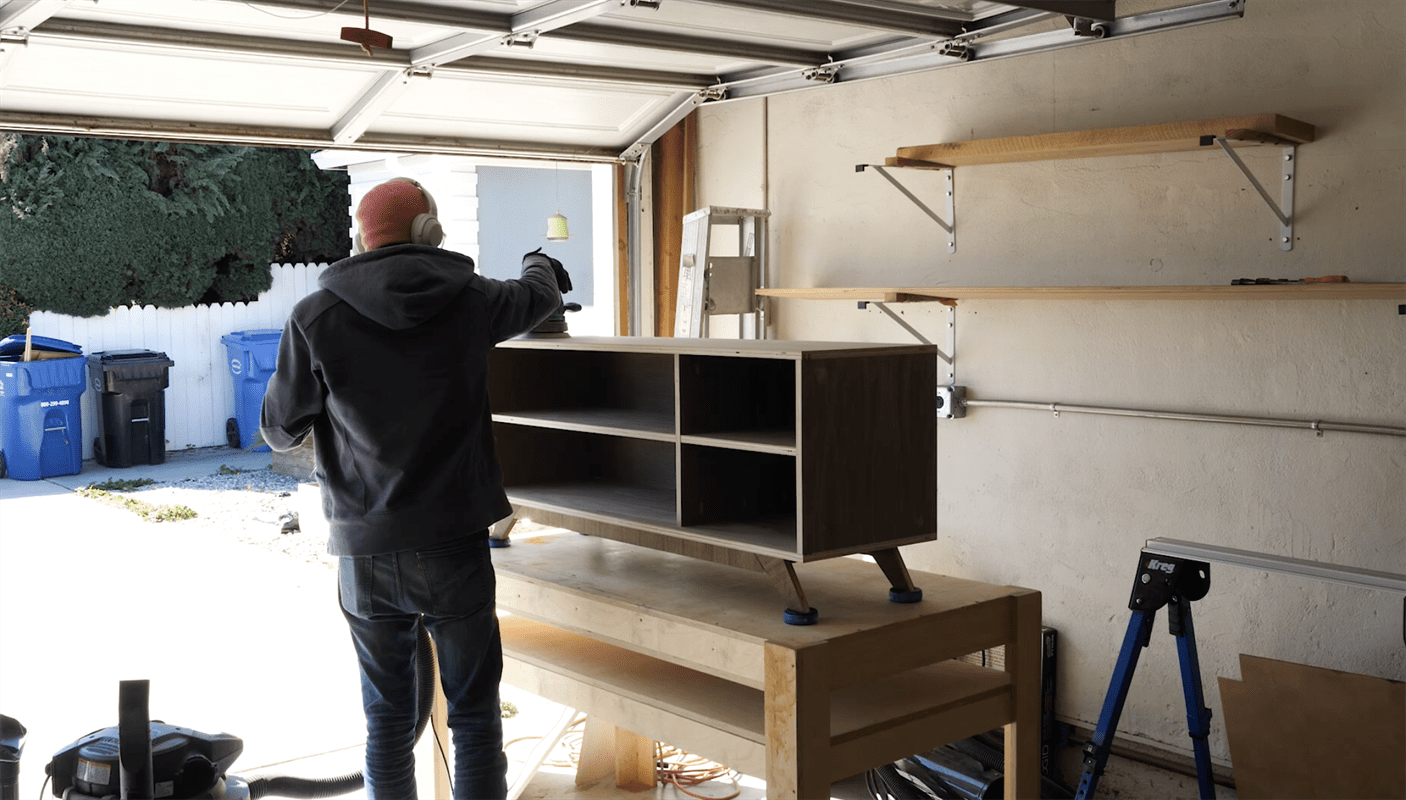
Sand and Finish
Sand up to 220 grit and finish with a finish of your choice.
-
Enjoy
Don't forget to watch the video (LINK) for more detail on how to build this piece.
https://youtu.be/4C1Namjo0dM


