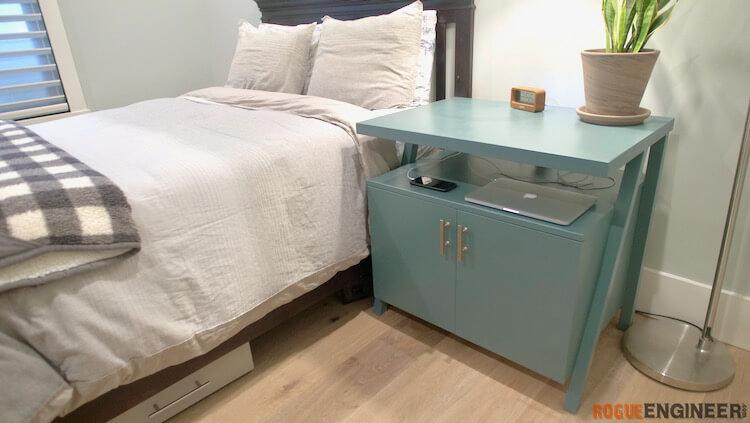
Large Nightstand with Charging Shelf
By Rogue EngineerWhen it comes to nightstands I feel like you can never have too much space. And, with all the devices that we need to store and charge at night I thought that integrating an open, and accessible, shelf just below the top with outlets and USB ports would be a welcomed accessory.
Directions
-
Cut
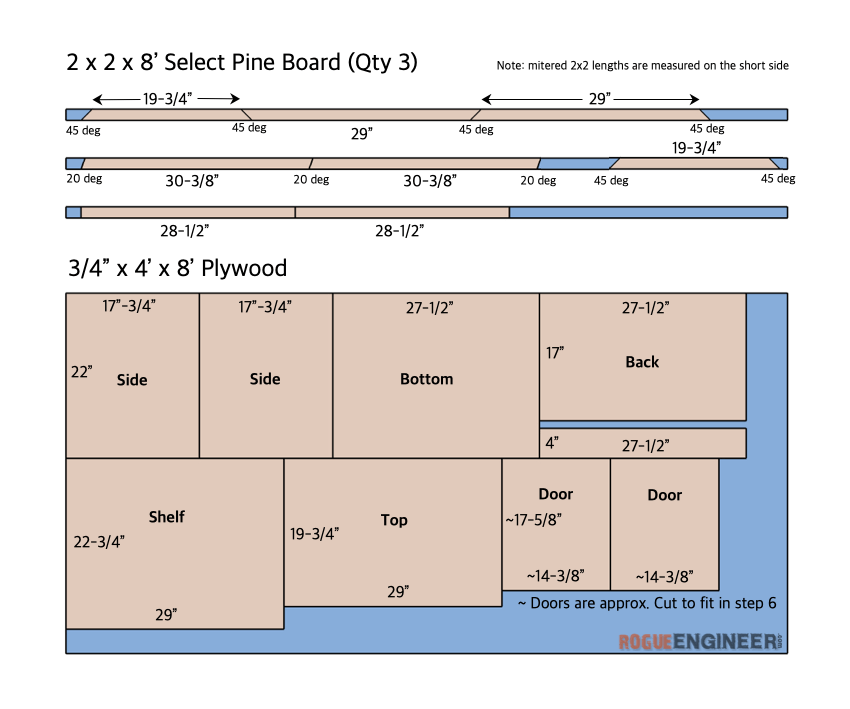
Cut down the 2x2 on the miter saw following the cut list. Then use a table saw or track saw, cut down the plywood according to the cut list. The doors should be cut to fit so wait on those until the unit is assembled.
-
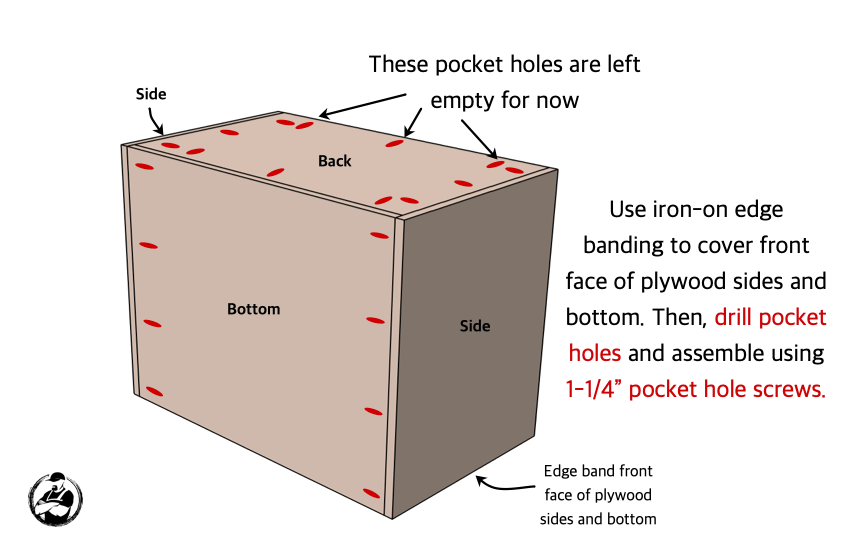
Cabinet Assembly
Use iron-on edge banding and apply to the front face of the cabinet. Then drill pocket holes and assemble cabinet using 1-1/4" pocket hole screws.
-
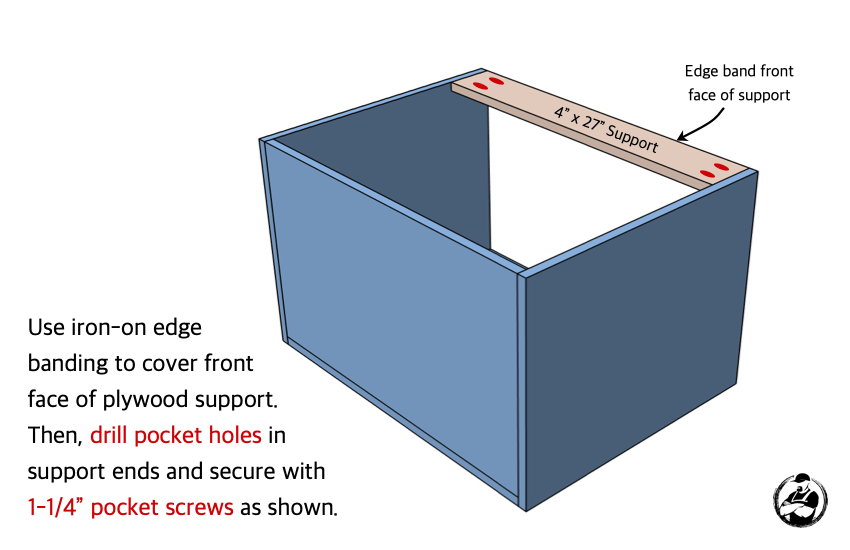
Add Support
Use iron-on edge banding to cover front face of plywood support. Then, drill pocket holes in support ends and secure with 1-1/4" pocket hole screws.
-
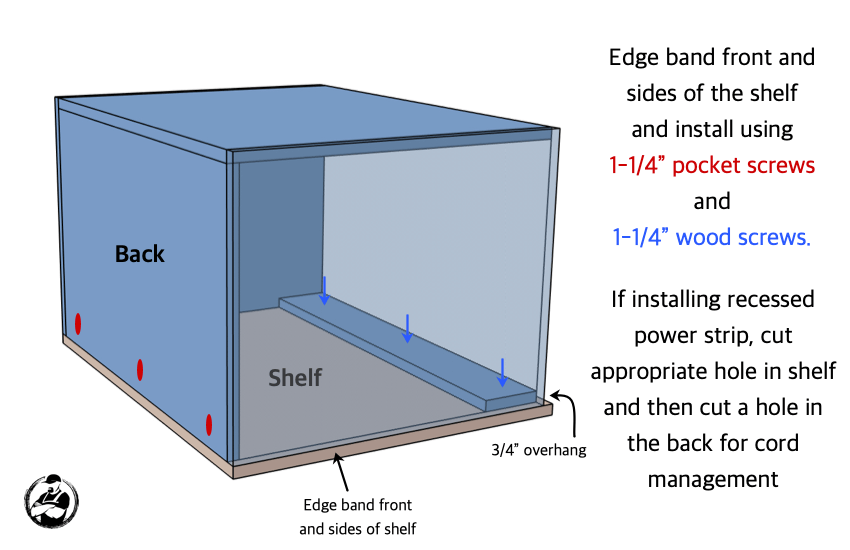
Install Shelf
Apply edge banding to front and sides of shelf and install using 1-1/4"pocket screws and 1-1/4" wood screws. If installing recessed power strip, cut hole in back of shelf for cord management.
-
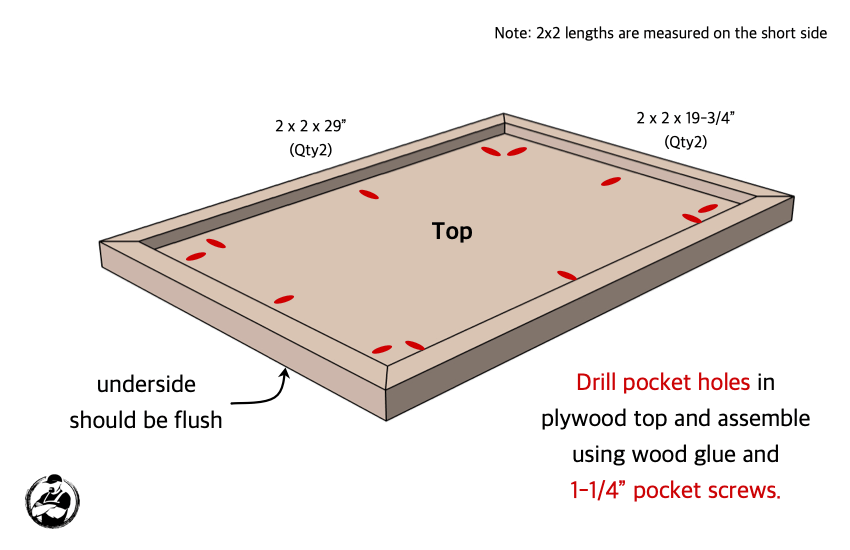
Top Assembly
Drill pocket holes in plywood top and assemble using wood glue and 1-1/4" pocket screws.
-
General Assembly
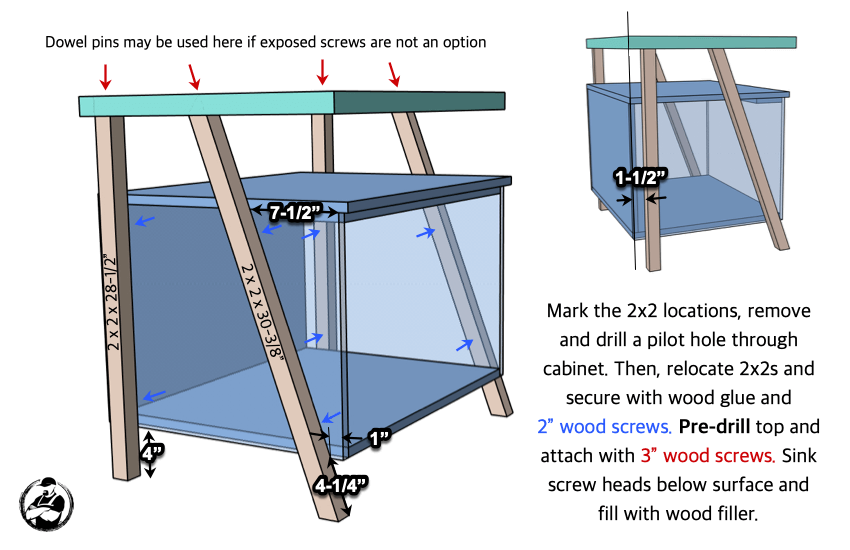
Mark the 2x2 locations, remove and drill a pilot hole through cabinet. Then, relocate 2x2s and secure with wood glue and 2" wood screws. Pre-drill top and attach with 3" wood screws. Sink screw heads below surface and fill with wood filler.
-
Finish and Doors
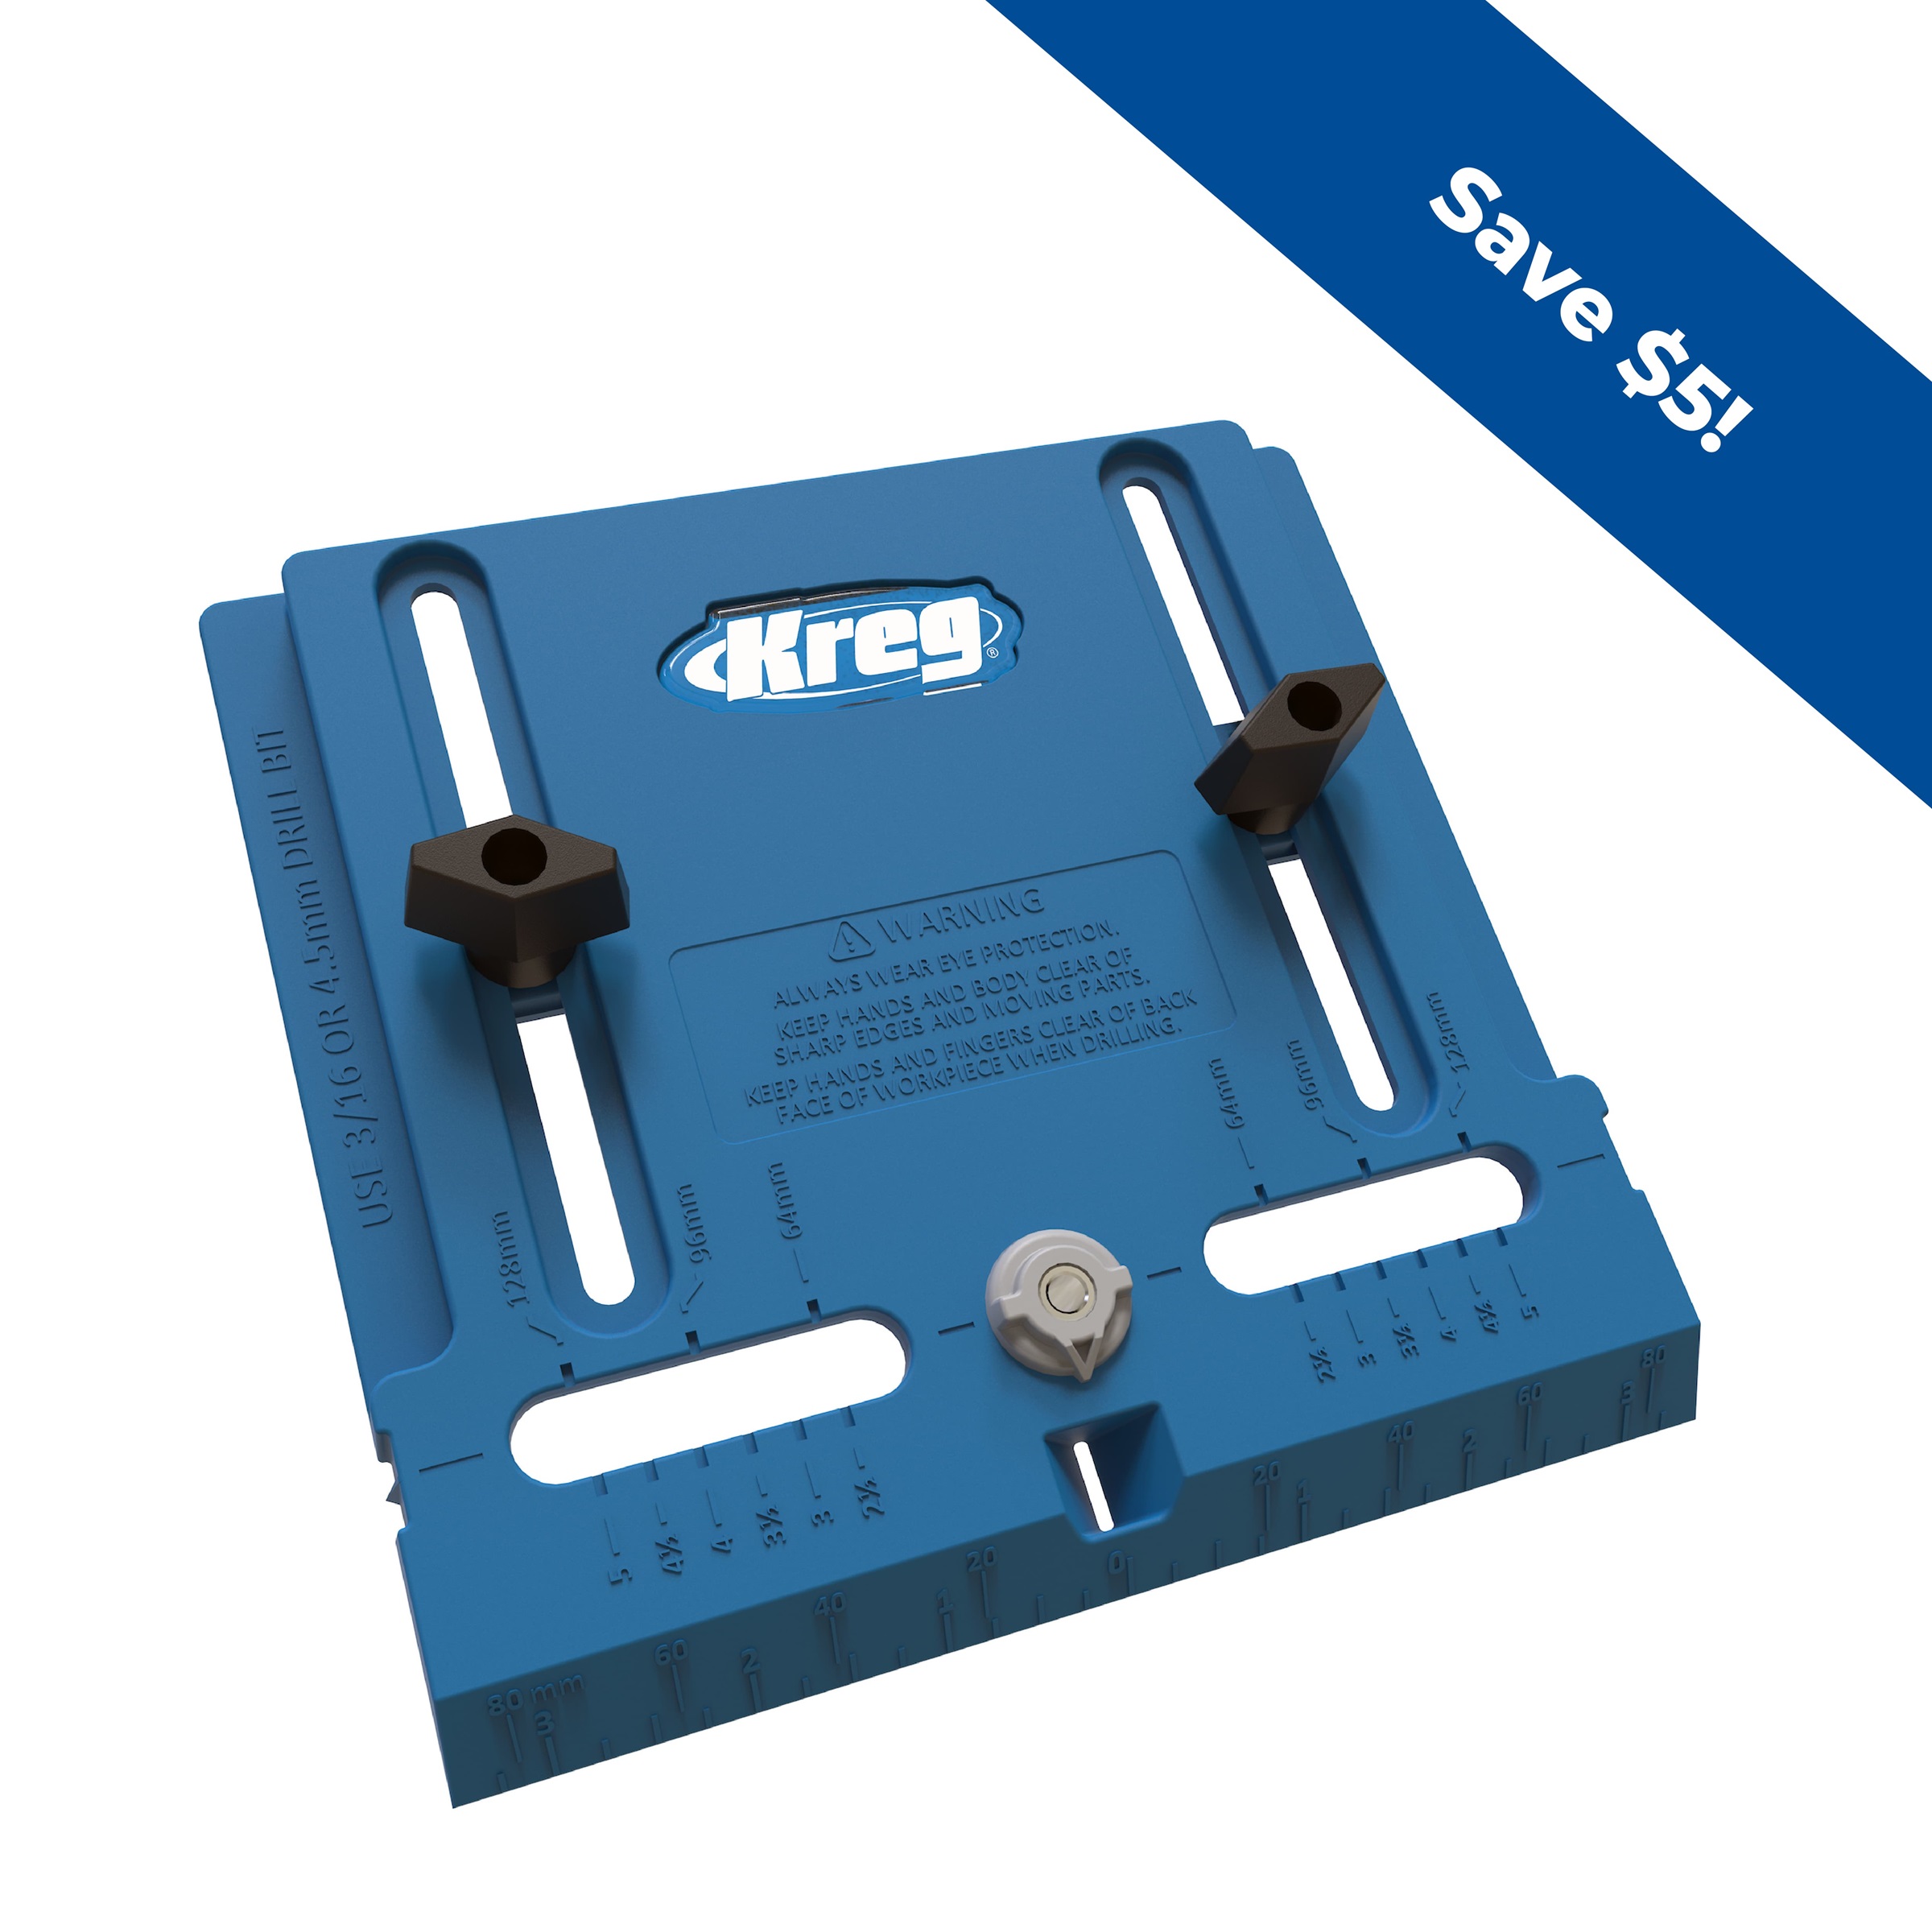
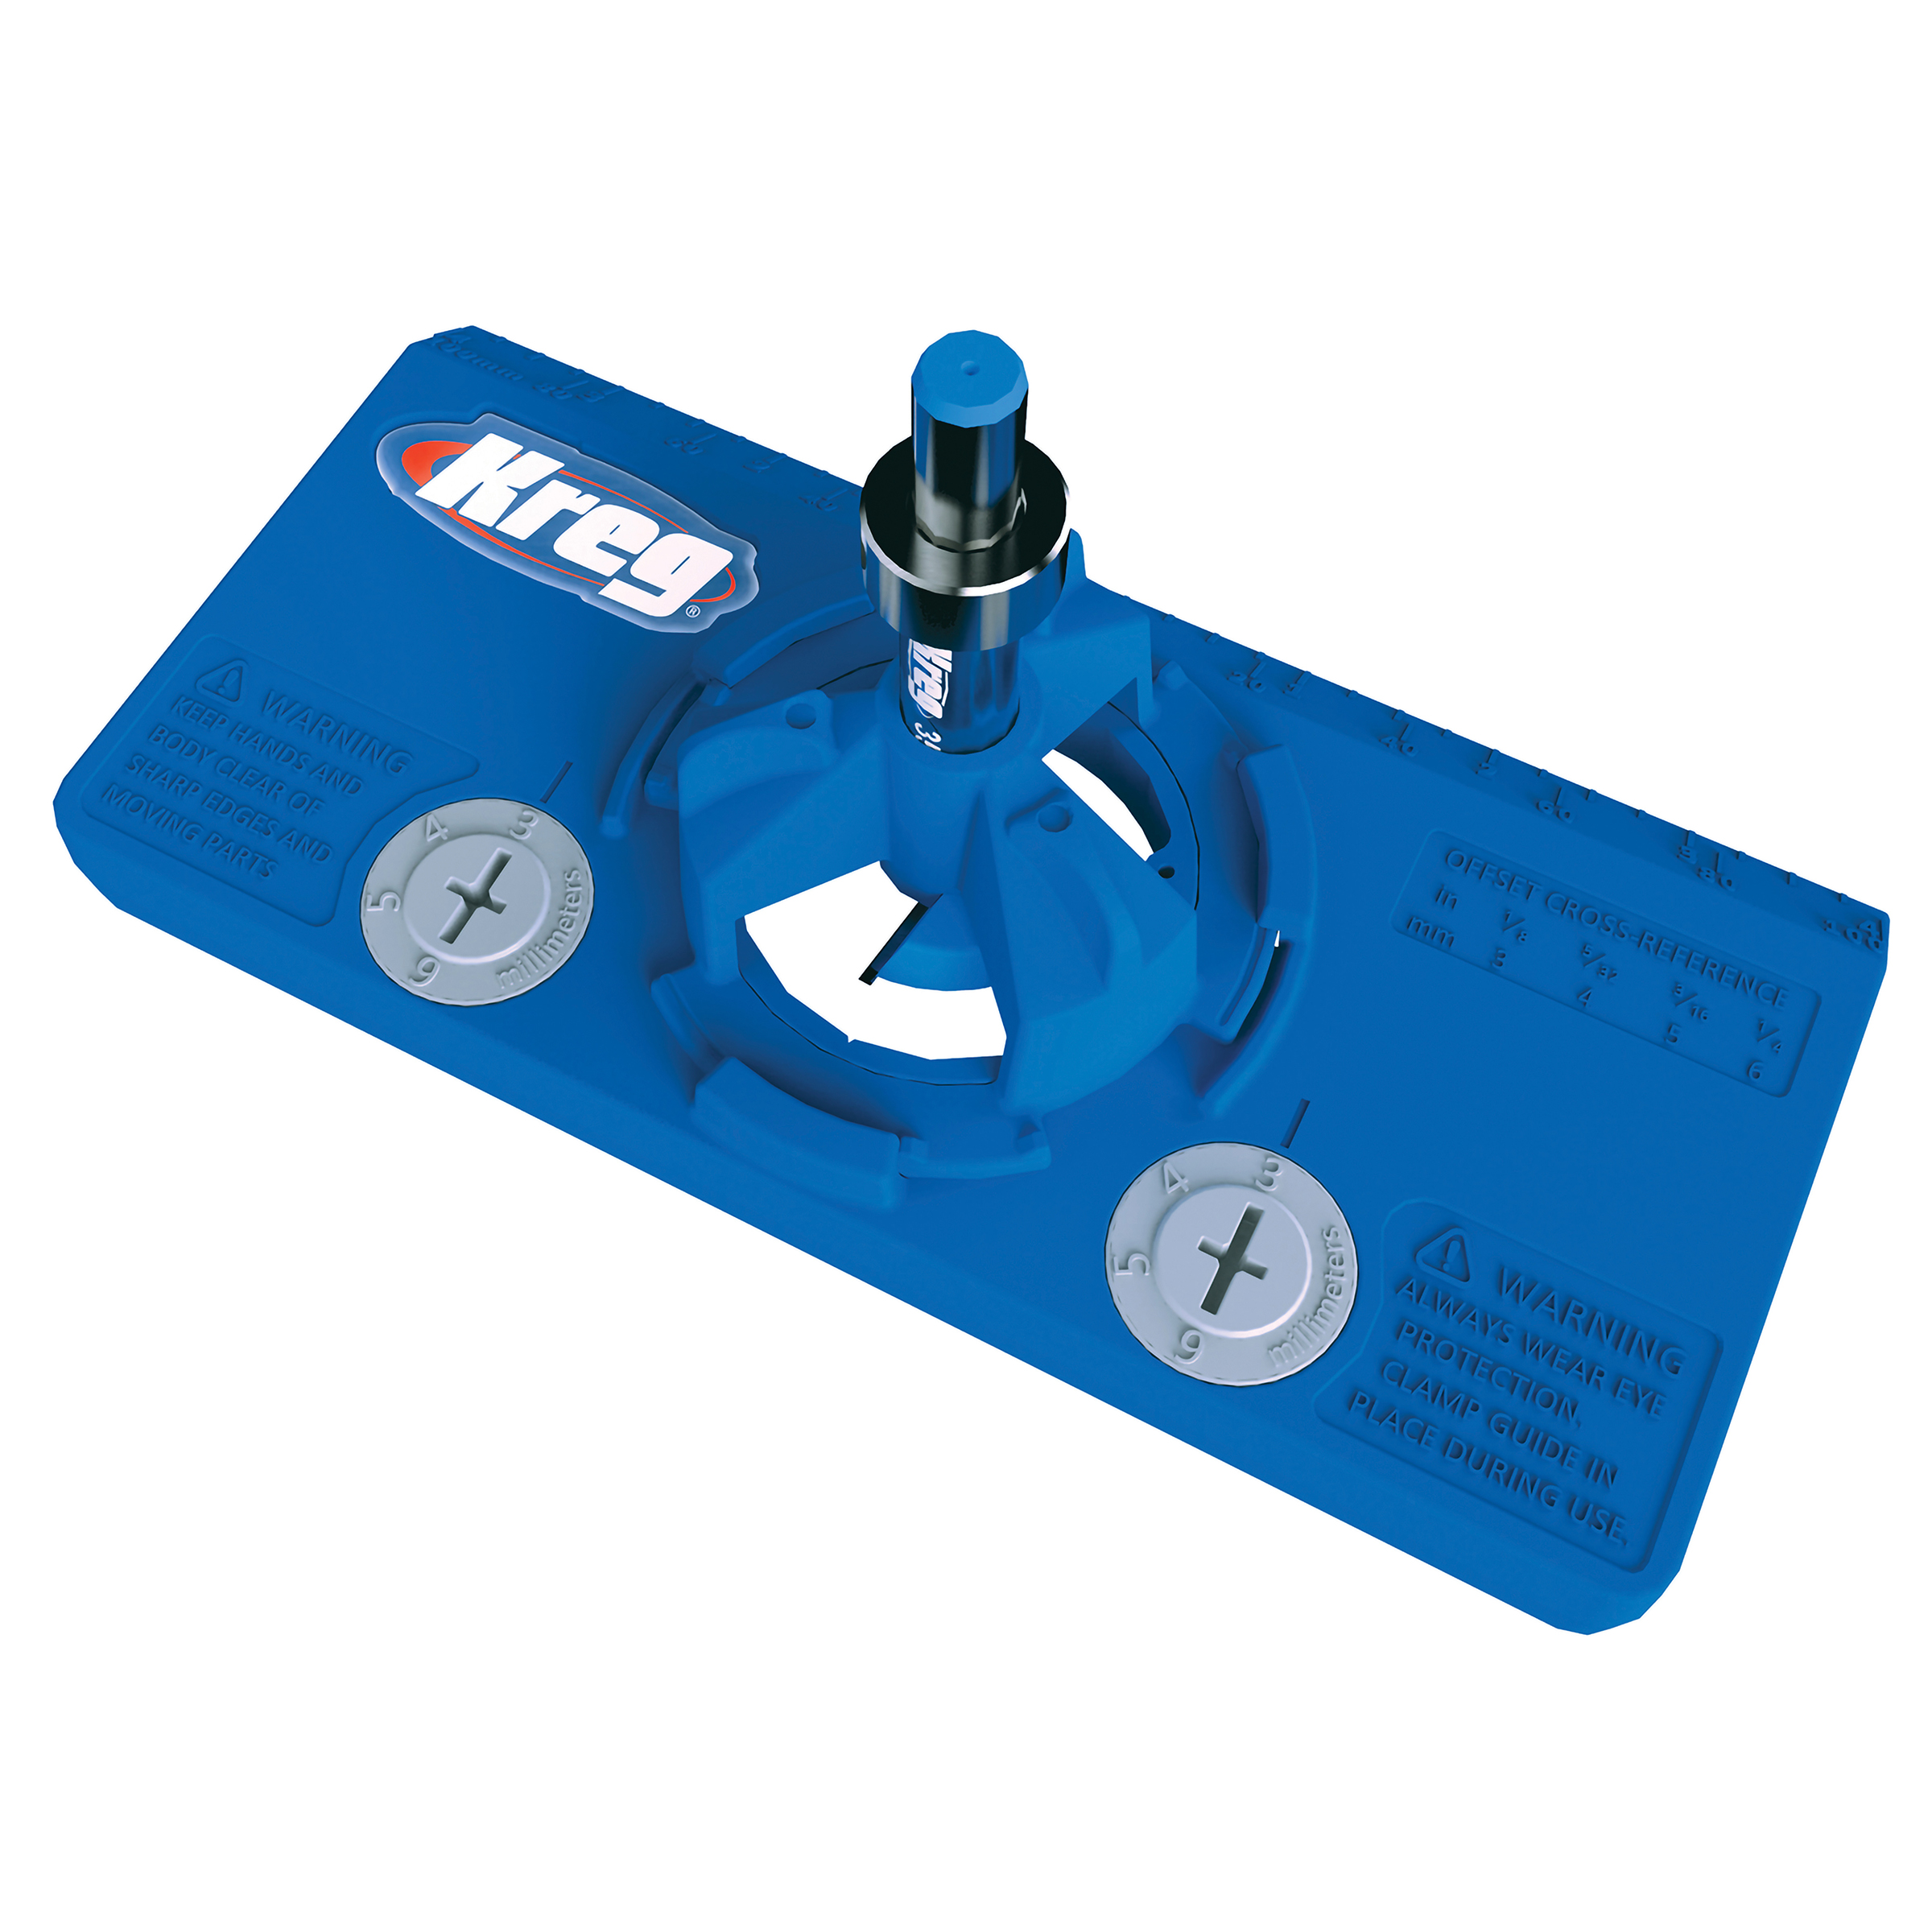
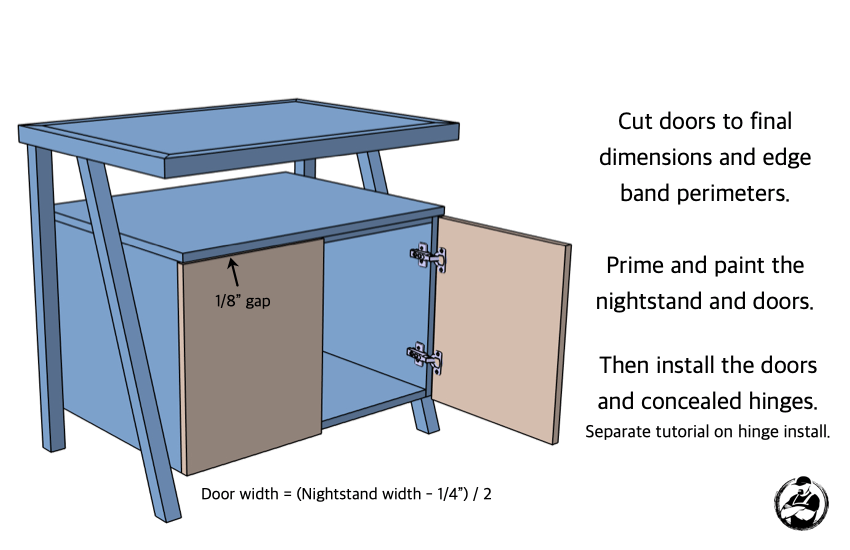
Cut door to final dimensions and edge band perimeters. Prime and paint the nightstand and doors. Then install doors and concealed hinges.


