Faux Metal Base Coffee Table
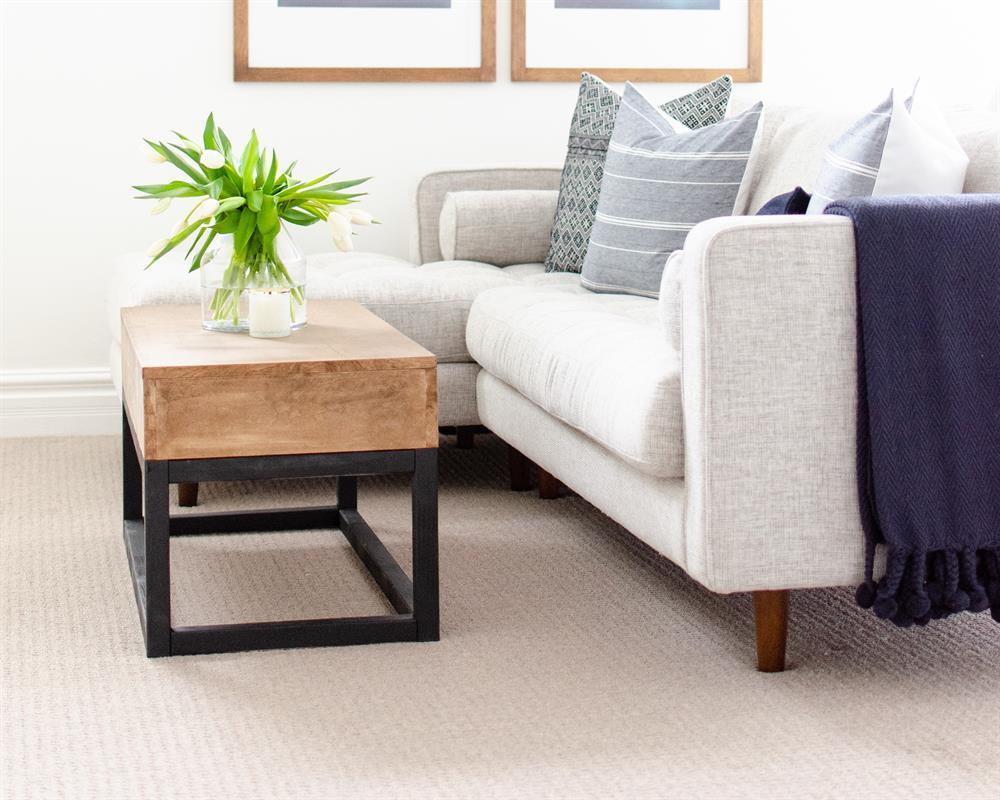
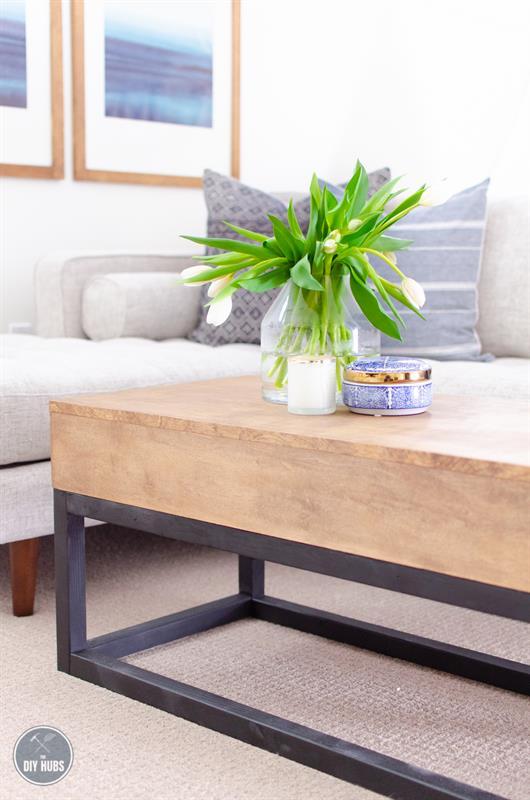
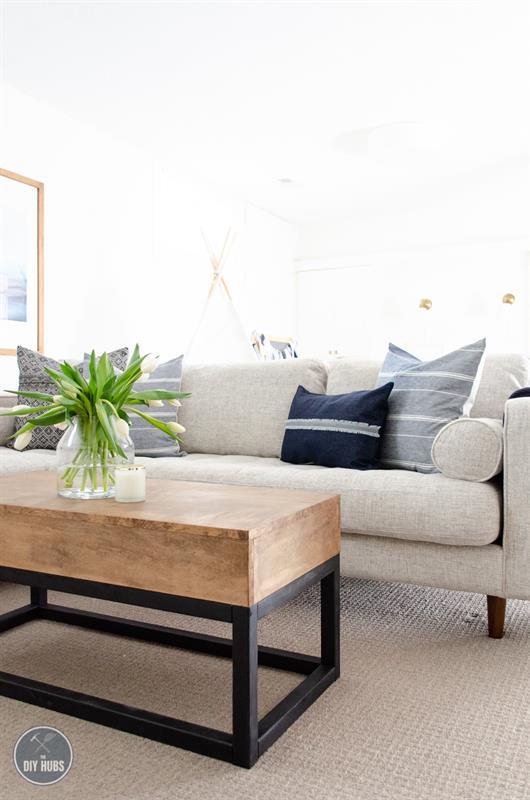
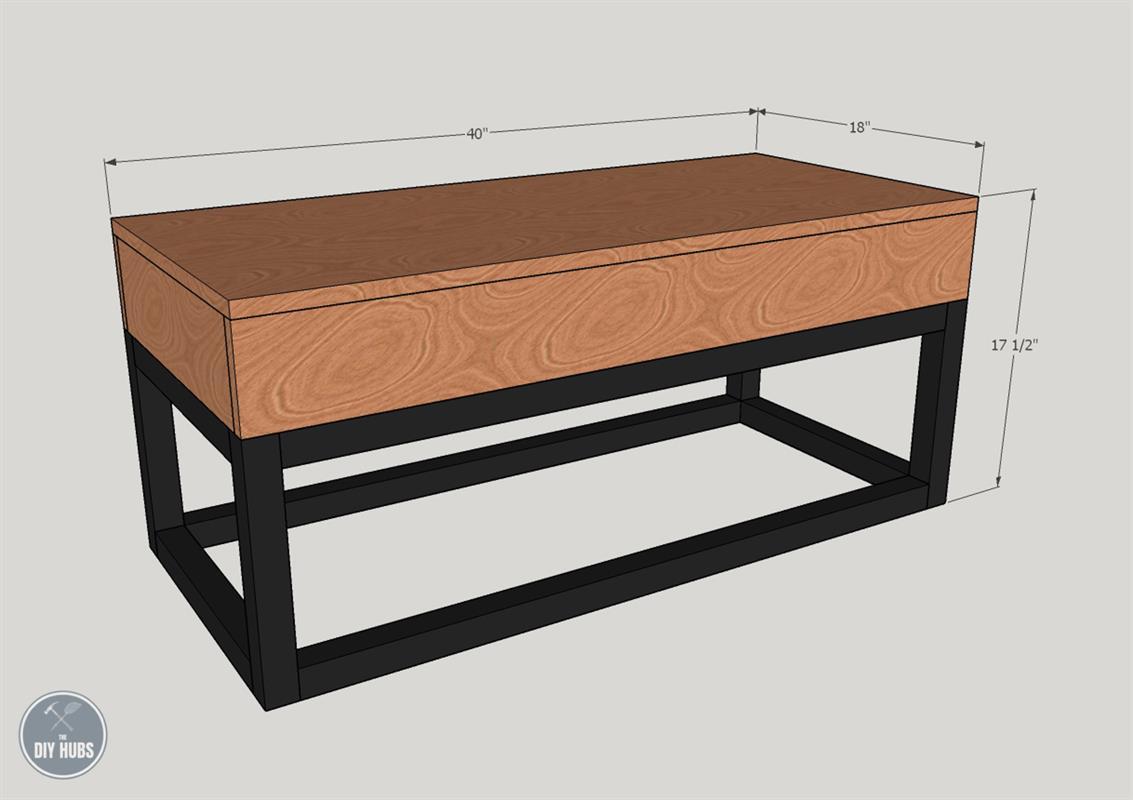
By Nick + AliciaThis faux metal base coffee table might just fool anyone into thinking that it’s a real metal base! You can build this in a day and it adds a touch of modern, industrial feel to any space. You can adjust the plan to make it a different height or add some storage space inside the wood top.
Directions
-
Drill Pocket Holes
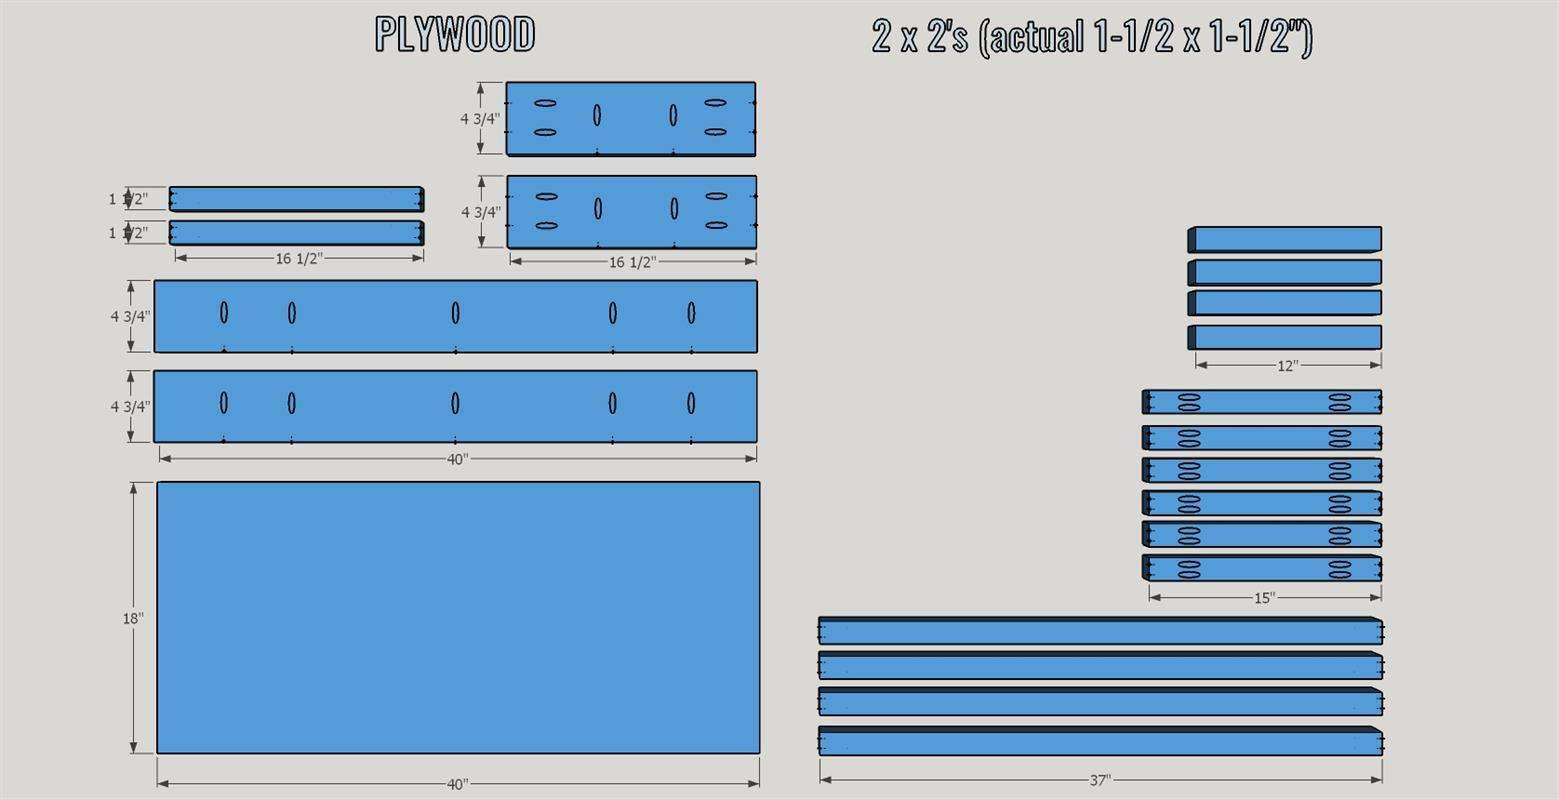
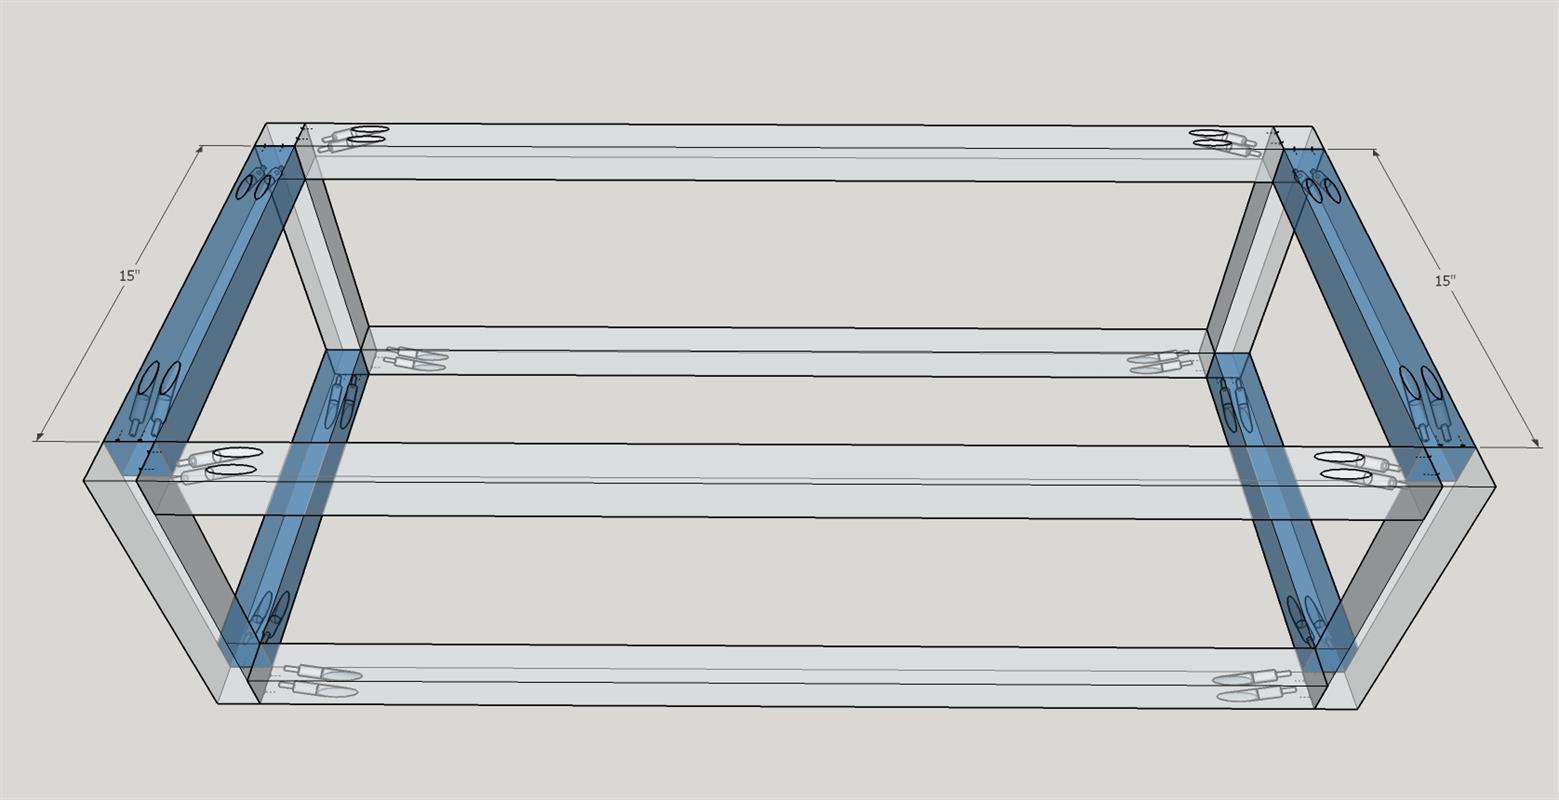
After cutting all your pieces to size, drill pocket holes as per the attached diagram. All 1-1/2" x 1-1/2" pieces get two pocket holes on each end, with the exception of the 12" legs. For the plywood pieces, see attached diagram for locations. NOTE: If you would like a shorter table, this is where you would adjust the length of the legs.
-
Frame: Step 1
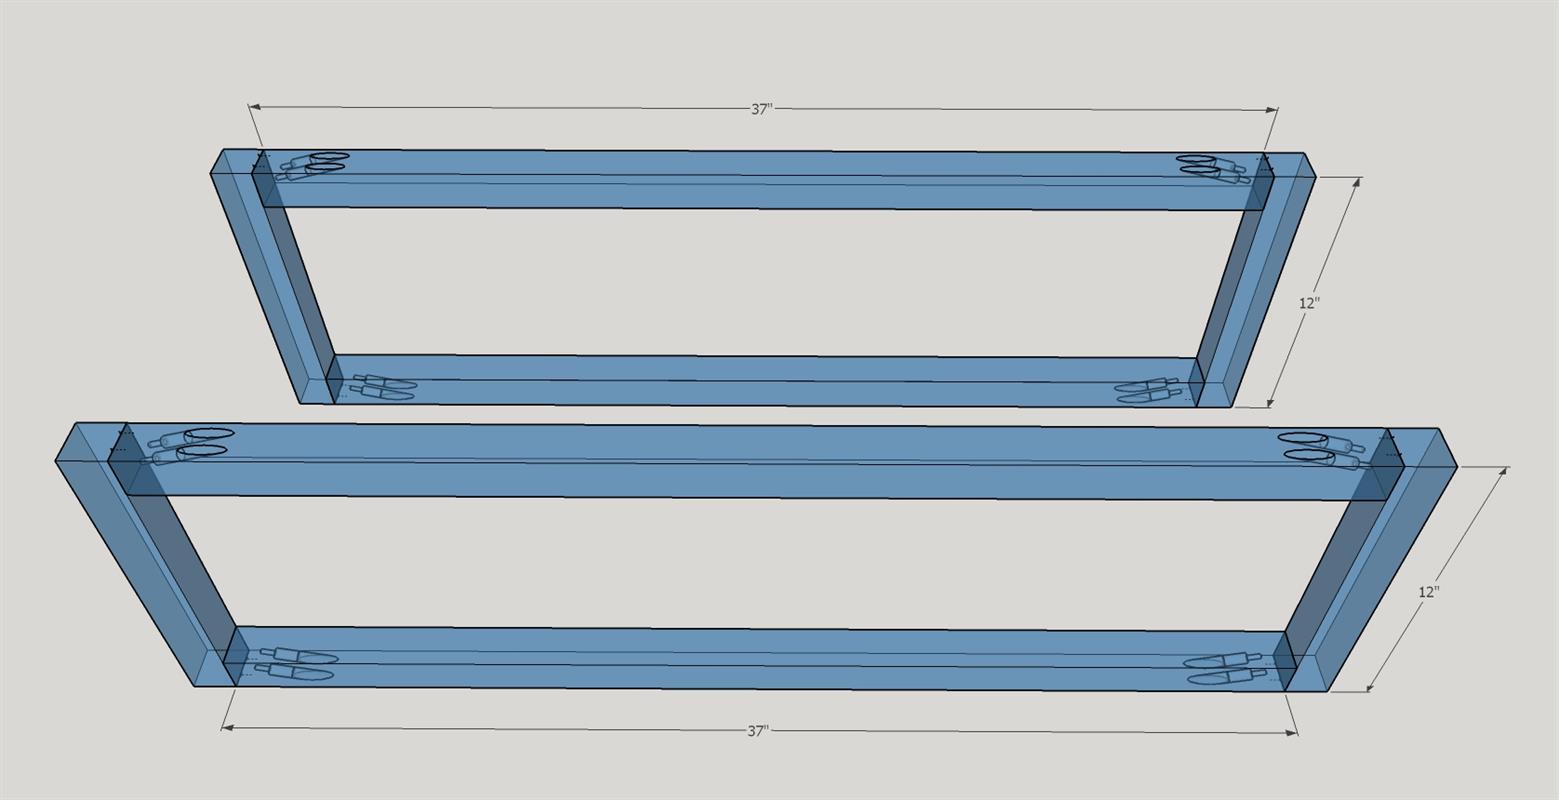
Create two rectangular frames to start the base. Attach the 37" pieces to the 12" legs using wood glue and 2-1/2" pocket hole screws. Make sure the pocket holes on the bottom pieces face the floor, and the holes on the top pieces face up to keep them hidden on the finished product.
-
Frame: Step 2
Attach the two pieces from the previous step together as shown with the 15" side spans. Make sure the pocket holes on the bottom pieces face the floor, and the holes on the top pieces face up.
-
Frame: Step 3
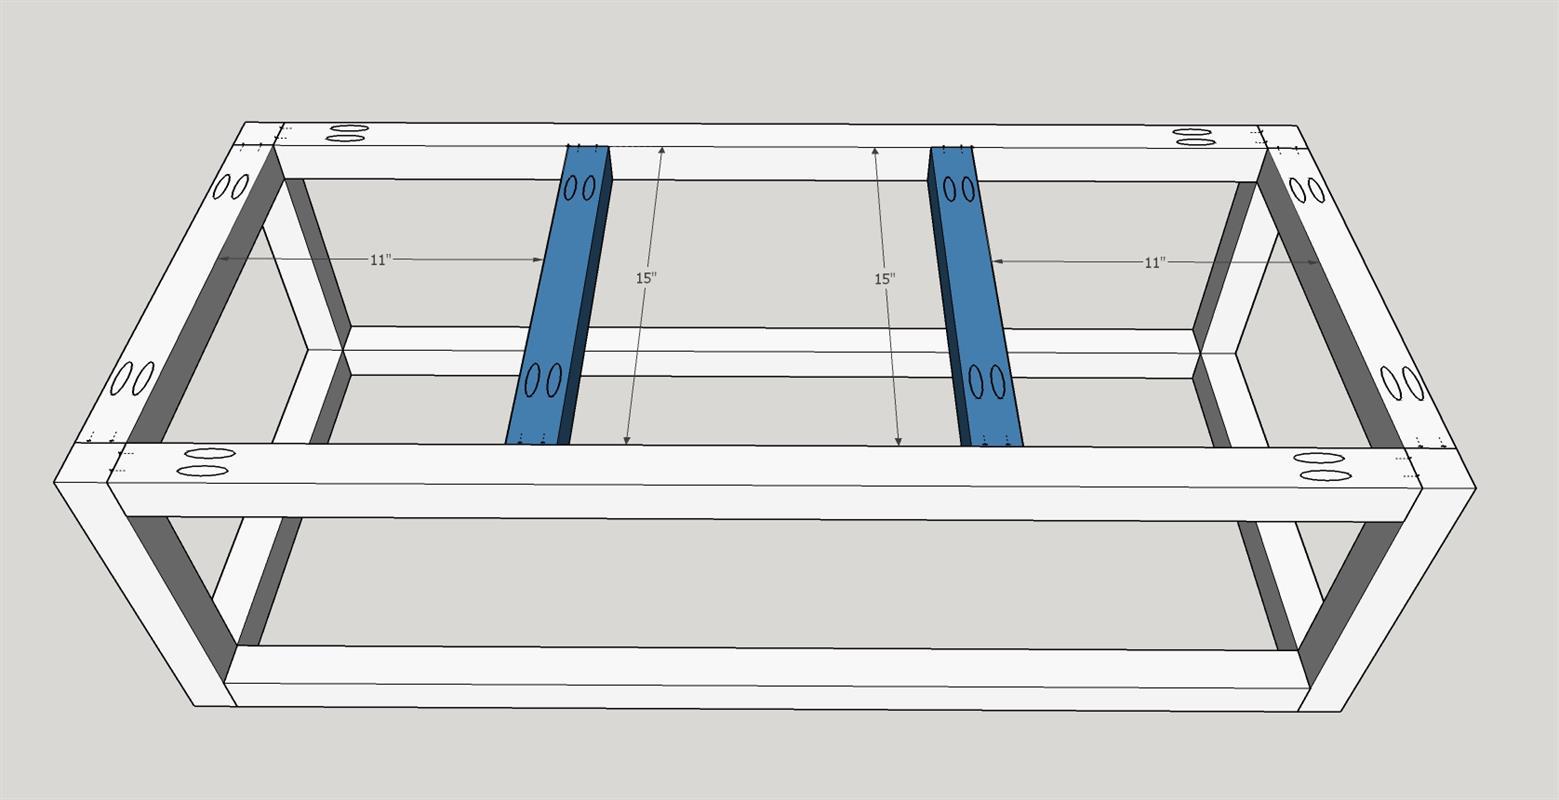
Attach the mid-spans at the 11" from the inside corner of the frame as indicated on the image. These pocket holes can face up or down because they will not show. Attach with wood glue and 2-1/2" pocket hole screws.
-
Top: Step 1
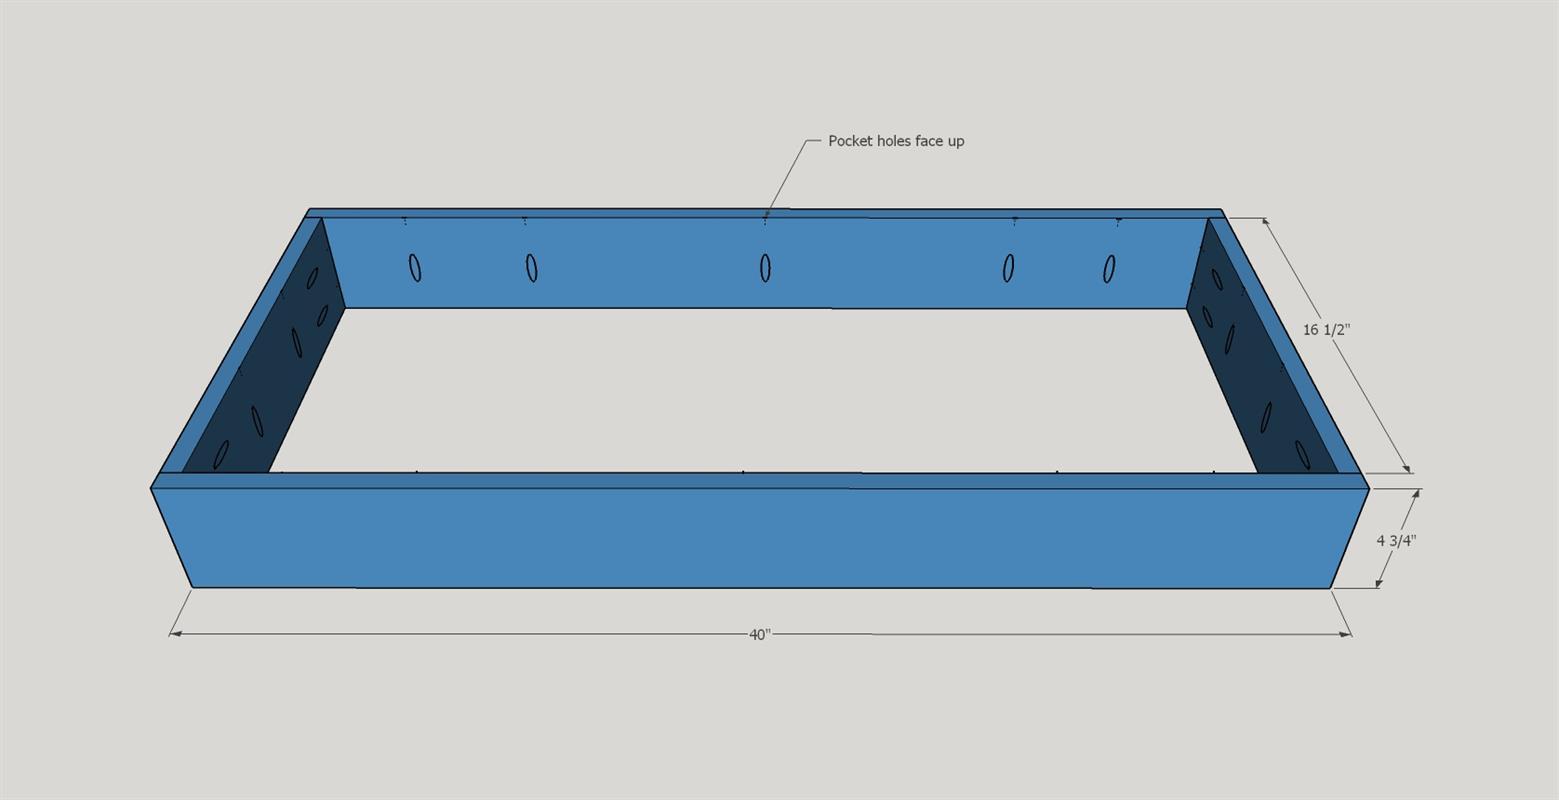
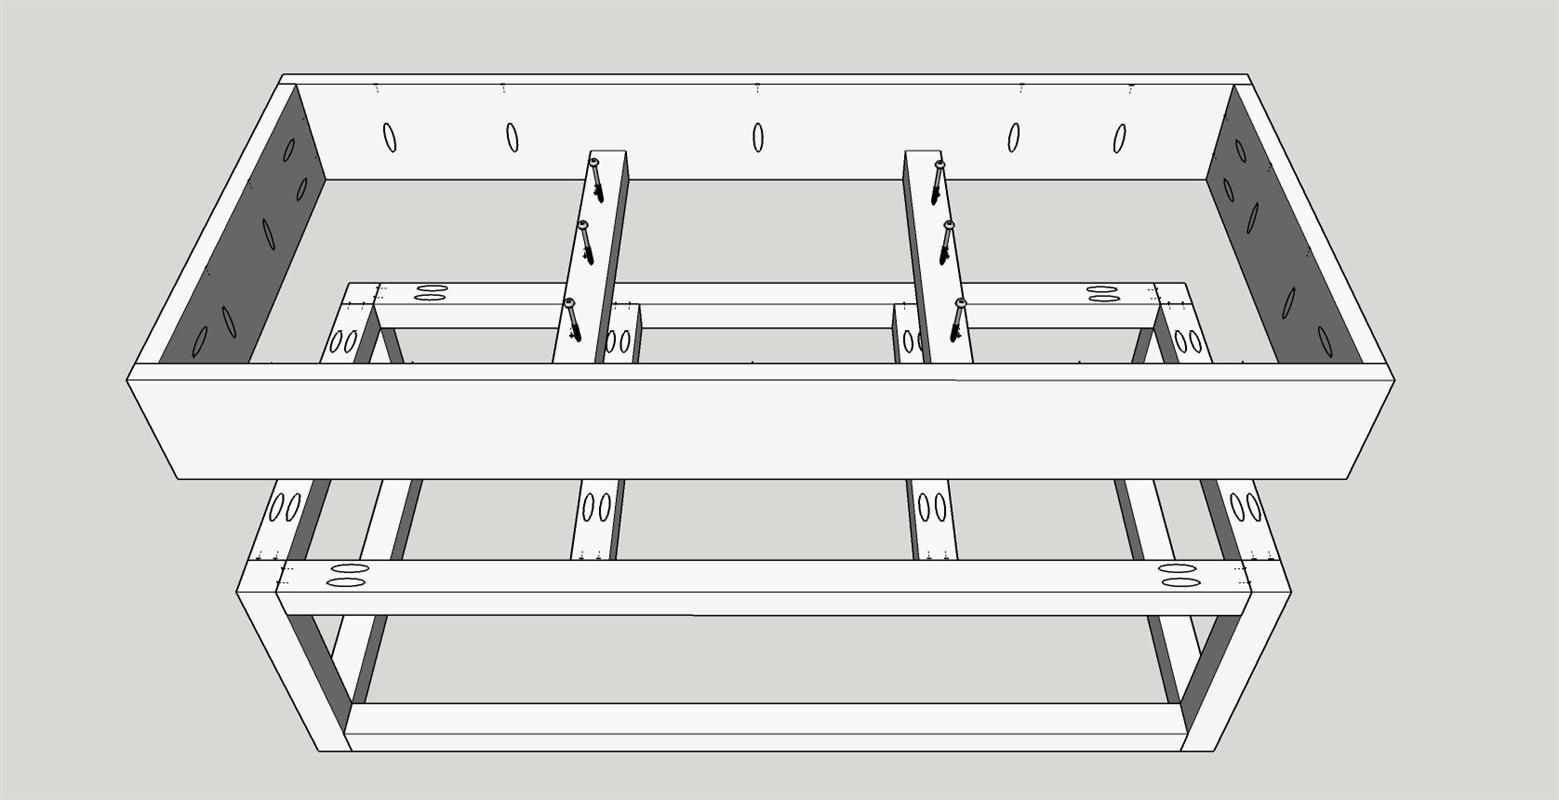
Create a box using the 4-3/4" wide plywood pieces. The smaller pieces will be on the inside as shown in the diagram. Square it up and secure with wood glue and 1-1/4" pocket hole screws.
-
Top: Step 2
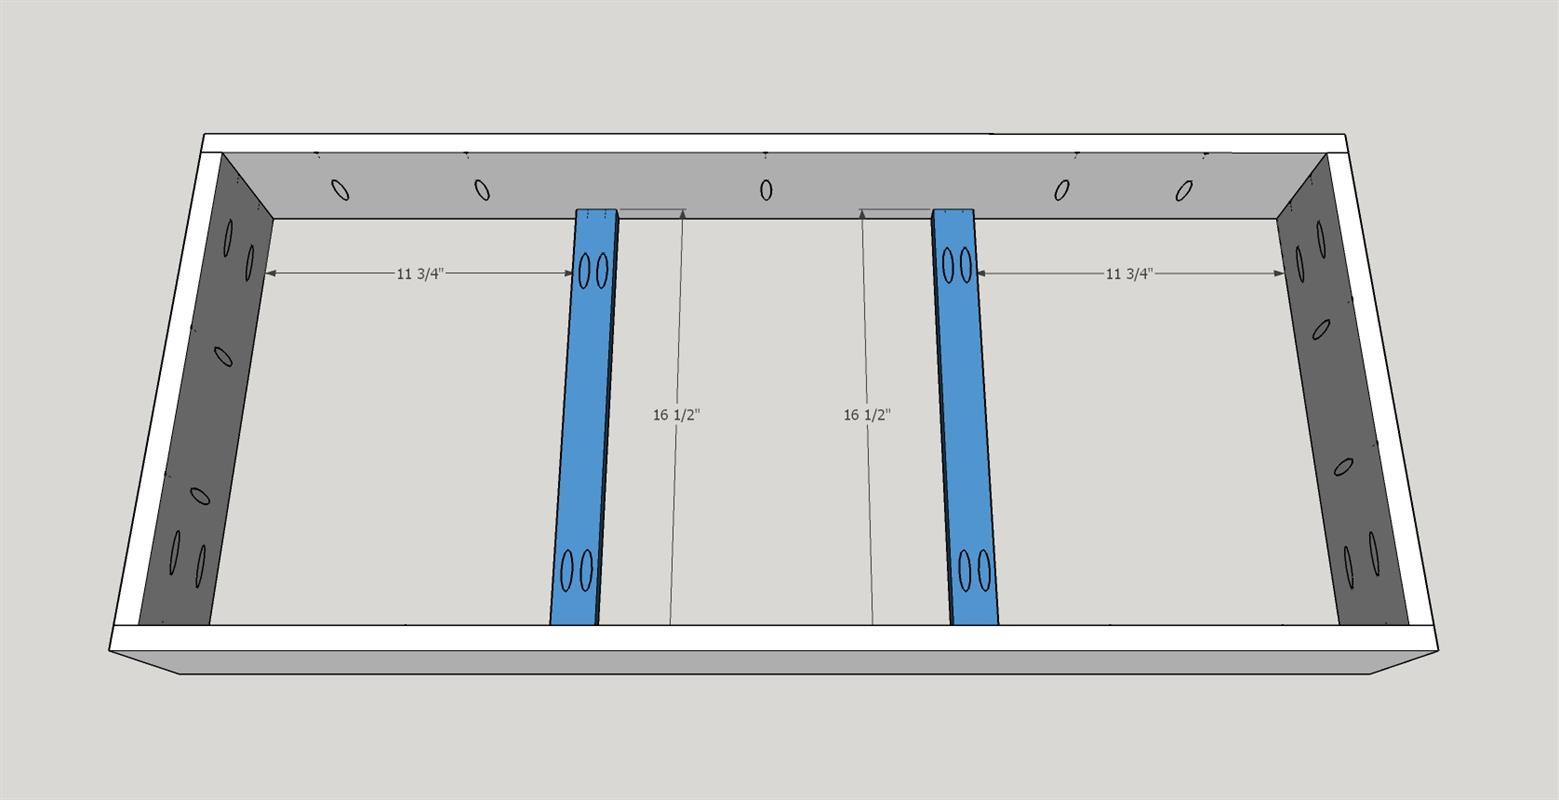
Add braces 11-3/4" from the inside corners on each side. Secure with wood glue and 1-1/4" pocket hole screws. NOTE: The pocket holes around the frame should face up because you will attach the top using those holes.
-
Top: Step 3
Attach the top frame to the bottom frame in through the braces with 1-1/2" wood screws.
-
Top: Step 4
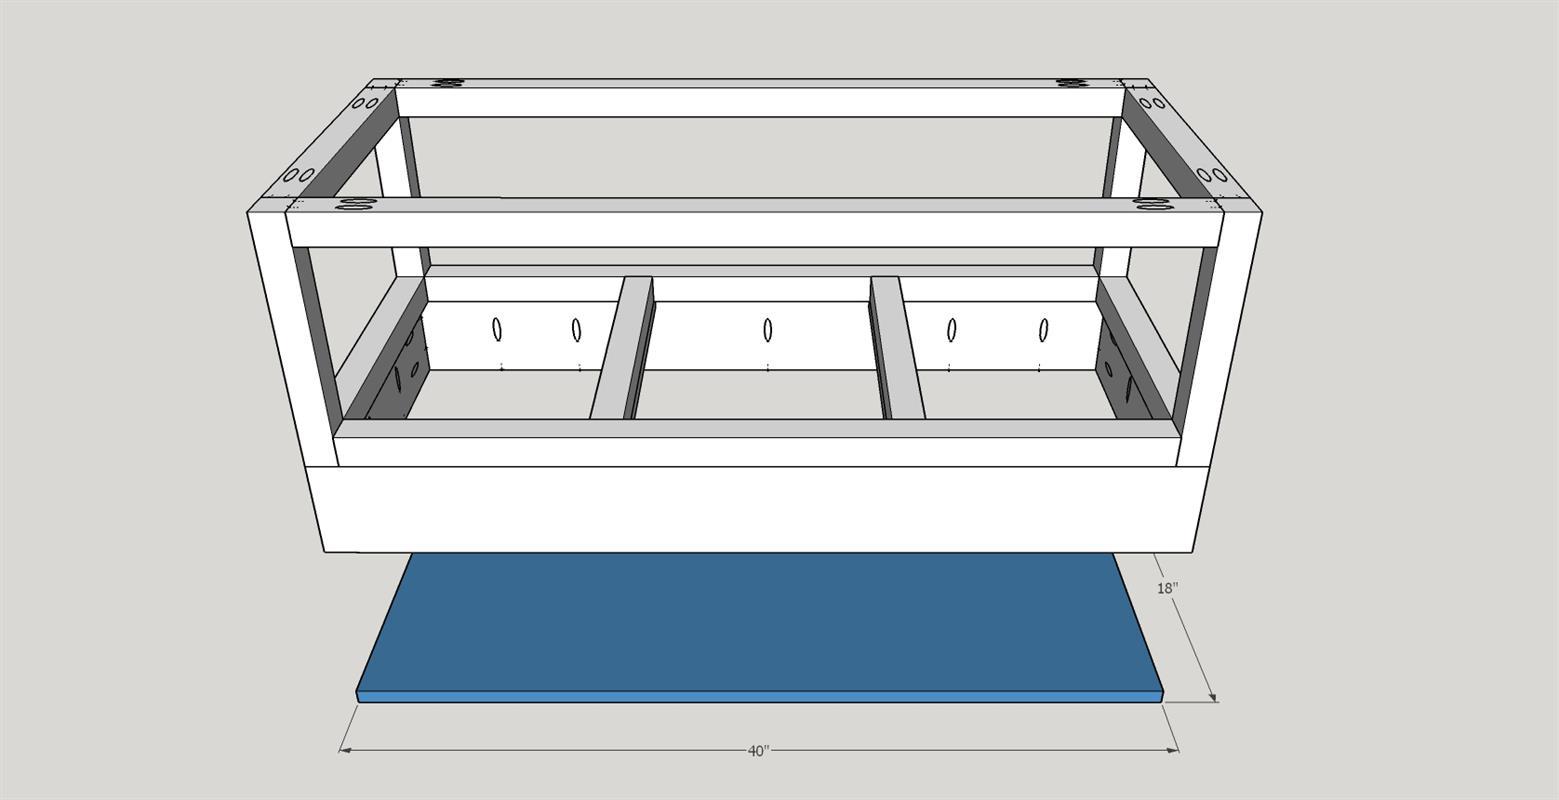
Place the top with the best side down on a flat surface. Turn the assembled base upside down and place it on top. Make sure the base is lined up with the edges of the top and secure with 1-1/4" pocket hole screws through pocket holes on the inside of the frame.
-
Top: Step 5 (optional)
Attach edge banding around the outside of the table top, following the directions that come with your edge banding.
-
Top: Step 6
Stain in your choice of color and then apply a satin or matte polyurethane.
-
Preparing the Pieces
Run each of the 1-1/2" x 1-1/2" pieces across a router table equipped with a 1/4" round-over bit on all four sides. Go light on what you take off, don't take off more than 1/4". If you do not own a router, you can use your orbital sander to slightly round over the edges. Once that is complete, sand each piece on all sides with an 80, then 120, then 200 grit sandpaper.
See www.thediyhubs.com/2018/12/faux-metal-coffee-table-free-plans/ for a more detailed description of the prep work.
-
Frame: Step 4
Paint the assembled base using a matte/satin black spray paint. Apply two coats.


