DIY shutters
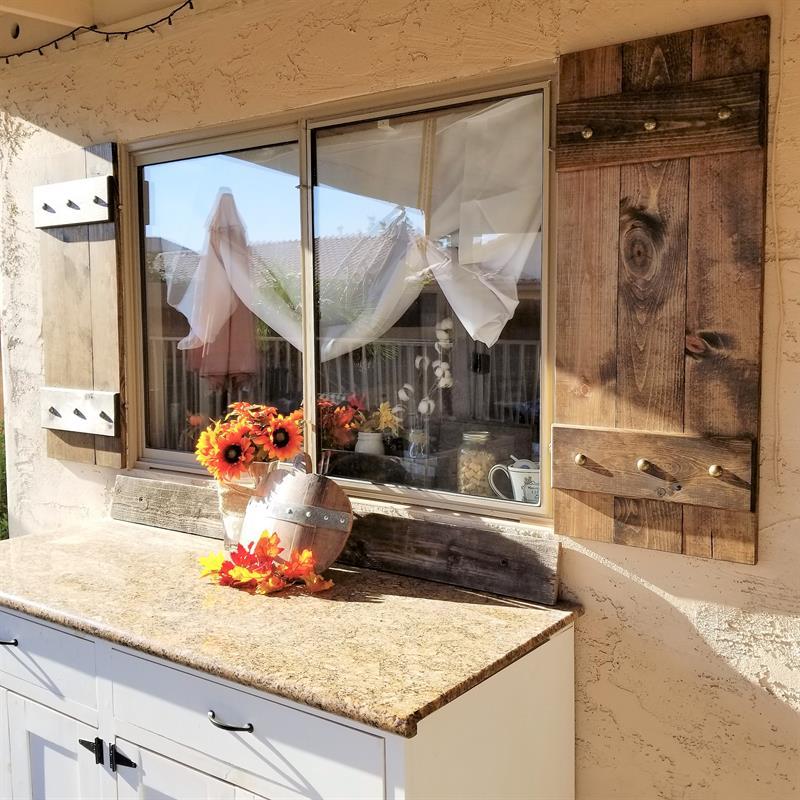
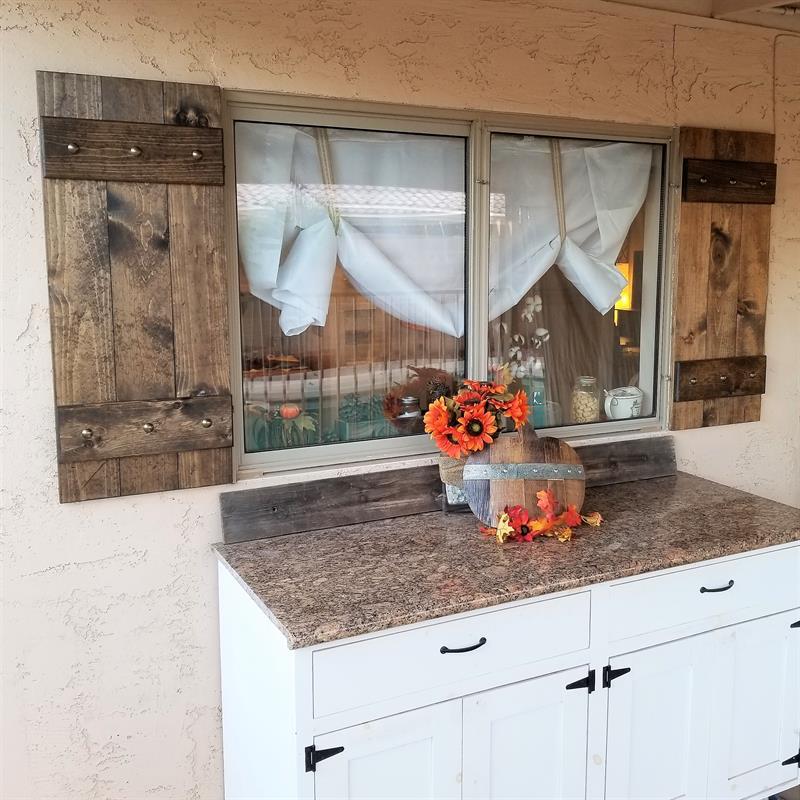
By WorleyFabLooking for a beginner-level DIY project with a BIG impact for your outdoor living area? These customizable wood shutters were a quick build and added just the touch we needed to dress up our outdoor space.
These plans are specific for a 40” tall window; make sure to adjust your height accordingly
Directions
-
Cut Material
For this build, the window height is 40". Reference the cut list provided and cut both the vertical and horizontal pieces. Please check your window height and adjust the cut list accordingly.
-
Drill Pocket holes
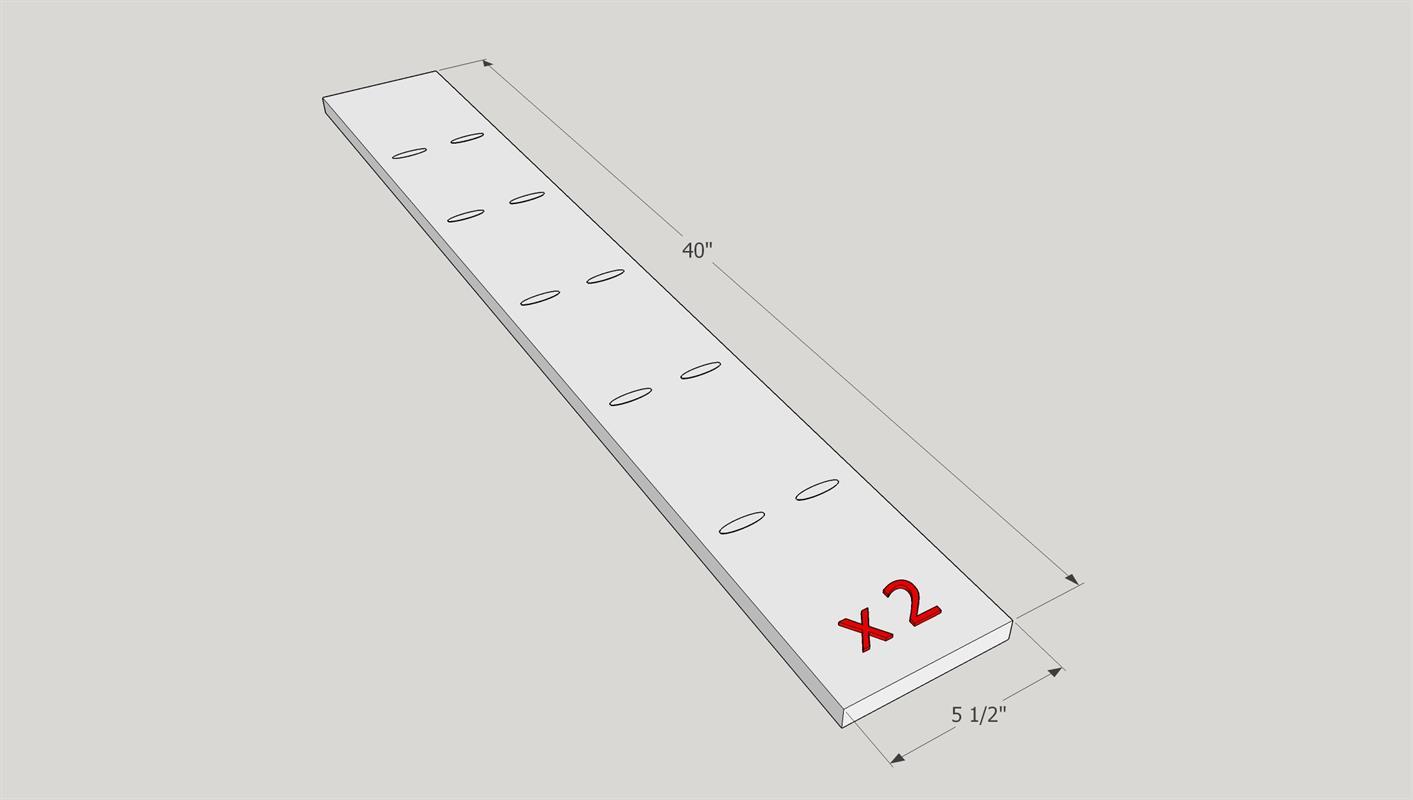
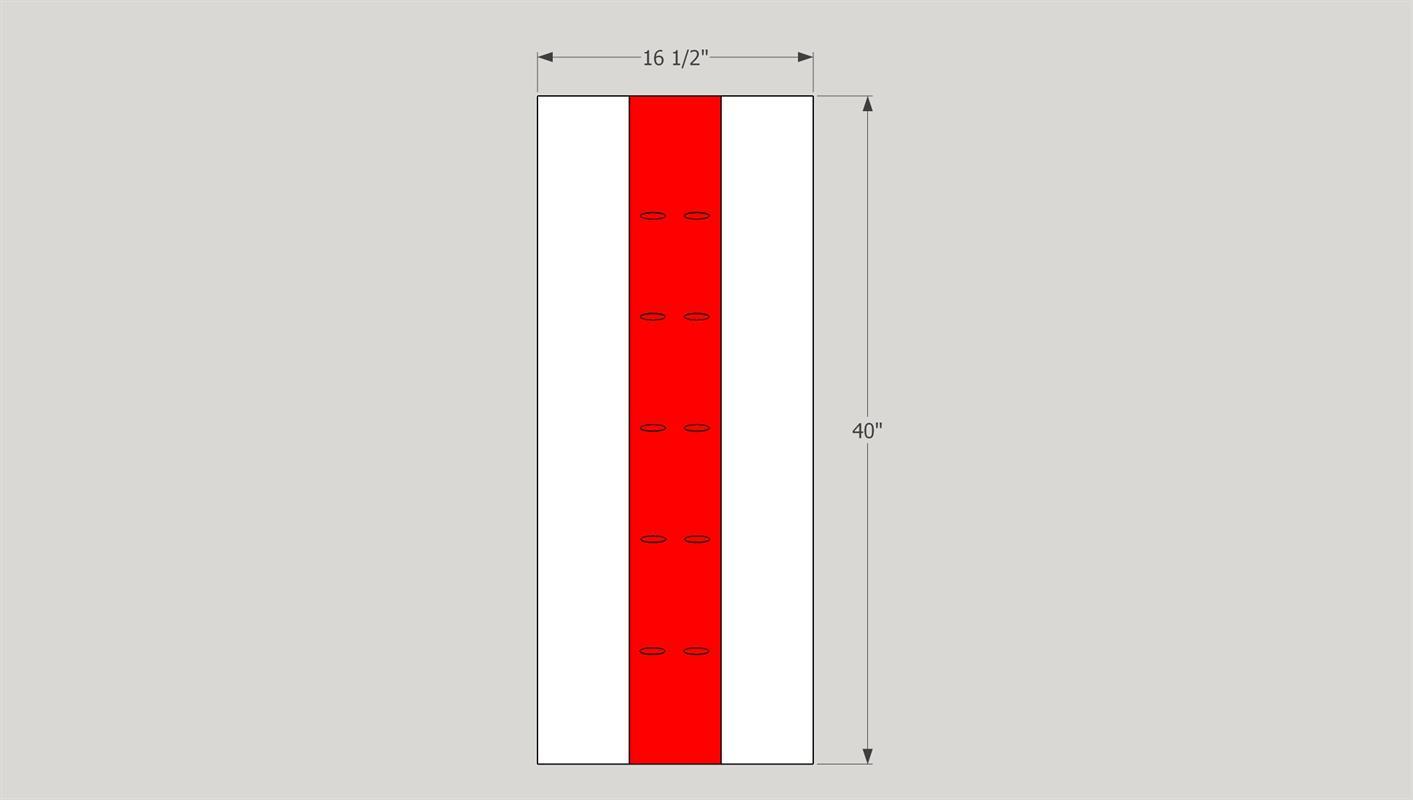
Using a vertical board - layout 5 sets of evenly spaced holes - this does not have to be exact, we are just trying to get them as even as we can - (for 40" long boards it ends up at 6-5/8")
Drill all your holes on 2 vertical boards.
***Check your settings on your KREG jig as well as the collar on your drill bit to make sure they are setup for 3/4" material.
-
Assemble Panels
Taking 1 of your drilled vertical boards, add a vertical board on both sides of it. You'll want to add wood glue between those boards and secure with 1-1/4" KREG pocket hole screws.
Make sure the boards are even with each other to give you a good flat panel, you can use clamps on the seams to make sure they are aligned.
Repeat this same process with the remaining vertical boards.
-
Drill Mounting Holes
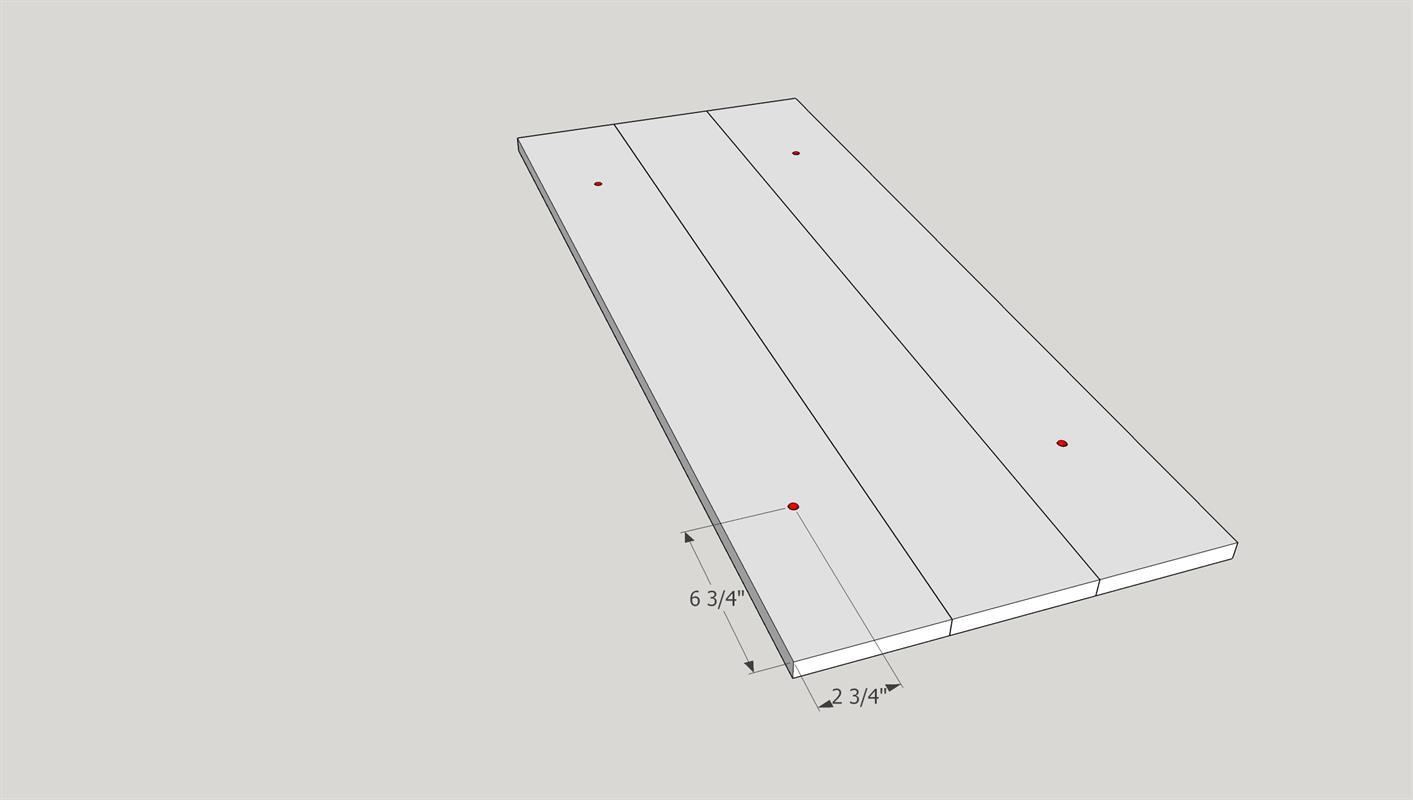
I chose to mount this with 4 fasteners that will be hidden by our decorative piece that runs perpendicular to our boards.
See the dimensions in the sketch for 40" tall shutter. If you are building these for a window that is taller then 60", I'd suggest a set of holes in the middle too.
-
Finish Parts
Before we mount and then install the cross panels, now is a good time to finish the project and all it's parts.
Depending on where you are located and how much exposure these have, will dictate the type of finish you will want. We chose to stain these dark walnut and sealed them with a water based poly. Paint would be another great choice to help protect them from the elements. Please remember to finish both sides to avoid the wood warping.
-
Installation
Because these match the window in height, we are lining up with the top which in turns lines up with the bottom. When you are happy with the location, mark your holes and pull the shutter down.
Buy appropriate anchors for the application. Mine was a stucco finish so I bought a plastic plug. Drill holes for your anchors, insert anchors. Grab your panel and screw it into the anchors securing it to the wall.
-
Decorative Pieces
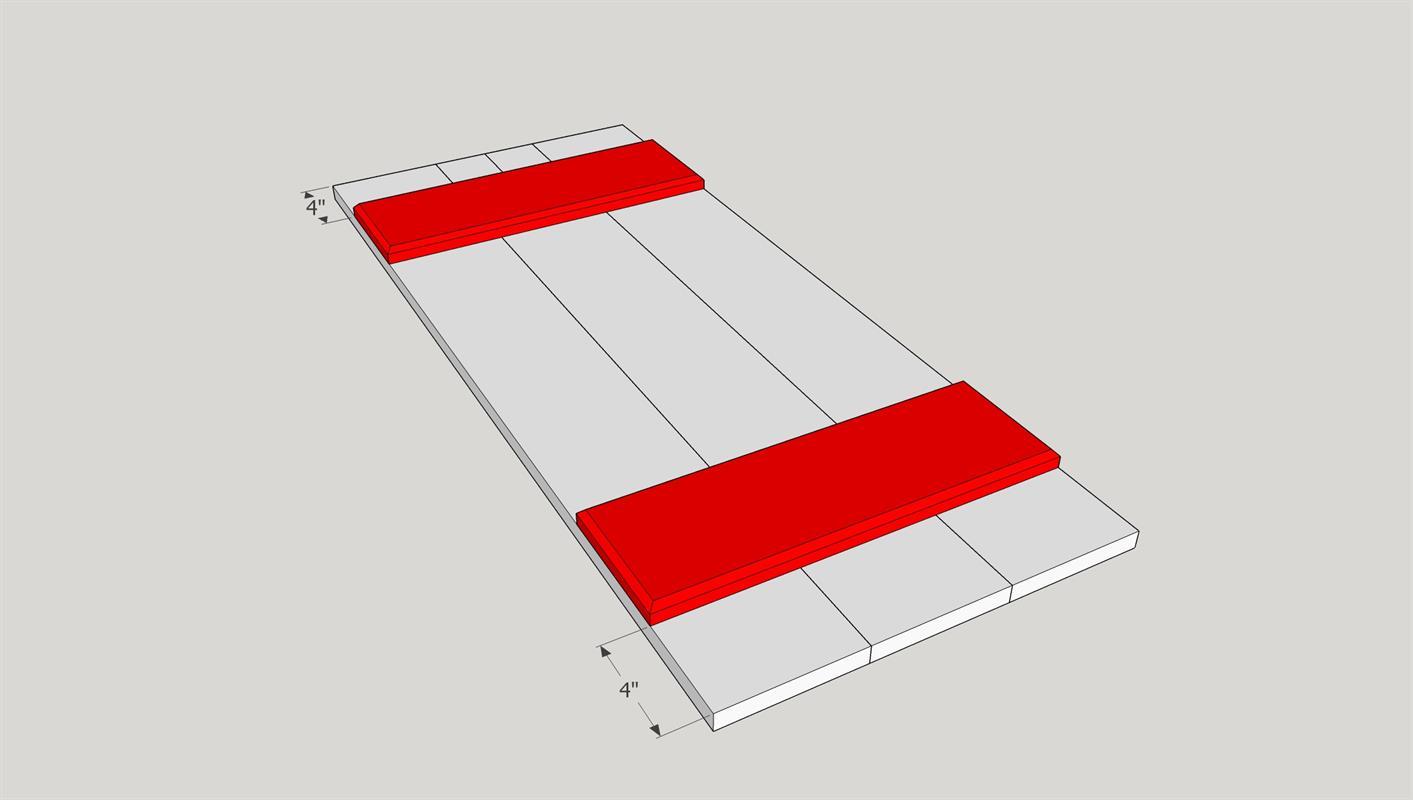
Now that we have the panels attached to the wall, we are going to add horizontal boards. These will conceal the mounting attachment and because these do cover up those holes, we are going to attach these with 18ga brad nails in the event we need to pull these down in the future we can remove these boards to do so.
The layout for these is 4" off the top and 4" off the bottom.
-
(optional) Upholstry Tacks
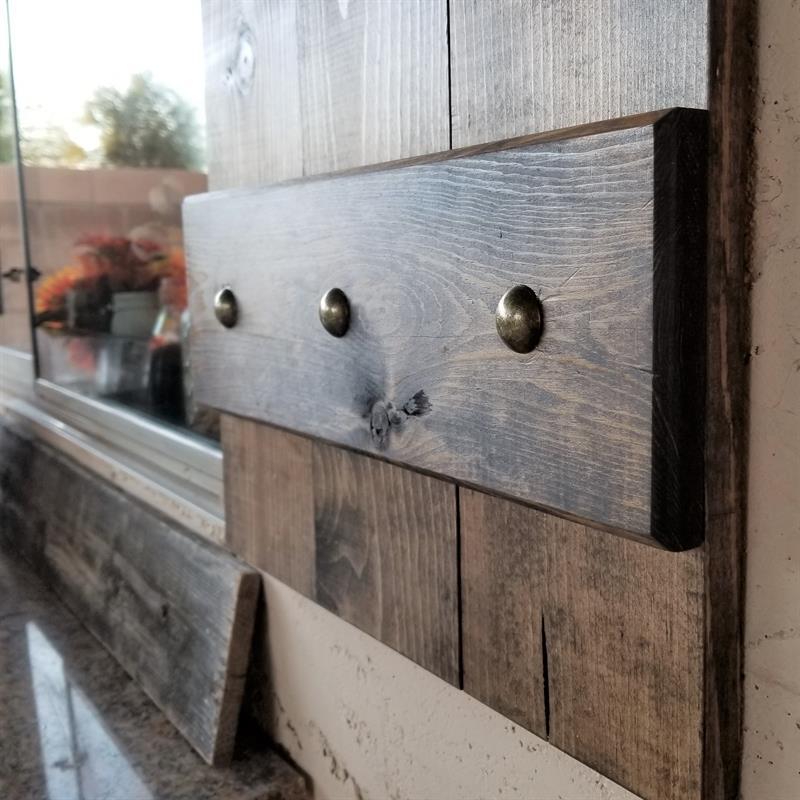
To give these shutters more character for out outdoor space, we added these upholstery tacks to the decorative cross panels. There isn't anything special about these, except they really add another dimension to the shutter.
I chose to line them up on the center of each vertical board.


