DIY Desk Stuff Organizer
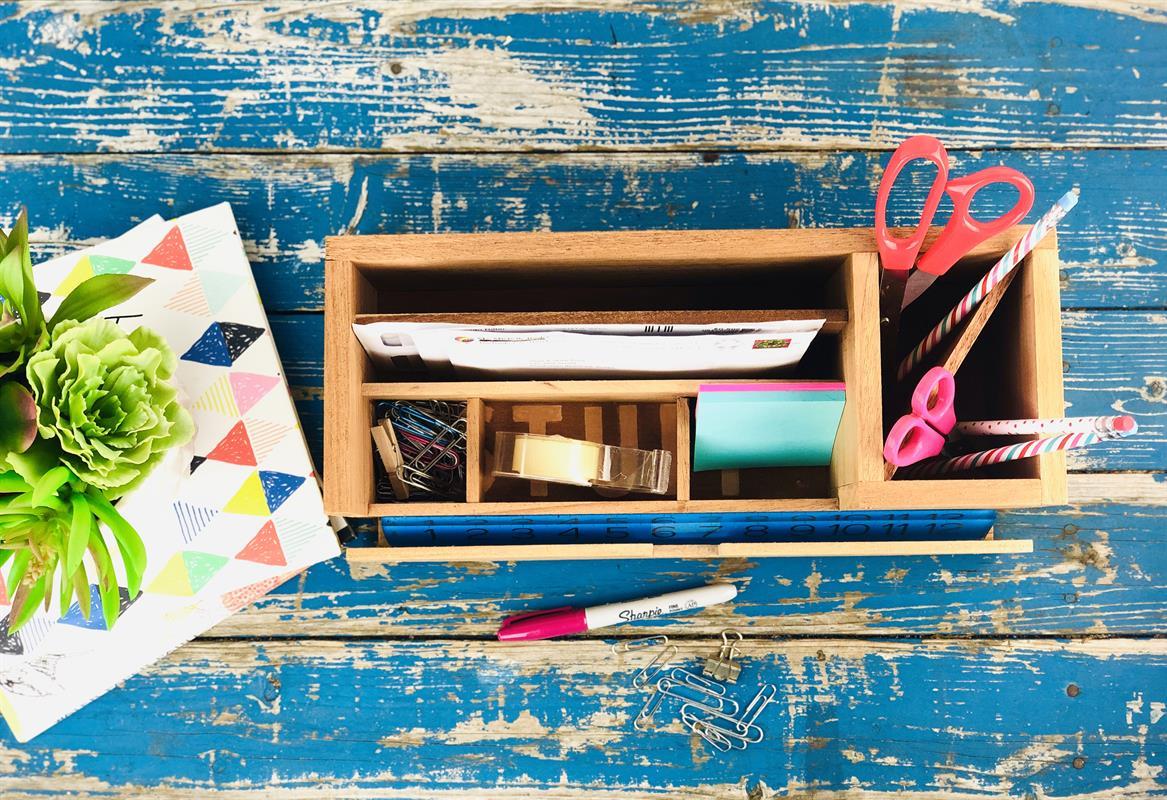
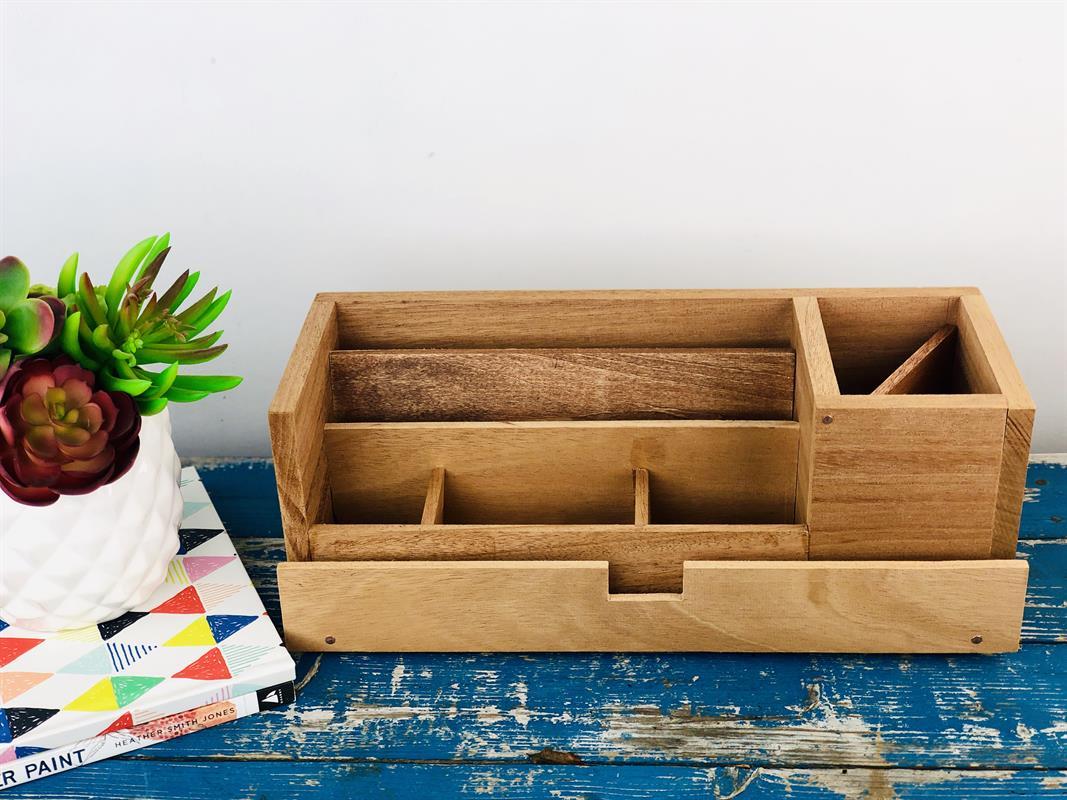
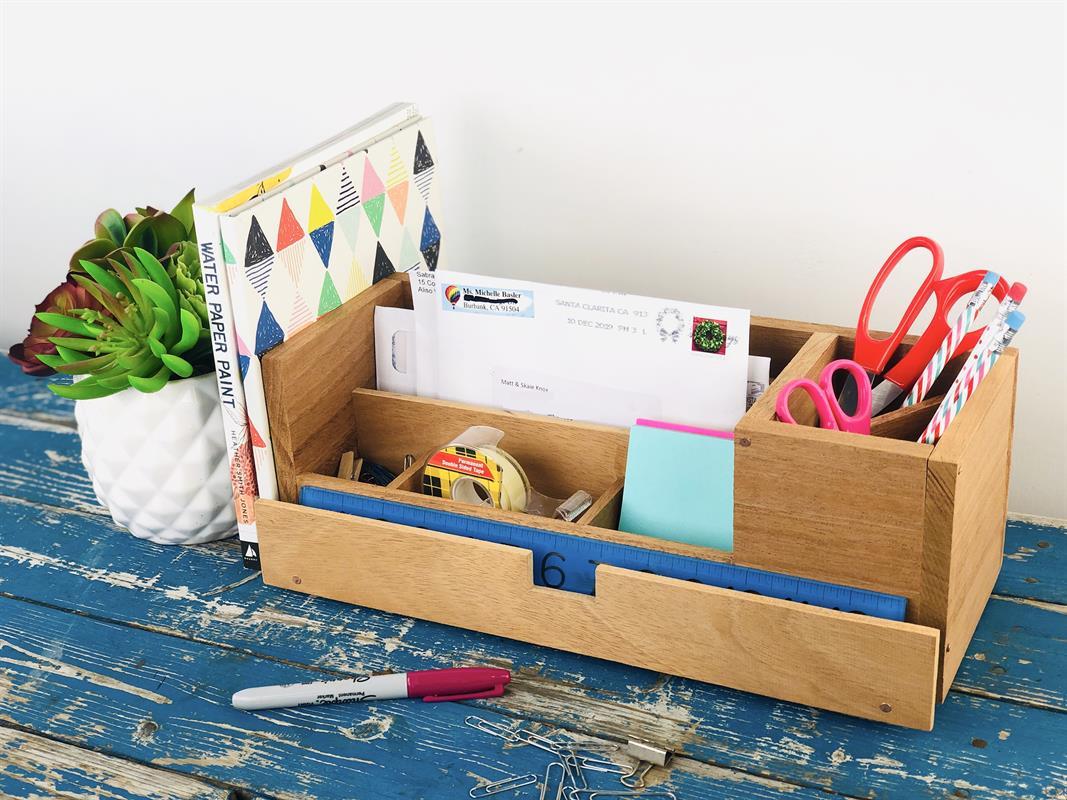
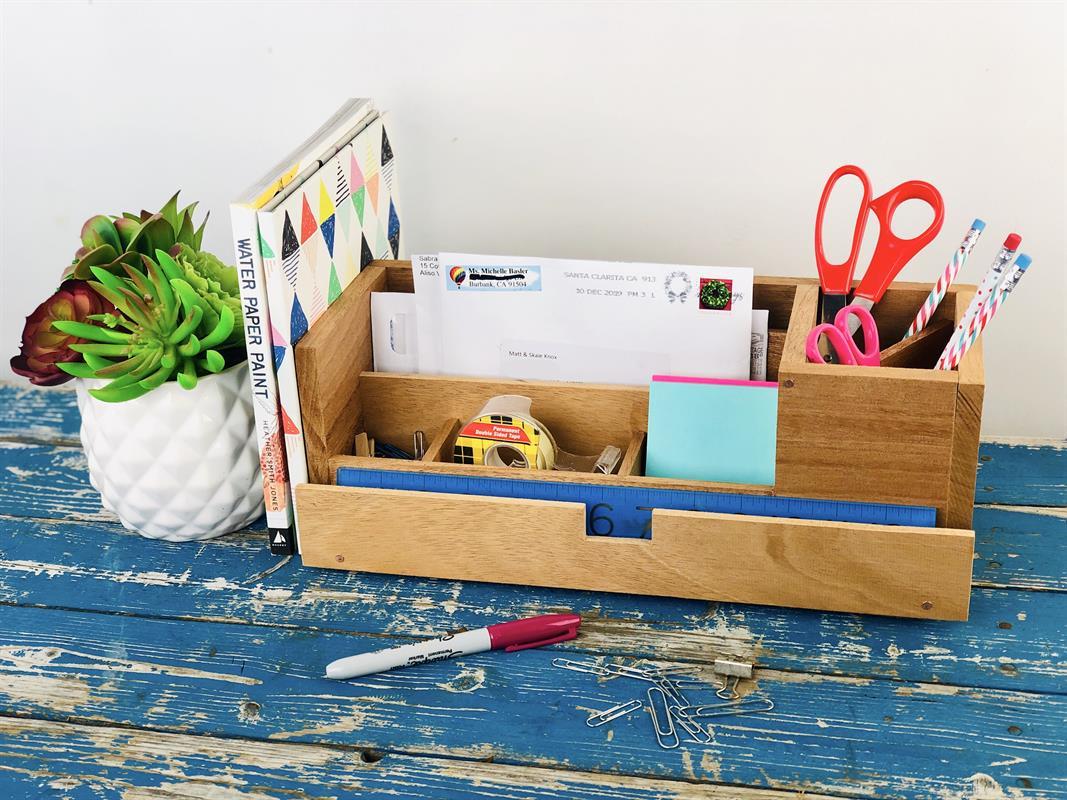
By HomeJellyWhen it comes to keeping our desks tidy, there’s nothing like an organizer that’s both functional and fantastic looking. With this simple DIY project, everything has its special space that’s easy to access and easy to use. DIY this desk stuff organizer for yourself or a clutter-challenged friend.
Directions
-
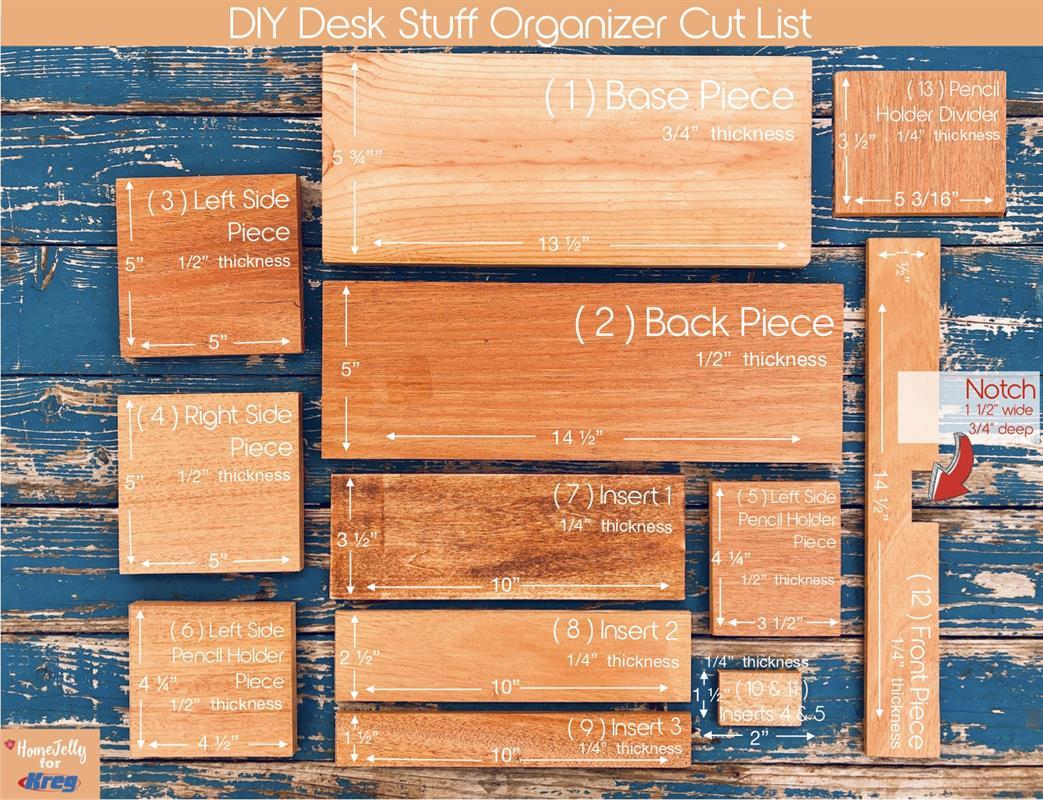
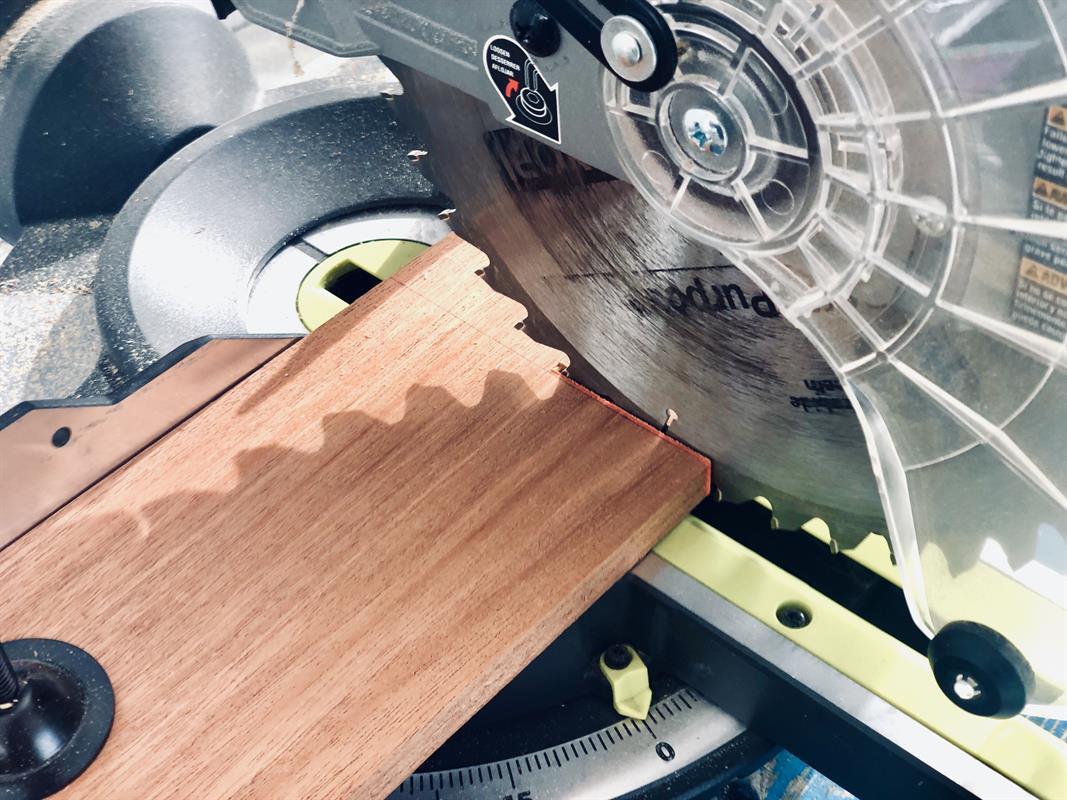
Measure, cut and sand wood pieces.
Refer to the cut list for all the pieces you’ll need. Feel free to use your favorite type of wood. Here, mahogany takes center stage!
-
Make your pocket holes.
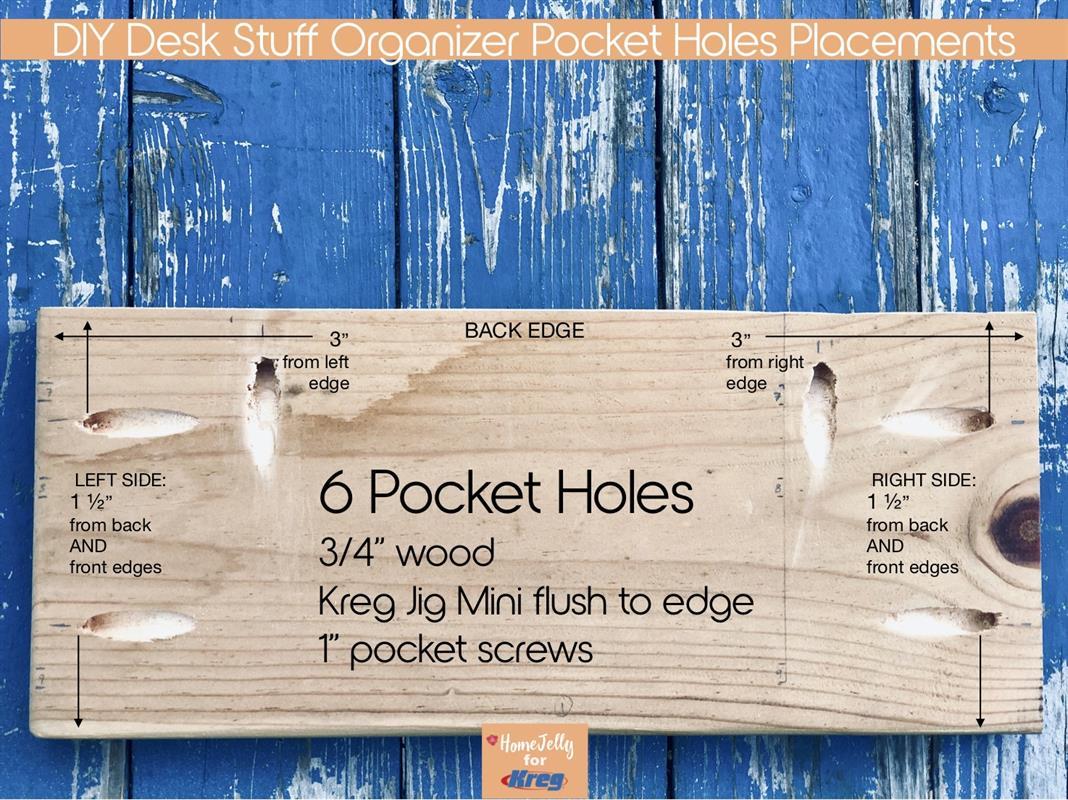
Refer to the “pocket hole placement” diagram. Make two pocket holes using the Kreg Jig Mini on the right and left sides, as well as the back side of your (1) base board to attach to your (2) back, (3) left side and (4) right side pieces.
(A.) Place the jig flush with the end of your wood piece, then clamp. (B.) Set your Kreg Multi-Mark to 3 ½” and place the shoulder of the stepped drill bit against the Multi-Mark. Then, slide on the depth collar so that it touches the edge of the ruler of the Multi-Mark, then tighten collar. (C.) Clamp wood piece onto workbench or table, then drill pocket holes.
-
Cover pilot holes.
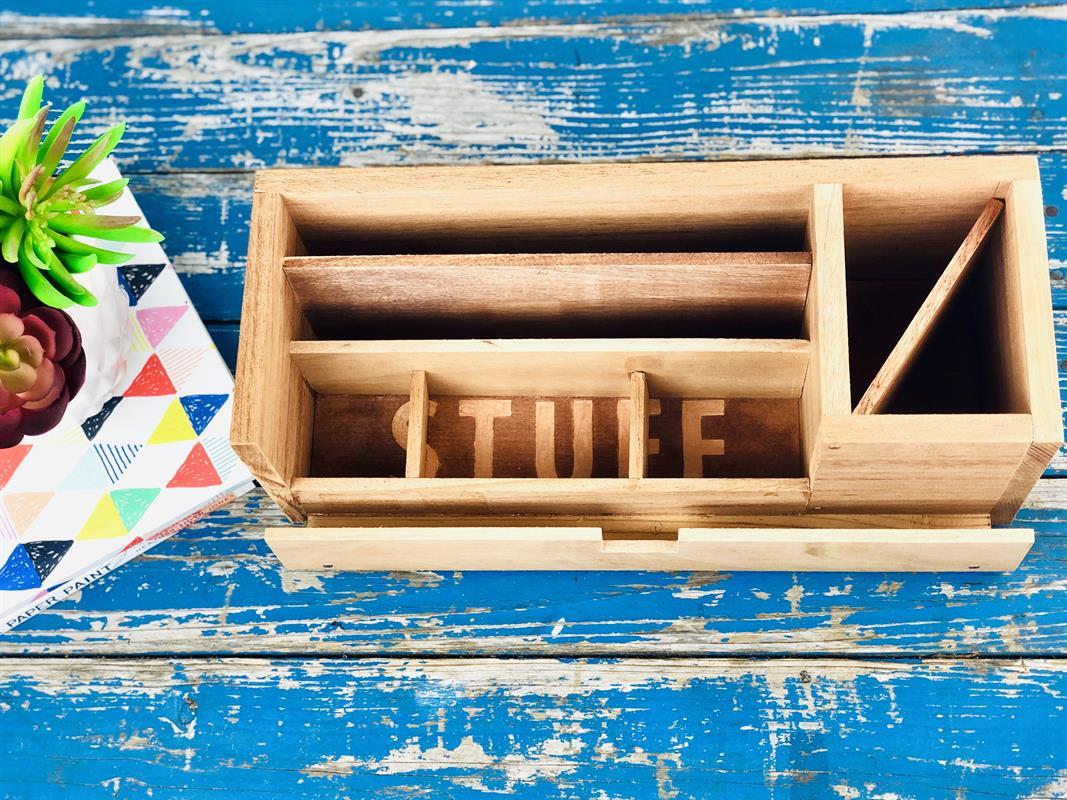
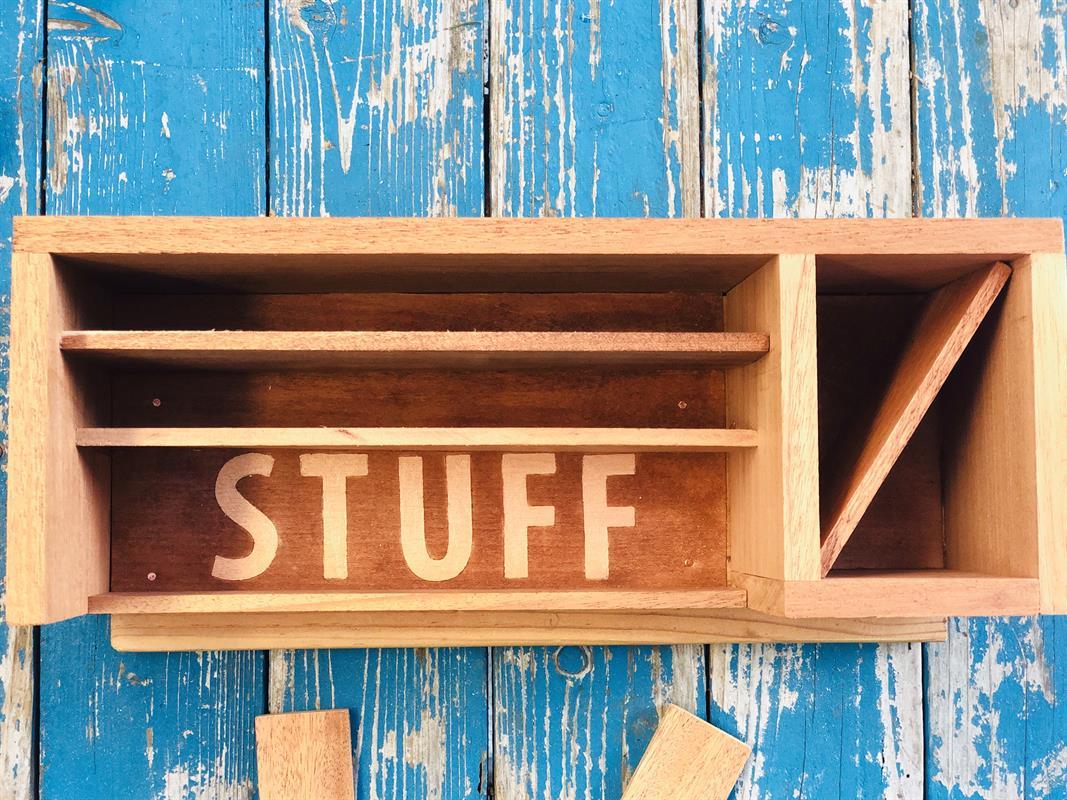
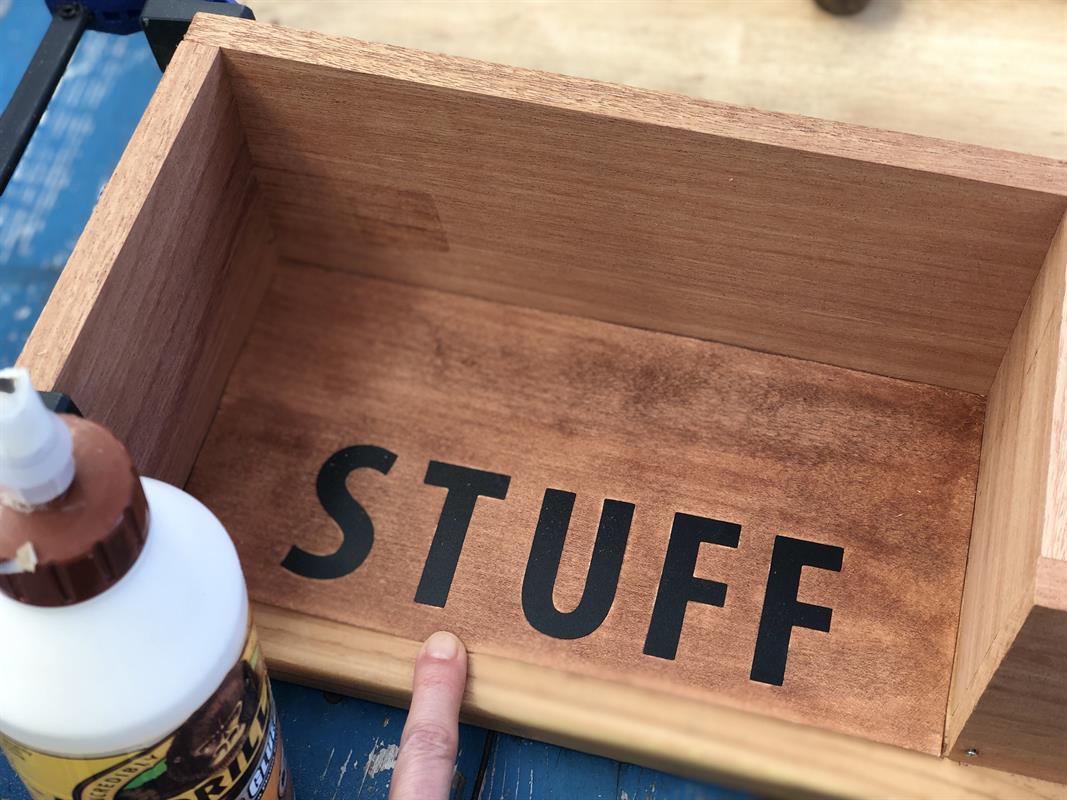
Use wooden plugs by gluing then sanding flush, or insert a 5” x 13 ½” piece of wood veneer. Attach with contact adhesive, then add finishing nails to secure. I decided to have a little fun with this and added the word "stuff". I had leftover maple veneer, so I placed on removable letters, then painted it with mahogany stain. I finished it off with a little brass paint. It'll be mostly covered, but...the surprise is all in the details.
-
Attach your base and side boards.
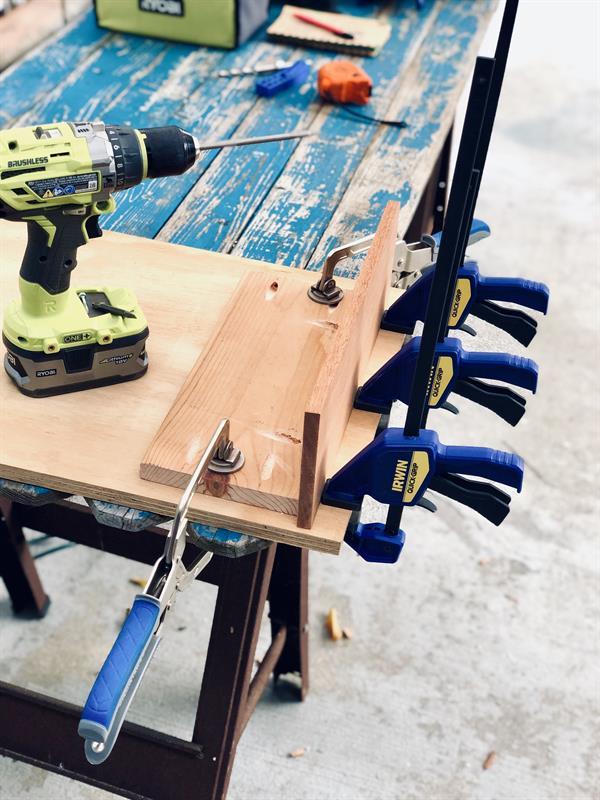
(A.) Clamp your base board to your workbench, then, apply wood glue to its back edge. (B.) Clamp your (2) back piece to the back edge of the base board as shown below, then (C.) screw in your pilot screws. (D.) Repeat for the left and right side pieces.
-
Attach pencil holder boards.
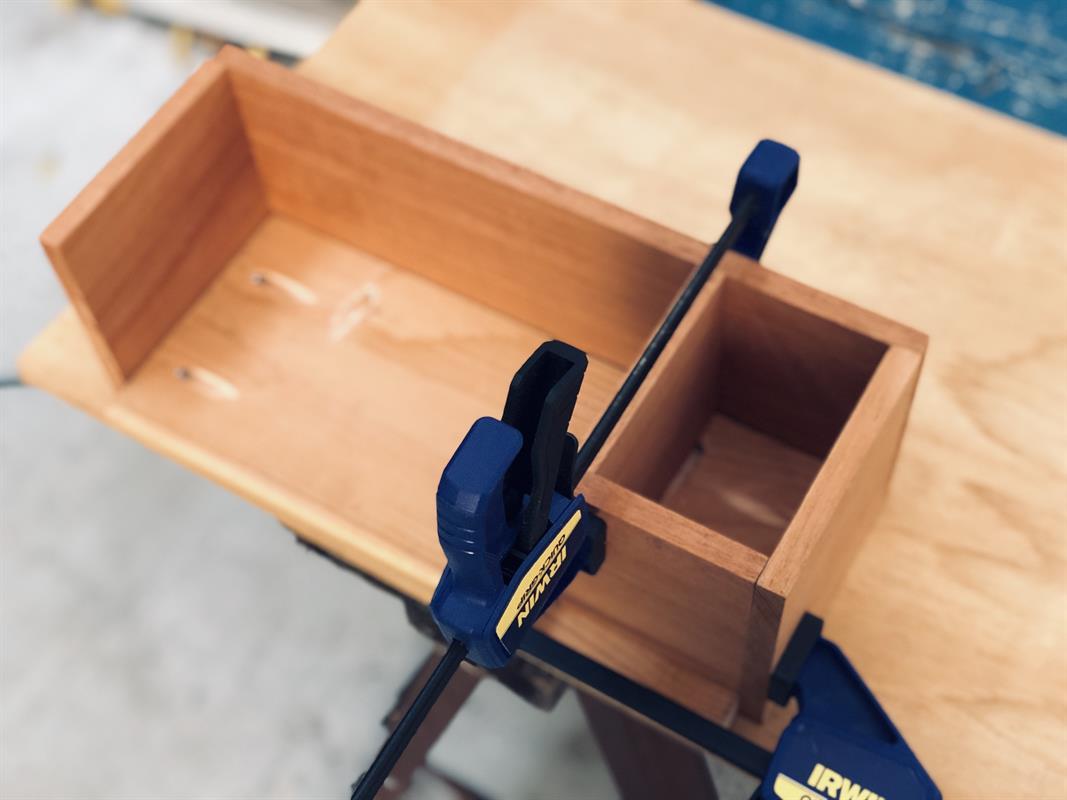
(A.) Glue the 4 ¼” edges of pieces 5 and 6 to form an “L”. (B.) Apply glue to the bottom edges of this “L” section, then place the edge of piece 5 flush to the edge of the right side (piece 4). (C.) Allow to dry, then add a couple finishing nails (pre-drill using a 5/64 drill bit) as seen below to hold into place. (D.) Apply contact adhesive to your diagonal pencil holder divider (piece 13), then insert it down into bottom of pencil holder.
-
Attach insert pieces.
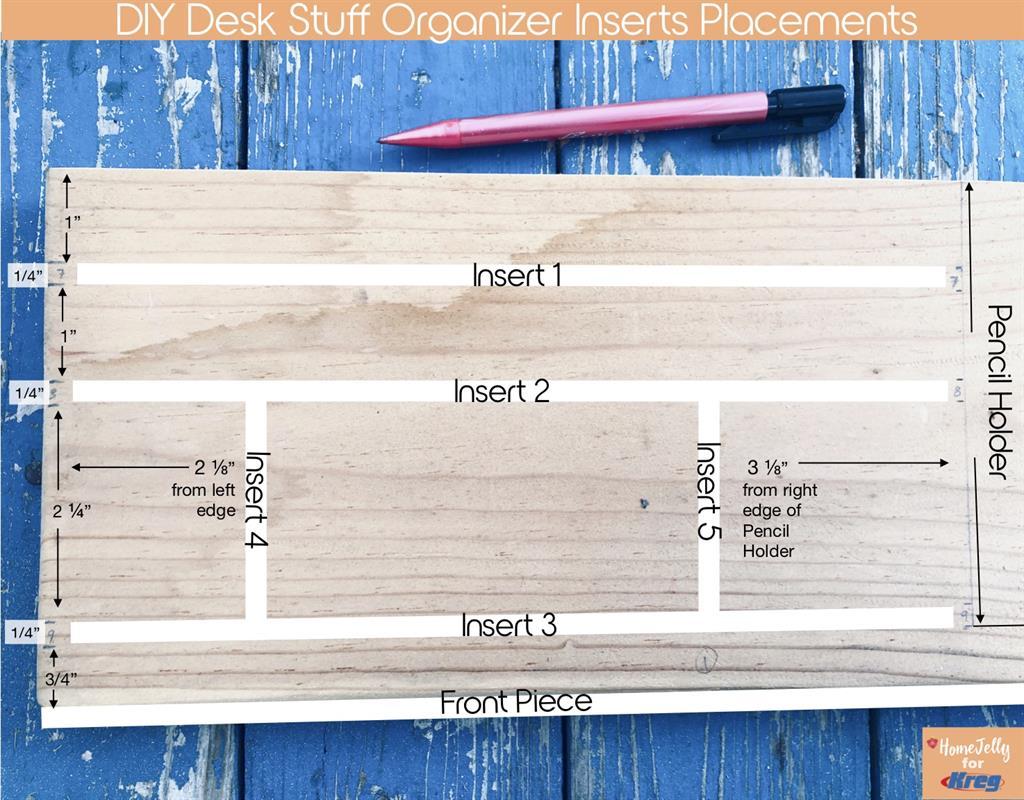
See Inserts placement diagram for measurements. (A.) Measure then mark 1” from the back inside edge of base piece on both sides. (B.) Apply contact adhesive to bottom edge of piece 7. (C.) and affix it to the base piece. Note: be sure to cut this piece accurately. It should feel a little snug to hold into place. (D.) Repeat for pieces 8 and 9. (E.) Measure and mark 2 ⅛” from left inside edge between pieces 8 and 9. (F.) Glue with contact adhesive the bottom edge of piece 10, then place it perpendicular between pieces 8 and 9. (G.) Measure and mark 3 ⅛” from right inside edge (from pencil holder) between pieces 8 and 9. (H.) Glue bottom edge of piece 11, then place it perpendicular between pieces 8 and 9. Allow all pieces to dry.
-
Attach front piece.
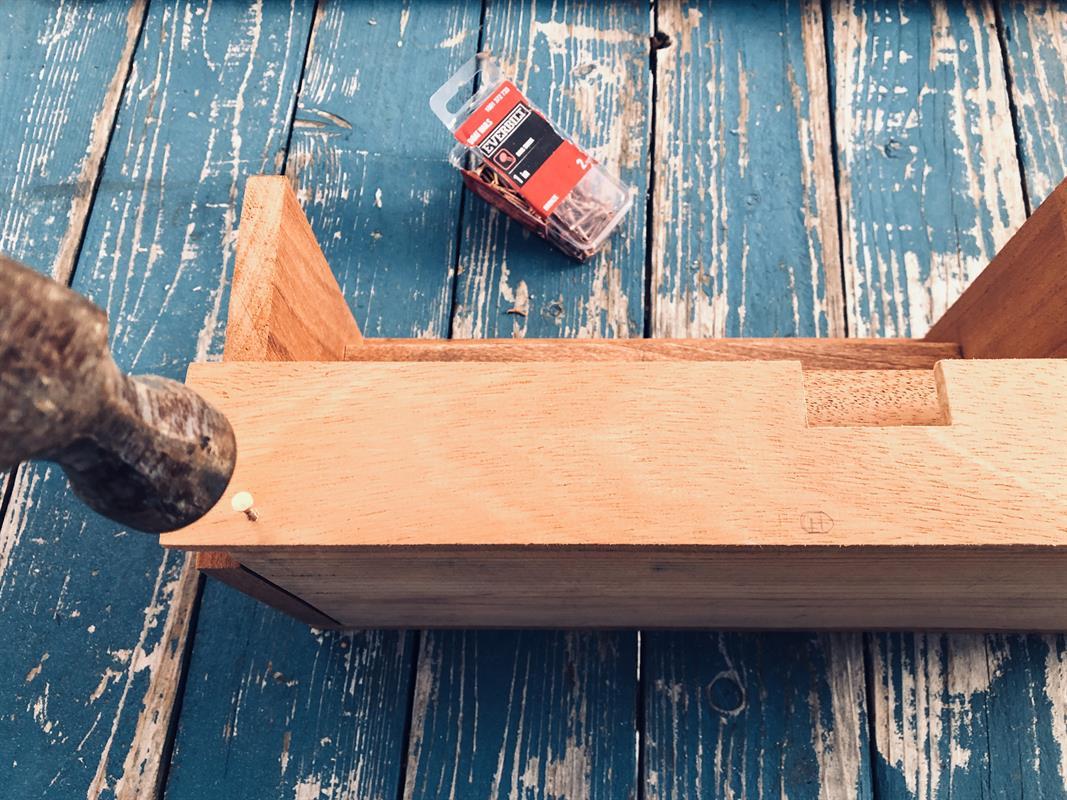
(A.) Apply contact adhesive to the front edge of the base board. (B.) Attach the front (piece 12) to the front making sure sides and bottom are flush to the base piece and the notch is at the top. (C.) Allow to dry. (D.) Add finishing nails to secure.
-
Adhere the felt pads.
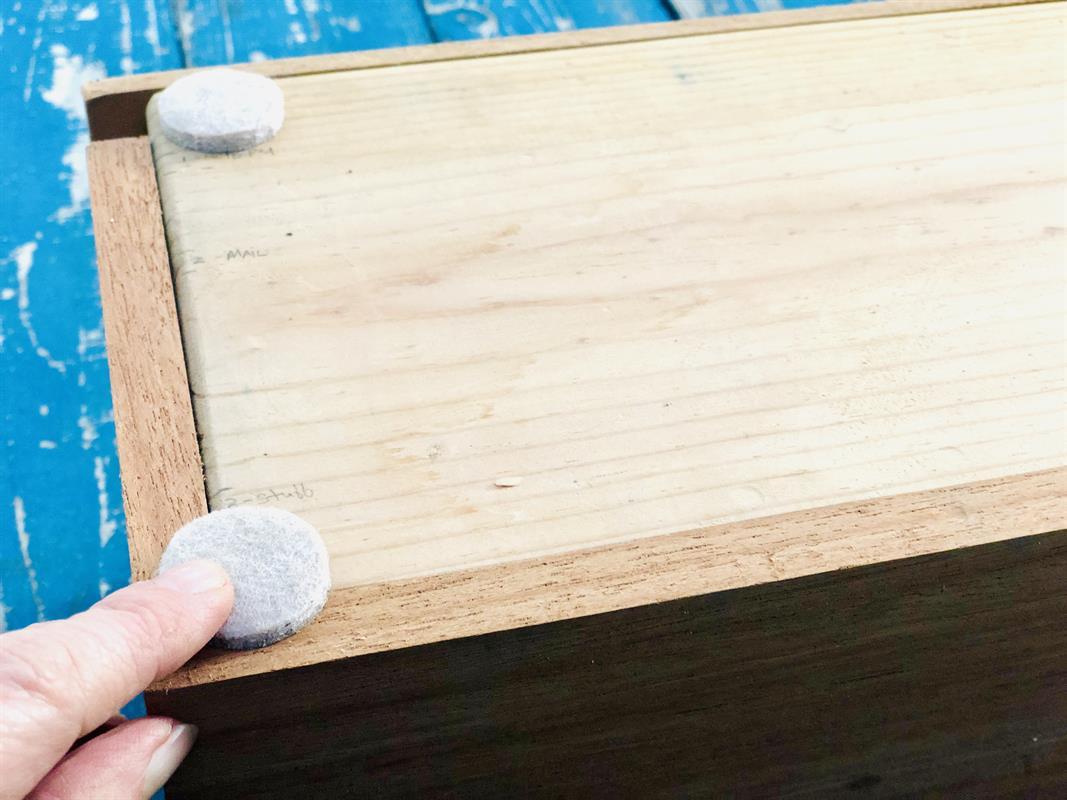
Place felt pads onto bottom corners of organizer.


