Corner TV Stand
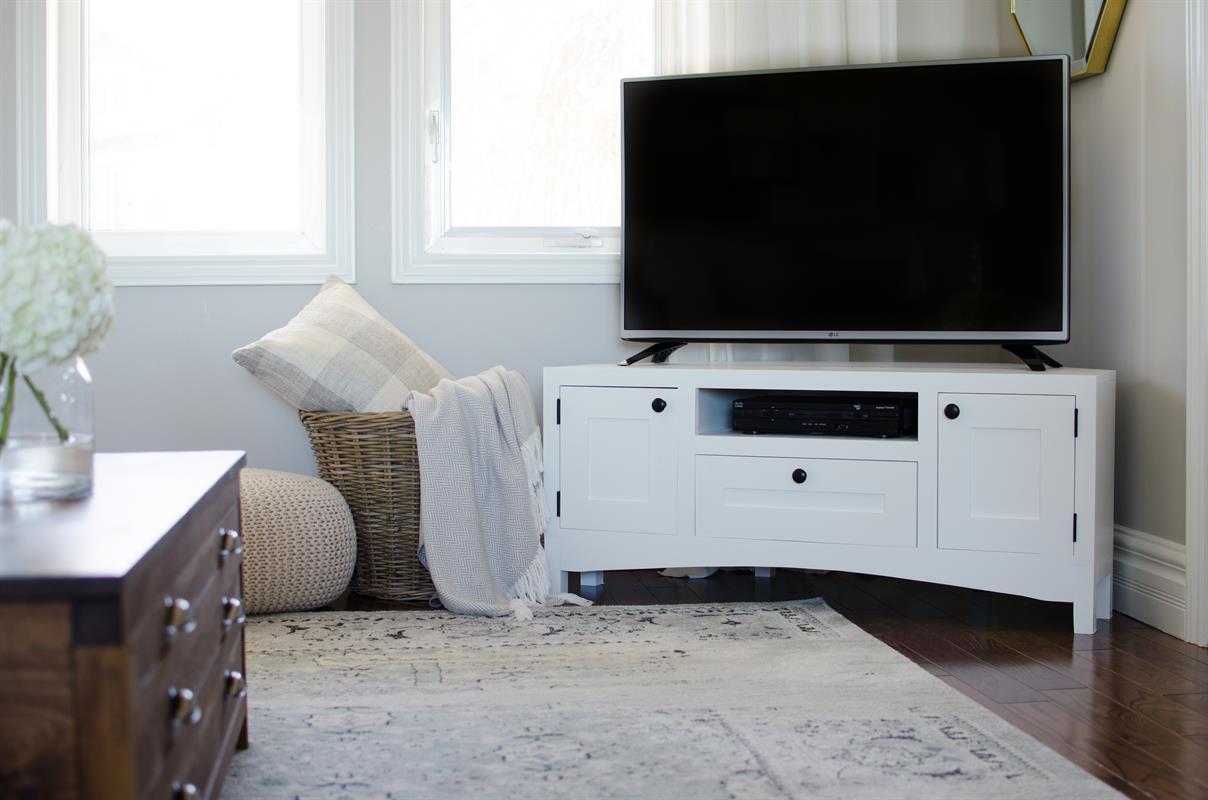
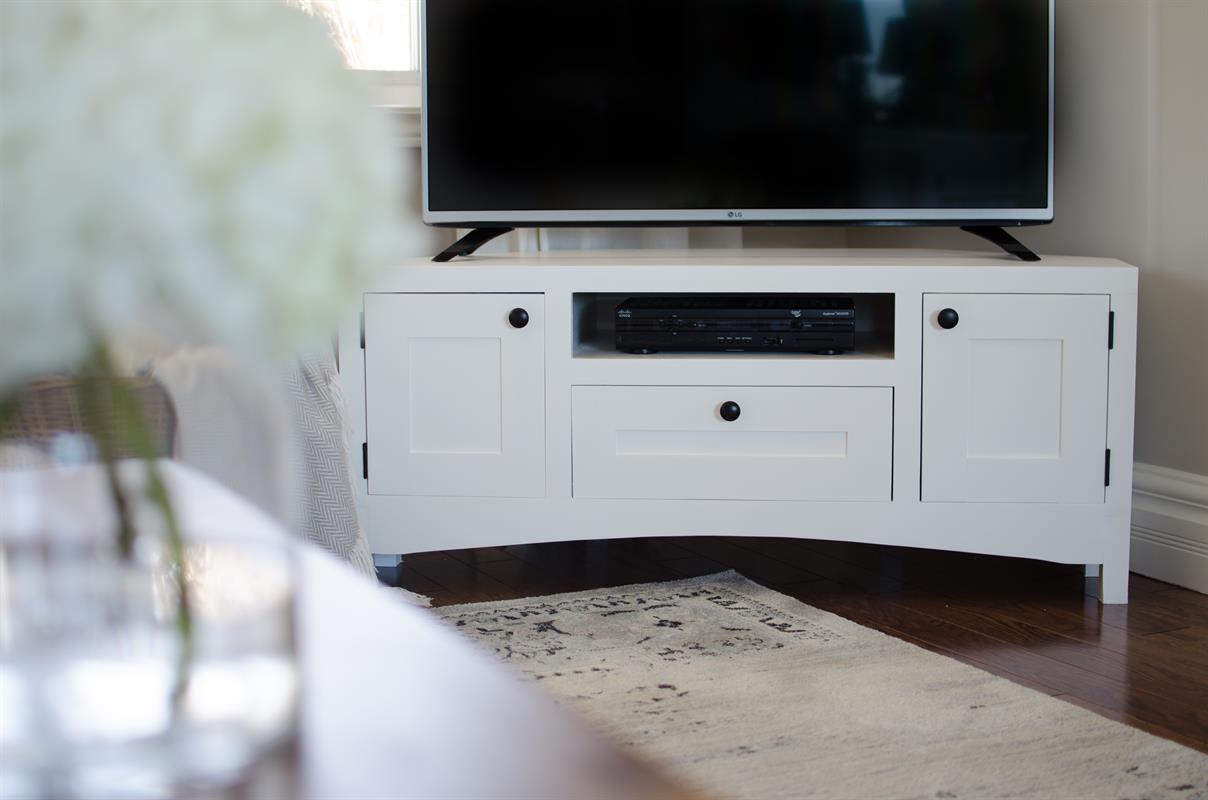
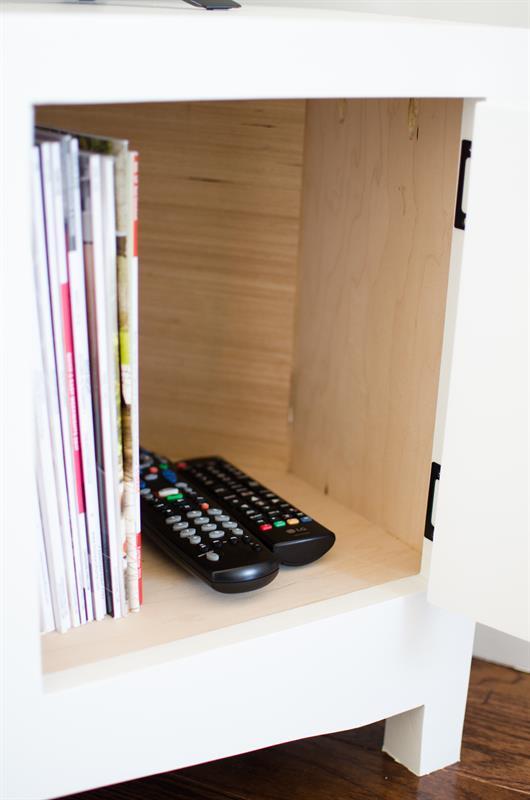
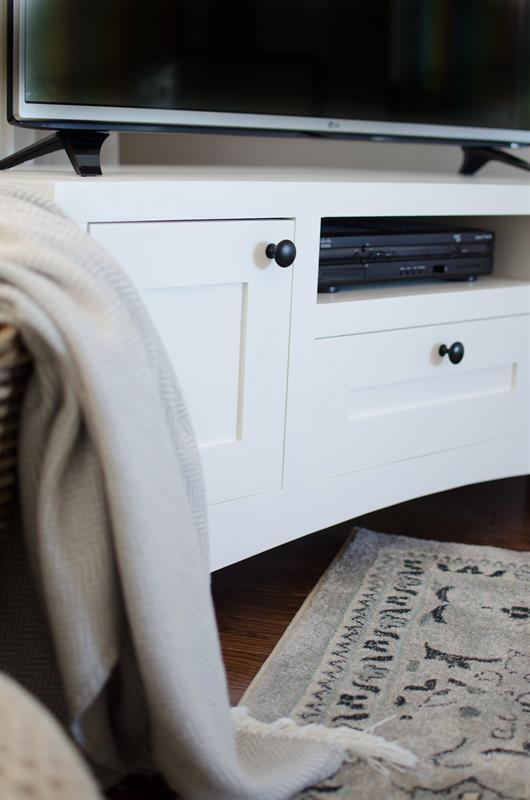
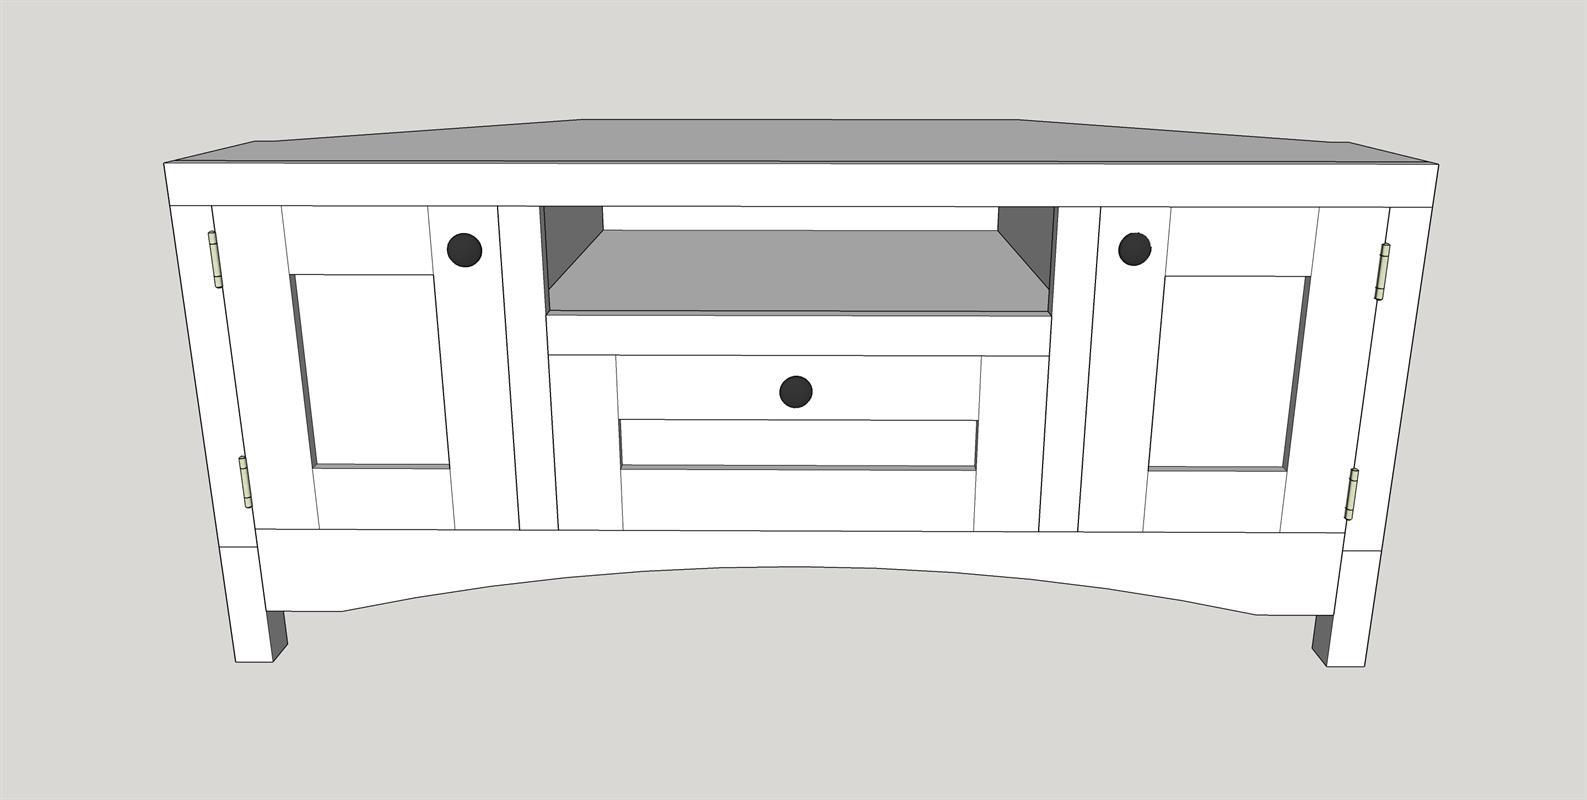
By Nick + AliciaThis TV stand will fit up to a 50″ TV and is designed to tuck into a corner to optimize your living space. It also offers some storage for movies and remotes. There is an optional faux drawer on the front that hides your media players, and folds down to reveal them when they’re required.
Directions
-
Bottom Panel
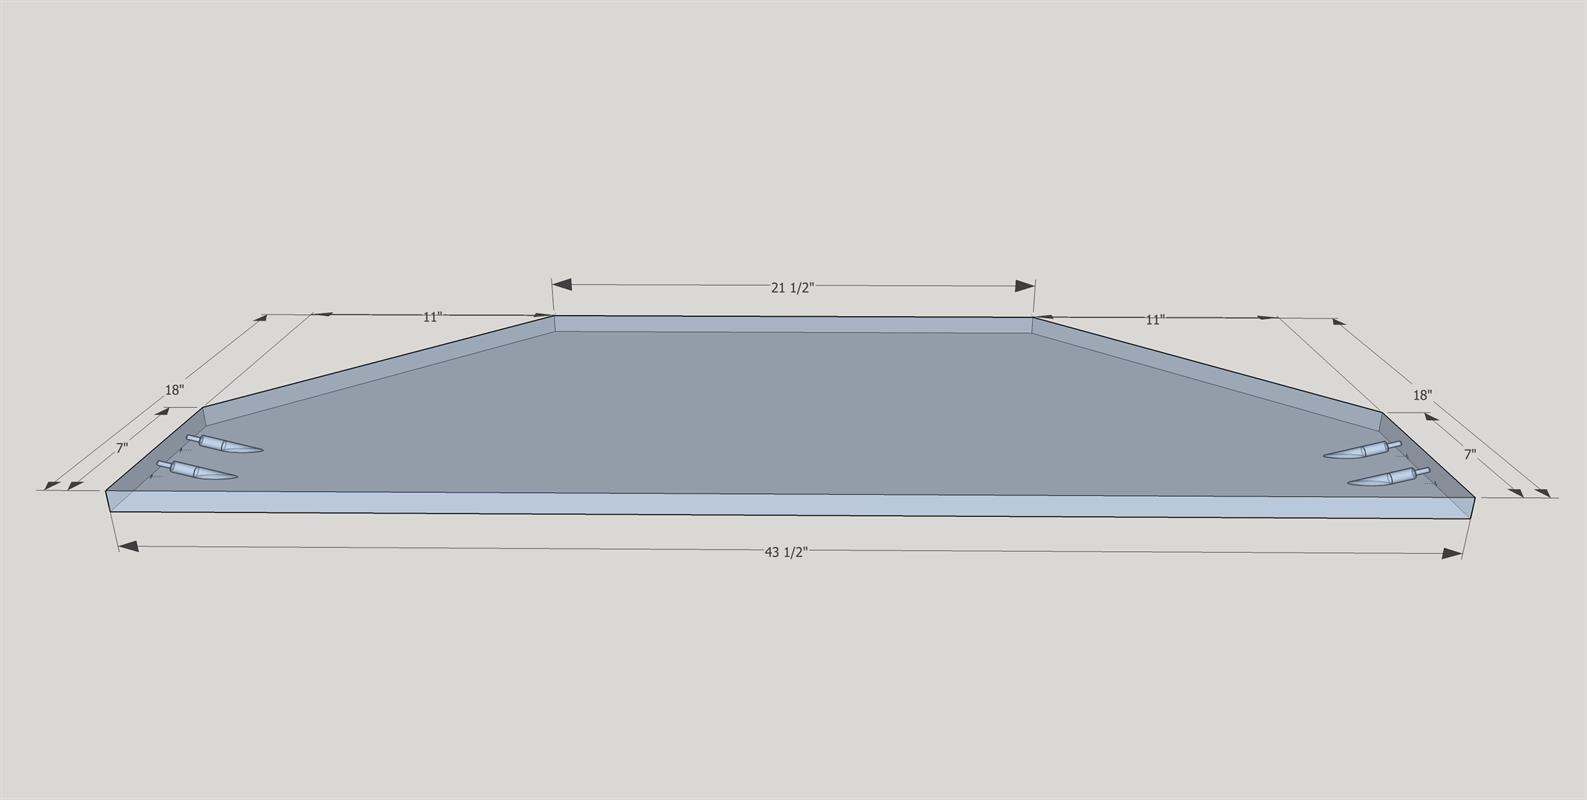
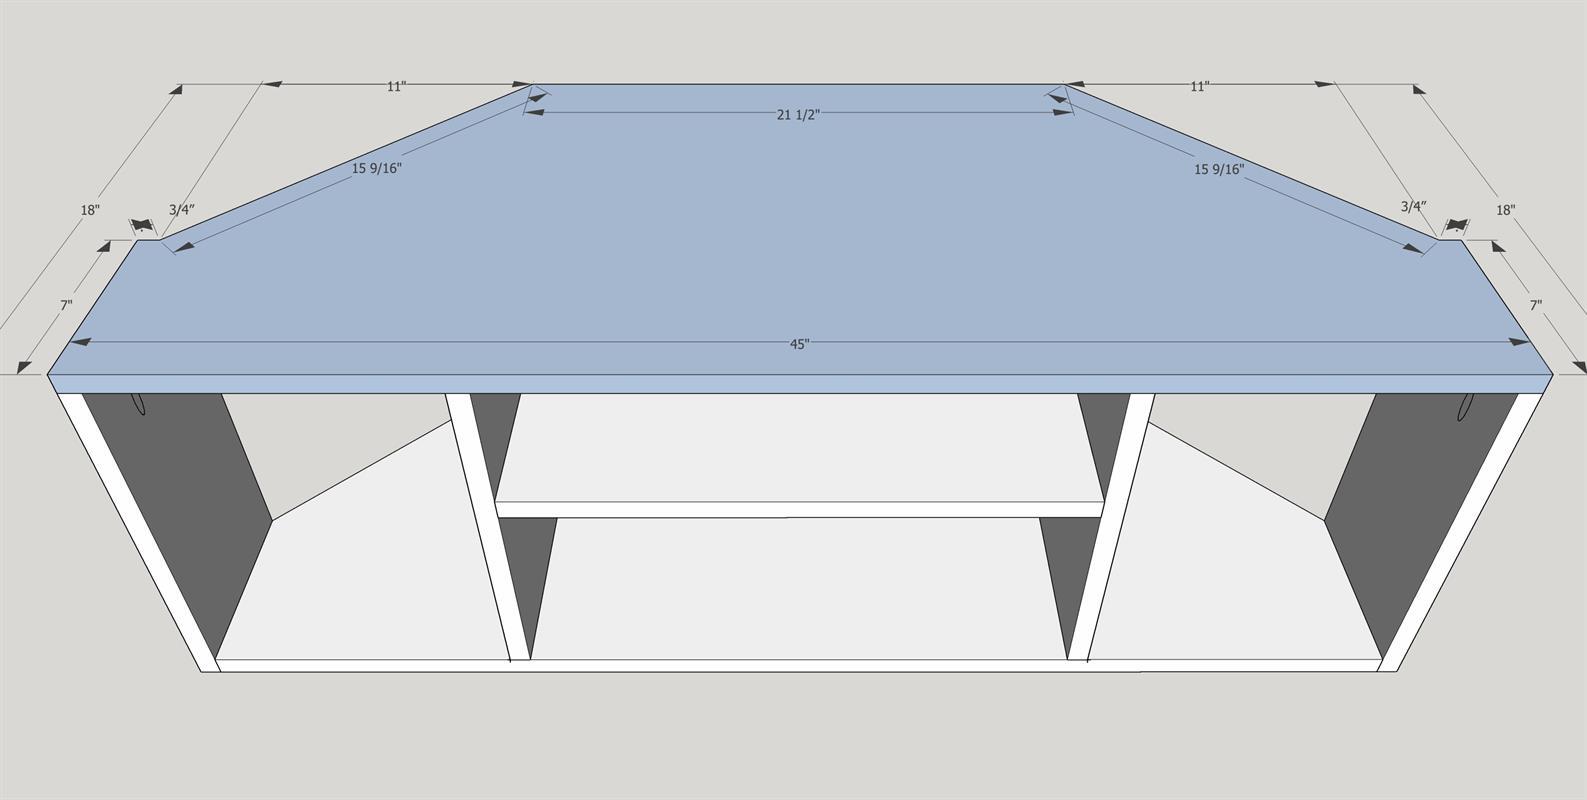
Cut bottom panel as per the diagram below out of plywood. The angles on each side, at the back, should be 45-degrees. Drill two pocket holes on each side on the underside as shown on the diagram.
-
Attach End Panels
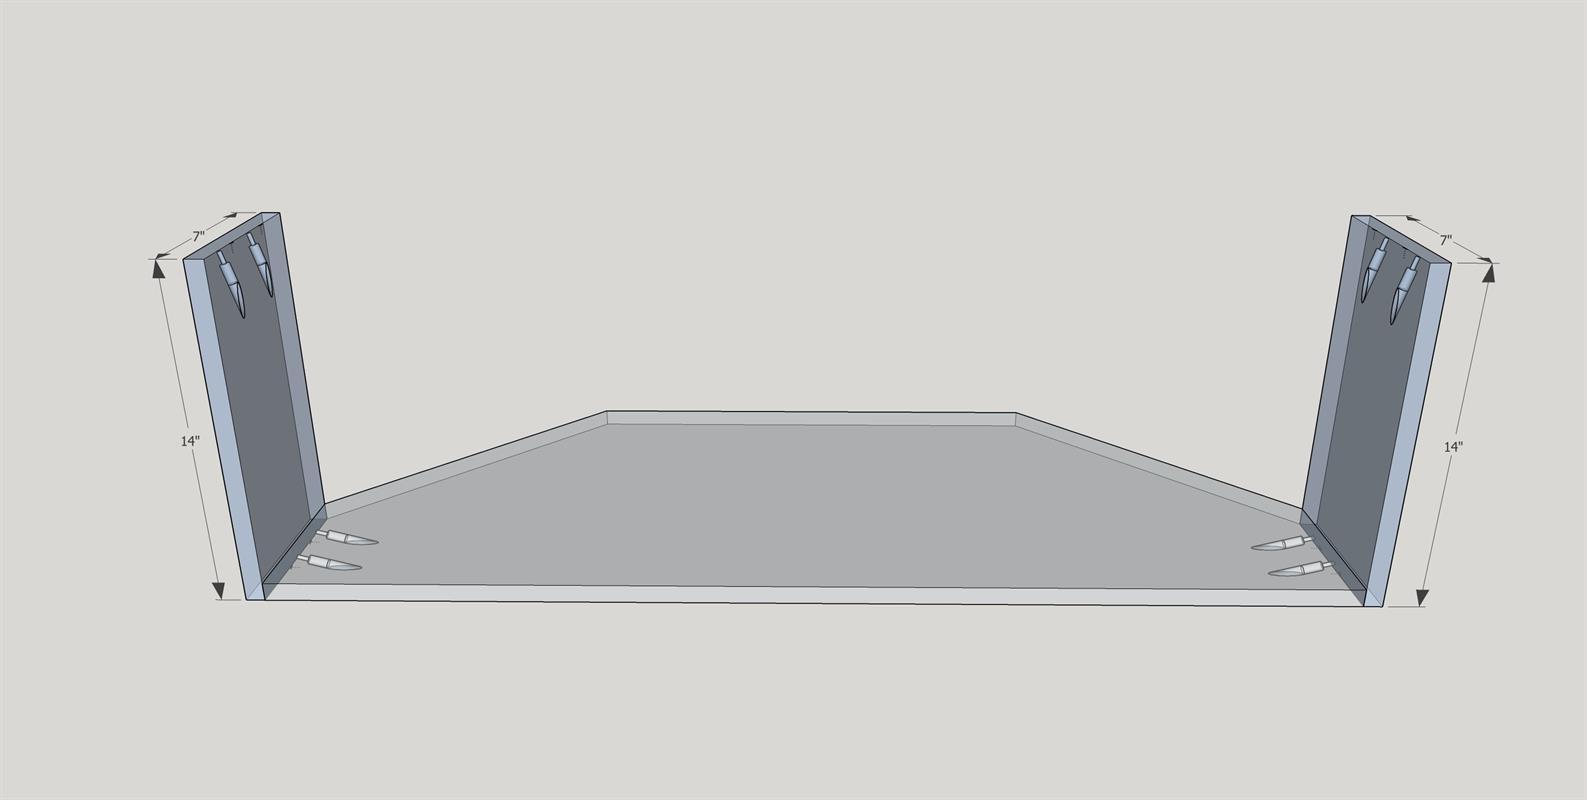
Pre-drill pocket hole screws at the top of the end panels as shown on the diagram. You will use these later to attach the top. Attach end panels with wood glue and two 1 1/4" pocket hole screws on each side.
-
Mid Panels
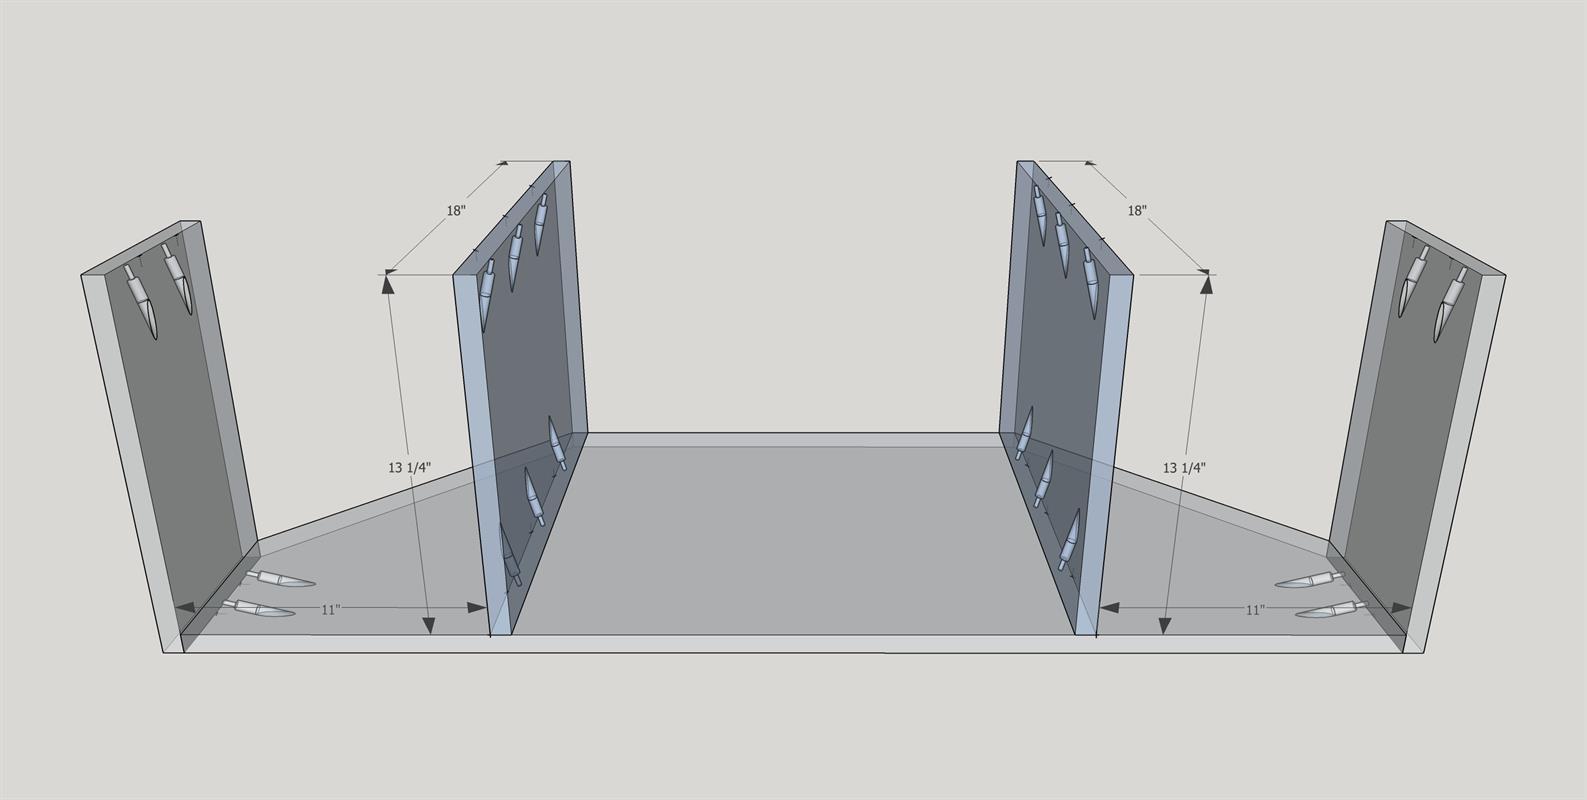
Drill pocket holes at the top and bottom of each of the mid-panels. The pocket holes should all be on one side of each board and face out towards the ends. Mark a line at 11" from the inside of each end panel. Align the pocket hole side of each board to this line and secure with wood glue and 1 1/4" pocket hole screws.
-
Attach Shelf
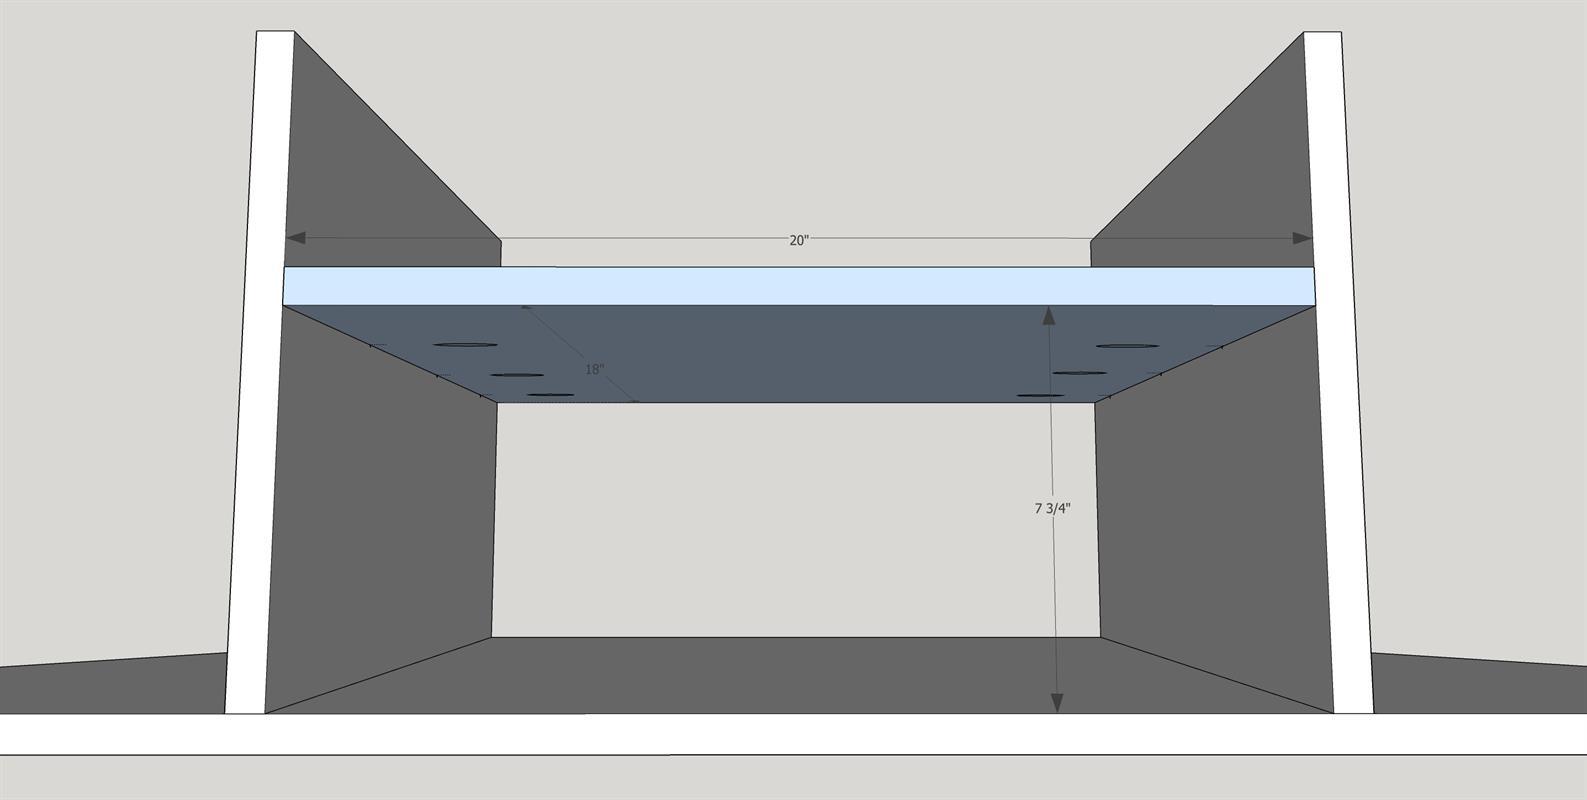
Attach the shelf as shown on the diagram using six pocket hole screws on the underside.
-
Attach Top
Attach the top with wood glue and pocket hole screws from the END PANELS and MID PANELS. Make sure that the mid panels are secured at 11" at the top so that all is completely square.
-
Create Legs
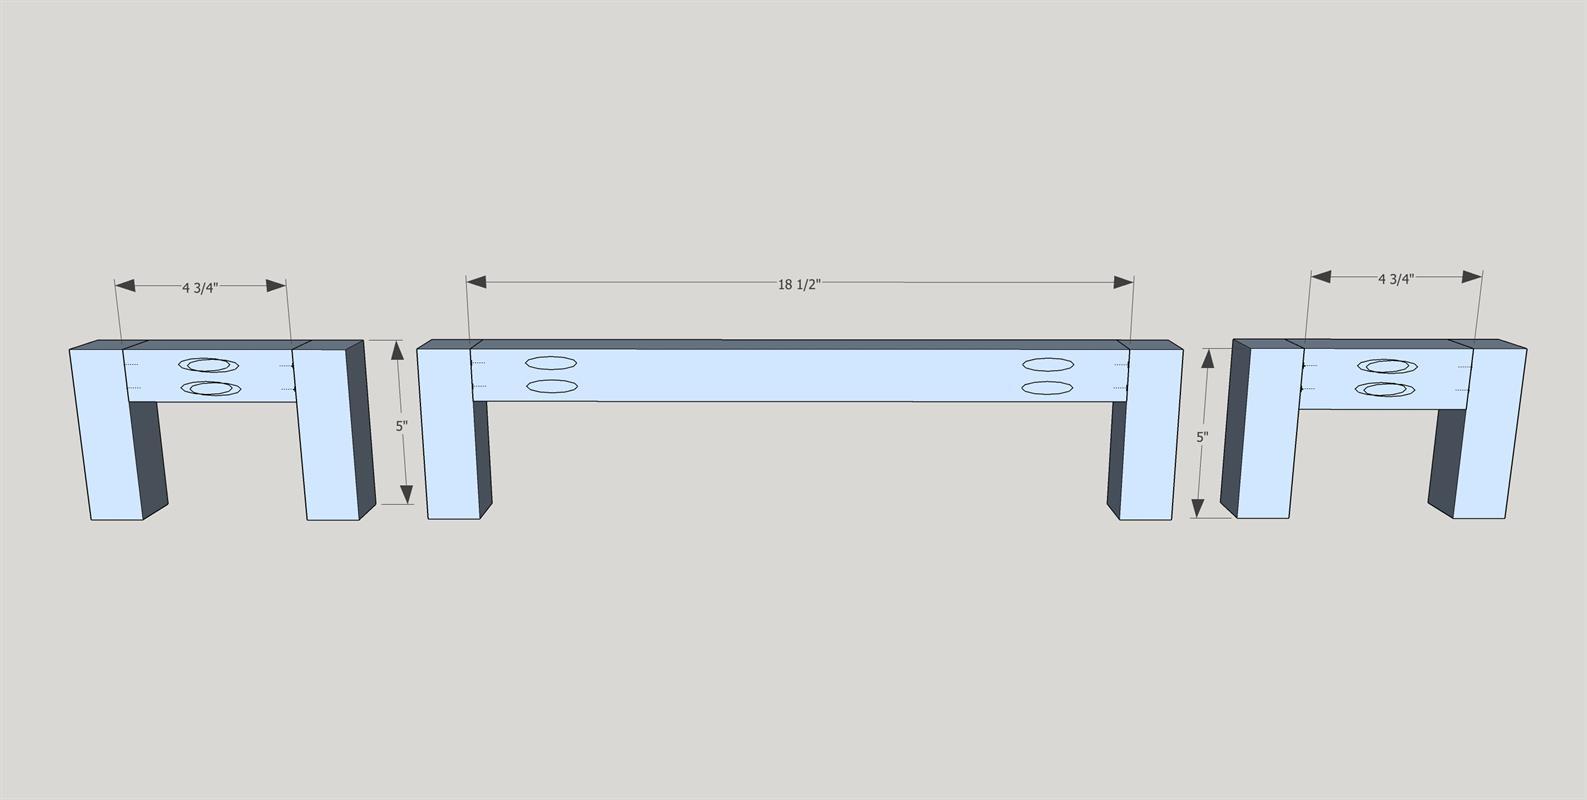
Create these legs from the 1 1/2" x 1 1/2" pieces in the cut-list. On the smaller legs, the pocket holes will overlap, however, they will still attach properly.
-
Attach front Legs
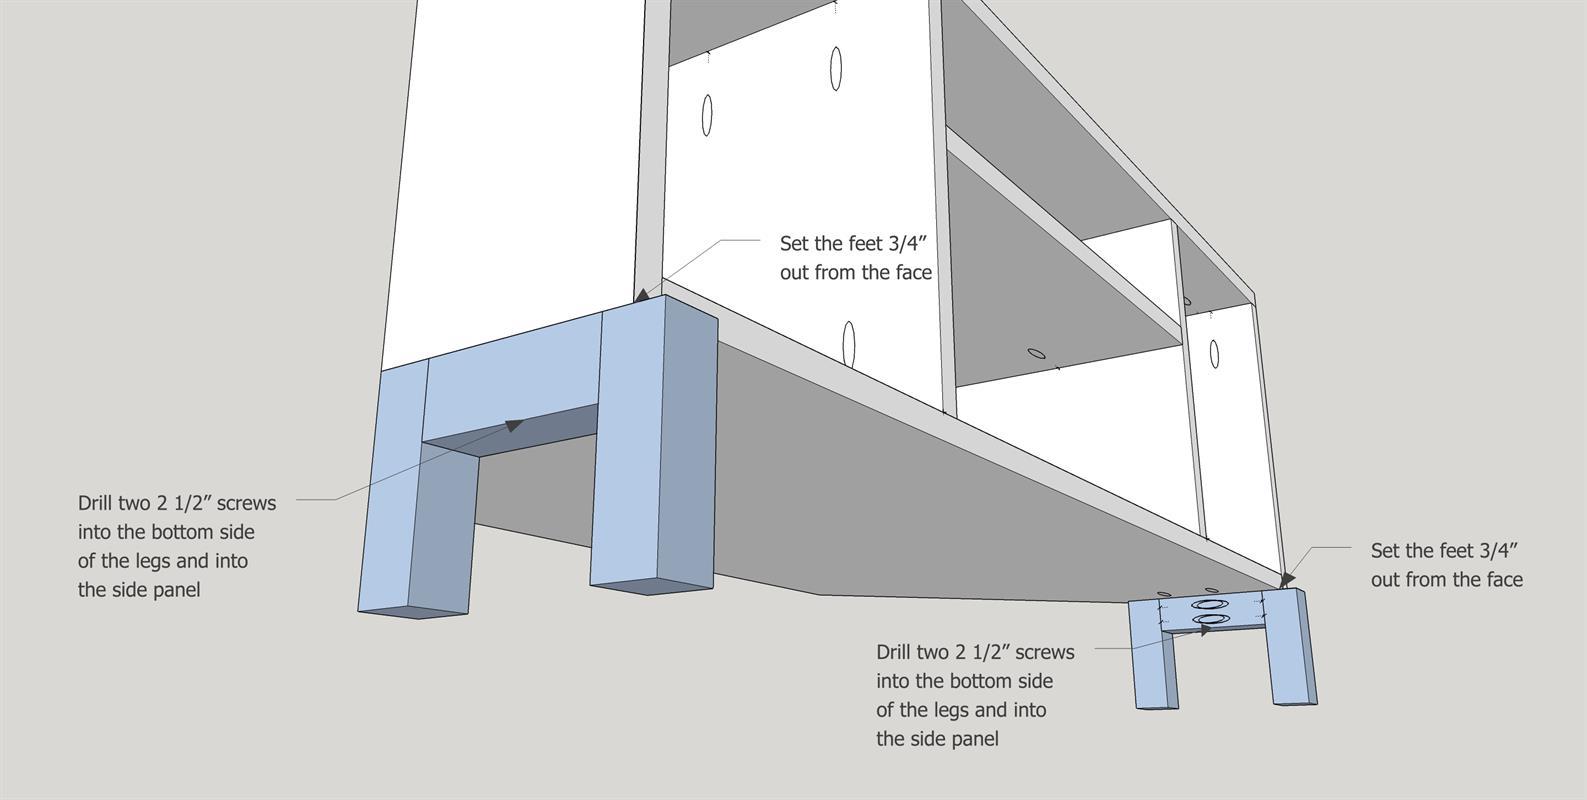
Place the legs 3/4" out from the face of the main box and secure with wood glue and 2 1/2" wood screws. Be careful to aim for an area away from where the pocket hole screws pass.
-
Attach back Legs
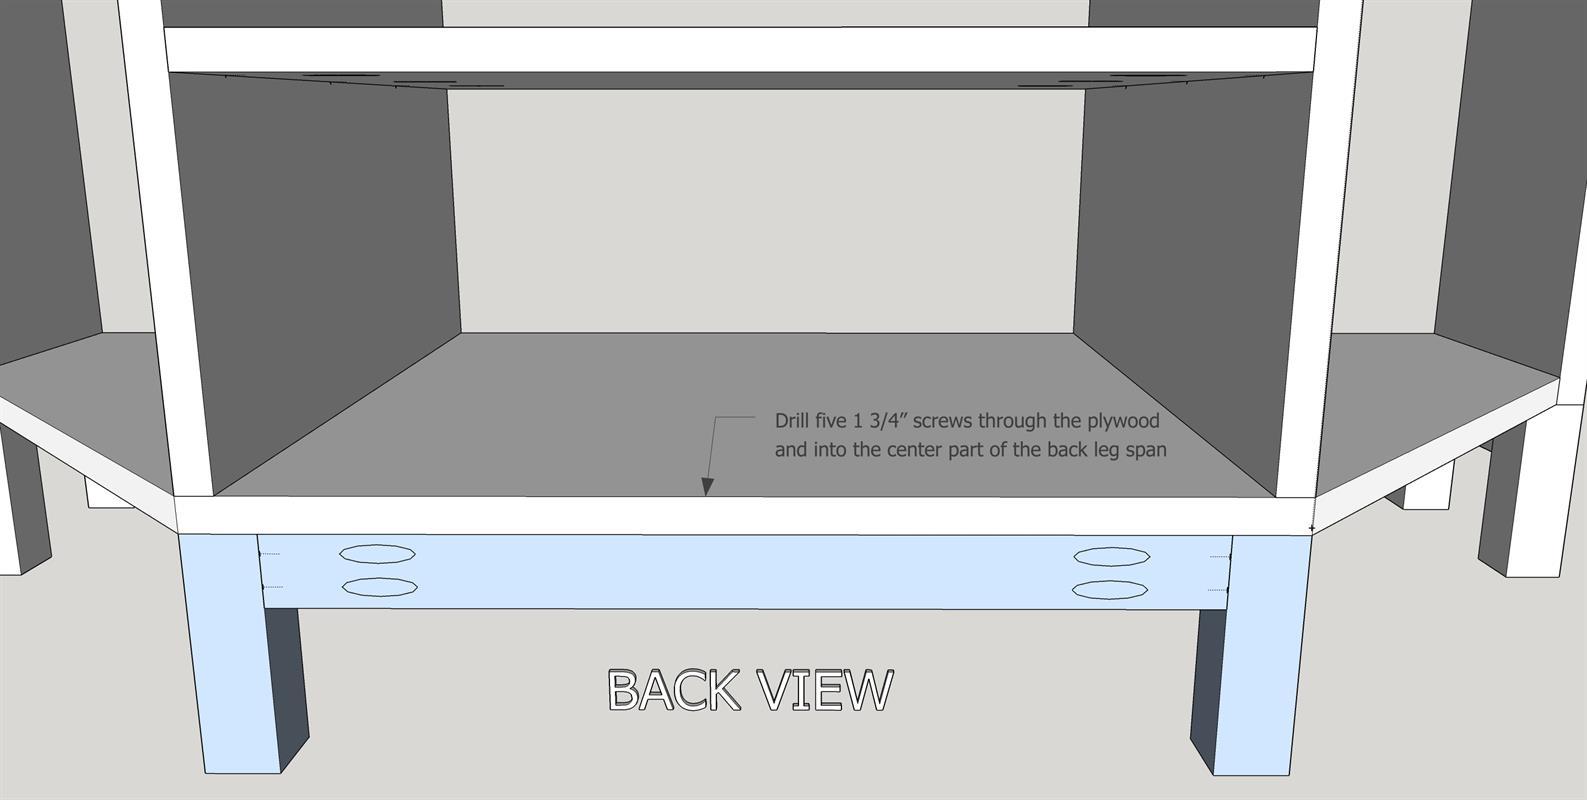
Secure back legs along the base with wood glue and 1 1/4" wood screws. See diagram for how to attach screws.
-
Back Covers
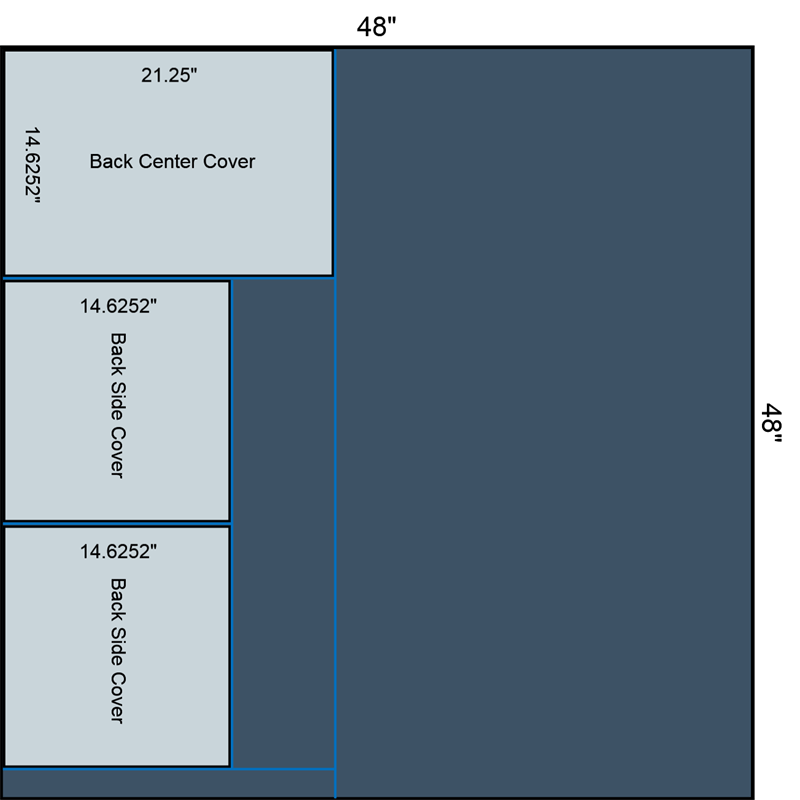
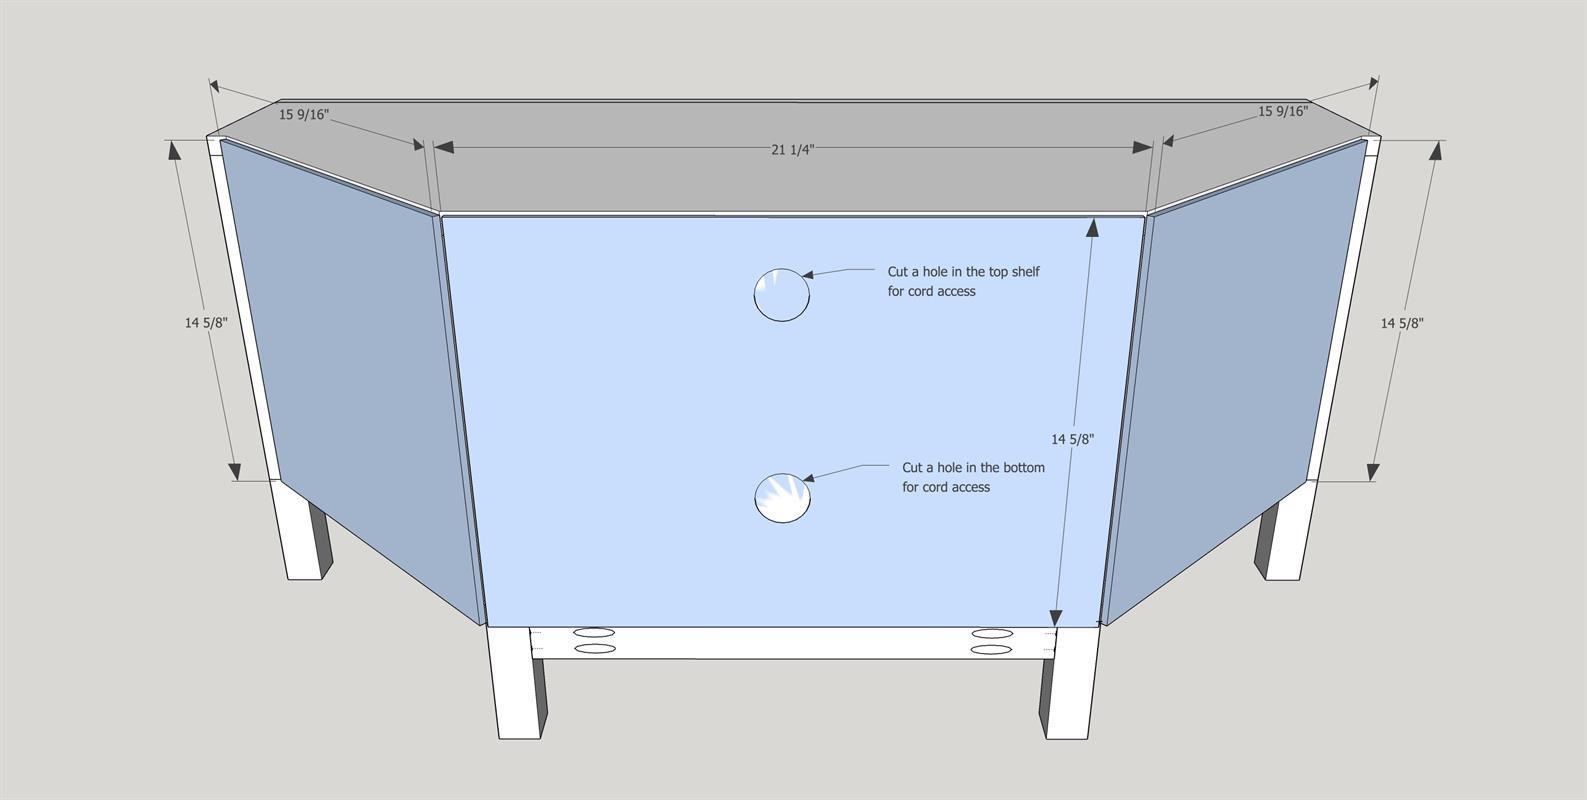
Attach center and side covers on the back of the corner TV unit. Secure with 1 1/4" brad nails along the edges. Use a 2 1/2" hole saw to create a hole in both the upper shelf and the lower shelf in the center. You can also add access holes to the back of the sides if you are going to use either to charge electronics, etc.
-
Face Pieces
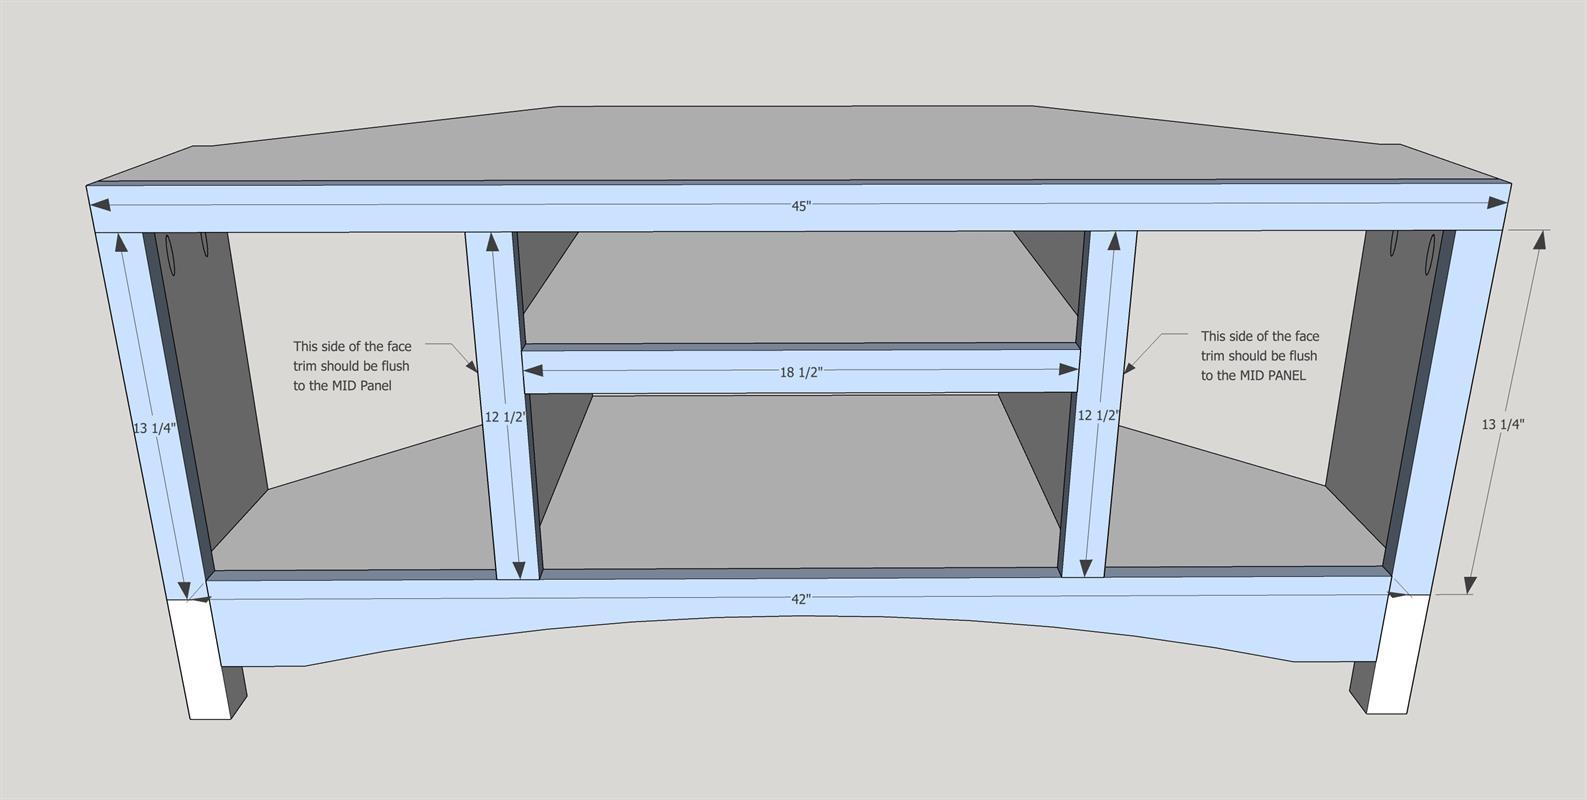
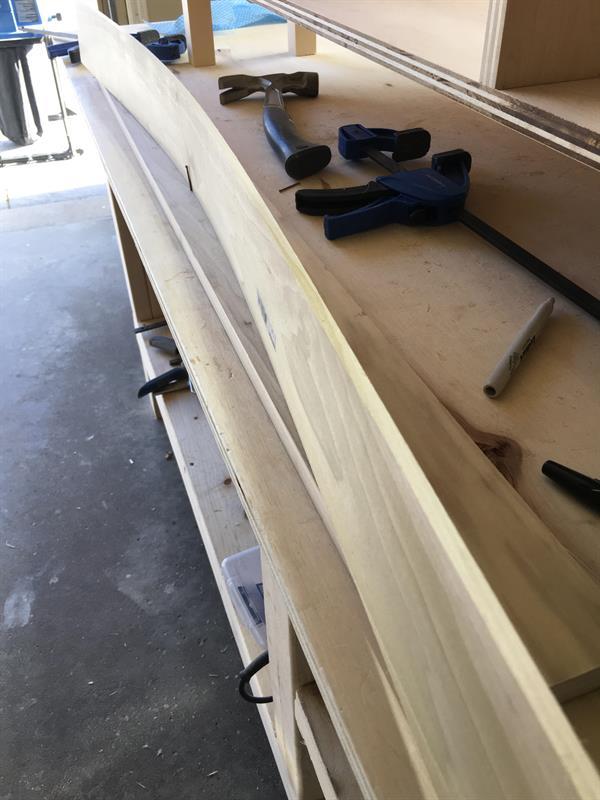
Secure face pieces as shown with wood glue and 1 1/4" brad nails. The bottom curved face piece is created by putting temporary screws/nails at 3" from each end at the bottom, and one 2" from the bottom of the board in the center. Then use something flexible such as a thin 1/4" piece of lumber and scribe along the curve. Use a jigsaw with a scroll blade to cut carefully along the line.
-
Cut out Doors
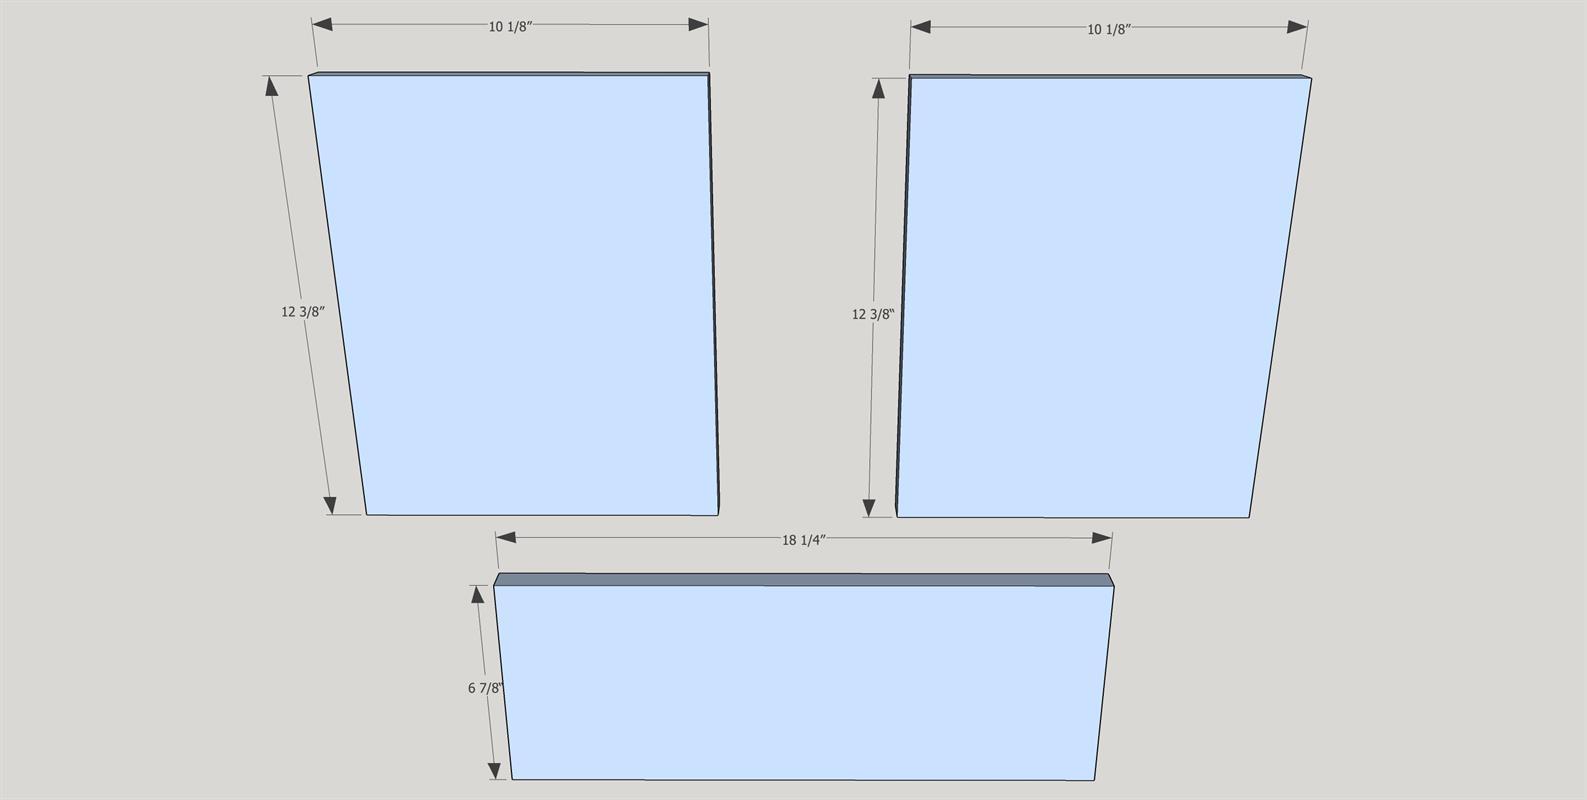
Cut out the door base panels. Dry fit them in place and ensure there is an adequate amount of space for your non-mortice hinges. Ideally, there should be about 3/32" all the way around the doors. (Center door is optional)
-
Add Trim to Doors
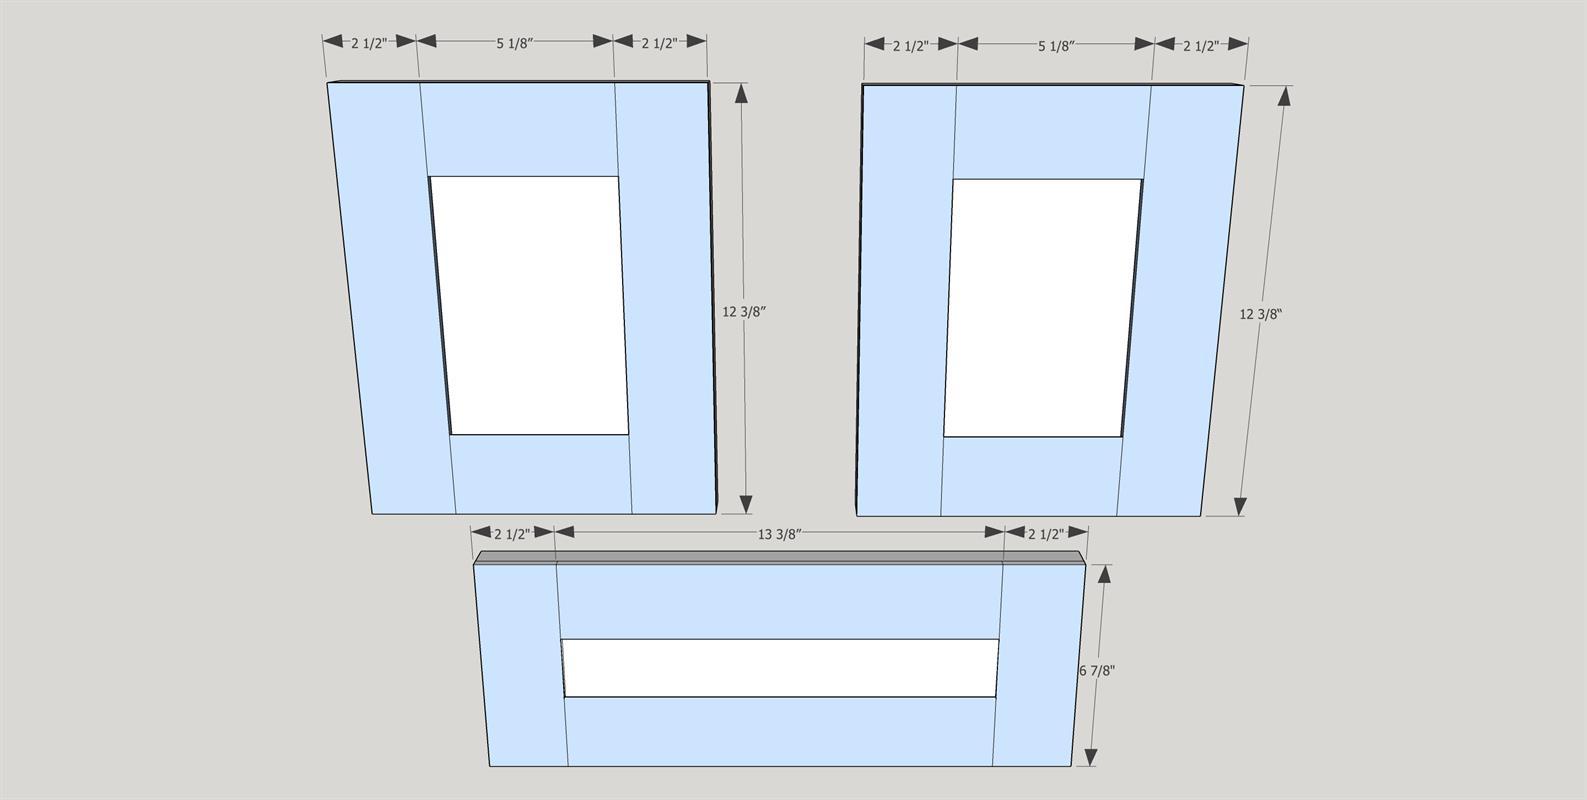
Add the 1/4" x 2 1/2" pieces to the doors as shown, securing with wood glue and 3/4" brad nails. (Center Door is optional)
-
Install Doors
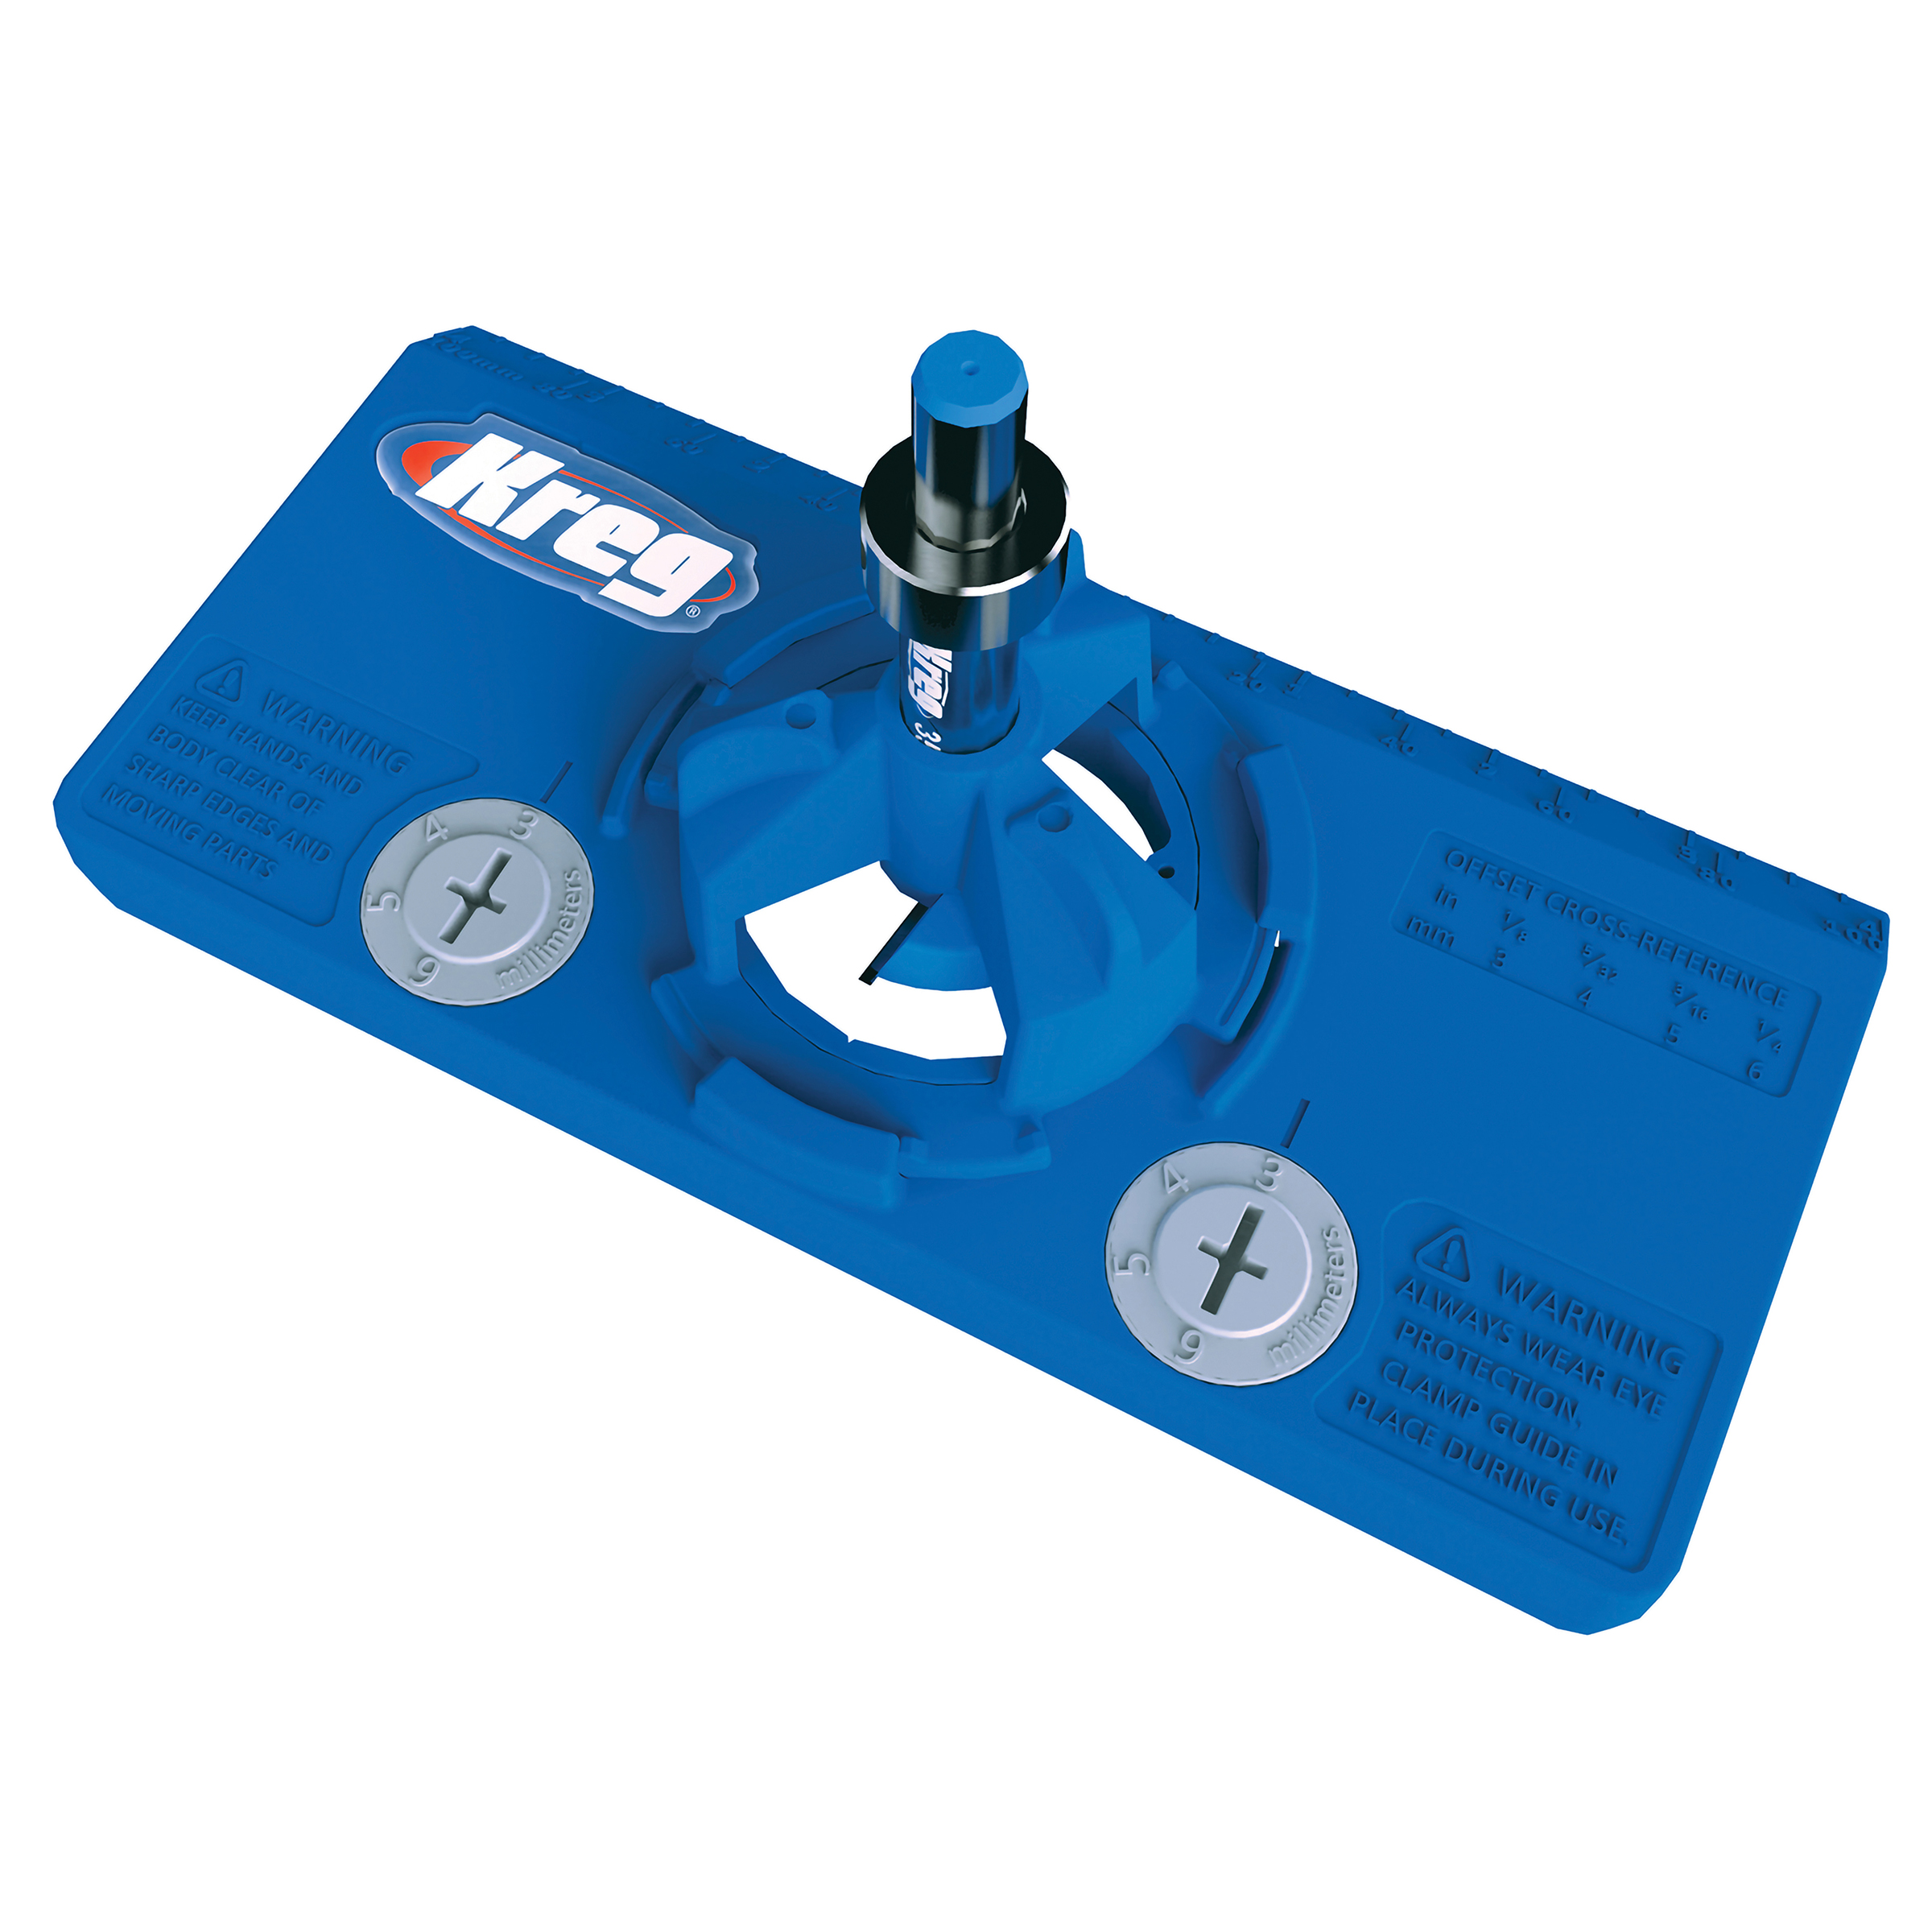
Install doors with non-mortise hinges located approximately 1" from the top and bottom of each of the side doors. The optional bottom drawer can be installed with concealed hinges that you can purchase at your local hardware store. Use the Kreg Concealed HInge Jig for easiest installation. Add a magnetic catch with plate to each of the doors. Add chosen hardware.
-
Photo of Scribing Curve
Here is how I created the curve to scribe.


