Coffee Table With Storage
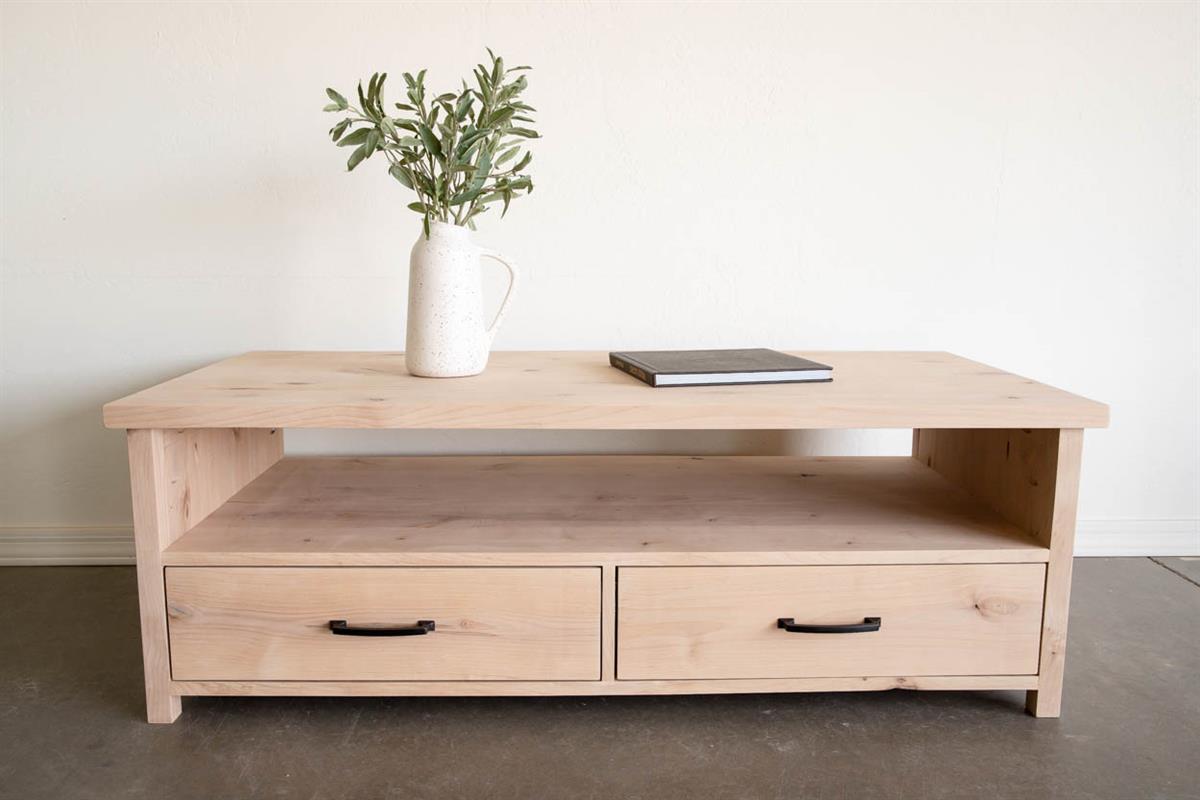
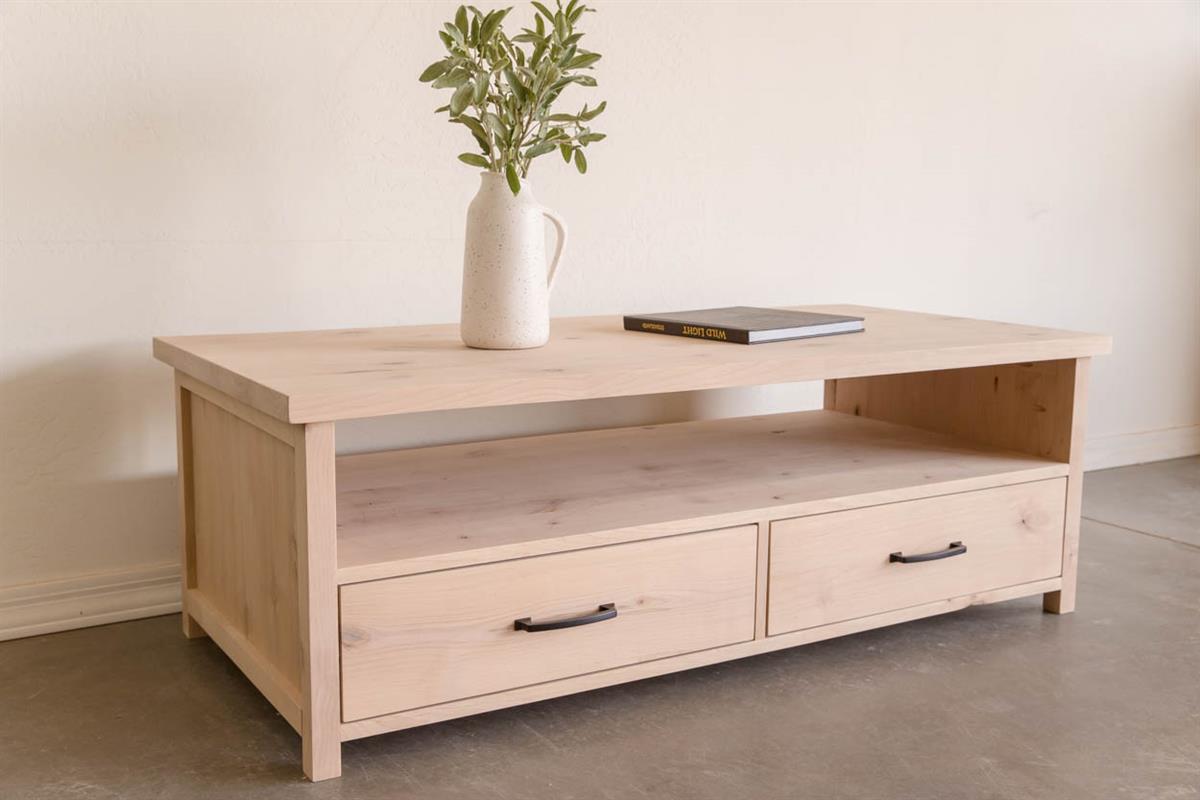
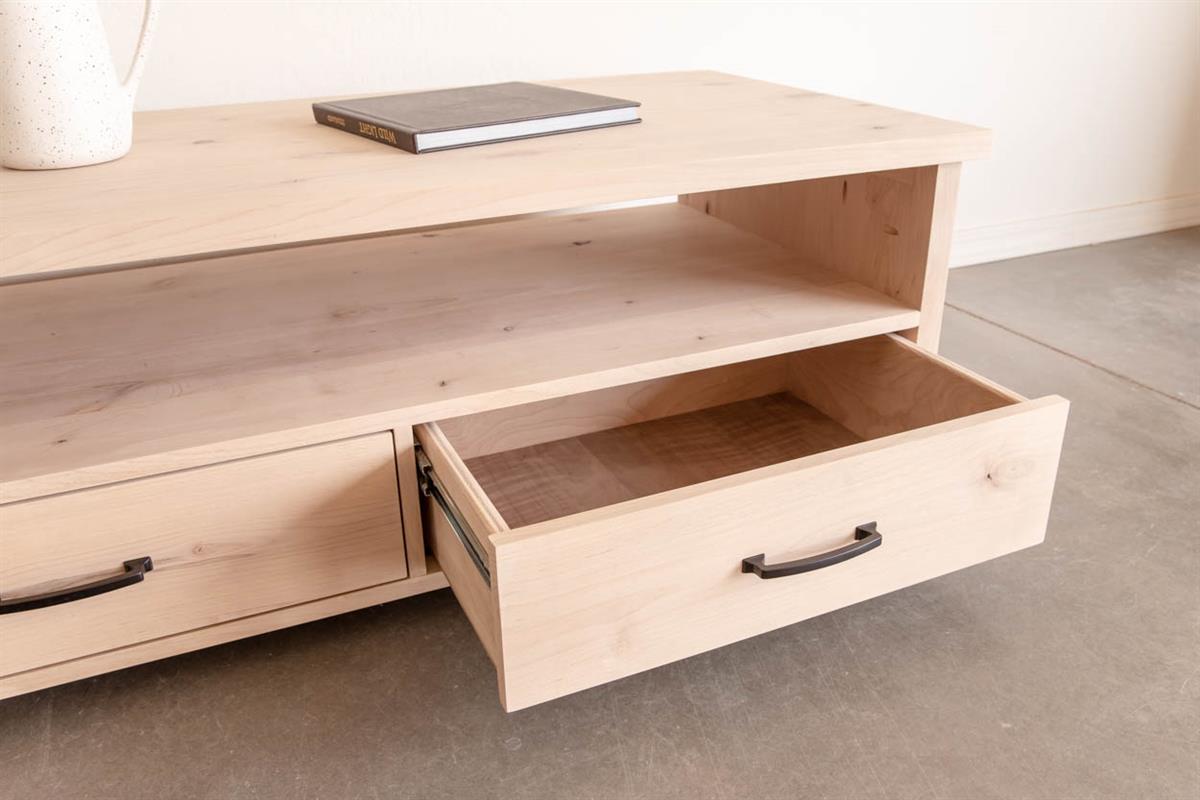
By Addicted 2 DIYLearn how to build this beautiful coffee table with two large storage drawers, plus a shelf to allow for tons of storage of books, games, blankets, etc.
Directions
-
Build Sides
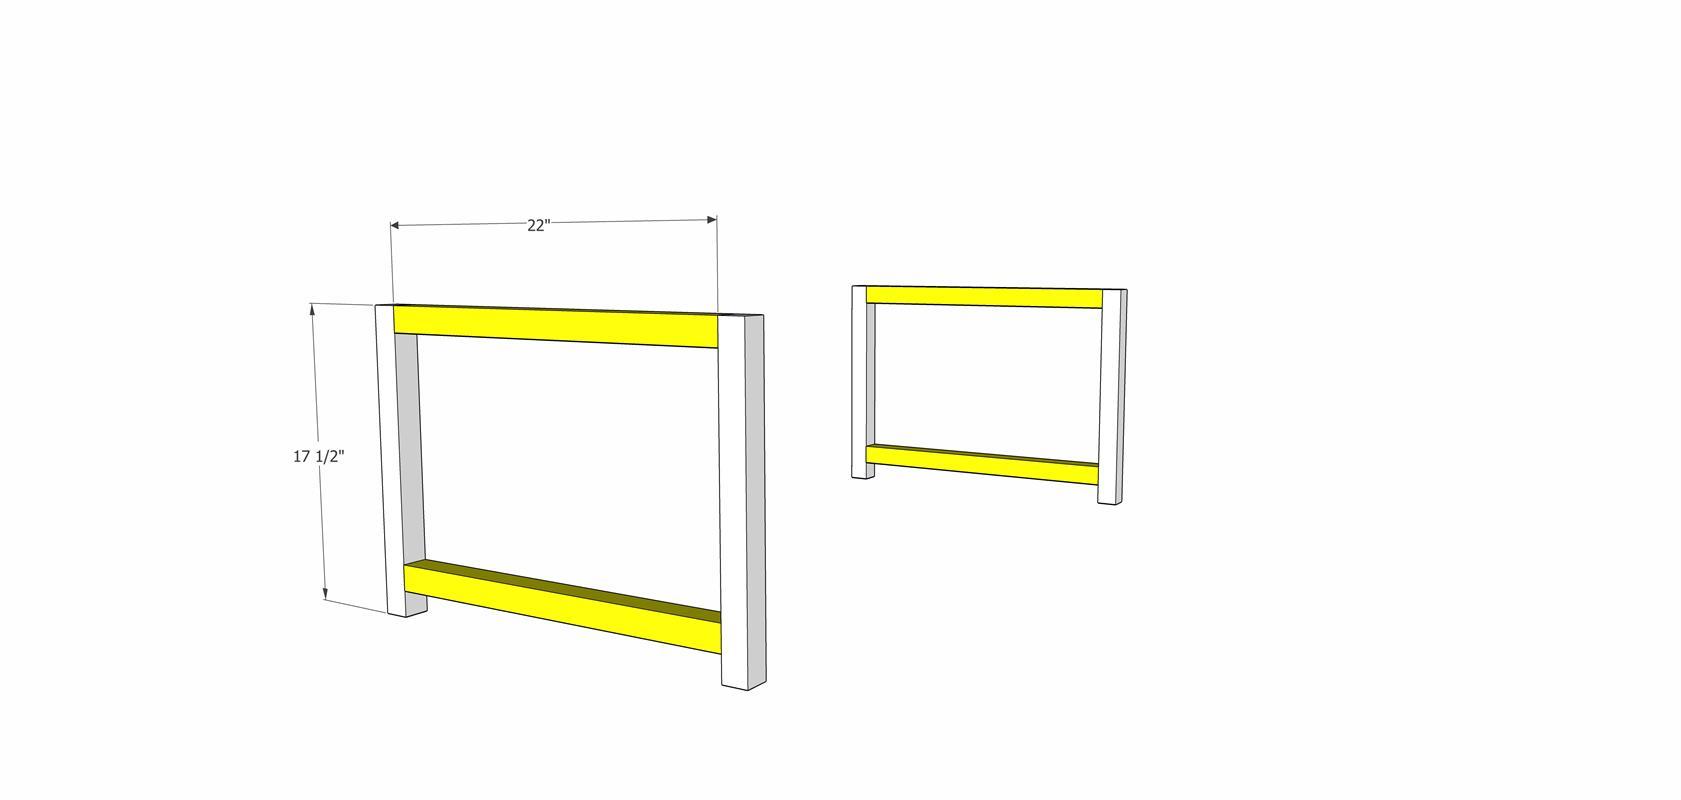
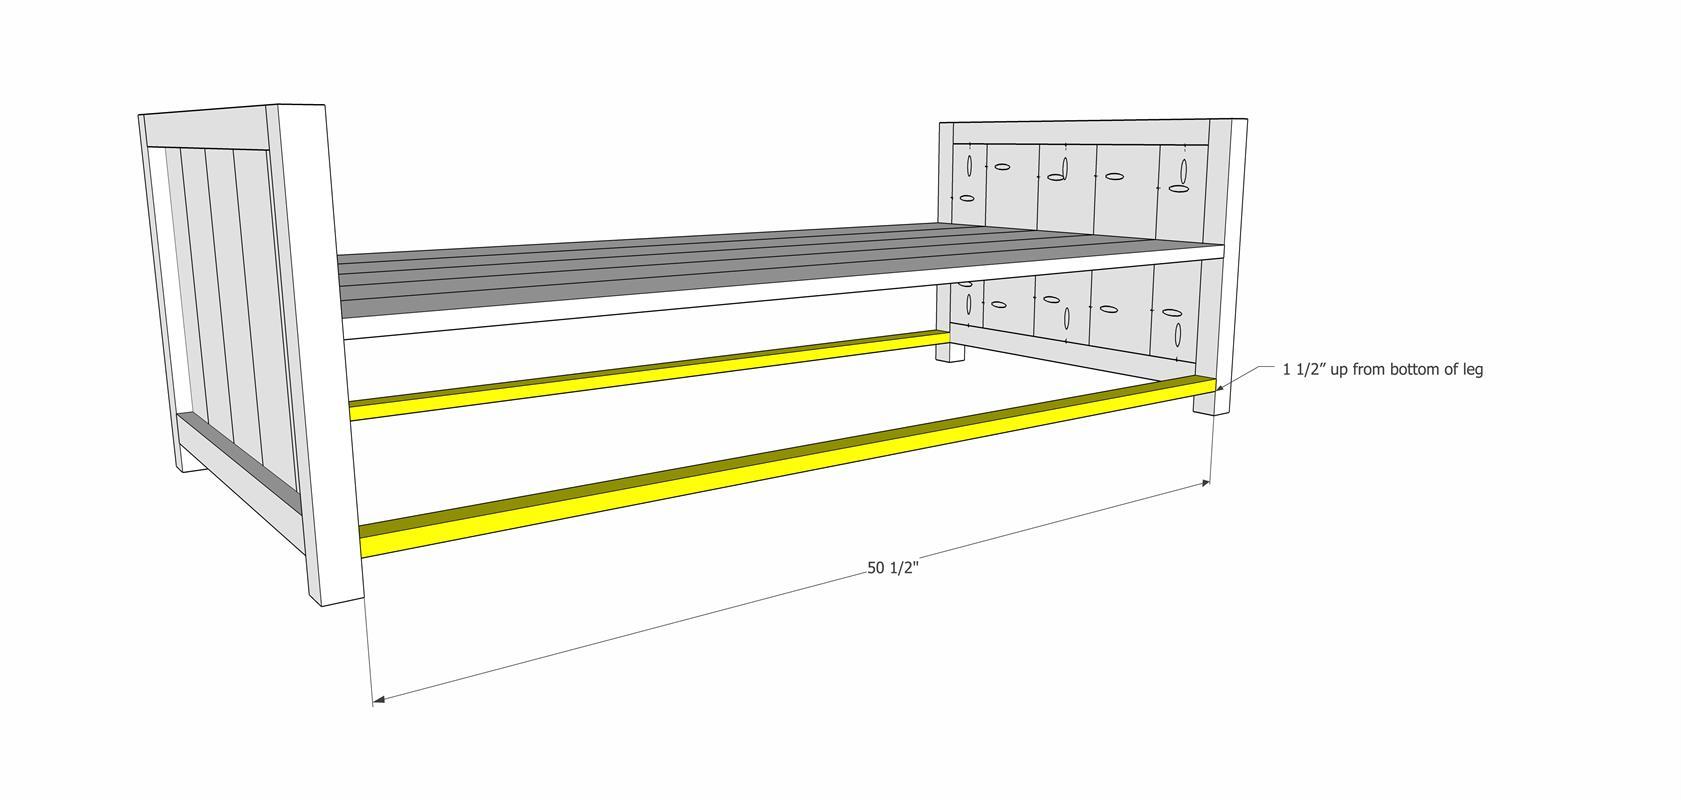
Drill 1 1/2" pocket holes into the bottom edge of the 22" stretchers. Attach flush with the top of the legs and 1 1/2" up from the bottom of the legs with wood glue and 2 1/2" pocket screws.
-
Build Side Panels
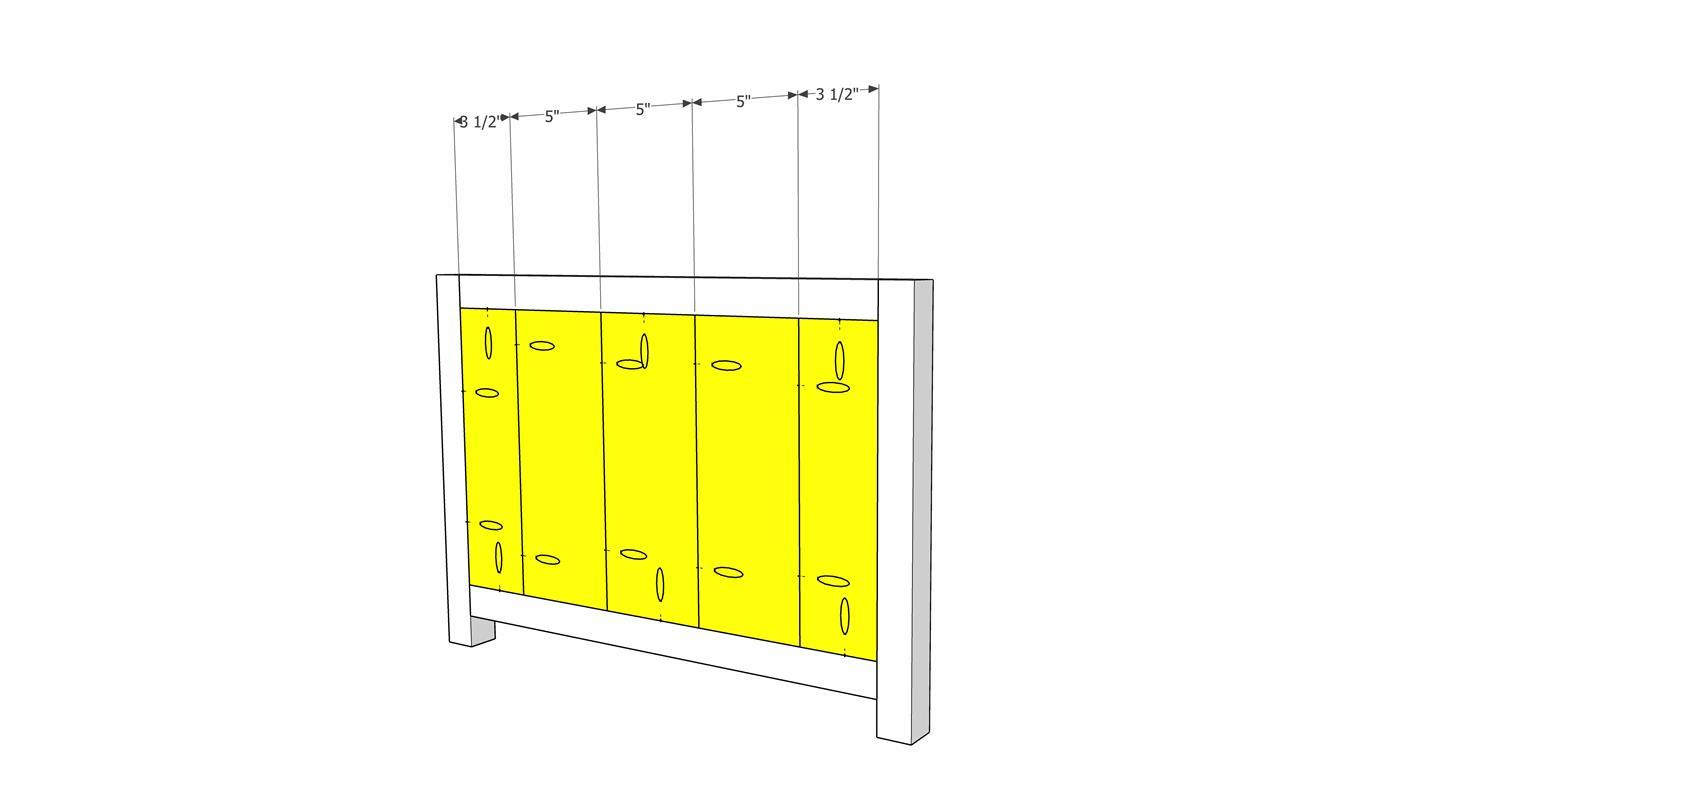
Cut the boards for the side panels slightly longer than 13". To make the panels, glue up the edges of the boards and clamp them together. Clamp only until you see the glue start to squeeze out to prevent the panel from bowing.
When the glue is dry, sand the panels down and drill 3/4" pocket holes into each side of the panel (2 per side).
Attach to the 2x2 frames, flush with the inside edge, using 1 1/4" pocket screws.
-
Build and Install The Shelf
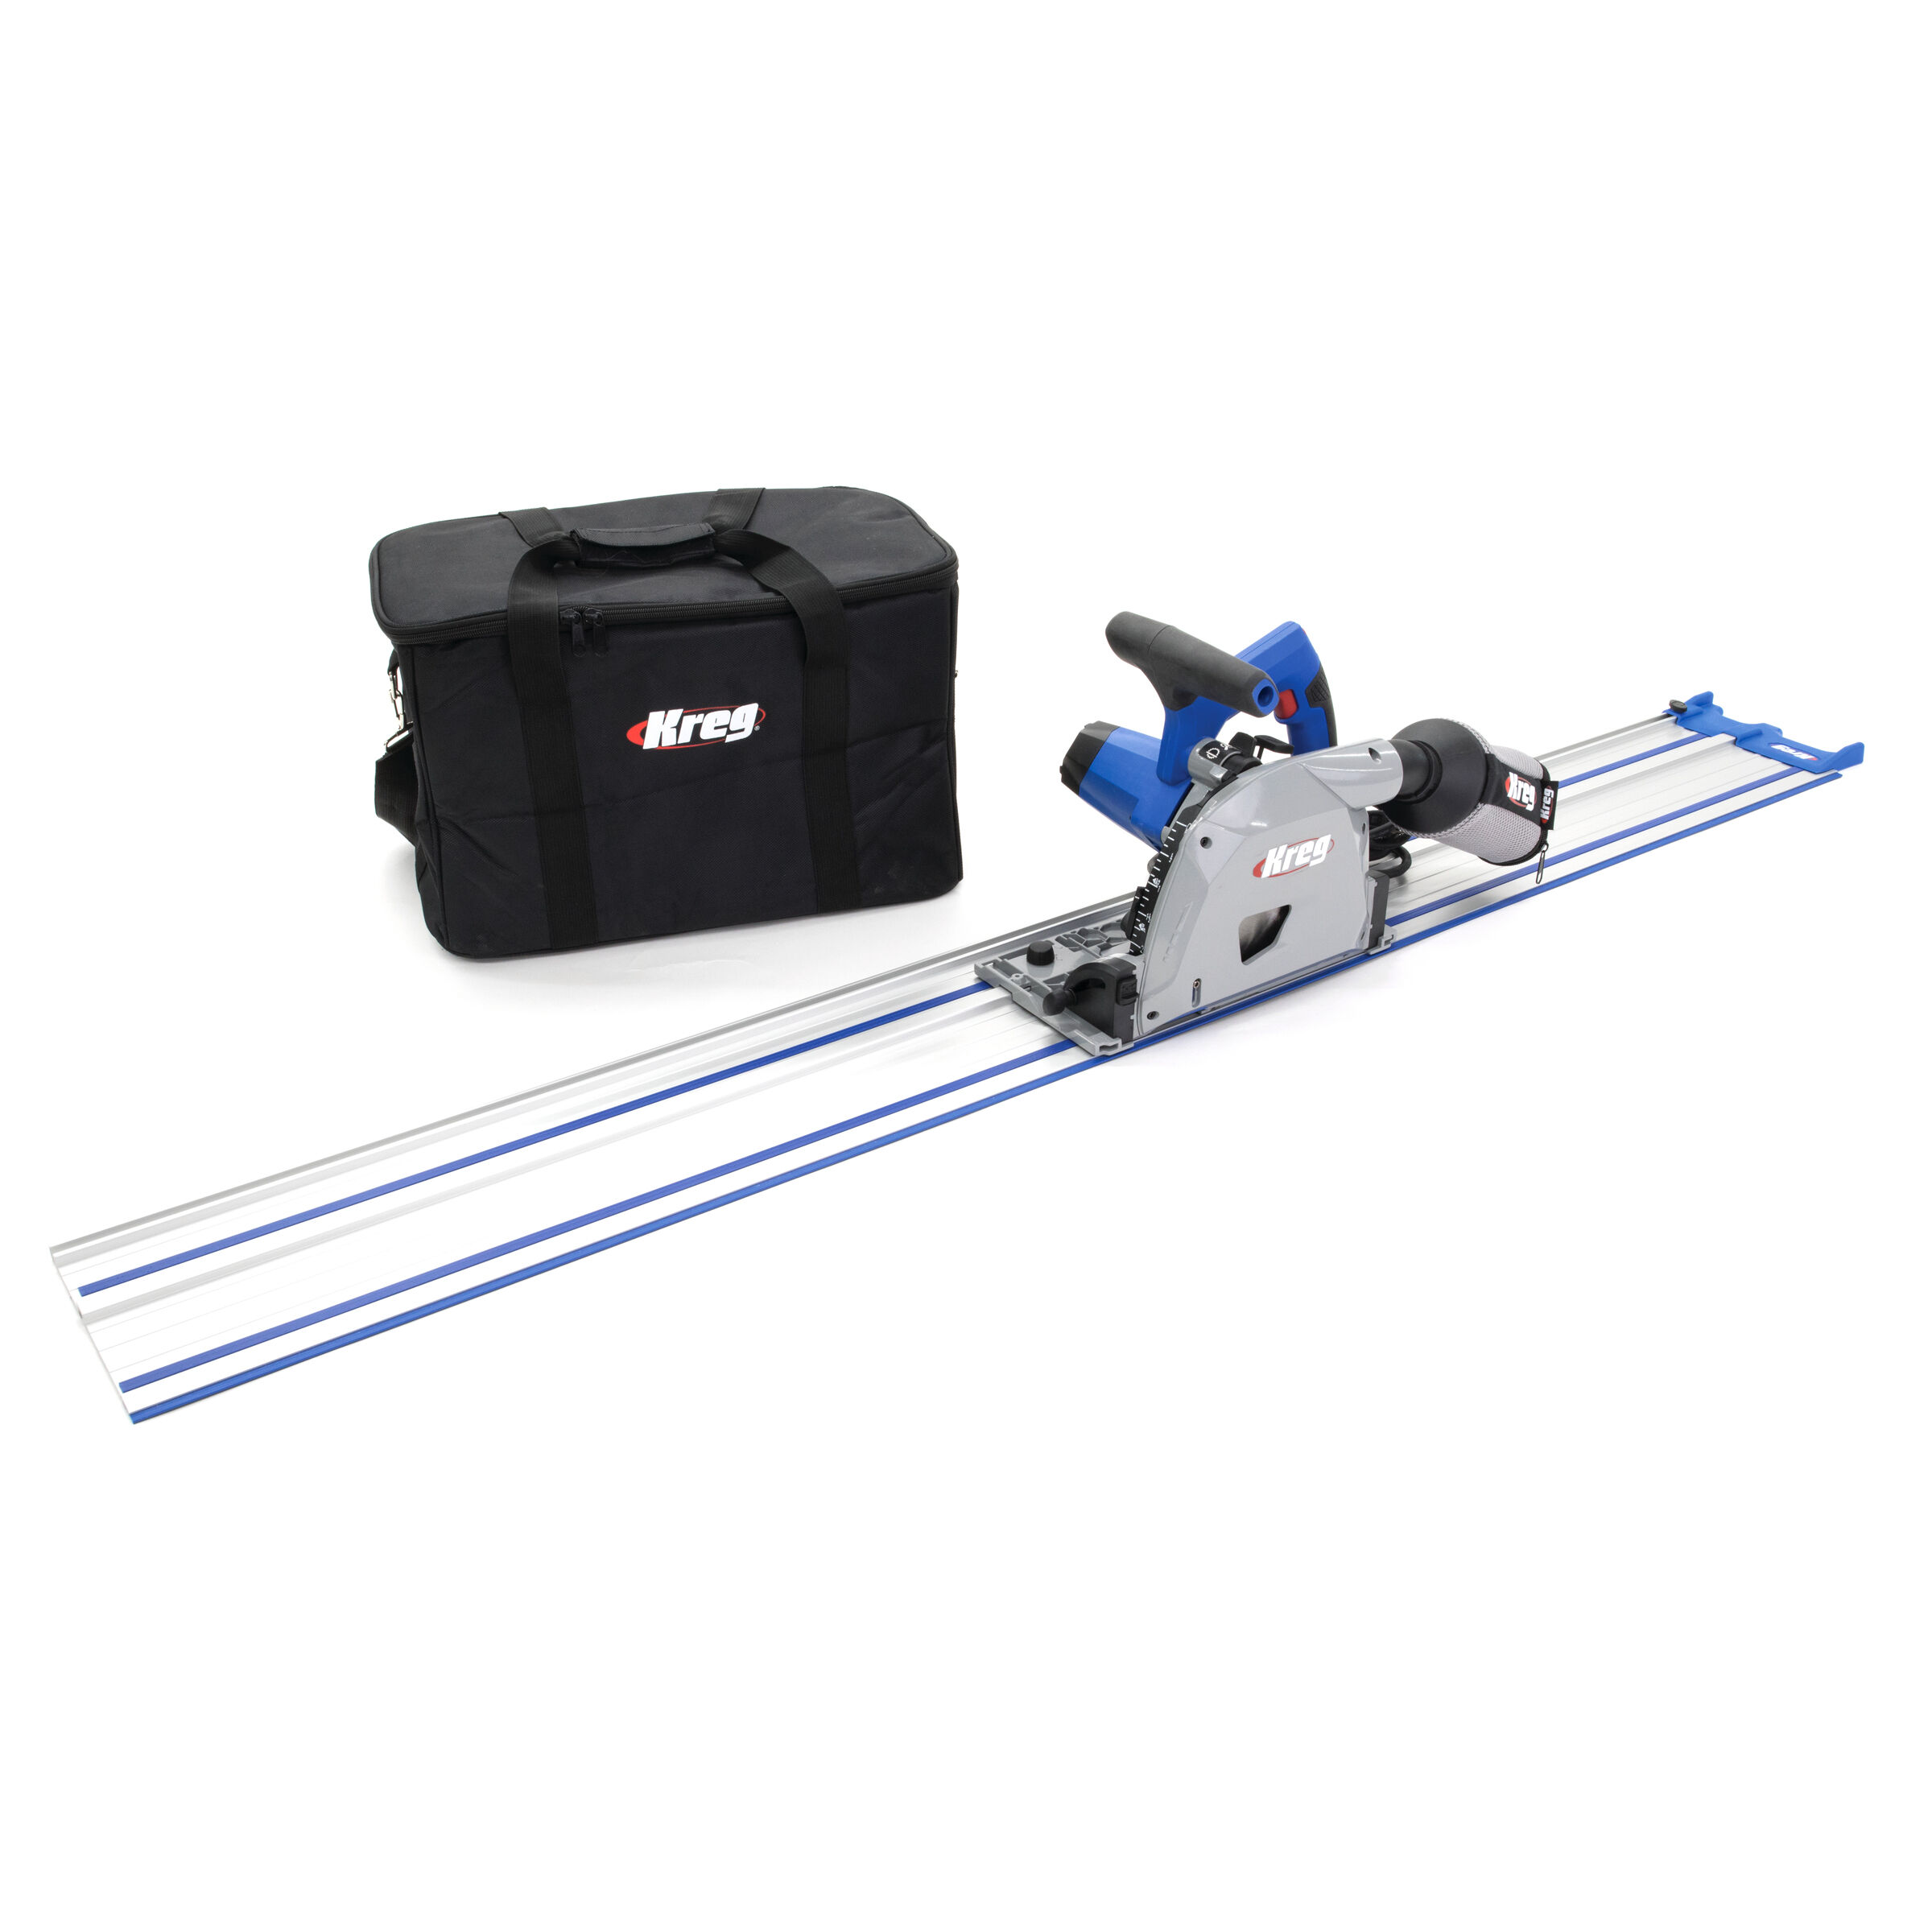
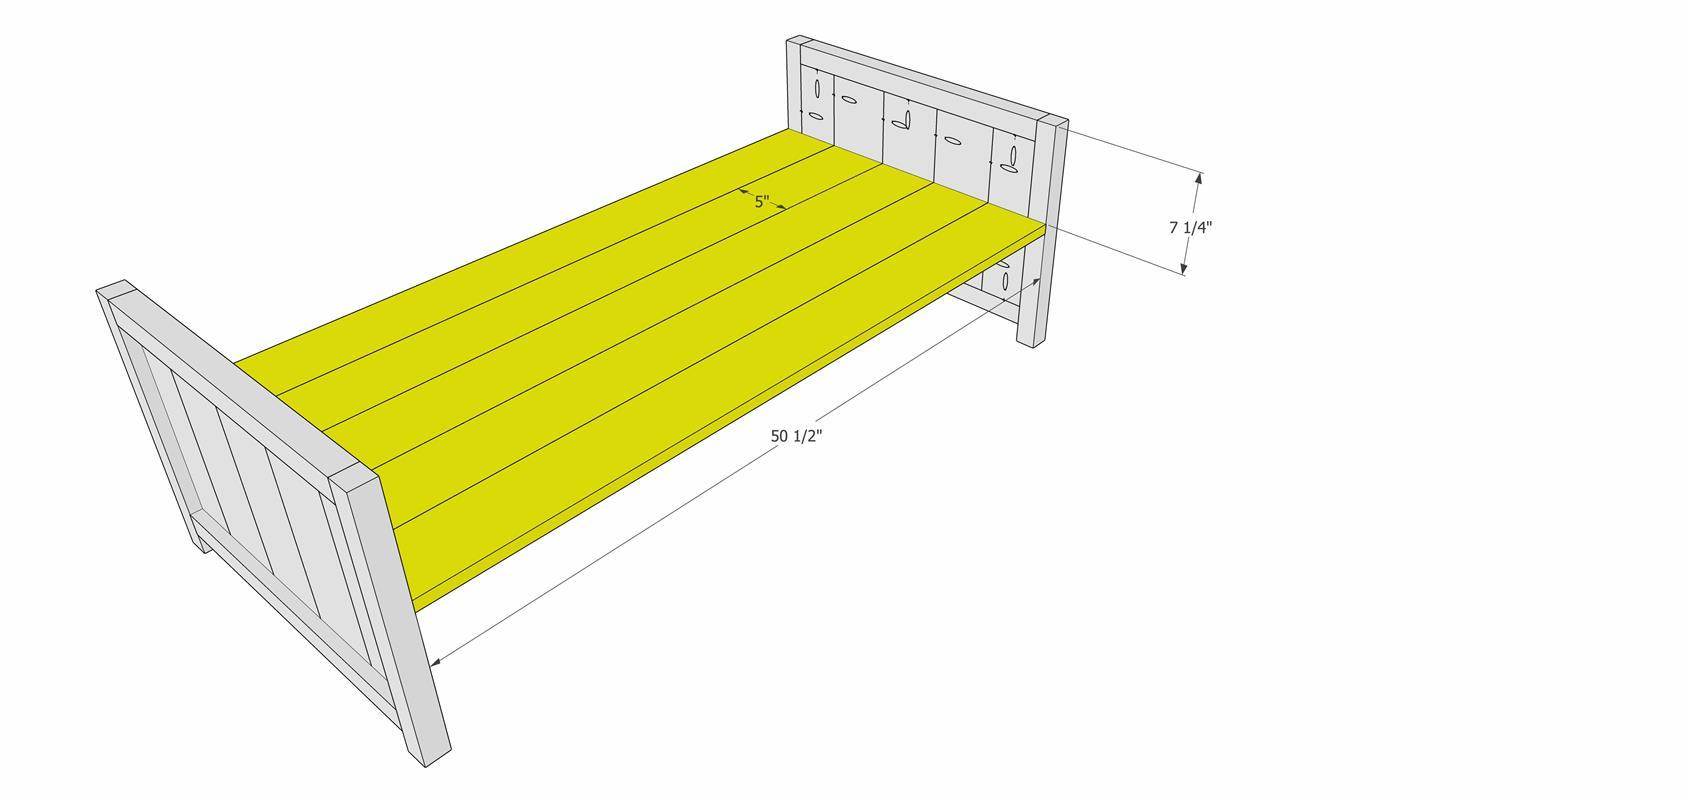
To build the shelf, rip 5 - 1x6 boards down to 5" wide using either a table saw, Adaptive Cutting System, or AccuCut. It is better to cut the length of the boards slightly longer than 50 1/2" to allow for the ability to square up the ends of the panel when it is assembled.
Drill pocket holes into the bottom face of the boards to attach together into one large panel. Square up the ends of the panel with a saw and cut it down to the proper length. Drill 3/4" pocket holes into each end of the panel. Mark 7 1/4" down from the top of each side of the table. Glue and clamp the shelf in place with the top of the shelf at that mark. Attach with 1 1/4" pocket screws.
-
Attach bottom aprons
Drill 3/4" pocket holes into each end of the bottom aprons. Attach in place 1 1/2" up from the bottom of the legs using wood glue and 1 1/4" pocket screws.
-
Install center supports/divider
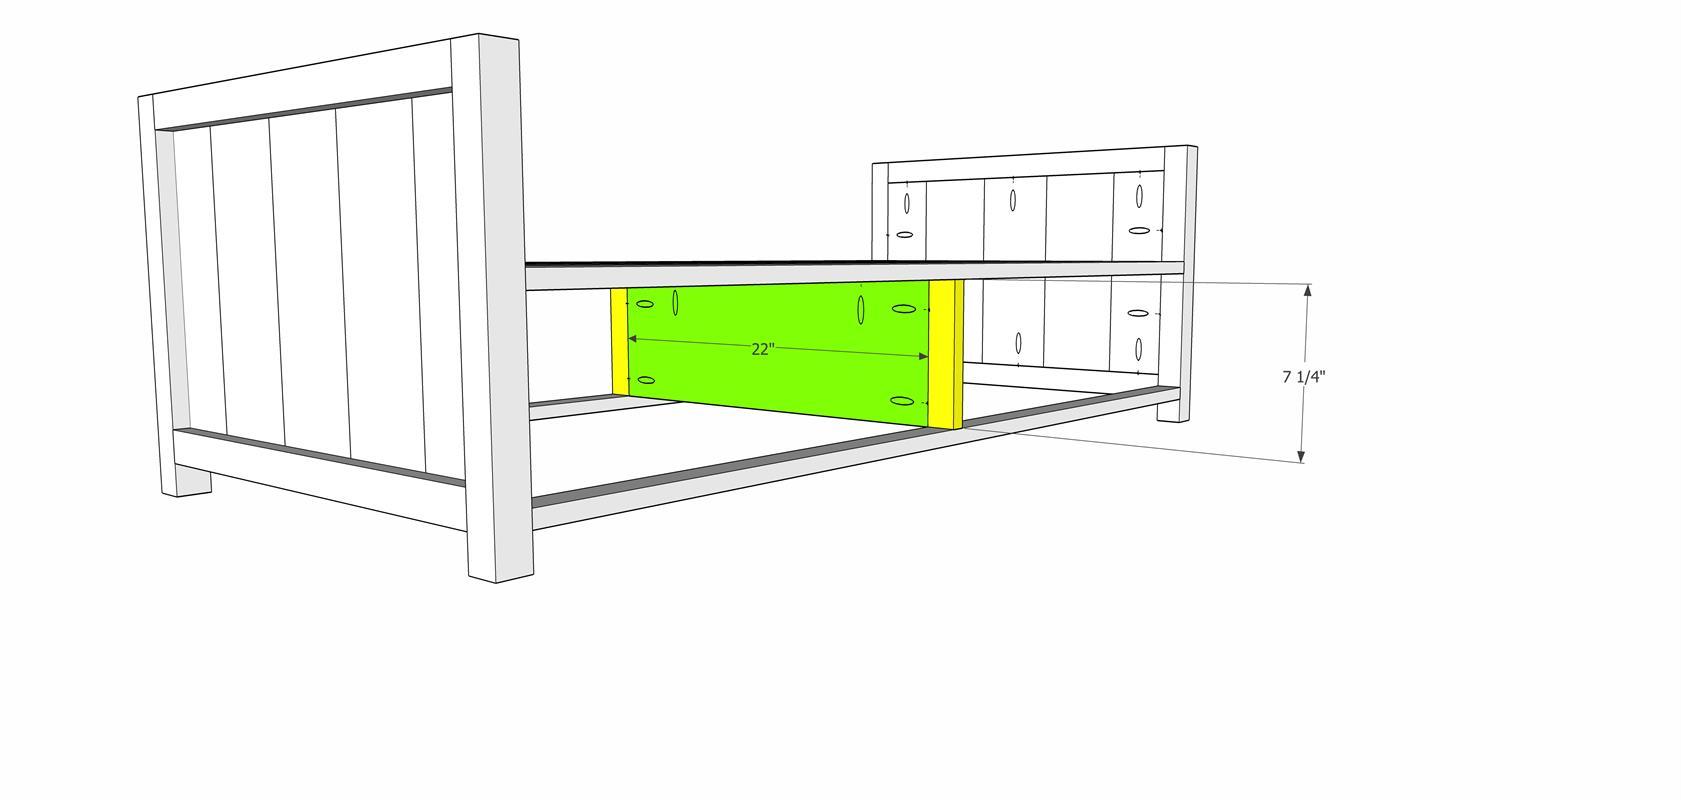
Cut the 3/4" plywood center divider to size and drill 3/4" pocket holes into each end as well as the top. Attach to the 1x2 upright supports with wood glue and 1 1/4" pocket screws.
Measure and mark the center point of the bottom portion of the base. Install the divider centered over that mark. Attach the top portion of the divider to the shelf with wood glue and 1 1/4" pocket screws. Flip the base over and attach the aprons to the supports using 1 1/4" wood screws, attached from the underside of the aprons.
-
Build The Table Top
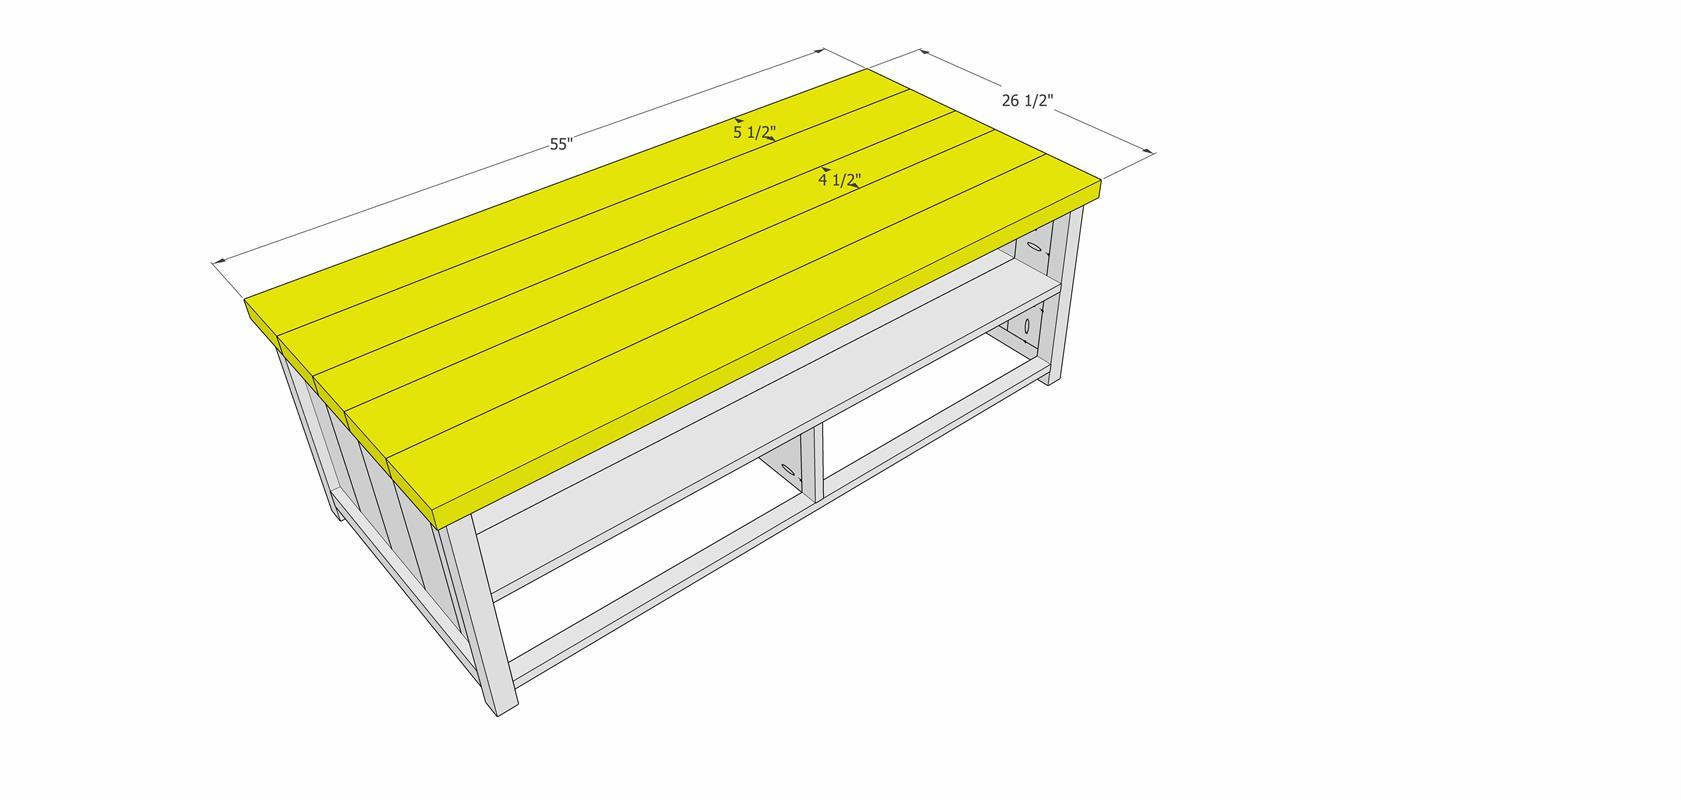
Cut the boards for the table top slightly longer than 55". This allows the table top edges to be squared up with a saw and cut to proper length after the glue up.
Apply wood glue to the edges of the boards and clamp together with just enough force to cause the glue to just squeeze out. Allow the glue to dry overnight to fully cure.
When the glue has dried, sand the table top down completely smooth. This can be done with a belt sander, orbital sander, and/or drum sander.
Once the table top is smooth, cut the ends to square them up and cut the top to size.
-
Install Desktop Fasteners
To attach the top, install three desktop fasteners into each end of the base. Trace the larger end of the fastener with a pencil on the top portion of the base. Using a drill and a 3/4" forstner bit, drill a hole a little less than 1/8" deep (or until the fastener is flush with the top of the wood). Attach the fastener with a 1 1/4" wood screw.
-
Attach Desktop
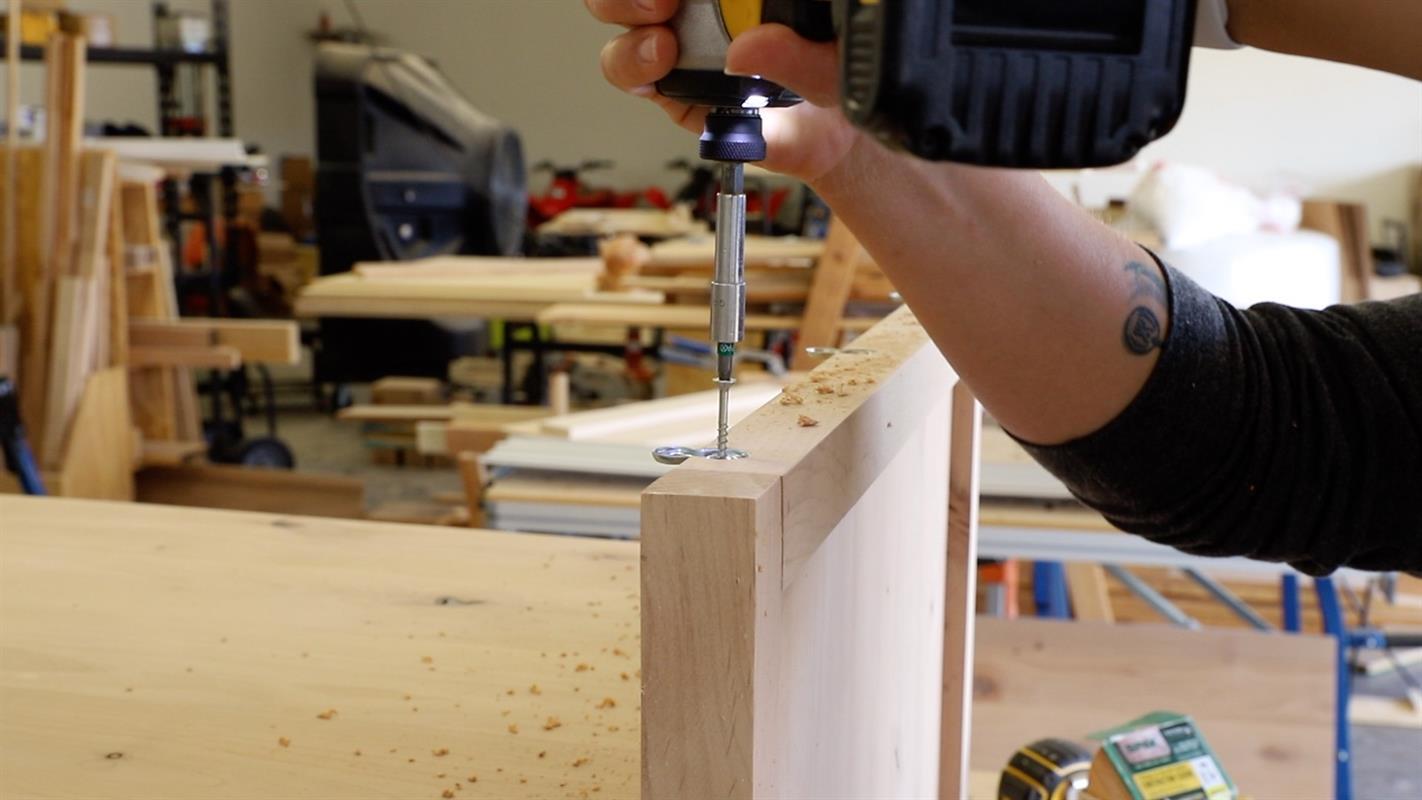
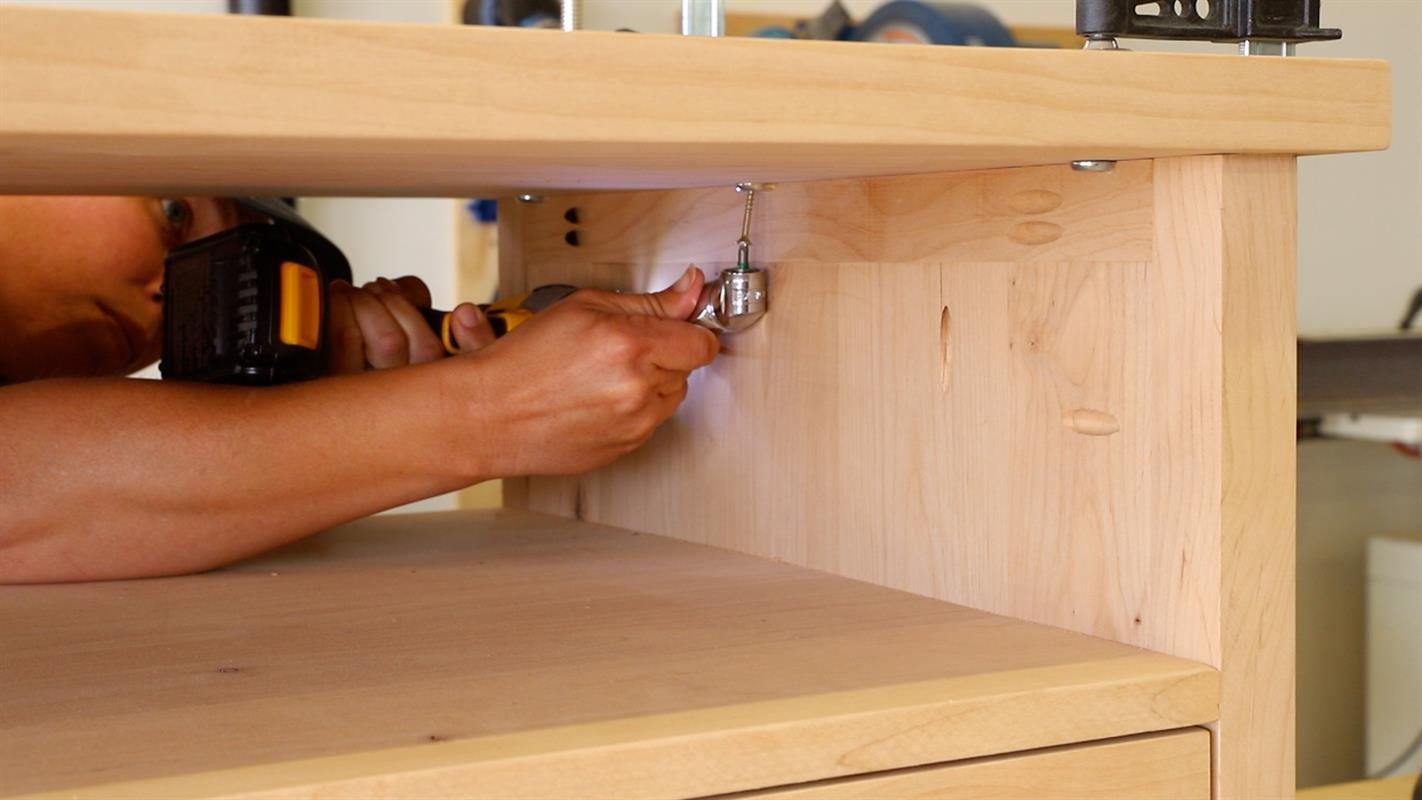
Center the tabletop over the base, measuring to make sure the overhang is equal. Clamp the top to the base and then attach with 1 1/4" wood screws through the desktop fasteners. There is not enough space to fit a drill or impact driver between the top and the shelf, so a right angle drill attachment is needed to drive the screws in. This one is a Milwaukee Right Angle Drill Adapter.
-
Build the drawers
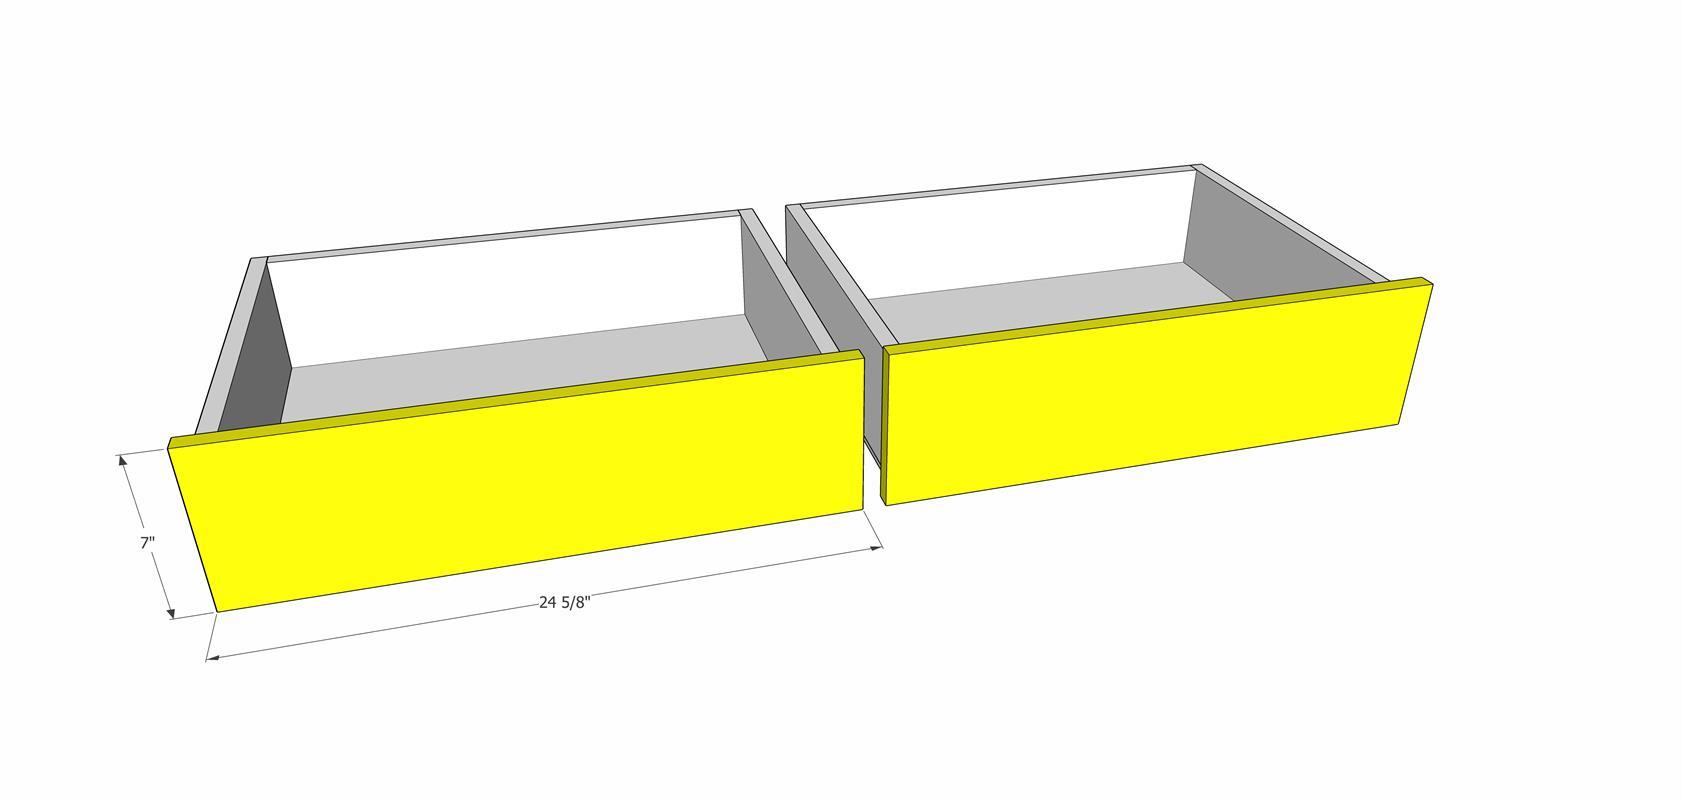
Cut the 3/4" plywood to size for the drawers. Drill 3/4" pocket holes into the front and back drawer box pieces. OPTIONAL: use a roundover bit on a router to round off the top edges of the drawer box pieces.
Glue and clamp the drawer boxes together, then attach with 1 1/4" pocket screws.
Measure the bottom of the drawer box and cut 1/4" plywood to fit. Glue and nail into place with 3/4" brad nails or use a narrow crown stapler and 3/4" staples.
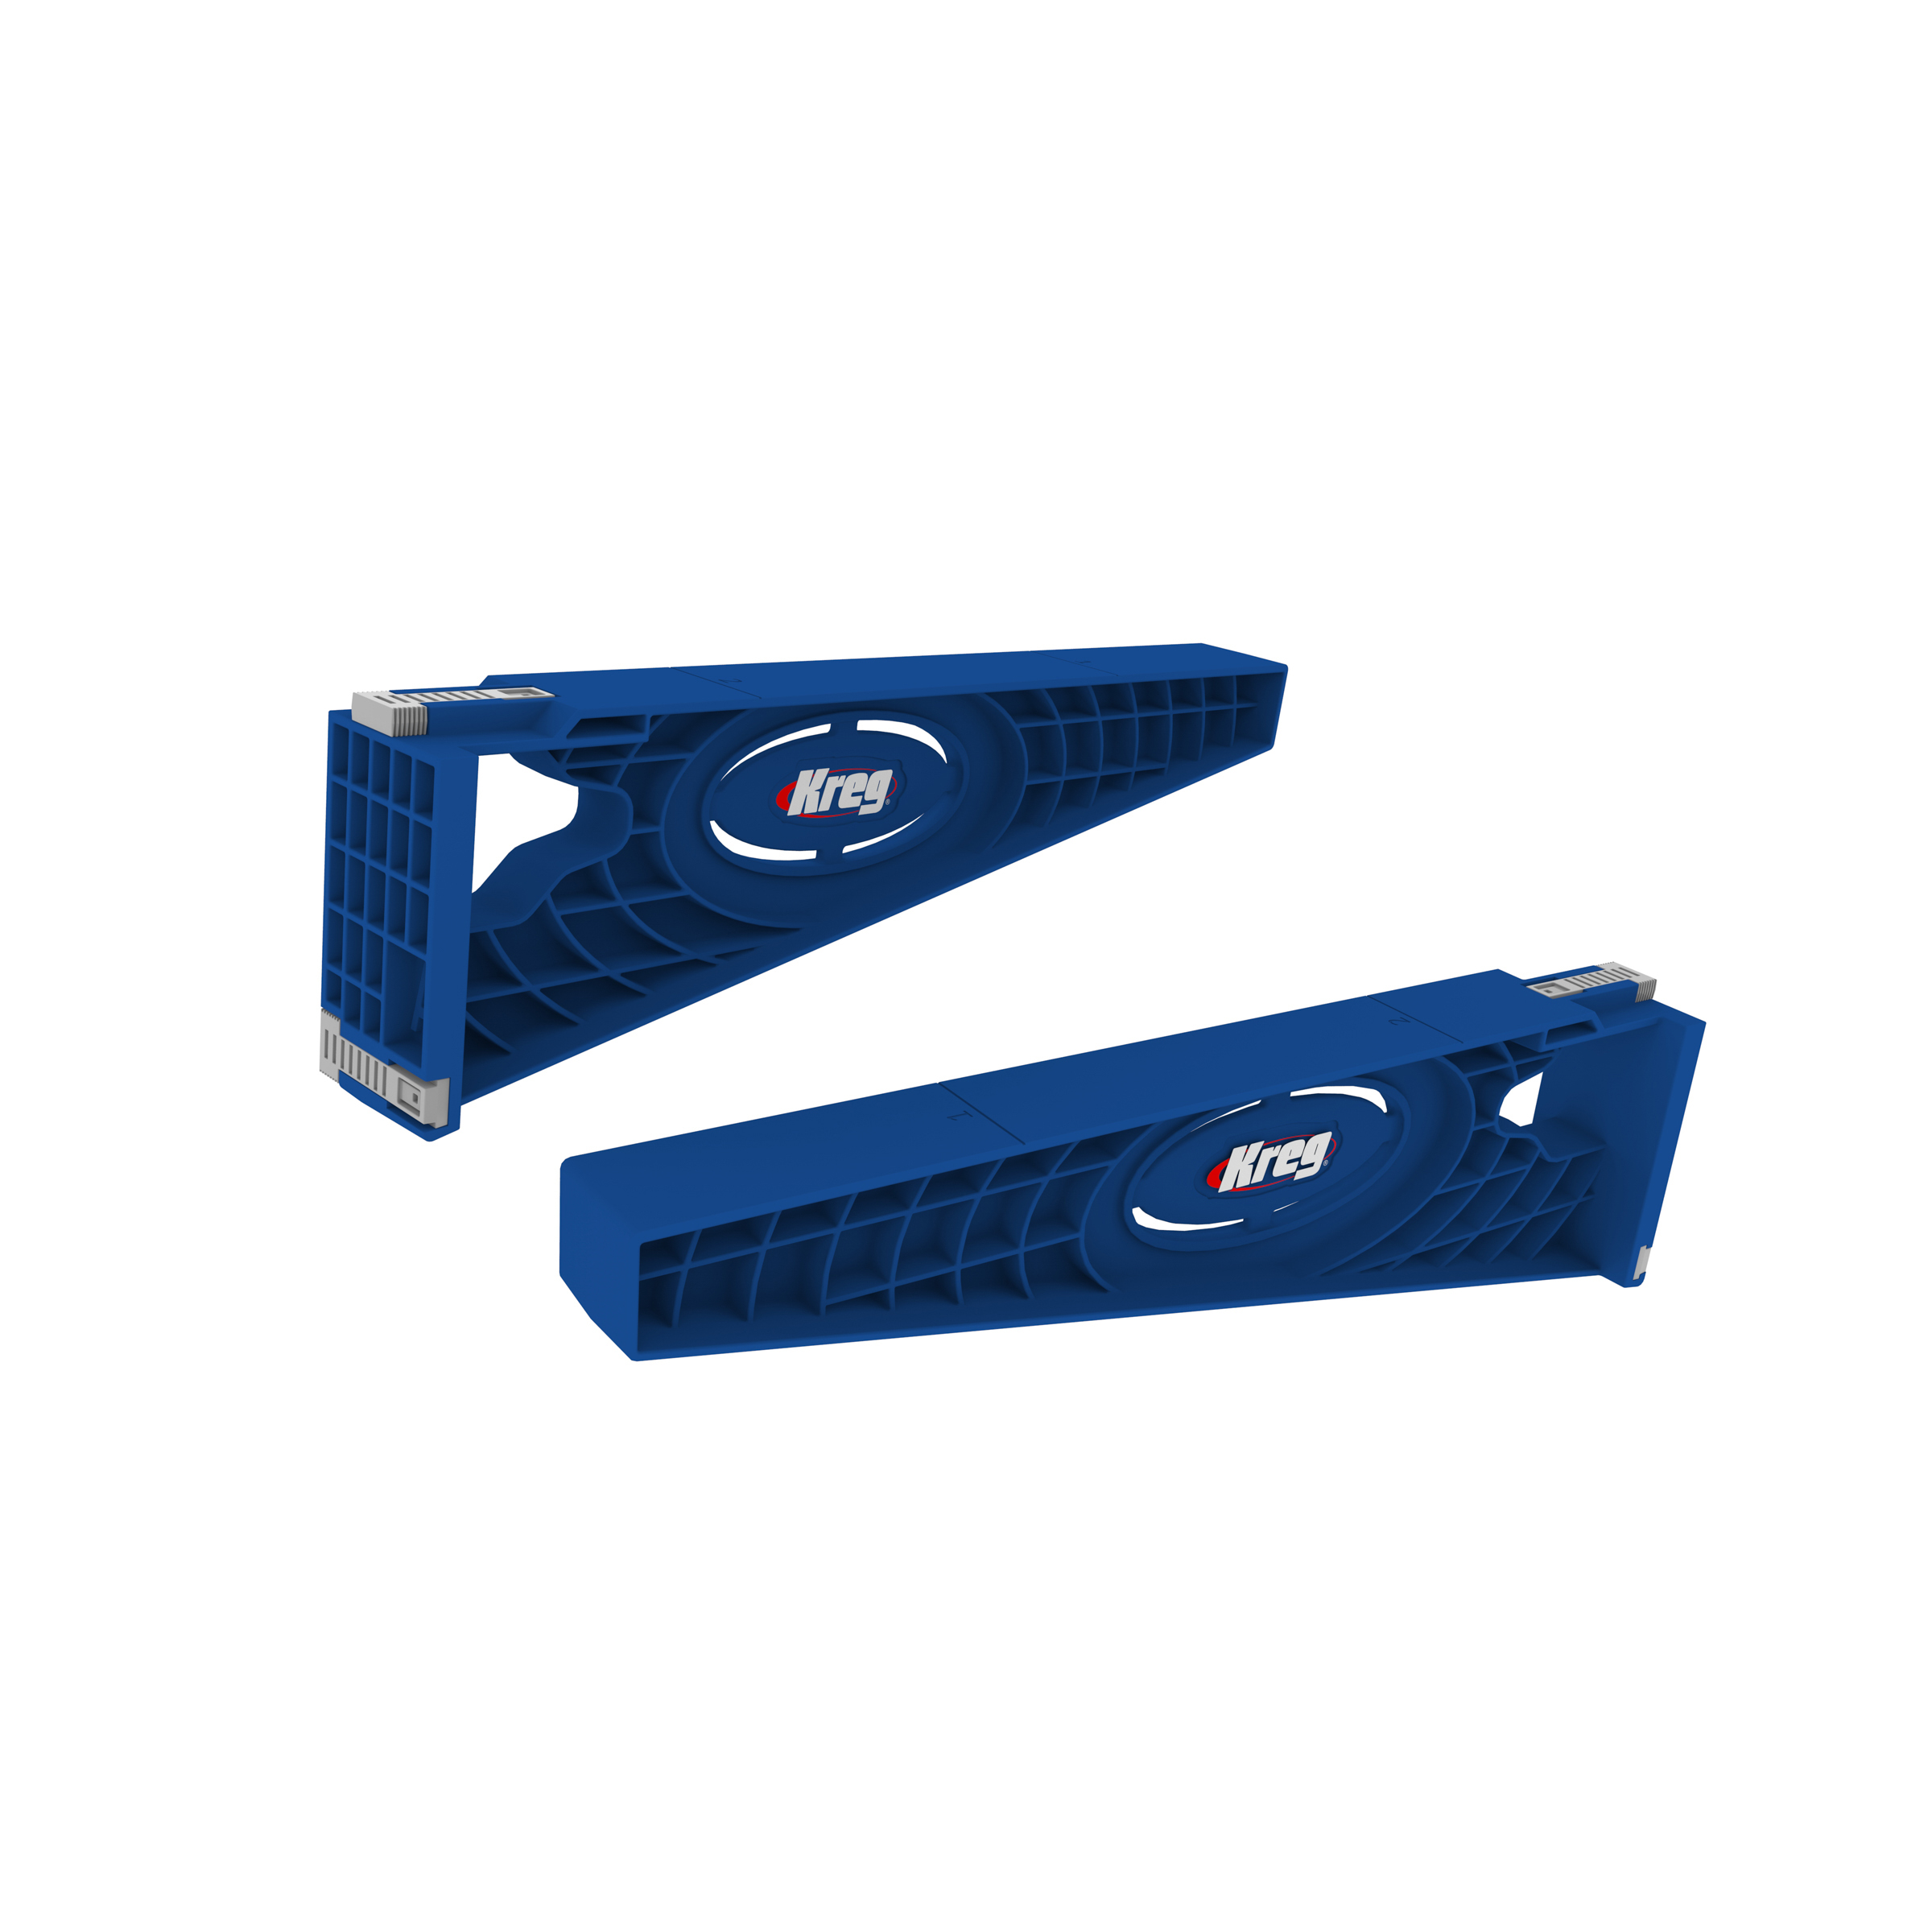
Install the drawers with the 18" drawer slides and the Kreg drawer slide jig.
-
Attach the drawer fronts
With the drawers installed, attach the drawer fronts. Begin by using the Kreg cabinet hardware jig to drill the holes in the drawer front based on the size of the hardware you are using. Drill 3/16" holes through the drawer fronts only.
Place the drawer fronts up against the drawer boxes. Use equal stacks of playing cards to ensure an even, 1/8" gap all of the way around the drawer front. Drive 1 1/4" wood screws through the holes you drilled and into the drawer boxes.
Pull the drawer out and permanently attach the drawer front from the inside of the drawer box, using 1 1/4" wood screws in each corner of the drawer box front.
Finish drilling the 3/16" holes through the drawer box and install the drawer pull.
-
Finish as desired
Finish the coffee table as desired with stain or paint.


