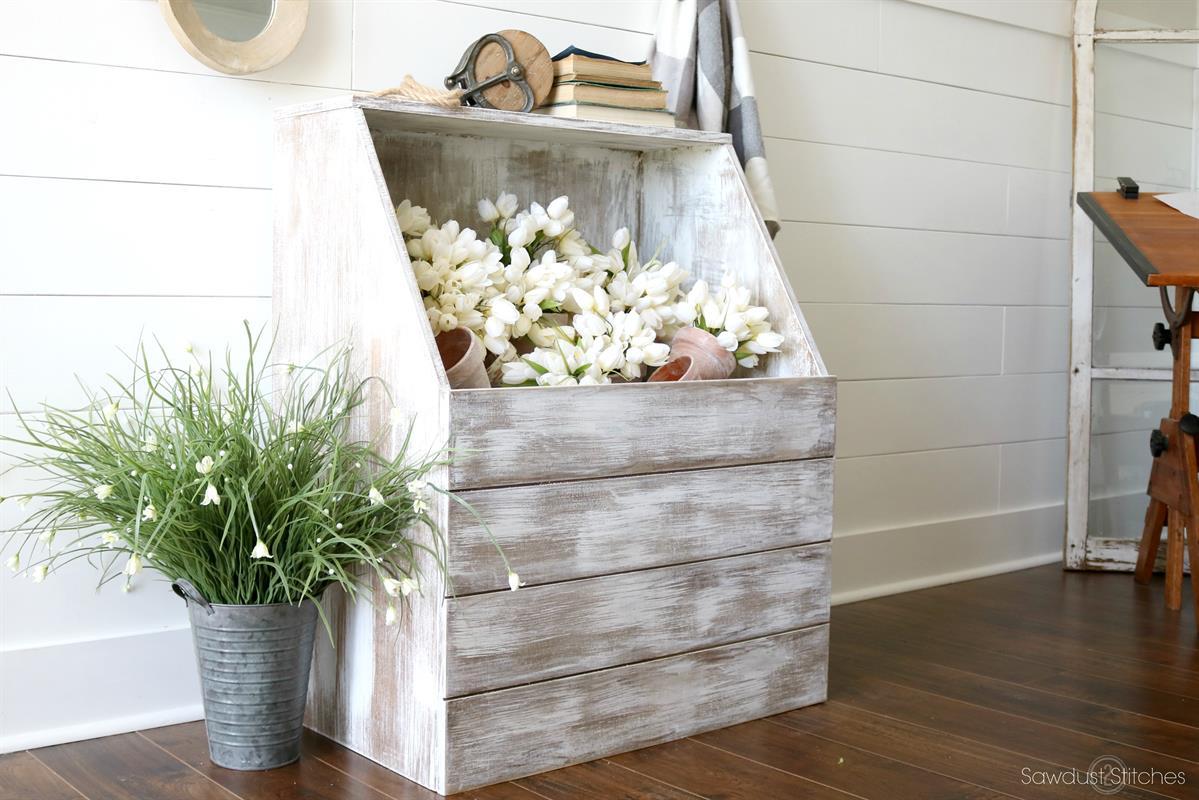
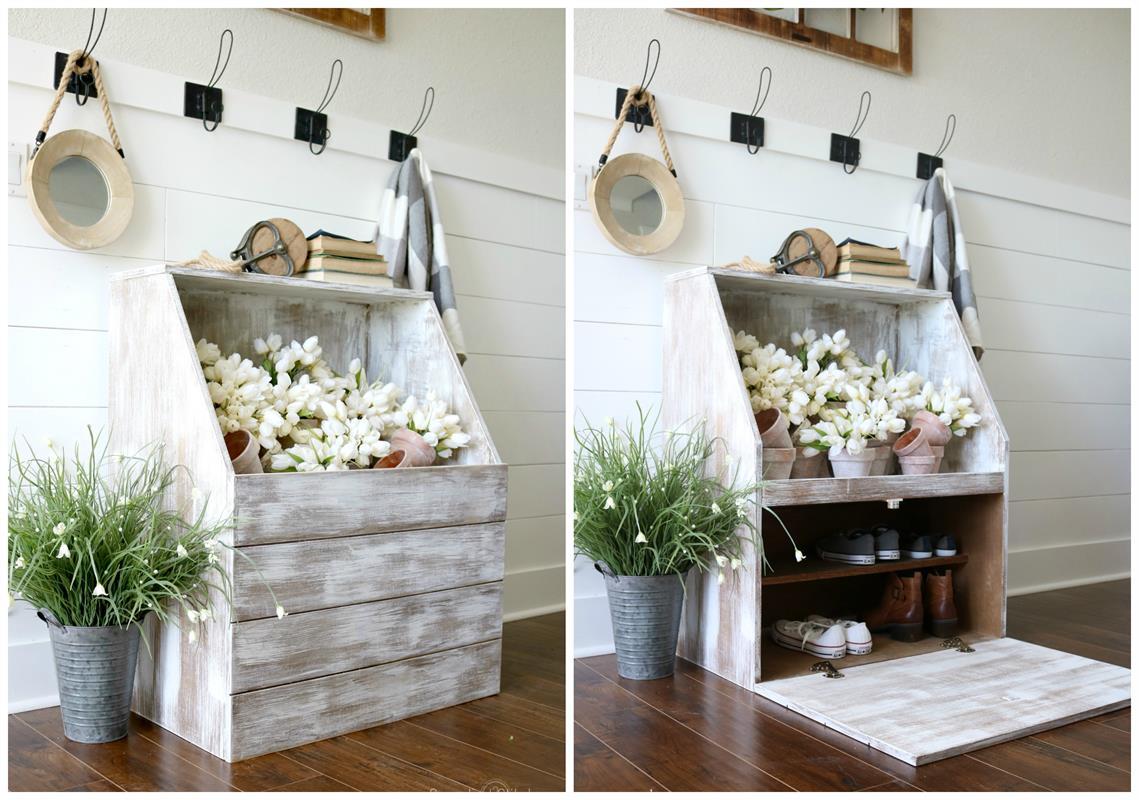
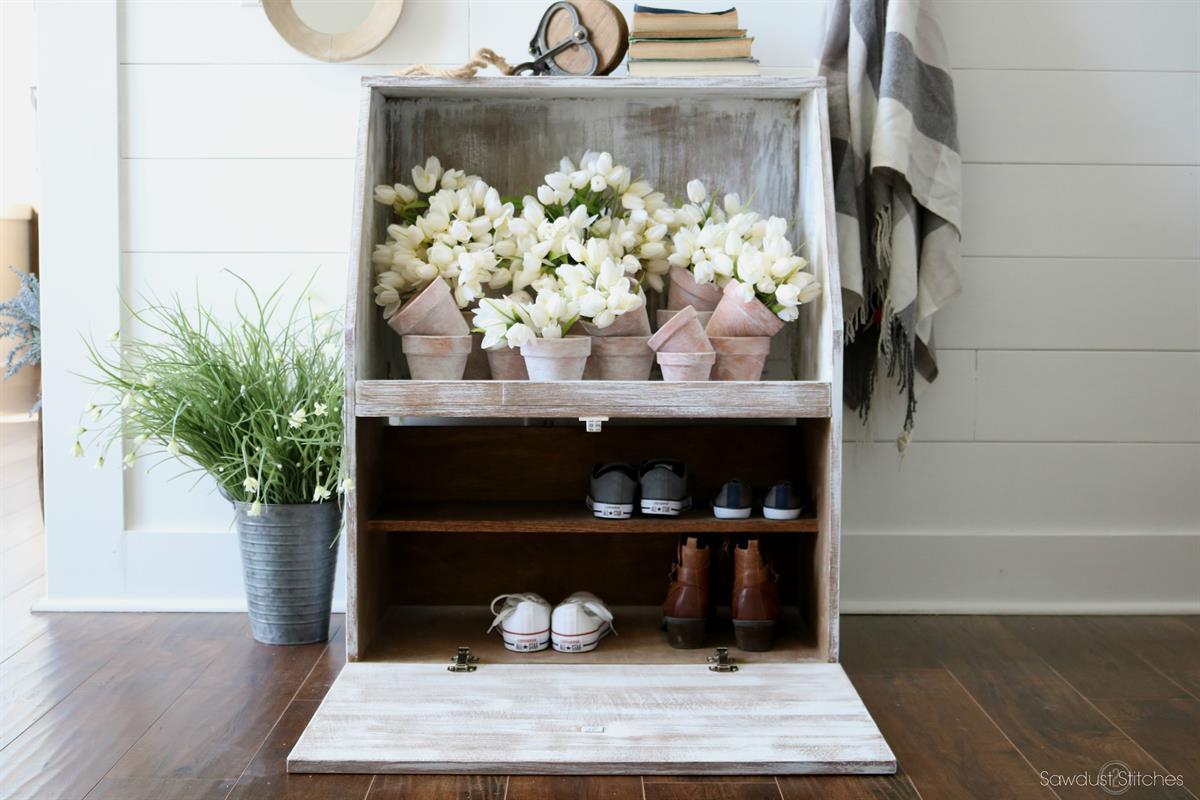
Antique Boot Box (with Shoe Storage)
By Sawdust 2 StitchesThis is a beautiful way to add form to any area without losing function. It serves as a beautiful display, coupled with hidden storage for shoes/toys/games etc...
Directions
-
Cut Boards
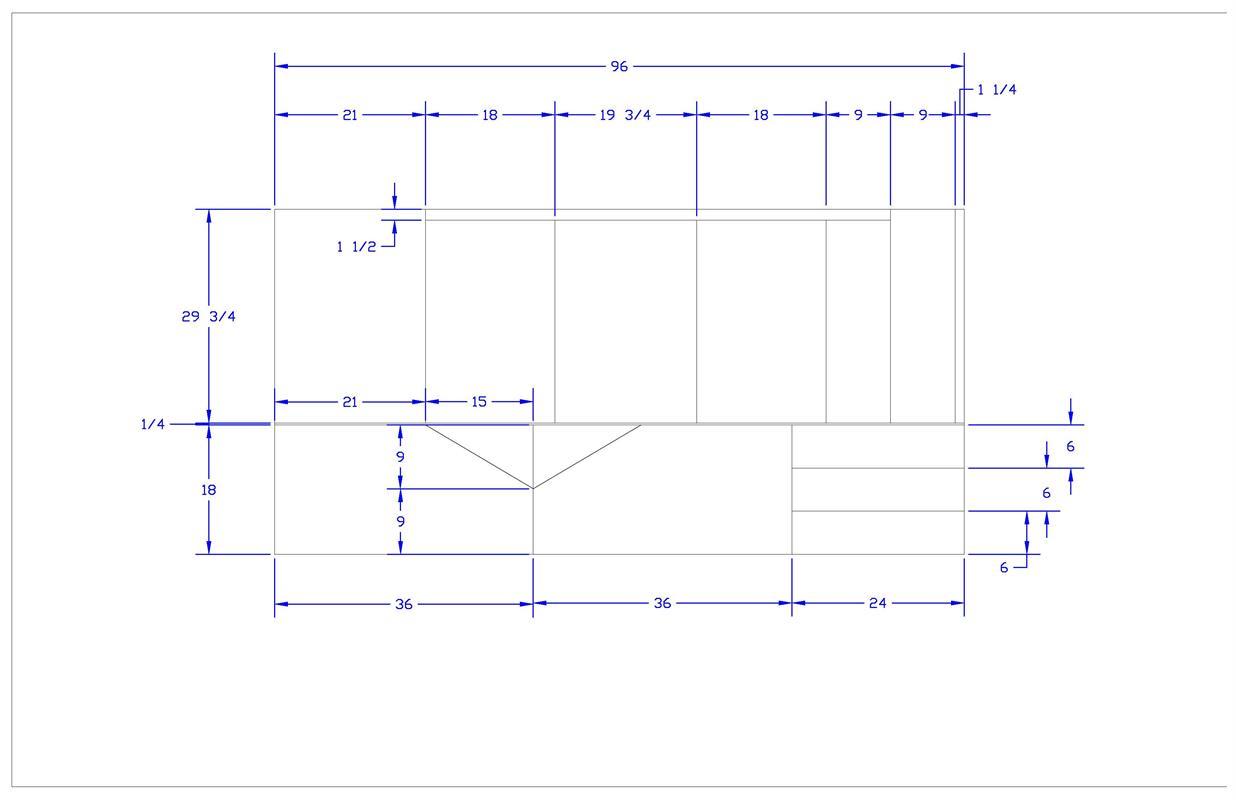
Use the cut diagram to get cut dimensions.
-
Building a Board (Optional)
Due to the nature of this project (1 sheet challenge) I am utilizing every square inch of my 4'x 8' board. In these plans I am using some of the cut-offs to create the back of the lower shelves to prevent stored items from falling out the back. If you would like, you can replace these pieced together cutoffs using a 1x4" standard board (2) @ 28 1/4".
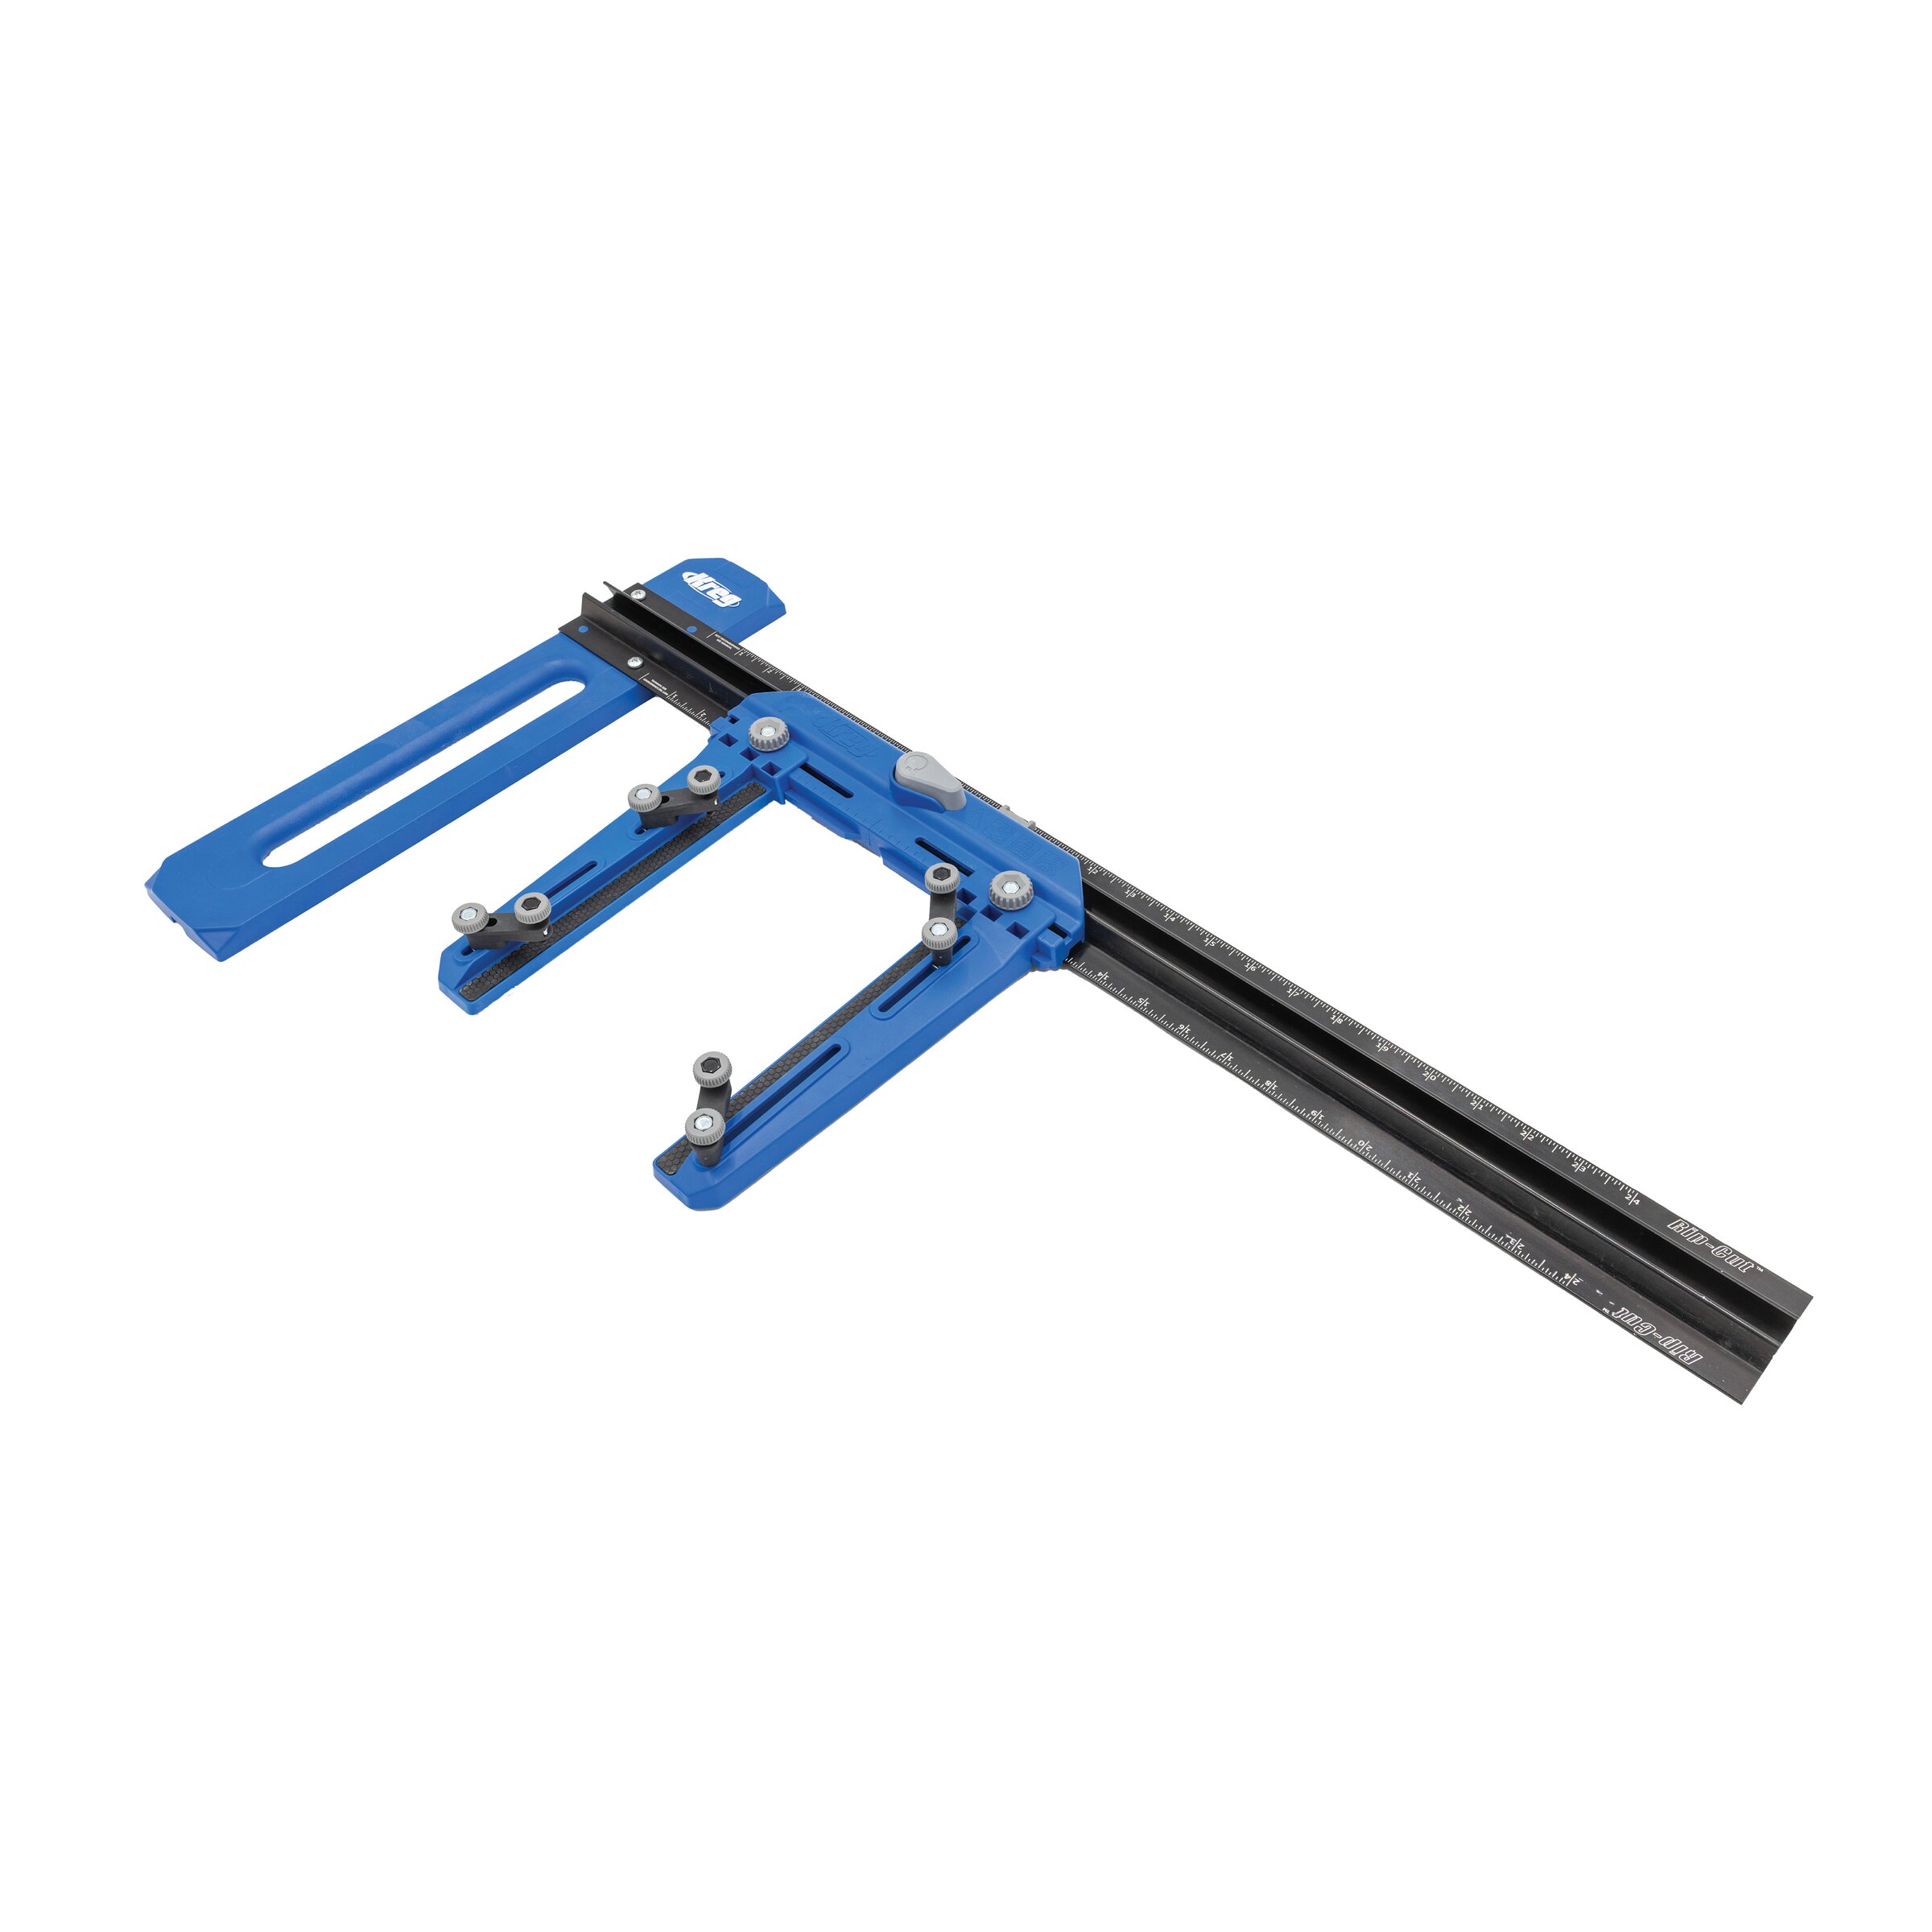
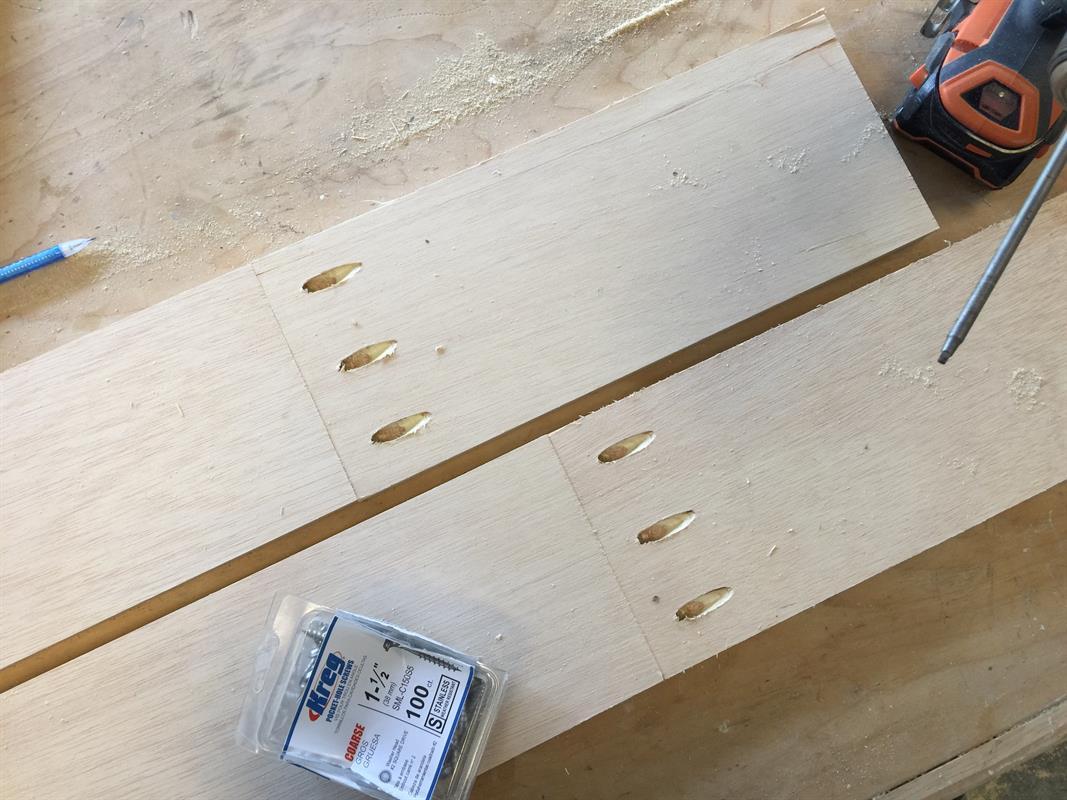
However you can use the remnant boards (F) to serve this purpose, you will just need to joint them together using a Kreg Pocket Hole Jig. -
Attach Backs to Shelves/Bottom
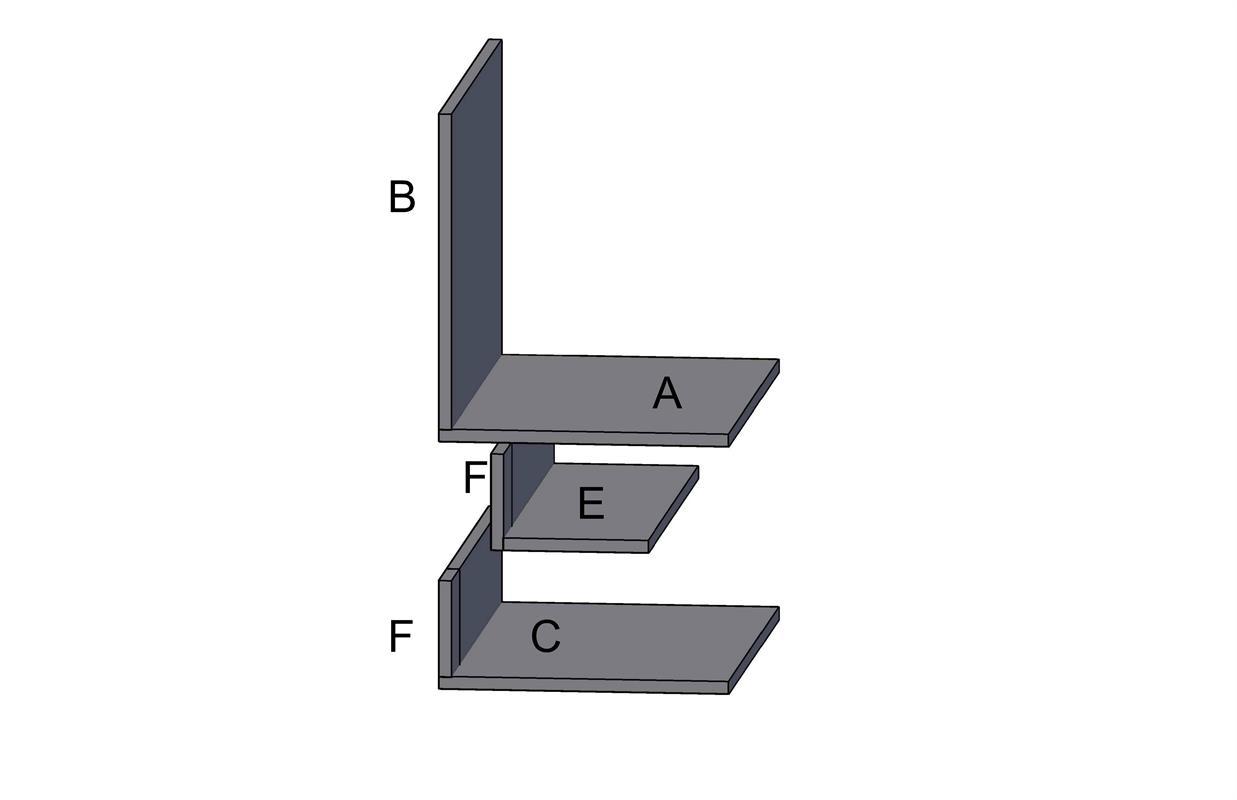
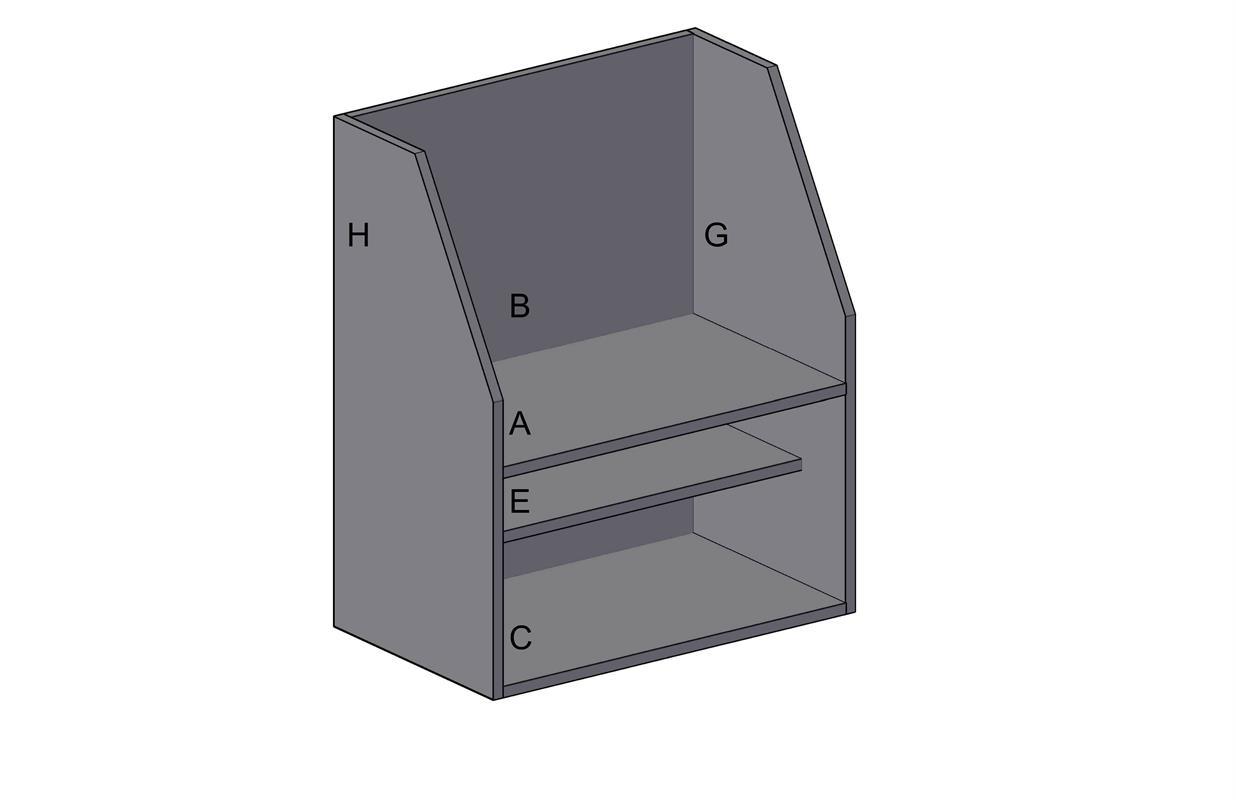
Drill pocket holes on the underside boards, on both the short sides, and one of the long sides of boards (C) and (E). Next attach the "backs" (F) to the topside of boards. Attach it to the far side (There should not be Kreg Pocket Holes on the underside of attached back board.) (F).
Using a Kreg Pocket Hole Jig drill pocket holes around the perimeter of boards (B) and (A). The pocket holes will be on the backside/underside.
Attach board the partial back (B) to the false bottom (A). -
Mark Sides
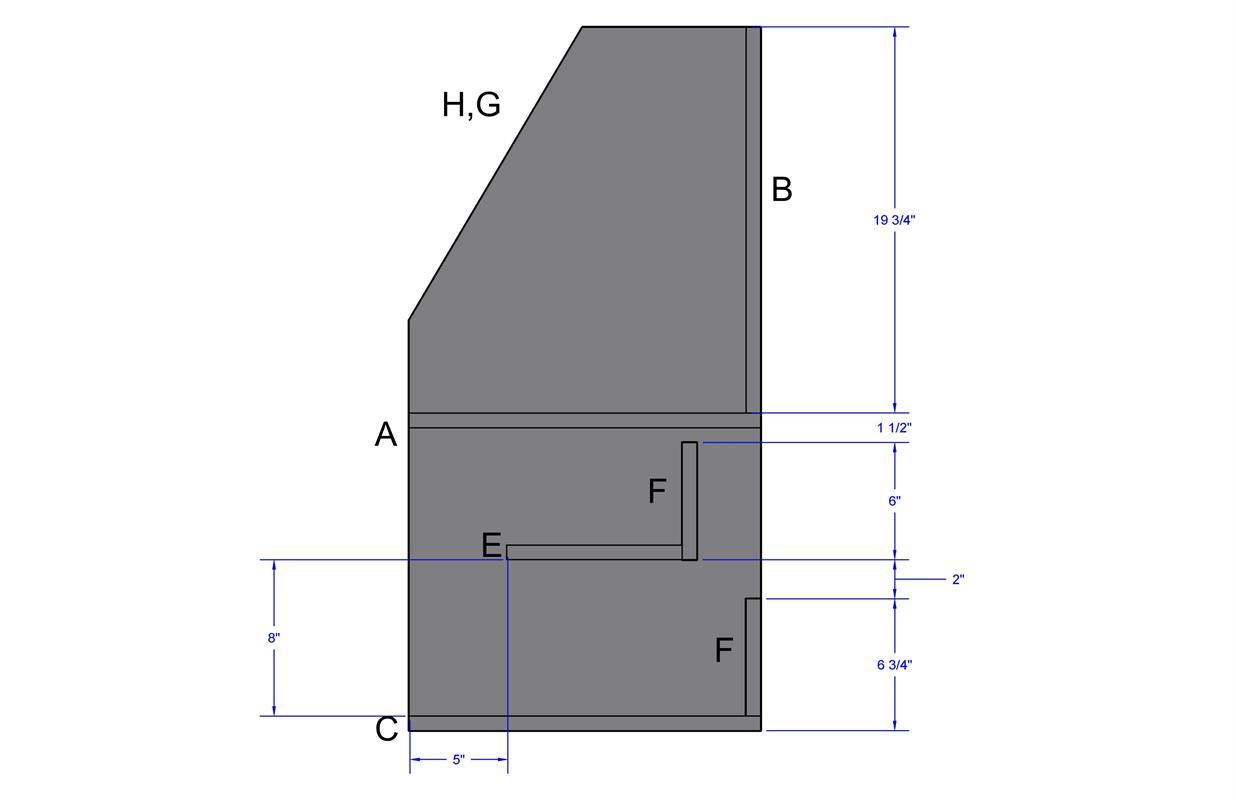
Mark placement of the shelves (A) w/attached back (E) w/attached partial back and (C) w/attached partial back.
-
Install Shelves/Bottom
Using the marks from Step 5. install shelves (A) w/attached back (E) w/attached partial back and (C) w/attached partial back.
Attach all shelves using the pre-drilled pocket holes (Step 3.) Using 1-1/4" Kreg Screws.
-
Attach Top
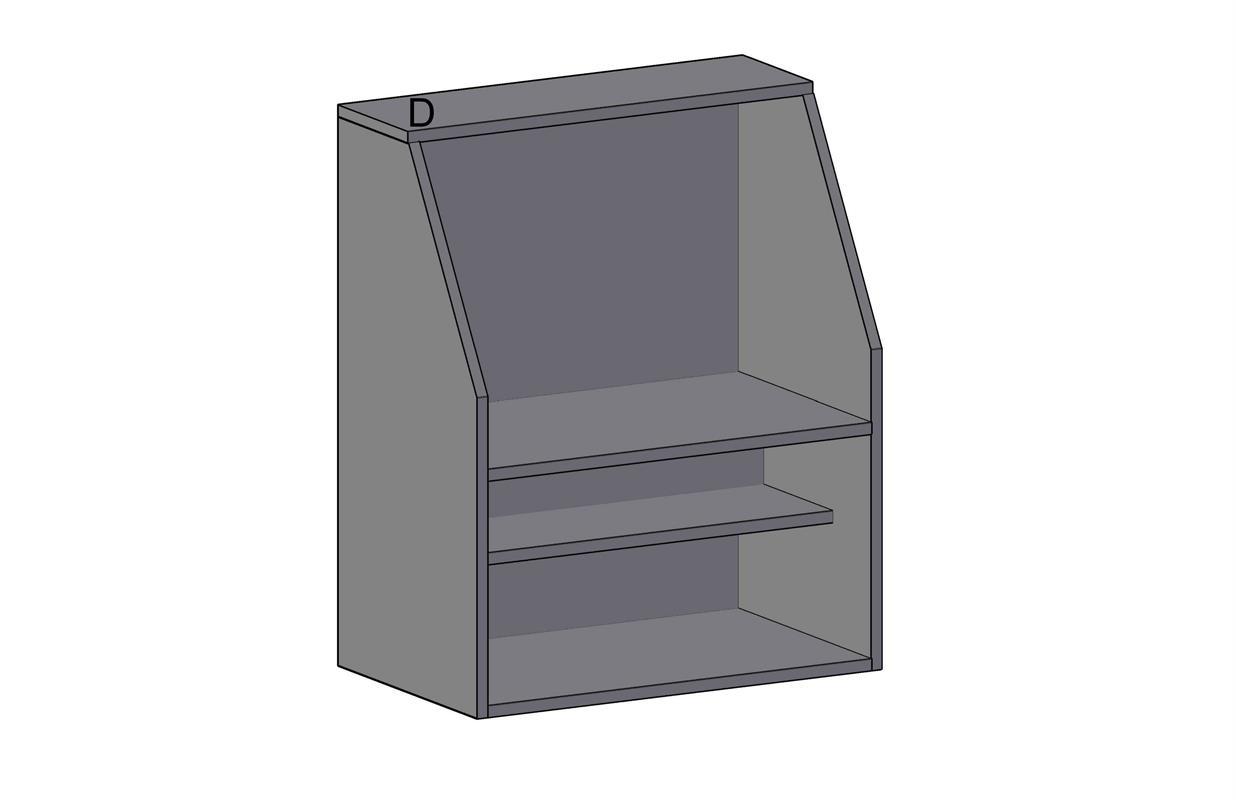
Using the holes on the top backside of (B) attach the top (D) using 1 1/4" Kreg Screws and wood glue around the perimeter. I then reinforced the remaining edges with 2" 18g. finishing nails.
-
Add Front Door
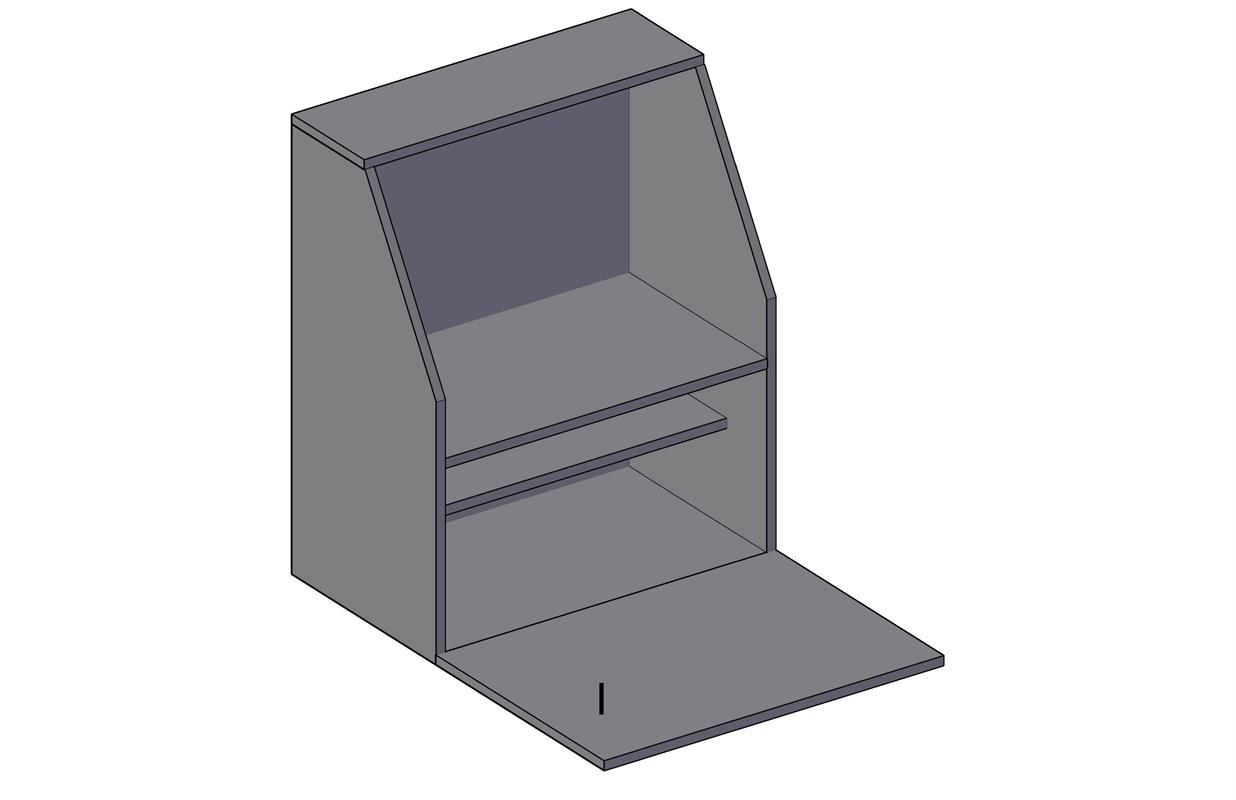
Attach the door using 3/4" overlay hinges. Install magnetic catch centered on the interior. (Underside of board A)
-
Optional: Charatcter
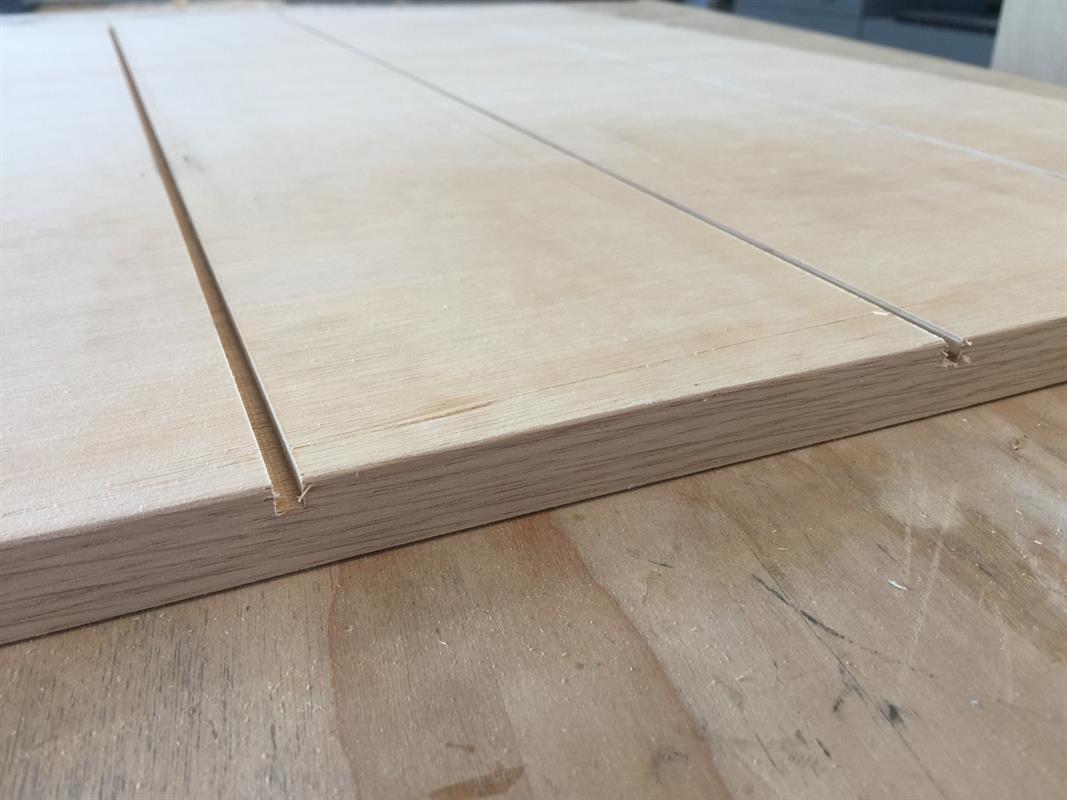
I added wood veneer banding to the exposed edges of plywood. I also used a table saw to cut 1/4" grooves in the front of my front door (I) to give it the appearance of planks.
I also used the 1 1/2" wide cutoffs to create a lip on the top shelf.


