Angled Tabletop Plant Stand
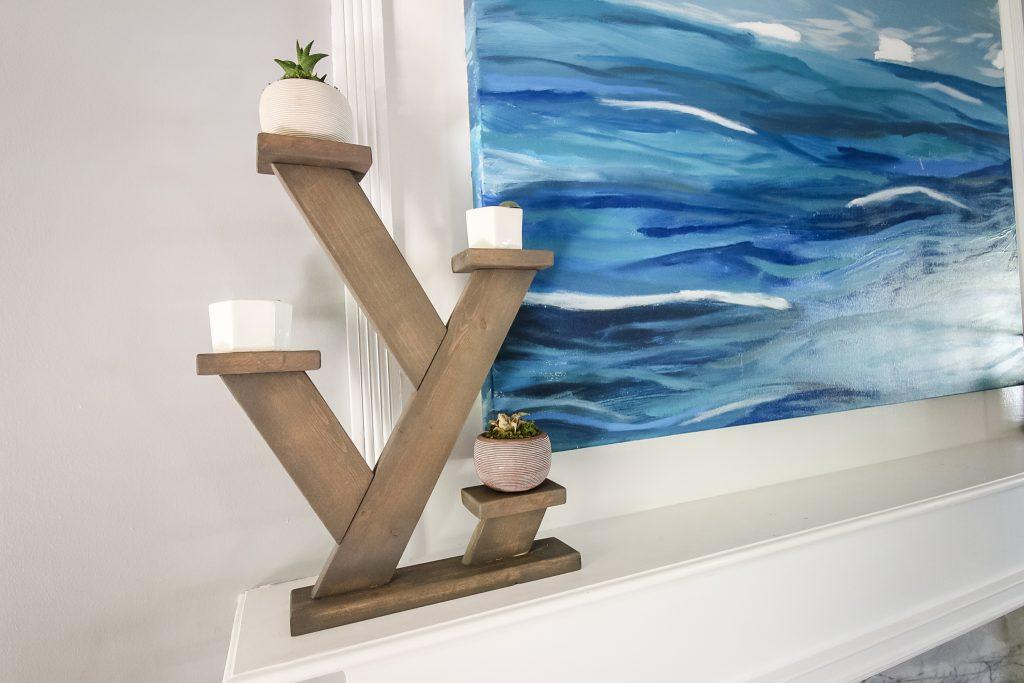
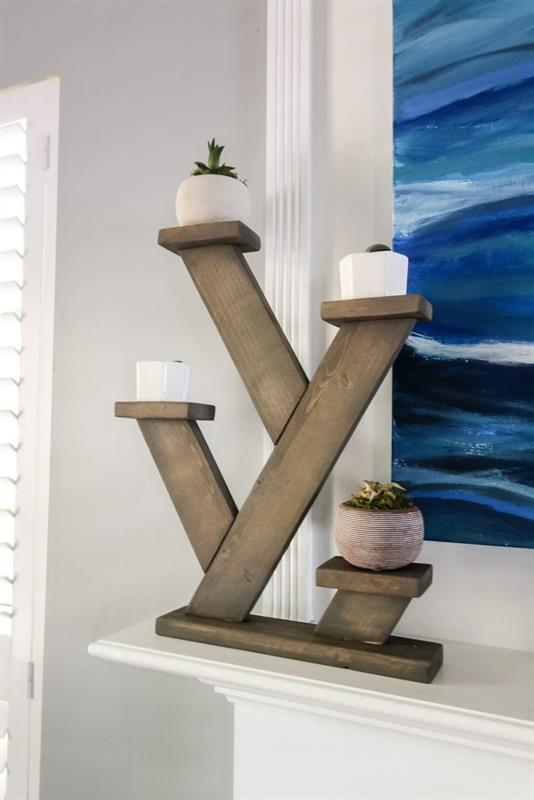
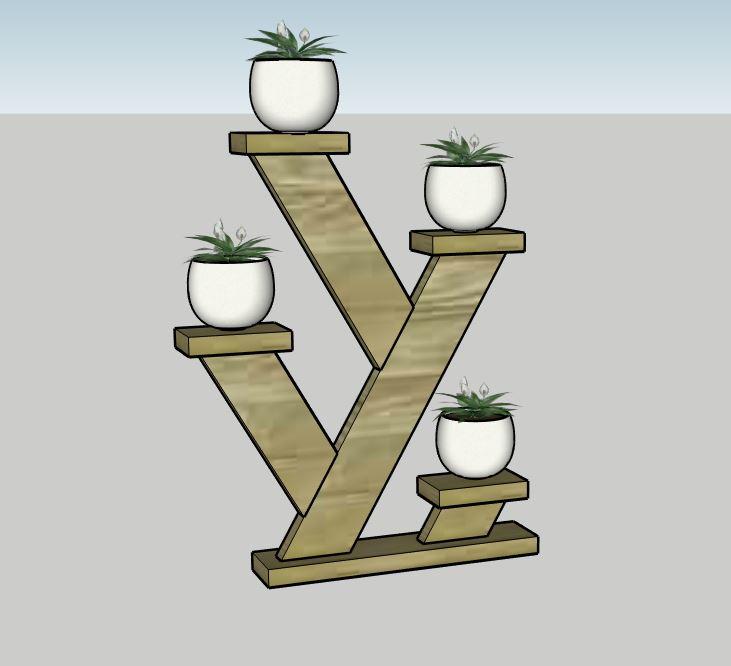
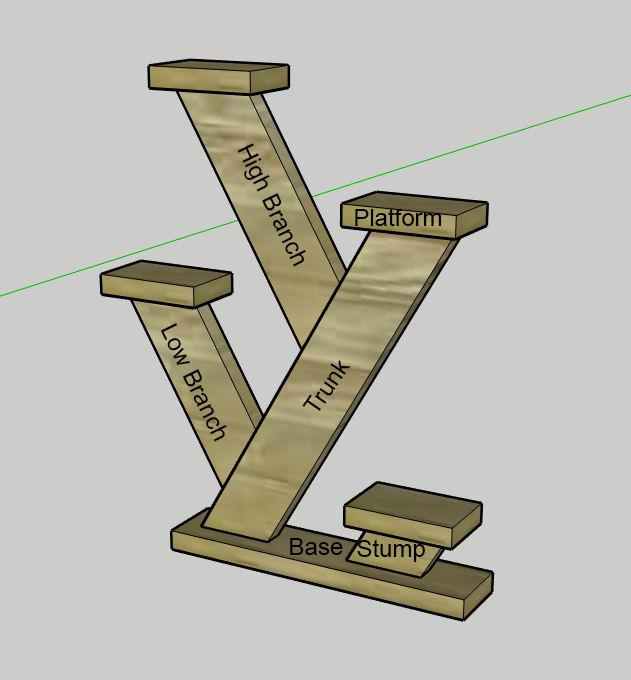
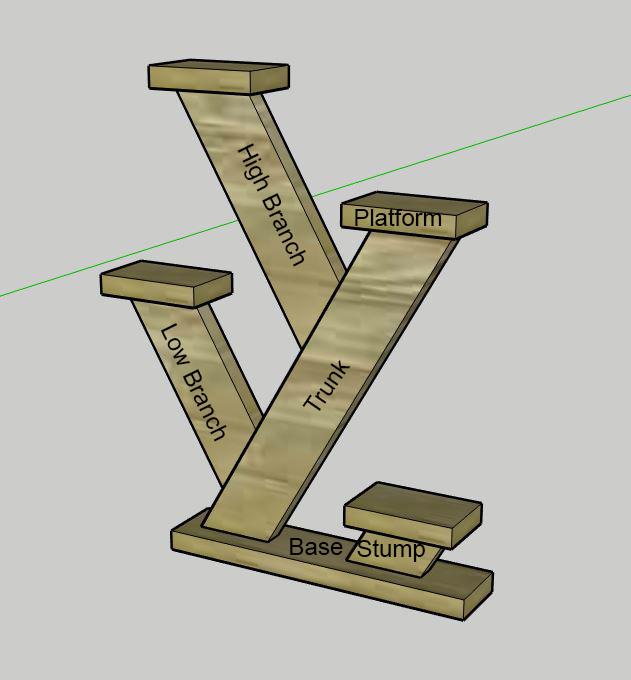
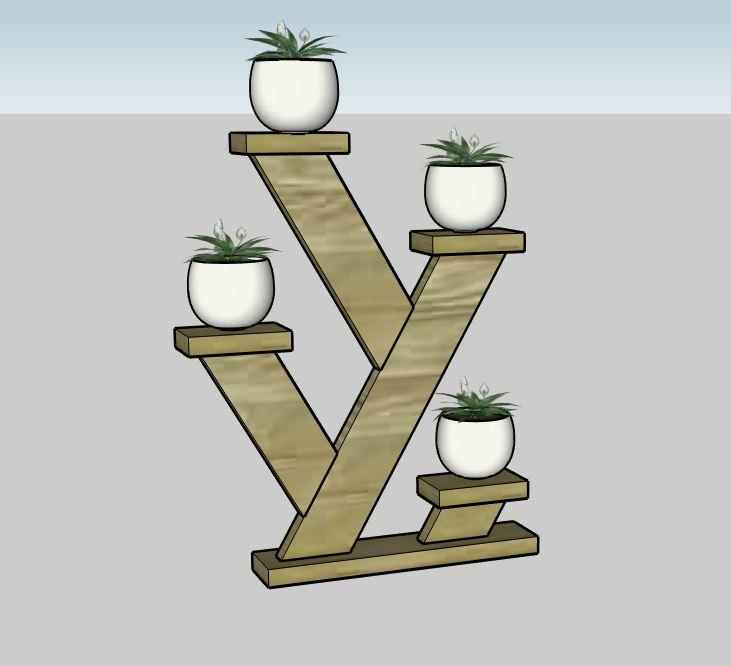
By Charleston CraftedThis angled tabletop plant stand is perfect for adding some vertical height and greenery to your desk, mantel, side table or bar. The angled boards with greenery on top create the look of a "tree" and looks modern and fresh. Use these plans to build one yourself when you're stuck at home!
Directions
-
Make Cuts
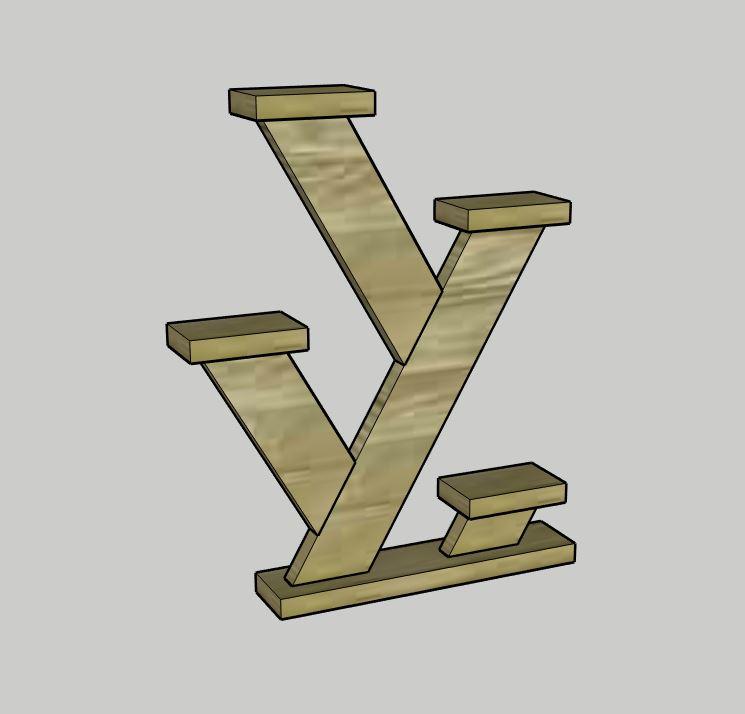
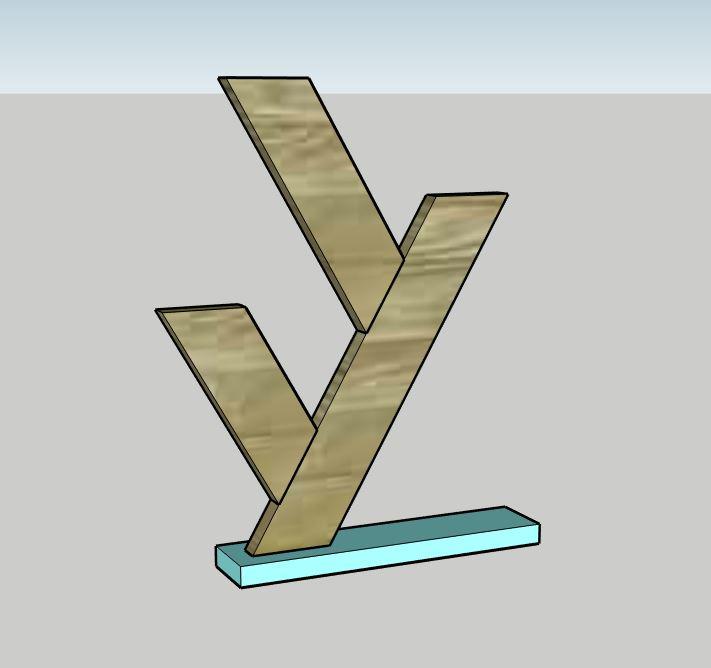
Start by making all cuts according to the cut list. Then, make 30 degree miter cuts to the following:
- Trunk- parallel cuts to make each side 14"
- Low Branch- opposing cuts to make long edge 8"
- High Branch- opposing cuts to make long edge 10"
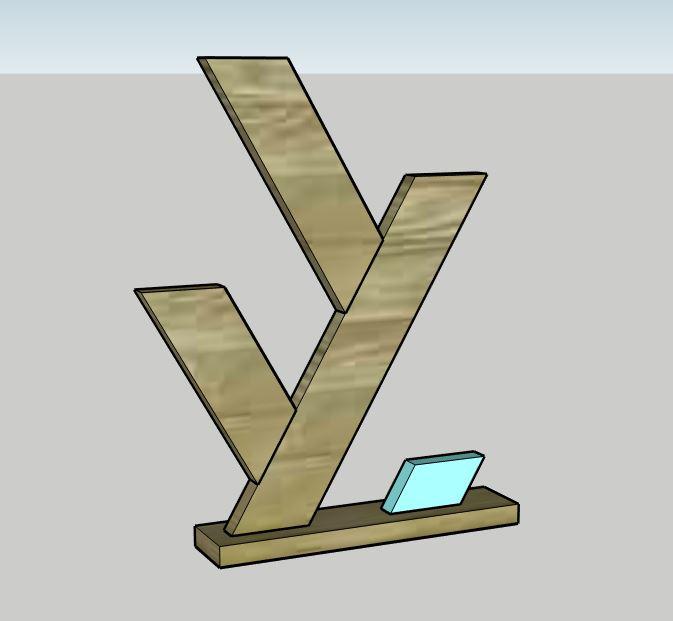
- Stump- parallel cuts to make each side 2" -
Attach Low Branch
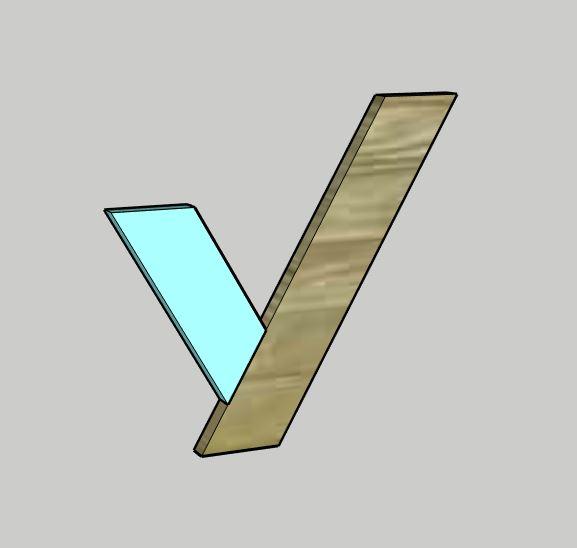
Attach the Low Branch to the Trunk 2" from the end using pocket holes.
-
Attach High Branch
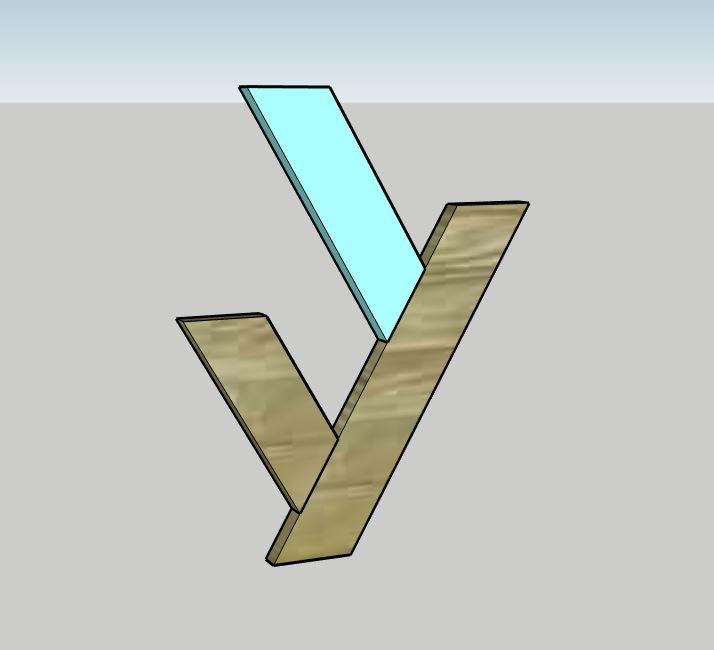
Attach the High Branch to the Trunk 3 1/2" up from the Low Branch using pocket holes.
-
Attach Trunk to Base
Attach the Trunk with branches to the Base 3/4" from the edge and centered using pocket holes.
-
Attach Stump
Attach the Stump to the Base on the other side, 2" in from the edge using pocket holes.
-
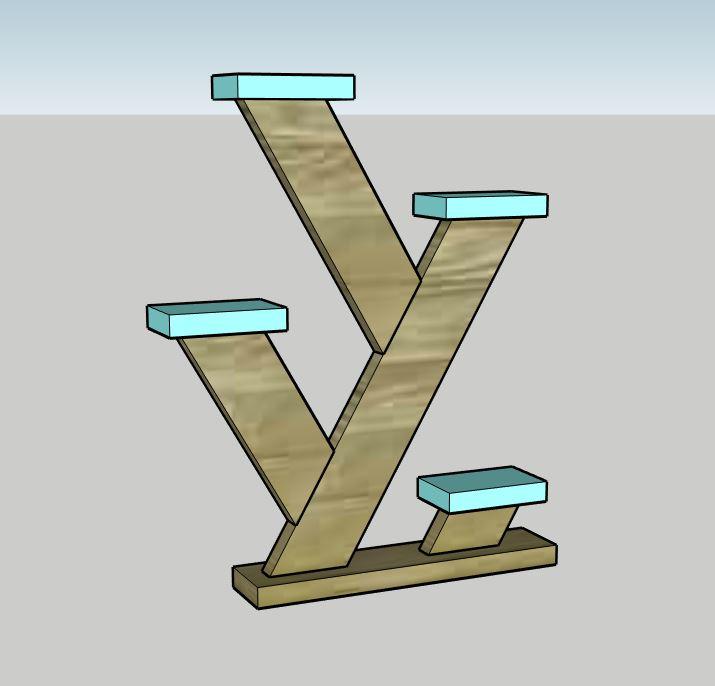
Attach Platforms
Attach the four Platforms to the tops of the branches, trunk and stump. Spread wood glue on the top of the angled piece and place the Platforms centered. Secure with nails or let dry naturally.
-
Stain, Seal and Add Plants
Stain and seal according to your decor style. Add small potted plants to finalize the "tree" look on your angled plant stand!
-
Visit www.CharlestonCrafted.com
Check out www.CharlestonCrafted.com for more behind the scenes photos and more projects like this one!


