Wall-Mounted Mirror
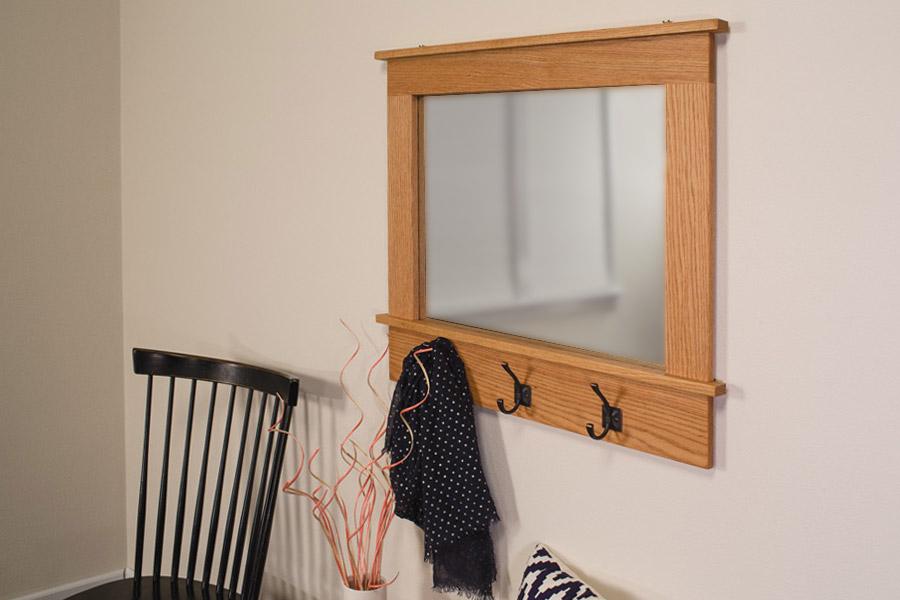
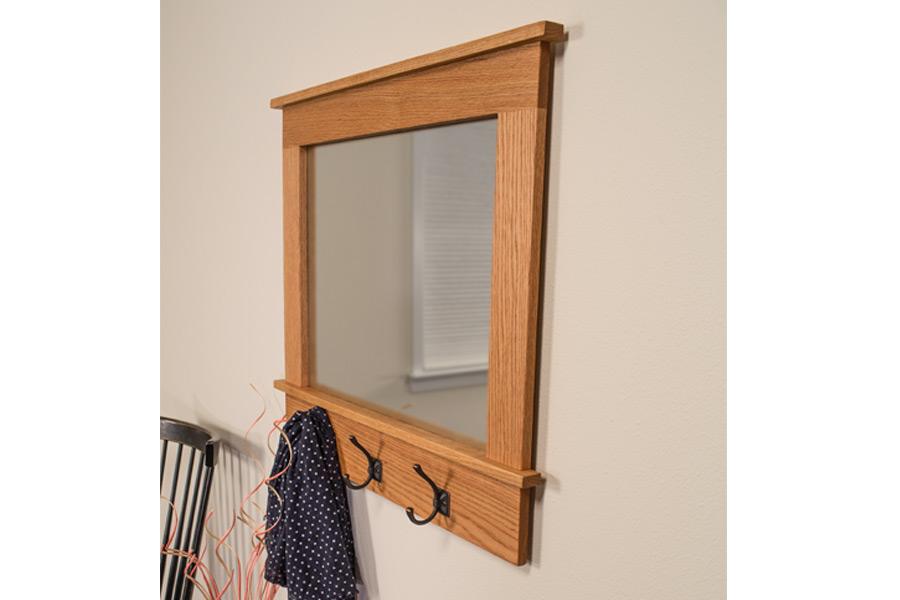
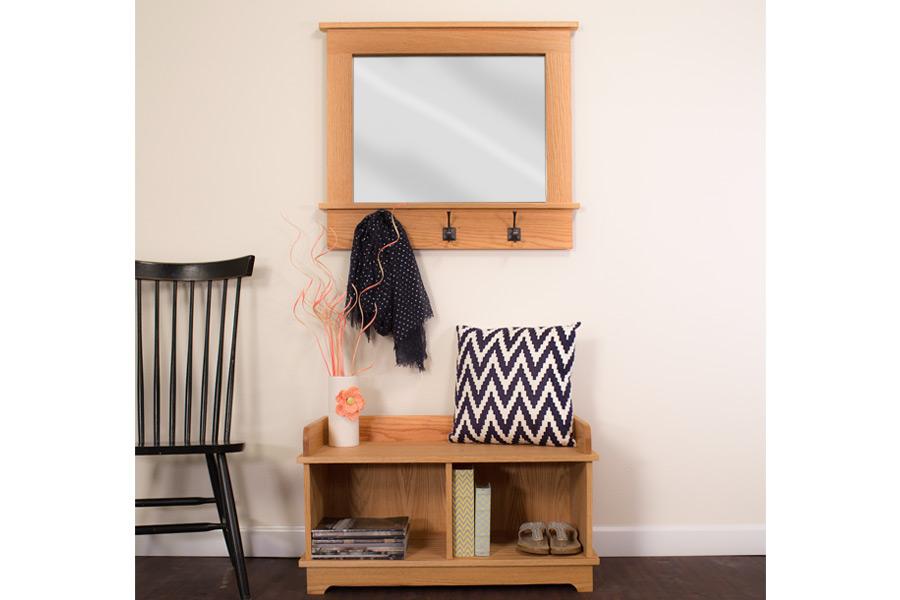
By Kreg ToolThis great-looking mirror is perfect for a hallway or entryway, or just about anywhere that you’d like to add some functional style. The mirror’s great looks may only be surpassed by how simple it is to build.
Directions
-
Make the Bottom Rail
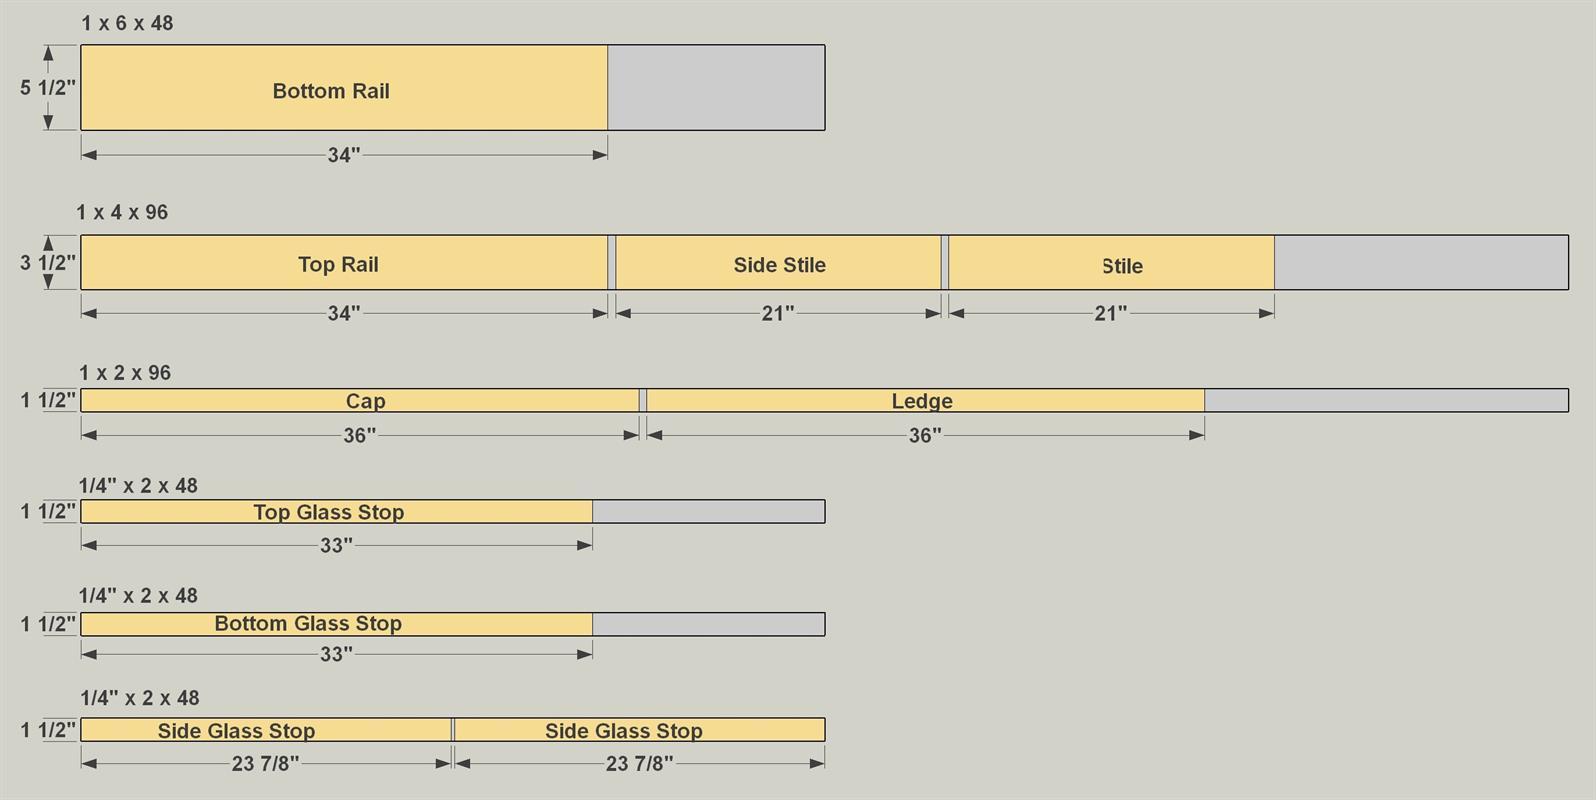
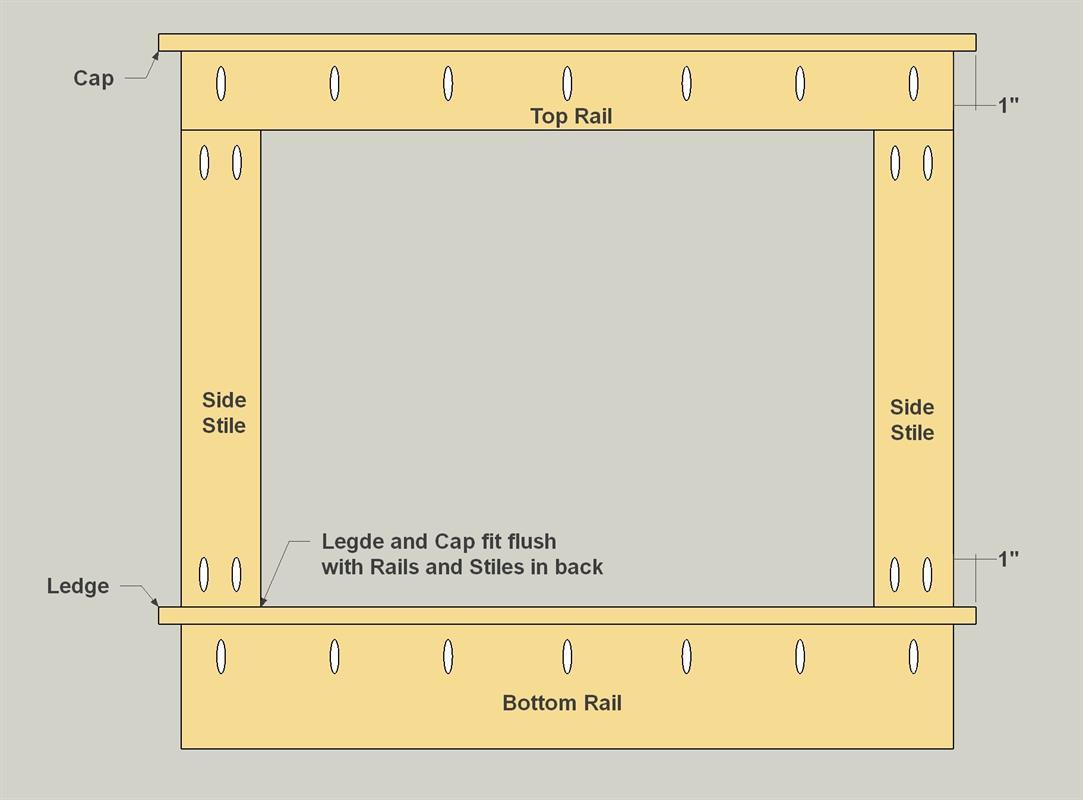
Cut a Bottom Rail to length from a 1x6 board, as shown in the cutting diagram. Then, with your pocket hole jig set up for 3/4" material, drill pocket holes in the back face of the Bottom Rail, as shown.
-
Make the Top Rail
Cut a Top Rail to length from a 1x4 board, as shown in the cutting diagram. Then, with your pocket hole jig set up for 3/4" material, drill pocket holes in the back face of the Top Rail, as shown.
-
Make a Pair of Side Stiles
Cut two Side Stiles to length from a 1x4 board, as shown in the cutting diagram. Then, with your pocket hole jig set up for 3/4" material, drill pocket holes in the back face of the Side Stiles, as shown.
-
Cut the Cap and Rail
Cut one Cap and one Ledge to length from a 1x2 board, as shown in the cutting diagram. Then sand all the parts you’ve made to prepare them for assembly.
-
Assemble the Mirror Frame
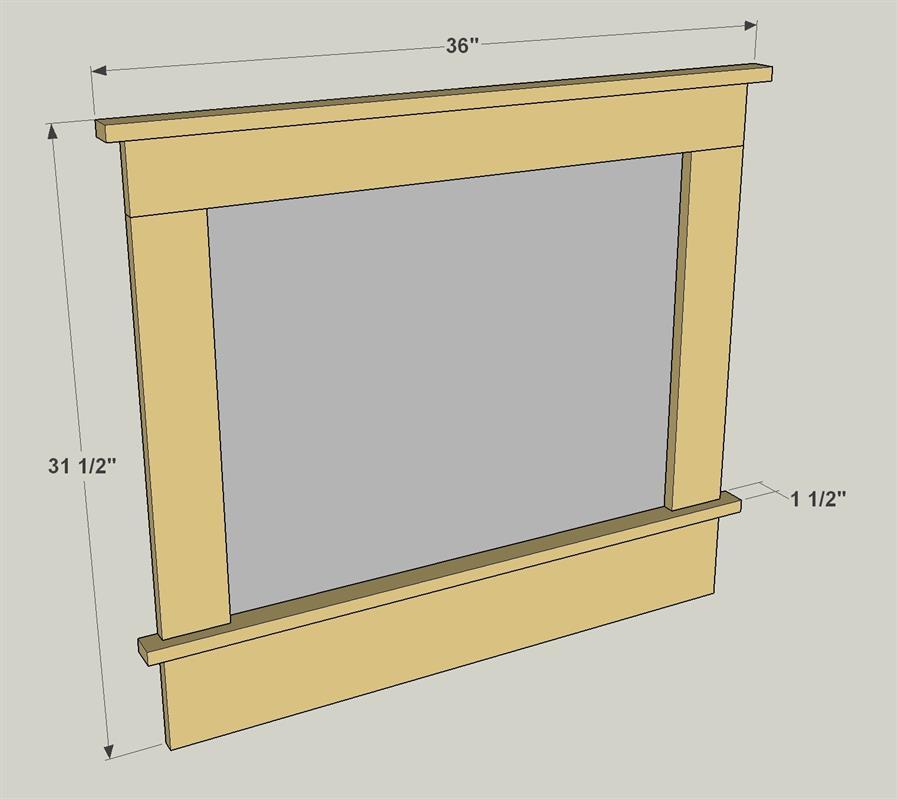
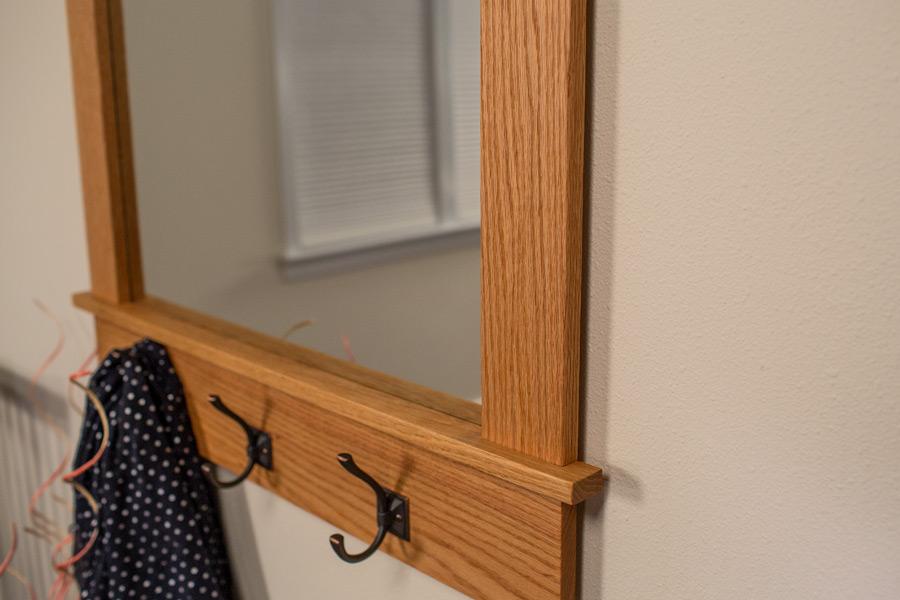
Cut one Cap and one Ledge to length from a 1x2 board, as shown in the cutting diagram. With the parts complete, you can assemble the frame using 1 1/4" fine-thread pocket-hole screws. Note that the Cap and Ledge sit flush with the Rails and Stiles in back, and that the Cap and Ledge also overhang equally on both ends.
-
Add Glass Stops
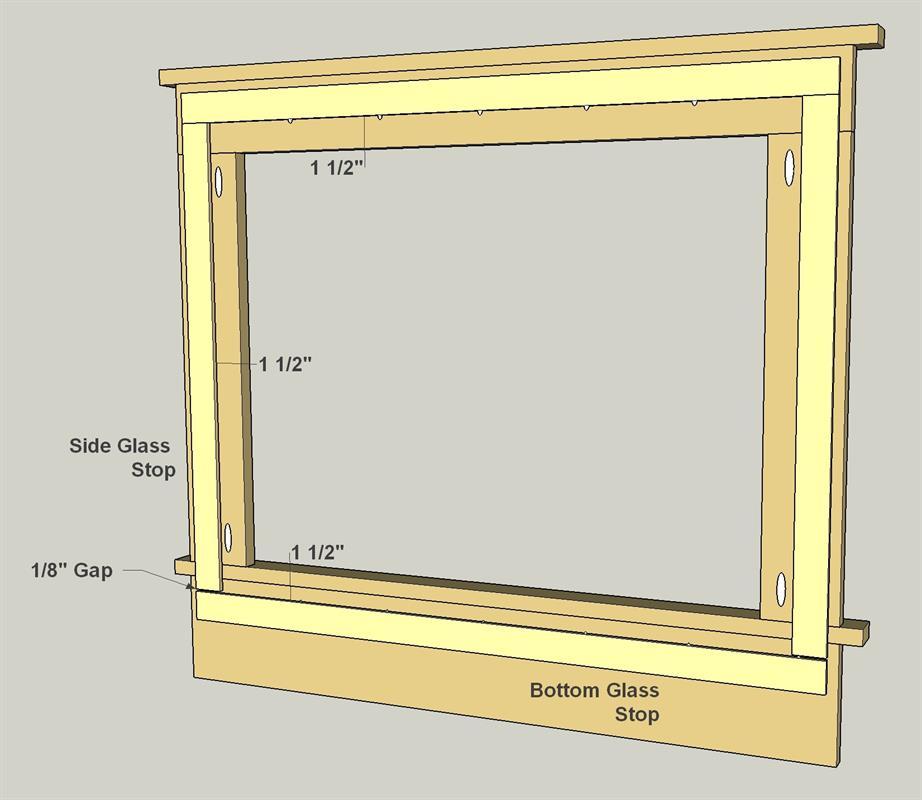
Cut one Top Glass Stop, one Bottom Glass Stop, and two Side Glass Stops to length from a 1/4"-thick board, as shown in the cutting diagram. Then attach them to the back of the frame. To do this, lay the mirror in position, and then place the Stops around it to verify their positions. Remove the mirror, and then attach the Stops using glue and 5/8" brad nails.
-
Mount the Mirror and Hooks
To complete your mirror, add the stain, finish, or paint of your choice. Then secure the mirror to the stops with glass retainers, and screw on a pair of D-ring hooks for mounting your project to the wall.


