Tablet Stand
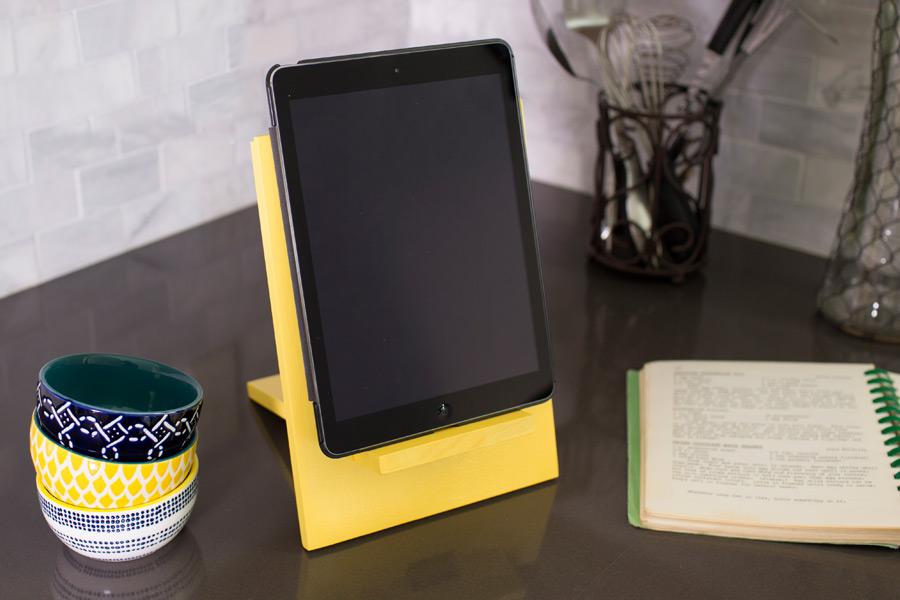
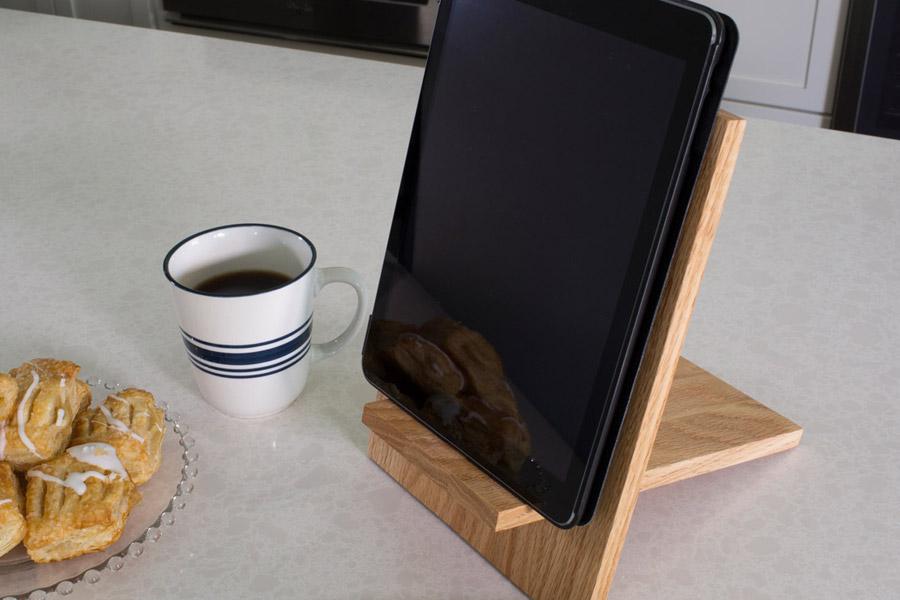
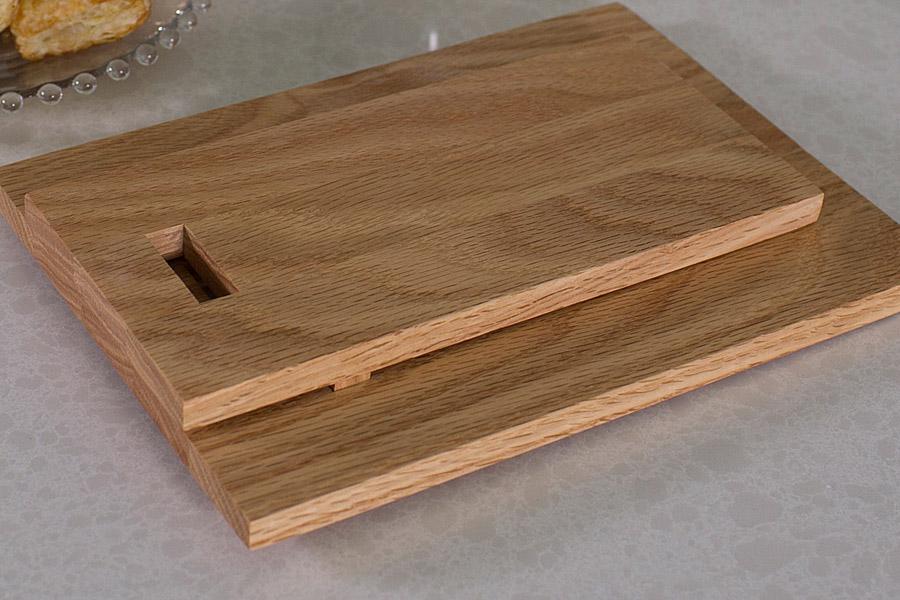
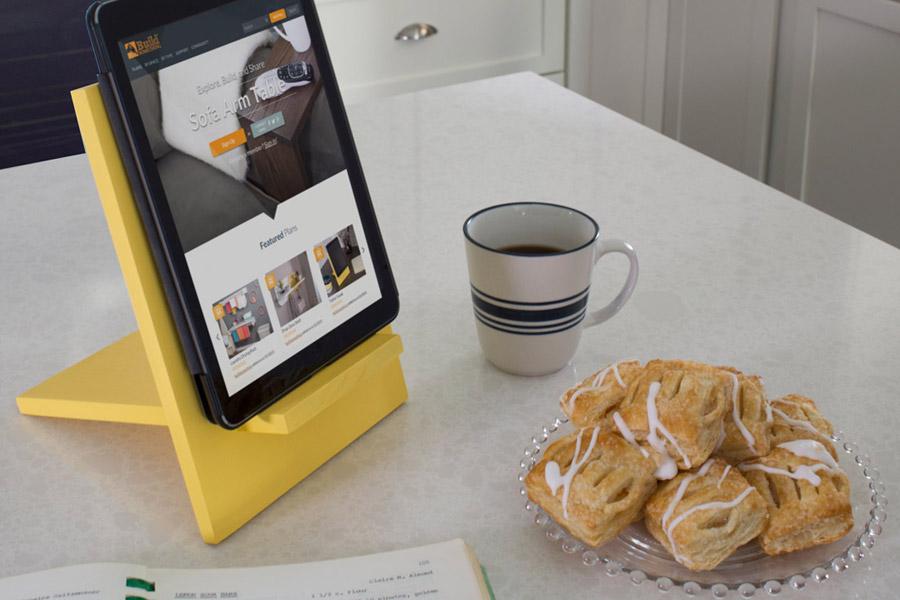
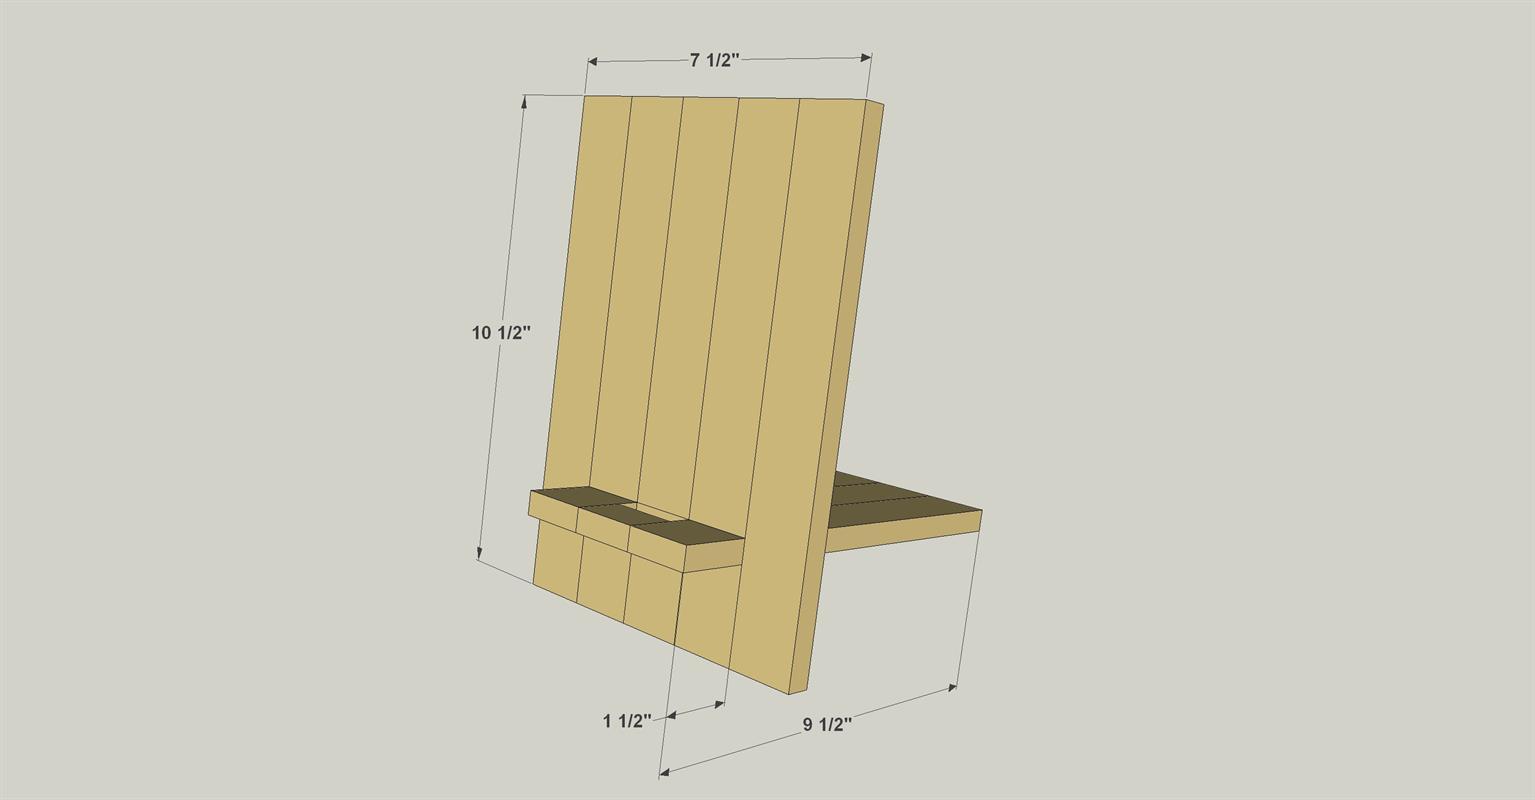
By Kreg ToolThis handy stand holds your tablet so you don’t have to, and puts it at a perfect angle for use. You can even store the stand flat by removing the leg and locking it into the face.
Directions
-
Cut the Leg Parts
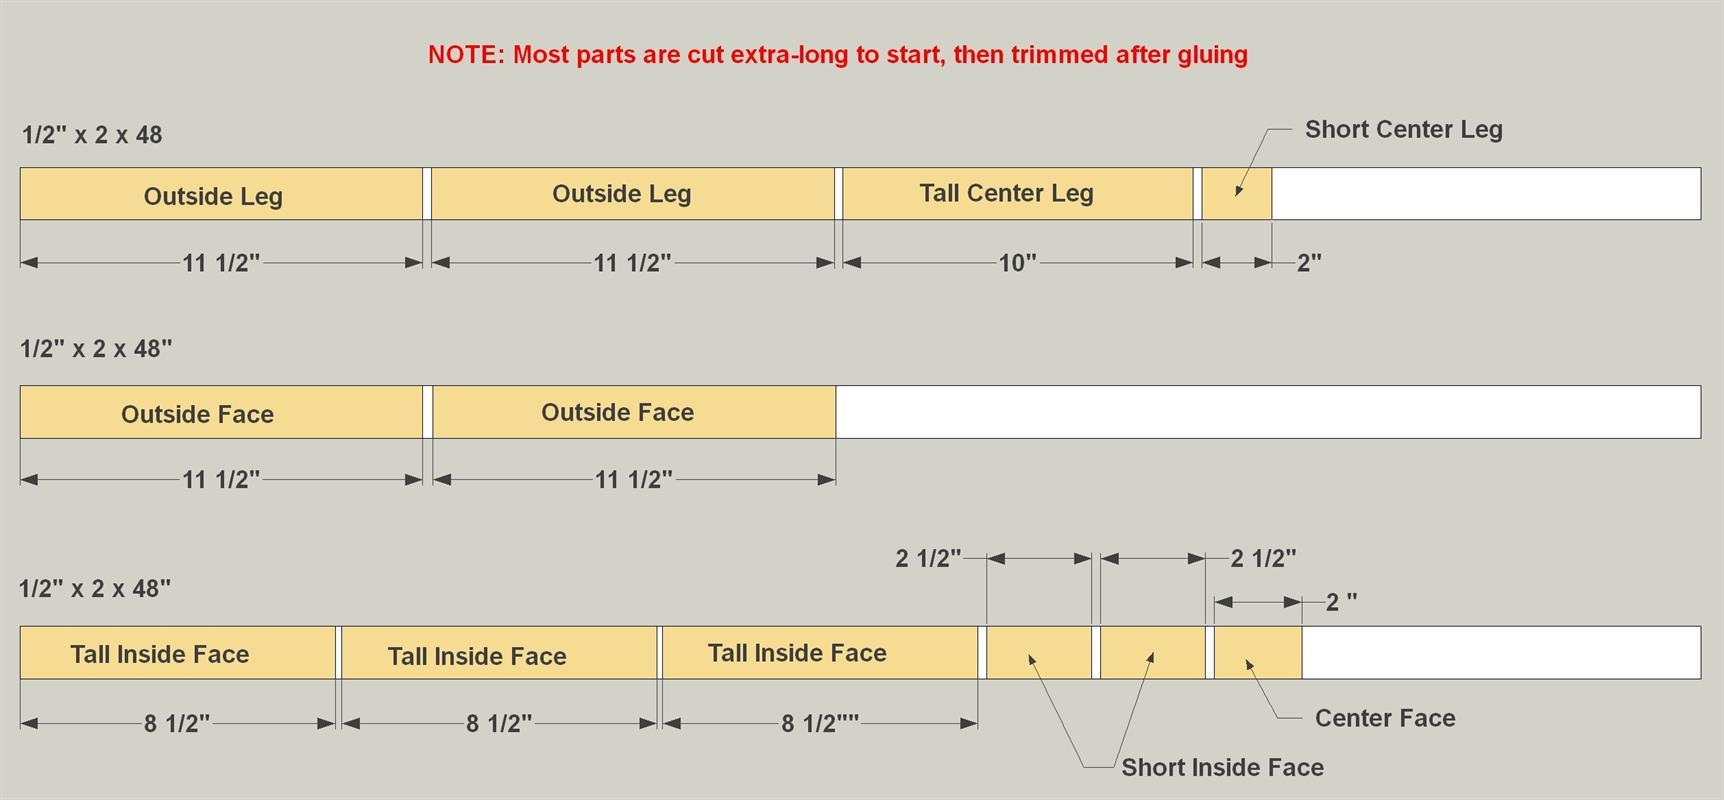
Cut two Outside Legs, one Tall Center Leg, and one Short Center Leg to length from a 1/2"-thick board, as shown in the cutting diagram.
Note: These, as well as the other parts are cut extra-long, and will be trimmed after assembly. Also cut a short piece of scrap about 2" long to use as a spacer.
-
Assemble the Leg
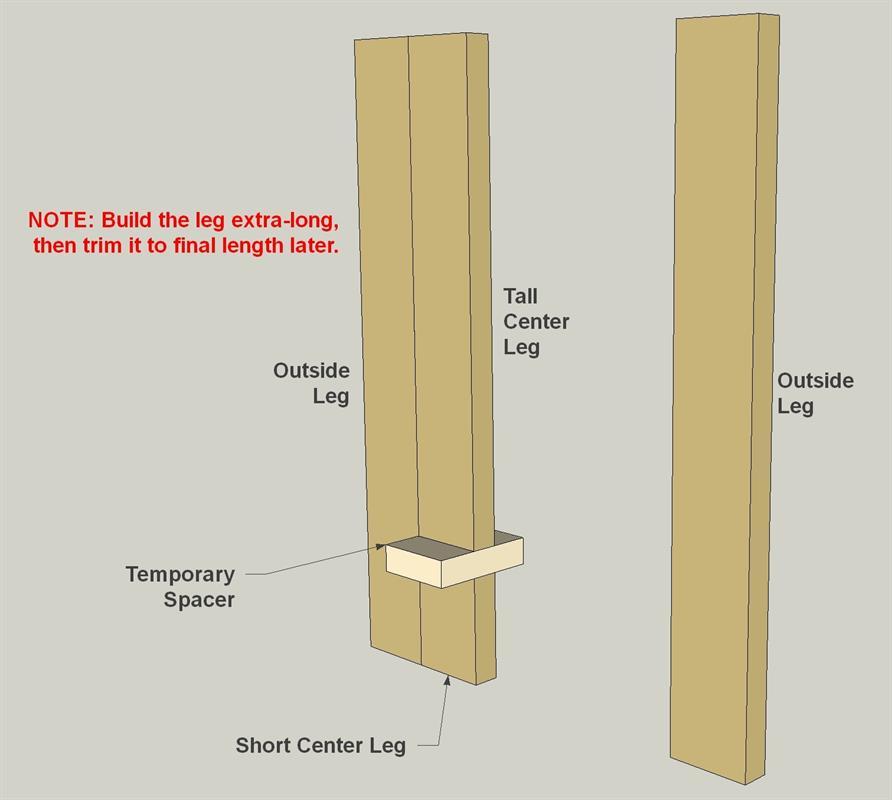
Assemble the leg parts. To do this, spread glue on both edges of the Tall Center Leg and Short Center Leg. Then clamp them to the Outside Legs, with your scrap spacer in between the Tall Center Leg and Short Center Leg. This creates a gap for the tablet’s cord to pass through later. Once you have the clamps in place, remove the spacer before the glue dries to ensure that sure you don’t glue the spacer in place.
-
Trim the Leg
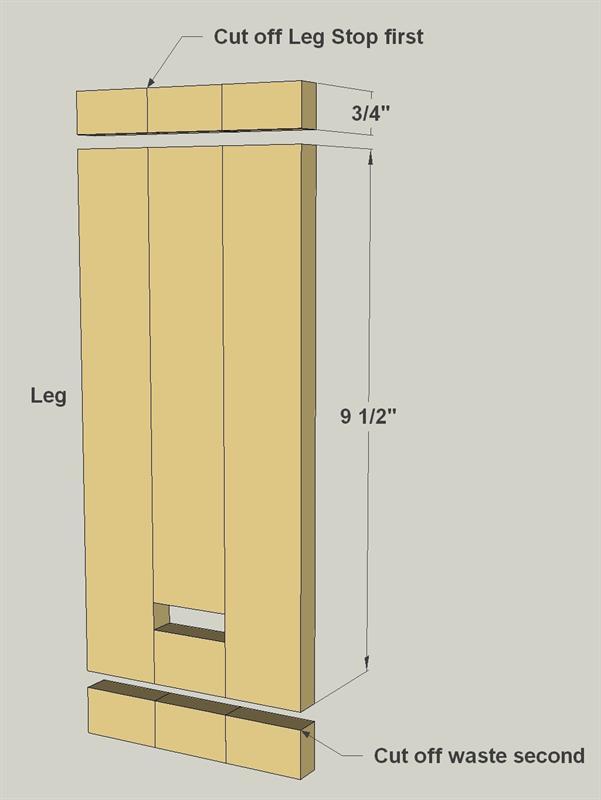
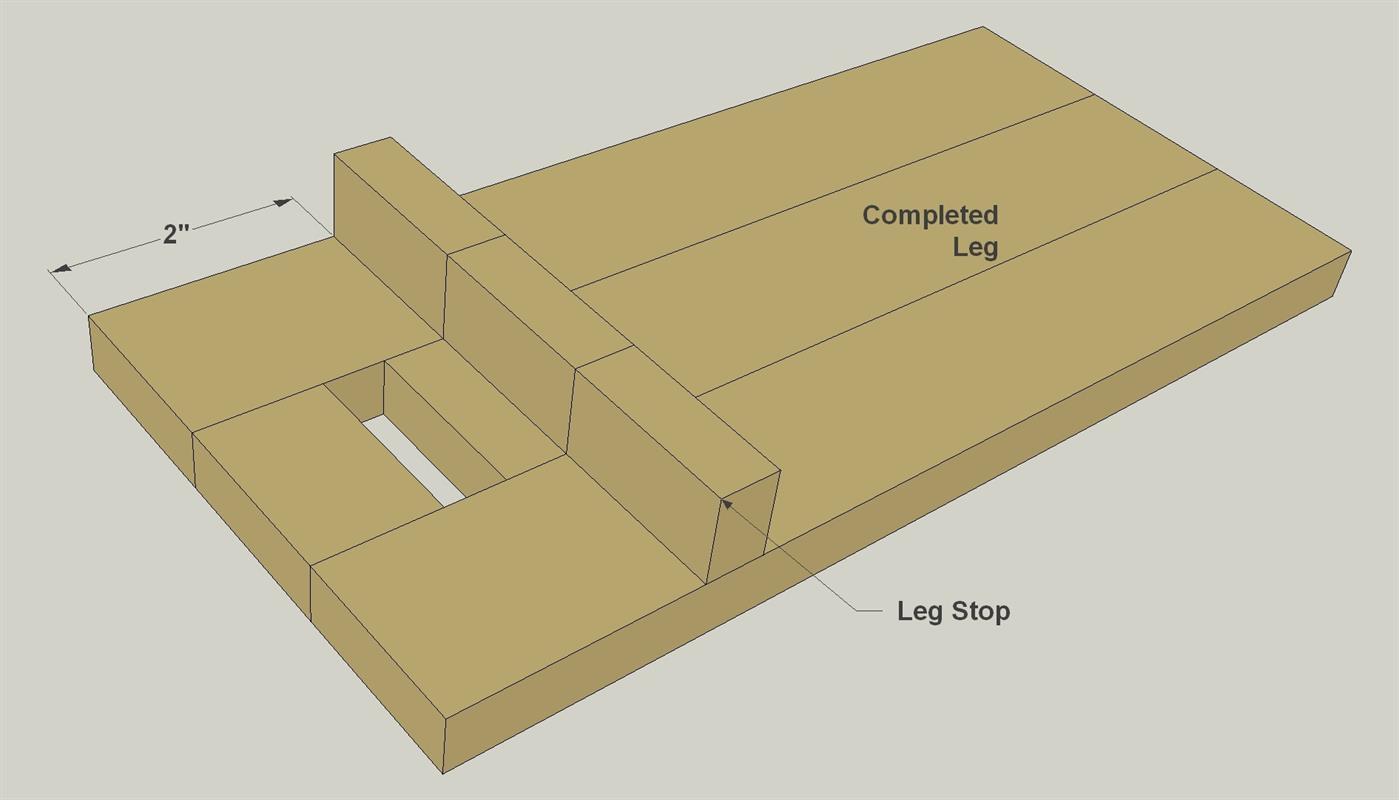
After the glue sets, you can trim the leg. You’ll cut some off the top end to create a Leg Stop, and then cut the bottom end (near the slot) to trim the Leg to final length.
-
Glue on the Leg Stop
Glue the Leg Stop, which you cut off of the top of the leg assembly, onto the leg as shown.
-
Cut the Face Parts
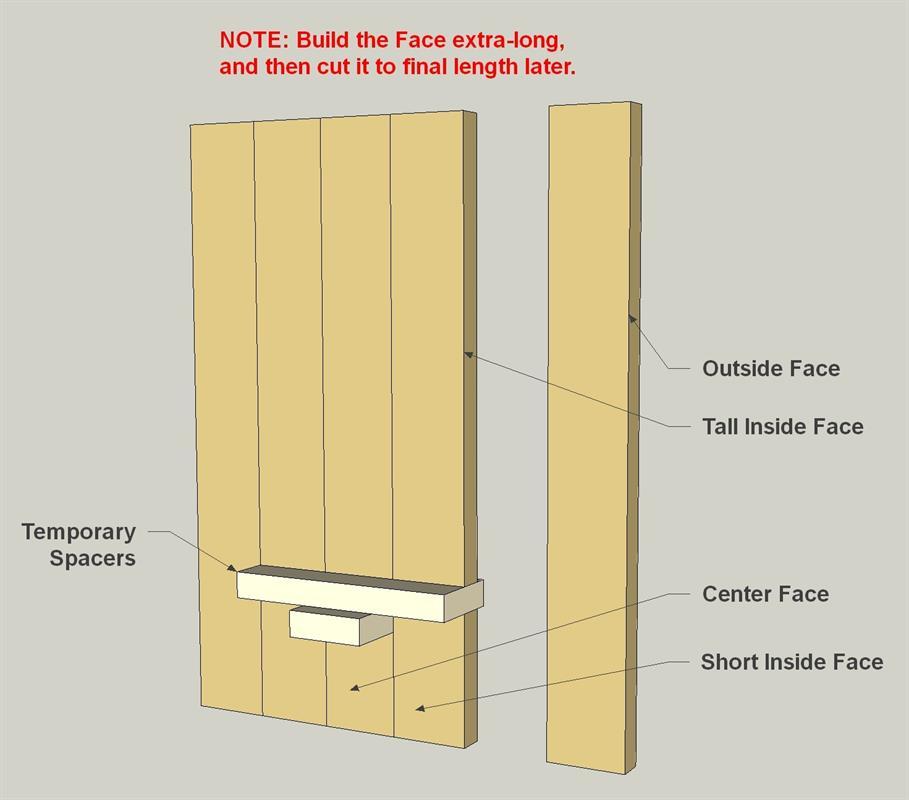
Cut two Outside Faces, three Tall Inside Faces, one Short Inside Face, and one Center Face to length from a 1/2"-thick board, as shown in the cutting diagram. Note: These, as well as the other parts are cut extra-long, and will be trimmed after assembly. Also cut another spacer about 4" long.
-
Assemble the Face
Assemble the face parts. To do this, spread glue on both edges of the Tall Inside Faces, Short Inside Faces, and Center Face. Then clamp them to the Outside Faces, with your scrap spacers positioned to create the center slot and notch. The slot will allow the leg to slip through the face, and the notch provides cord clearance. Once you have the clamps in place, remove the spacers before the glue dries to ensure that sure you don’t glue them in place.
-
Trim the Face
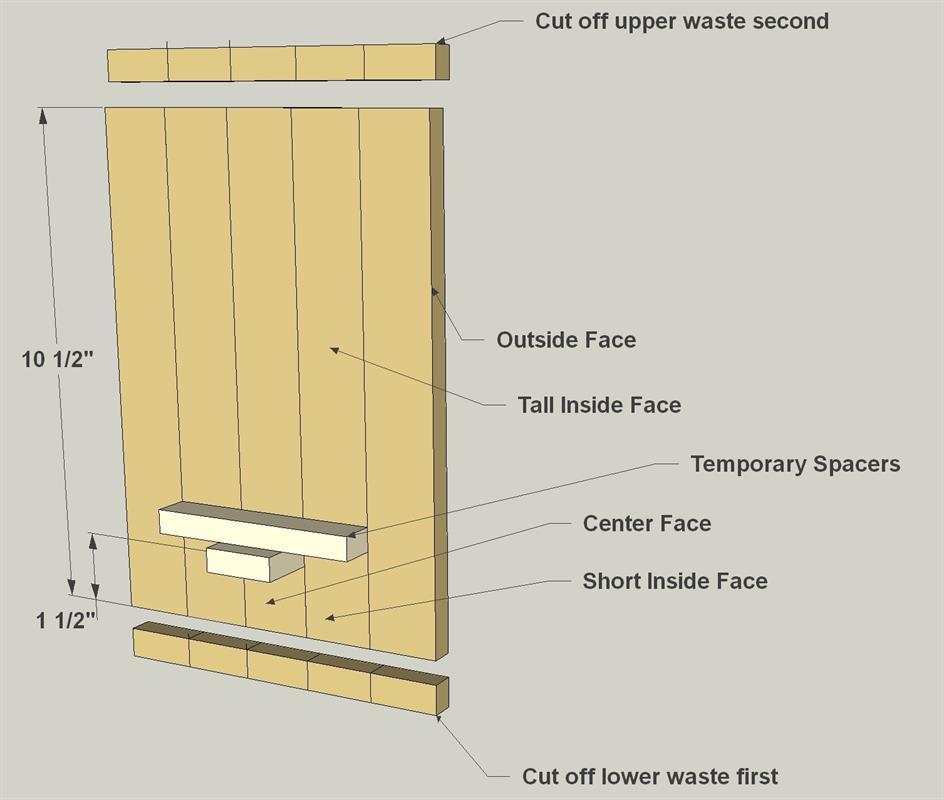
After the glue sets, you can trim the Face. You’ll cut some off the bottom end (near the slot) first, and then cut the top end to trim the Face to final length.
-
Test Fit, then Finish
Now you can test fit the leg into the slot. If the fit is tight, sand or file to enlarge the slot. Do this just a little at a time to make sure that you don’t take off too much. After that, you can paint or finish your tablet stand and put it to work.


