Stackable Storage Crates
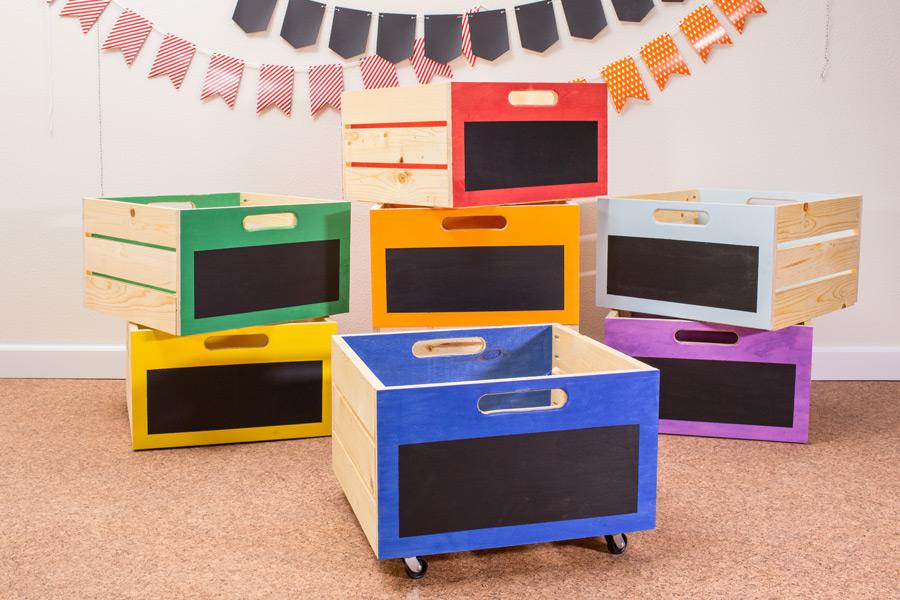
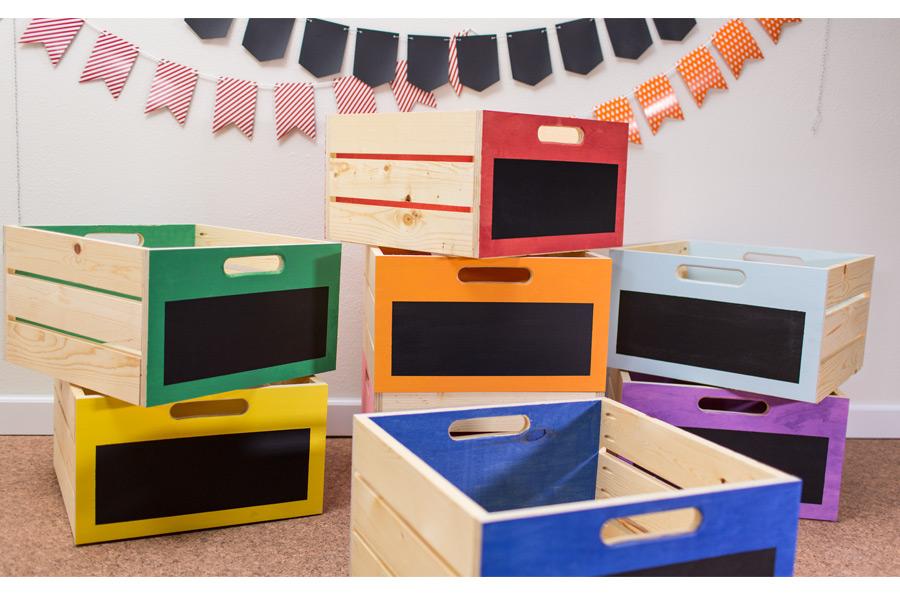
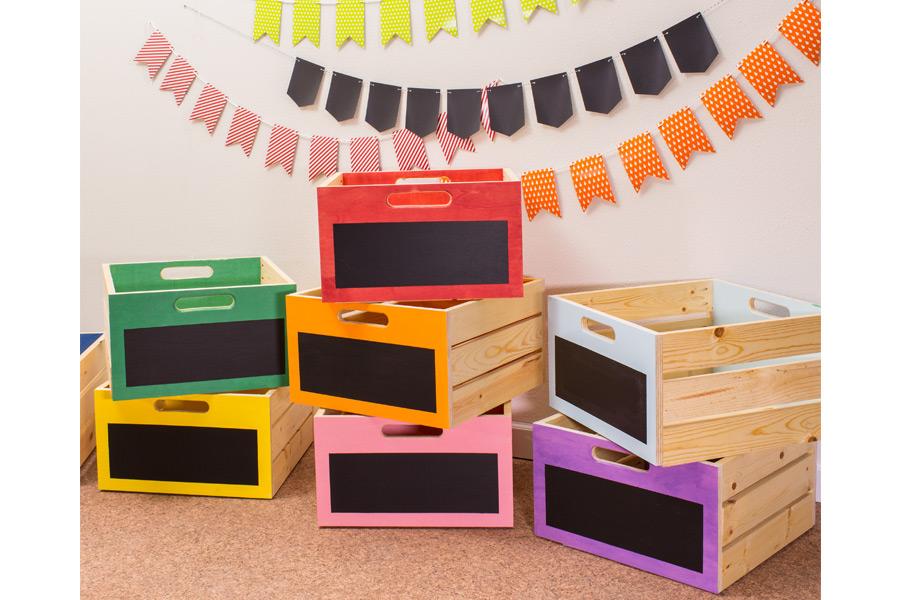
By Kreg ToolThese storage crates are perfect for storing just about anything. They’re sturdy and simple to build. Plus, you can customize them with chalkboard panels to mark what’s inside, and even add a splash of color for a bit of style. You can even add casters if you want to create rolling storage.
Directions
-
Cut the Ends
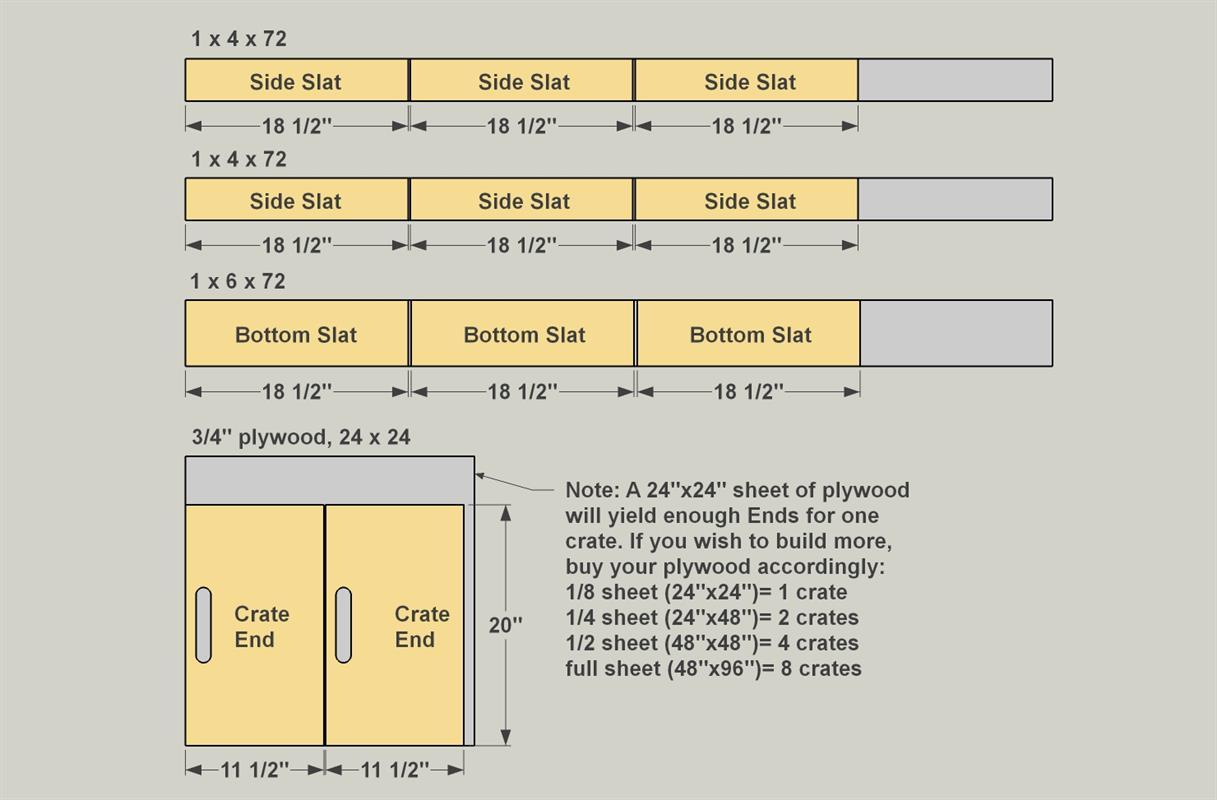
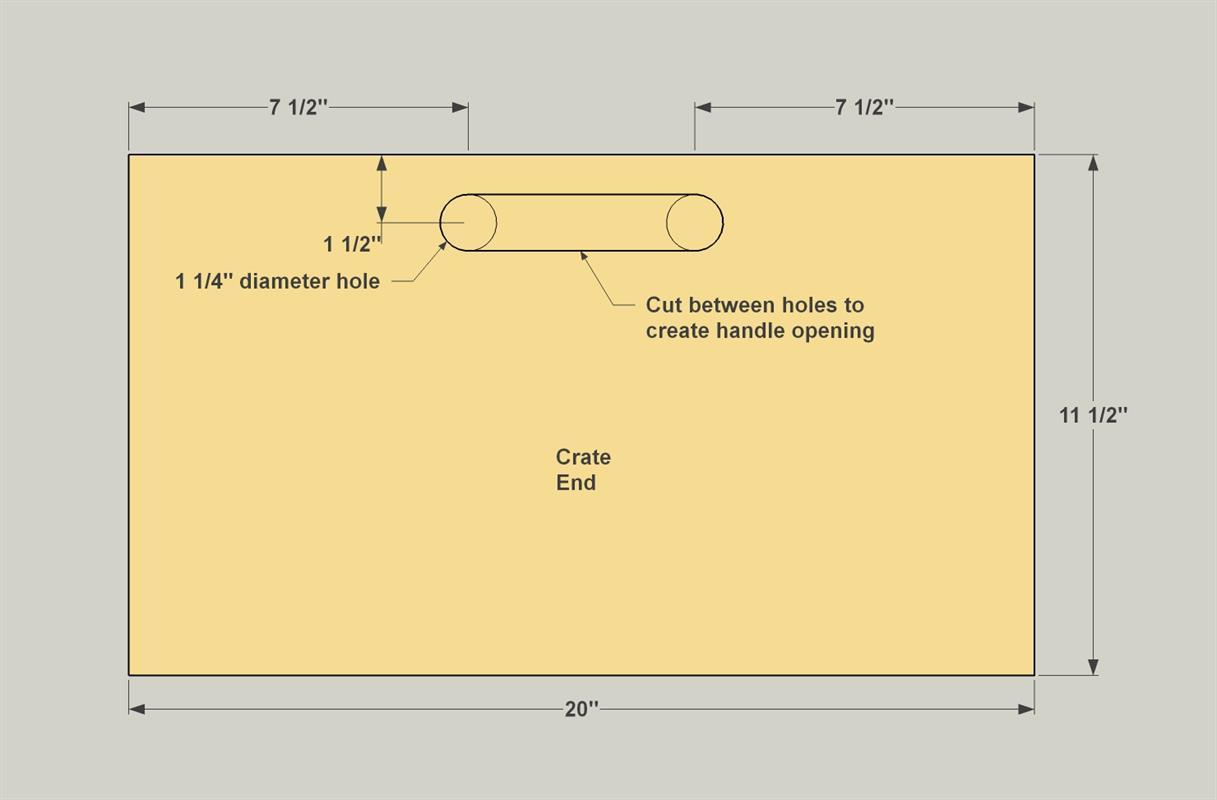
Cut two Crate Ends to size from 3/4" plywood, as shown in the cutting diagram. Then, create the handle cutouts in each end. To do that, first drill 1 1/4" holes using a spade bit or a Forstner bit. Place the piece on a scrap wood backer to keep from tearing out as the drill bit pokes through. Then, cut between the holes with a jigsaw. Sand the sharp edges of each opening to round them off.
-
Make the Side Slats
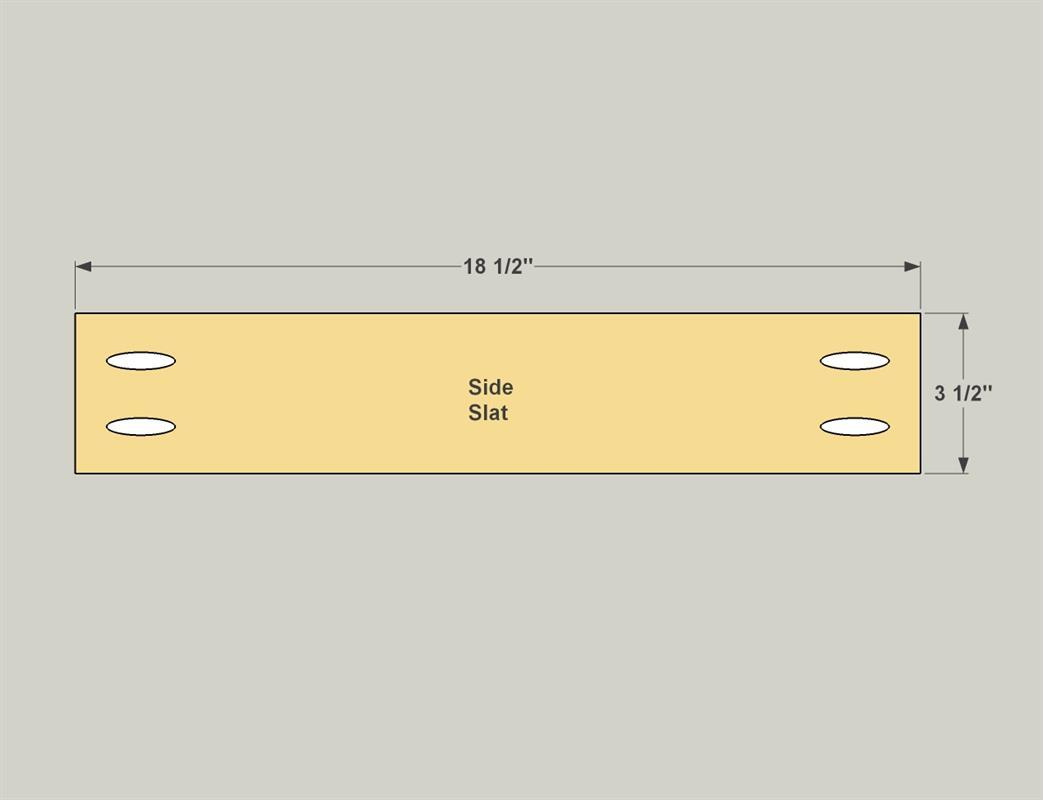
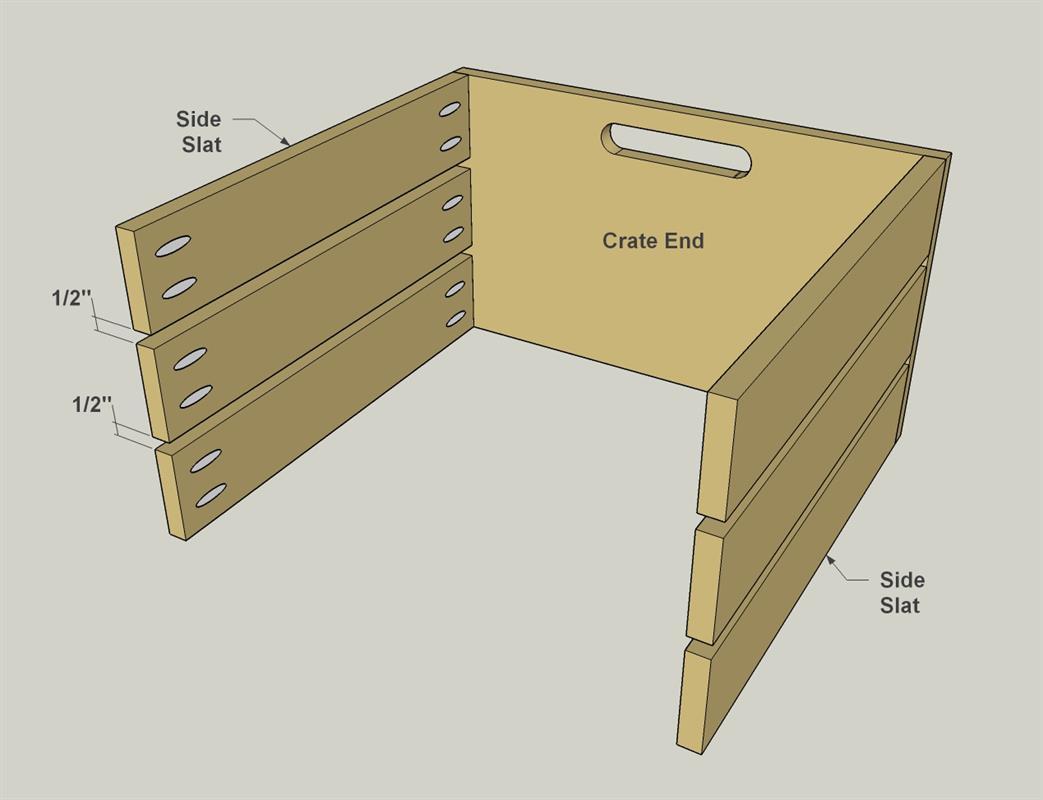
Cut six Side Slats to length from 1x4 boards, as shown in the cutting diagram. With your pocket-hole jig set up for 3/4" stock, drill pocket holes in the ends of the Side Slats, as shown.
-
Make the Bottom Slats
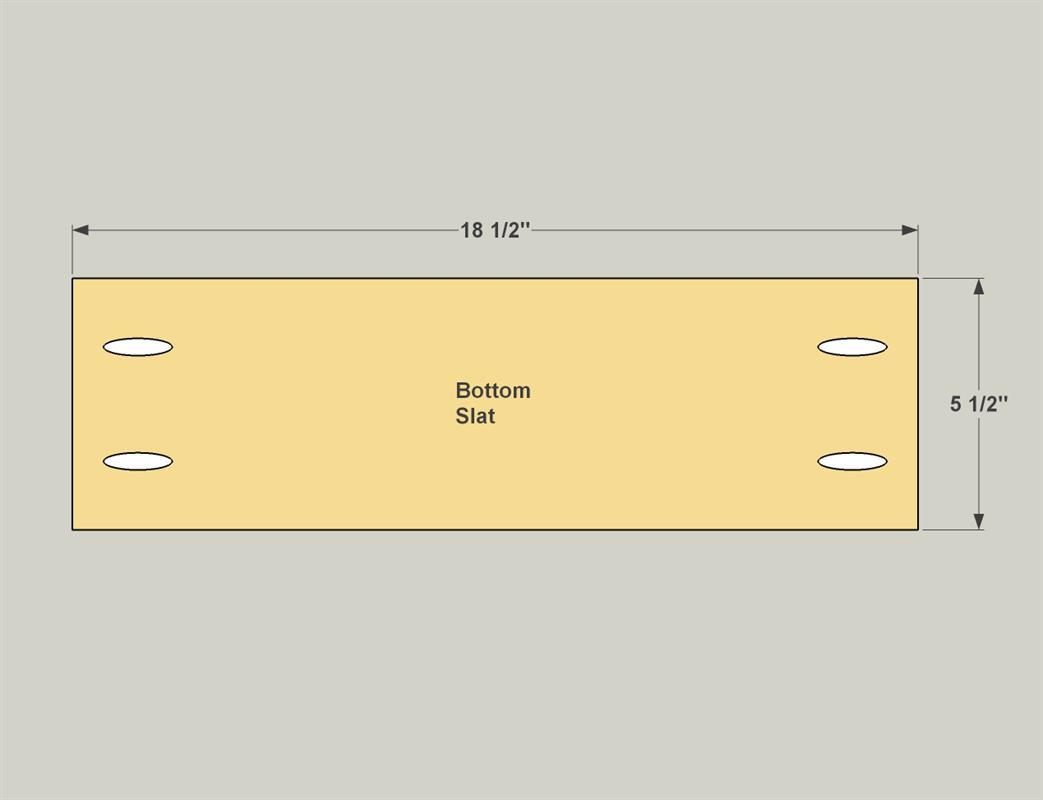
Cut three Bottom Slats to length from a 1x6 board, as shown in the cutting diagram. With your pocket-hole jig set up for 3/4" stock, drill pocket holes in the ends of the Side Slats, as shown.
-
Attach the Side Slats
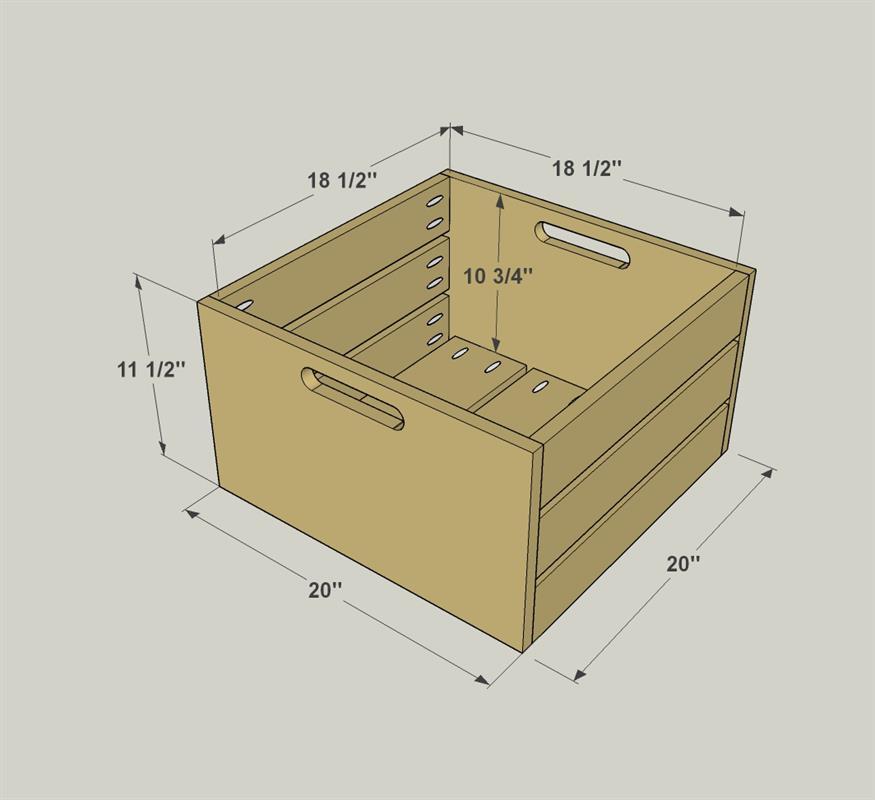
Attach the Side Slats to the Ends using 1 1/4" coarse-thread pocket hole screws, as shown. Make sure that the Slats are spaced evenly. You can attach all the slats to one end, and then to the other end, or attach each slat to both ends before you add the next slat. Either way works fine.
-
Attach the Bottom Slats
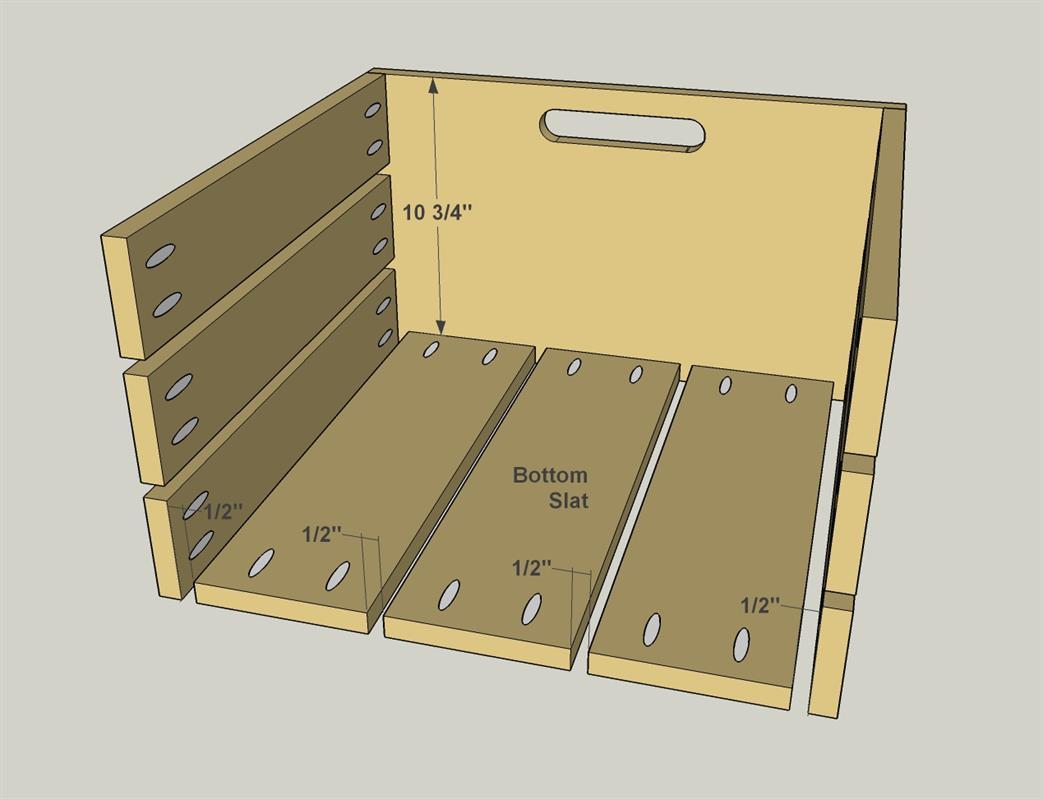
Now attach the Bottom Slats to the using 1 1/4" coarse-thread pocket hole screws, as shown. Make sure that the Slats are spaced evenly.
-
Customize with Some Color
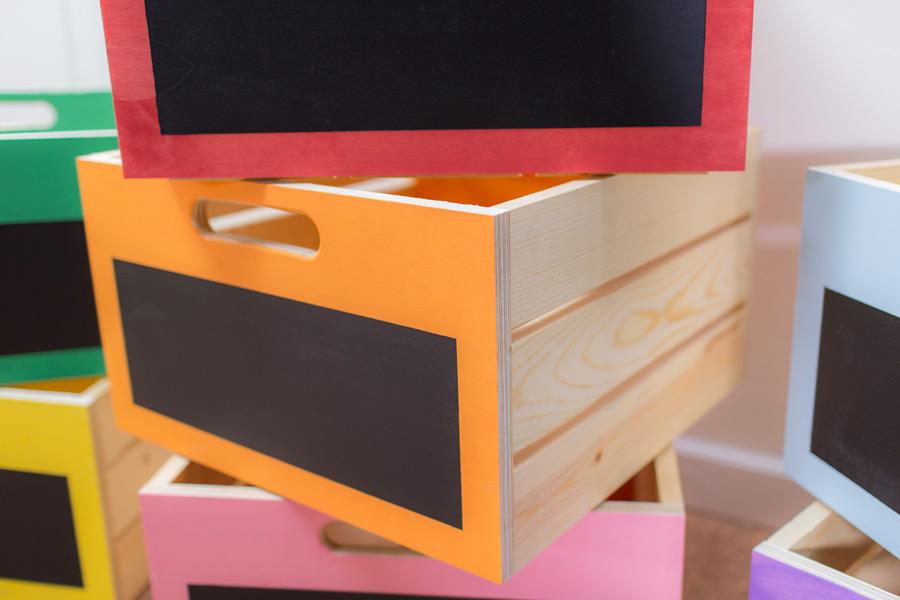
If your crate will be used strictly for utility storage, you can be done. But with a little more effort, you can customize them. We added colorful paint on the ends, and then taped off and painted a chalkboard panel. Wiping on a coat of oil protected the slats add warmed up the wood color. You can even screw small swiveling casters if you want to make your crate mobile.


