Compact Coat Rack – Metric
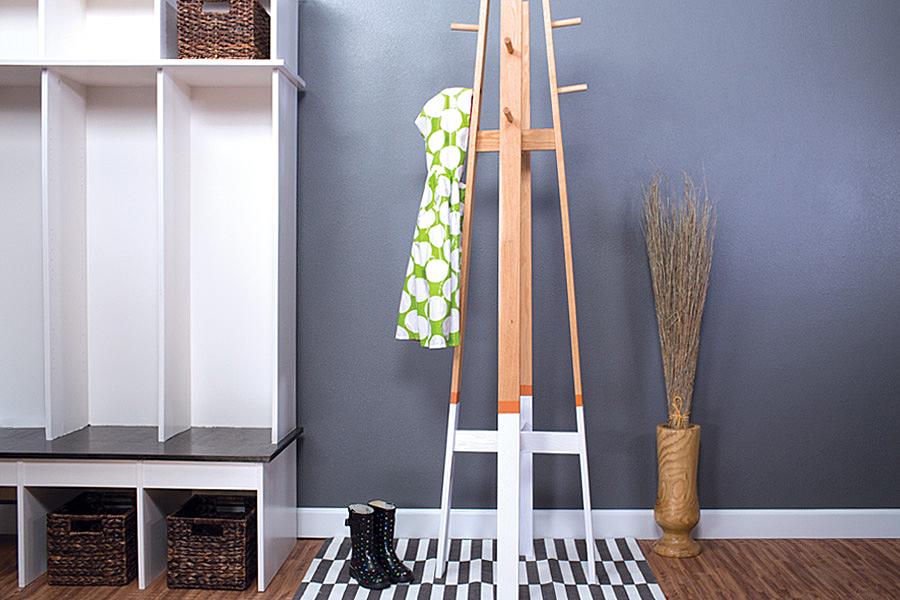
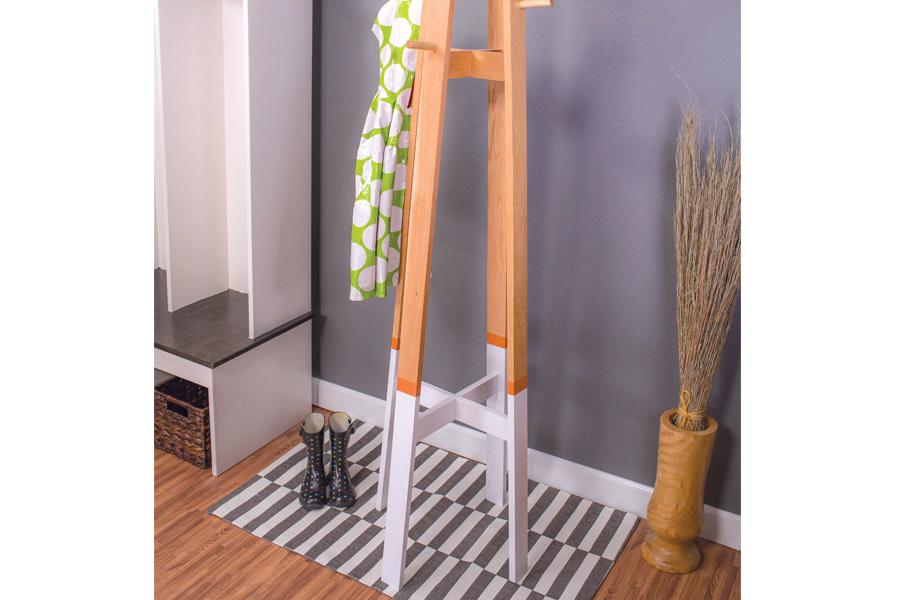
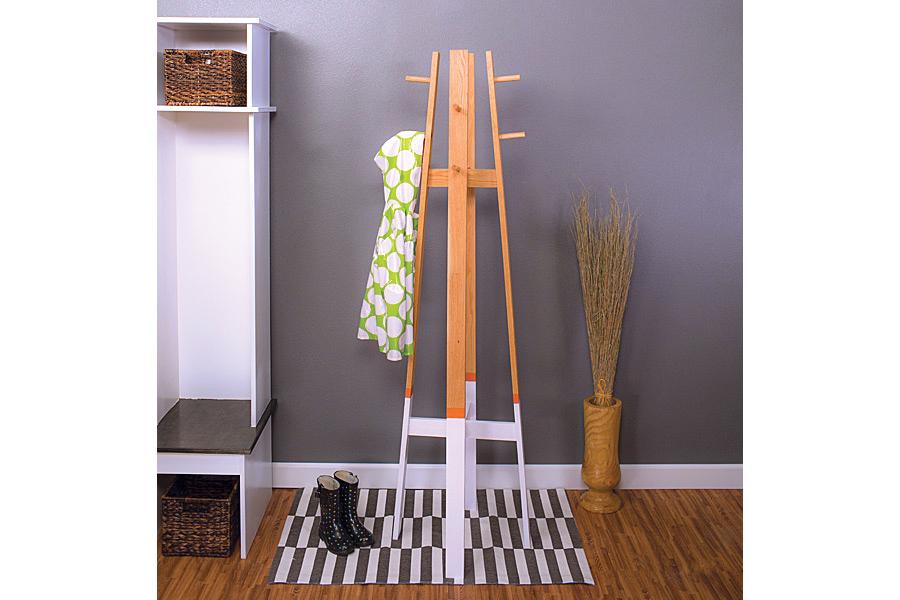
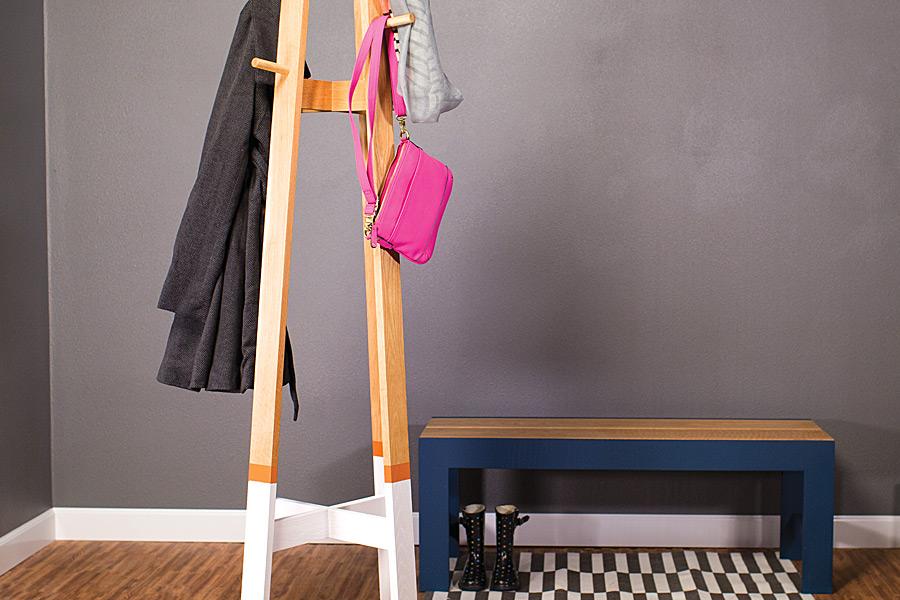
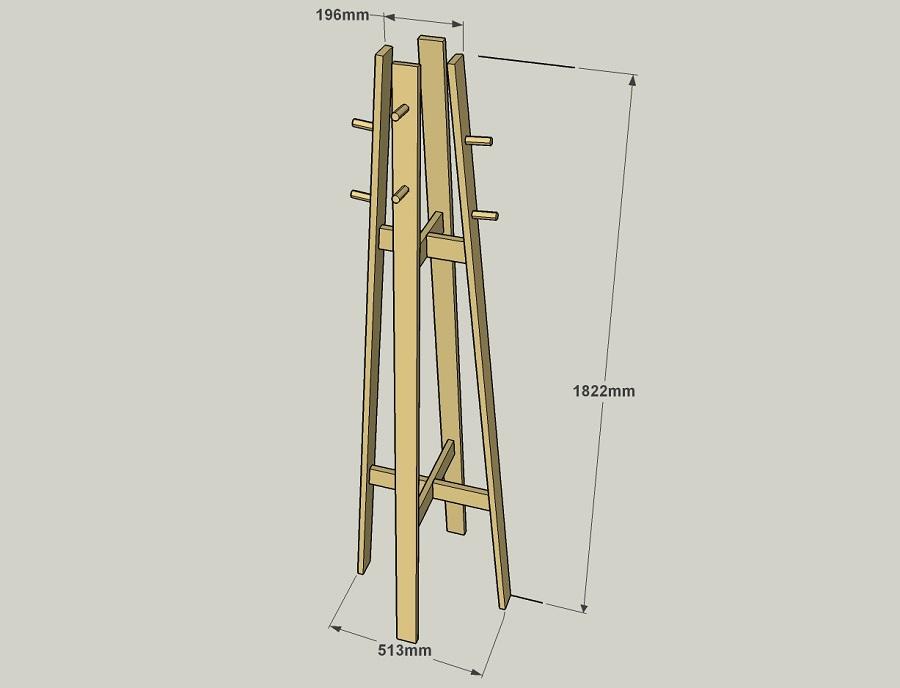
By Kreg ToolNot everyone has space for a mudroom, but everyone does need a place to hang coats and hats when they come in the door. With this coat rack, you’ll get that hanging space without taking up floor space. At less than 60 cm wide and about 180 cm tall, its compact size makes it easy to fit almost anywhe
Directions
-
Cut the Legs and Pegs
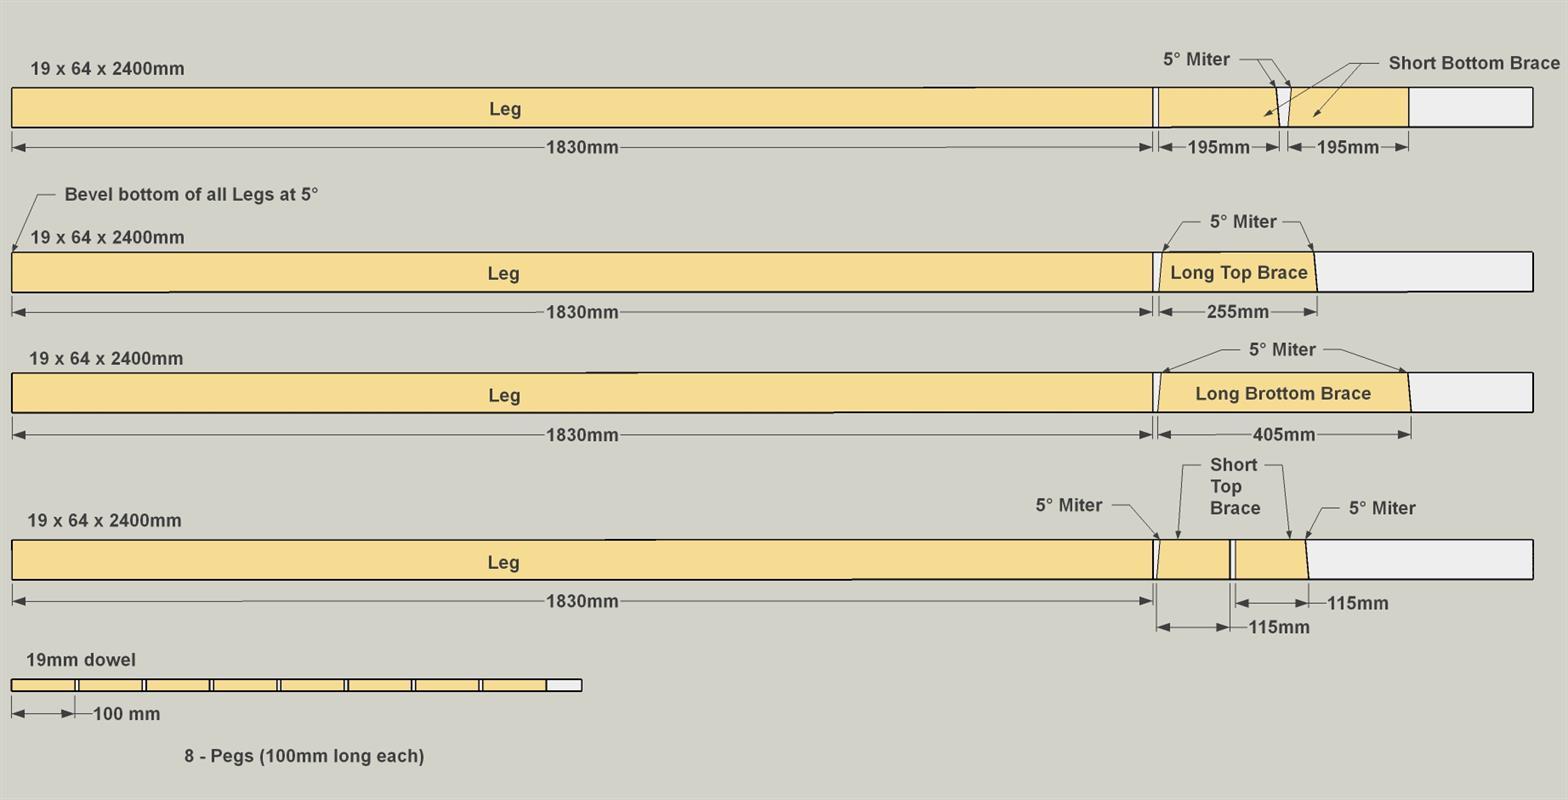
Cut four Legs from 19x64mm boards, as shown in the cutting diagram. To do this, first bevel one end of each board at 5°. Then measure 1830mm on the long face of the board, reset your saw for a square cut, and then cut the Leg to final length. Also cut eight Pegs to length from a 19mm dowel, as shown in the cutting diagram.
-
Prepare for the Pegs
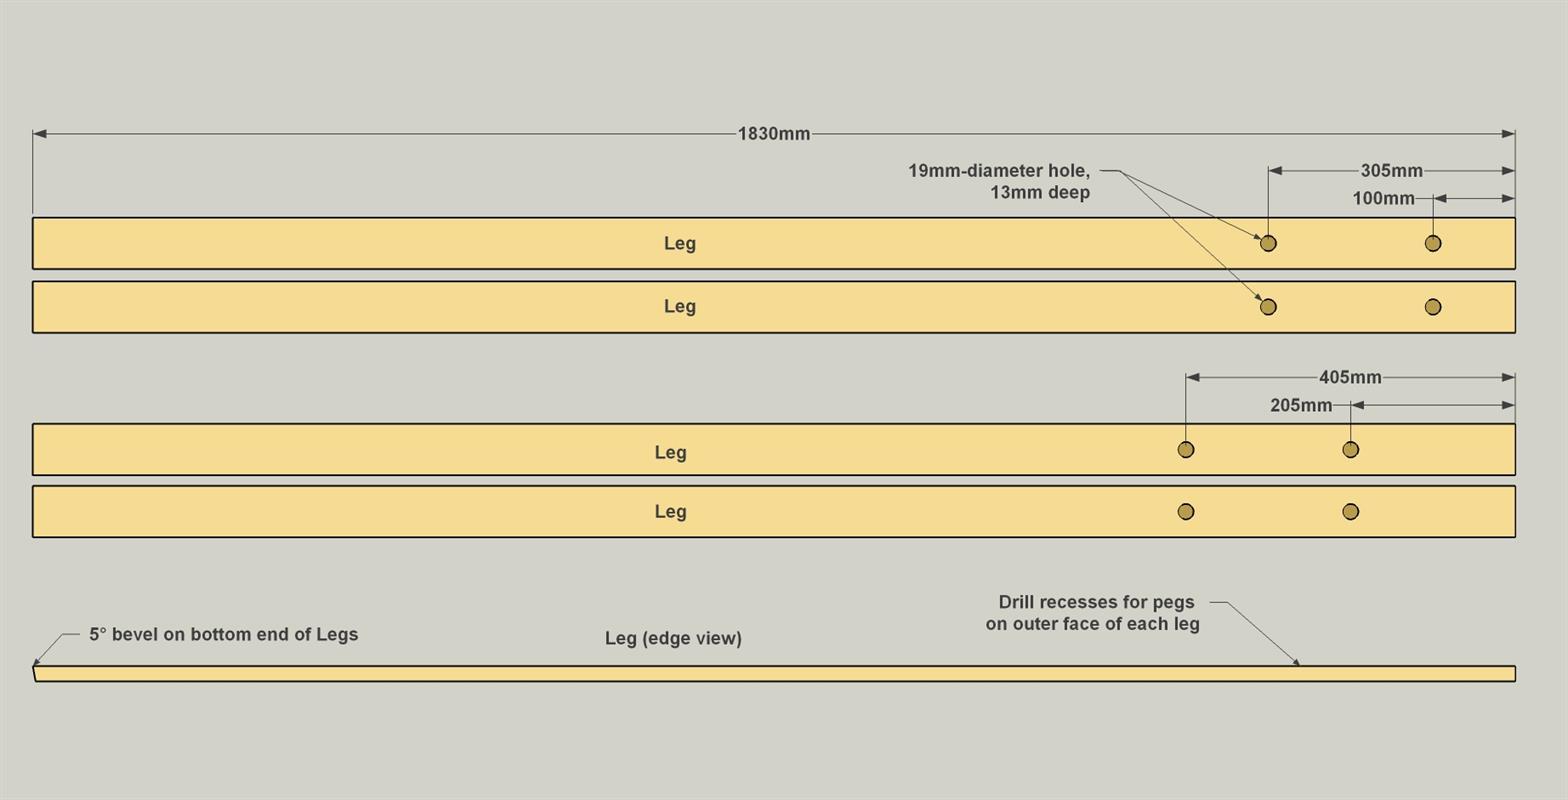
Now you can lay out and drill the recesses in the outer face (the longer face) of each Leg to receive the pegs. Note that you’ll have two Legs with Pegs mounted higher, and two Legs with the Pegs mounted lower. Locate the center of the Legs at these locations, and then drill recesses 13mm deep using a 19mm-diameter Forstner bit. Take care to keep the holes perpendicular to the face of each leg, and don’t drill all the way through.
-
Attach the Pegs
After sanding the Legs, glue the Pegs into the recesses. Make sure that they’re perpendicular to the face of each Leg before the glue dries.
-
Cut the Braces
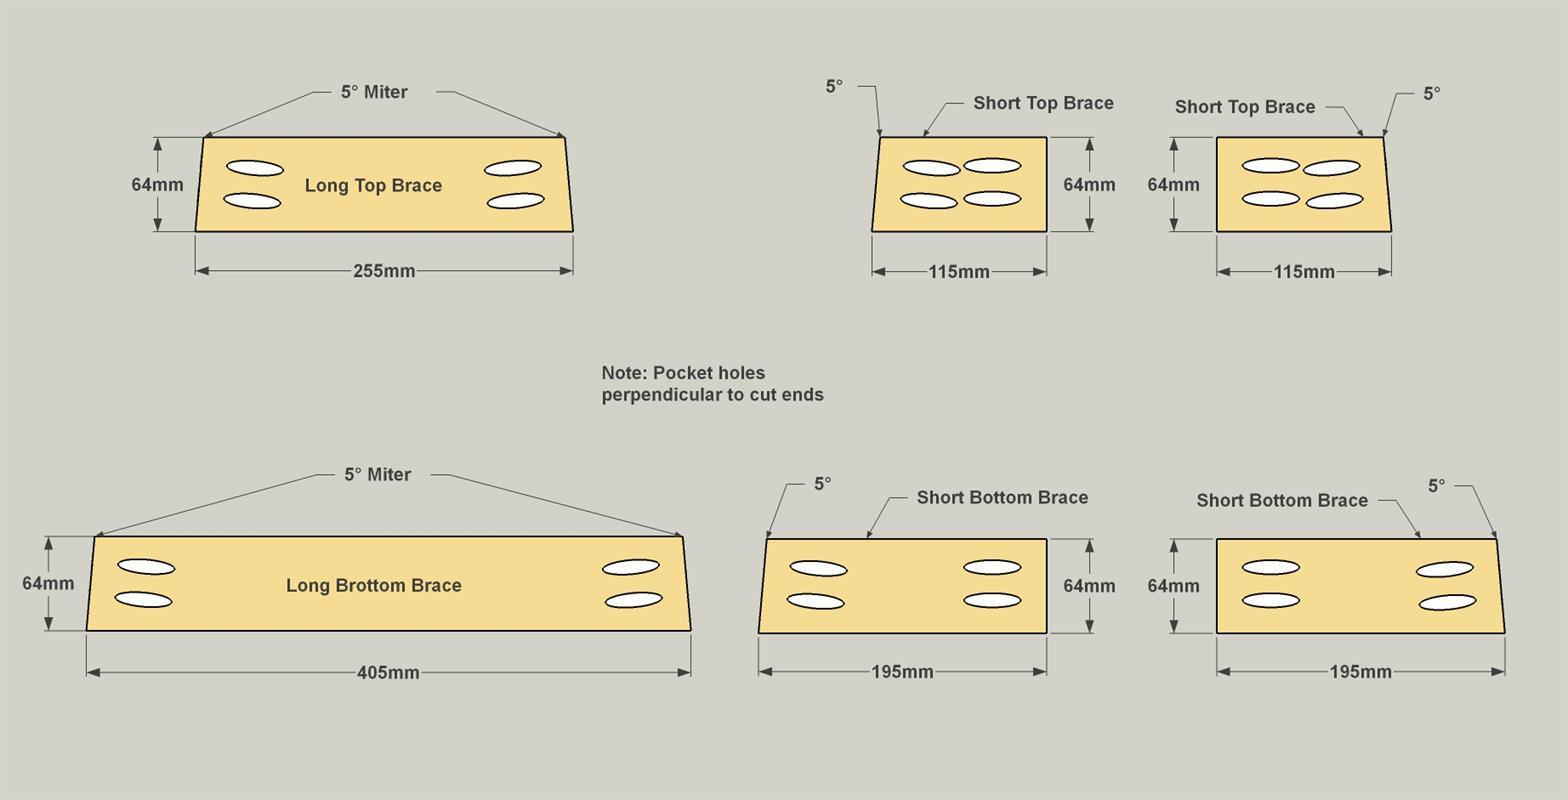
Now you can cut the Braces that attach the legs together. Study the cutting diagram before you cut, and note that the Long Top Brace and Long Bottom Brace are cut at a 5° angle on each end. The Short Top Braces and the Short Bottom Braces are cut square on one end, and at a 5° angle on the other end. Once you have it all figured out, cut one Long Top Brace, two Short Top Braces, one Long Bottom Brace, and two Short Bottom Braces to length from your 19x64mm boards.
-
Drill Pocket Holes
The Braces need pocket holes to allow them to be attached. With your pocket-hole jig set up for 19mm material, drill the pocket holes as shown. Note that on the mitered ends the pockets are drilled so they are perpendicular to the end. When you’ve drilled all the holes, sand all of the Braces smooth.
-
Attach the Long Braces
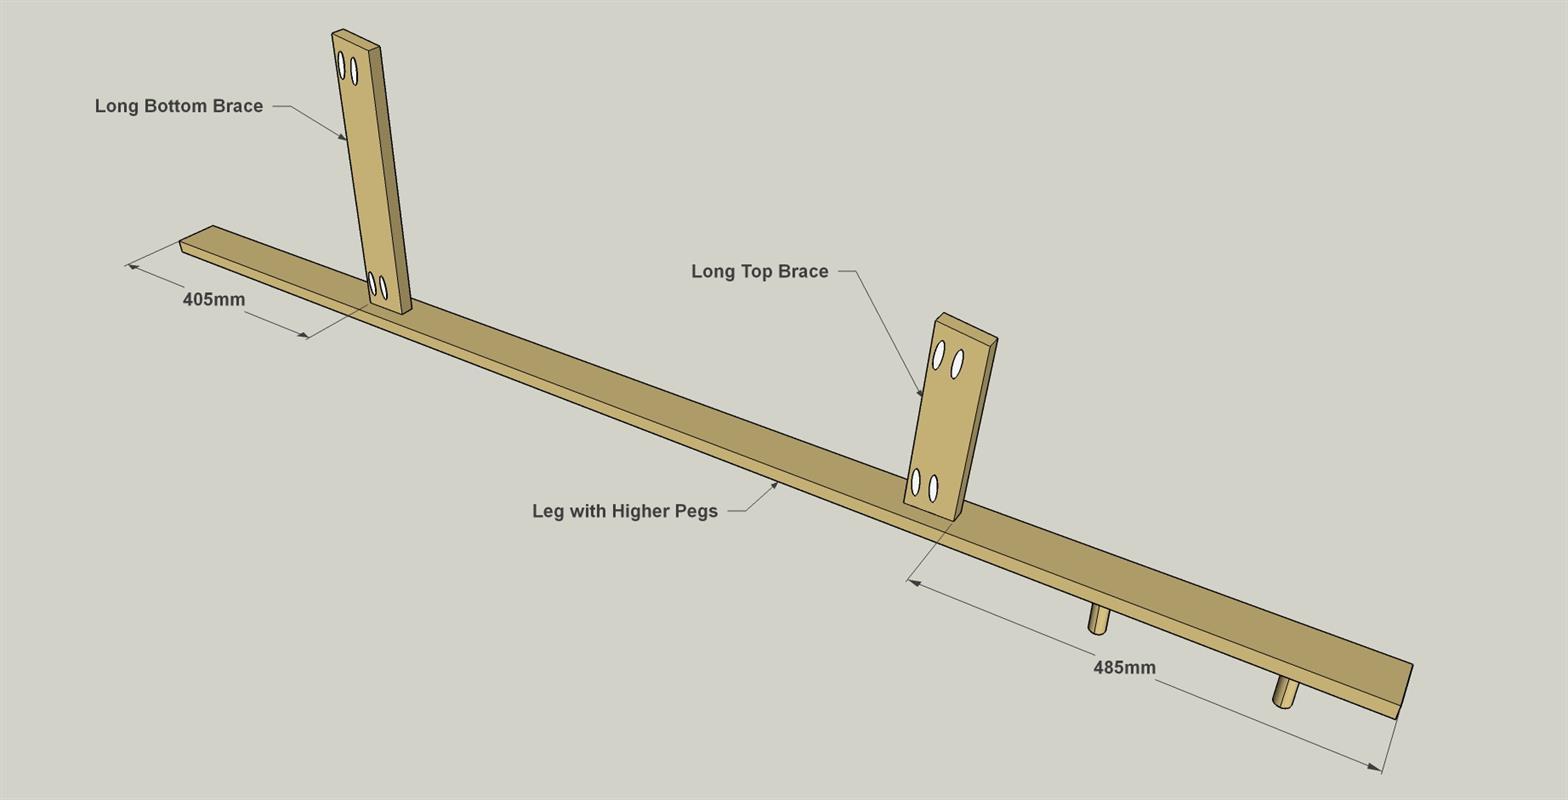
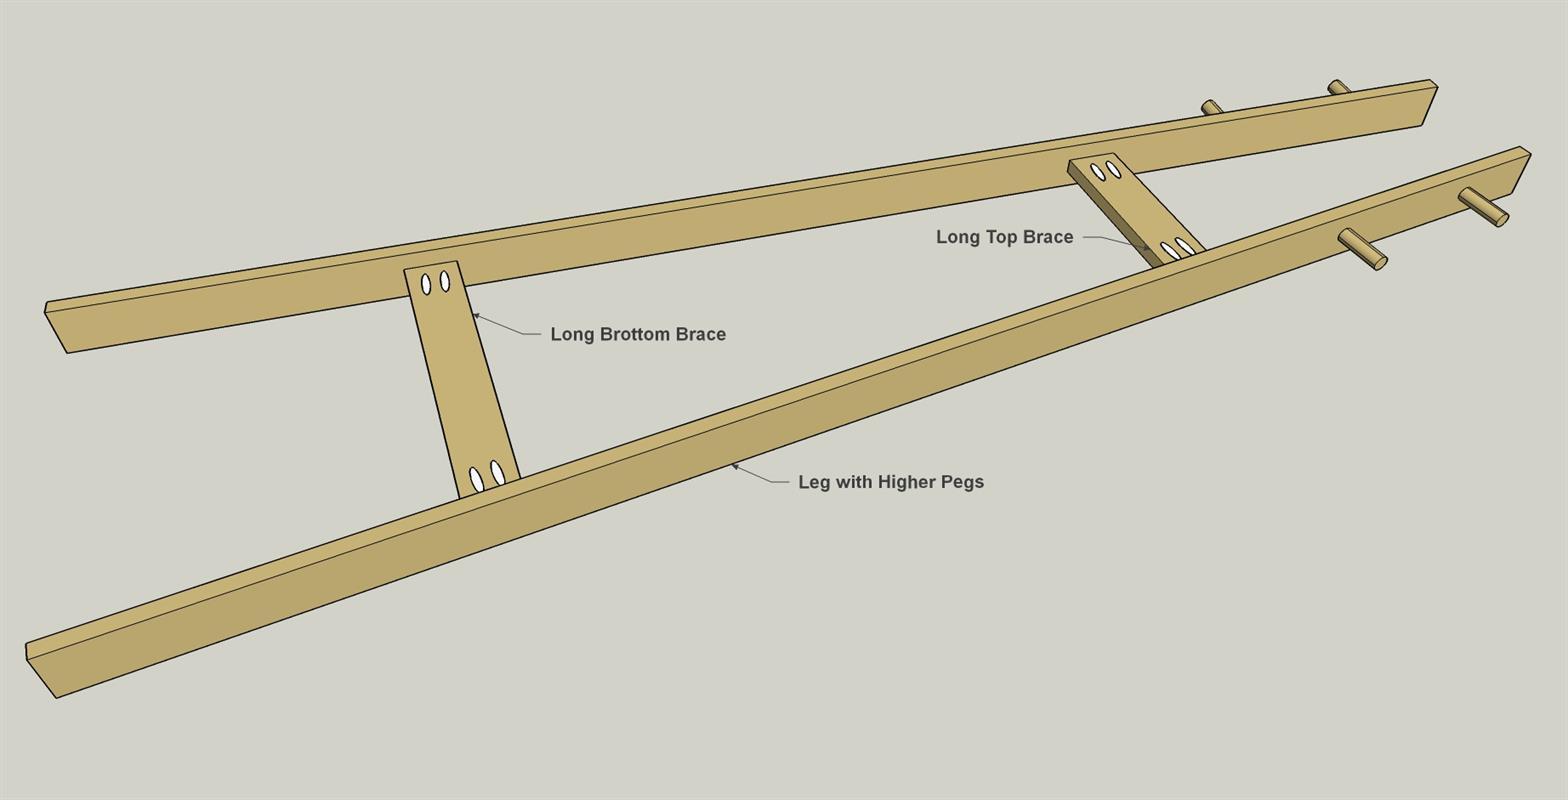
Attach the Long Bottom Brace and the Long Top Brace to one of the Legs that has high-mounted Pegs. Use 32mm pocket-hole screws (fine thread for hardwoods like oak, coarse thread for softwoods like pine). Make sure the Braces are centered on the width of the Leg, and that the Pegs are at the appropriate end.
-
Add a Second Leg
Now align and attach the other leg with high-mounted Pegs the same way.
-
Attach the Short Braces
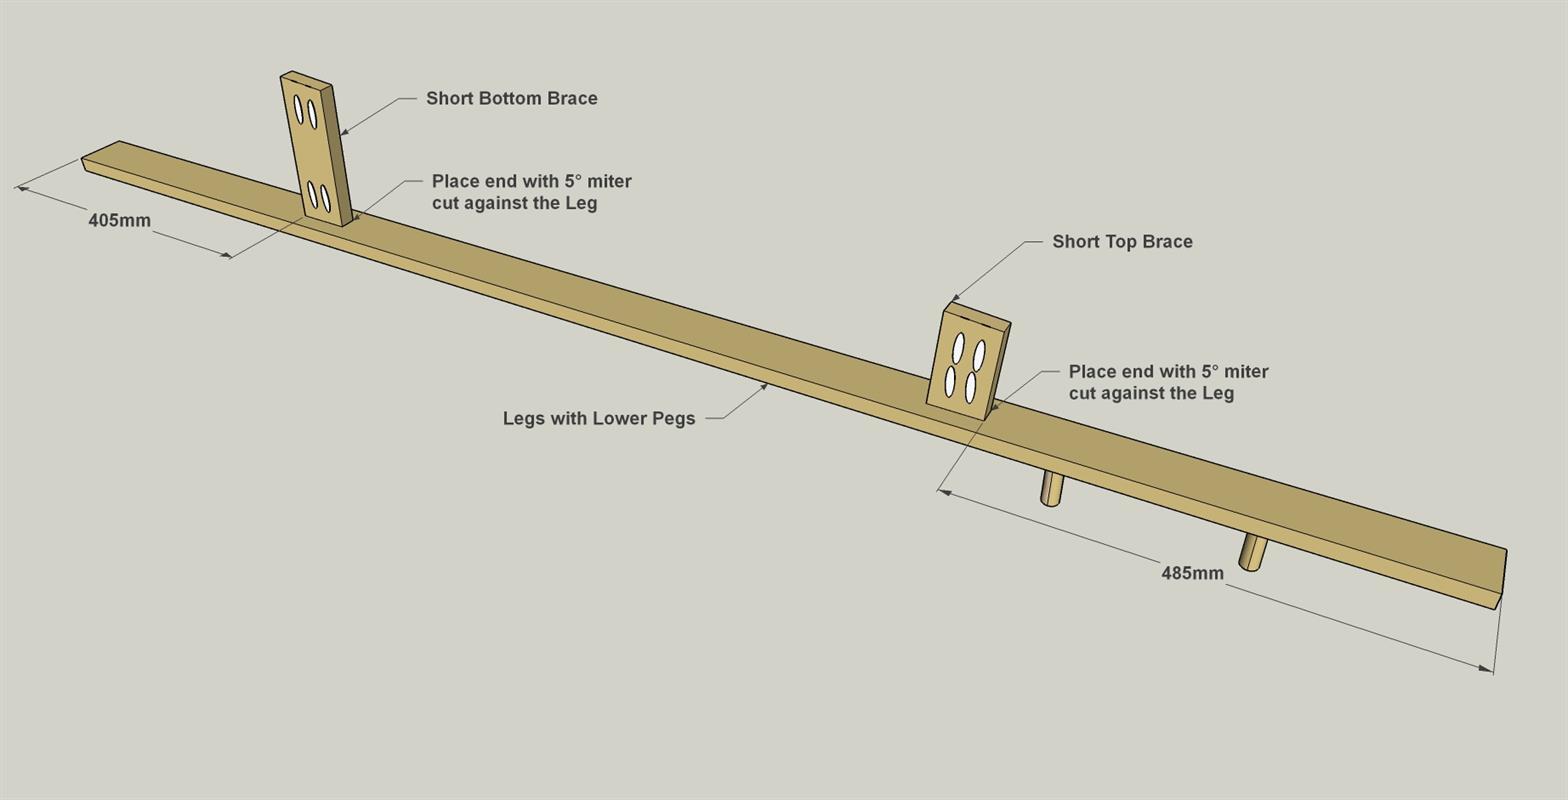
Now you can attach a Short Bottom Brace and a Short Top Brace to each of the other Legs (with the low-mounted Pegs) using 32mm pocket-hole screws. Make sure you have the Braces positioned accurately, and that you are screwing the mitered end of each Brace to the Legs.
-
Finish Up the Assembly
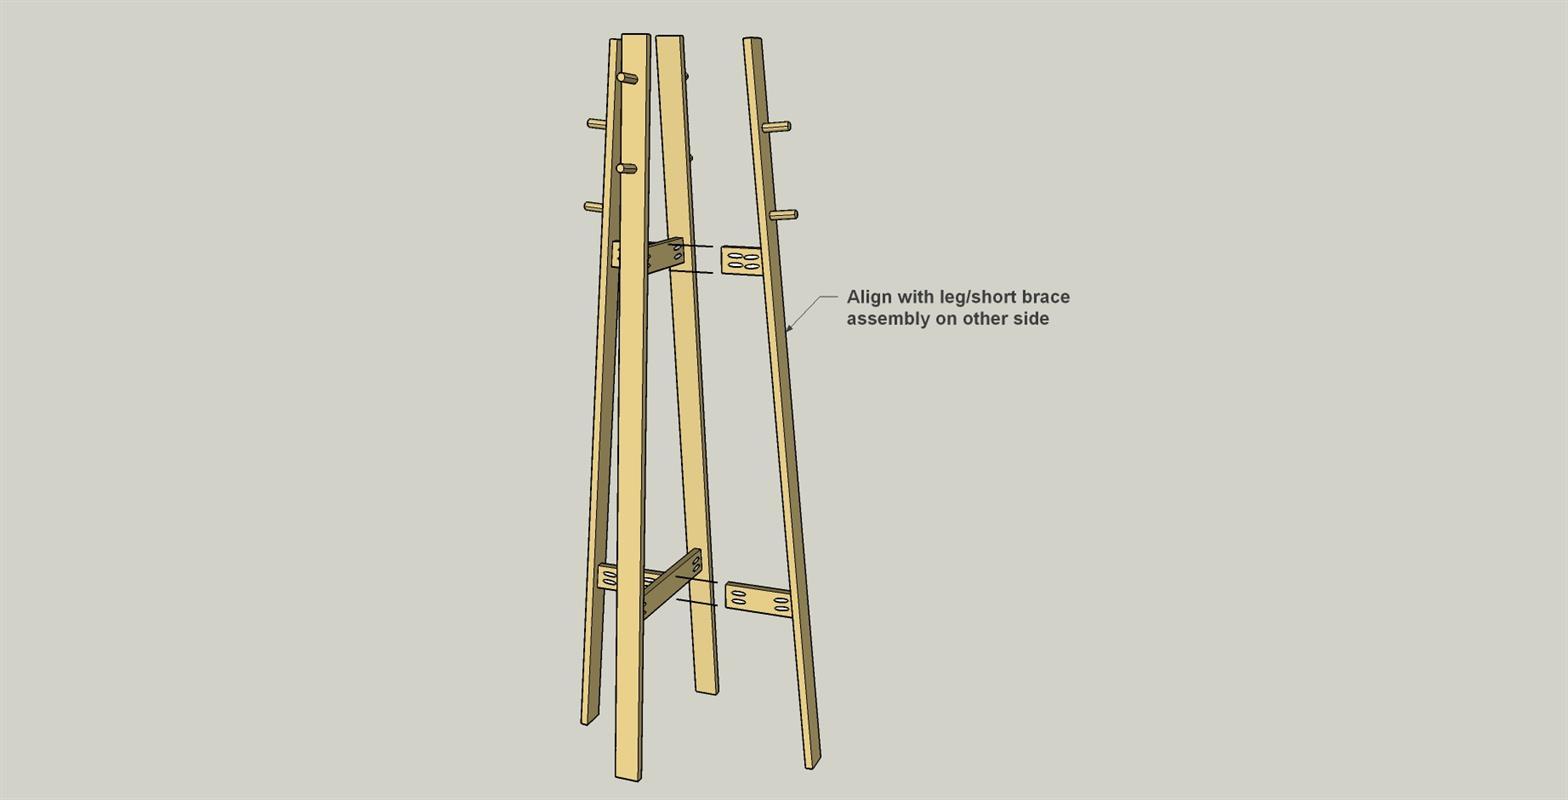
Attaching these leg assemblies to the others is easy. Just center the Short Brace on the length of the Long Brace, and then drive in 32mm pocket-hole screws. If you wish, you can plug the pocket holes, though the tight spaces do make this a bit challenging. Then stain or paint (or do both) to give your coat rack the look you want.


