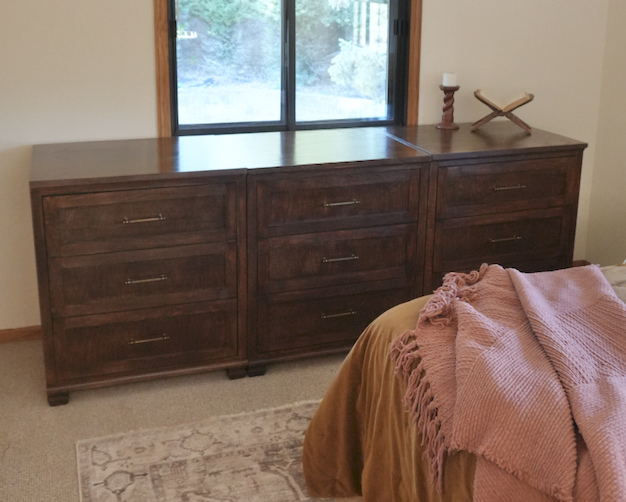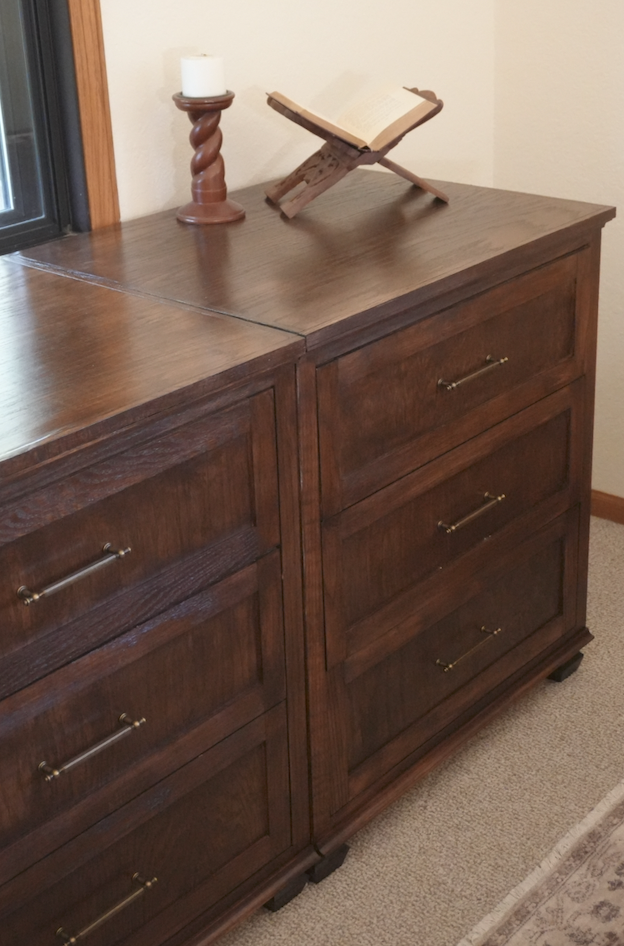
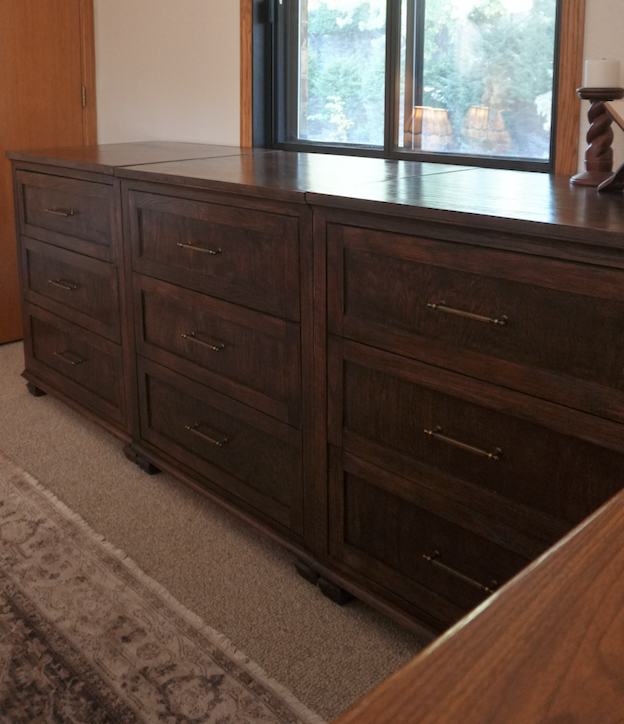
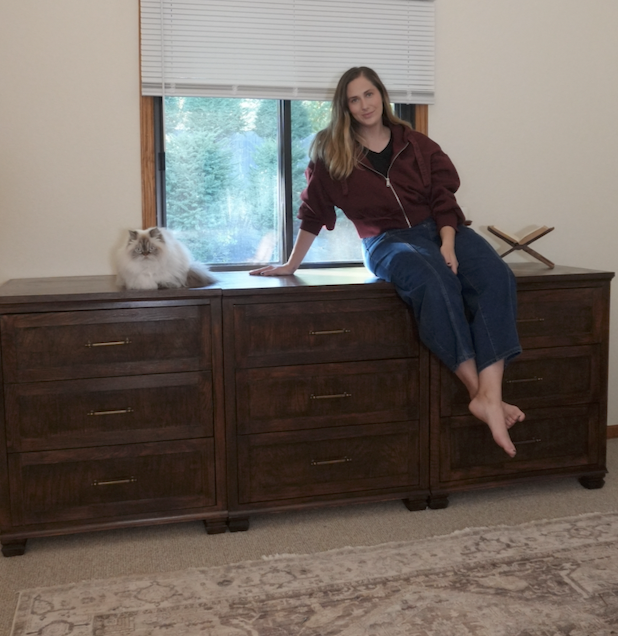
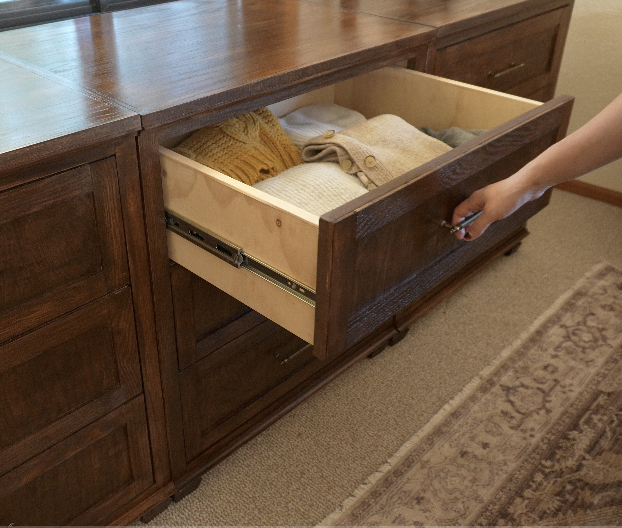


This DIY modular dresser is designed to give you beautiful, custom storage that fits your space and your needs. Build one, three, five, or however many you need! Each dresser is designed to sit seamlessly side by side, creating the look of one long, custom-built piece of furniture.
The best part? Each dresser is its own individual unit, making them easy to move, rearrange, or use separately as your space and storage needs change. Whether you're filling an entire bedroom wall or just need a little extra storage, this design gives you the flexibility to create something that works for your home.
I built three dressers for my space, but these plans will walk you through how to build one. Simply repeat the process to create as many as you need!
Tools
Kreg Tools
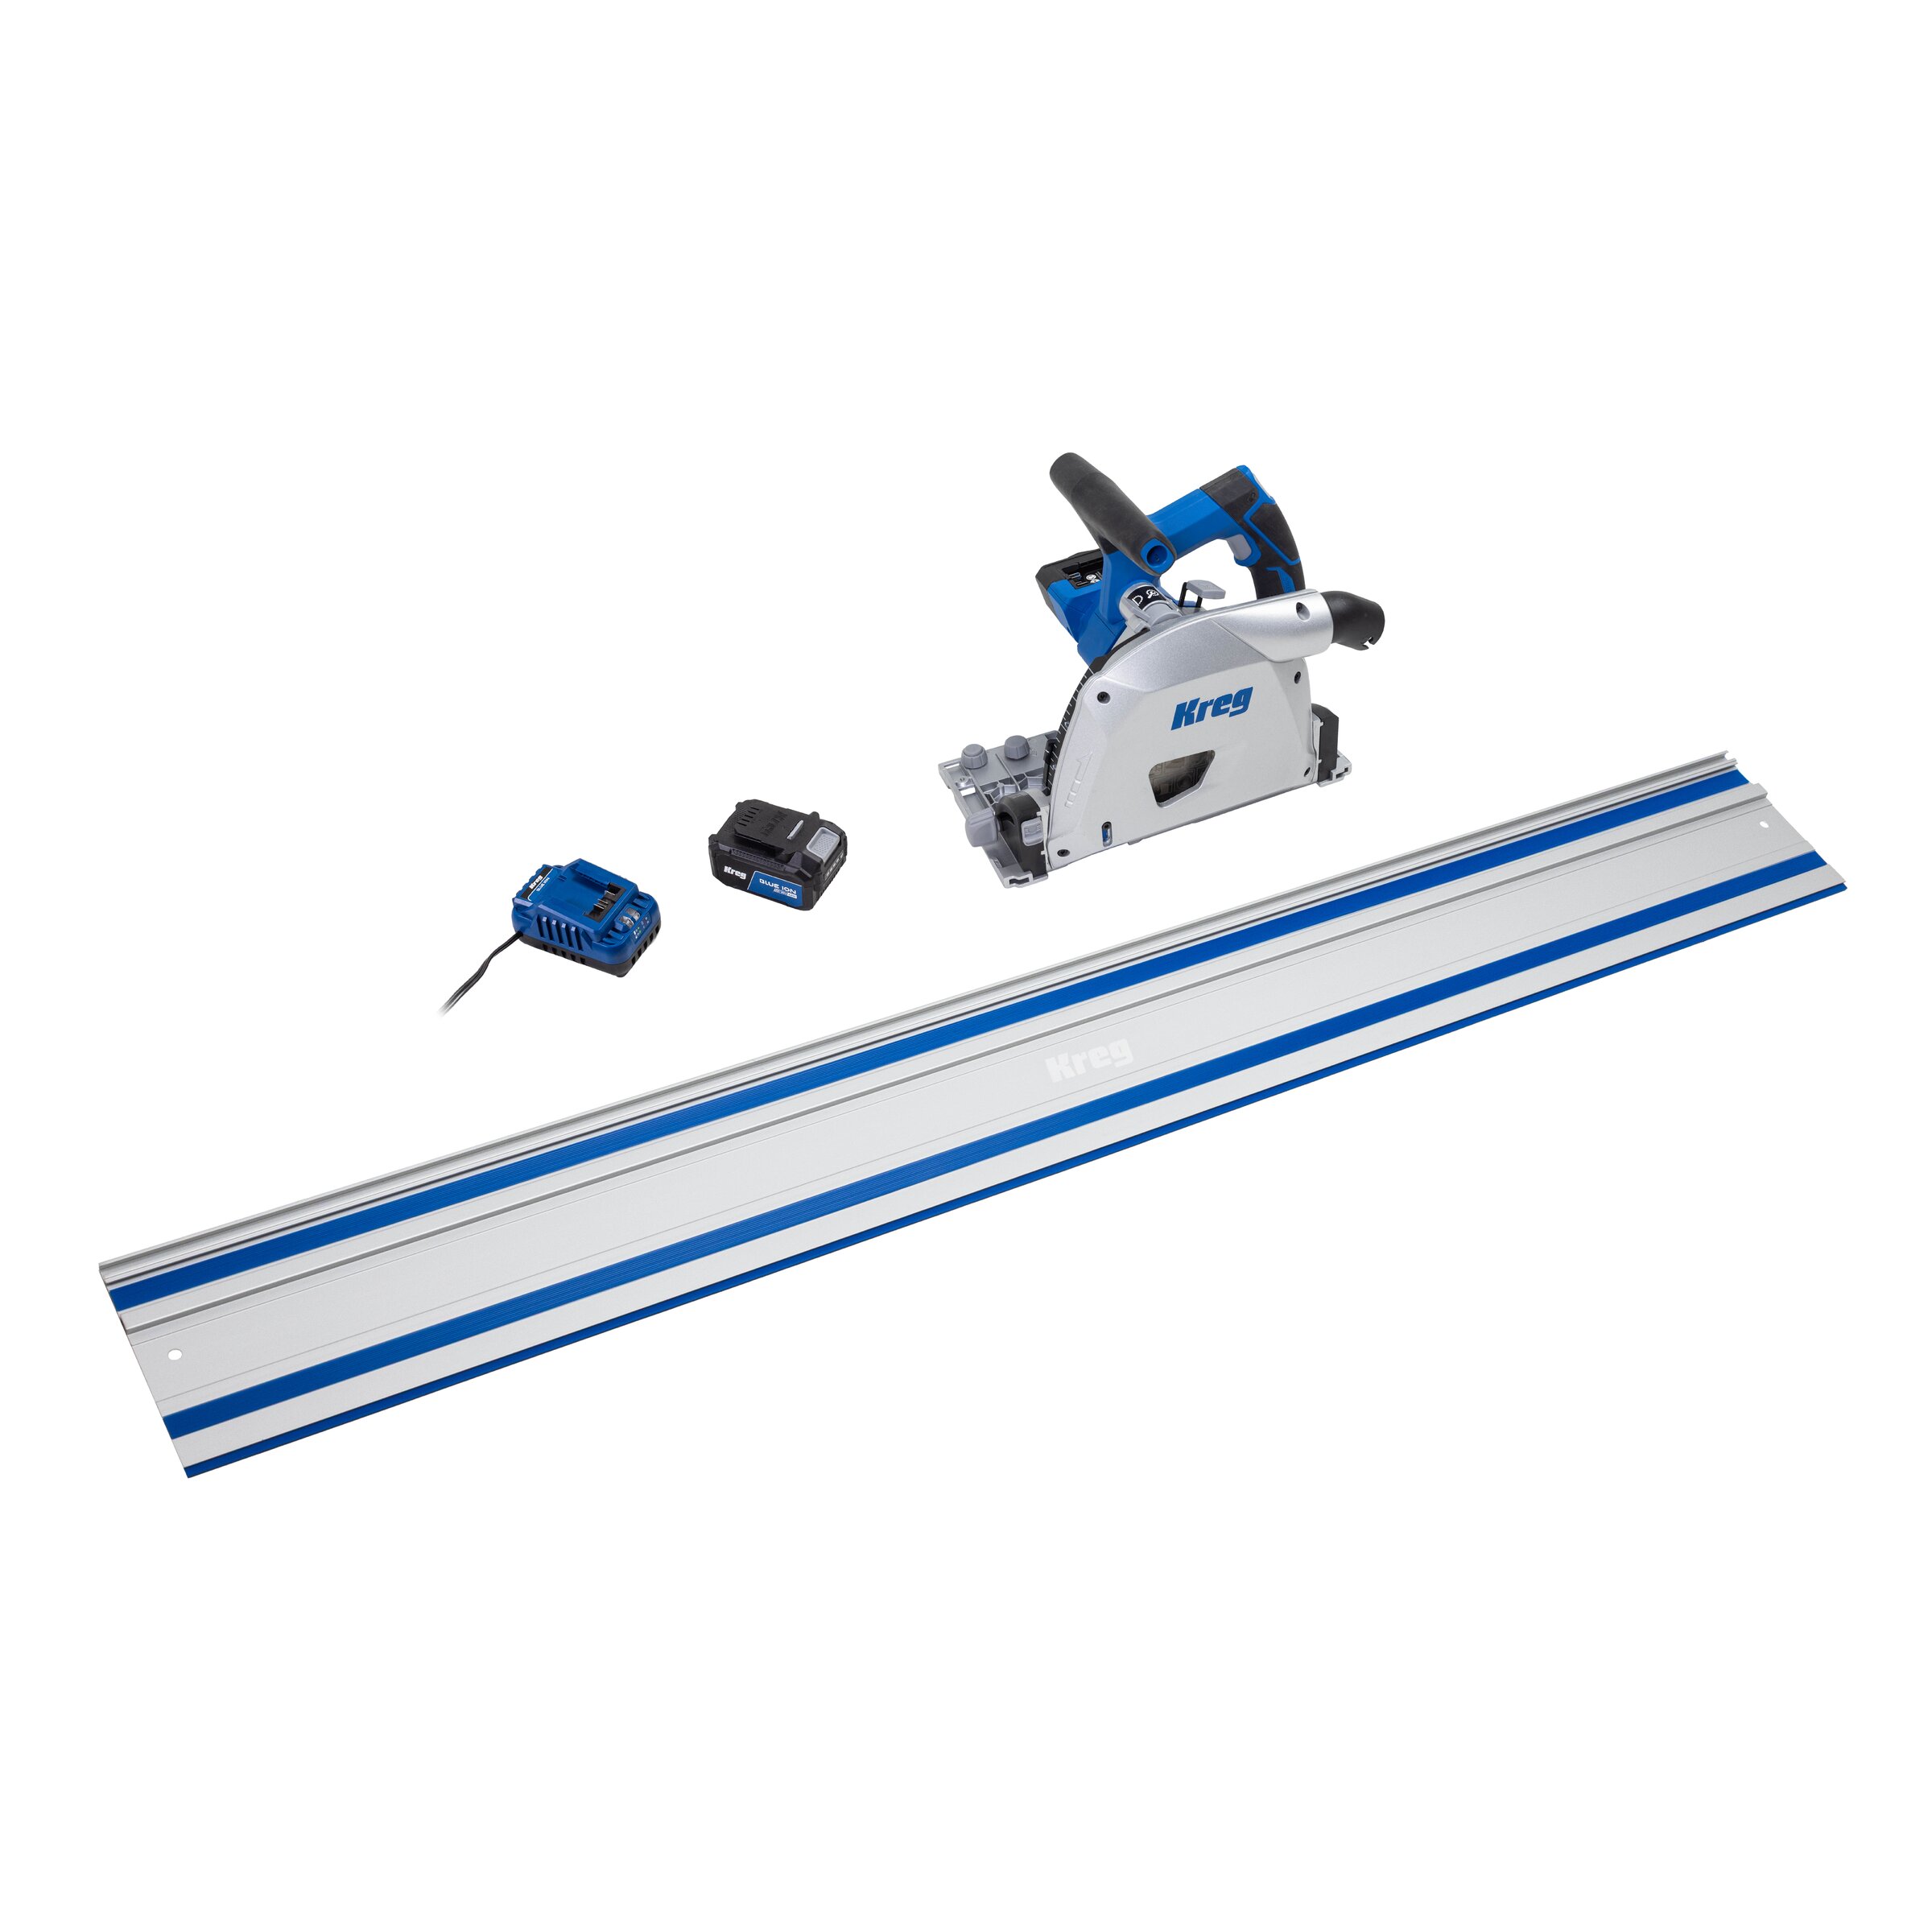
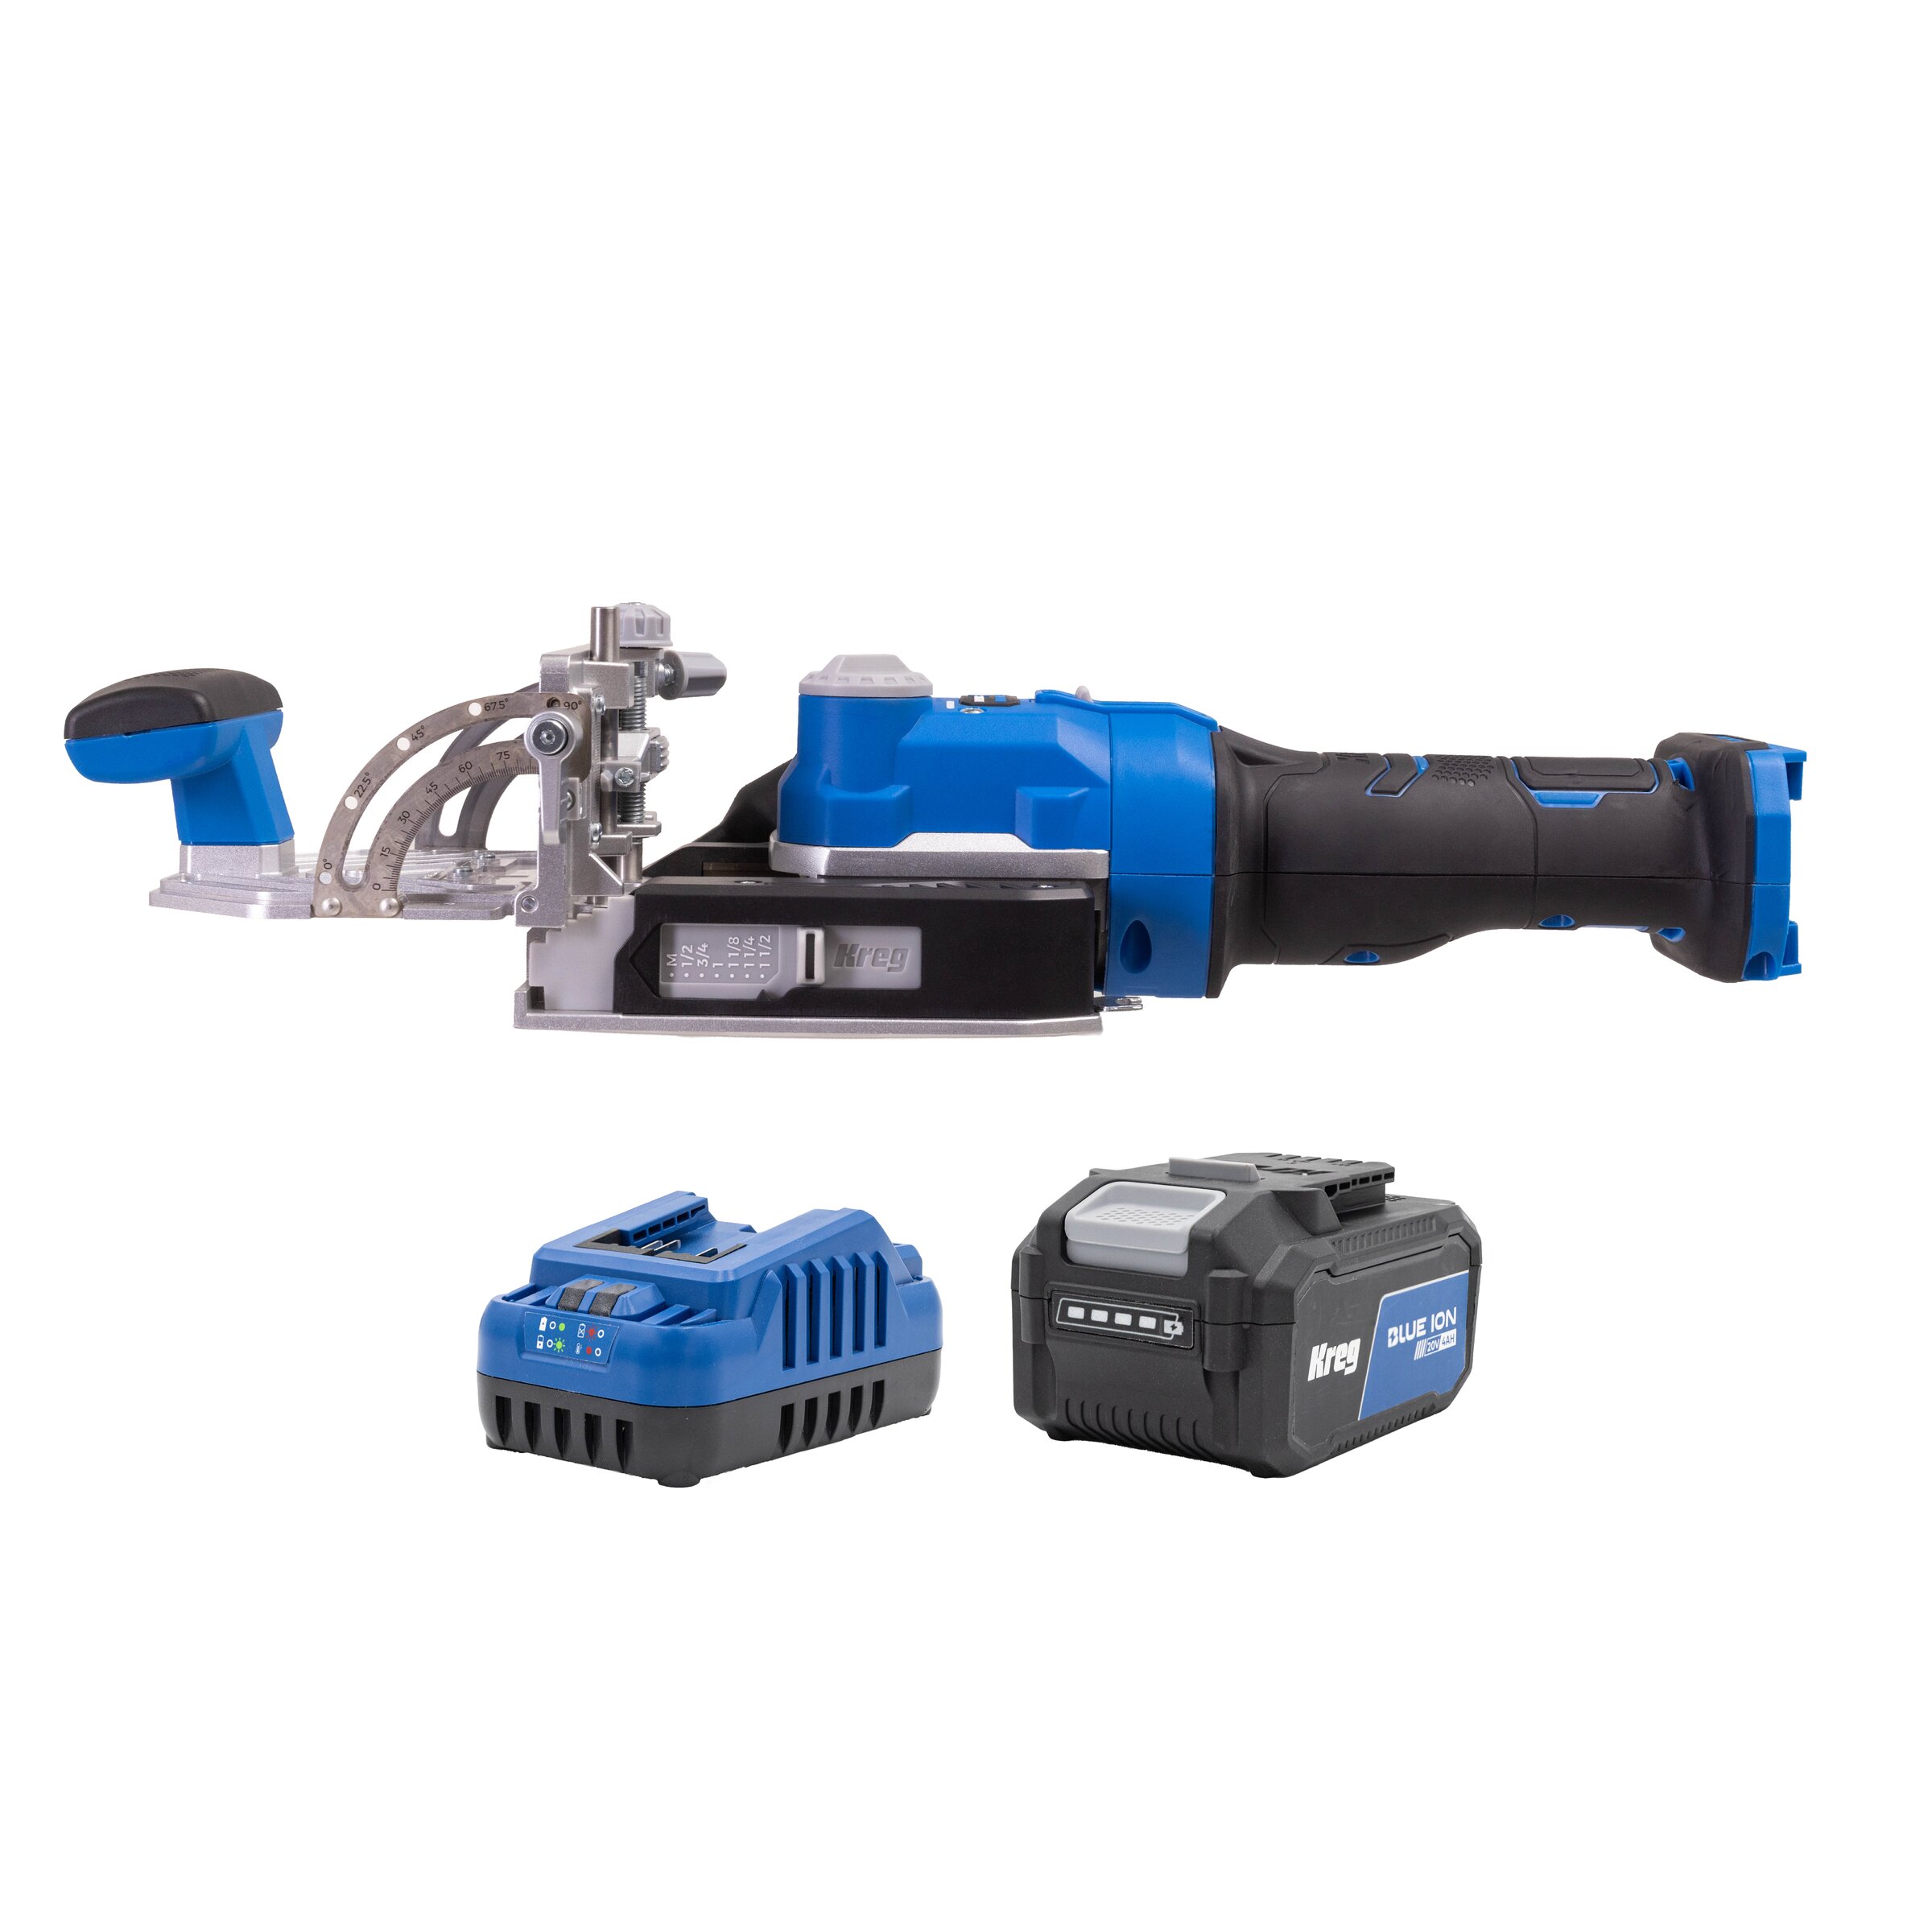

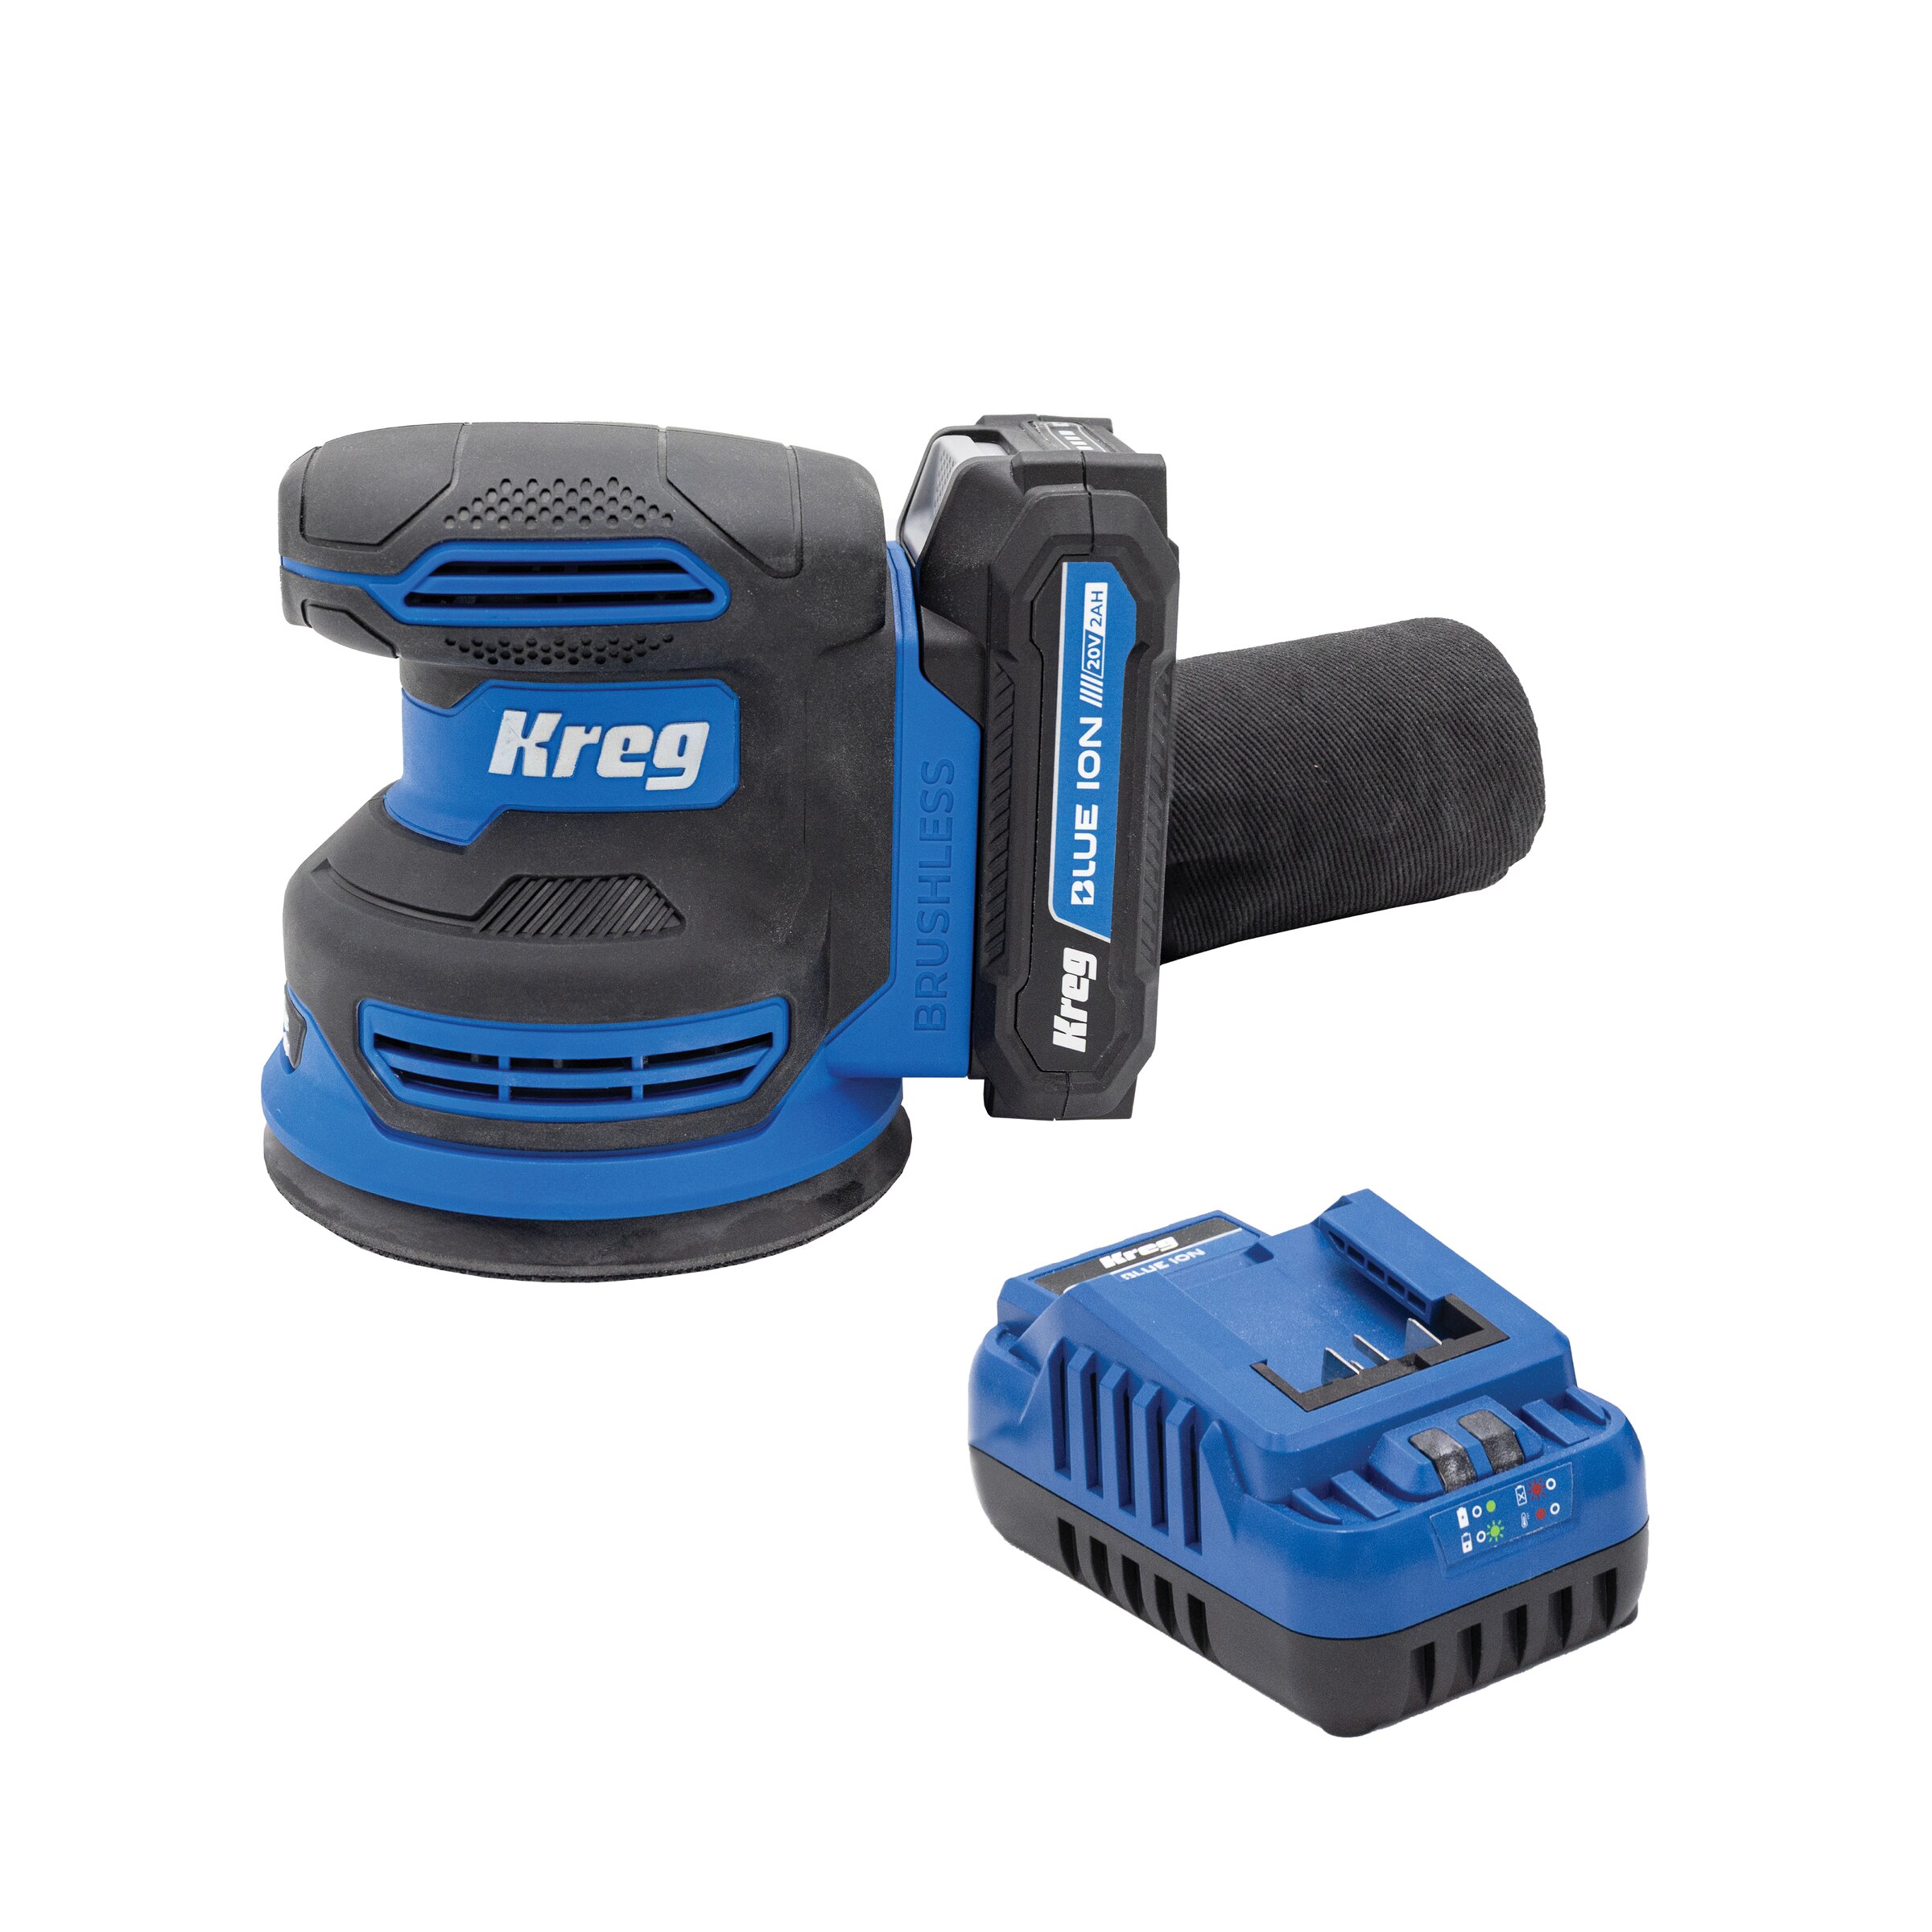

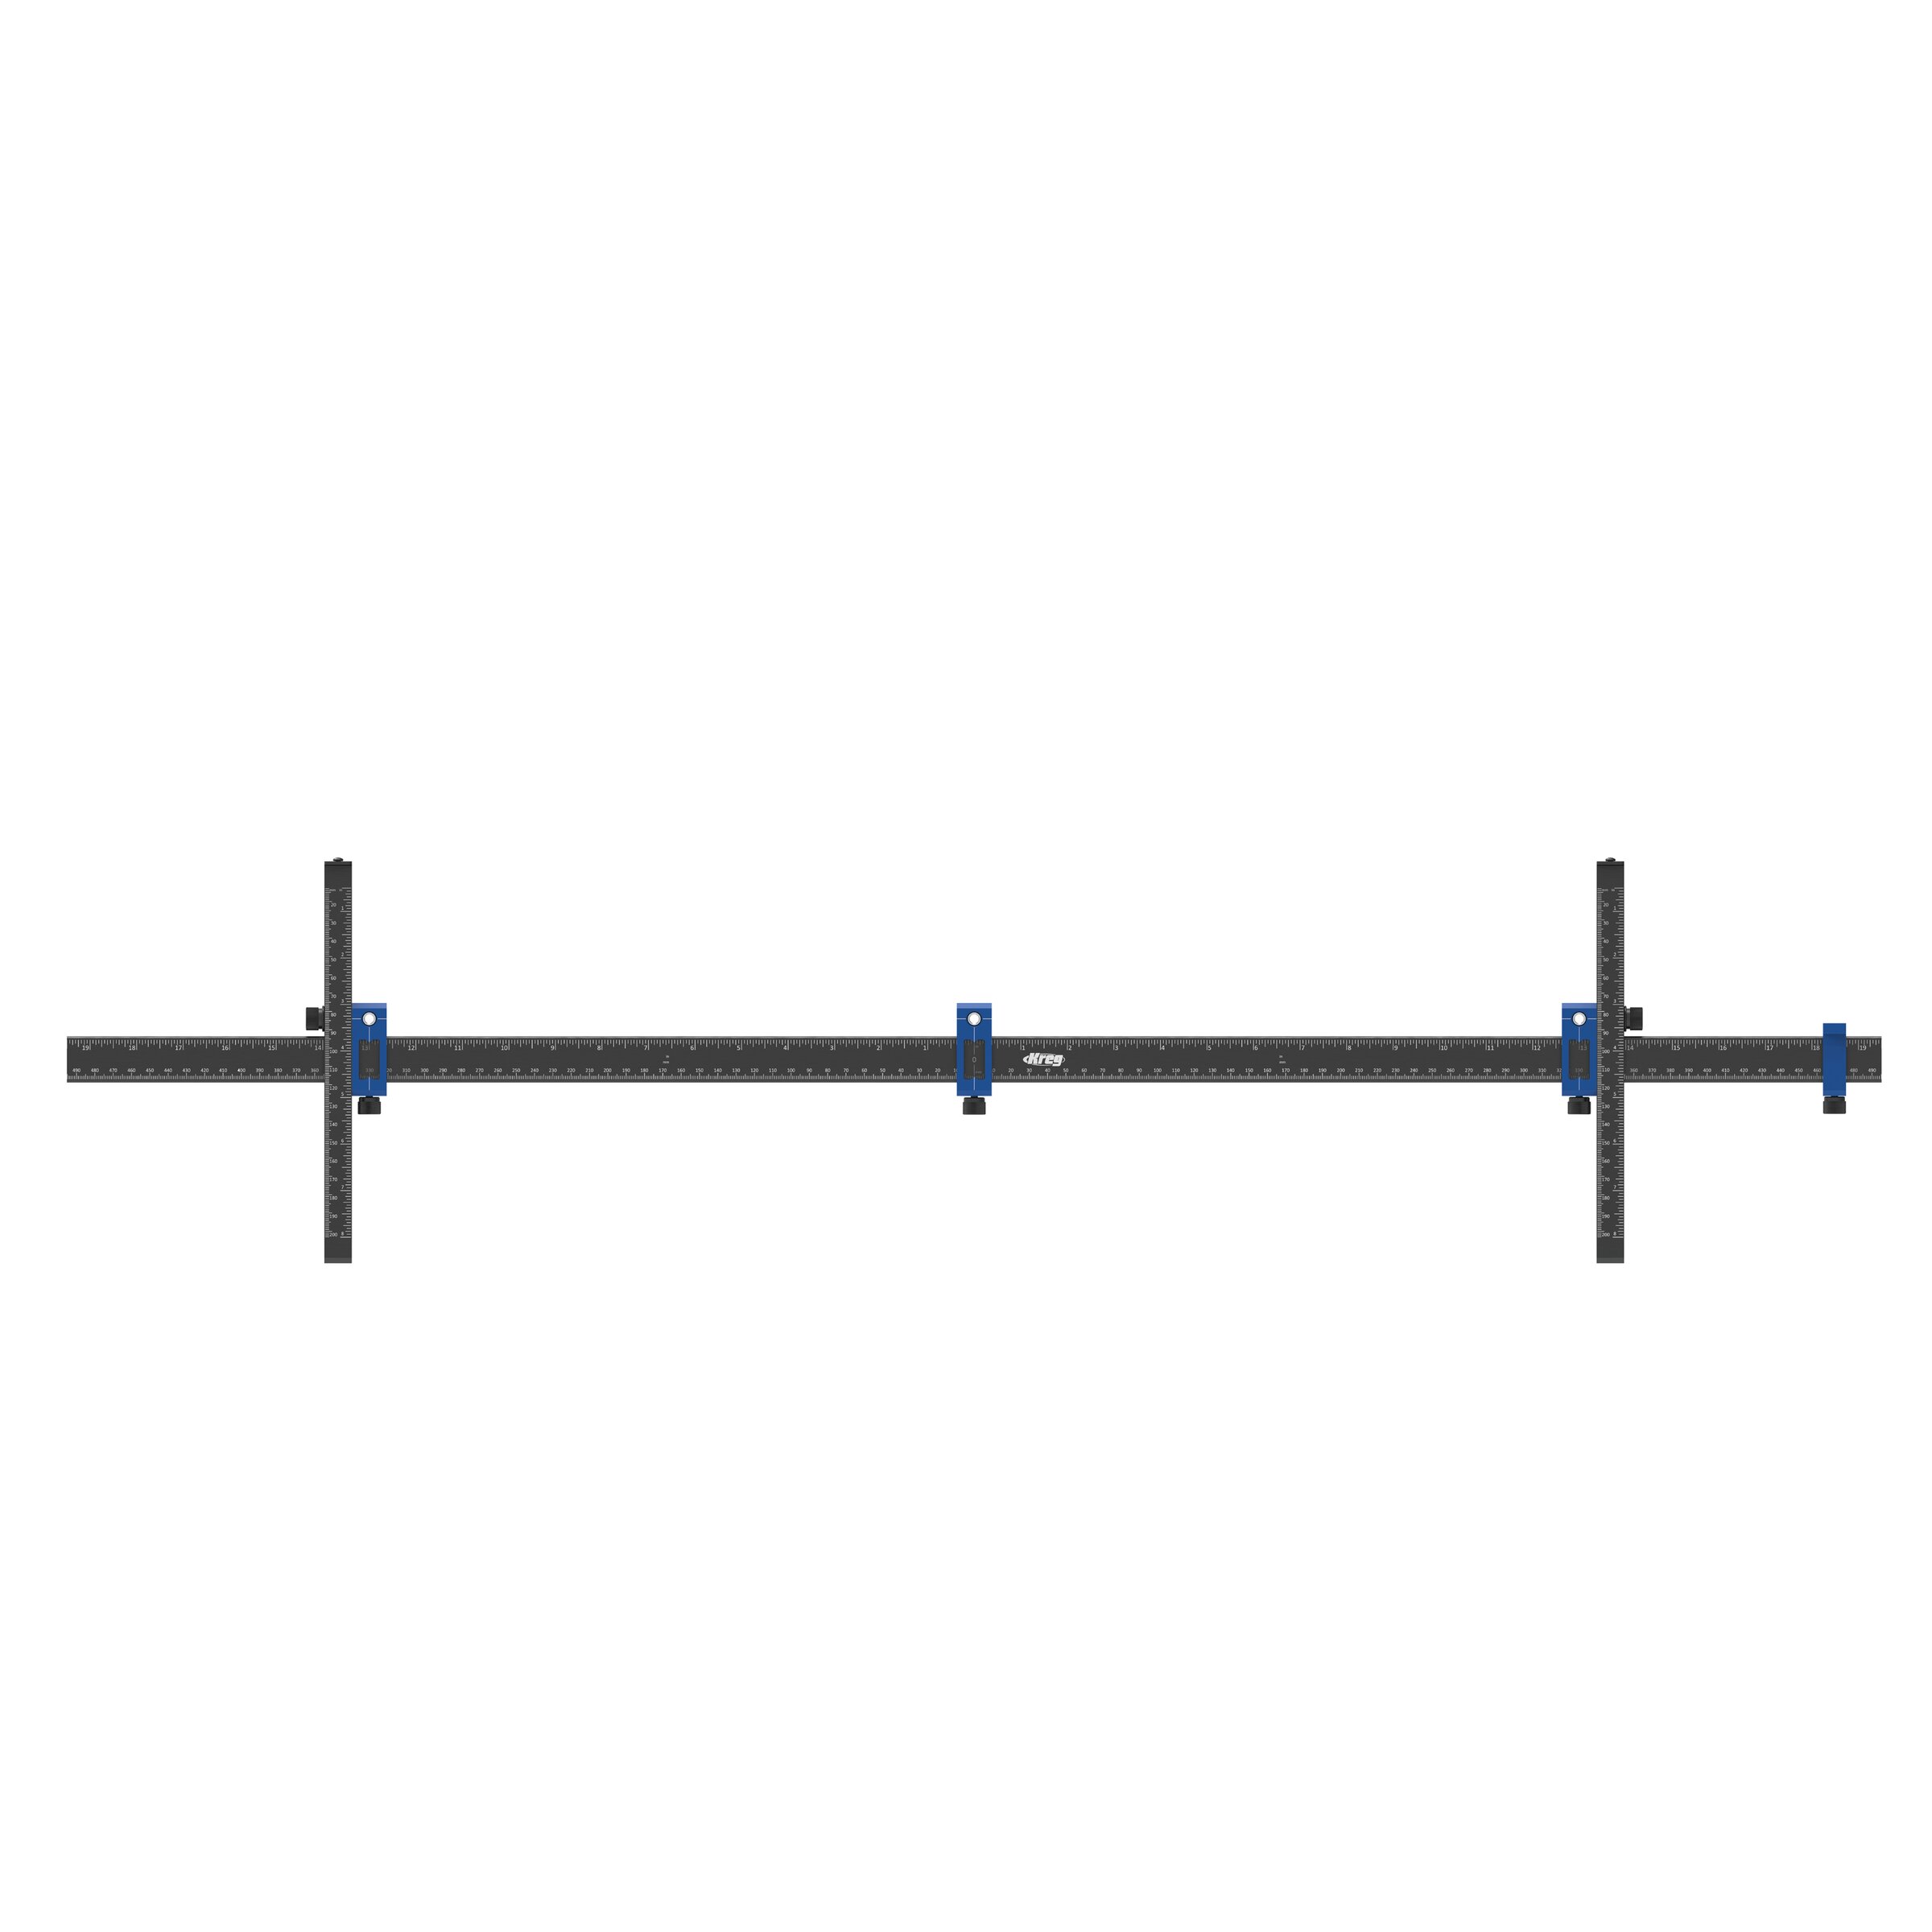
Materials
Wood Products
- 2 3/4" Plywood , 4'x8' Sheet
- 2 2x2 , 8"
- 2 1/4" x 1 1/2" Trim , 8"
- 2 1/2" x 3/4" Trim
- 4 Decrotive Trim
Hardware & Supplies
- -- Wood Glue
- 1 1 1/4 Wood Screws
- -- 3" Furniture Legs
- -- Wood Filler
- 6 Drawer Slides
- 6 3-6 Drawer Pulls/Knobs Depends on Style
- -- Brad Nails
- -- Edge Banding
Directions
-
Step 1: Prep & Cut Your Pieces
Cut your plywood:
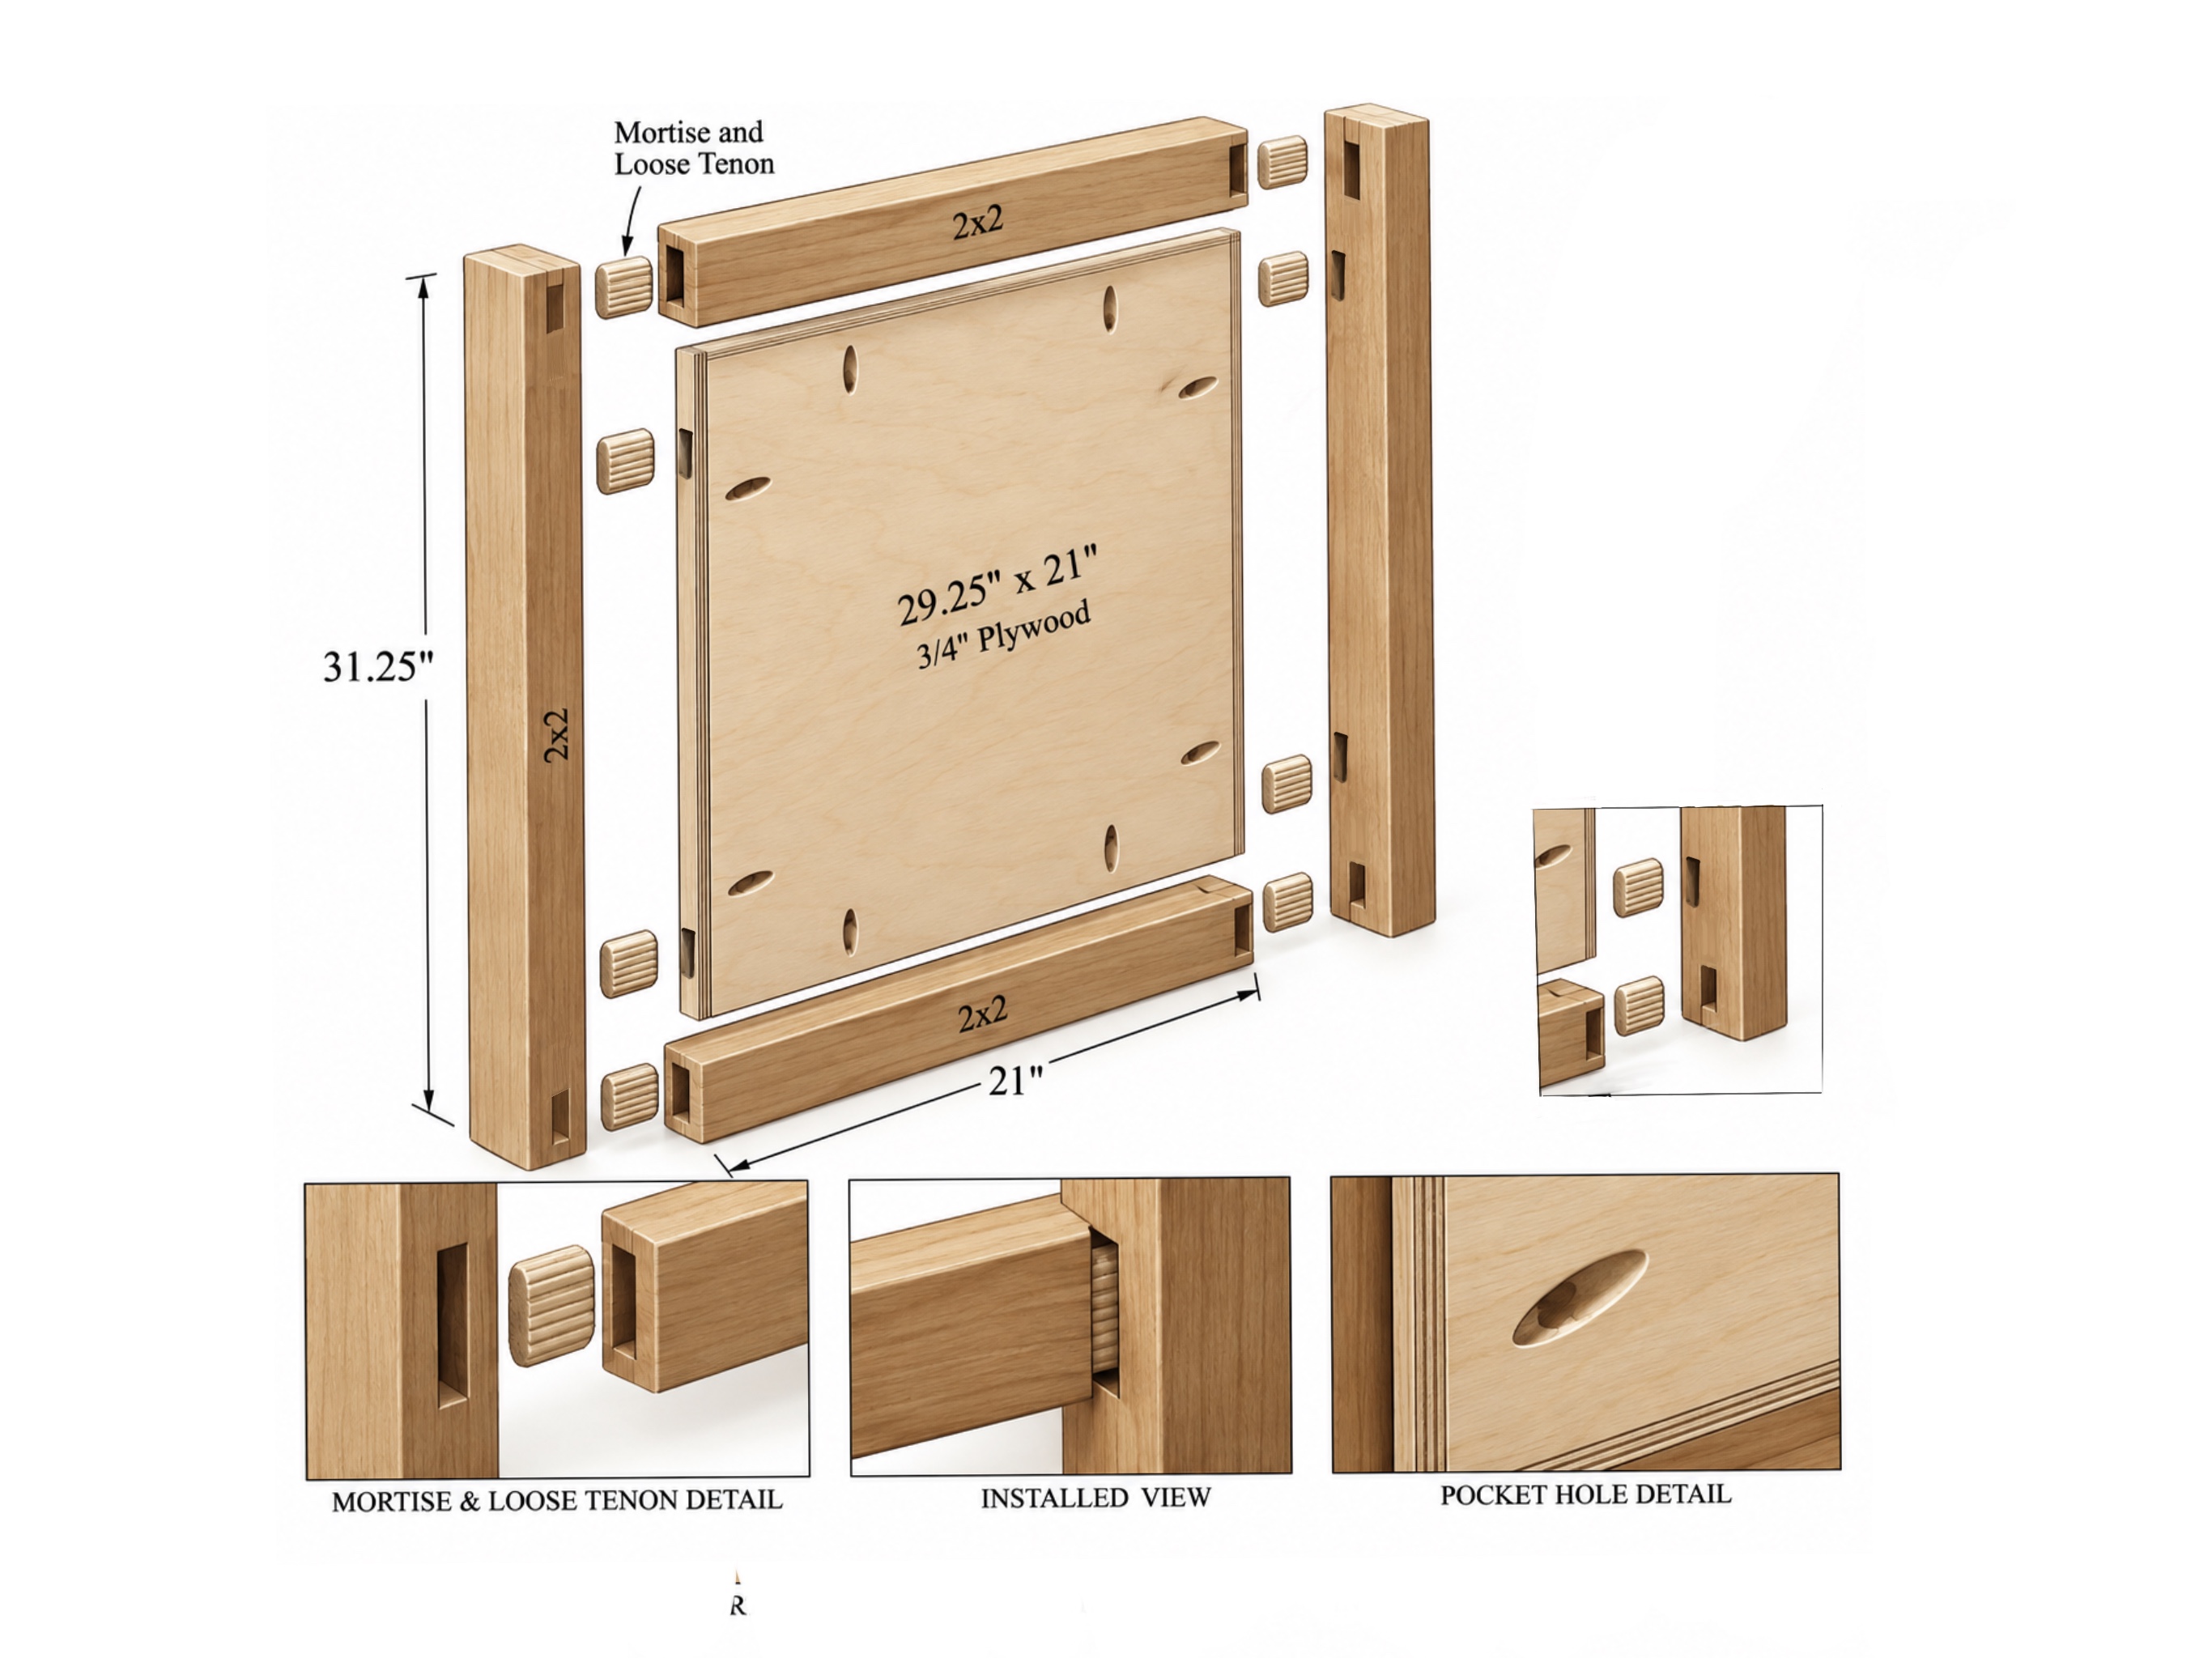
(2) Pieces of 3/4" plywood — 29.25" x 21"Cut your 2x2s:
(2) Pieces — 31.25" long
(2) Pieces — 21" longDrill Pocket Holes:
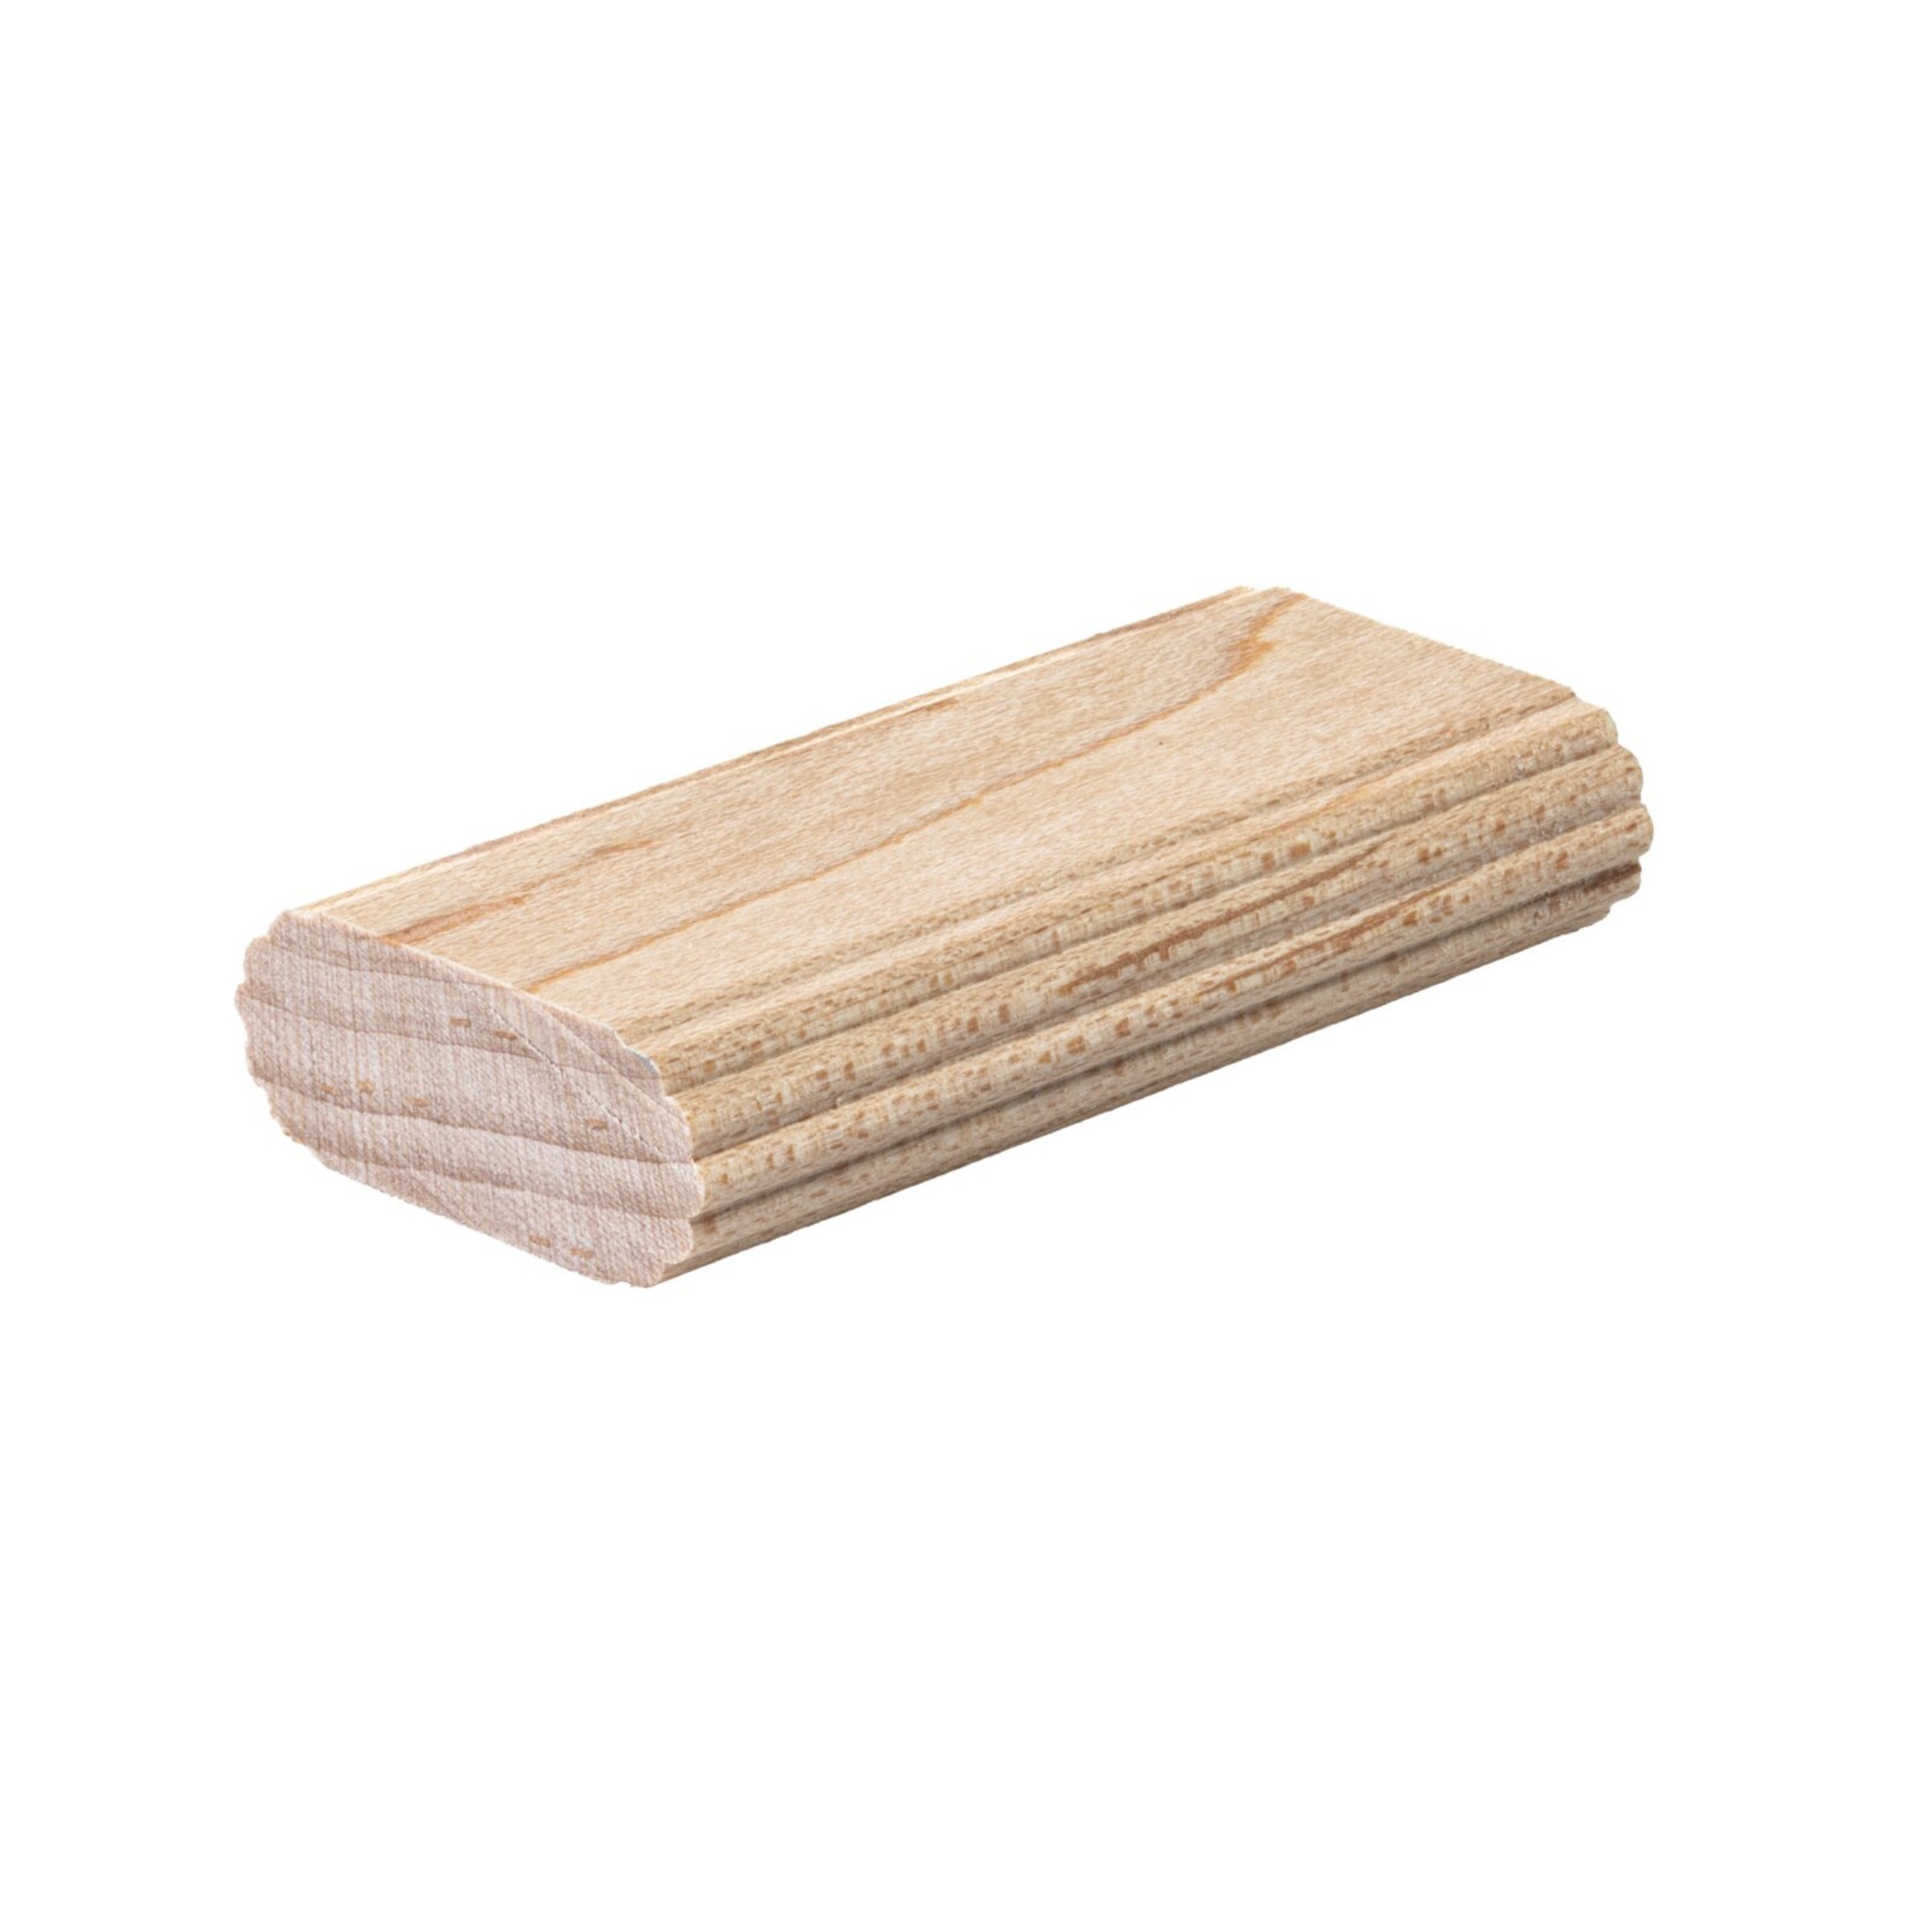
-Drill 2 pocket holes along each side of the plywood panels (8 total per panel).Cut Mortises Using the Kreg EDGE: For the 2x2 frame: Set the EDGE to 1.5" material thickness.
-Cut mortises into both ends of the 21" 2x2s.
-Cut matching mortises into the 31.25" 2x2s, making sure they align with the mortises on the shorter pieces.For the plywood inset panel: Adjust the EDGE to 3/4" material thickness.
-Cut 2 mortises along each side of the plywood panel.
-Keeping the same setting, cut matching mortises along the inside edges of the 31.25" 2x2s. Make sure they align with the plywood mortises.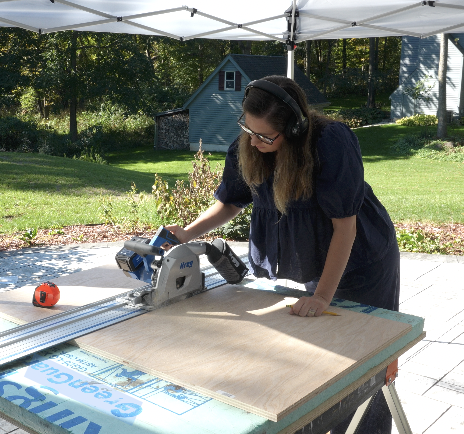
-
Assemble the Side Panels
Insert loose tenons into the matching mortises.
Apply wood glue to the joining surfaces.
Fit the plywood panel and 2x2 frame pieces together, aligning all the loose tenons.
Secure the assembly using pocket hole screws. These will help pull the pieces tightly together while the glue dries.
Plywood Placement
The loose tenons connecting the plywood to the 2x2 frame automatically position the plywood at the correct depth, creating a recessed panel on the front while keeping everything flush on the back.
-
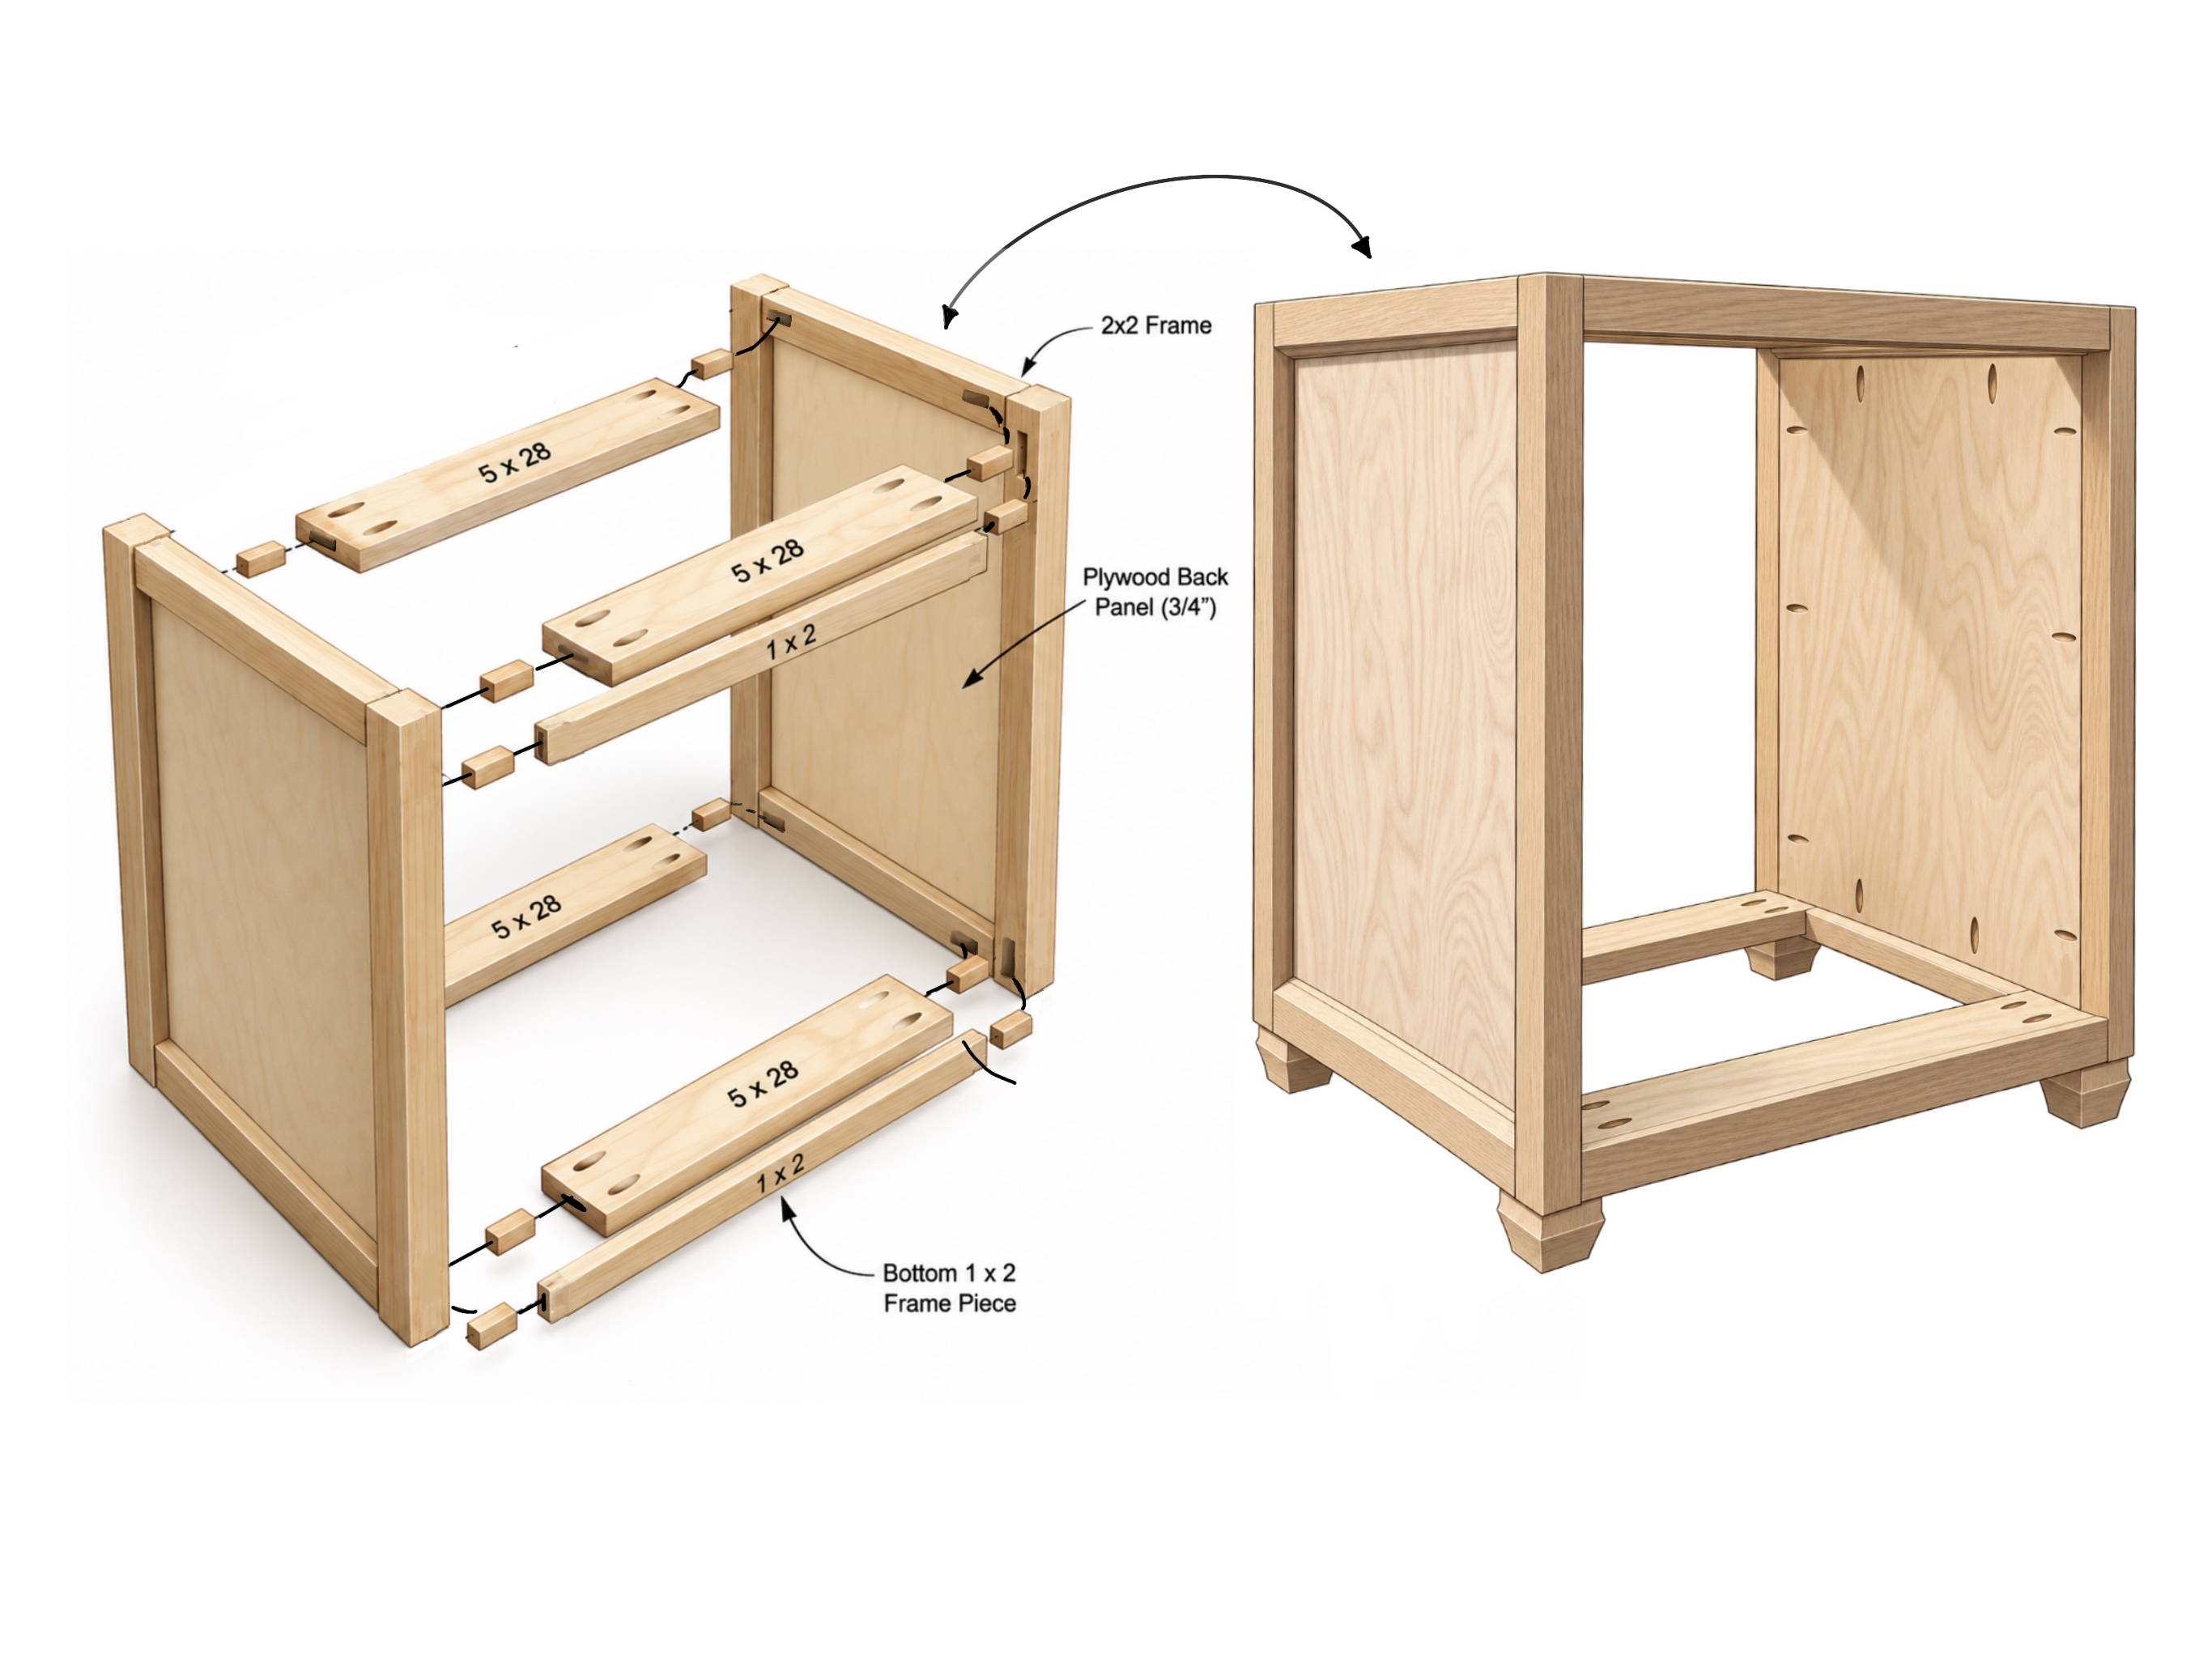
Connect the Side Panels
Cut your pieces:
(4) Pieces of plywood — 28" x 5"
(2) 1x2 boards — 28" longSet Up the Kreg EDGE: Set the Kreg EDGE to 3/4" material thickness. You'll use this same setting for all mortises cut throughout this step.
Prep the Front Frame:
-Position the 1x2 boards along the front edges of the side panels, one at the top and one at the bottom.
-Mark where each 1x2 meets the side panels.
-Using the Kreg EDGE, cut corresponding mortises into the ends of the 1x2s and the side panels for the loose tenons.Prep the Plywood Supports:
-Position the four plywood supports between the side panels, with one at each corner of the dresser frame.
-The two front plywood supports should sit directly behind the 1x2 front frame pieces.
-Mark the locations for matching mortises on the ends of each plywood support and the corresponding locations on the side panels.
-Using the Kreg EDGE, cut the mortises for the loose tenons, keeping the 3/4" setting.
-Drill 2 pocket holes at each end of all four plywood supports.Assemble the Dresser Frame:
-Insert loose tenons into the corresponding mortises.
-Apply wood glue to all joining surfaces.
-Connect the plywood supports and front 1x2 frame pieces to the first side panel.
-Attach the second side panel, carefully aligning all the loose tenons.
-Secure the plywood supports using pocket hole screws, pulling the frame tightly together while the glue dries.
-Check that the dresser frame is square before the glue sets.Pocket Hole Placement
When positioning your pocket holes, make sure the screws will drive into solid wood. Avoid placing them directly where two 2x2 frame pieces meet, as this could weaken the connection.
-
Choose Your Legs:
Select furniture legs that complement the style of your dresser. I used 3" unfinished oak legs from Amazon, which came with four predrilled holes for easy installation.
Attach the Legs:
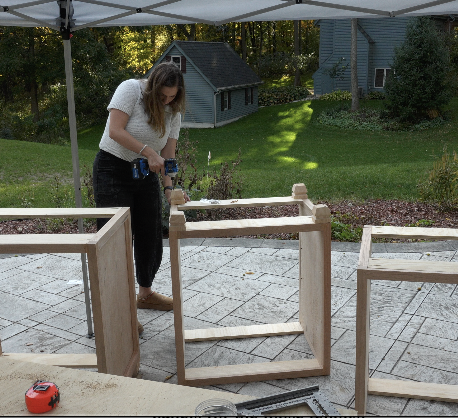
-Flip the dresser frame upside down to access the bottom.
-Position one leg at each of the four corners of the dresser frame.
-Apply wood glue to the top of each leg.
-Secure each leg using screws through the four predrilled holes, making sure the screws are the appropriate length for your frame.Repeat for all four legs.
-
Cut the Pieces for the Drawer Boxes
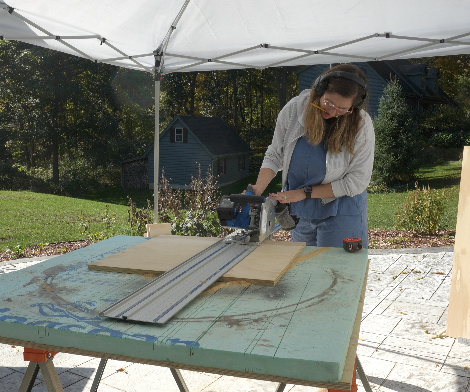
Using 3/4" plywood, cut the following pieces to build three drawer boxes.
Drawer Bottoms:
(3) Pieces — 20.5" x 25.5"Drawer Fronts & Backs:
(6) Pieces — 22" x 8"Drawer Sides:
(6) Pieces — 25.5" x 8"Label Pieces
Label your pieces as you cut them to keep everything organized during assembly. Each drawer will require one bottom, two sides, one front, and one back.
-
Drawer Box Assembly
Drill Pocket Holes:
Drill two pocket holes on each end of both 25.5" × 8" pieces.
Drill two pocket holes along each side of the 20.5" × 25.5" drawer bottom.Cut Mortises for Loose Tenons:
Cut corresponding mortises along the front edge of the drawer bottom and the inside face of one 25.5" × 8" piece.
Cut corresponding mortises where that same 25.5" × 8" piece connects to the two 22" × 8" side pieces.Assemble the First Three Sides:
Apply wood glue to the joints and insert the loose tenons.
Connect the two side pieces to the first 25.5" × 8" piece, creating a U-shaped frame.
Secure the joints with pocket hole screws.Attach the Drawer Bottom:
Apply wood glue to the mortises and insert the loose tenons to align the drawer bottom with the front piece.
Secure the bottom to the front using pocket hole screws.
Use wood glue and pocket hole screws to attach the bottom to both side pieces.Attach the Final Side:
Position the remaining 25.5" × 8" piece at the back of the drawer box.
Apply wood glue and secure it to the sides and bottom using pocket hole screws.
Check that the drawer box is square before the glue dries.Repeat:
Repeat this process two more times to assemble all three drawer boxes.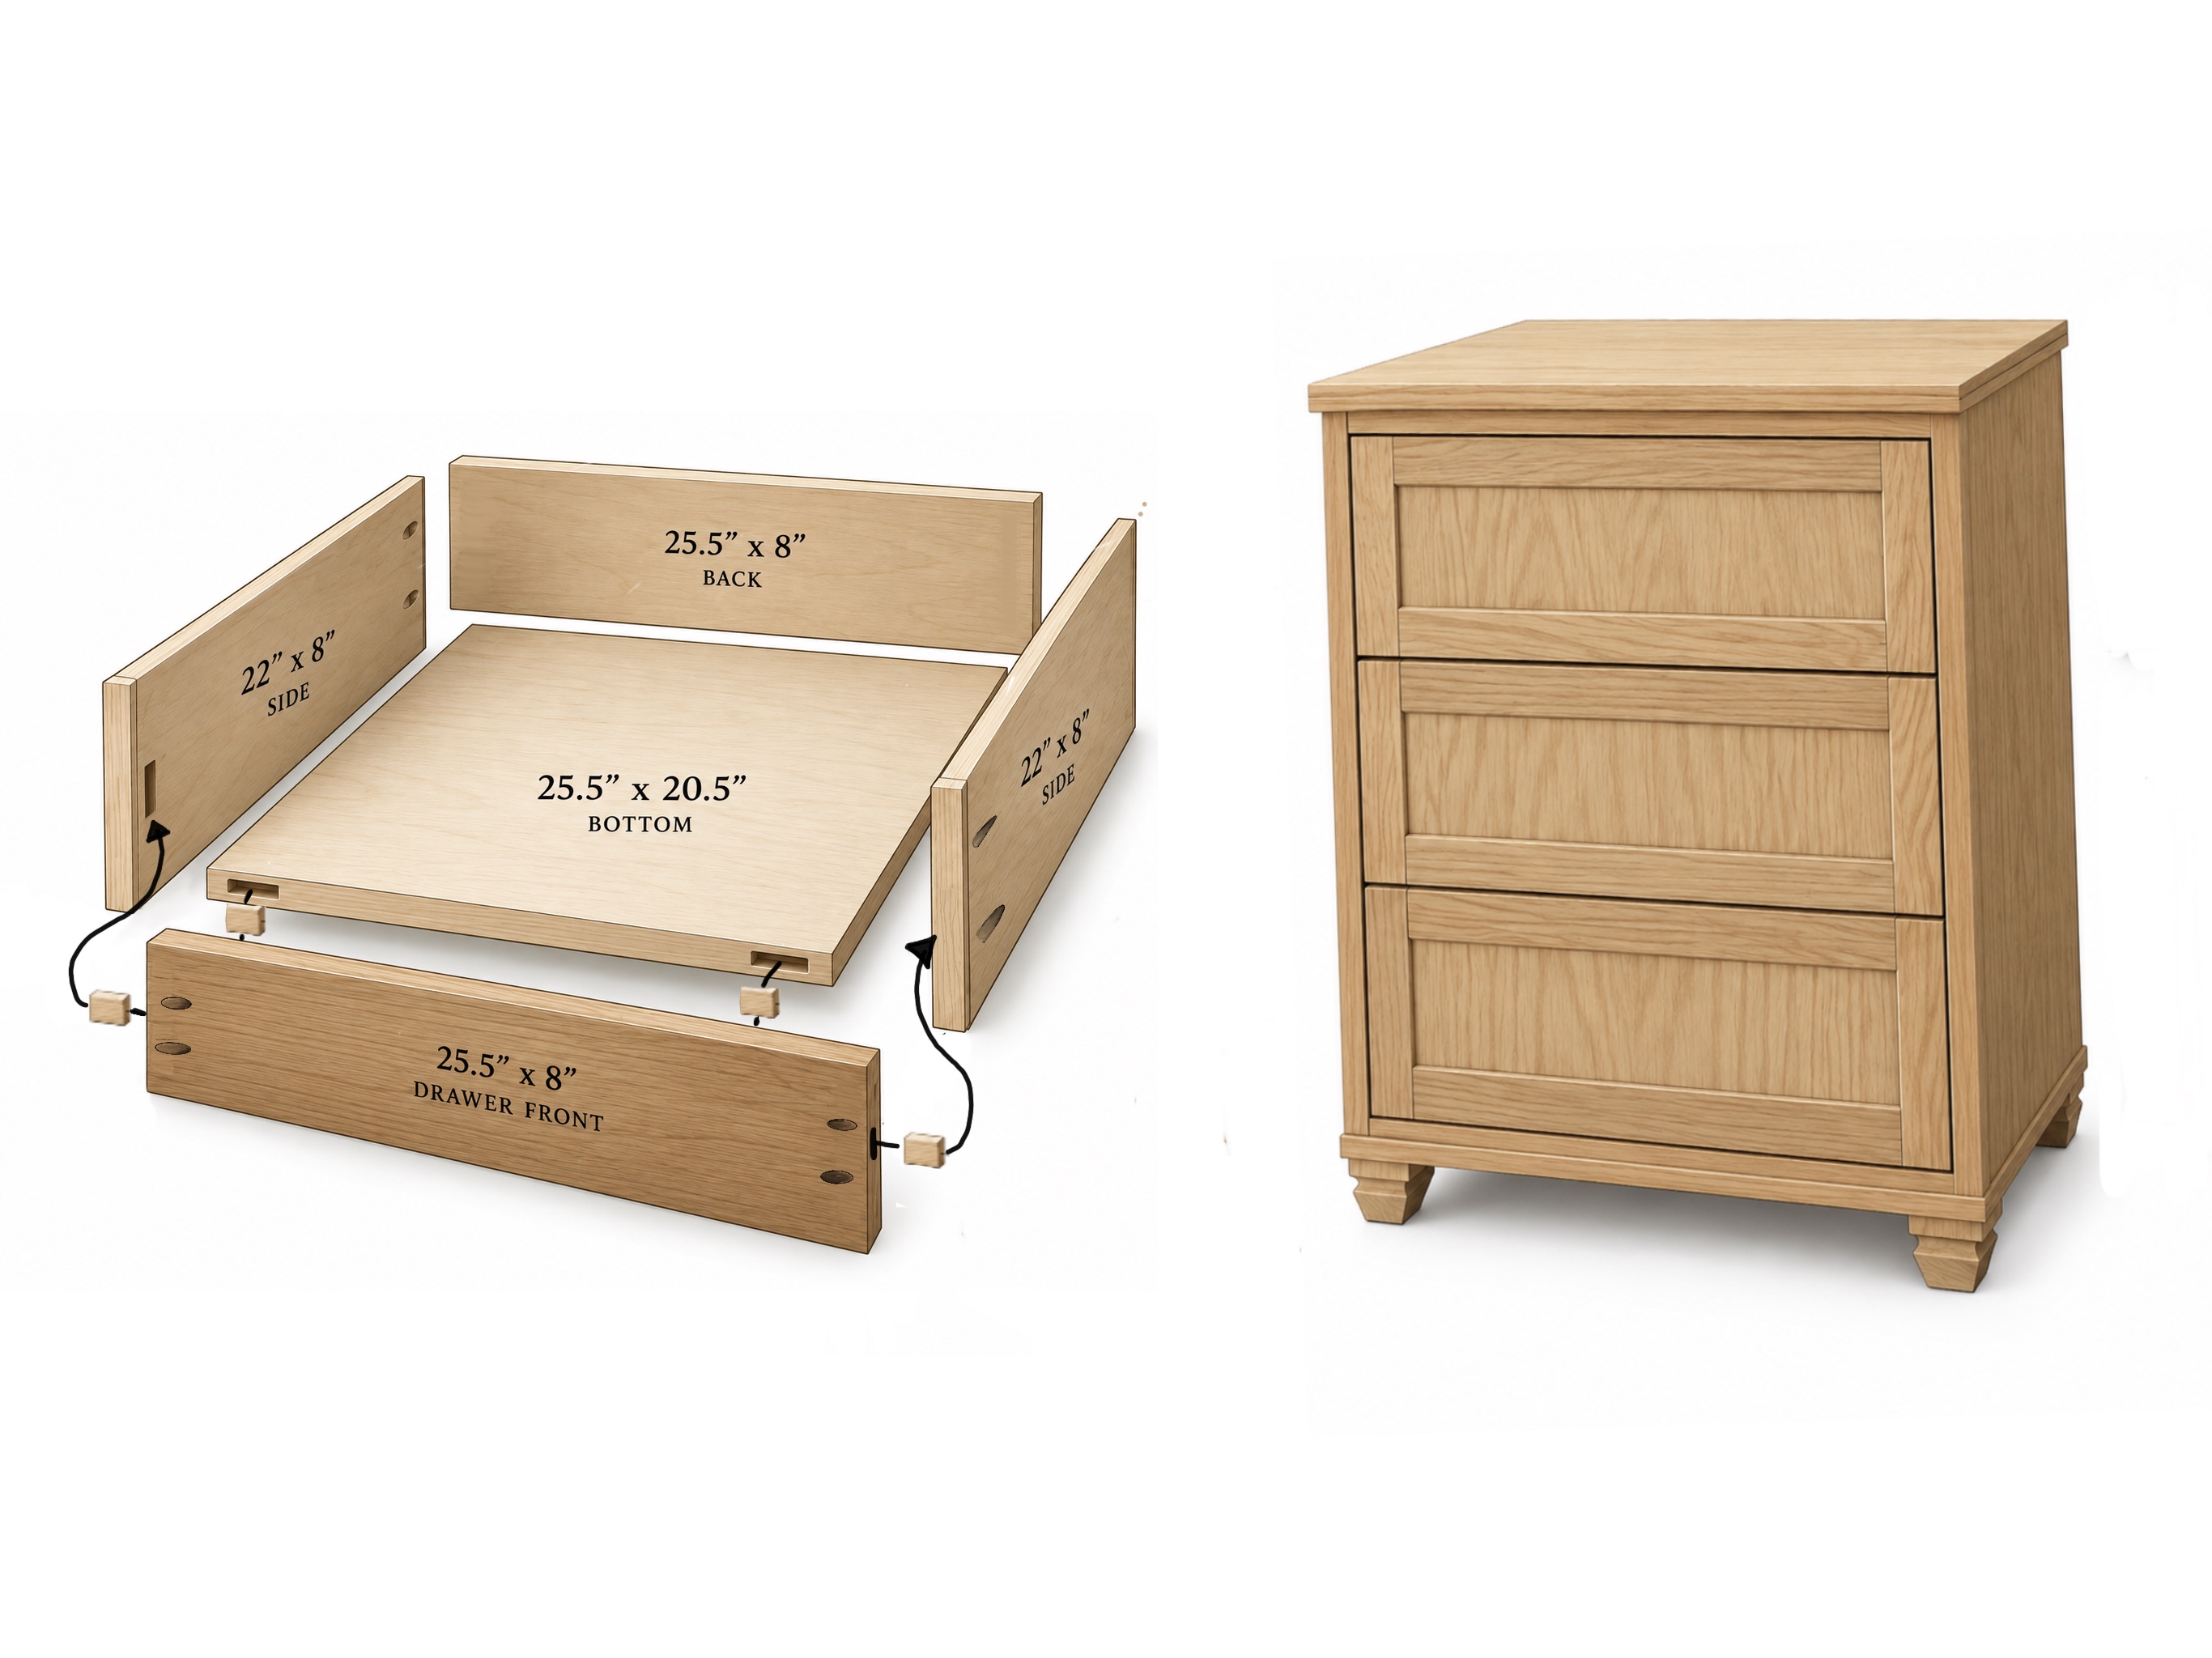
-
Installing Drawers
Attach drawer slide to dresser frame:
- Measure from the bottom front trim piece 4 1/4 inch, 13 1/2 and 22 3/4 on both sides. -Measure an inch back from the front side trim.
-Use a carpenter square and draw a straight line and attach drawer slide right above each line.Attach drawer slide to drawer:
-Measure to the middle of the drawer.
- Use a carpenter square and drawer a straight line.
-Then attach drawer slide right under the middle line.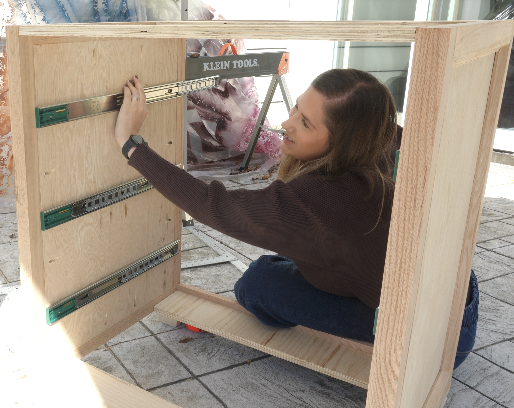
-
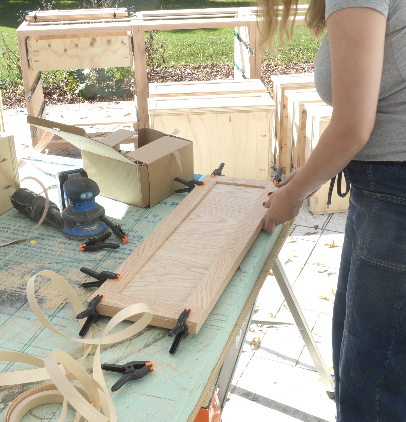
Drawer Front
Take you plywood and cut a piece to
(1) 27 3/4 x 10 for bottom drawer
(2) 27 3/4 x 9 1/2Add edge banding to the sides of the plywood.
Trim:
Take 1/4 inch thick trim by inch a half cut:
(2) piece to 10 inches,
(4) pieces to 9 1/2 inches
(6) pieces to 24 1/4 inch-Use wood glue and clamps to attach pieces.
-Once wood glue dries attachDrawer Front Measurements
I recommend cutting bottoms drawers installing drawer front and double checking measurements for middle and top drawer. Just to make sure spacing is good.
-
Building and Attaching the Dresser Top
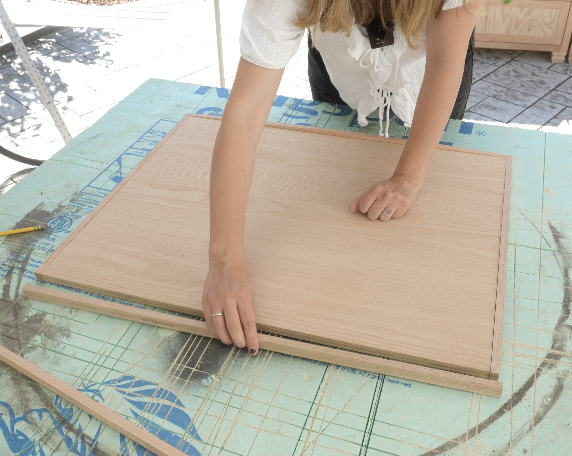
Cut the plywood top: Cut one piece of 3/4" plywood to 24" x 30".
Cut the edge trim: Using 1/2" x 3/4" trim, cut the following pieces
(2) pieces at 31" long
(2) pieces at 24" longAttach the trim:
-Apply wood glue along the edges of the plywood and attach the trim pieces.
-Use clamps or brad nails to hold everything in place while the glue dries.Install the dresser top:
-Position the completed top on the dresser frame.
-Secure it in place using 1 1/4" wood screws driven up through the anchor pieces and into the underside of the plywood top.Optional Decorative Trim:
For a more finished, furniture-style look, you can add 3/4" decorative trim underneath the front edge of the dresser top, as well as trim along the bottom front edge of the dresser.Multi Dresser Trim
If you're building multiple dressers to create one long unit, only add decorative trim to the front edges. Leaving the sides free of trim allows the dressers to sit flush against one another, creating the appearance of one continuous piece of furniture.
-
Finishing Touches
Now it's time to bring your dresser to life! Finish your dresser with your choice of stain or paint to achieve the look you want. Once your finish has fully dried, apply a protective top coat for added durability.
Finally, install your choice of drawer hardware to complete the look!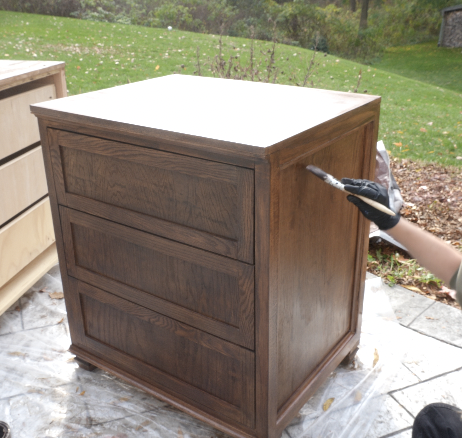
-
All Done!
And that's it! Your custom dresser is complete!
Whether you build just one or seven for the ultimate storage solution, these dressers are designed to work beautifully on their own or pushed together to create the look of one large, seamless piece of furniture.
Now step back, admire your hard work, and enjoy all that extra storage!