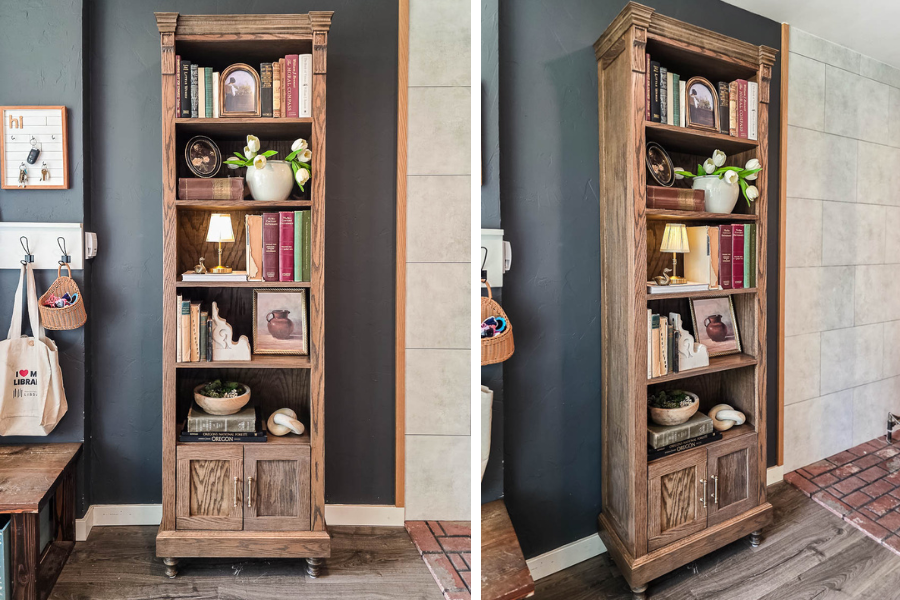
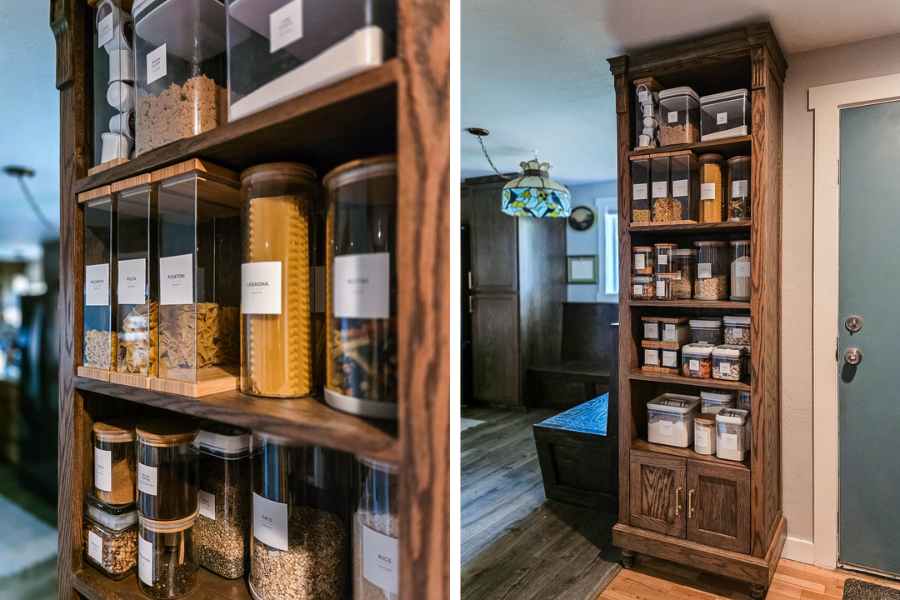
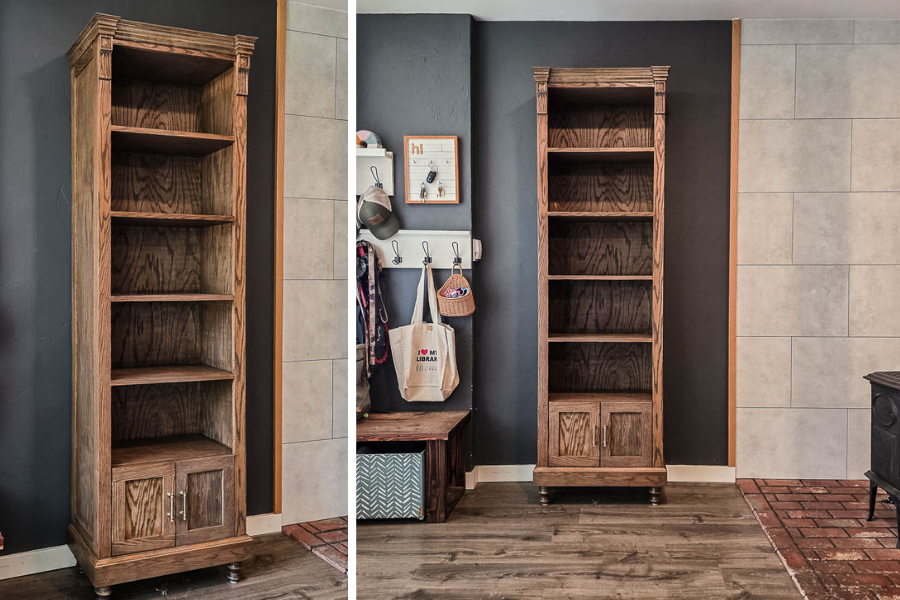
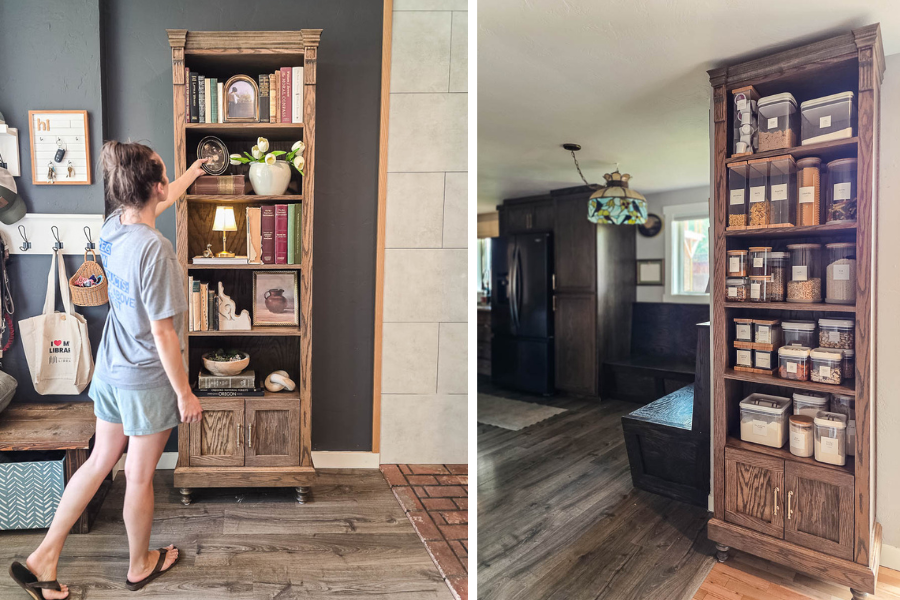


This DIY bookcase is built with dowel joinery for a clean, heirloom-quality finish, and we're sharing the free plans so you can build your own. Warm wood tones, fluted corbels, and cabinet storage below make it a piece that feels like it's always been there.
Tools
Kreg Tools




Other Tools
-
Table saw

-
Miter saw
-
Rubber mallet
-
Tape measure
-
Square
-
Brad nailer
-
Pin nailer
-
Dremel (optional, for corbels)
-
Chisels (optional, for corbels)
-
Household iron
Materials
Wood Products
- 2 Oak plywood , ¾” x 4’ x 8’
- 1 Oak plywood , ¼” x 2’ x 4’
- 3 Oak board , 1” x 3” x 8'
- 1 Oak board , 1” x 4” x 6’
- 2 Oak board (we ripped a 1x3 to make this) , ¼” x 3” x 8’
- 1 Oak board , ¼” x 3” x 4’
- 1 Oak board , 1” x 2” x 10’
- -- Decorative molding , 6'
- 2 Decorative corbel (optional, we made ours from scrap)
Hardware & Supplies
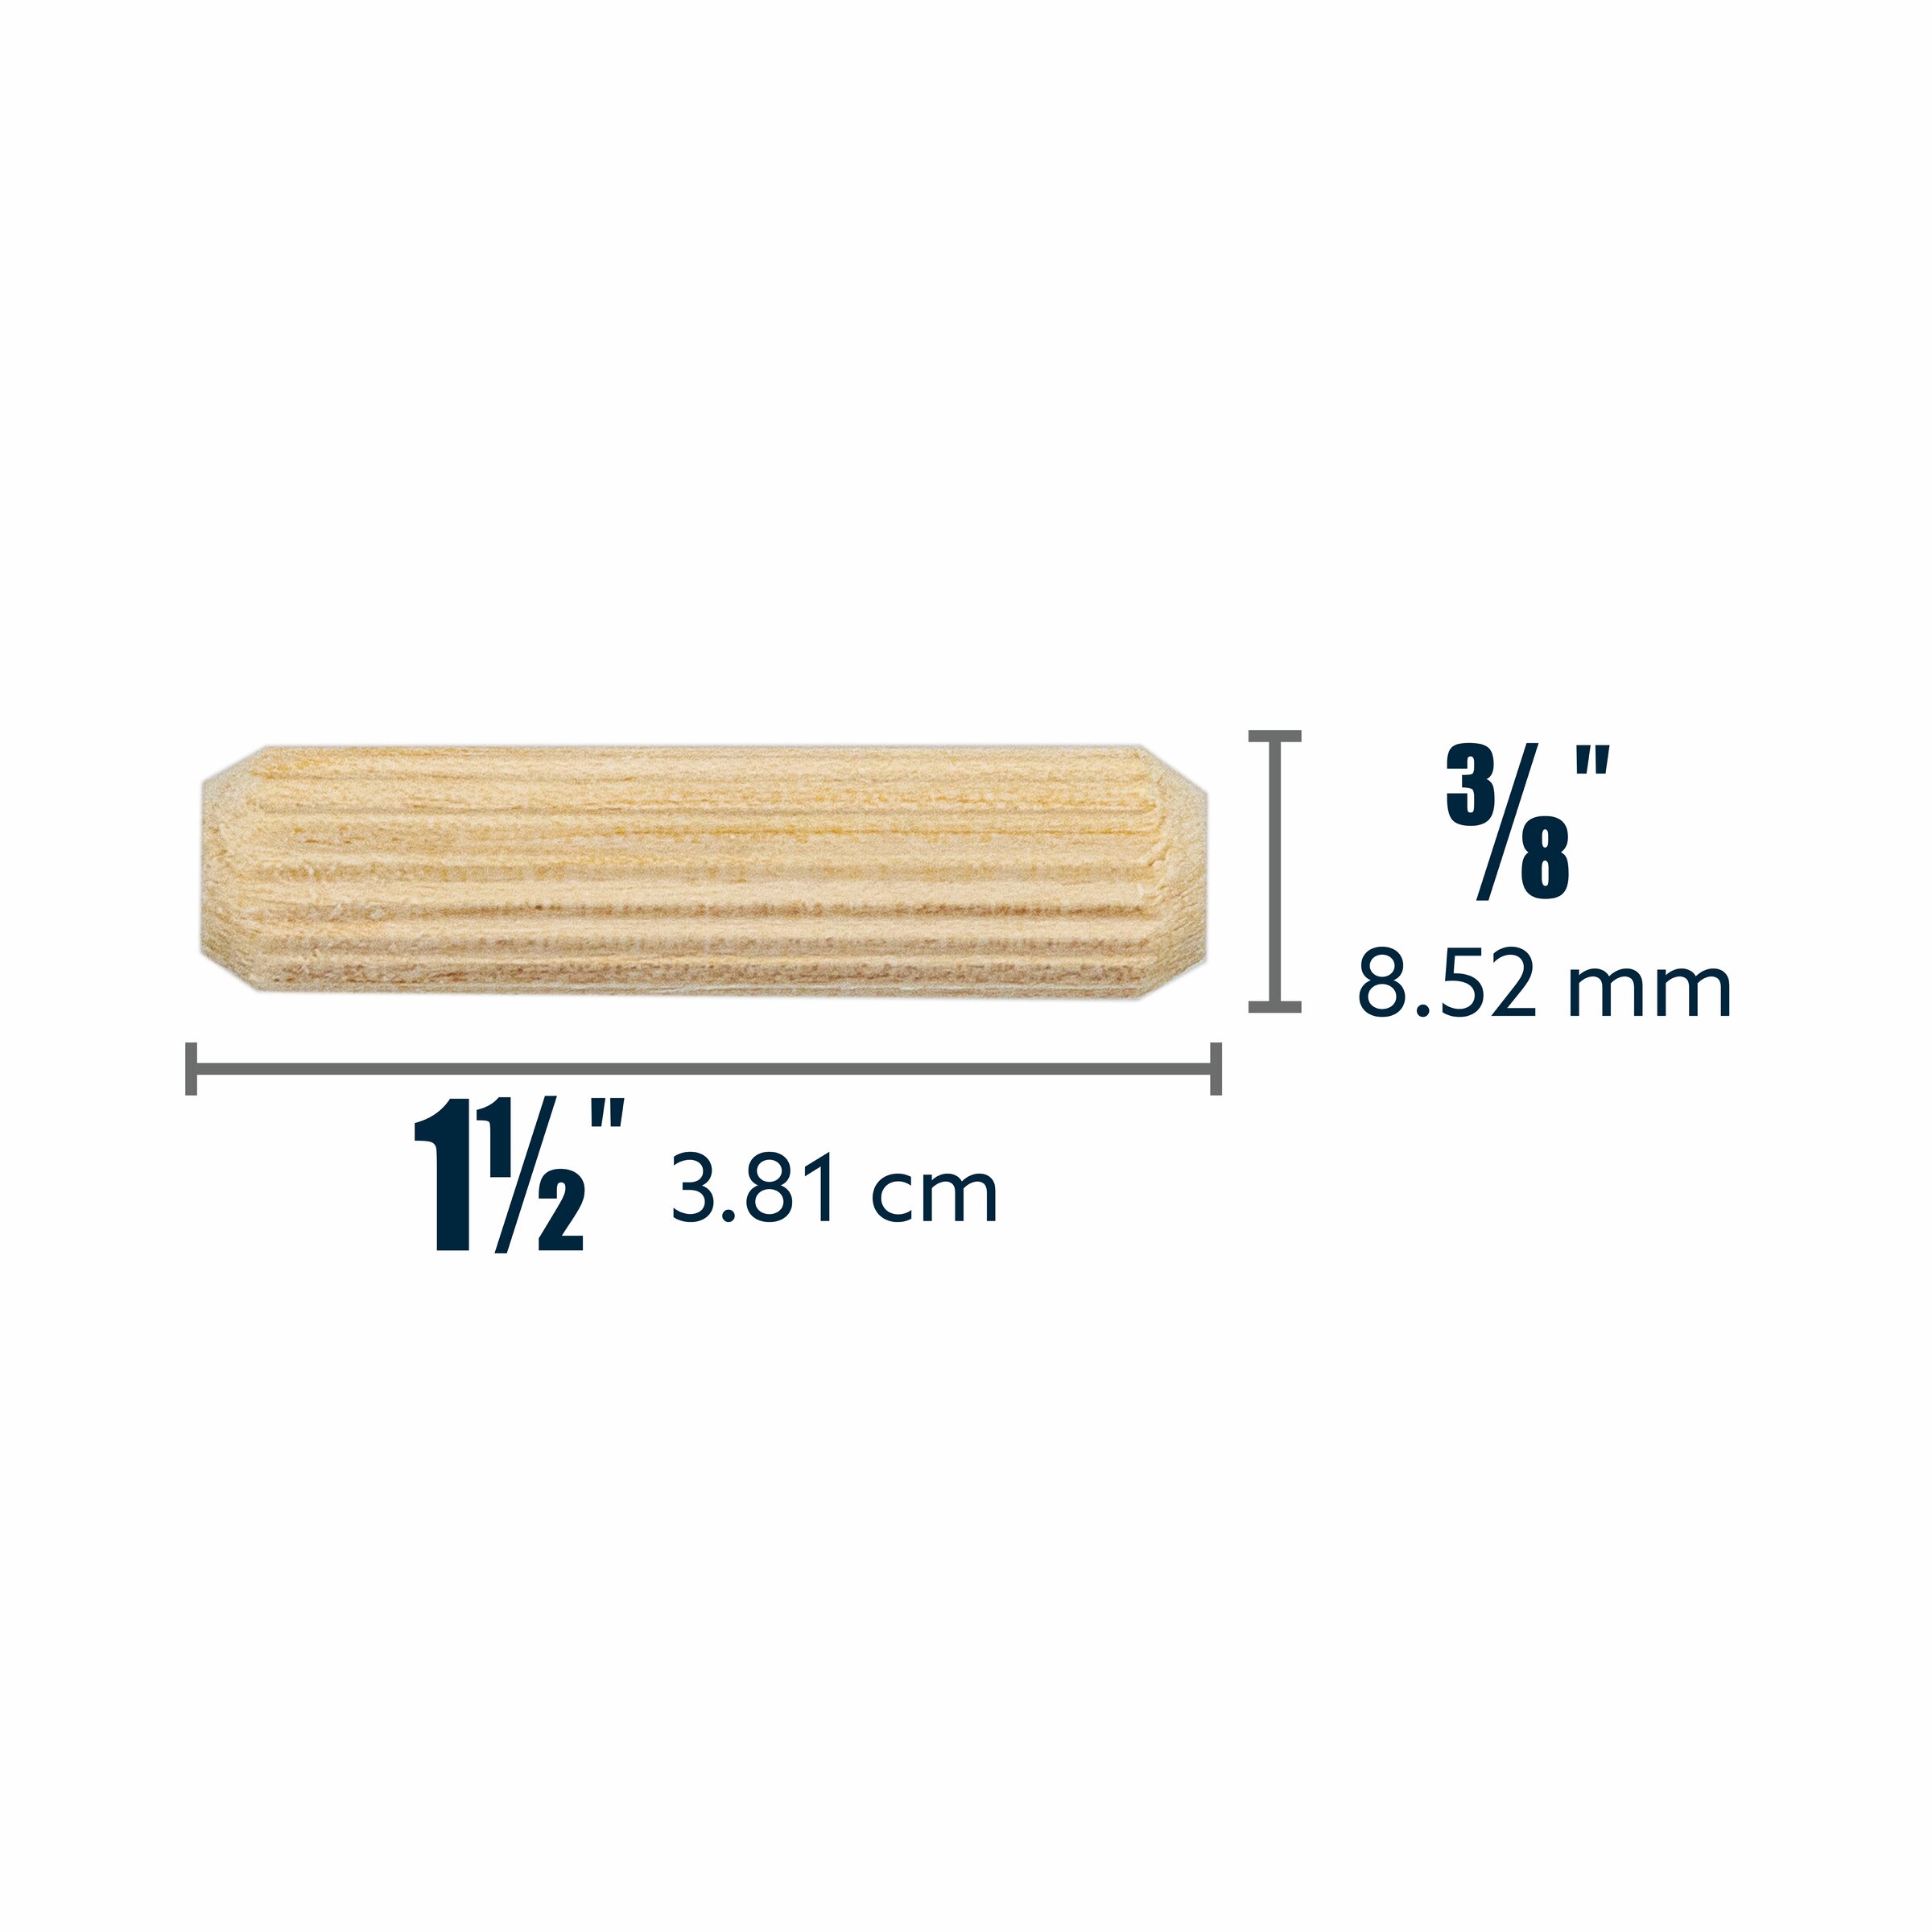
- -- Kreg dowels 3/8" (see tools list)
- -- Sandpaper (80-, 120-, 220- grit)
- -- Wood glue
- -- Wood stain
- -- Spray lacquer
- -- Edge banding
- -- Furniture legs (4")
- -- Leg mounting plates
- -- Stain rags
- -- 1 1/2" brad nails
- -- 1 1/4" brad nails
- -- 1 1/4" pin nails
- -- 3/4" pin nails
- -- Wood putty
- -- Full Inset Blum Clip Top Soft-Close Hinge Kit for Face Frame (2 pairs)
- -- Door hardware
Directions
-
Cut wood
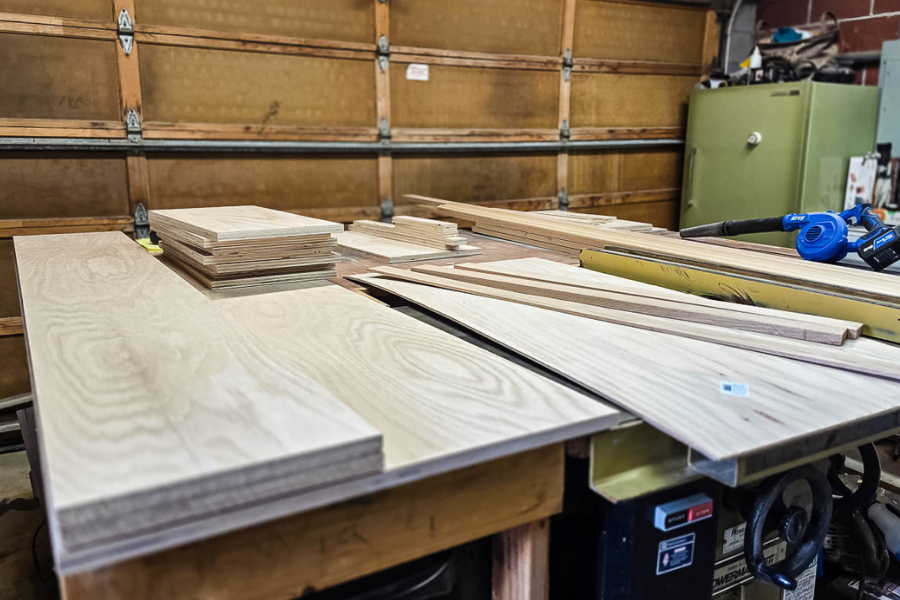
Cut the wood down to size according to the cut list in the woodworking plans.
-
Build base and top
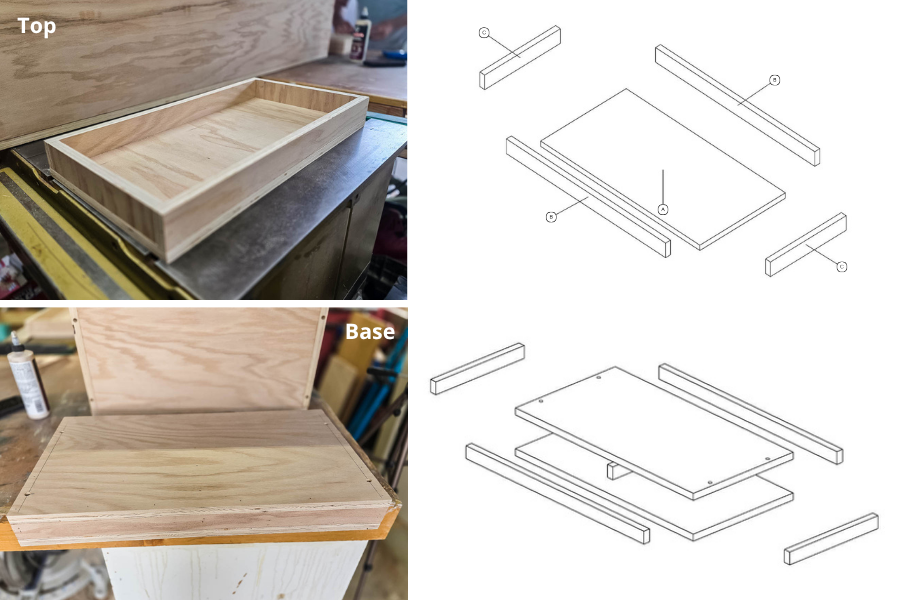
Assemble the base and top according to the woodworking plans. Attach glue and 1 ½” brad nails.
-
Make dowel holes
Mark the locations for the dowel holes. Using the Kreg dowel jig, drill the holes for the dowels. The locations of the dowel holes are approximate in the woodworking plans. We strongly recommend verifying each individual dowel hole as you go to make sure everything gets lined up.

-
Assemble shelves
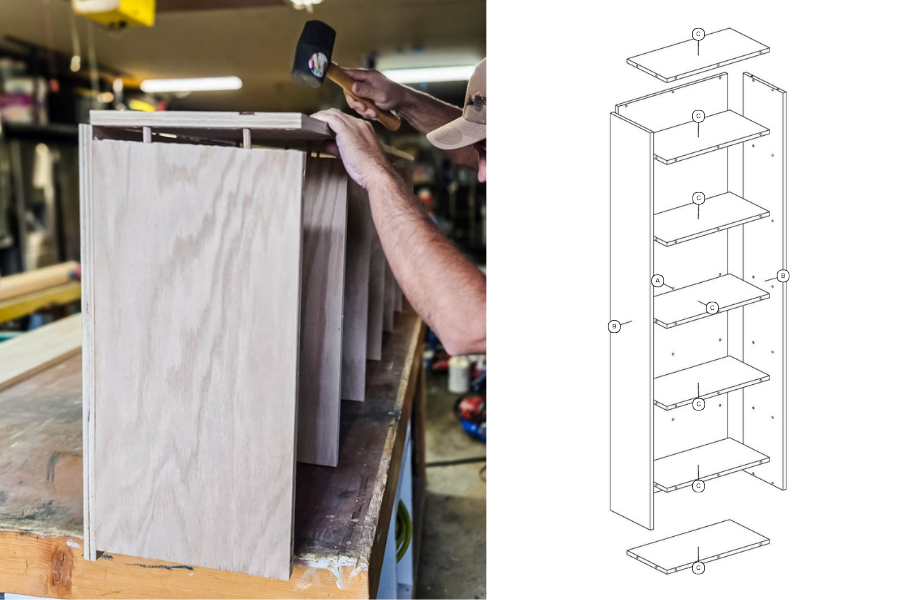
Using the predrilled dowel holes, assemble the side panels, shelves, and back panel. Use wood glue on all joints and gently tap into place with rubber mallet.
-
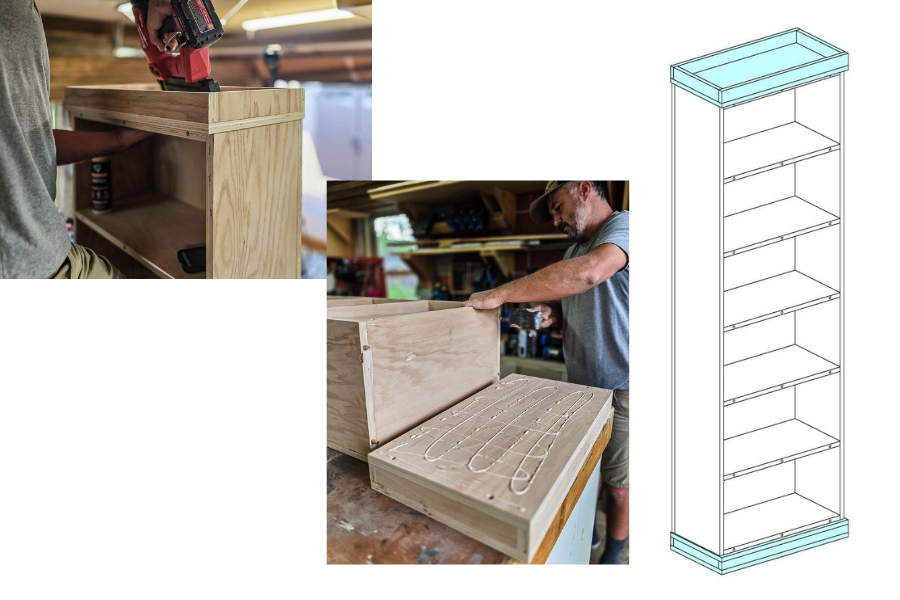
Attach base and top to shelves
Attach the top with a brad nailer and 1 1/4” brad nails and wood glue. Attach the base with predrilled dowel holes and wood glue.
-
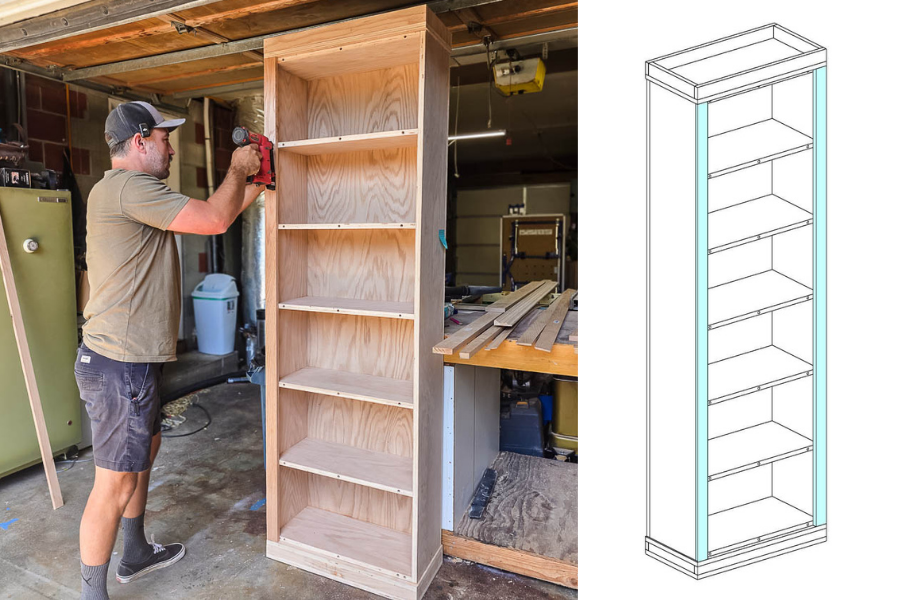
Attach side face trim
Using wood glue and pin nailer, attach the side face trim pieces to the front of the shelves with 1 ¼” pin nails.
-
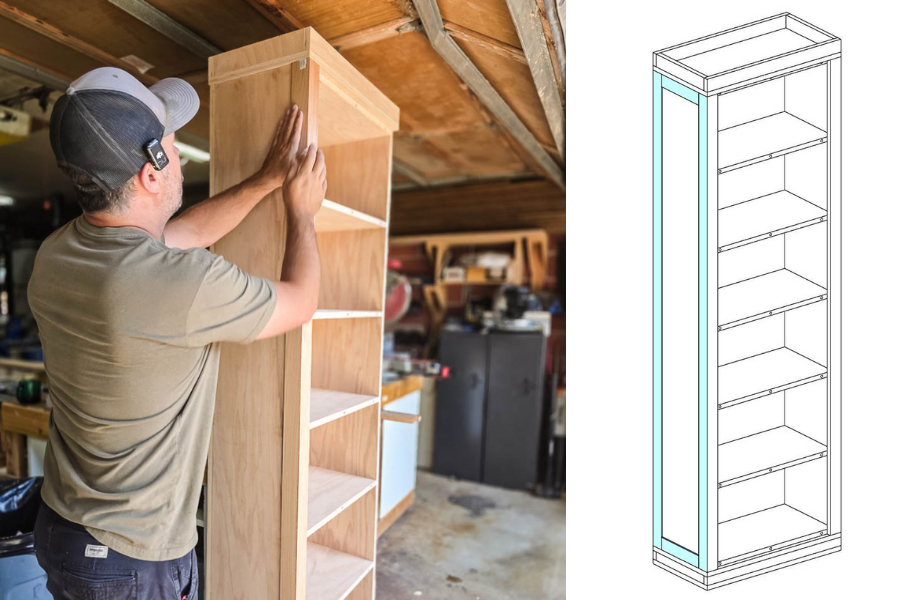
Attach side trim
Using a pin nailer, attach ¼” side trim to sides of bookshelves with ¾” pin nails.
-
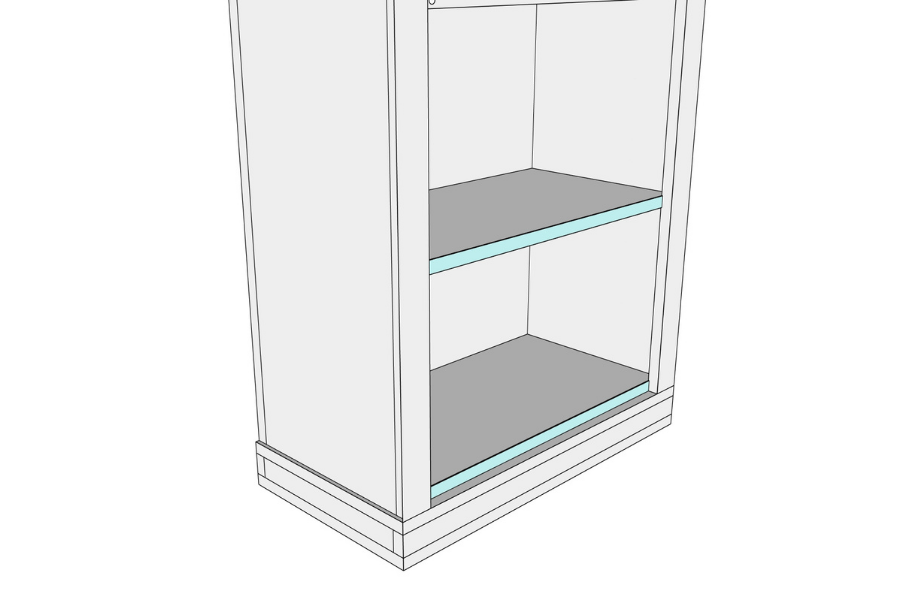
Cover 2 bottom shelves with edge banding
We added doors to the bottom shelf, so those ones do not get shelf face trim. Instead, use edge banding to cover the plywood ends.
-
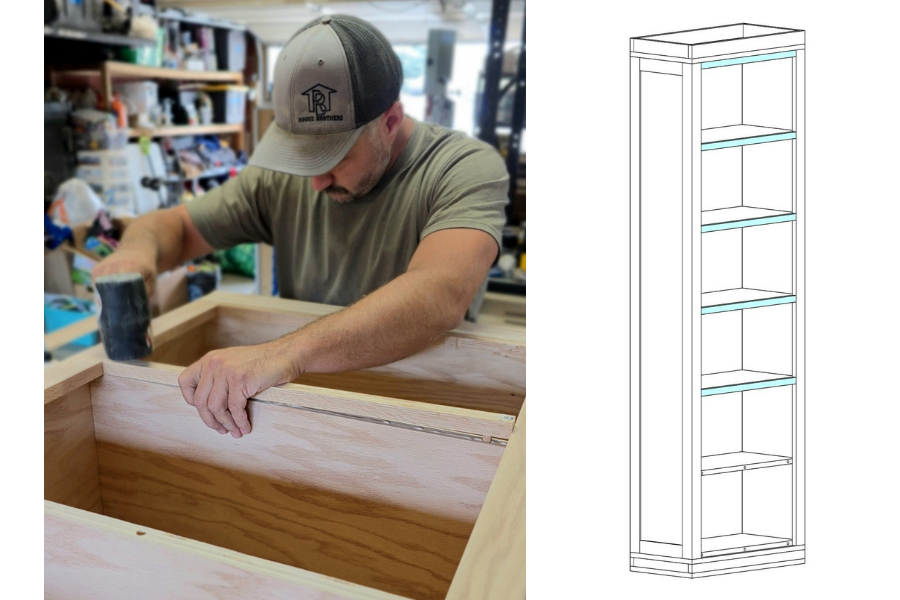
Attach shelf face trim
Cut each piece to fit perfectly on the shelf front. Mark dowel hole locations and drill dowel holes on the trim piece using dowel jig. Attach with wood glue and dowel joinery.
-
Sand
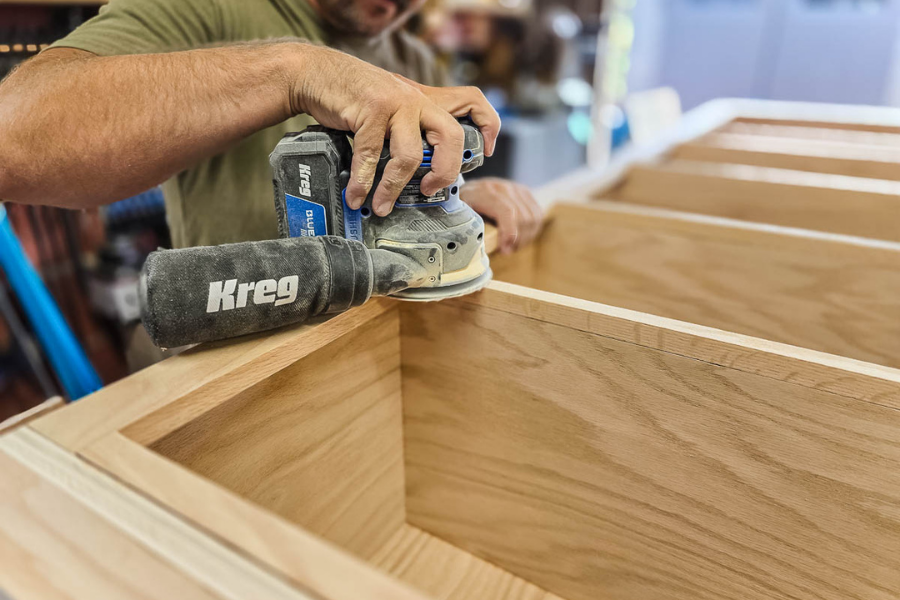
Sand everything smooth with 80-grit and 120-grit sandpaper and an orbital sander.
-
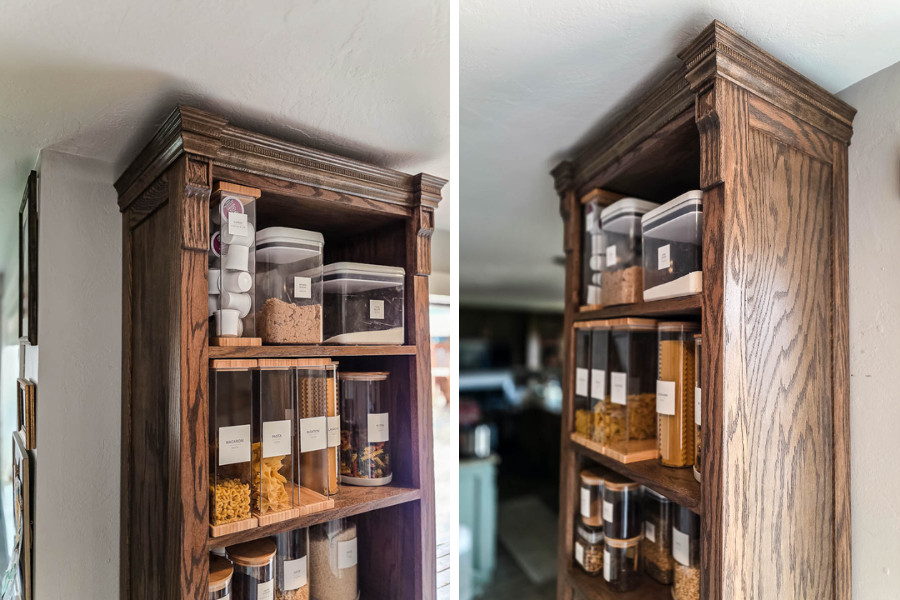
Make and attach decorative corbels (optional)
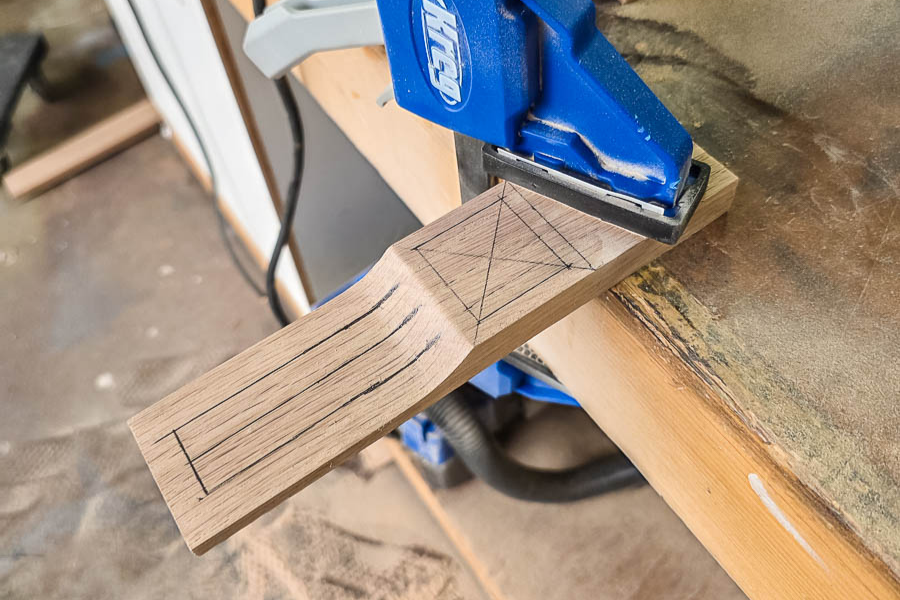
We couldn’t find corbels that we liked, so we made our own from scrap oak to attach to the front of the bookshelf. Attach with wood glue and 1 ¼” brad nails. This is totally optional.
-
Make and attach baseboard
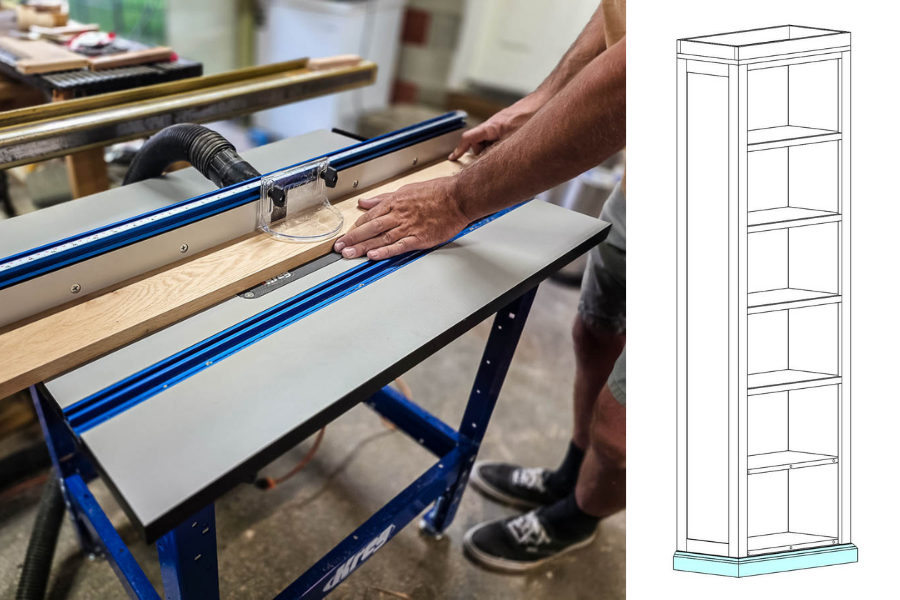
Using the Kreg router table and decorative router bits, make the baseboard for the shelves. Attach with 1 ¼” pin nails. You can also buy premade baseboard.
-
Attach top crown
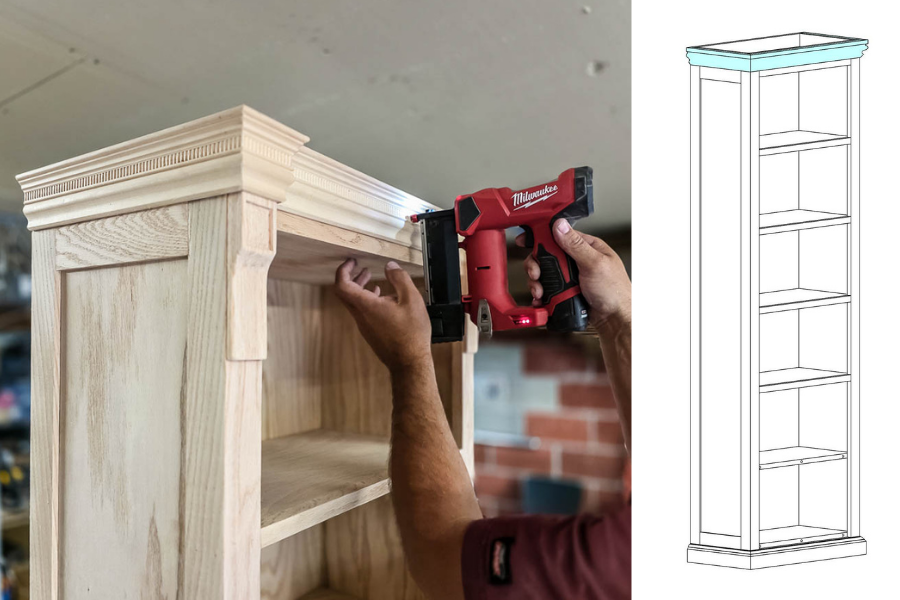
Using ¾” pin nails, attach decorative trim as crown to the top edge of the bookshelves. Wrap around corbels if you used them.
Woodworking plan note
In the woodworking plans and cut list, we do not include the corbels, so if you add them, you will need to edit those dimensions. If you decide not to include the corbels, just trim across the top of the shelves instead of wrapping them around the corbels (as shown in the plans).
-
Assemble doors
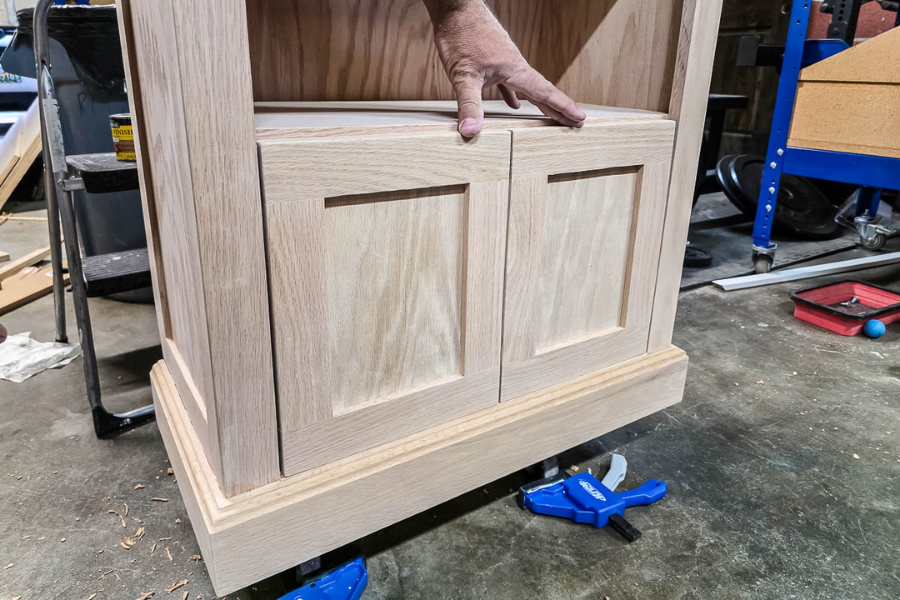
Assemble doors as shown.
-
Sand and fill
Sand everything with 120-grit sandpaper and an orbital sander, and by hand for nooks and crannies. Fill noticeable gaps or blemishes with wood putty. We opted not to fill the nail holes because it makes it more noticeable. Sand everything again with 120-grit and 220-grit sandpaper. Remove all sanding dust.
-
Stain and seal
Stain everything with the stain color of your choice. We opted for 2 colors layered together. We used Minwax Classic Gray followed by Minwax Jacobean. Starting with the gray stain helped tone down the dark stain and give a more muted color. Finish it off by sealing with spray lacquer.
-
Attach doors
Attach doors to the bookshelf.
-
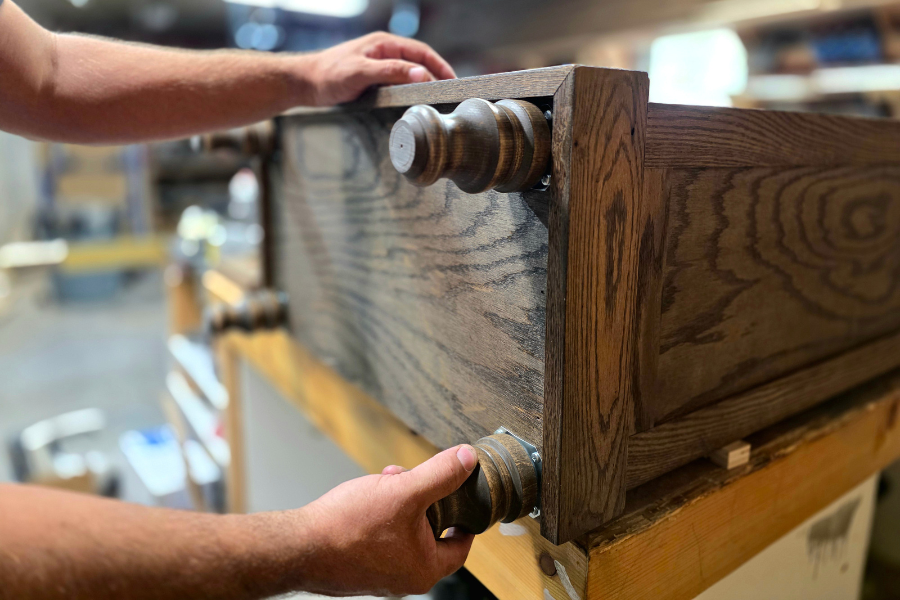
Attach legs (optional)
Using mounting plates, attach furniture legs to the bottom of the shelves. This is optional, but it adds a lot of character.