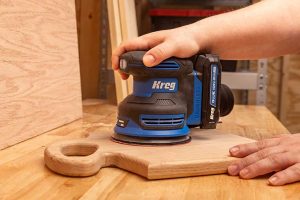
An orbital sander is one of the most useful tools for smoothing surfaces, removing finish, and prepping wood for stain or paint. It delivers fast results with a high level of control, which makes it approachable for beginners and dependable for experienced DIYers.
This guide walks through setup, sandpaper selection, sanding technique, and common mistakes to avoid. Follow these steps and you’ll get cleaner results, avoid swirl marks, and spend less time correcting errors later.
What Is an Orbital Sander?
An orbital sander is a handheld power sander with a round sanding pad that moves in small, controlled circles. This motion removes material evenly without digging into the surface, making it ideal for wood, plywood, and finished surfaces.
What Makes It “Random”?
The pad both spins and oscillates at the same time, and the pattern never repeats exactly. That randomness helps reduce visible sanding marks while still removing material efficiently.
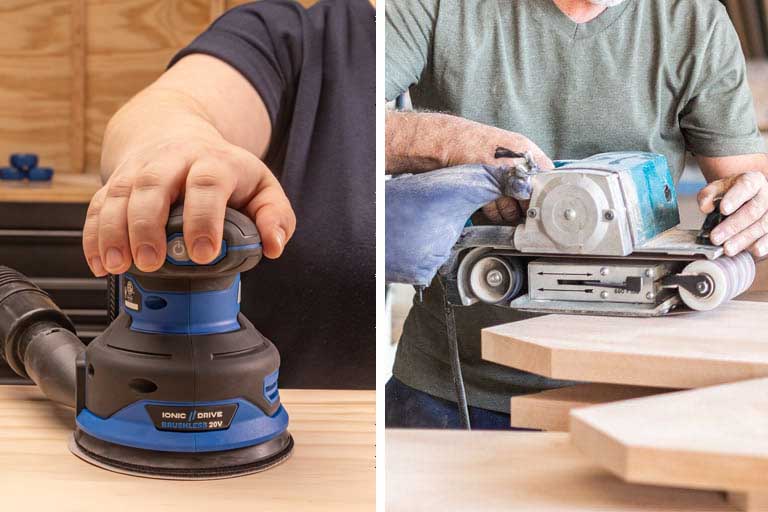
Orbital vs. Palm vs. Belt Sanders
Palm Sanders
Square pads with straight-line motion. Best for light sanding and corners. Read more about orbital sanders vs palm sanders.
Orbital Sanders
Faster material removal with smoother results. The round pad handles uneven surfaces without gouging.
Belt Sanders
Aggressive stock removal with a fast-moving belt. Powerful, but less forgiving, especially on edges or softwood. Read more about orbital sanders vs belt sanders.
Preparing to Use Your Orbital Sander
Safety First
Wear safety glasses, hearing protection during longer sessions, and a dust mask or respirator. Sand in a well-ventilated area and avoid loose clothing or jewelry.
Prep the Work Surface
Brush away dirt, chips, or dried glue. Loose debris can scratch the surface and clog the paper. Check for nails or staples before sanding.
Dust Collection
Use the built-in dust bag or connect a shop vacuum. Better dust collection keeps the paper cutting longer and helps prevent swirl marks.
Choosing and Loading Sandpaper
Sandpaper Grit Guide
Lower grits remove more material. Higher grits refine and smooth.
- 60–80 grit: Heavy removal or old finish
- 120 grit: Leveling rough boards
- 150–180 grit: General surface prep
- 220 grit: Prepping for stain or paint
- 320+ grit: Sanding between finish coats
Choosing the Right Grit
Work through grits gradually. Skipping steps leaves scratches that show up later, especially under stain.
Attaching the Disk
Most orbital sanders use hook-and-loop disks. Press the disk on evenly and line up the dust holes. Clean pads grip better and last longer.
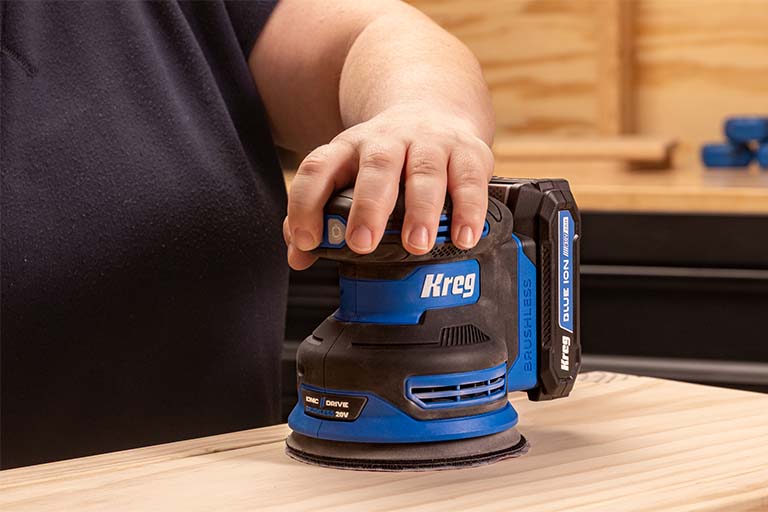
How to Hold and Start the Sander
- Hold the sander with a relaxed grip and keep your wrist straight
- Start the sander just above the surface, then lower it gently
- Let the tool’s weight do the work, don’t push down (Extra pressure slows the pad, creates uneven sanding, and can scratch the surface.)
Sanding Technique
Movement and Speed
Move the sander slowly, about one inch per second, and overlap each pass by roughly one-third.
Grain Direction
Even with a random orbit, sanding with the grain helps minimize visible scratches.
Edges and Corners
Keep the pad flat. Tilting rounds edges quickly. Use a sanding block for tight areas the round pad can’t reach.
Checking Progress
Stop often, vacuum the surface, and inspect under good lighting. A light pencil scribble across the surface makes low spots easy to spot.
When to Change Sandpaper
Replace the disk if it:
- Feels smooth
- Stops cutting
- Loads with dust
- Burns the wood
Fresh paper works faster and leaves cleaner results.
Orbital Sander Maintenance and Storage
Clean dust from the pad and housing after each use. Inspect the pad and power cord regularly, and store the tool in a clean, dry place.
Common Orbial Sander Mistakes to Avoid
- Pressing too hard
- Moving too fast/not thoroughly sanding an area before moving on
- Skipping grit steps
- Starting or stopping while touching the surface
- Tilting the sander mid-pass
Quick Tip: Use a sanding block along edges first, then switch to the orbital sander for the center.
Orbital Sander FAQs
Do you push down on orbital sander?
You keep an orbital sander flat on the surface without pushing down because the weight of the tool does the work.
How to avoid orbital sander marks?
You avoid orbital sander marks by moving the sander slowly, keeping it flat, and stepping through grits in order.
What direction to sand with orbital sander?
You sand in overlapping passes in a consistent pattern because the random orbit does the directional work for you.
Why won’t my sandpaper stick to my orbital sander?
Your sandpaper will not stick if the hook and loop pad is worn out, clogged, or dirty.
How do I know when to change sandpaper on an orbital sander?
You change sandpaper when it stops removing material cleanly, loads with dust, or leaves burn marks.
What are the biggest sanding mistakes to avoid with a sanding machine?
The biggest mistakes include pushing down, skipping grits, lifting the sander while it spins, moving too fast, and using worn pads.

Associated Products
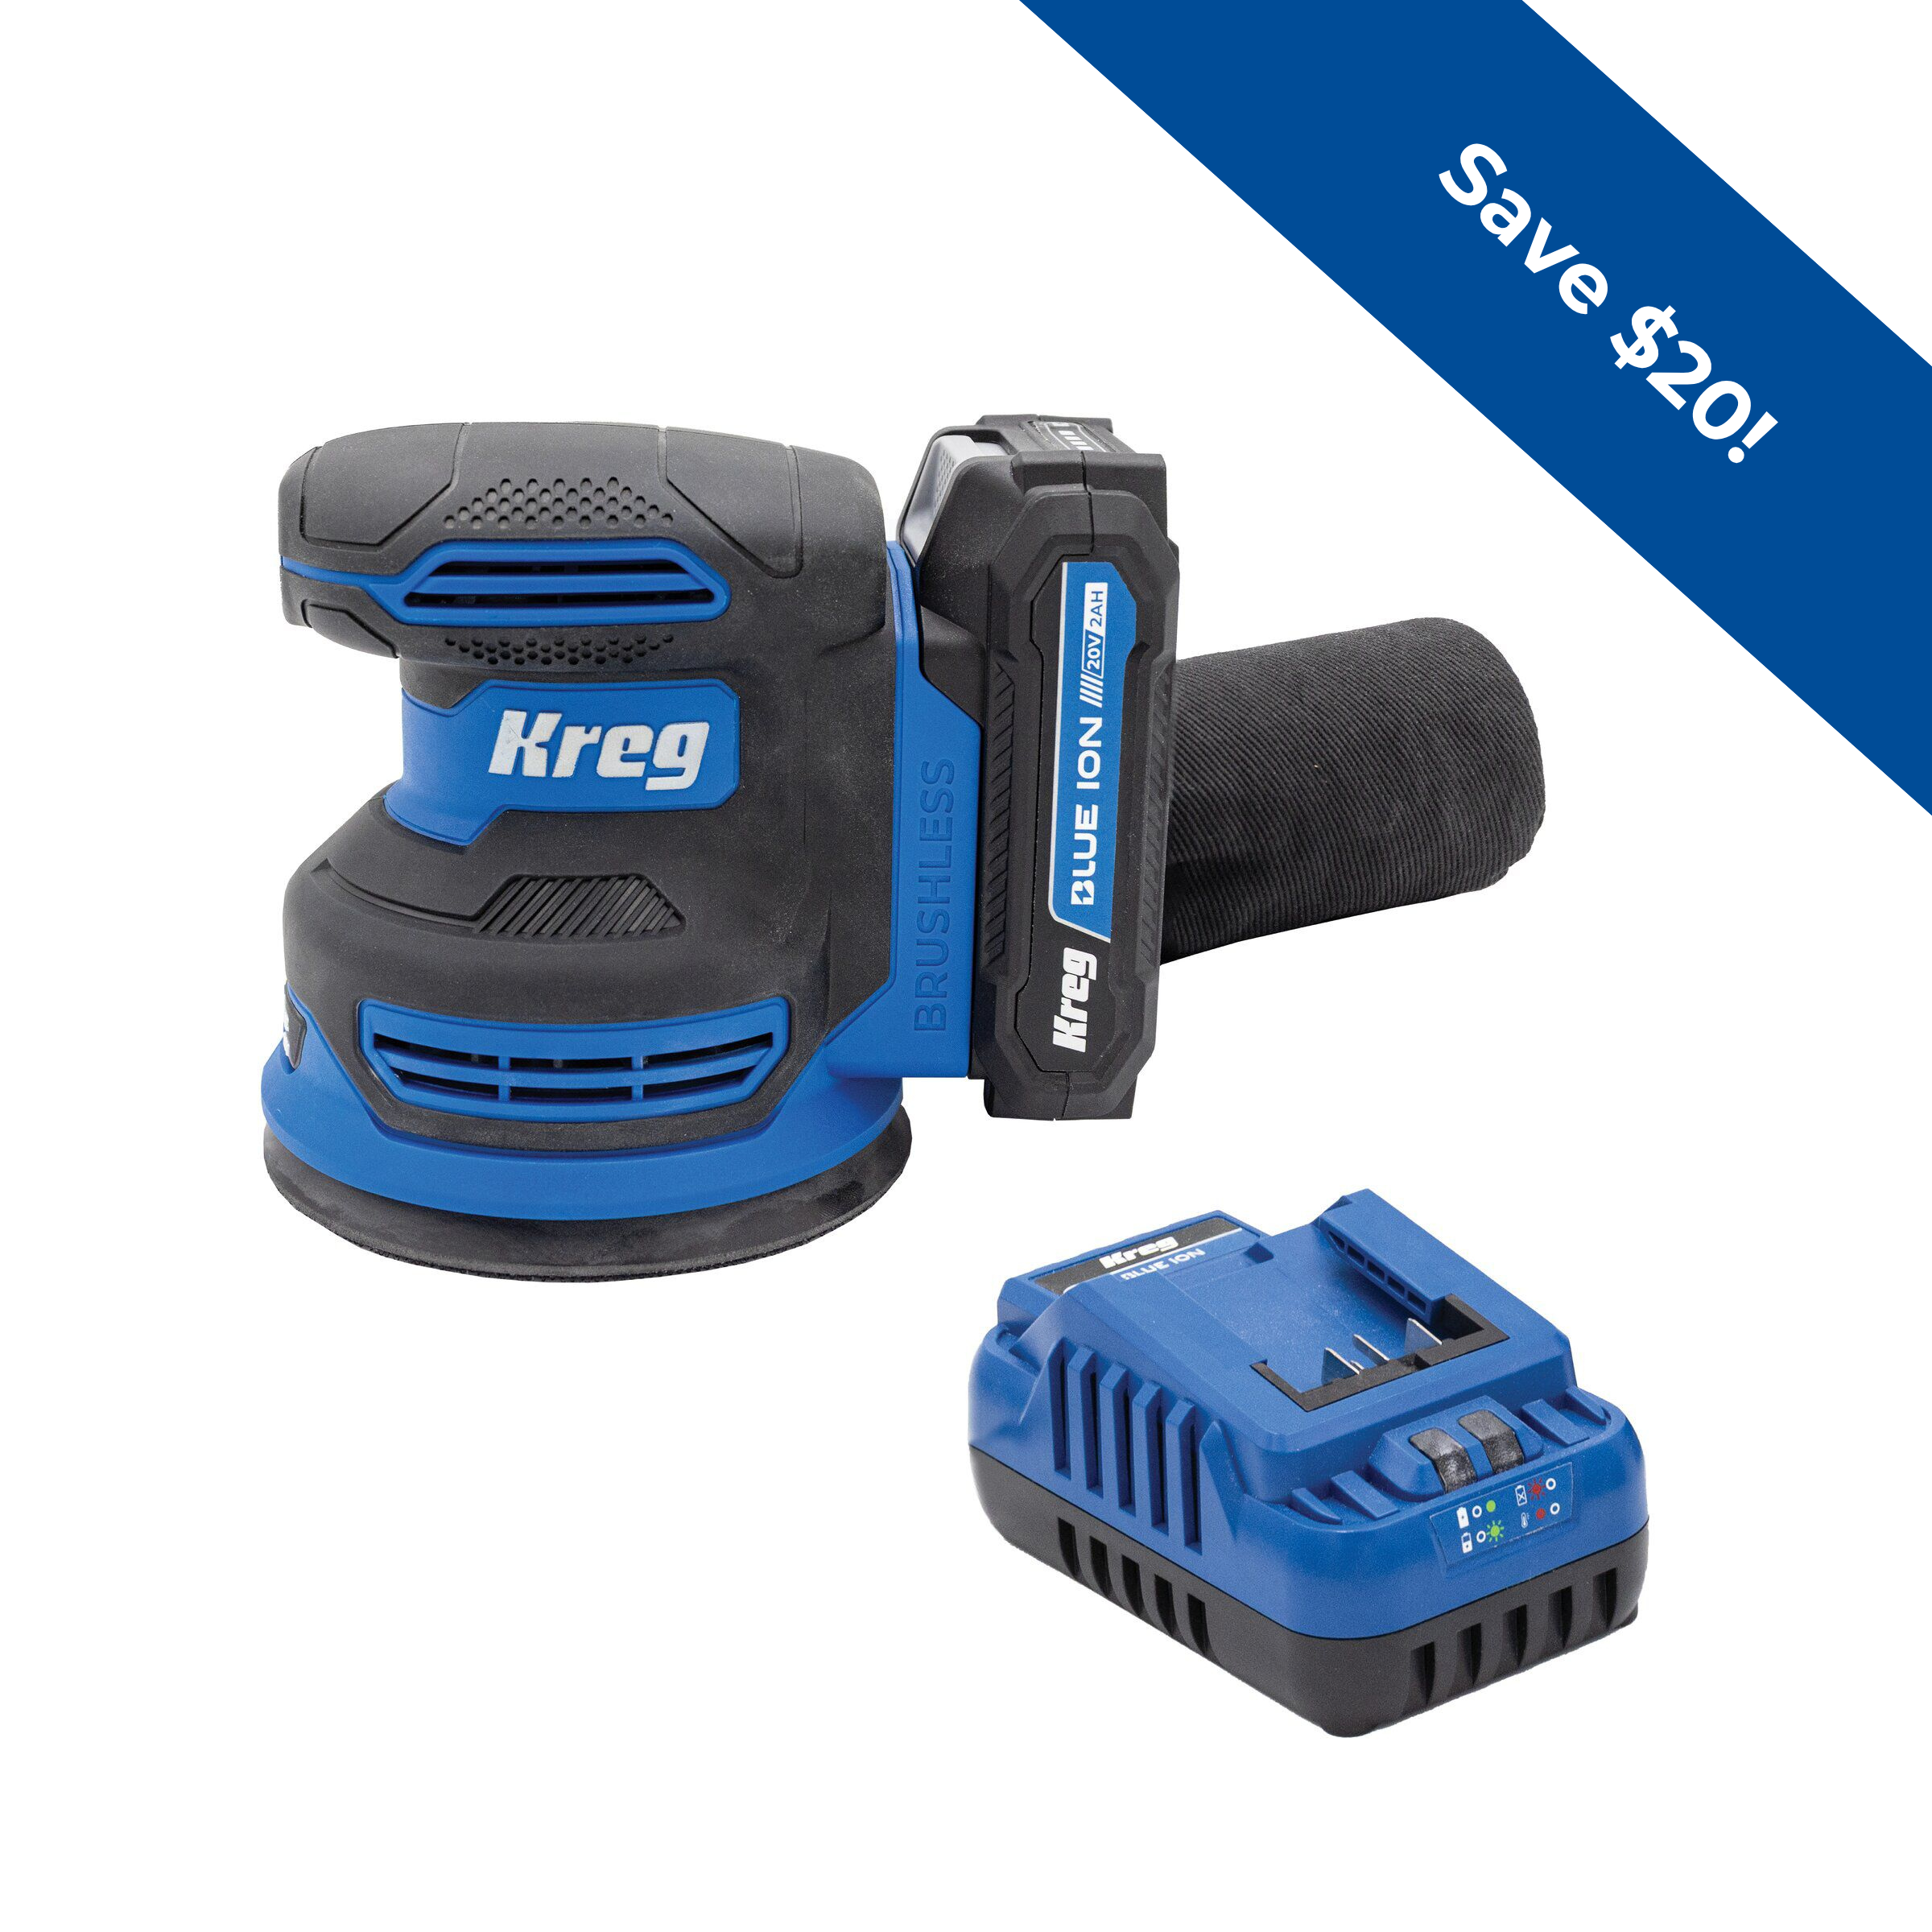
Kreg 20V Ionic Drive™ 5" Random Orbit Sander Kit