

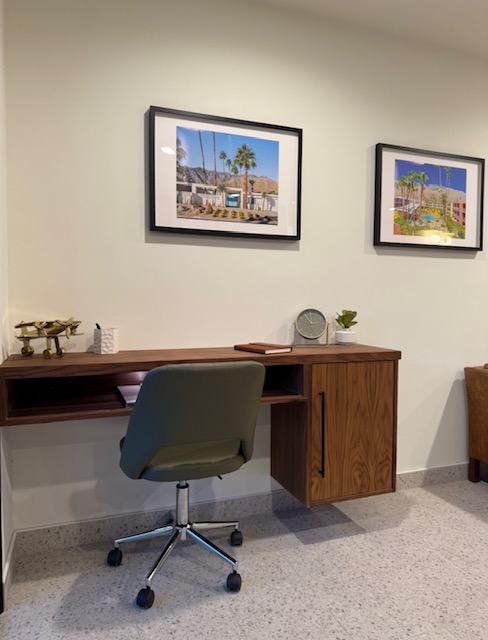
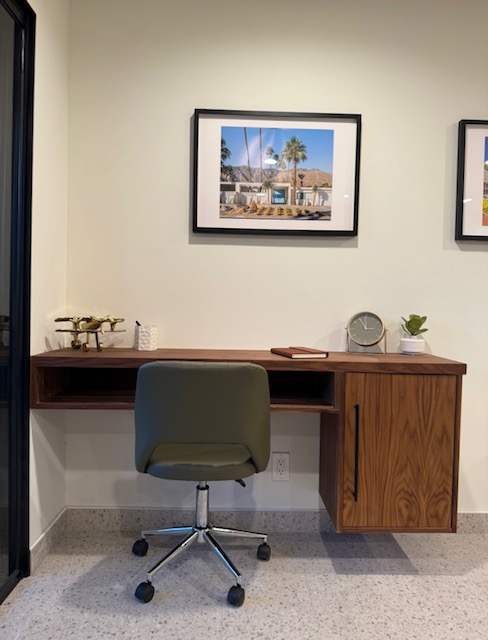


A simple, modern floating desk that proves less is really more. Clean lines, a slim profile, and a design that feels light, functional, and easy. This is perfect for anyone, no matter their experience level.
Tools
Kreg Tools


Other Tools
-
brad nailer

-
track saw or table saw
-
level
Materials
Wood Products
- 2 Walnut plywood , 4x8
- 2 Solid walnut , 3/4"
- 1 Wood glue
- 2 Soft close concealed insert hinges
Hardware & Supplies
- 1 Box of 1-1/4" Pocket hole screws
Directions
-
Build the floating desk box
- Cut all floating box plywood parts square and label them.
- Drill pocket holes on the inside edges of the Top and Bottom panels (along both 16" edges).
- Dry-fit: clamp sides between top and bottom. Confirm the box is square (check diagonals).
- Glue and drive 1-1/4" pocket screws to assemble.
- Lightly sand inside edges now (easier before mounting) -
Build the right-hand cabinet
- Cut cabinet plywood parts square and label them.
- Drill pocket holes on the inside edges of the cabinet Top and Bottom panels.
- Dry-fit and clamp. Check to make sure everything is square.
- Glue and drive 1-1/4" pocket screws to assemble.
- If adding shelf pins, drill the shelf pin holes now (before the face frame) -
Build both face frames
- Mill face frame stock to 3/4" thick and 1-1/2" wide.
- Cut rails/stiles per cut list. Dry-fit each frame on its carcass.
- Drill two pocket holes on the back side of each rail end.
- Glue, clamp flat, then screw rails into stiles to assemble each frame.
- Glue face frames to carcass fronts. Clamp. Optionally: add a few brads to hold while glue cures. -
Install cleats and hang both desk components
Rip a 3/4" plywood strip at 45 degrees to create a wall cleat and matching box cleats.
- Find studs. Level the wall cleat line. Pre-drill and fasten the wall cleat into studs with 3" structural screws.
- Fasten matching cleats inside the floating box and inside the cabinet (mirror orientation so they hook securely).
- Hang the floating box first and level it.
- Hang the right cabinet and align the face frame edges so the tops read as one continuous line.-Add screws from inside each box into adjoining box.
-
Fit and install the insert slab door
- Measure the finished face frame opening after the cabinet is hung and square. -Decide reveal (common: 1/16" all around). Cut slab door to size.
- Drill and install concealed hinges. Mount door to face frame.
- Adjust hinges for even reveal. Install pull/knob and optional catch. -
Install the desk top
- Set the top in place and confirm alignment. Install 1-½” walnut face around countertop edge.
-From inside the box and cabinet, fasten cabinet to countertop. -
Finish
- Sand: 120 -> 180 -> 220 (or your preferred sequence). Apply oil or finish of your choice.