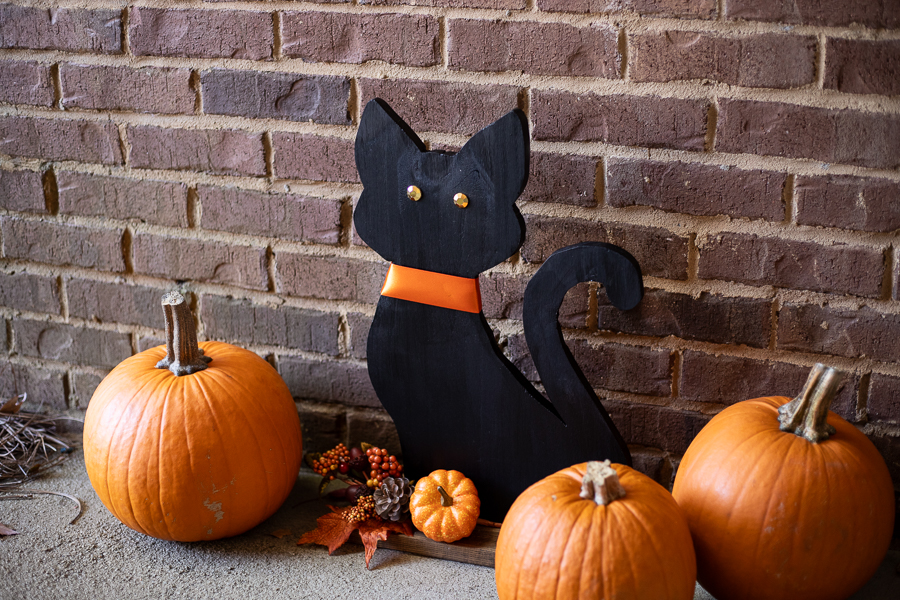


This DIY wooden black cat is a fun seasonal woodworking project that you can embellish however you choose!
Tools
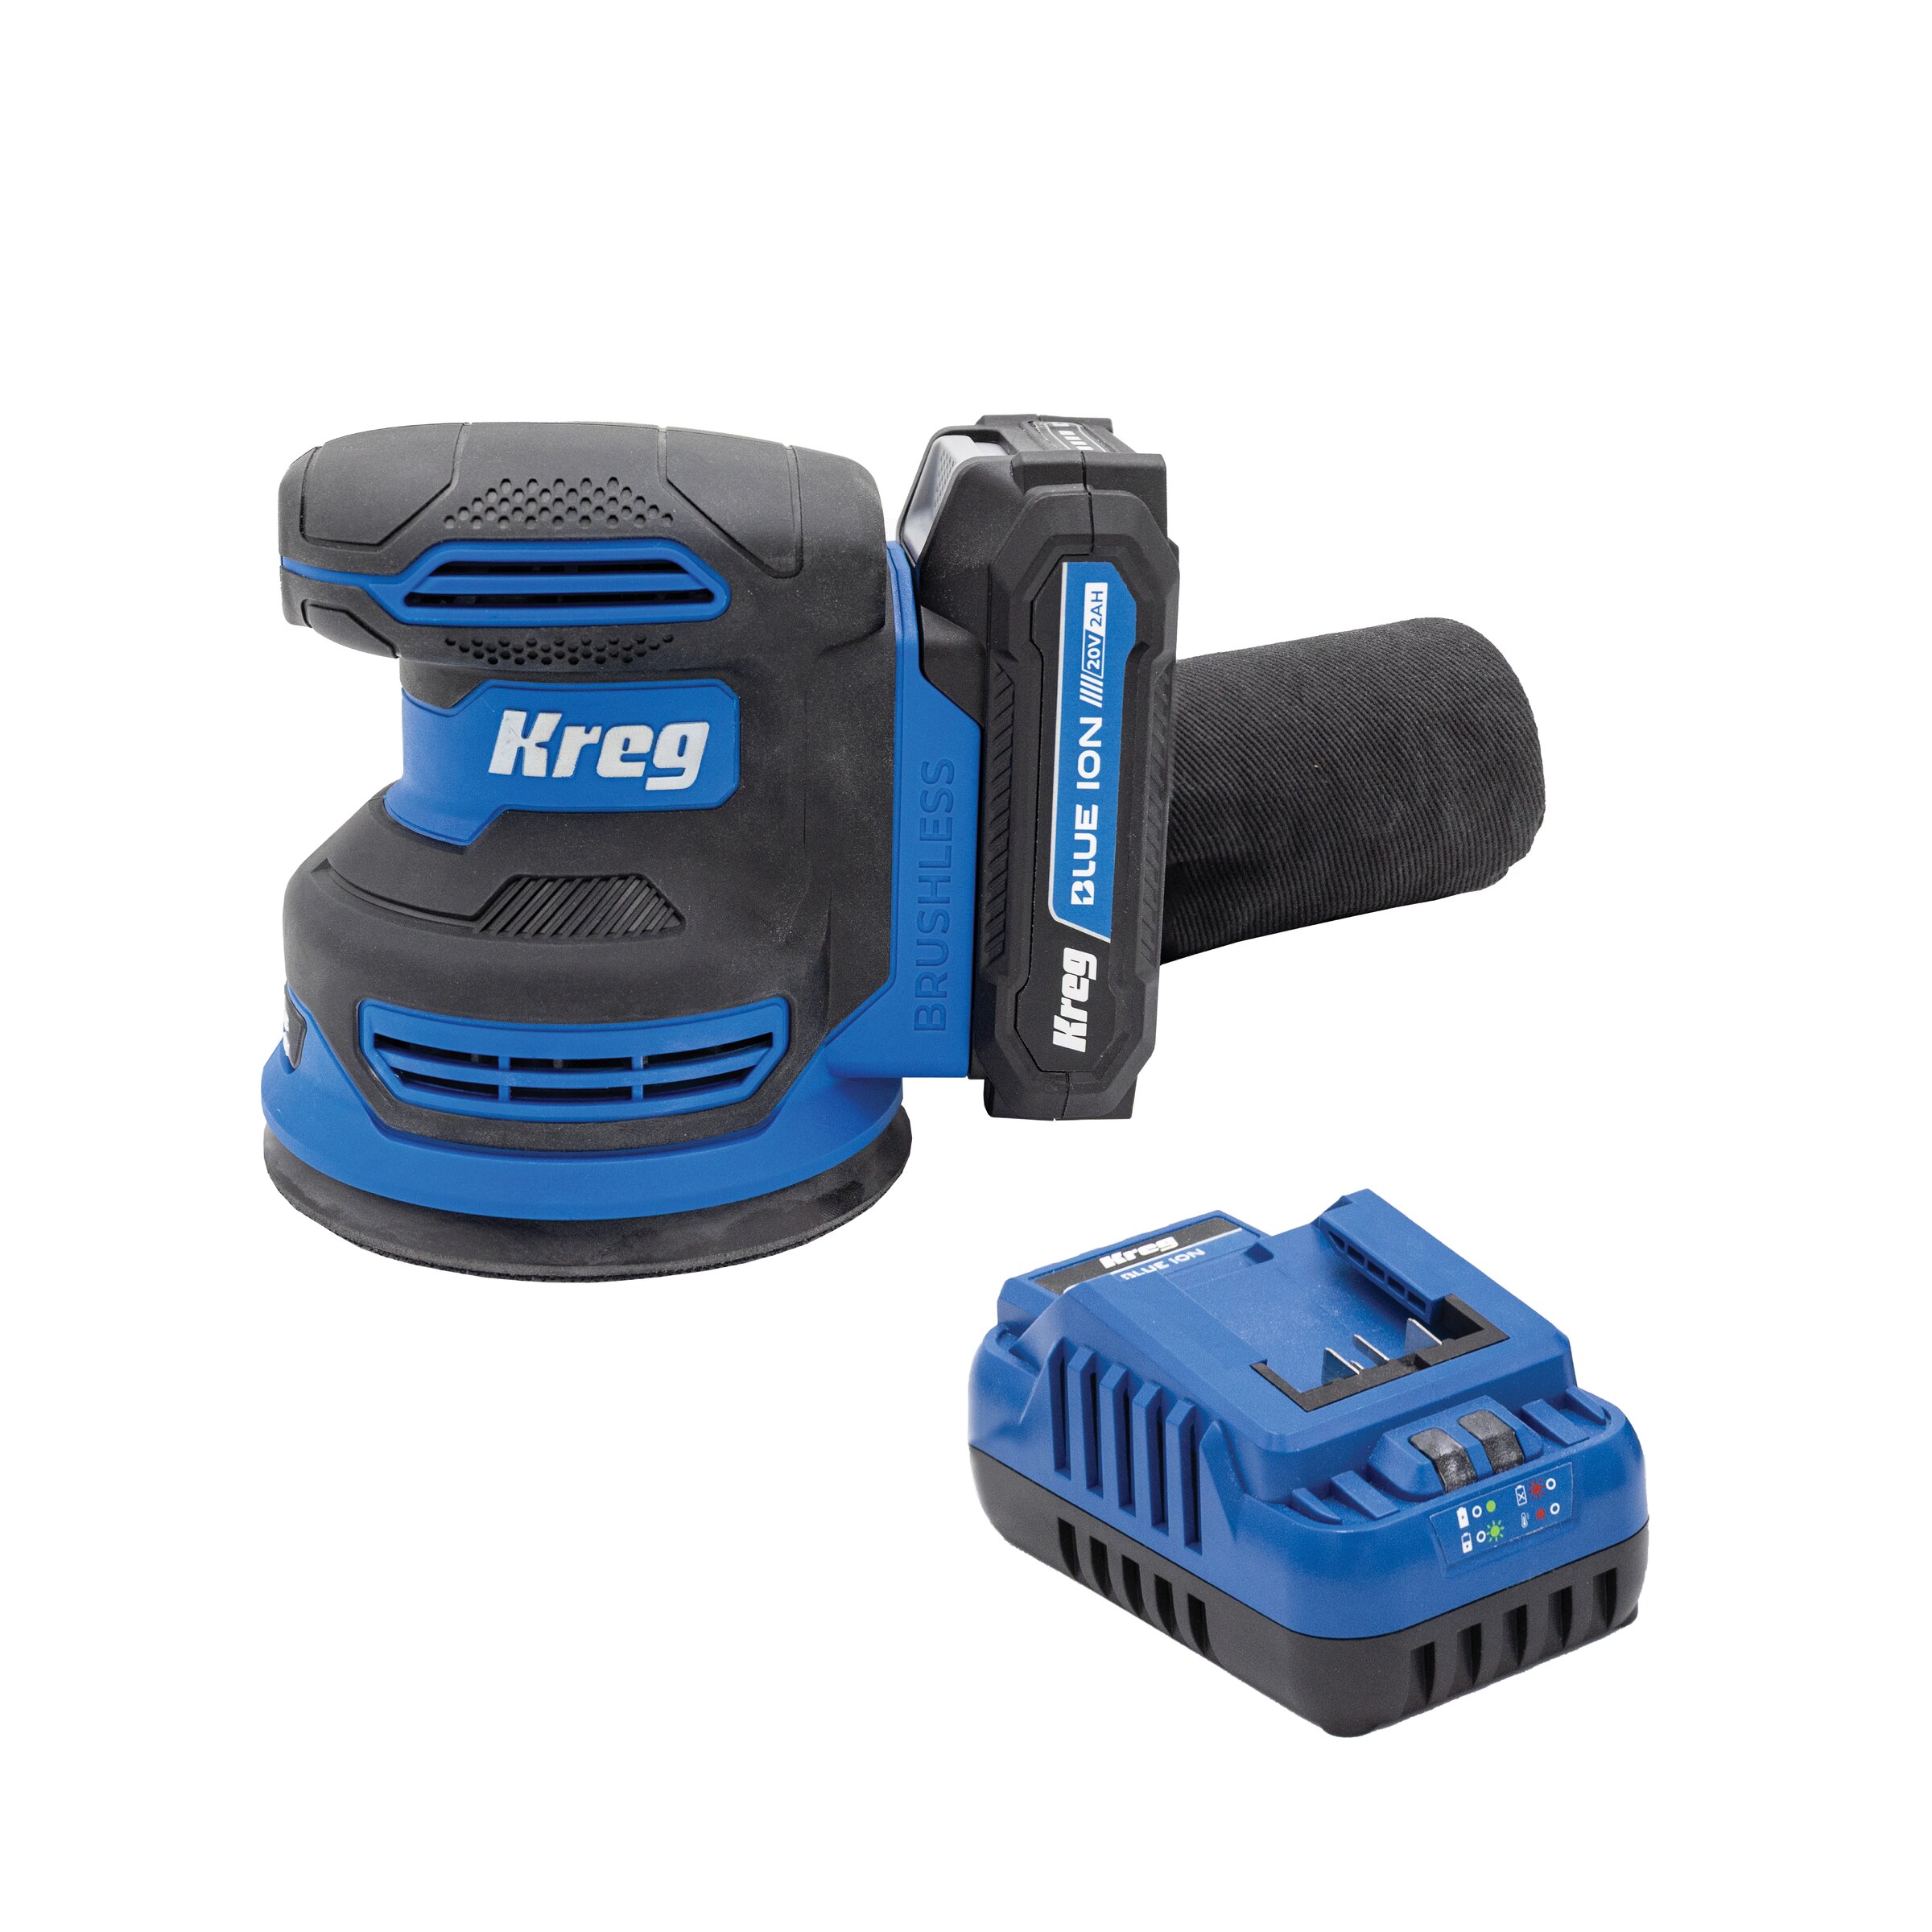
Kreg Tools


Materials
Wood Products
- 1 1x6 Board , 1x6x4
- 1 Project Panel , 21/32" x 18" x 48"
Hardware & Supplies
- 3 1 1/4" Pocket Hole Screws
- 1 Black Acrylic Paint
- 1 Stain
- 1 Embellishments
- 1 Glue Gun
- 1 Cat Template (optional)
Directions
-
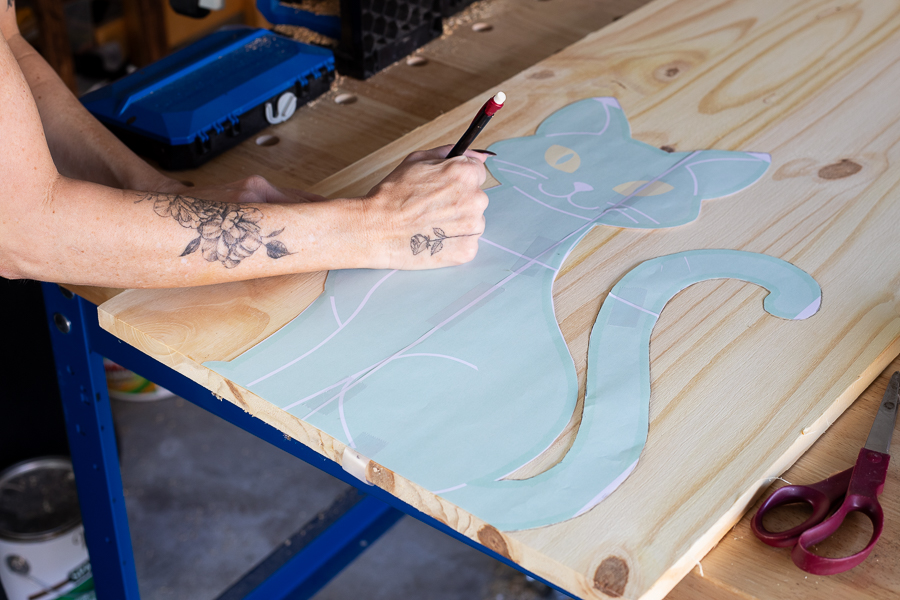
Trace Cat Shape
Free-hand or trace your cat shape onto your project panel. You can find free cat templates online (I designed one in Photoshop using AI which you can access here: https://drive.google.com/file/d/1HK3UOXsNqx7LPhm4YOsQKAb3Yu5g9Dsz/view?usp=sharing). You can use the tiling or poster feature in Adobe Acrobat or a similar program and print your template on multiple pages and piece them together to get a larger template. Mine is approximately 18 1/2" x 13". I did modify it when tracing and didn't trace the tail all the way down as it ended up being too flimsy and could break, so keep that in mind.
-
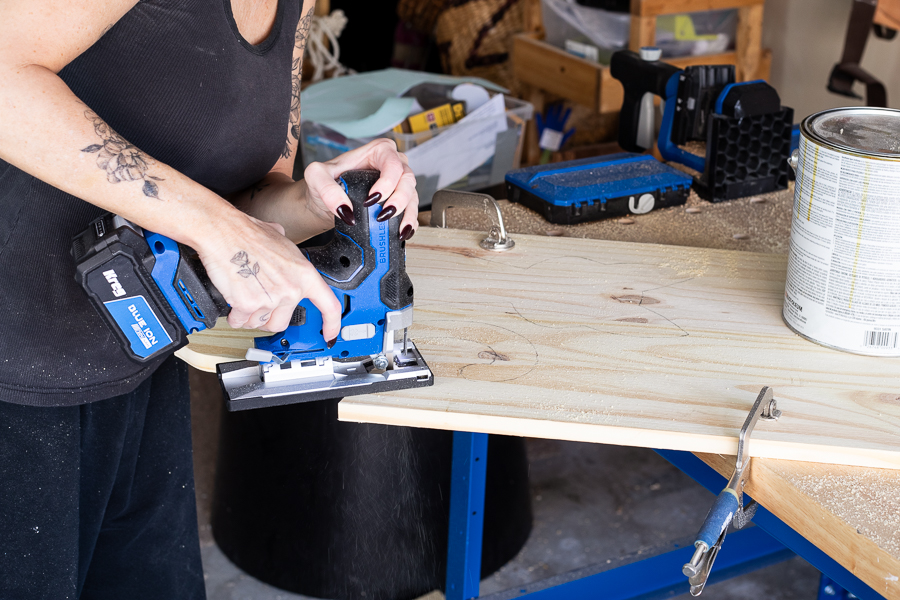
Cut Your Wood
Cut your 1x6 base to 14" long (modify depending on the size of your cat), and cut out your cat using a jig saw.
-
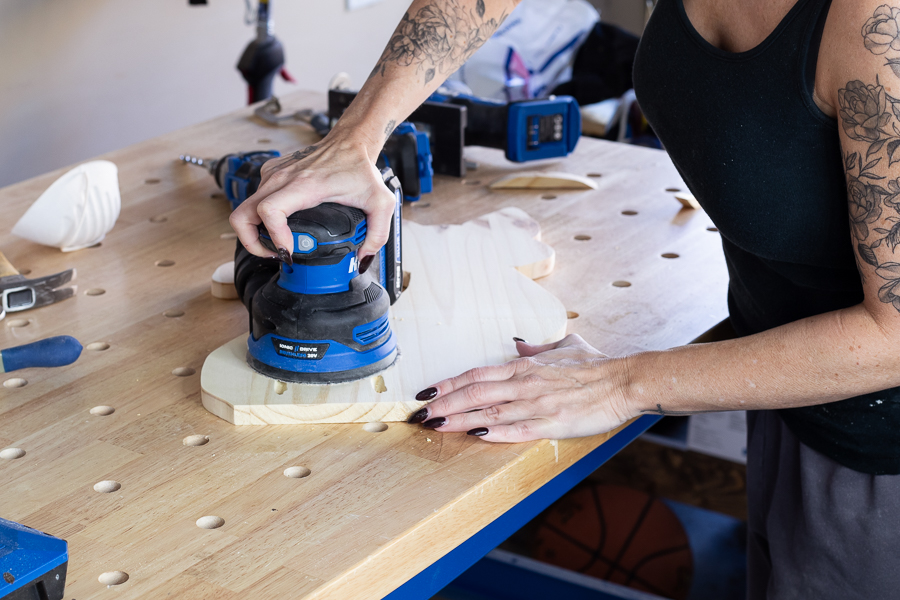
Sand
Smooth edges and surfaces with a random orbit sander.
-
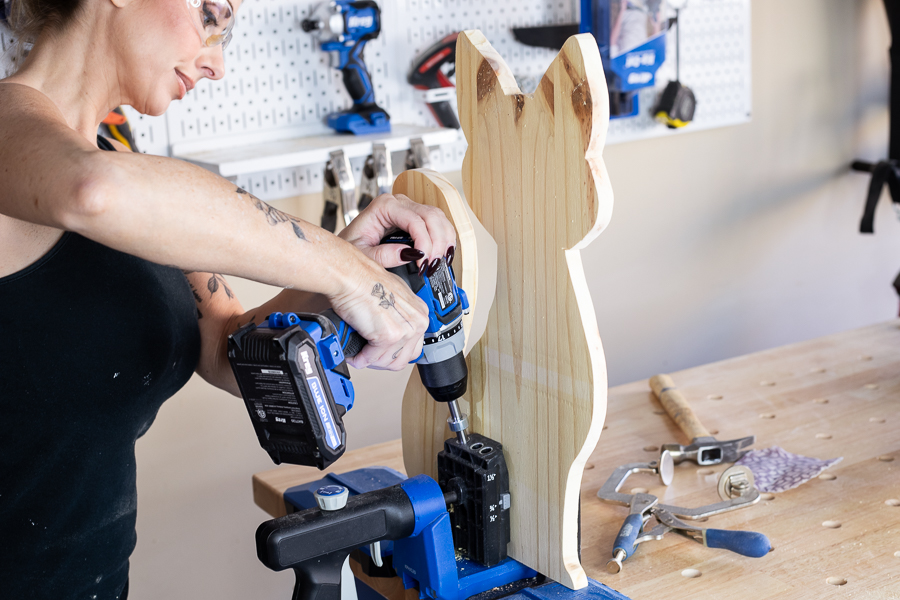
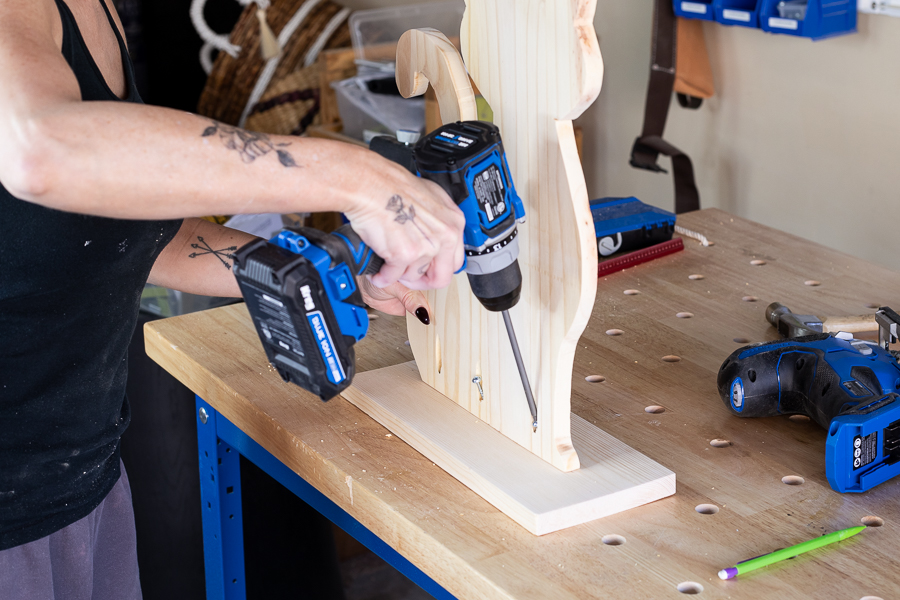
Drill Pocket Holes
Drill 3 pocket holes along the bottom back side of your cat.
-
Attach to Base
Center and attach your wooden cat to the base using 1 1/4" pocket hole screws.
-
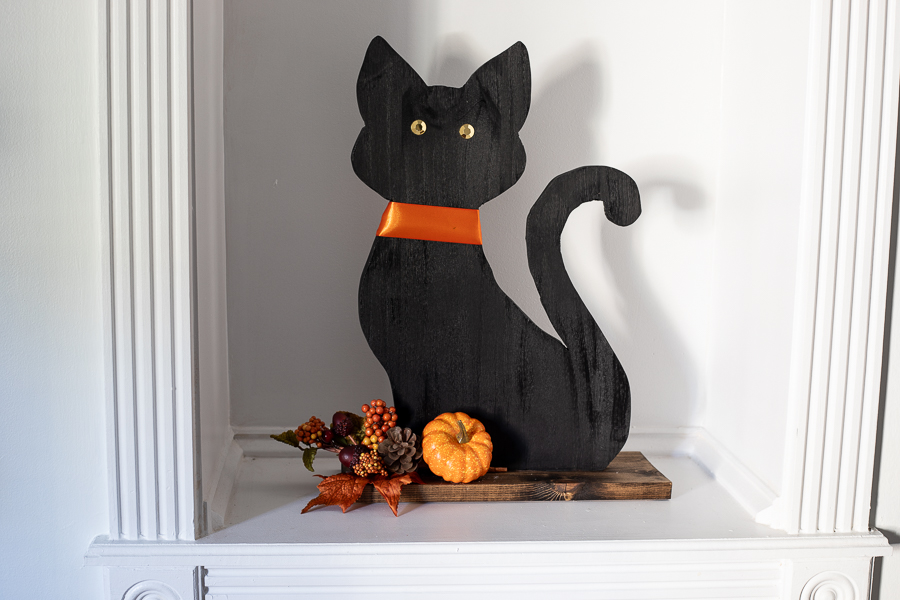
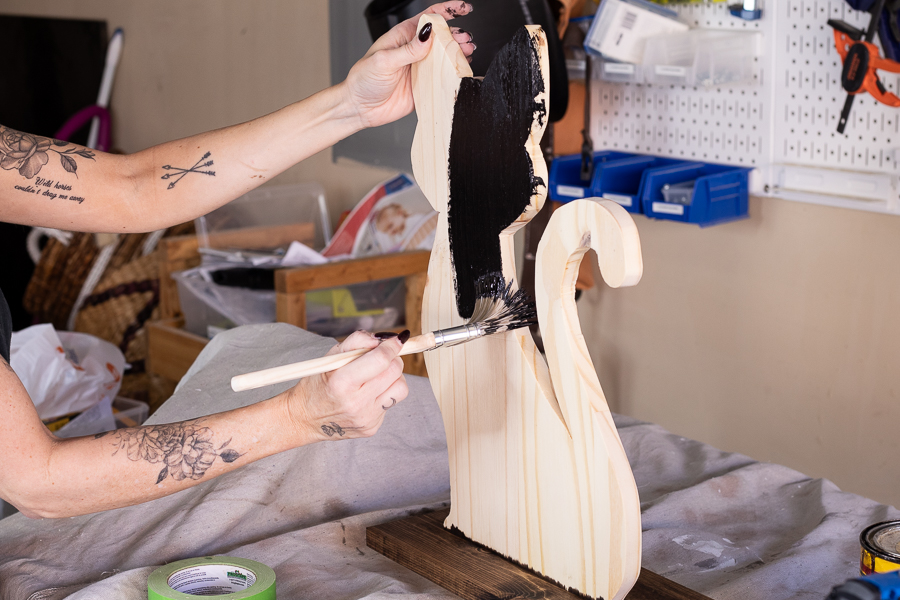
Paint and Stain
I stained the base with a dark walnut color and painted the cat with an indoor/outdoor black acrylic craft paint.
-
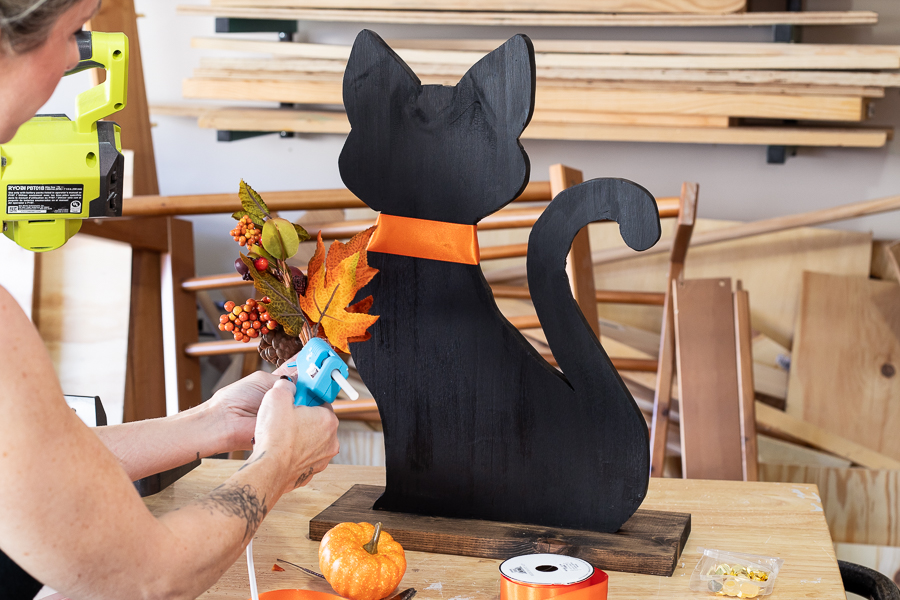
Embellish
This is where you can have fun and add unique touches! I added a ribbon collar, and hot glued some fall embellishments onto the base, and gold flat beads for the eyes.