DIY Wooden Christmas Tree Collar
By Erin SpainThis DIY wooden Christmas tree collar is an easy holiday woodworking project that will add style to any Christmas tree. You can customize the color or stencil a design on it if you want to personalize it even more.
Directions
-
Cut Your Wood
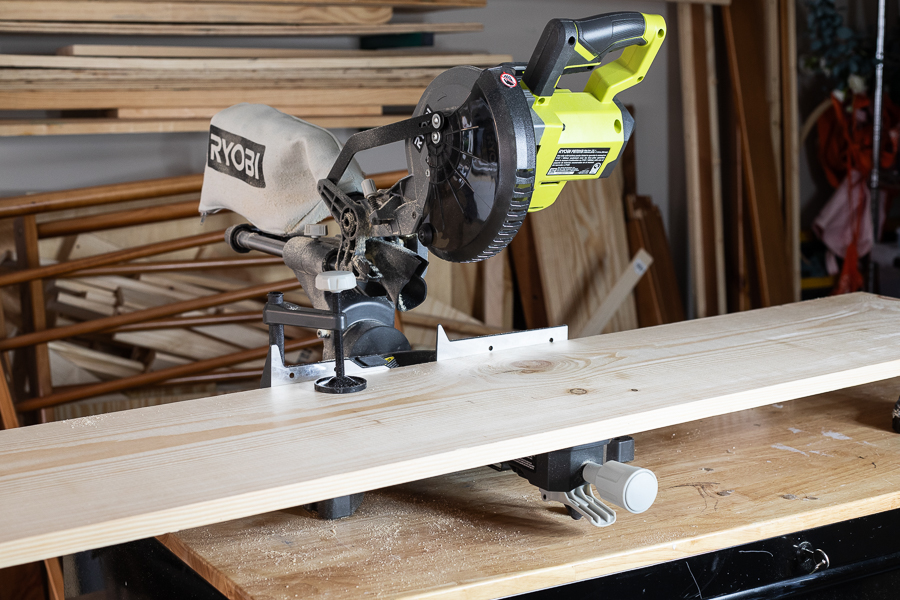
Cut your wood to the specified dimensions.
-
Drill Pocket Holes
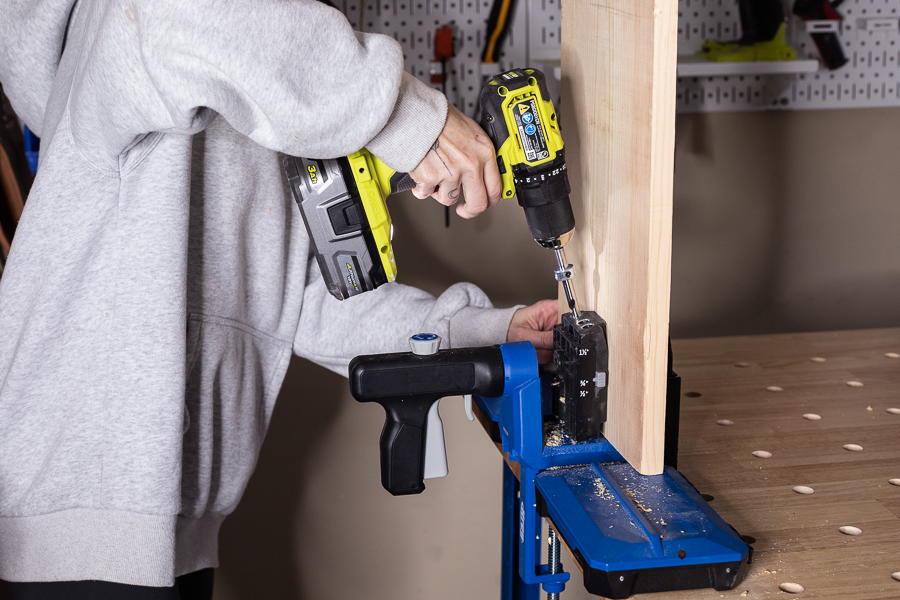
Drill 3 pocket holes along one end of each of your 26 1/2" long 1x12 boards (side pieces).
-
Sand
Sand all of your wood smooth.
-
Attach Sides to Back Piece
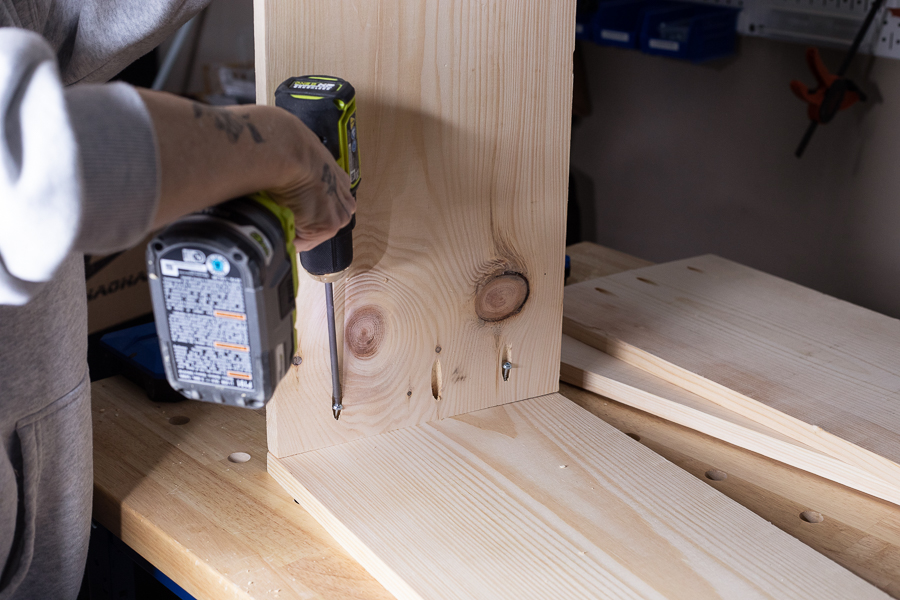
Using 1 1/4" pocket hole screws, attach each of the side pieces to the back piece (28" long 1x12 board).
-
Attach Front Piece
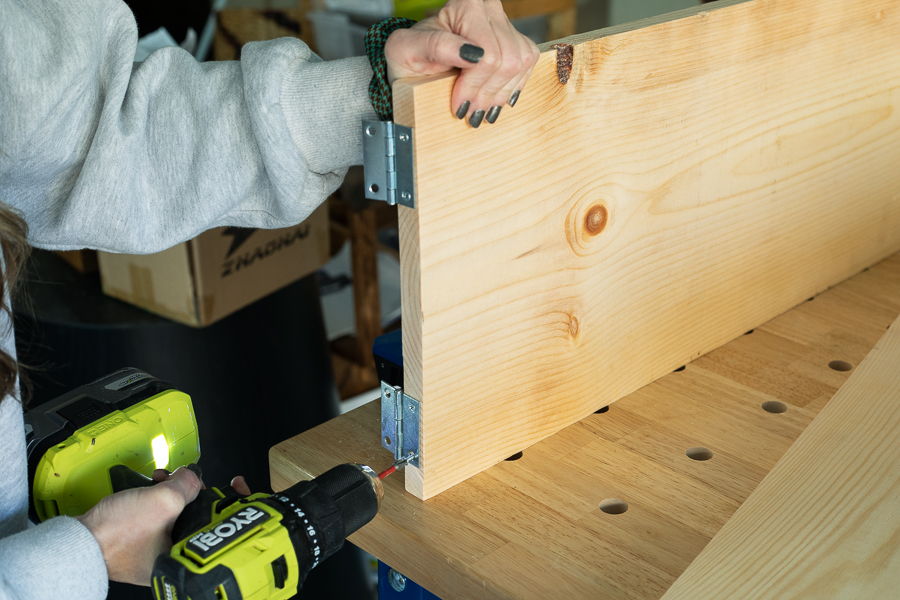
Attach your front piece (28" long 1x12 board) using two 2" door hinges. I placed each hinge about an inch down from the top and an inch up from the bottom.
-
Stain or Paint
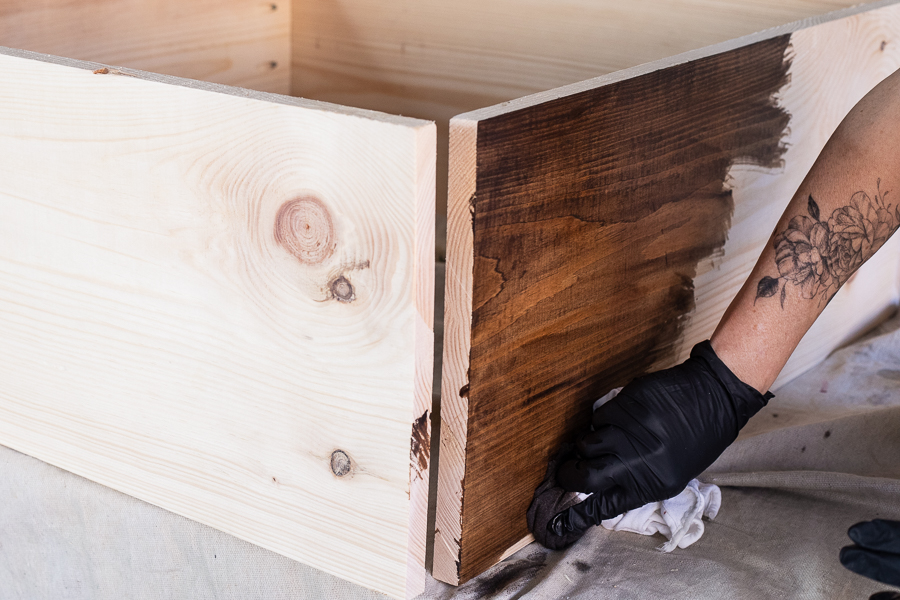
Stain your entire piece in a color of your choice. (This one is Special Walnut.)
-
Add Hook and Eye
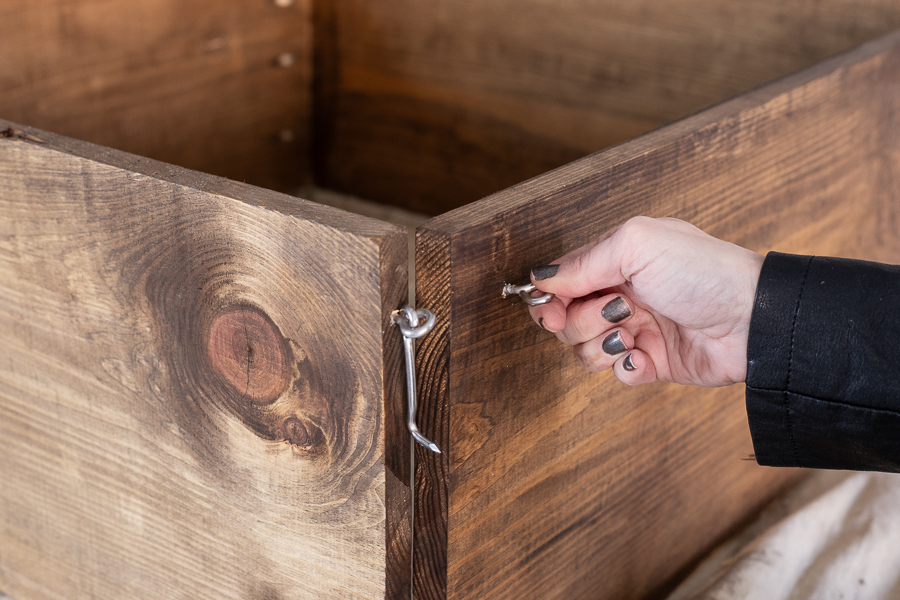
Predrill holes and then attach your hook and eye to the opposite side from your hinges, allowing the front piece to latch closed like a door. This will allow you to open it and slide it in place, then close it. You can either make the latched door the front side or the back side, depending on whether you want the latch and hinge to be visible or not.
-
Slide Collar in Place
Carefully position your collar and then latch it closed.


