DIY Stocking Holders
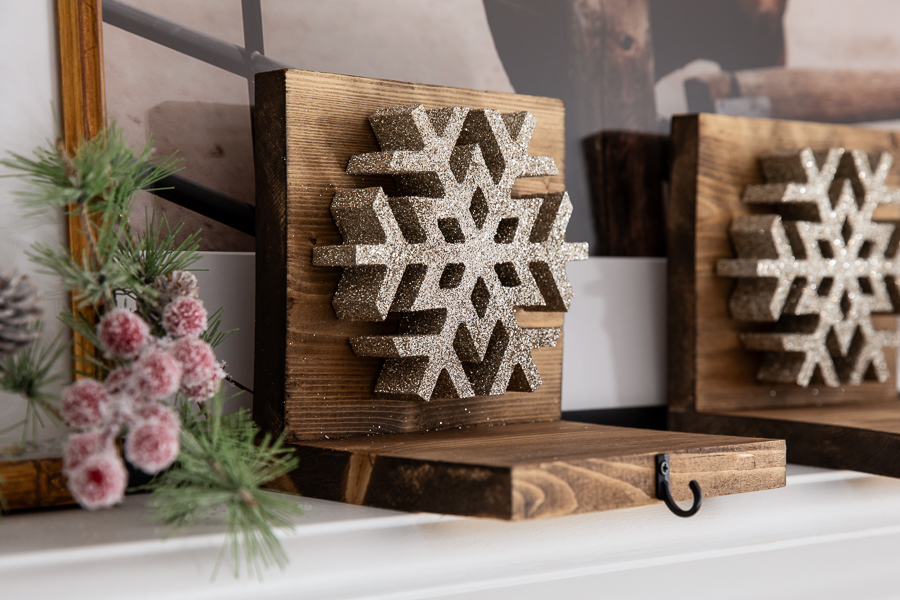
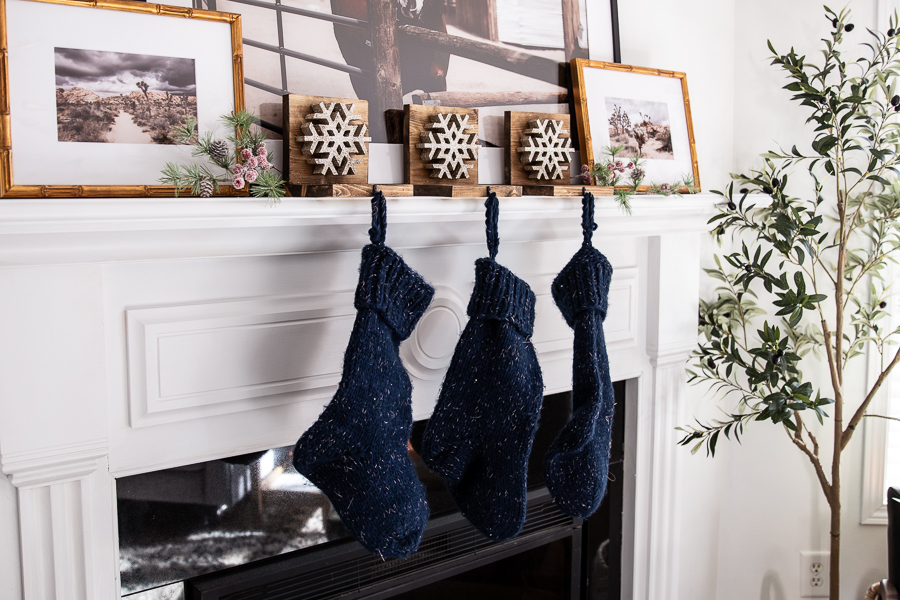
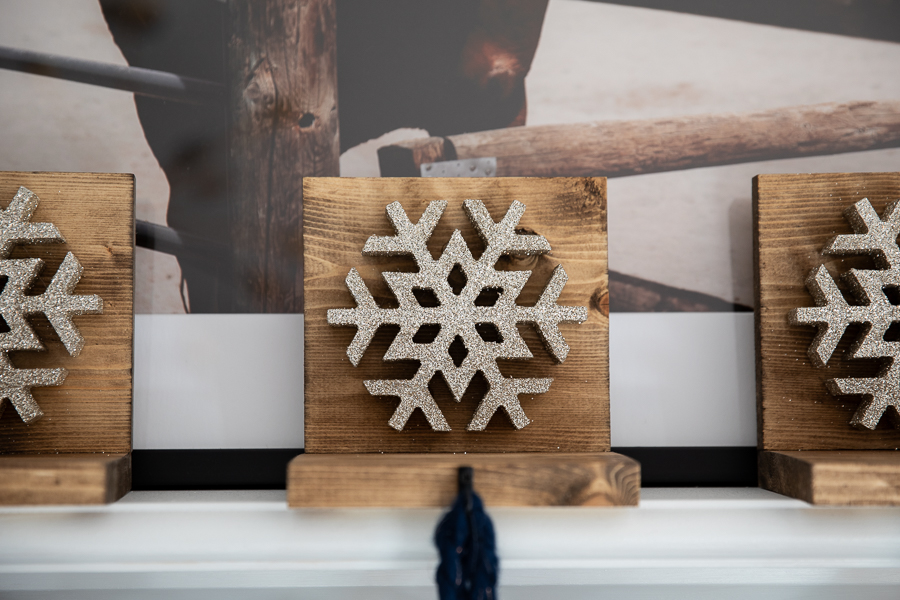
By Erin SpainThese DIY stocking holders are great for beginners and can be customized with any holiday embellishment you choose. (Multiply materials based on how many stocking holders you want in your set.)
Directions
-
Cut Your Wood
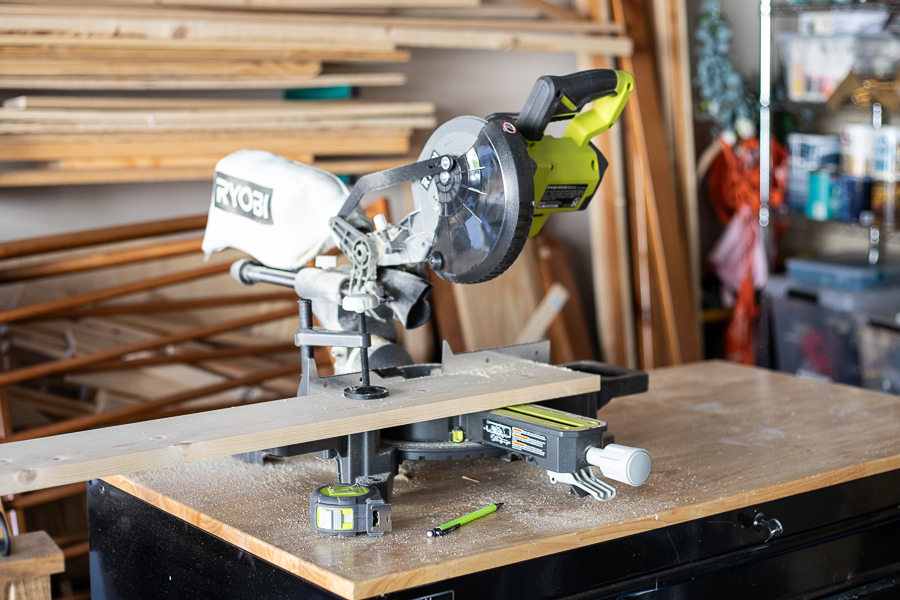
Cut your 1x6 board into 2 pieces at 6" long each. (Multiply this by how many stocking holders you want in your set as these specifications are only for one stocking holder.)
-
Drill Pocket Holes
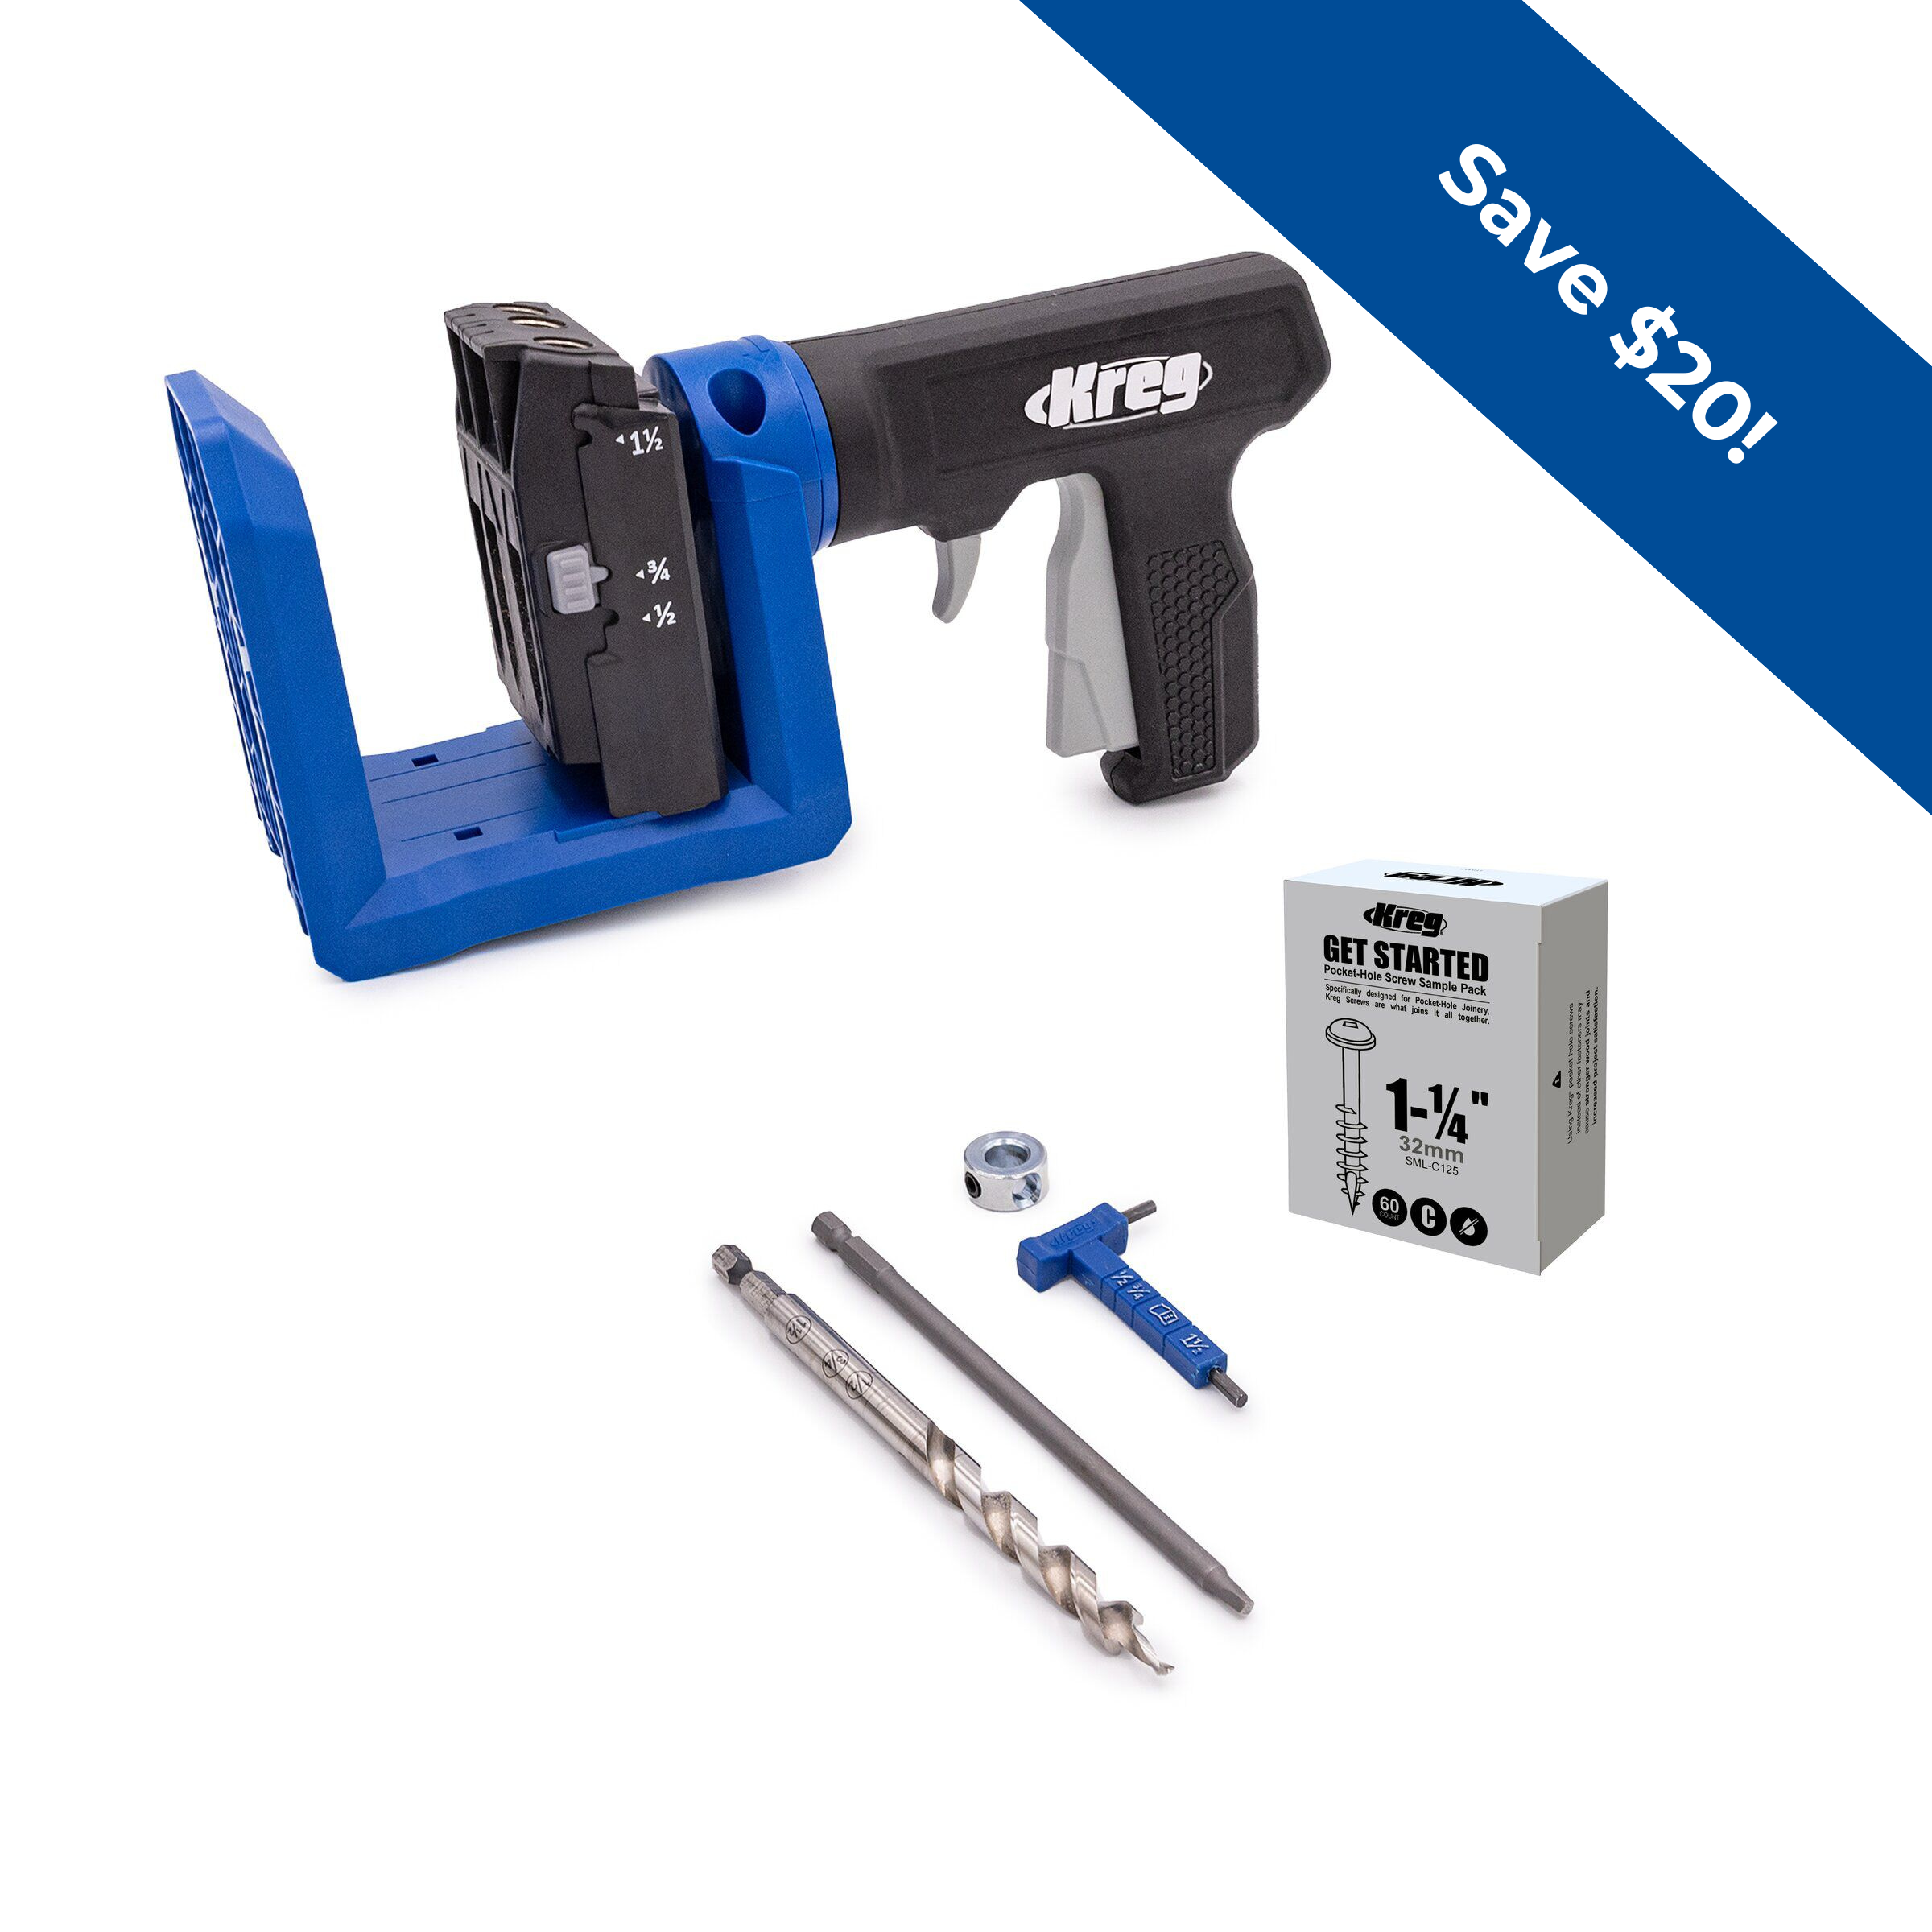
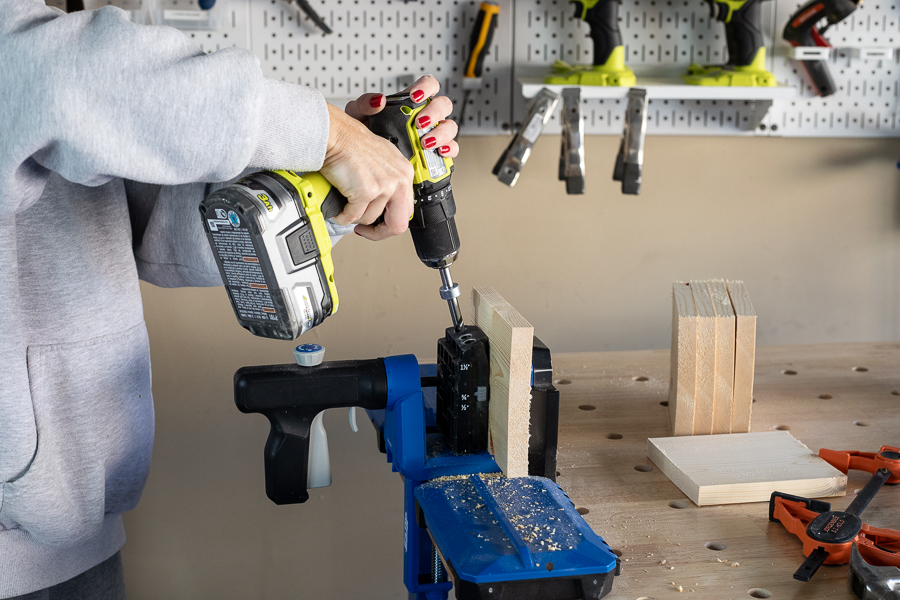
Drill 3 pocket holes along one side of one of your 1x6 pieces.
-
Sand
Give everything a good sanding to smooth any rough edges.
-
Attach Your Boards
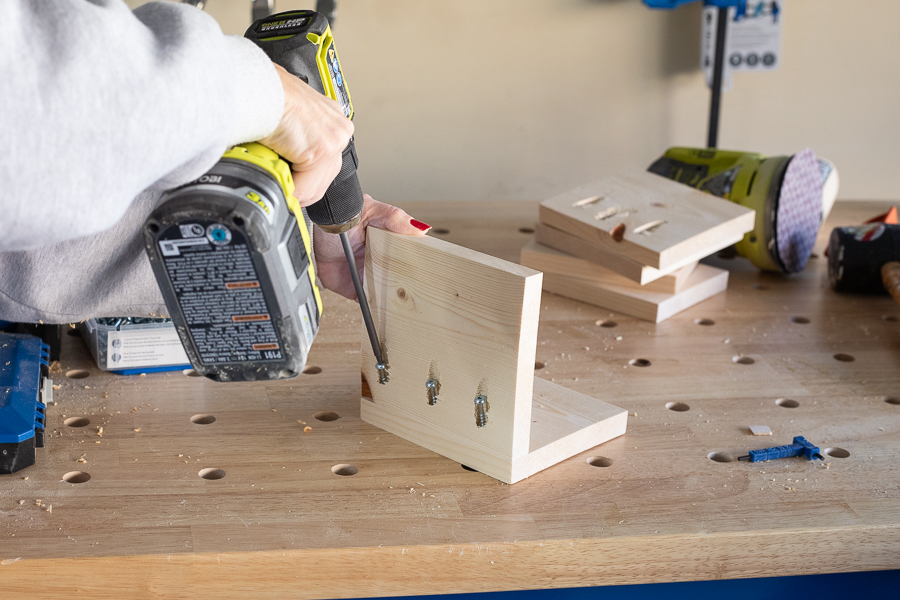
Attach your two 1x6 boards using 1 1/4" long pocket hole screws, creating an "L" shape.
-
Apply Stain
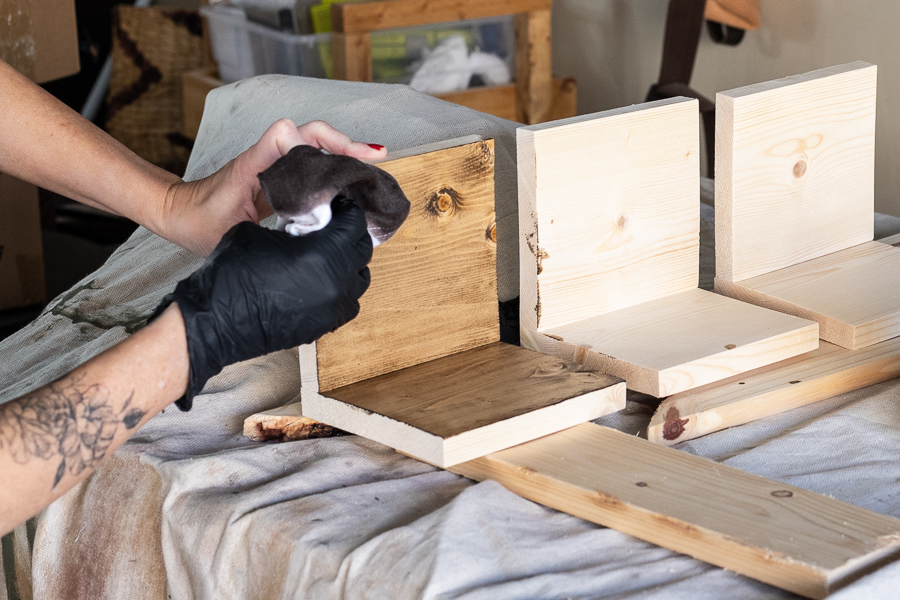
Stain your piece using a color of your choice. I used an Early American stain for my set of stocking holders.
-
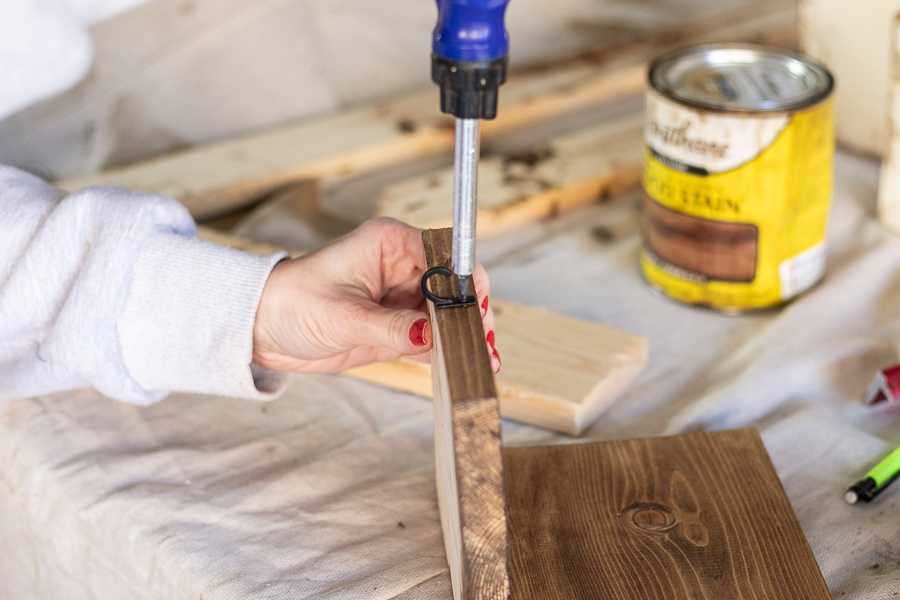
Add Hook
Use a screwdriver or drill to attach a small key hook to the bottom center of the front of your stocking holder.
-
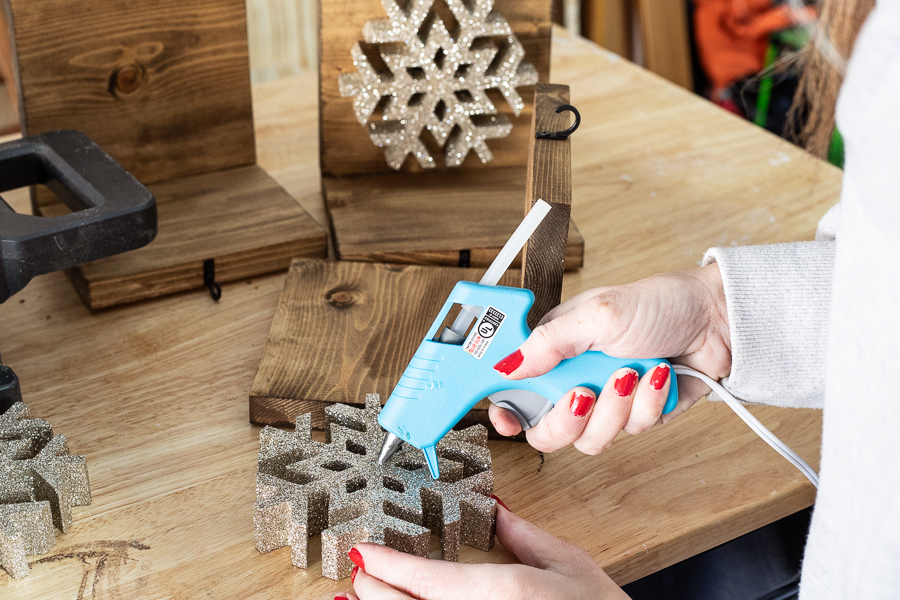
Add Embellishment
I picked up a glitter snowflakes from the craft store for mine, but you could use any holiday embellishment you choose. Attach it using a hot glue gun or a brad nailer (depending on whether it's a wooden embellishment).
-
Add Stockings and Hang
Add your stockings and they're ready to hang!


