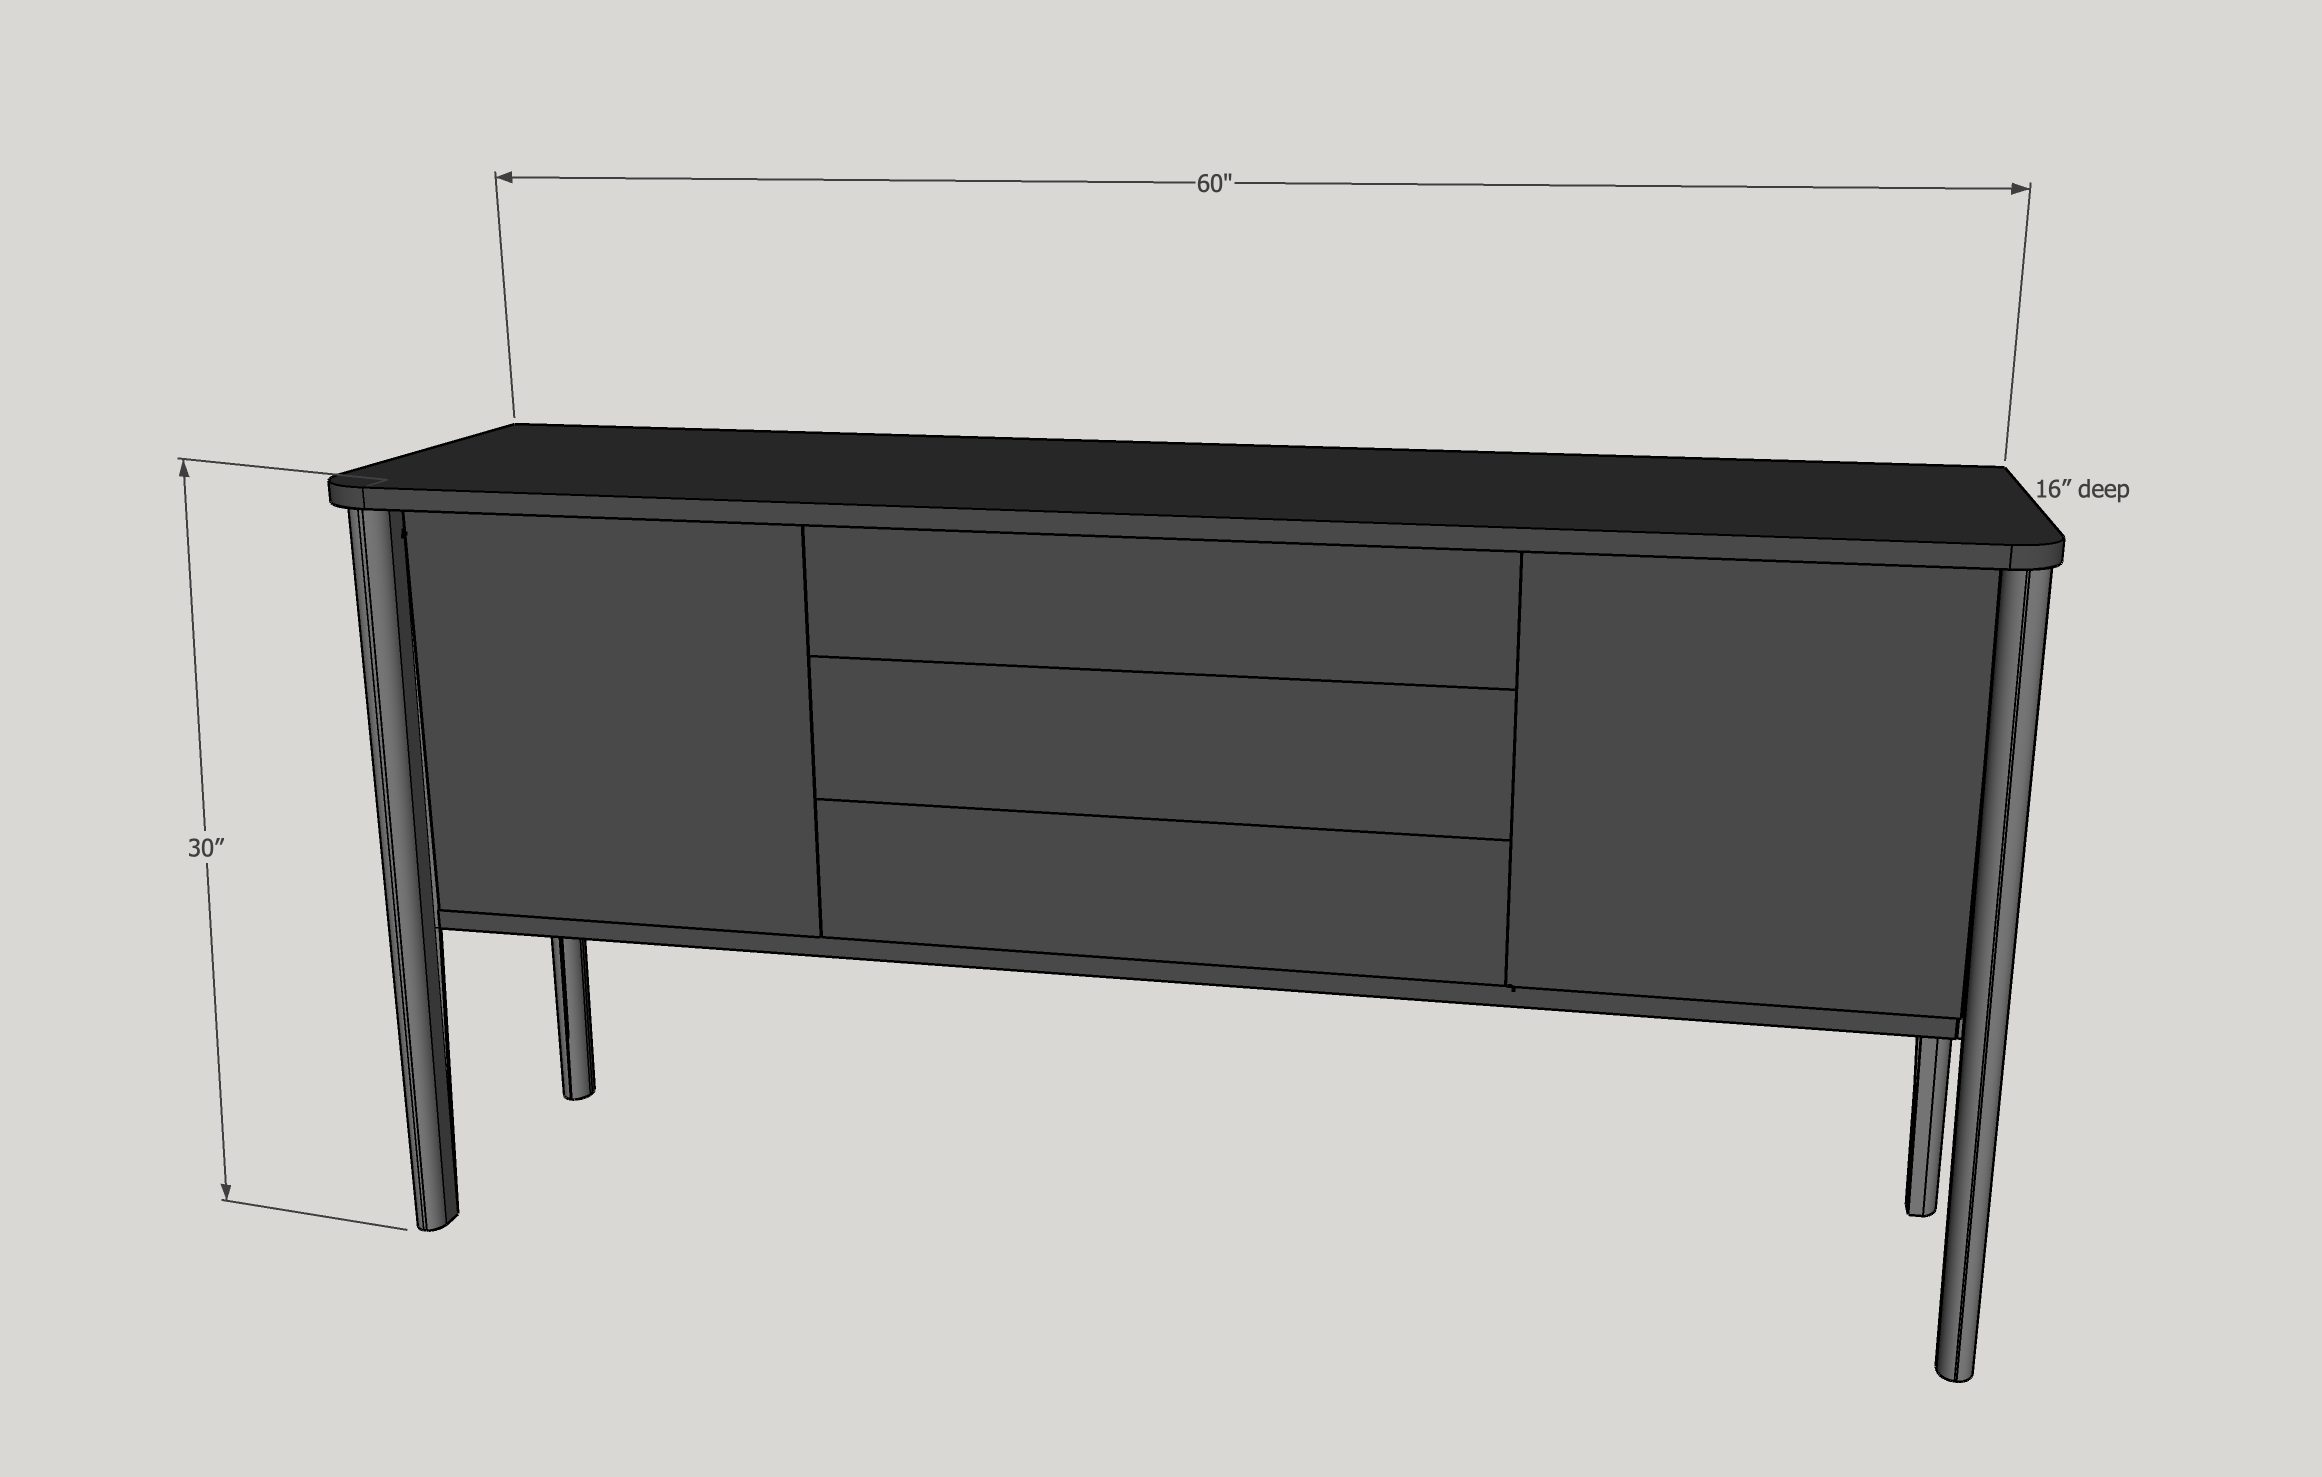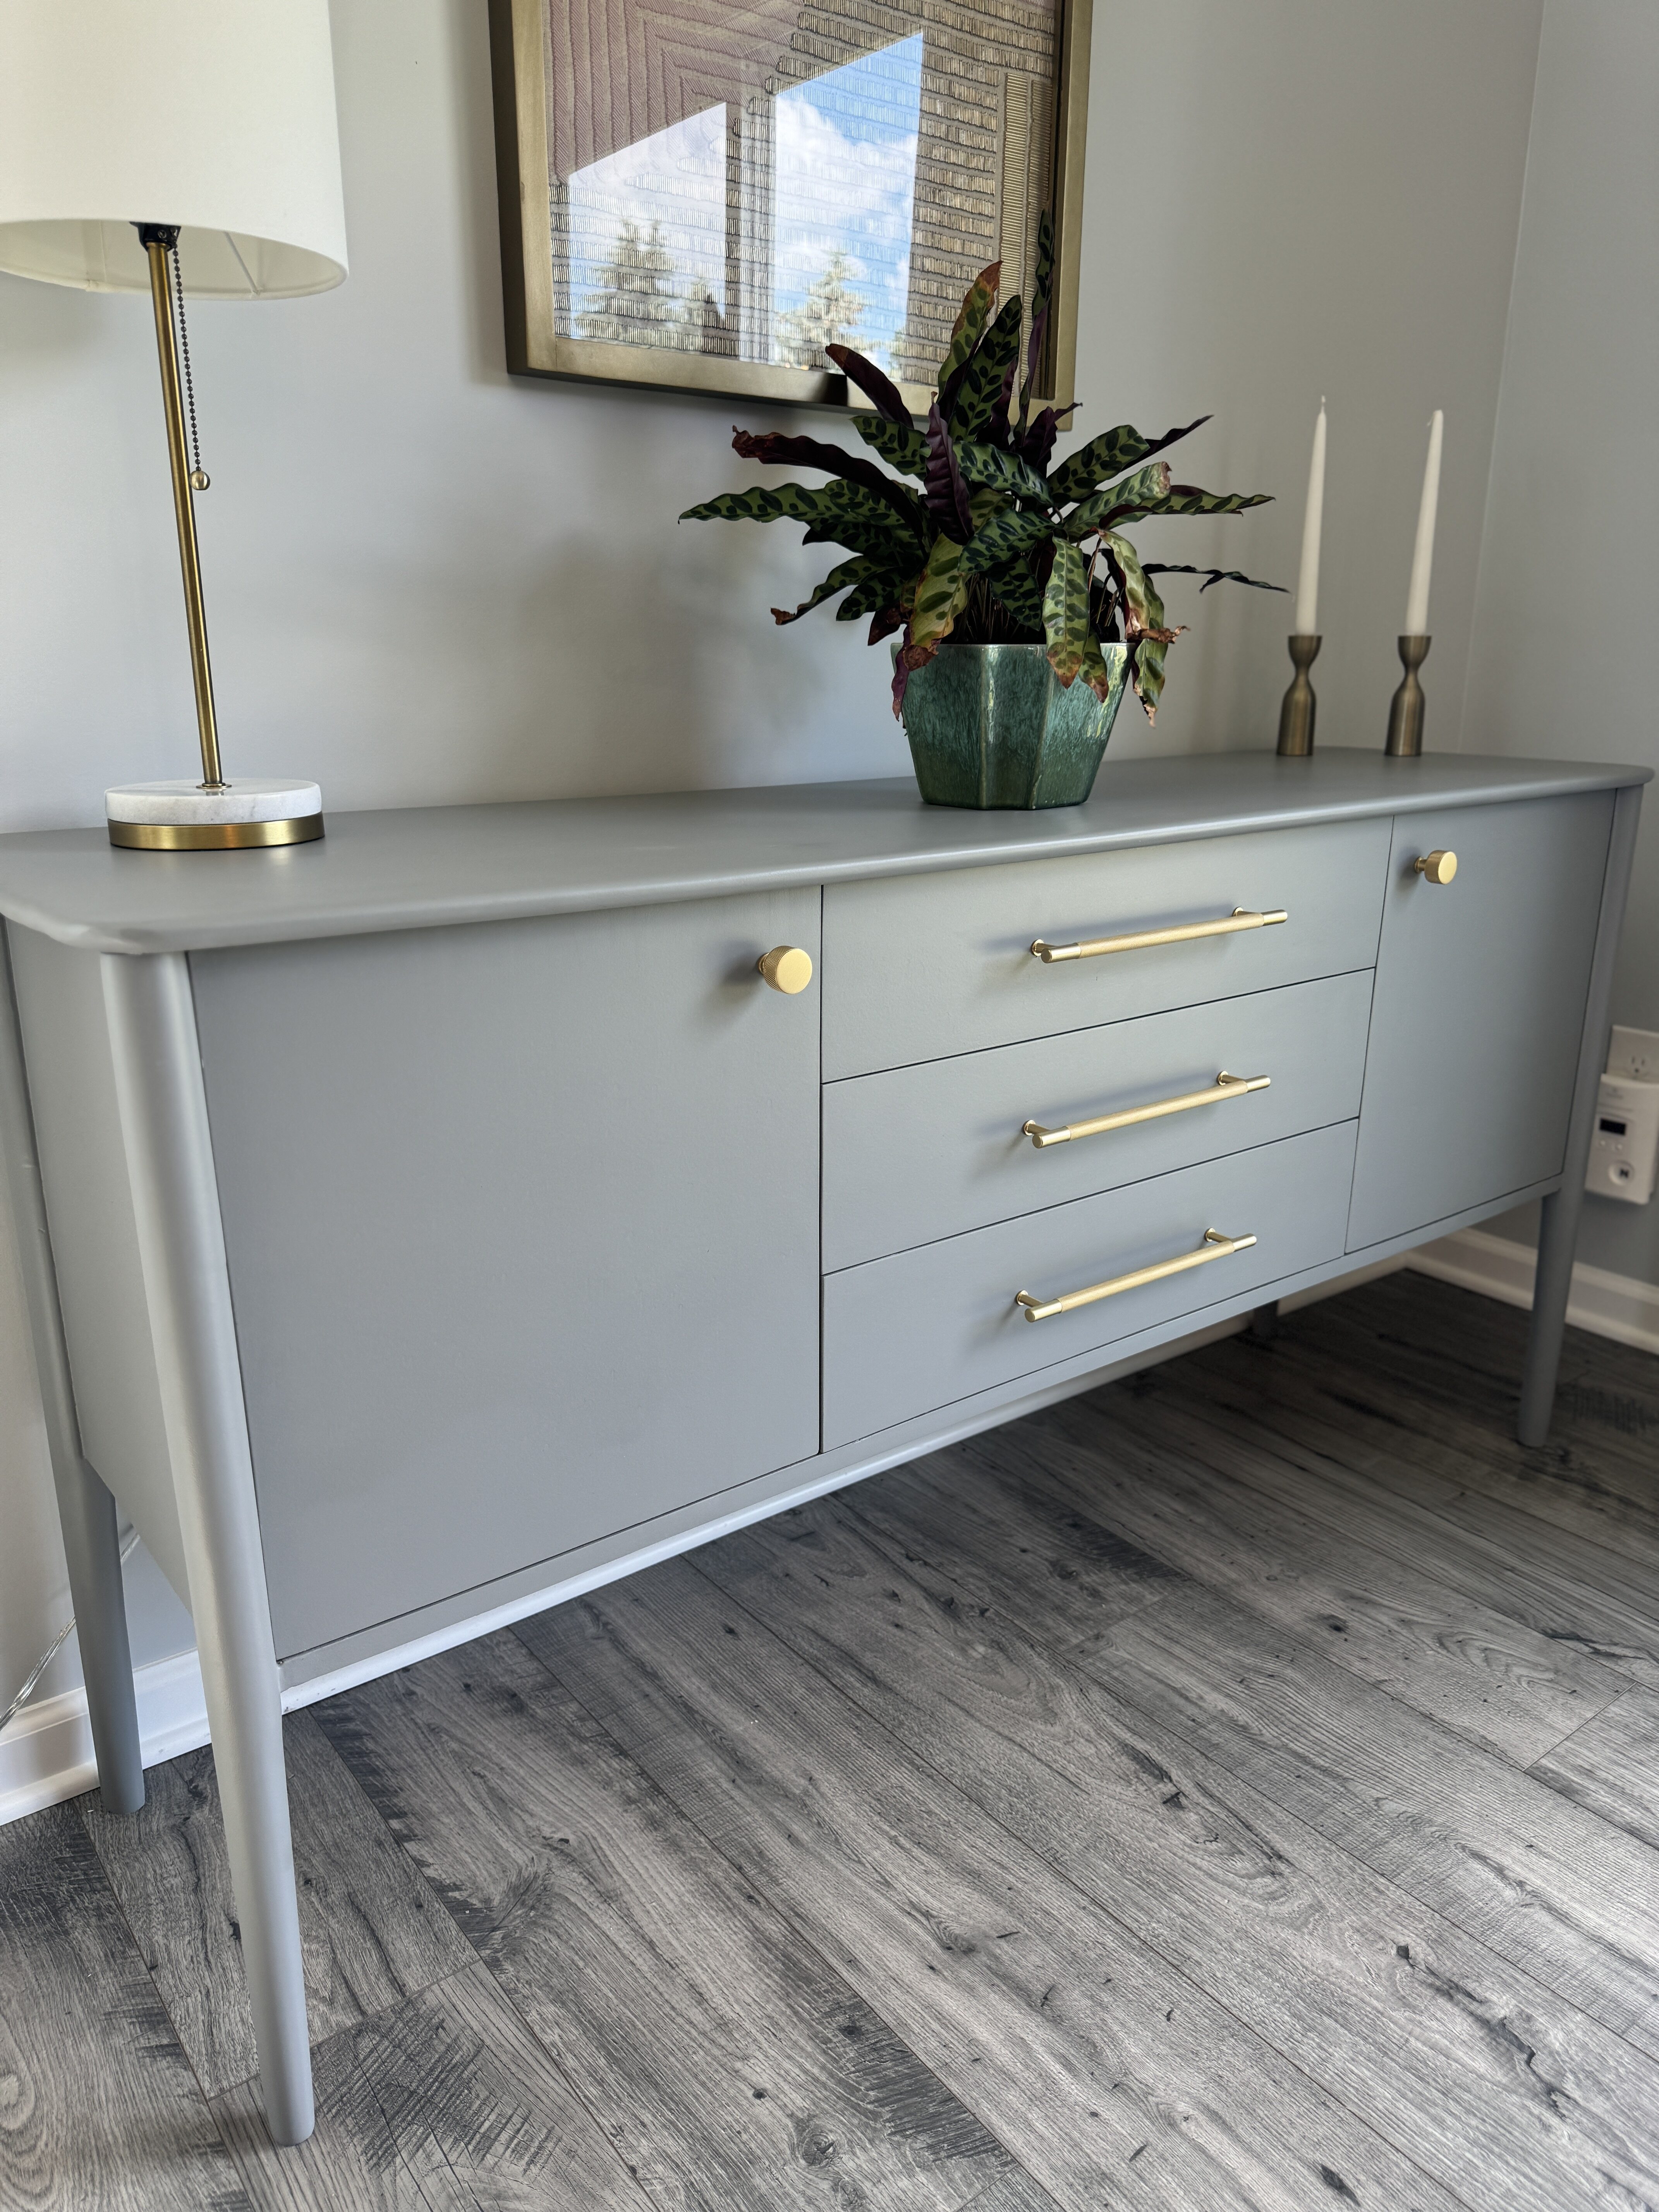
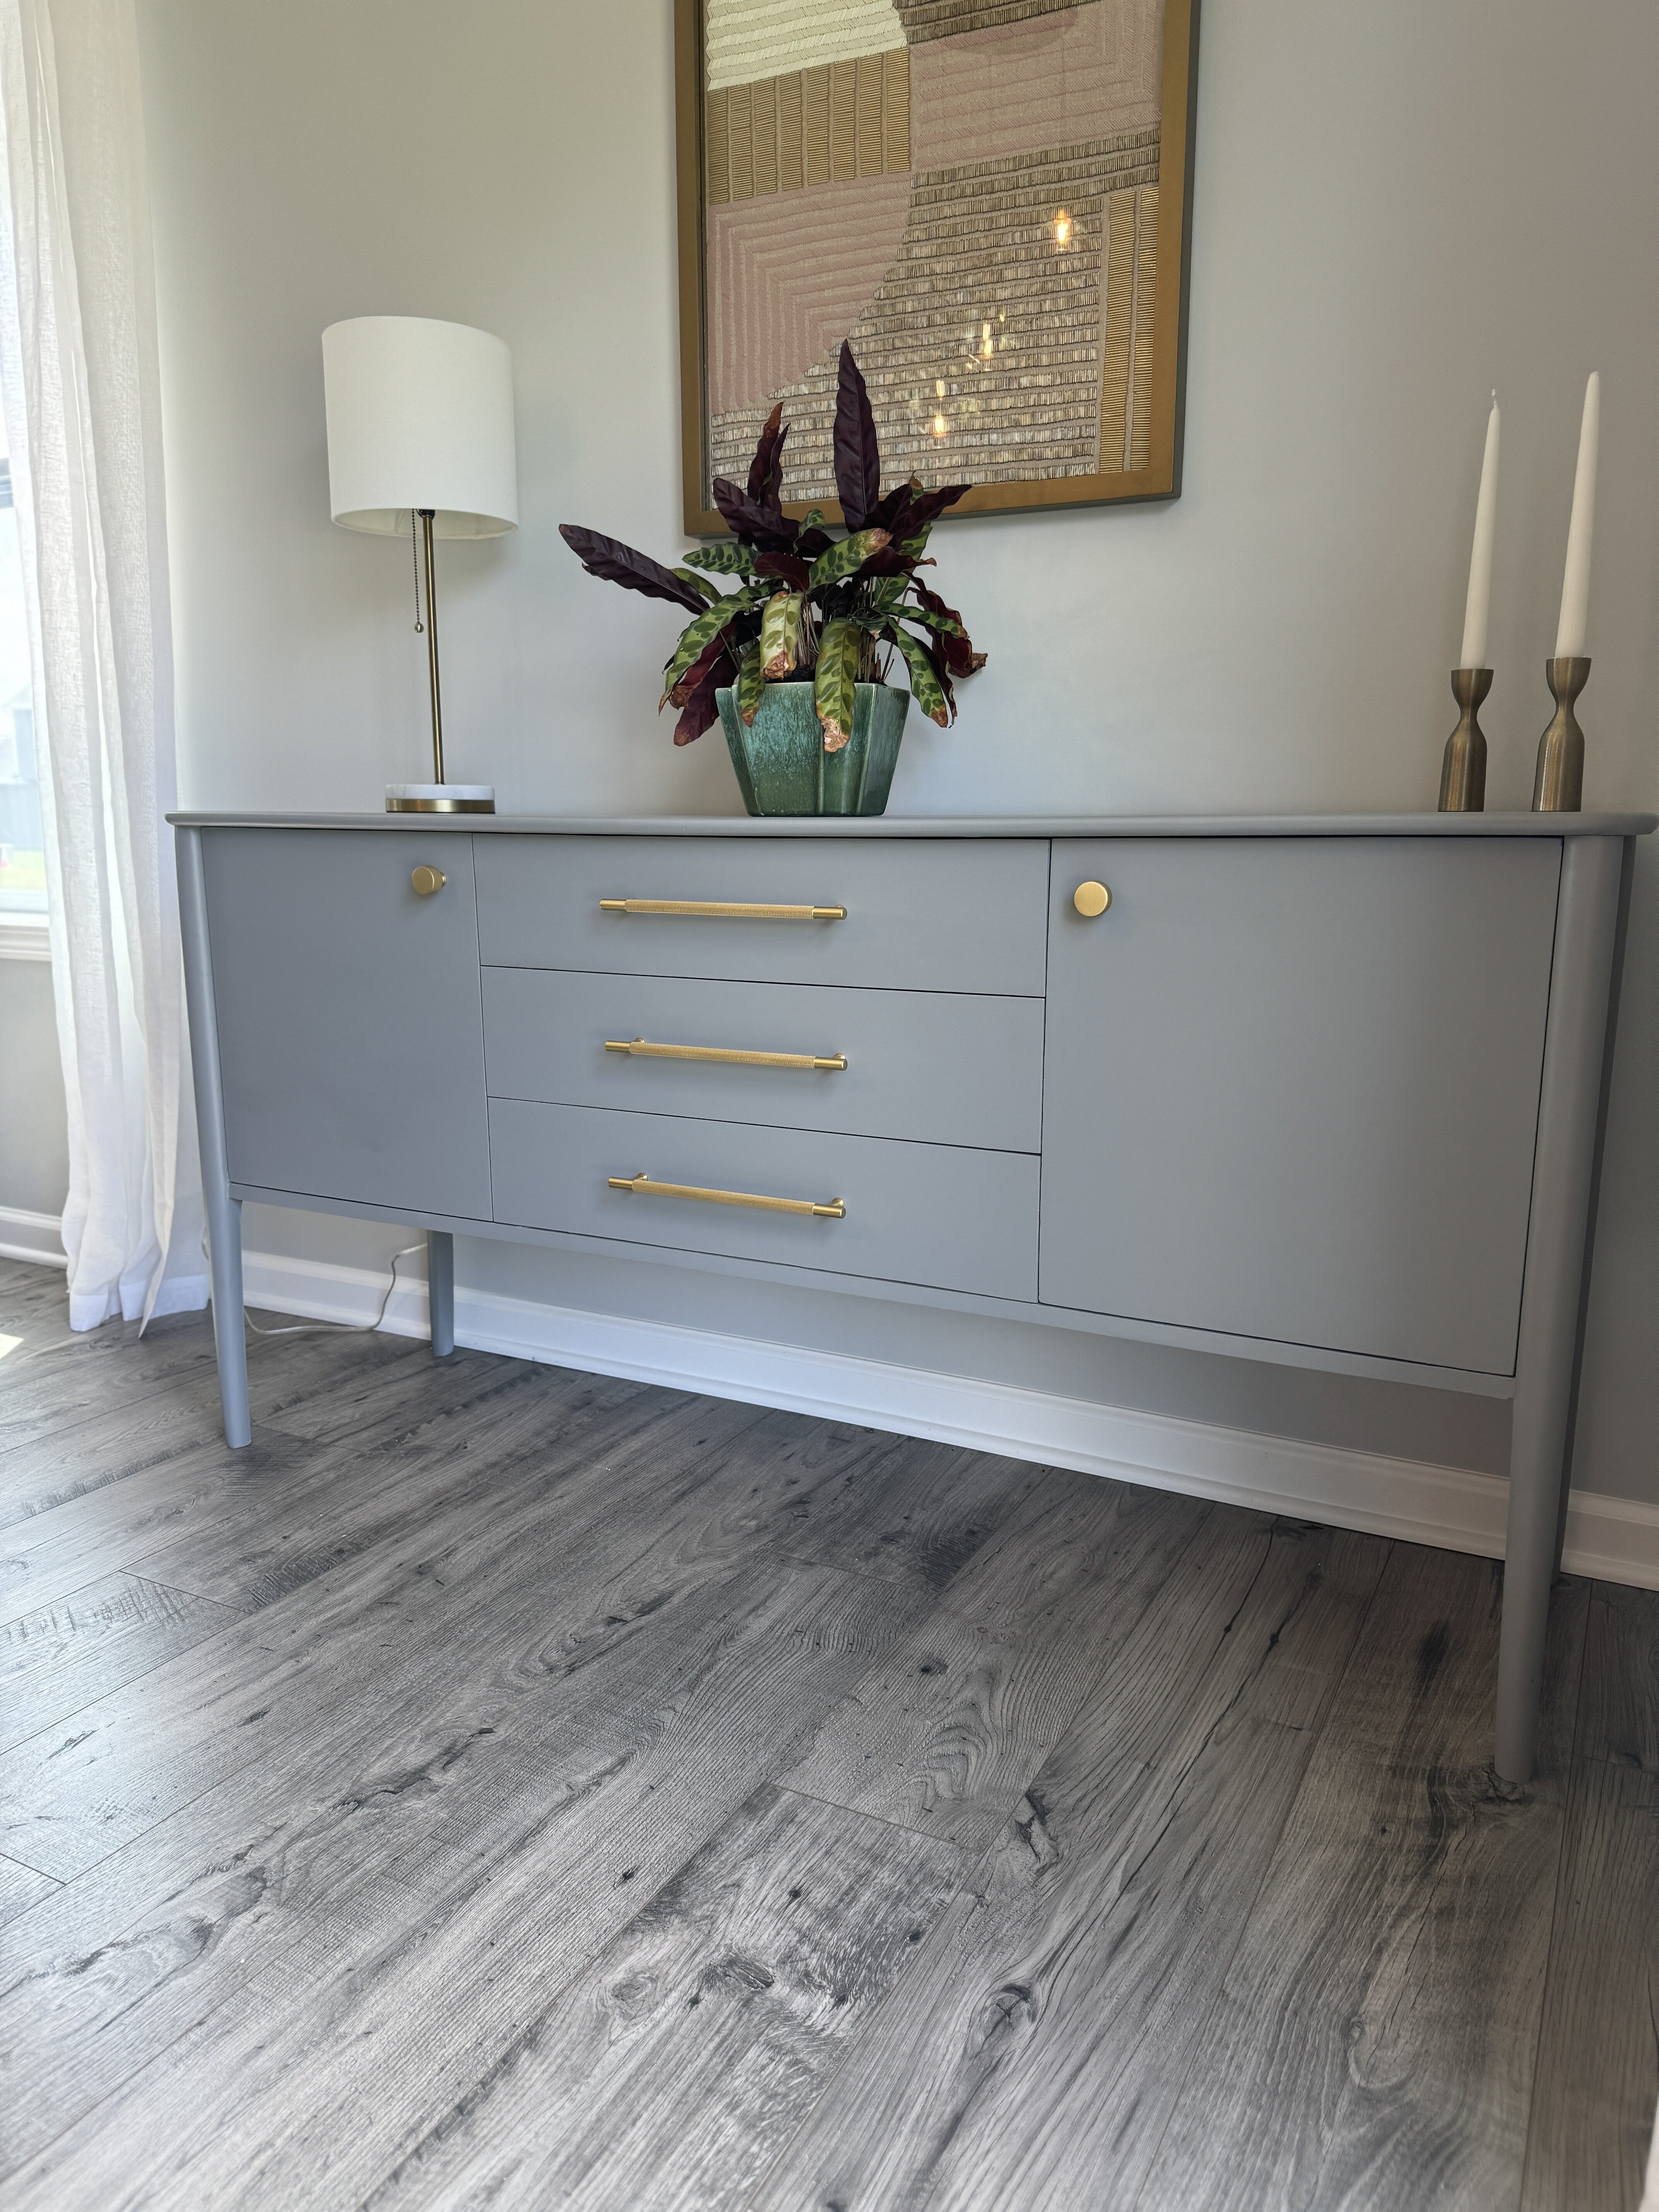


This easy to build cabinet provides the perfect amount of storage for your dishes or bottles. With its mid century modern vibe, it's the perfect addition to your dining room or anywhere in your home where you need extra storage!
Tools
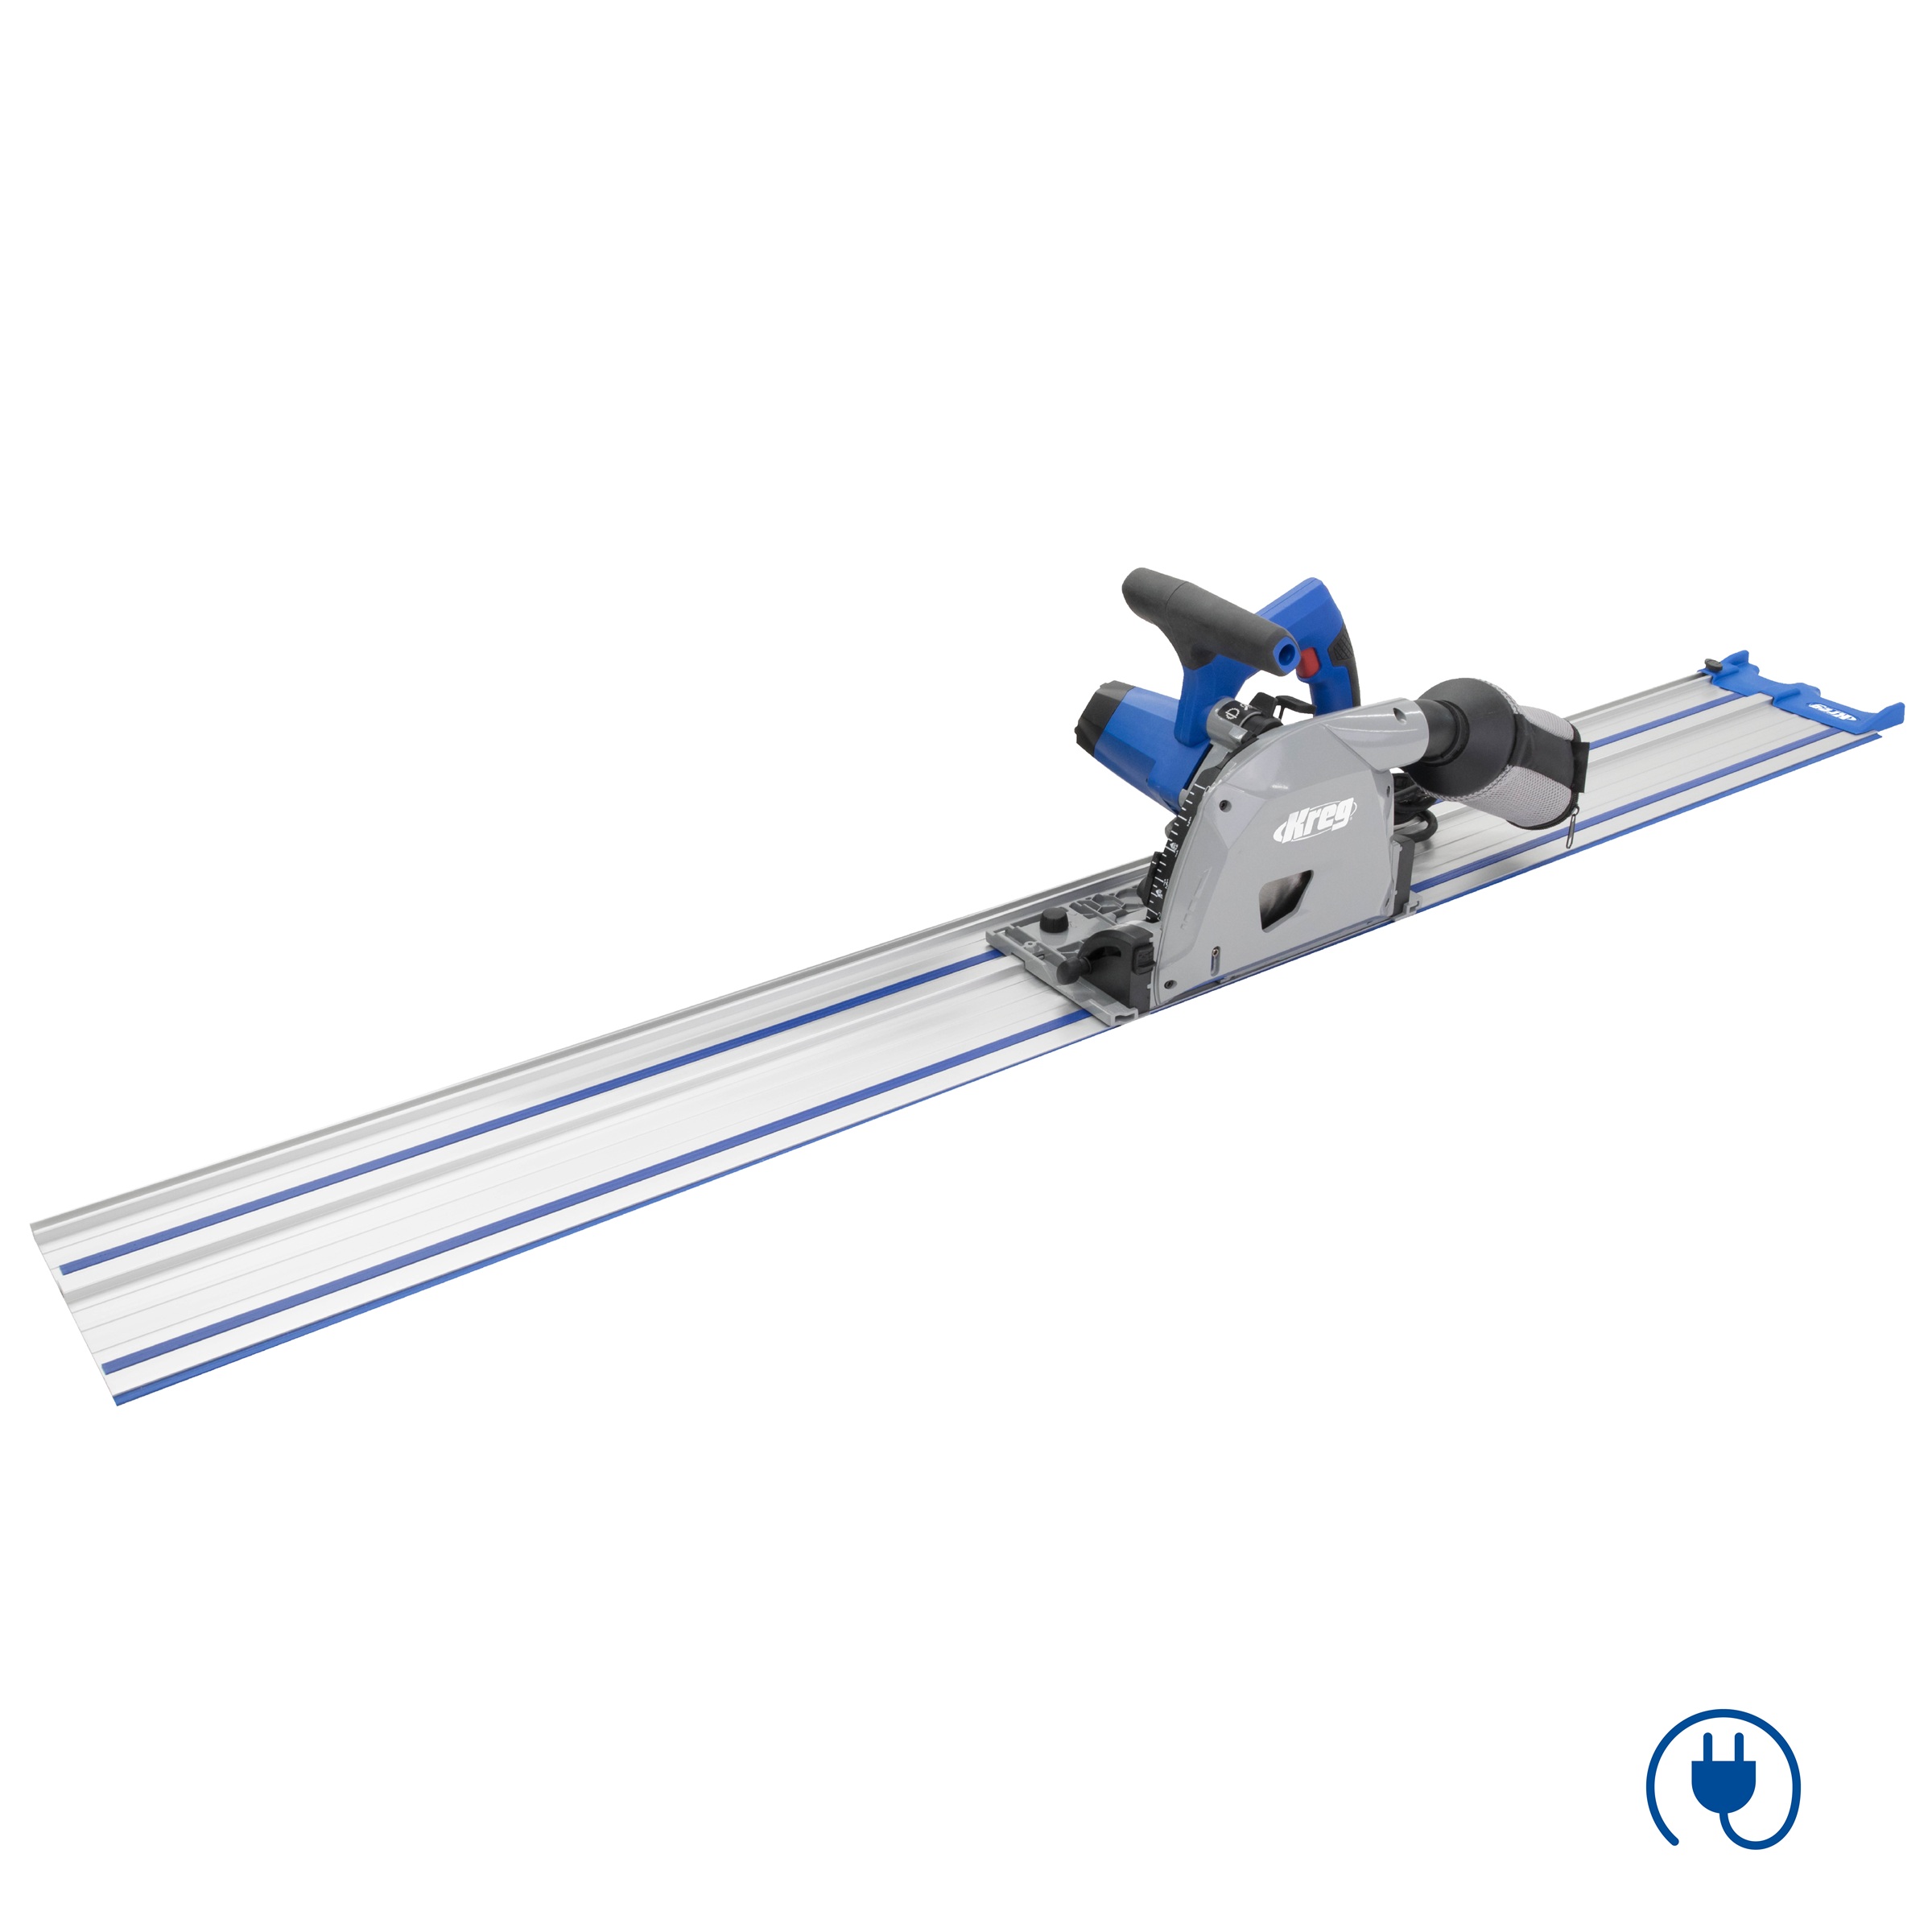
Kreg Tools


Materials
Wood Products
- 1 Pine project panel , 1 x 18" x 6' , .75" x 18" x 72"
- 5 Pine project panel , 1 x 16" x 6' , .75" x 16" x 72"
- 2 Pine board , 2 x 2 x 8' , 1.5" x 1.5" x 96"
- 1 Plywood , 1/4" x 2' x 4' , 1/4" x 24" x 48"
Hardware & Supplies
- 50 1 1/4" pocket screws
- 1 Paint/stain of choice
- 1 Wood glue
- 10 Figure 8 fasteners
- 1 Forstner bit slightly larger than figure 8 fasteners
- 3 Set of 10" drawer slides
- 2 Set of inset door hinges
- 5 Hardware of choice
- 1 Sandpaper
- 1 Optional: taper jig
- 1 Optional: 3/4" roundover bit
- 1 Optional: 3/8" roundover bit
- 6 1" spax screws
Directions
-
1
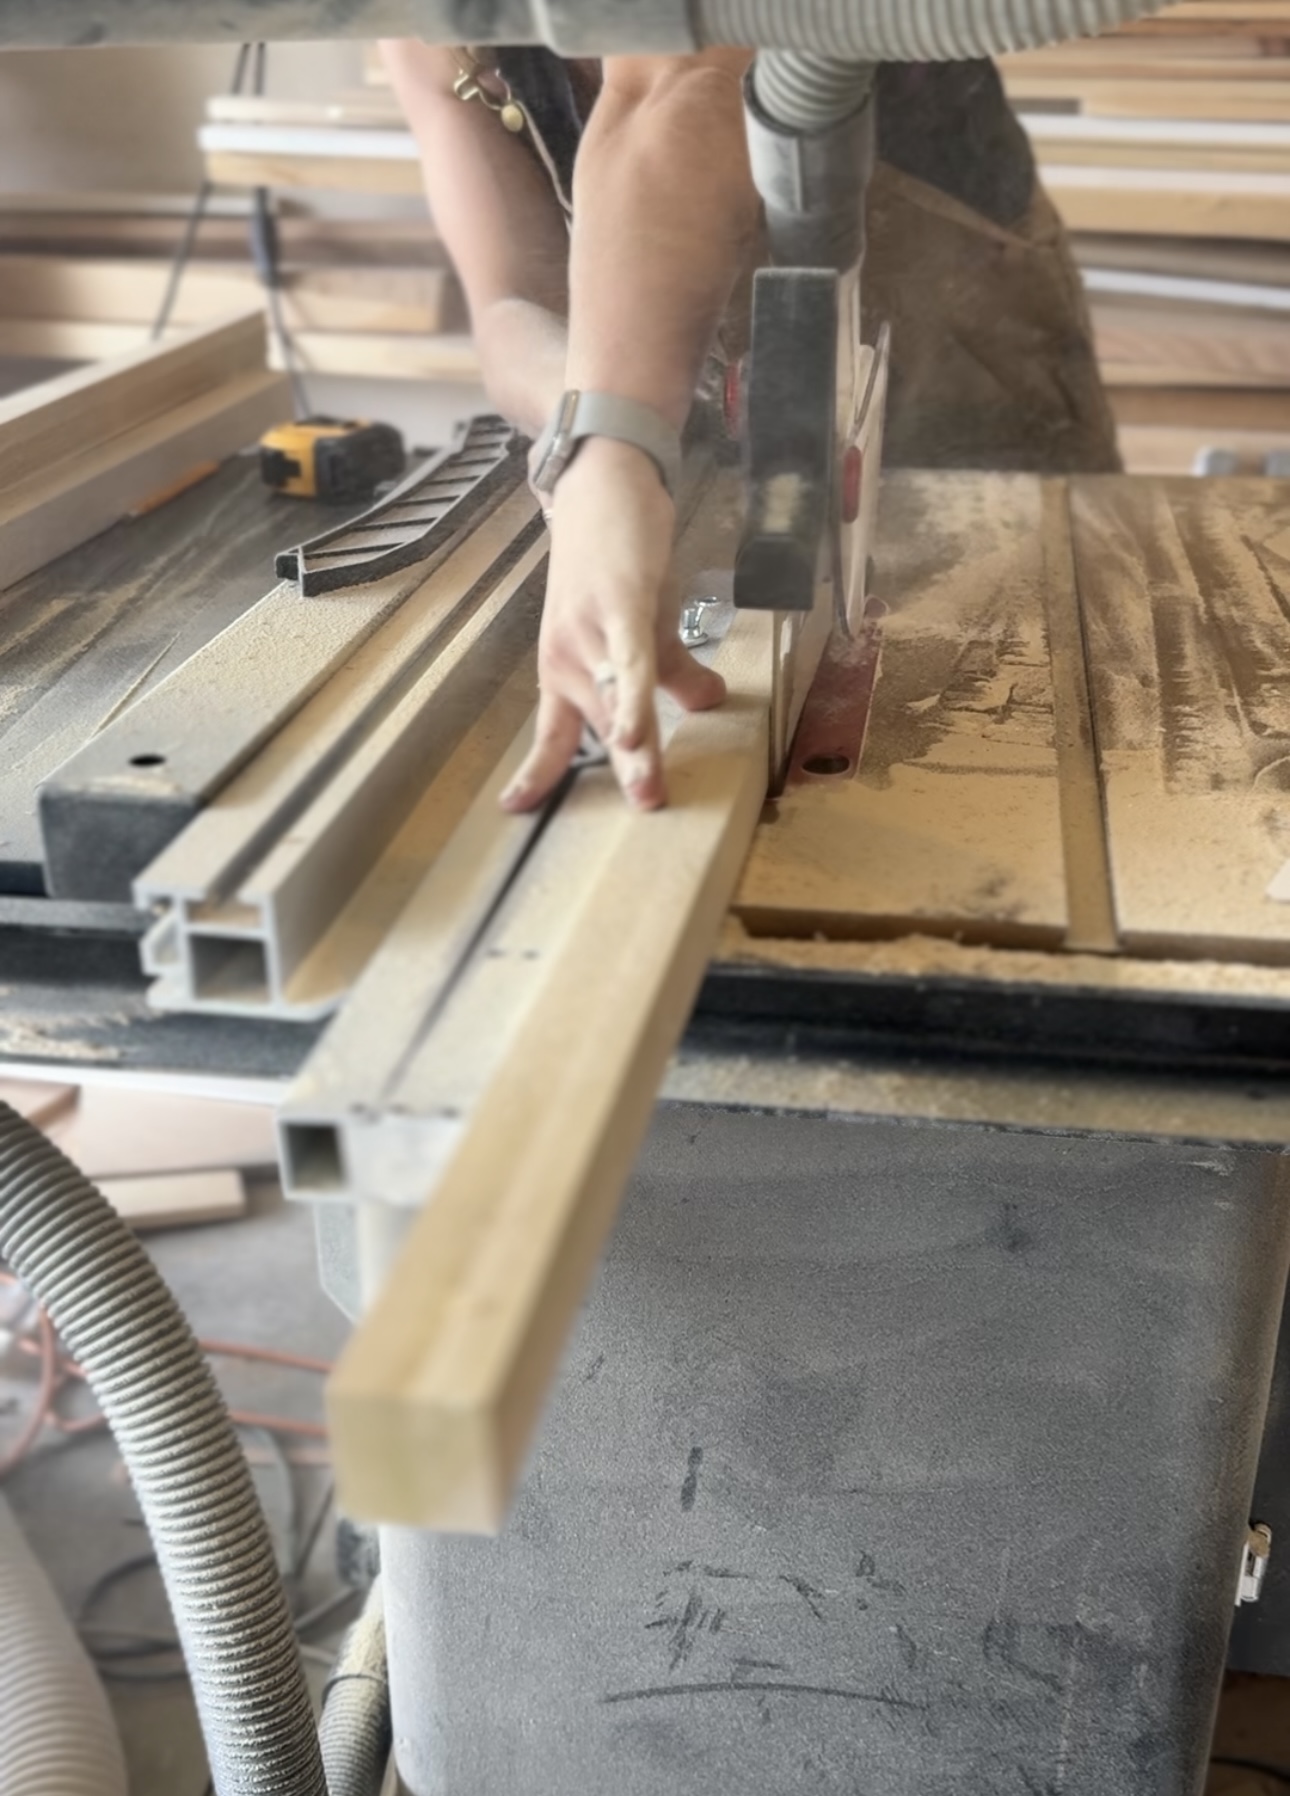
Optional: taper the legs starting at 17" from the bottom of the leg using either a taper jig on table saw or using a track saw.
-
2
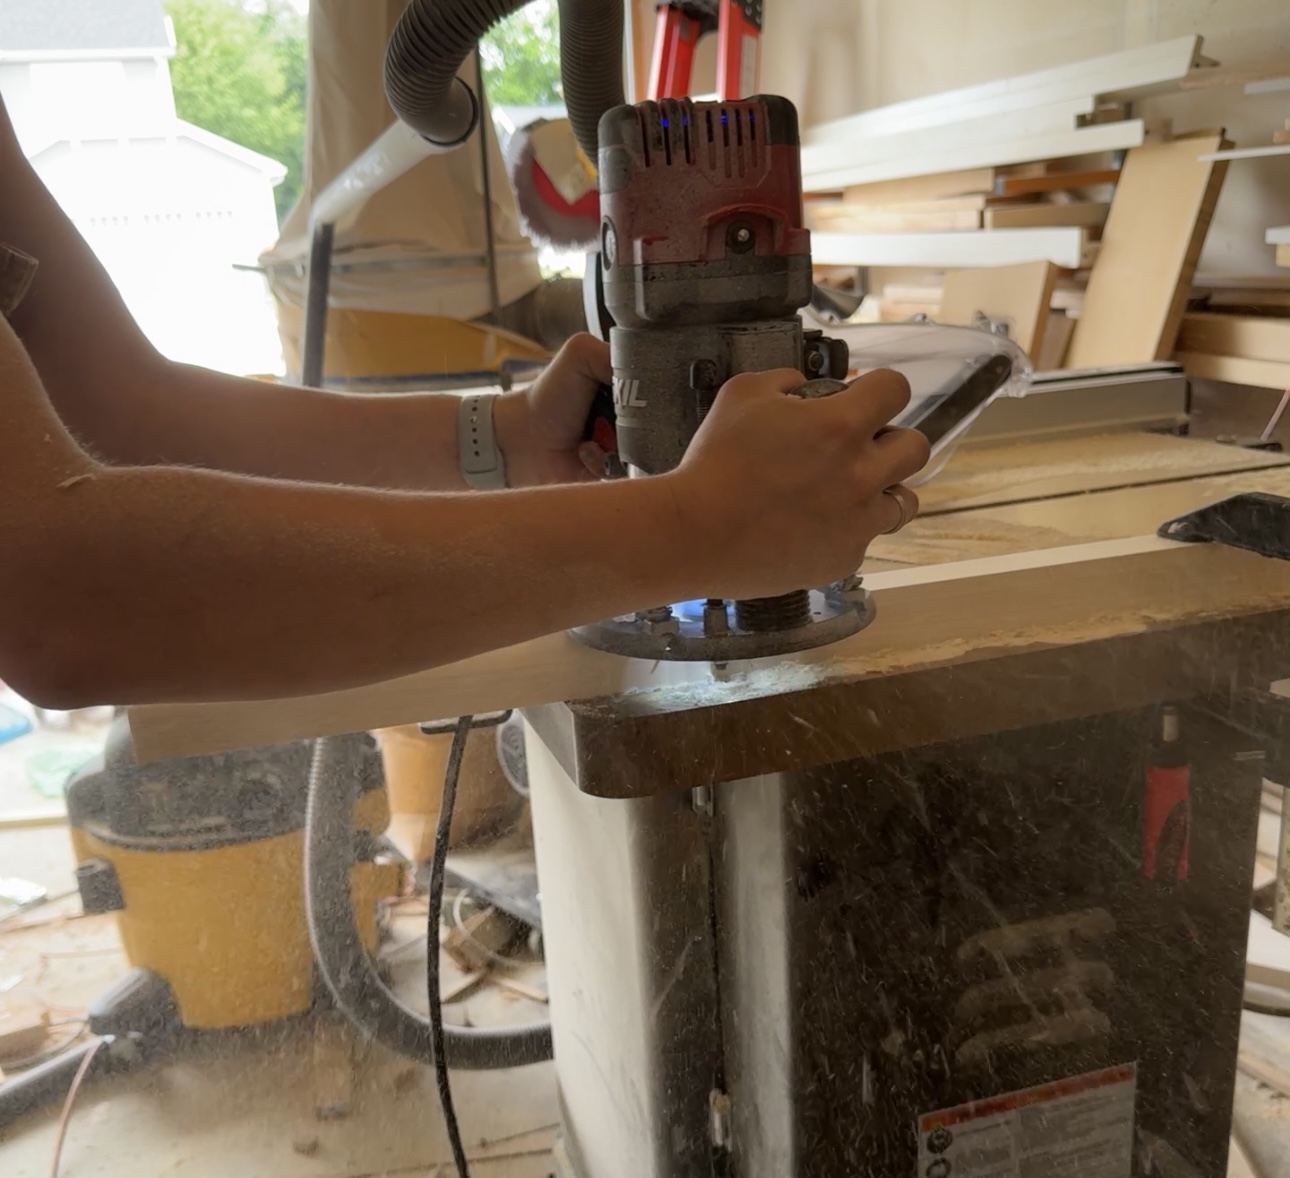
Optional: roundover the legs using a 3/4" roundover bit on only 3 sides.
-
3
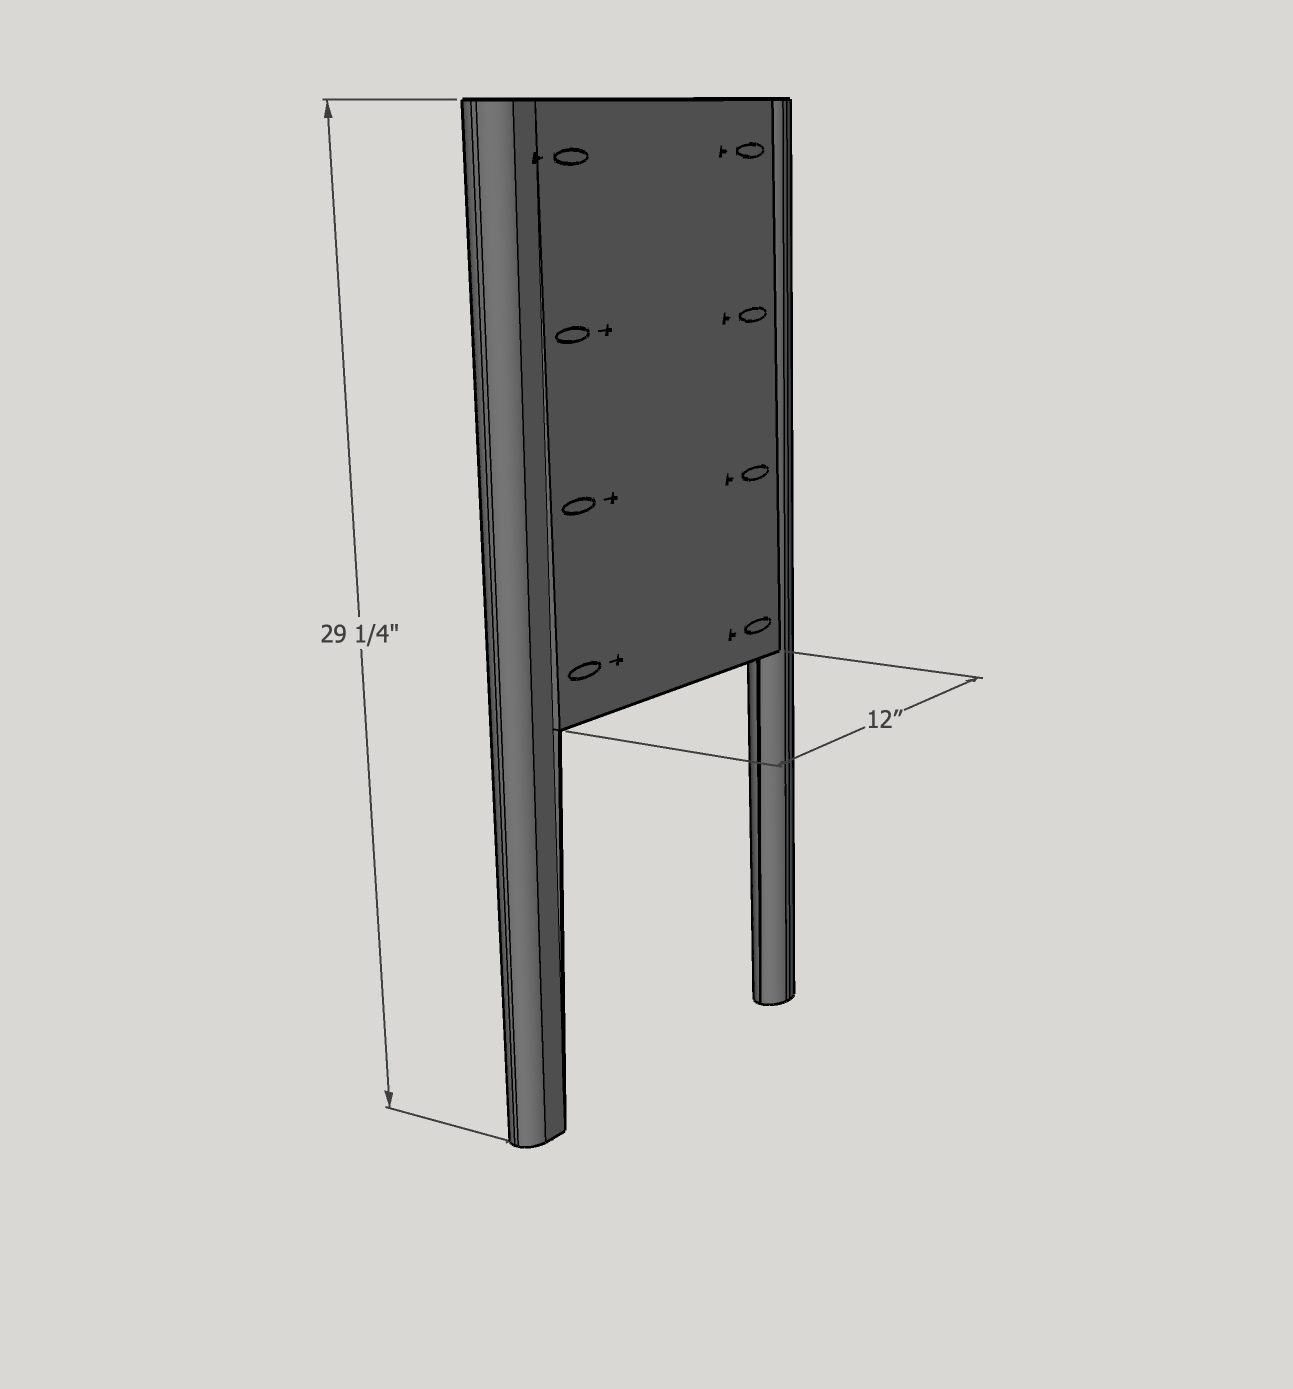
Attach the sides of the cabinet to the legs using pocket holes and wood glue.
-
4
Attach the bottom to the sides of the cabinet using wood glue and pocket screws.

-
5
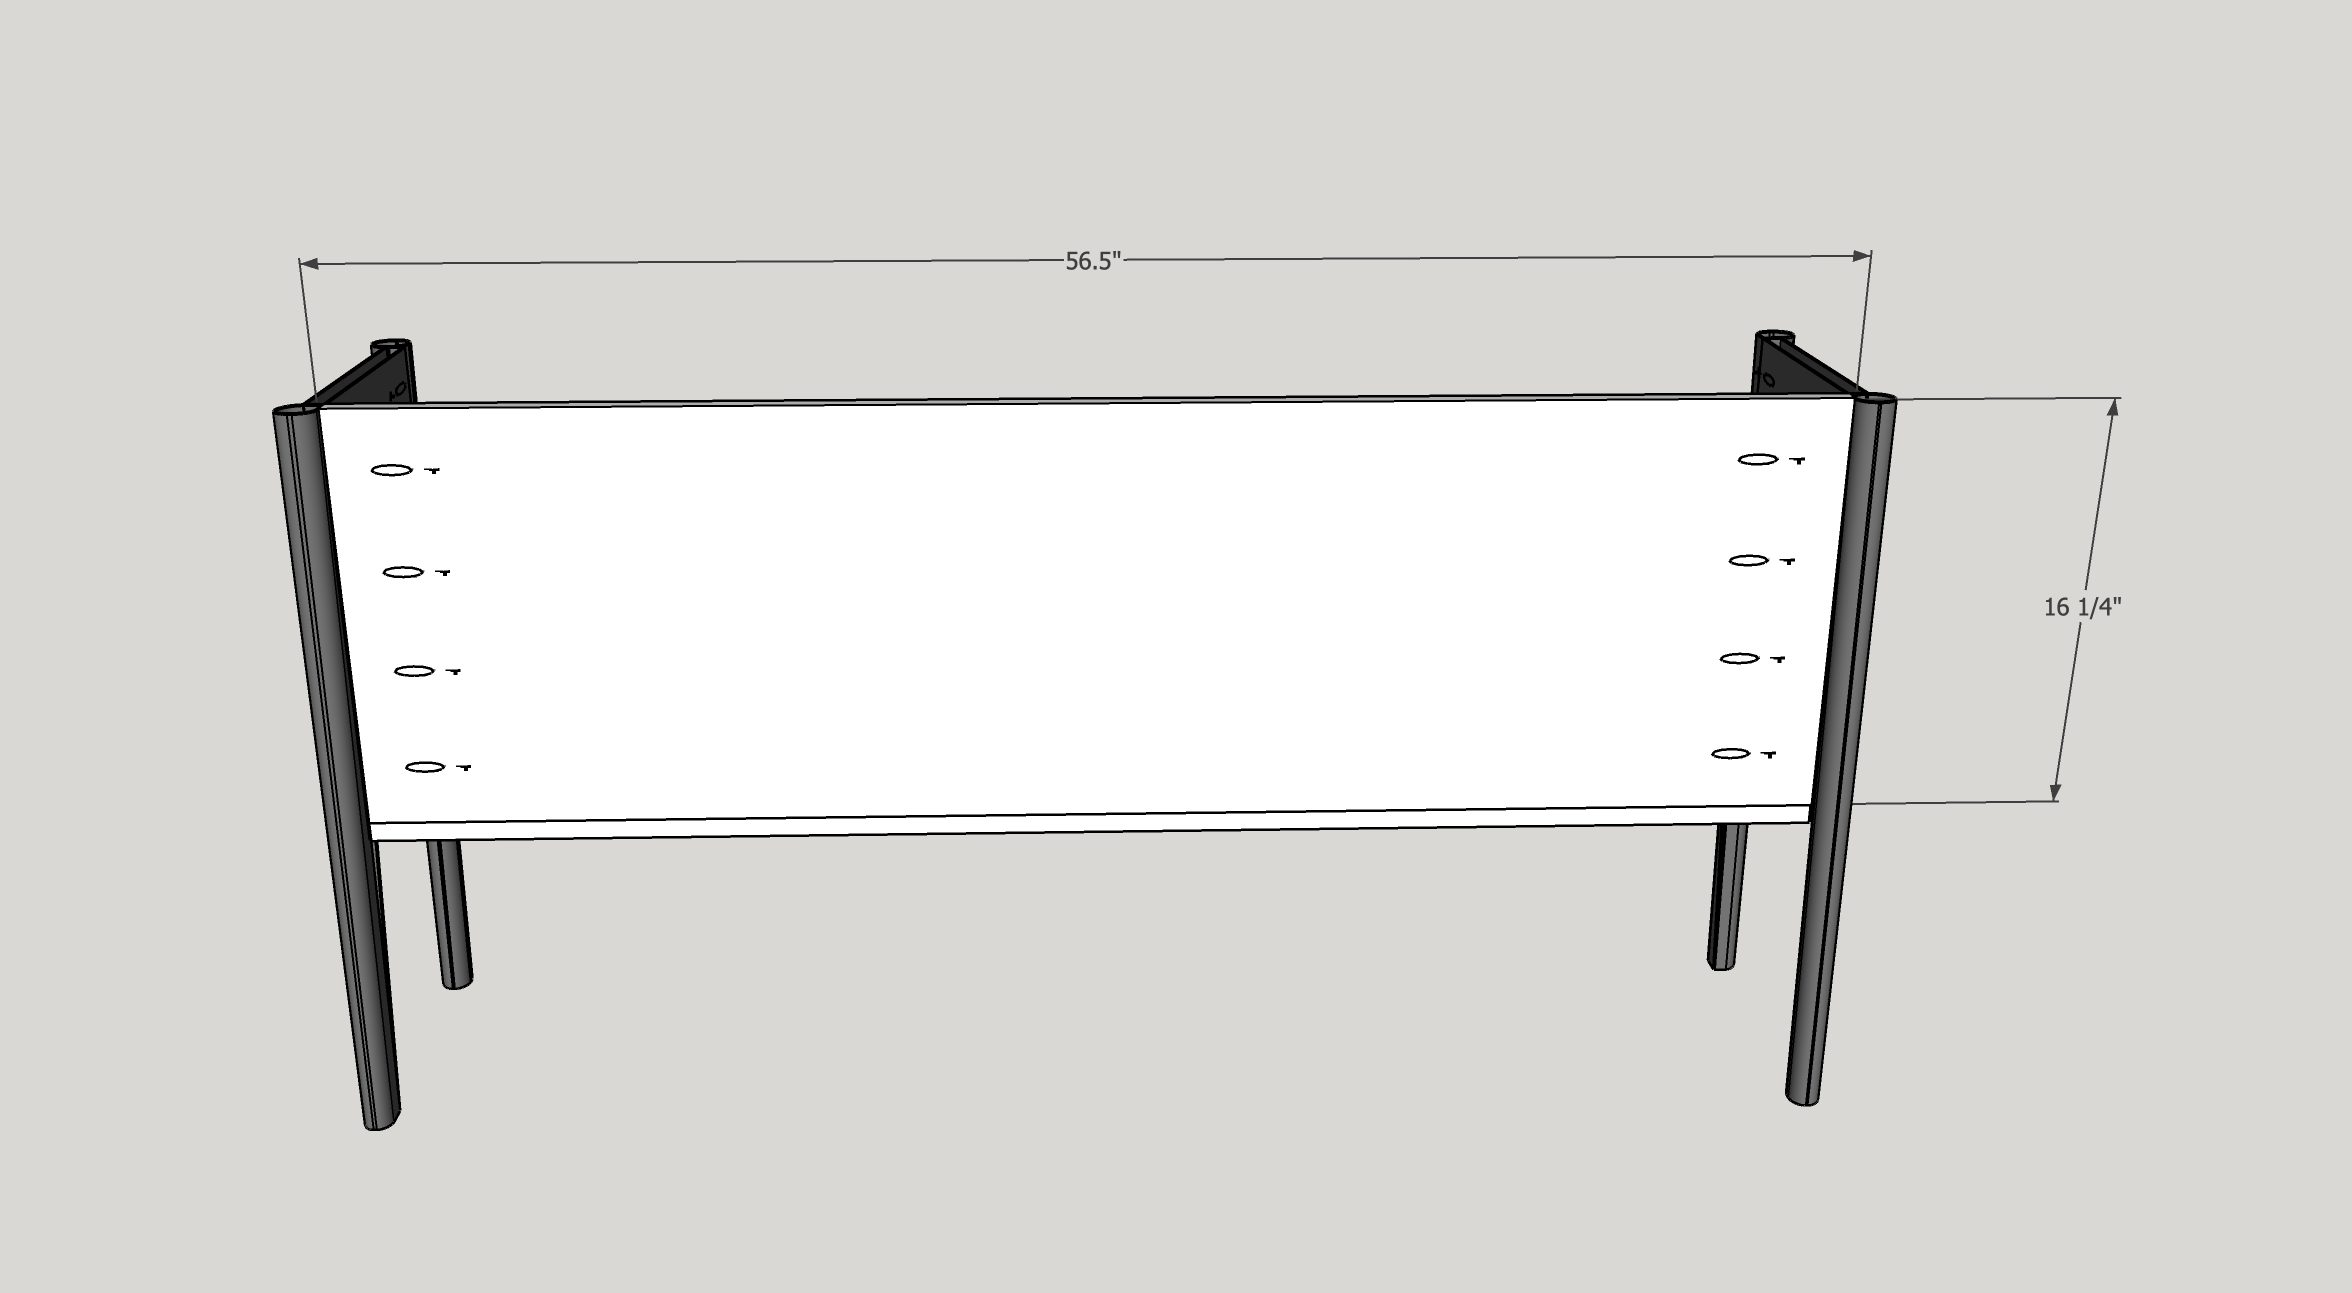
Attach the back of the cabinet as shown in the image. Use wood glue and pocket screws.
-
6
Attach the top using figure 8 fasteners.
First using a forstner bit, drill just enough into the sides of the cabinet that the fastener sits flush or just below the top of the panels.
Screw in the fasteners.
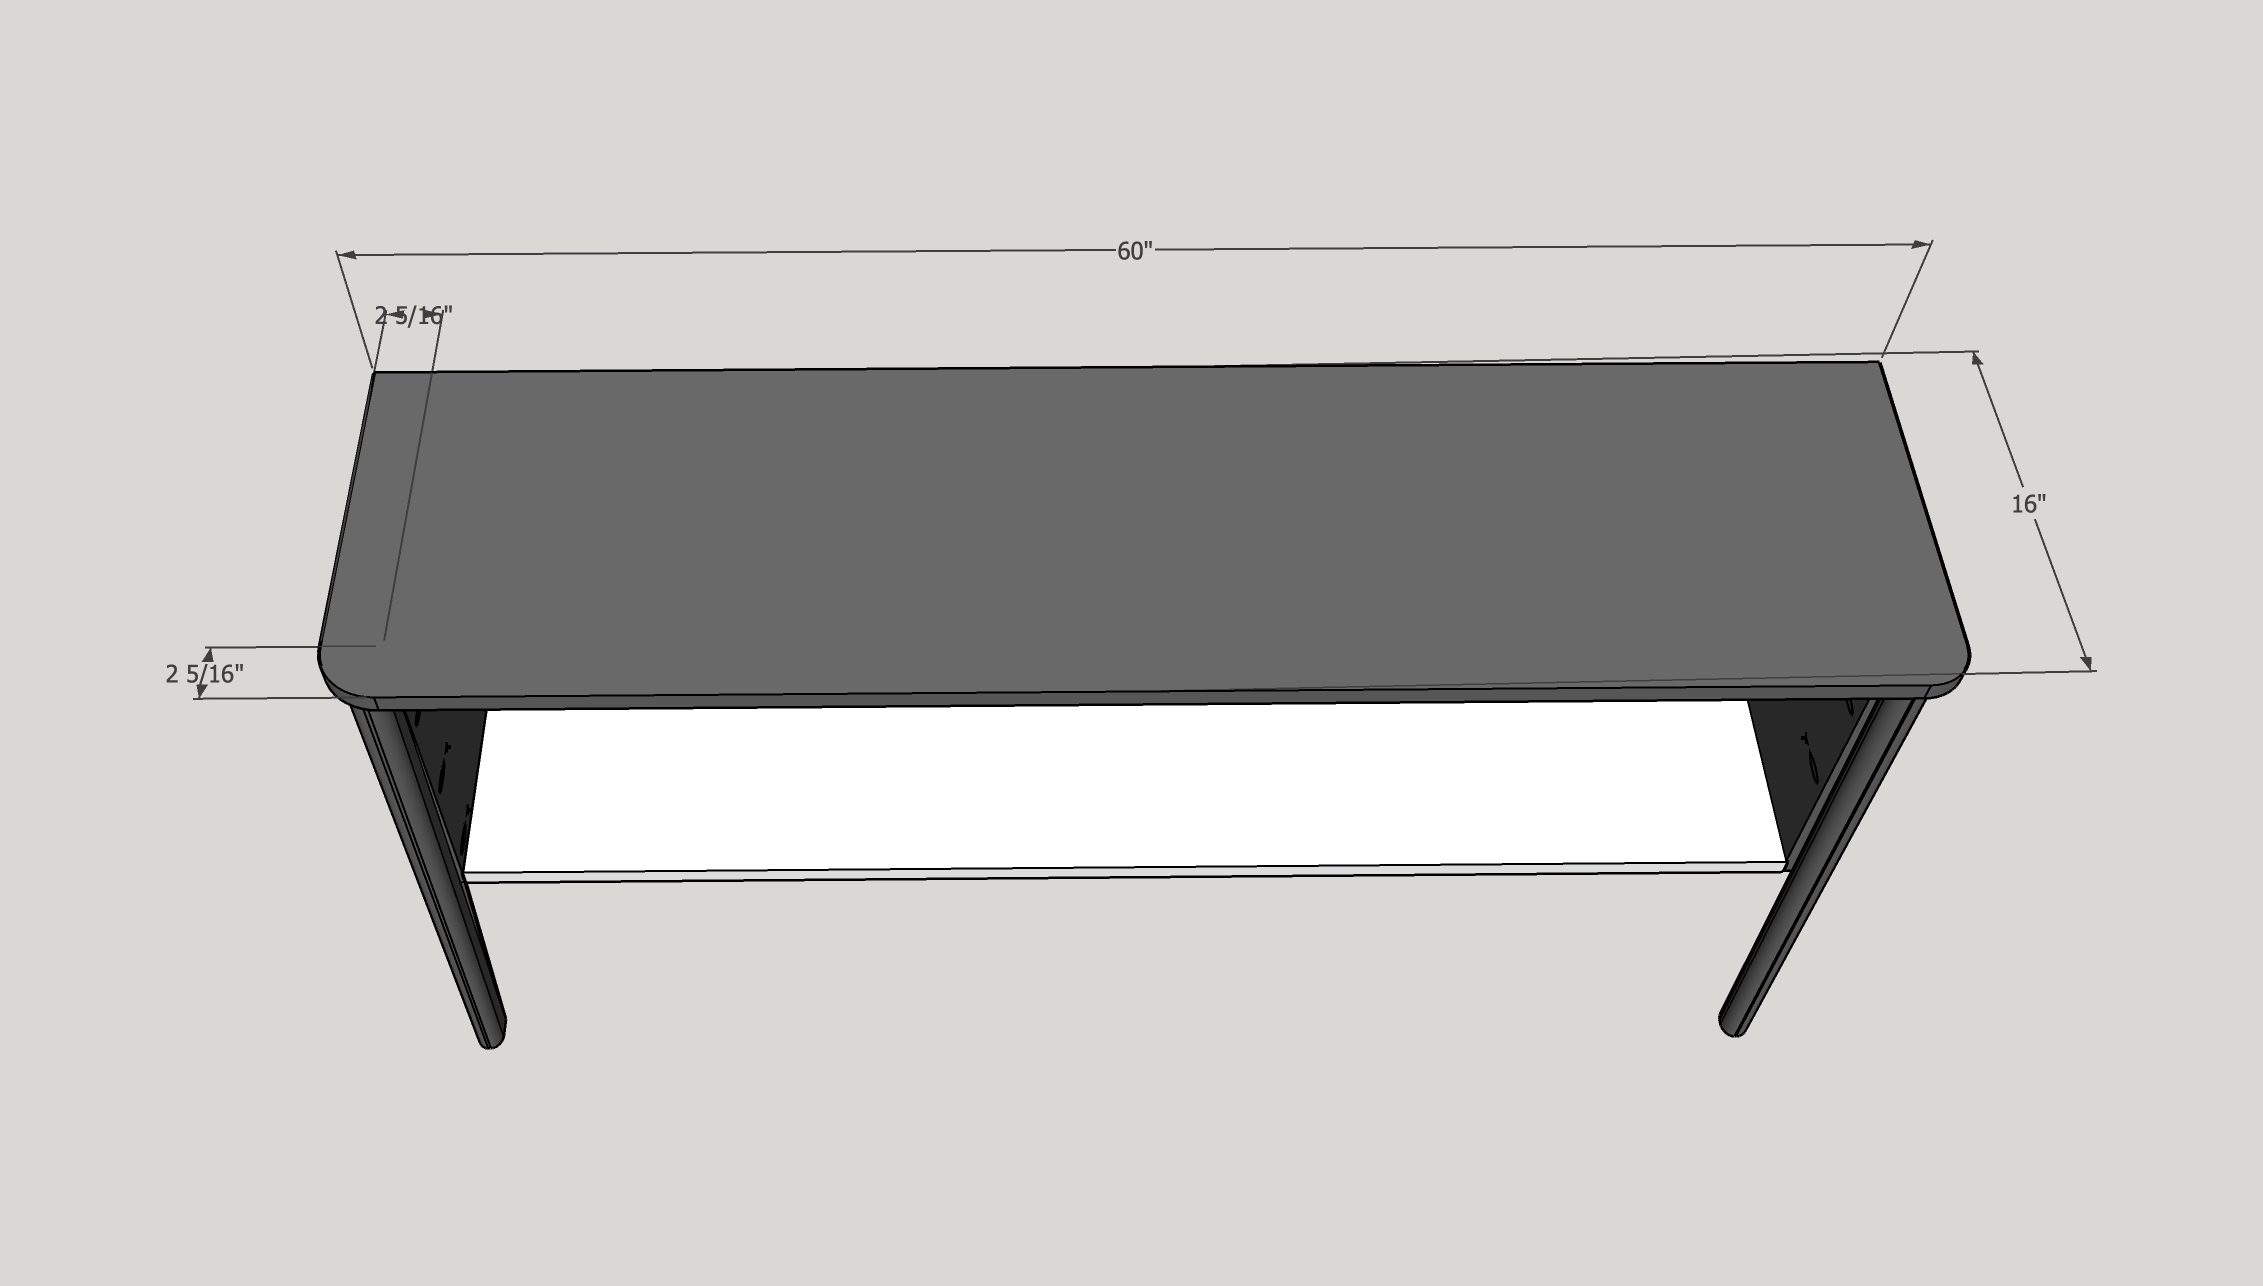
Attach top to the fasteners from the underside of the top. Leave 1" overhang on the front of the cabinet and make sure the back is flush.
Optional: roundover the front edges of the cabinet by tracing something round (I used a can of stain) and then cut it out with a jigsaw.
Also optional: roundover the edges of both sides of the top using 3/8" roundover bit.
-
7
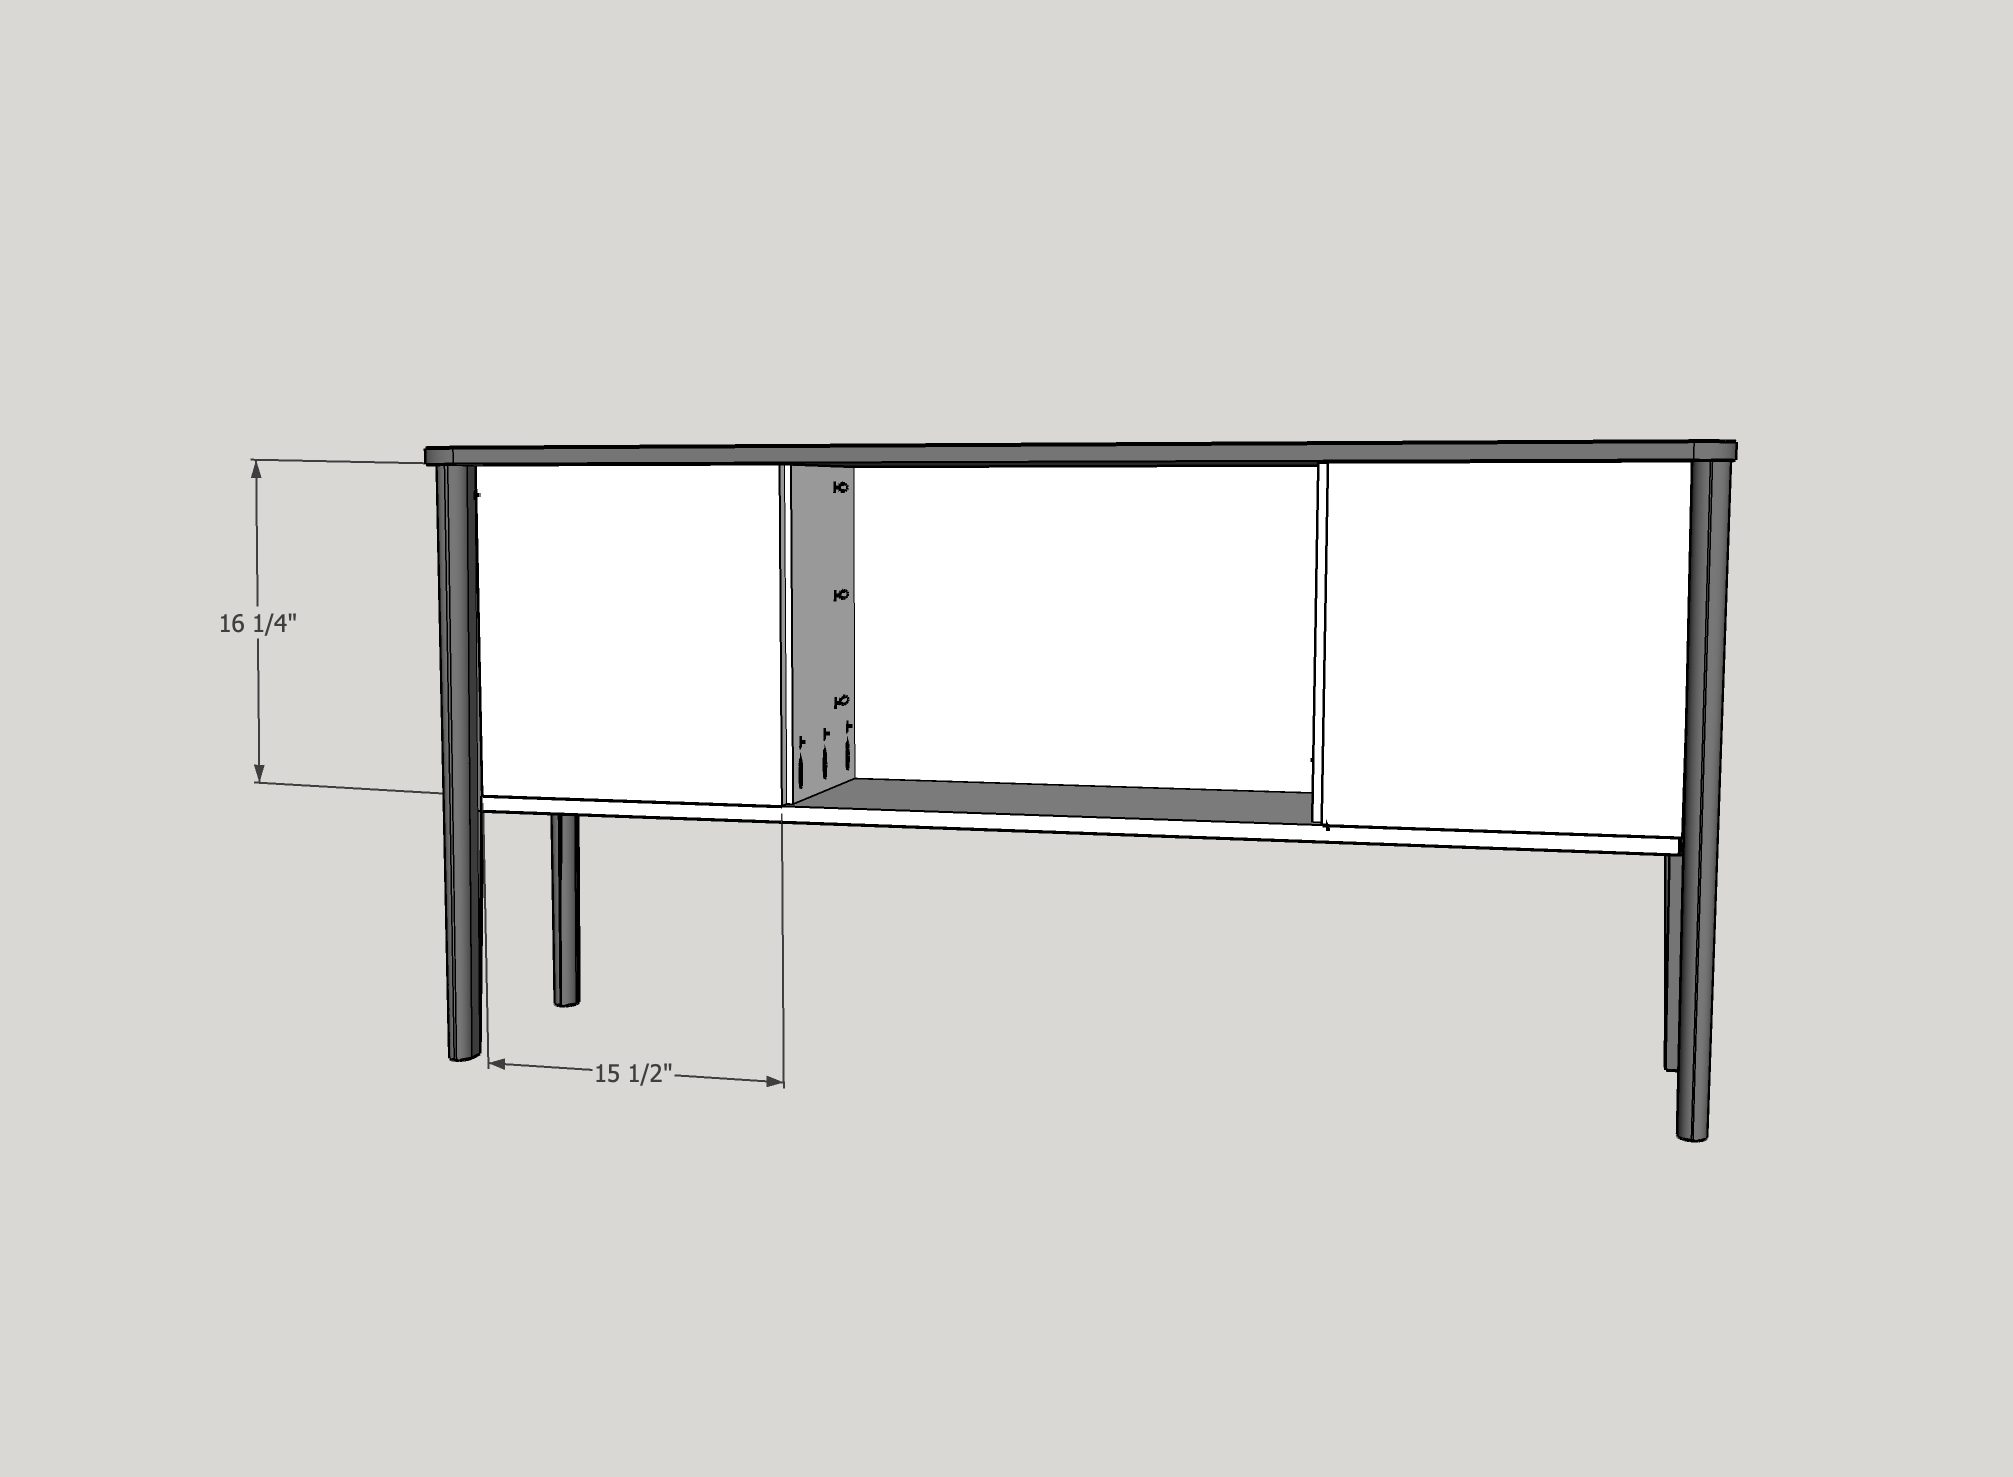
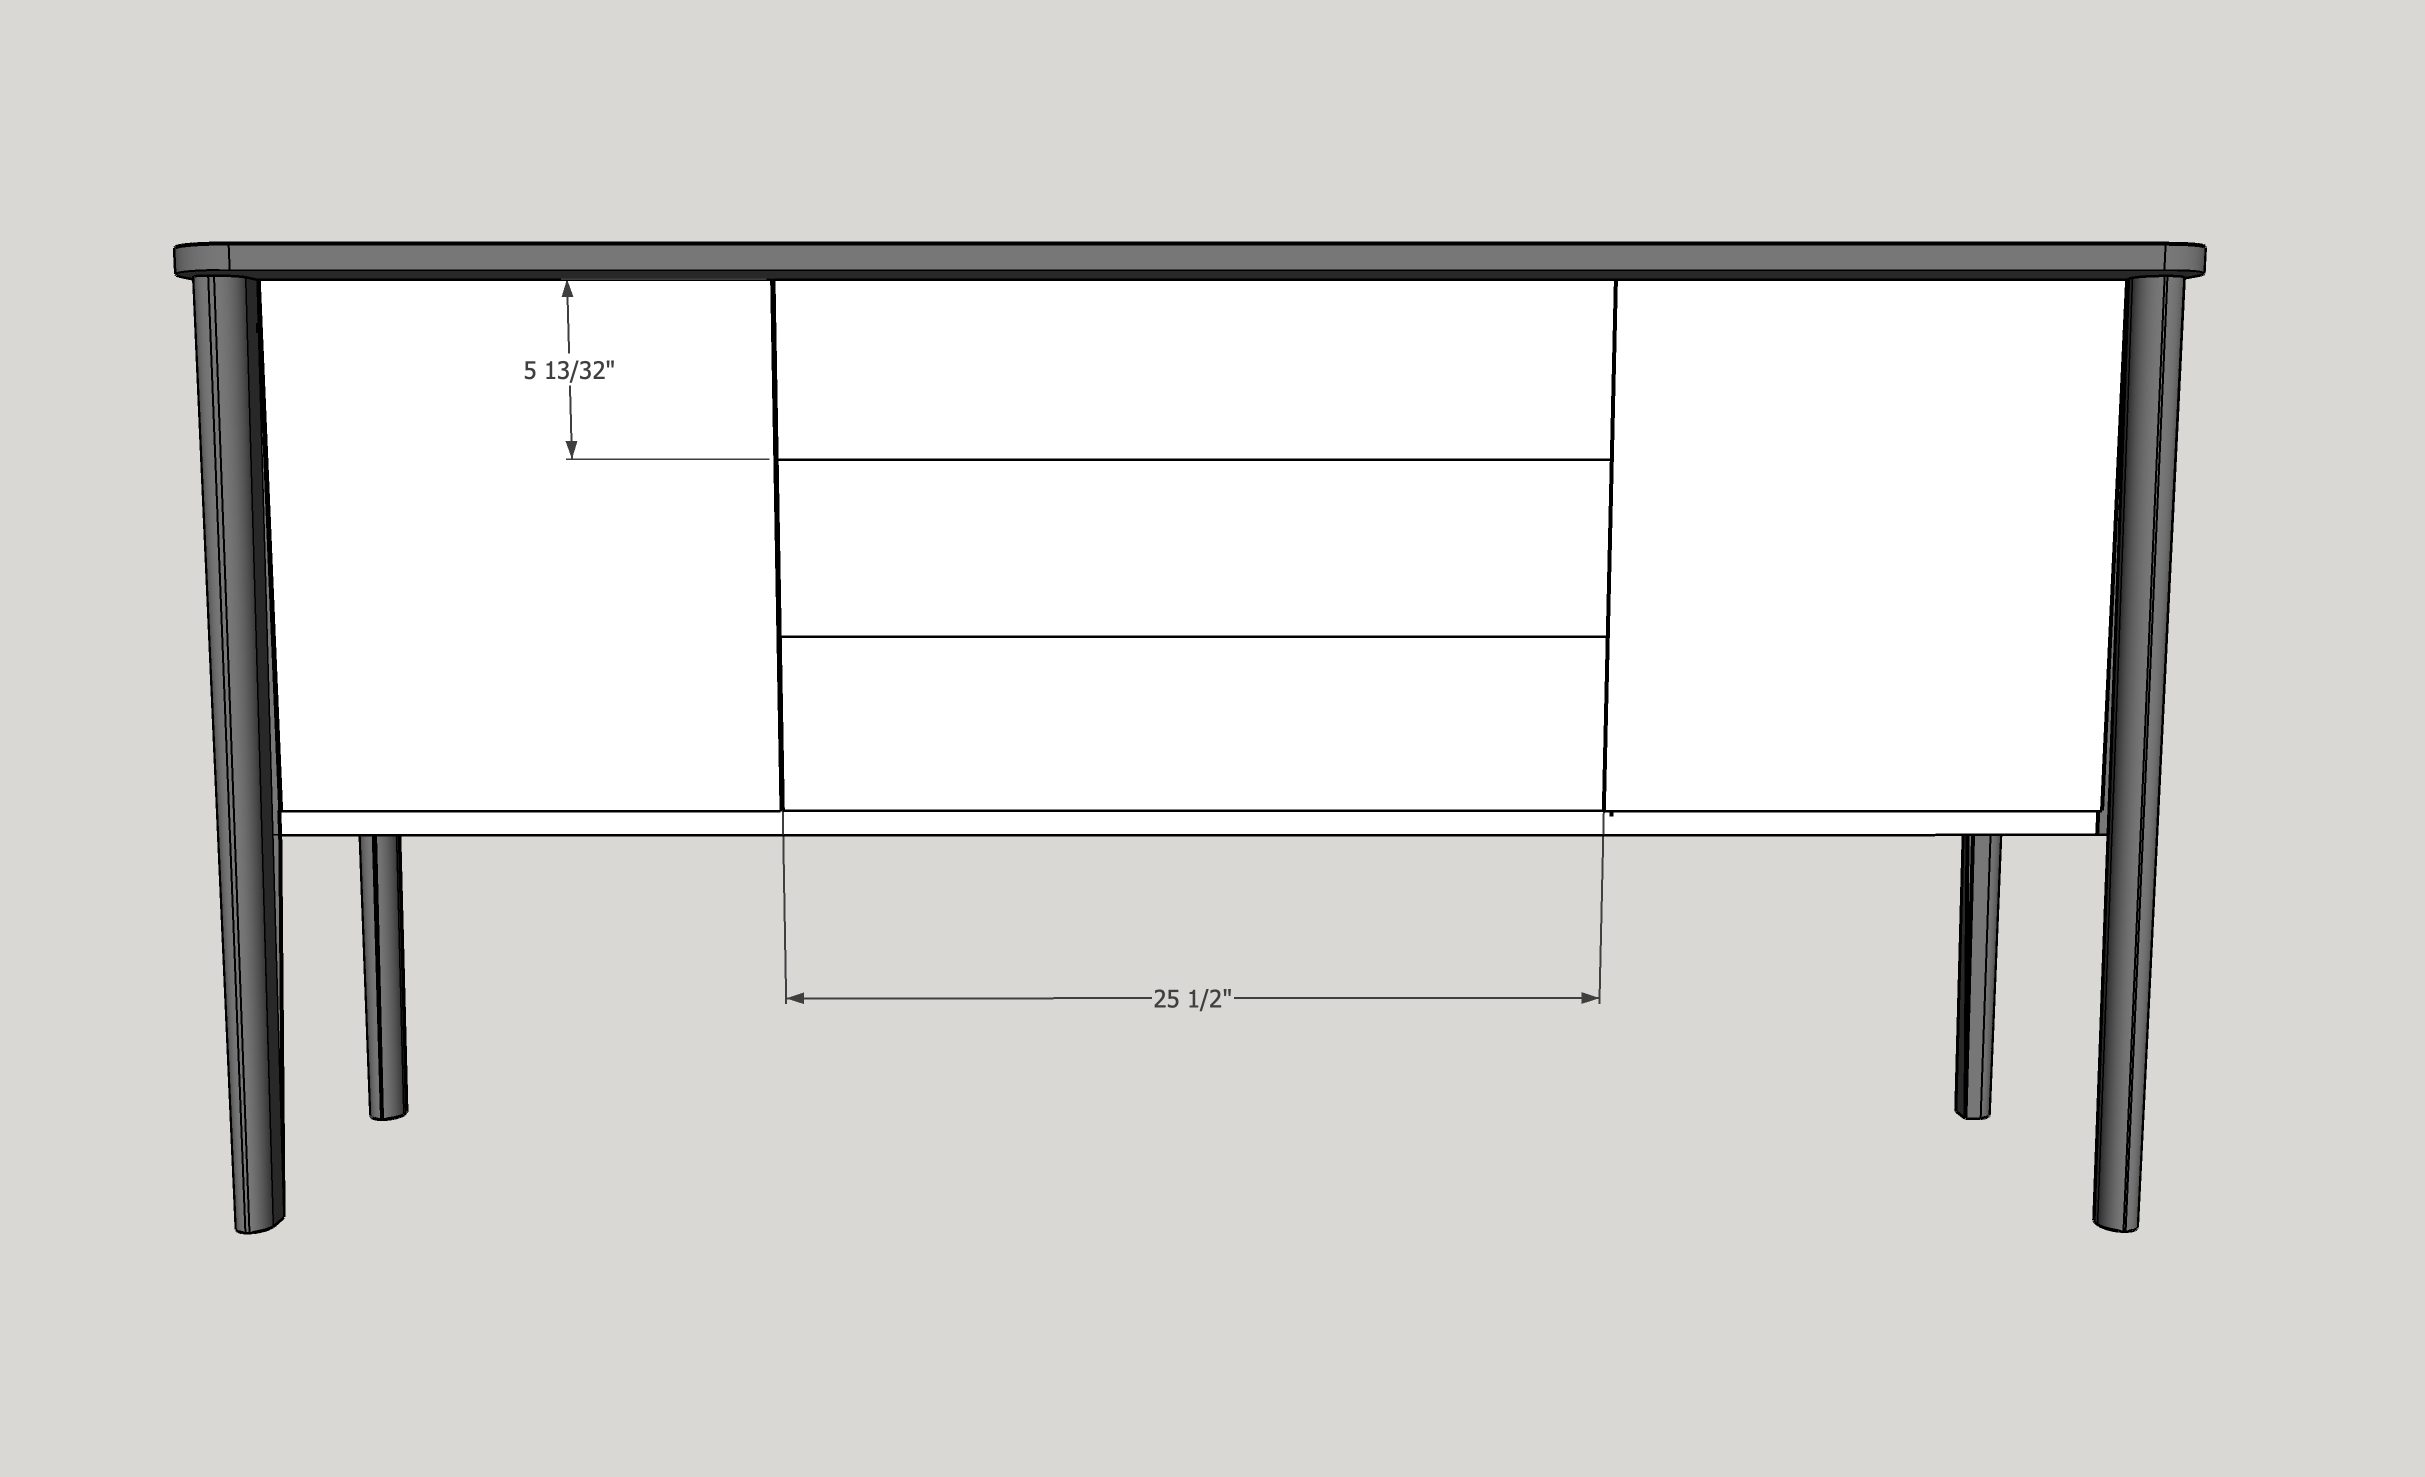
Attach the center dividers using pocket holes and wood glue.
Check for square as you go.
Make sure the dividers are placed at the same distance from the sides as shown in the image.

-
8
Attach the doors using inset door hinges.
-
9
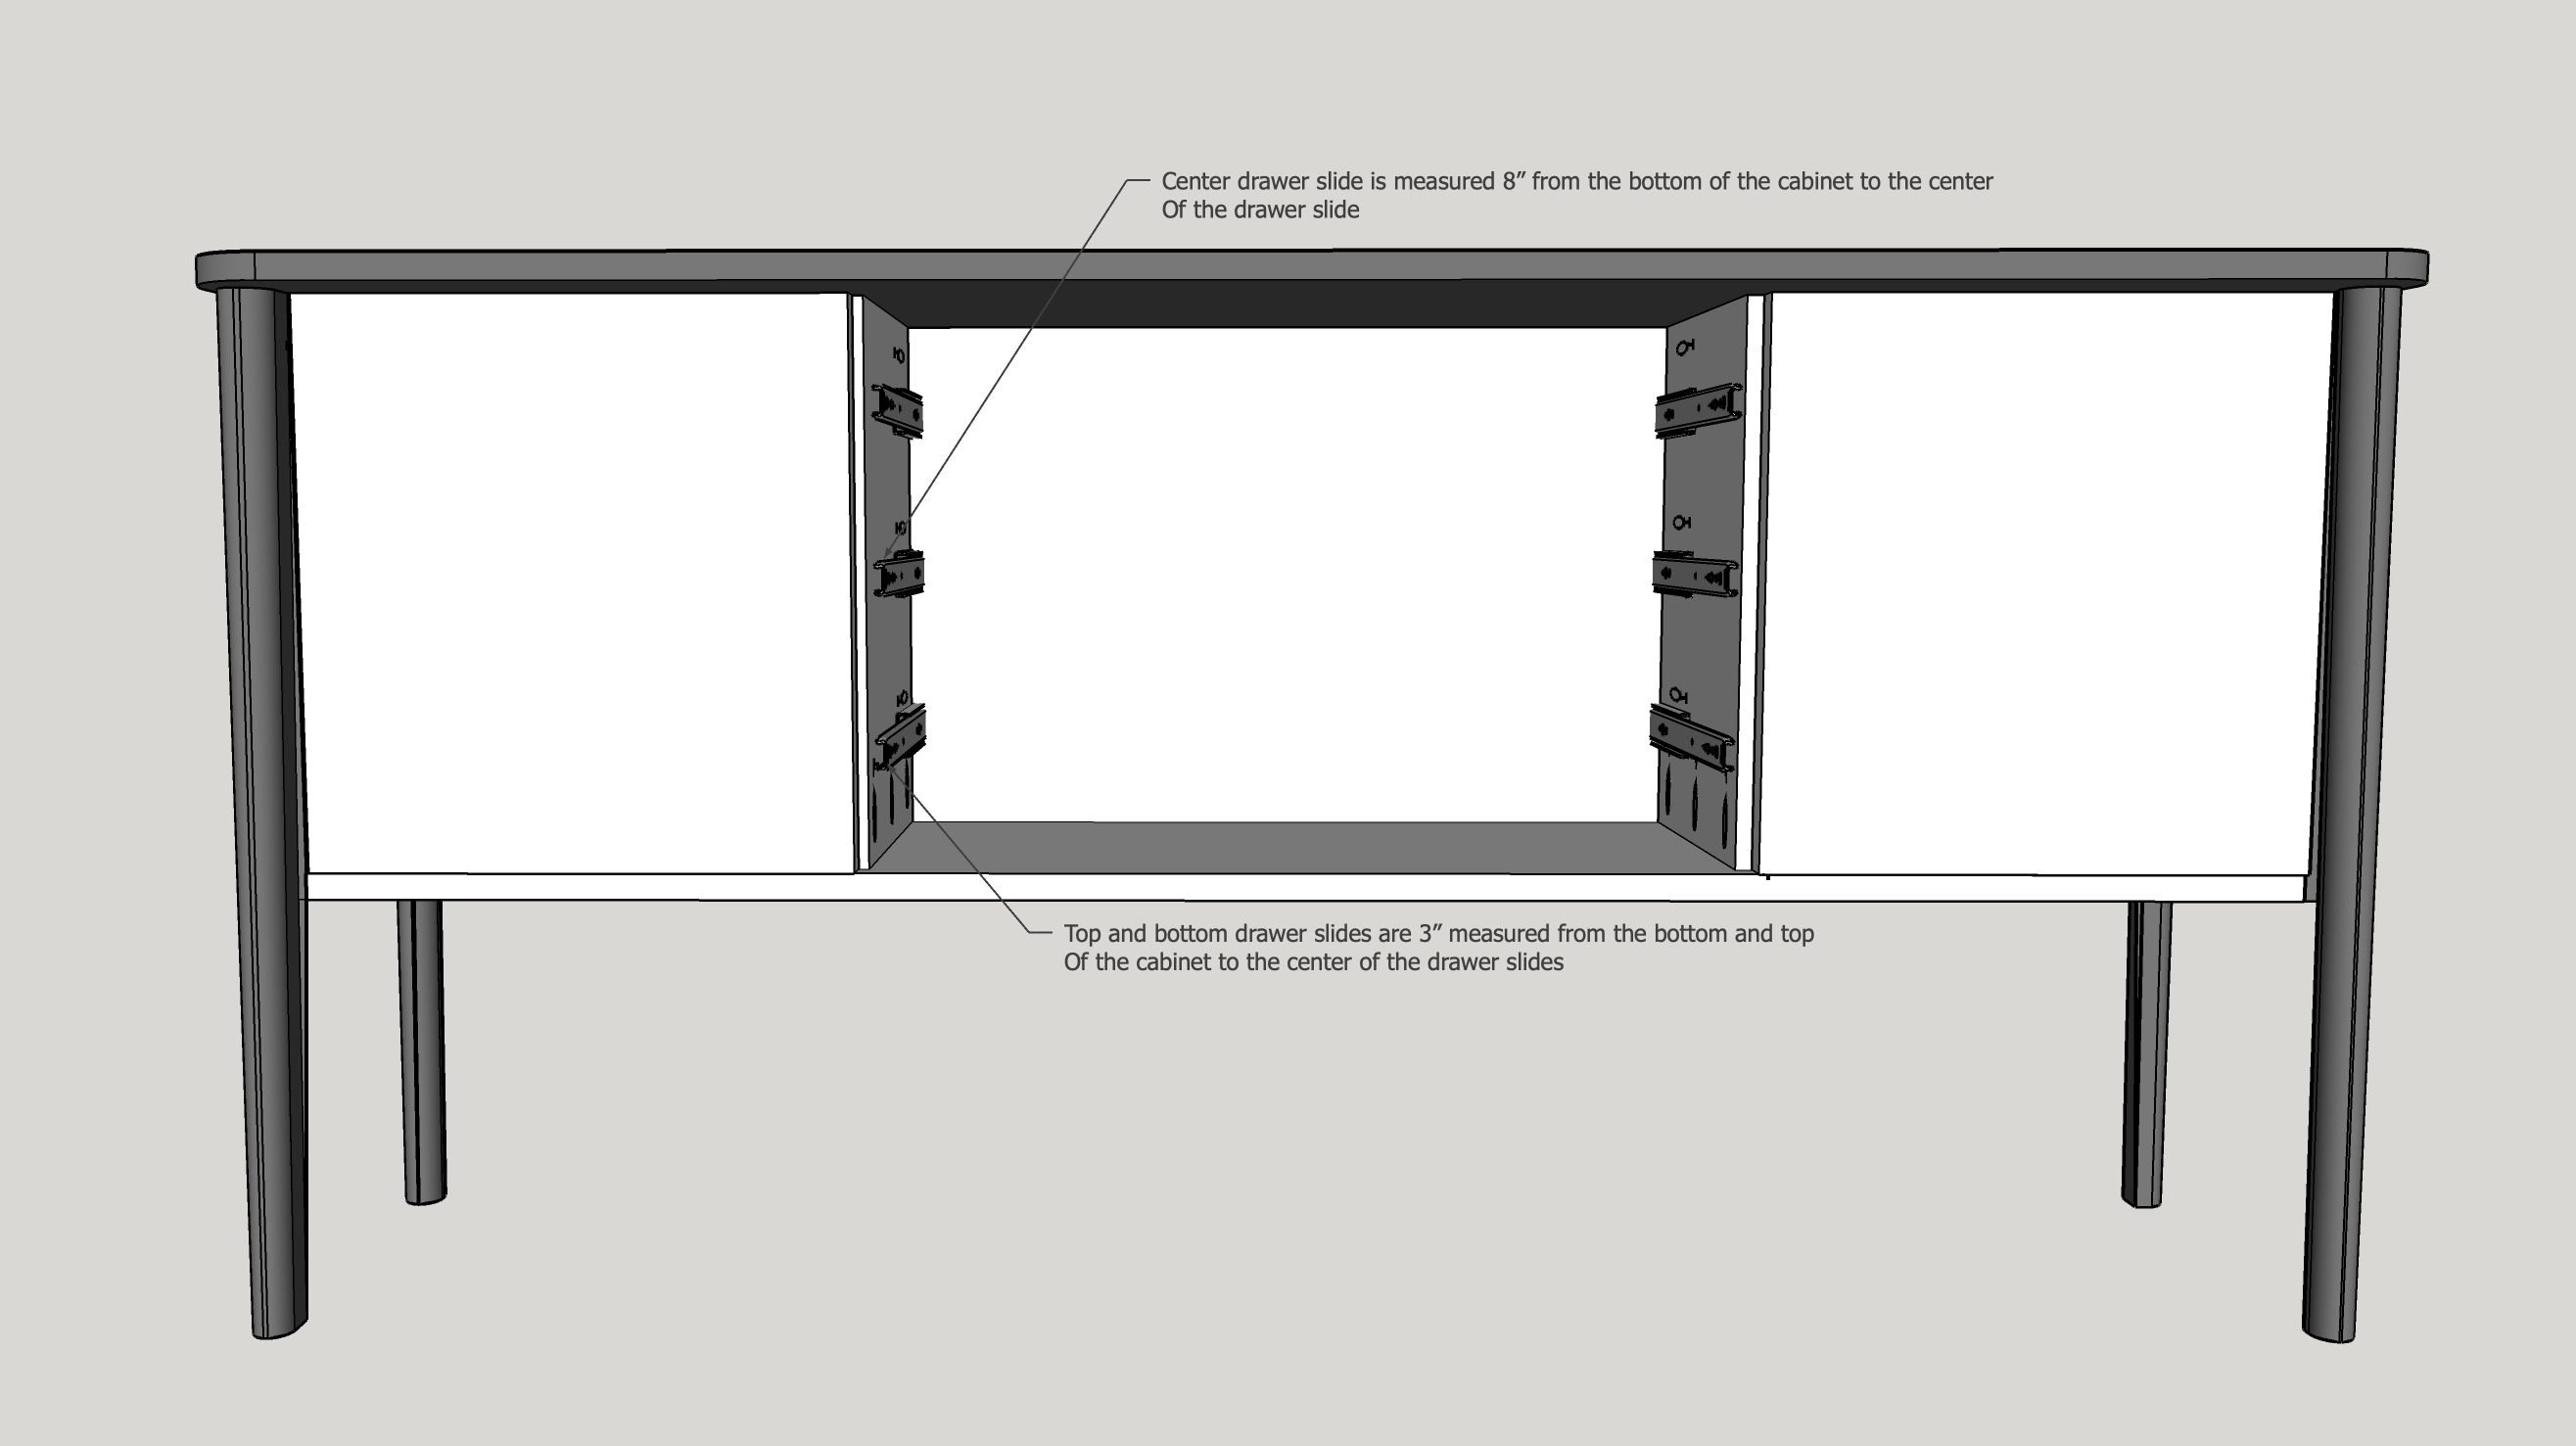
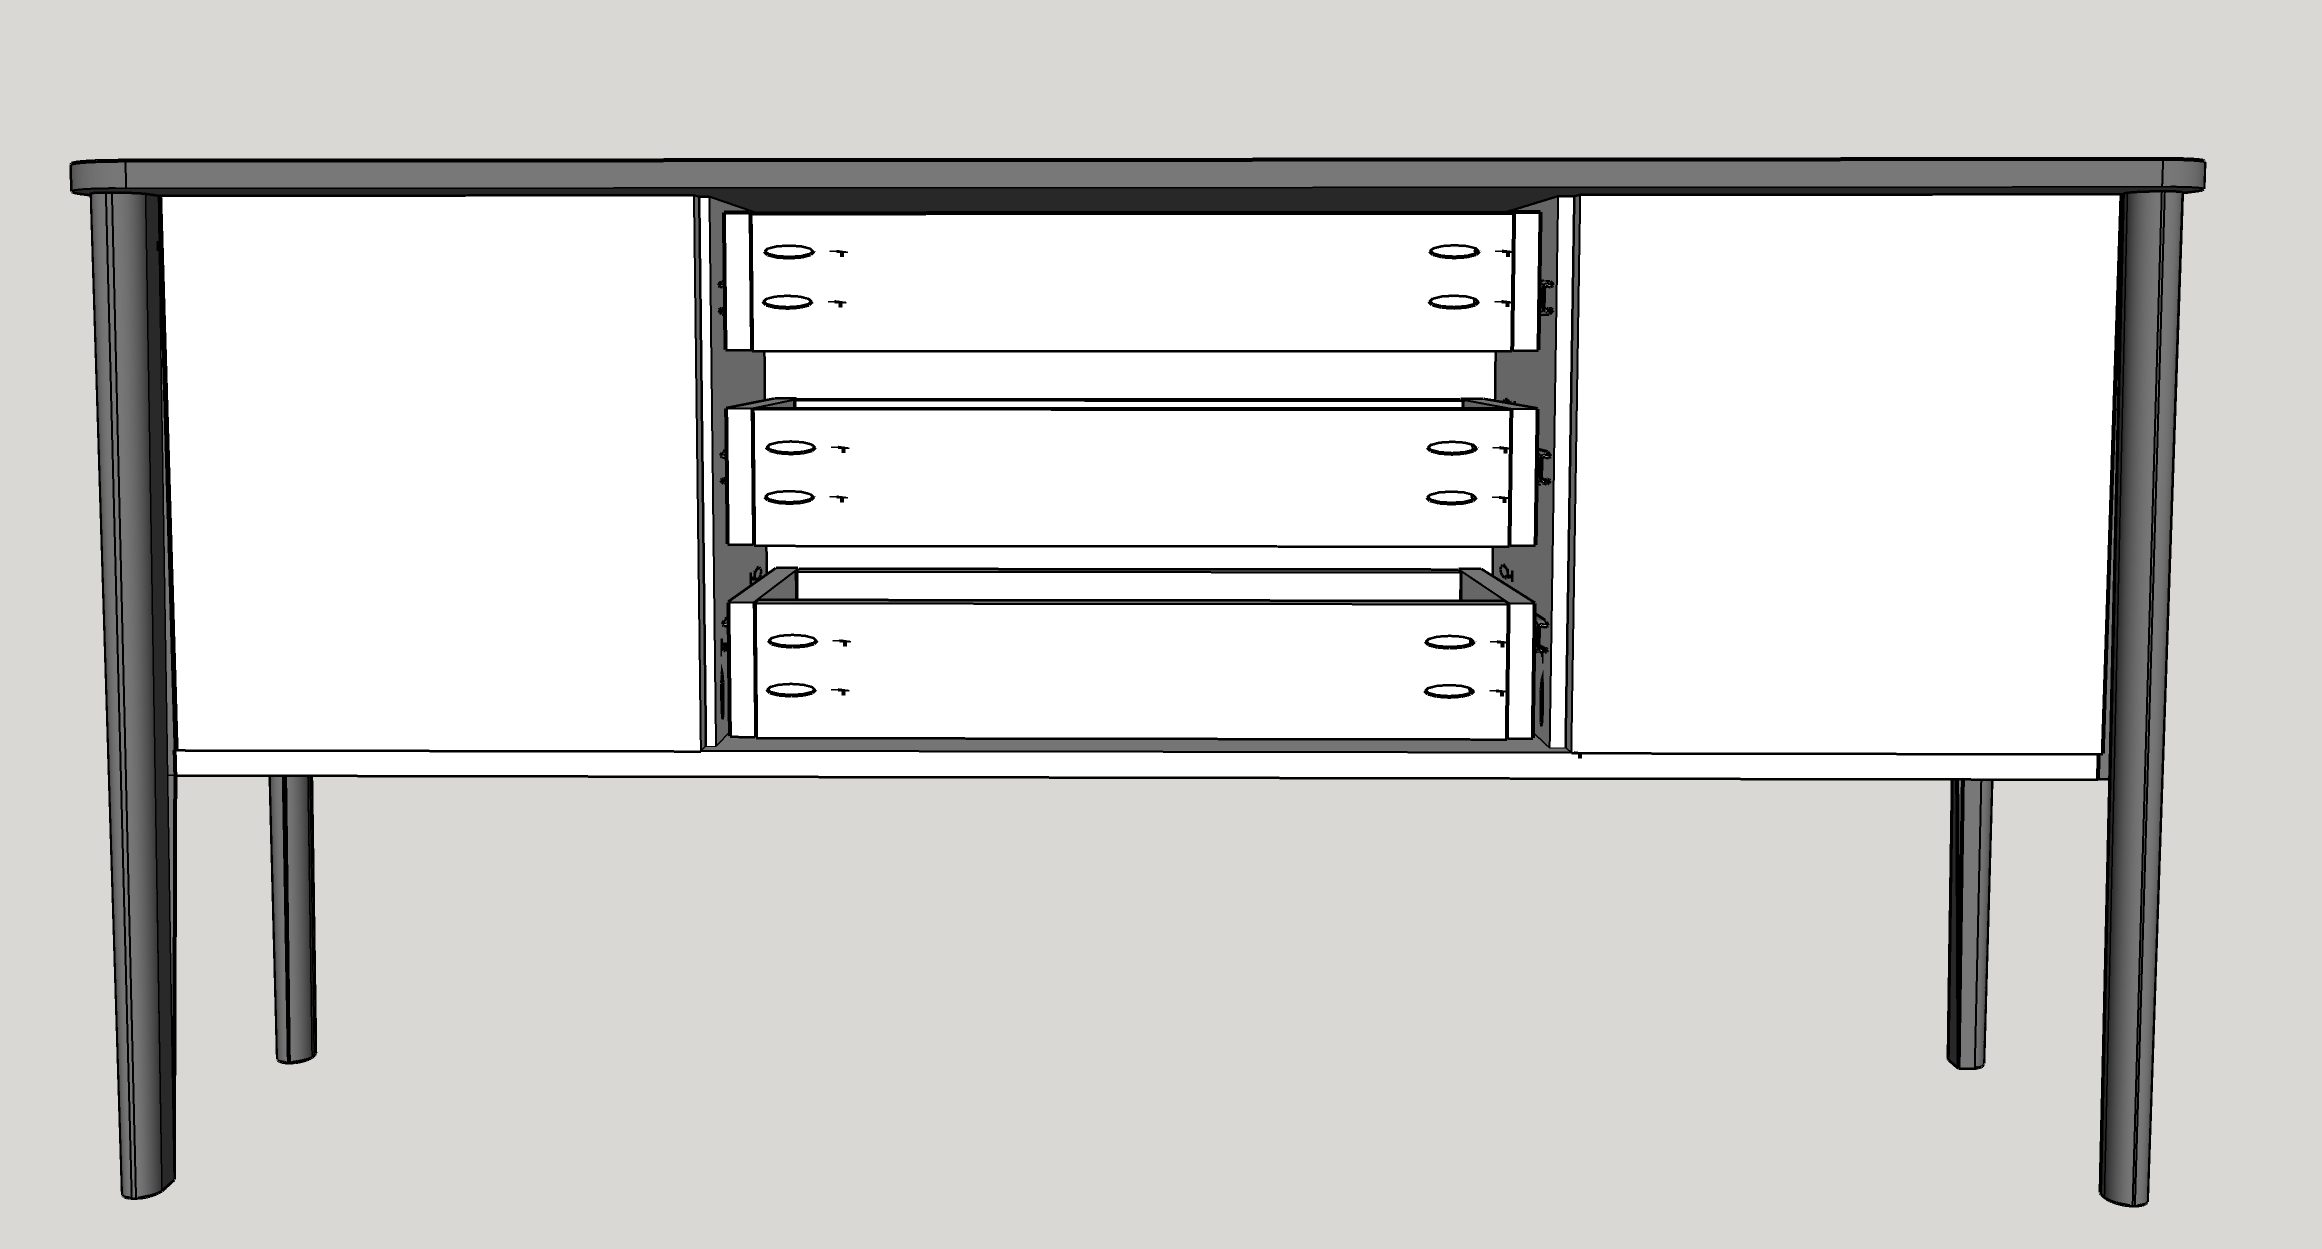
Place the drawer sides as shown in the image.
-
10
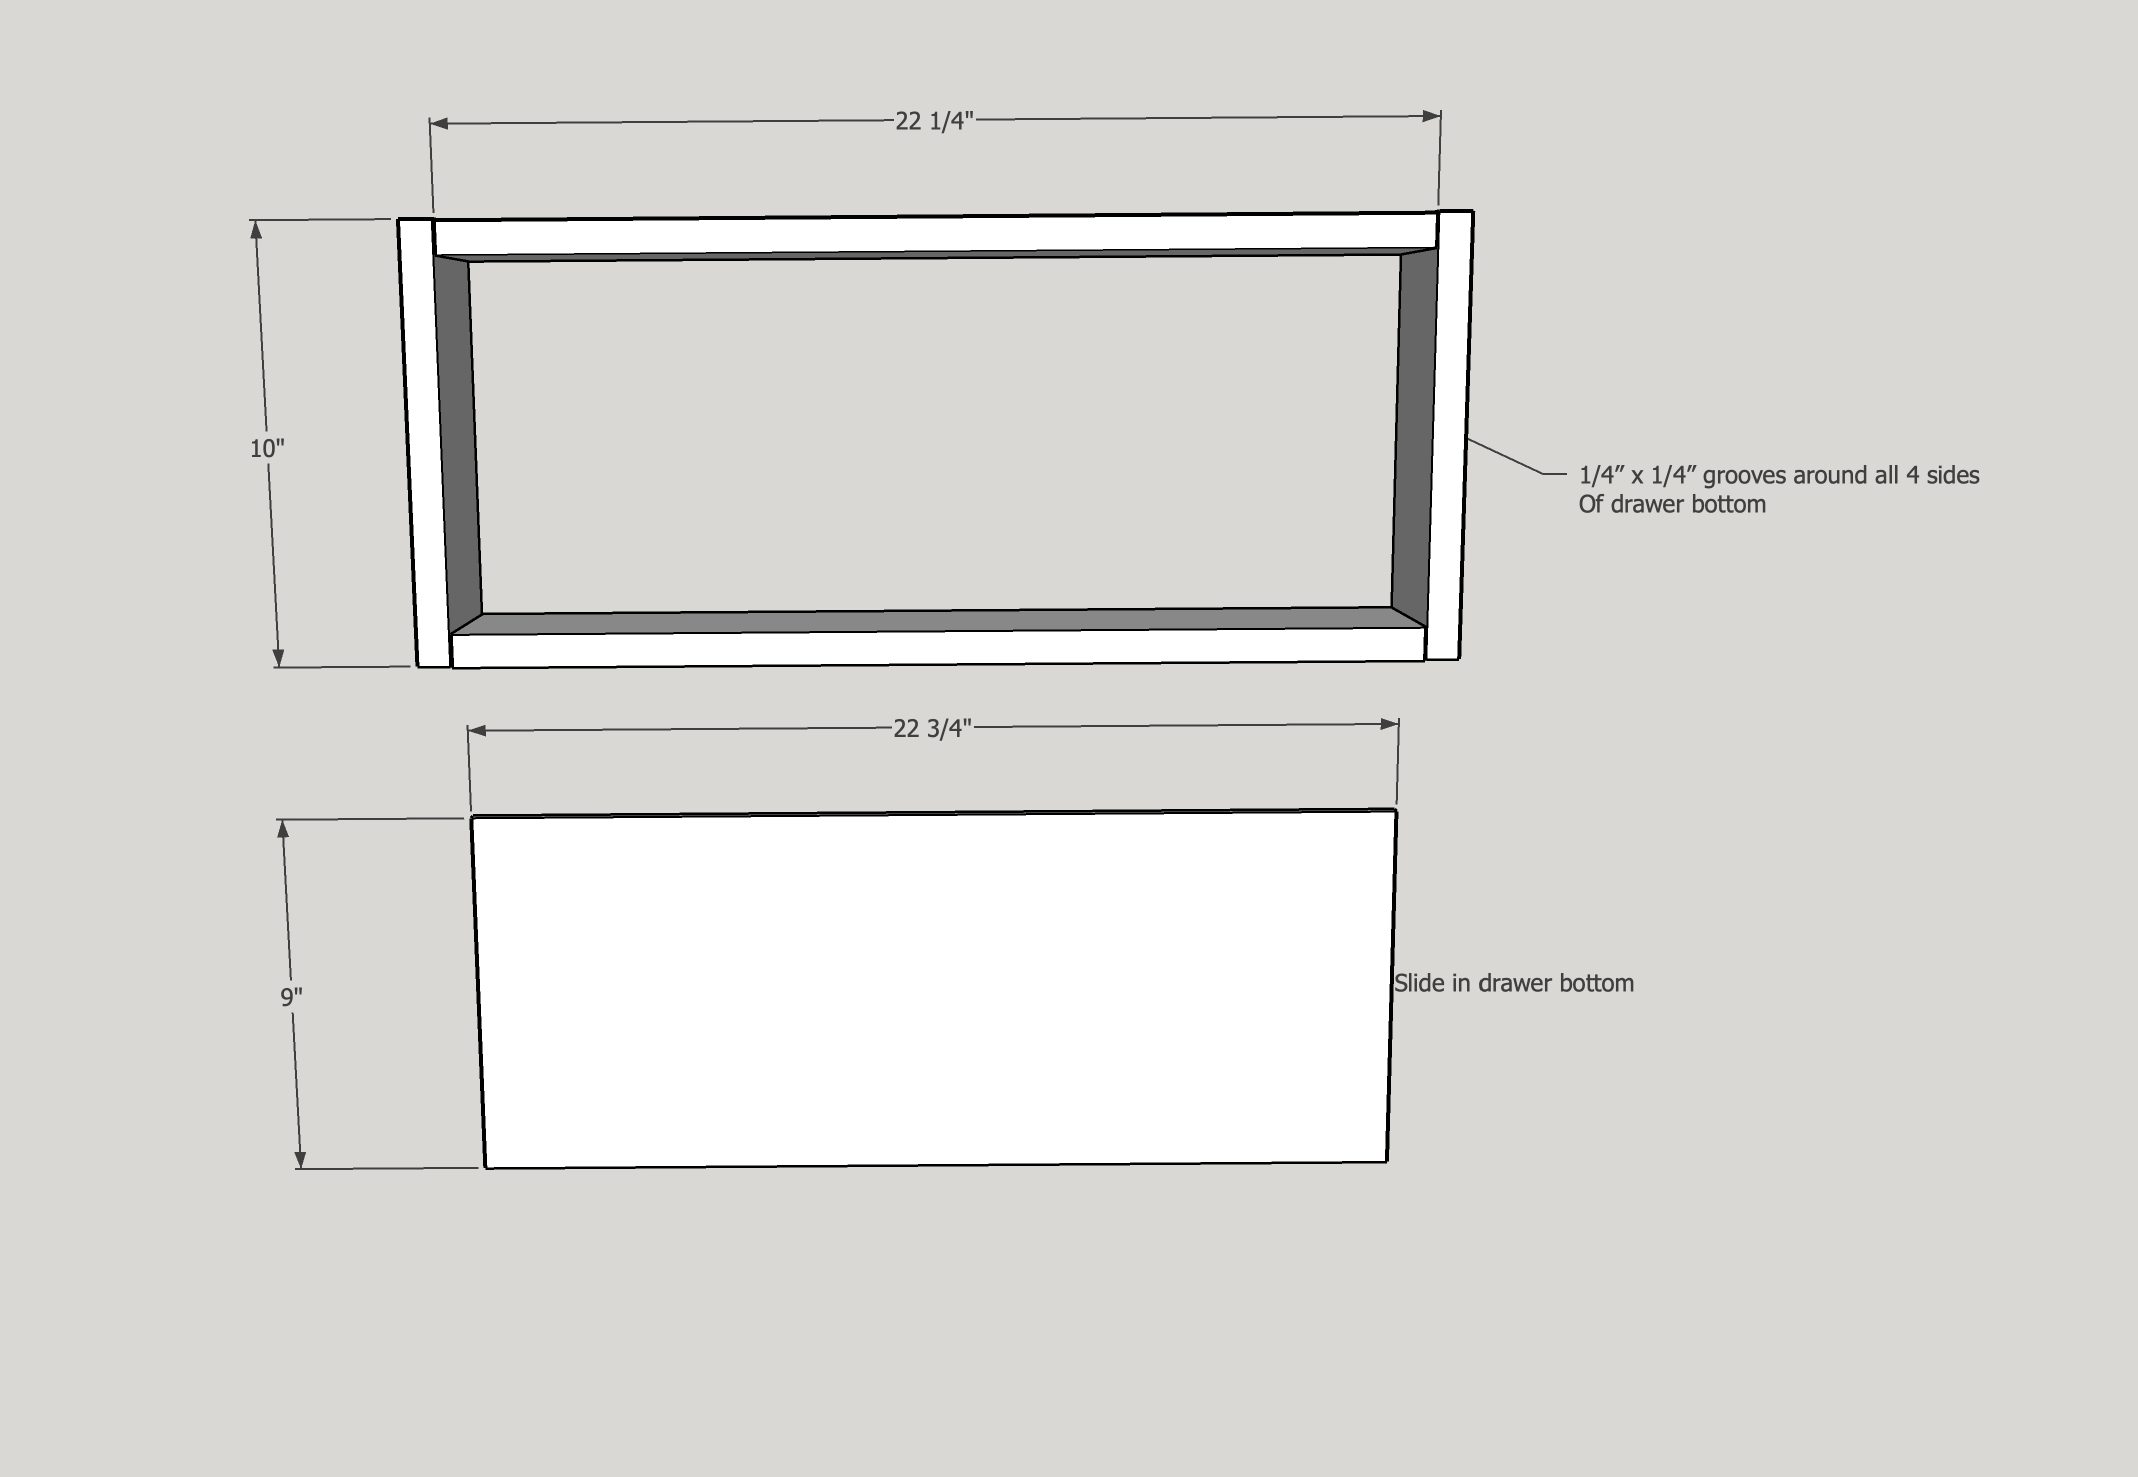
Build the drawers using pocket holes and wood glue.
The front of the drawer should have the pocket holes facing out (don't worry this will be hidden by the drawer front) and the back pocket holes should be facing the back of the cabinet.
Using a track saw/circular saw/table saw make 1/4" x 1/4" grooves on all 4 sides of the bottom of the drawer.
This will allow you to slide the bottom of the drawer into the slots while you are building the drawer.
-
11
Attach the drawer boxes to the drawer slides.
-
12
Attach the drawer fronts using 1" spax screws from the inside of the drawer.
Tip: Use playing cards to accurate space the drawer fronts before screwing them in.
-
13
Sand, stain or paint and attach your favorite hardware.
Enjoy your new cabinet!