

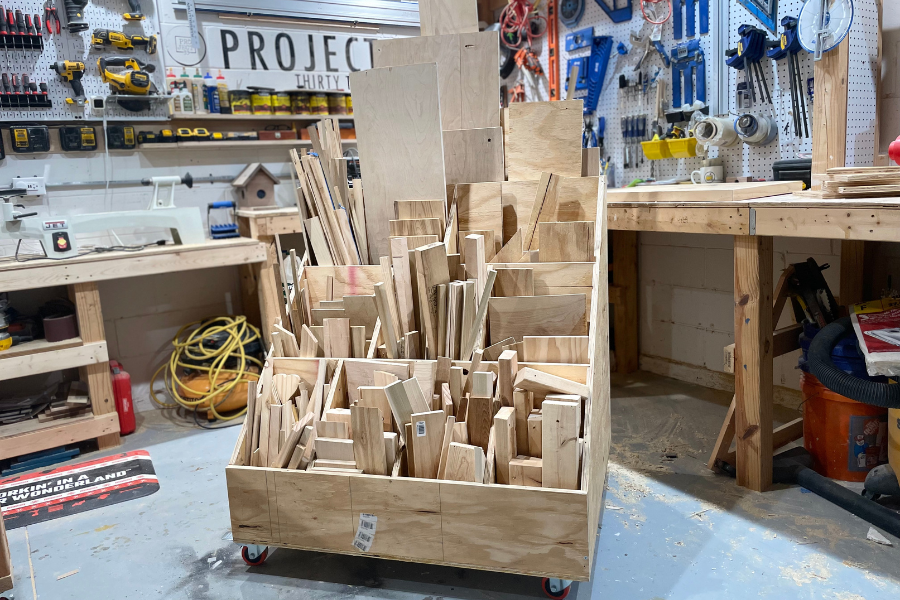


This DIY scrapwood storage cart is an intermediate project that will help organize all those piles of scrapwood laying around your garage/workshop.
Tools
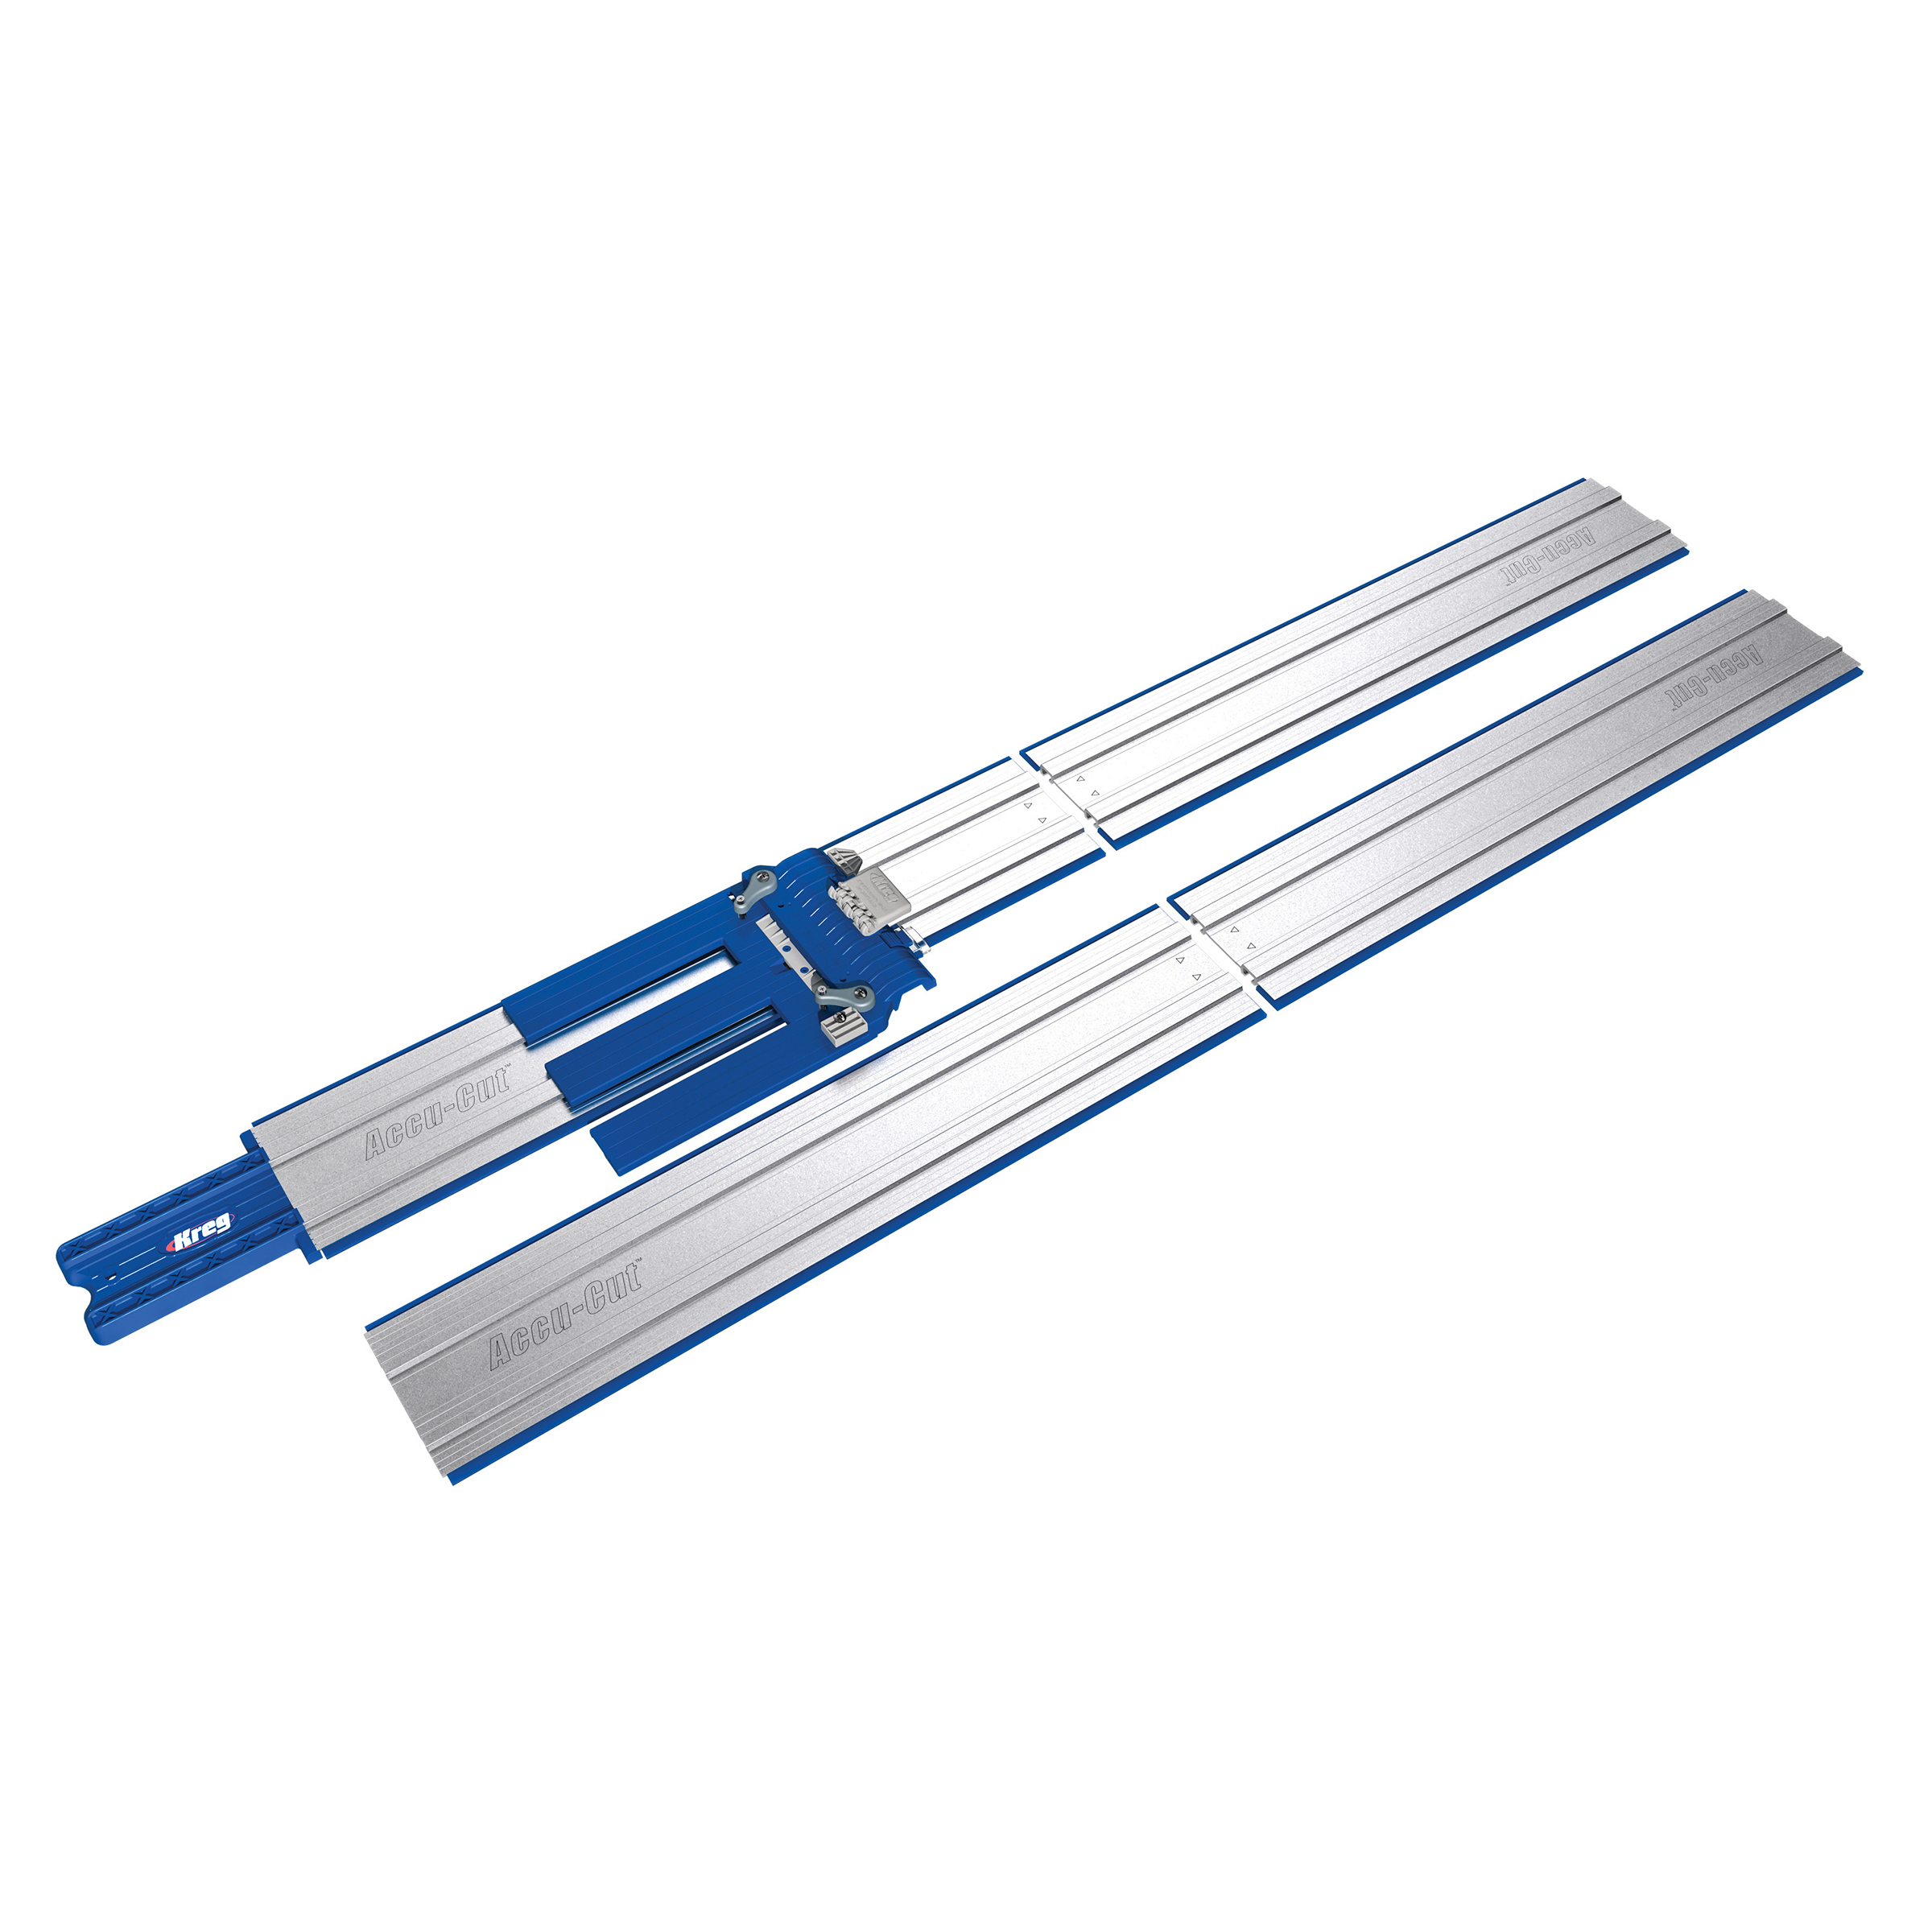
Kreg Tools


Other Tools
-
Miter Saw

-
Clamps
-
Table Saw
Materials
Wood Products
- 3 3/4" sheet of plywood , 4' x 8'
Hardware & Supplies
- -- 1 1/4" Stainless Steel Pocket-Hole Screws
- -- Wood Glue
- 4 Heavy Duty Caster Wheels
Directions
-
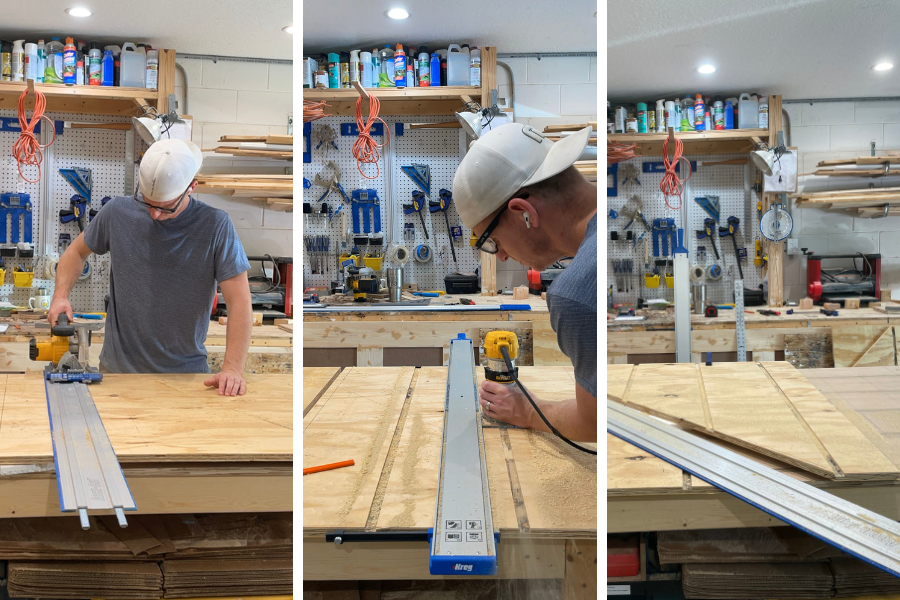
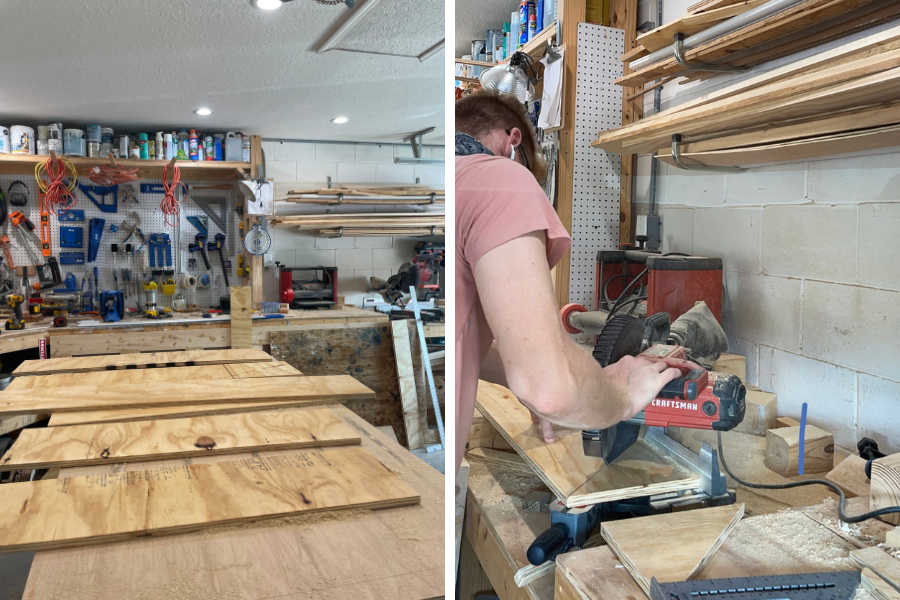
Side Panels
Cut two pieces from the sheet of plywood that are 40” wide by 38” tall.
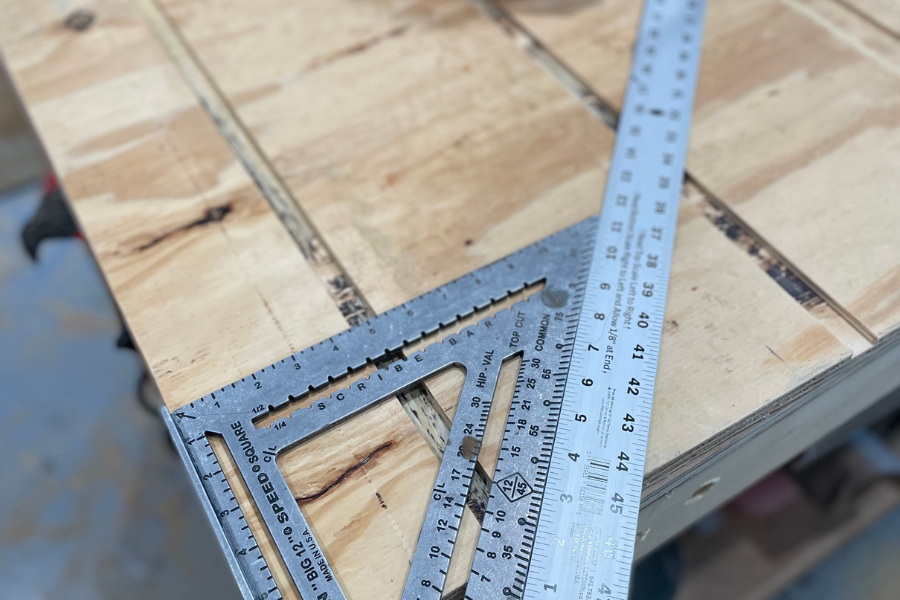
Create grooves on each side panel that will hold the dividers. On the 40” side of the panel, mark a line at 5”, 15” and 25”. These lines will be used to route ¾” wide ¼” deep grooves across from top to bottom.
Cut each panel starting from the 5” groove on a 45 degree angle going down.
Tip:
*Please Note* Make sure you mirror the panels when cutting the 45 degree angle so the grooves will be on the inside of each side panel.
-
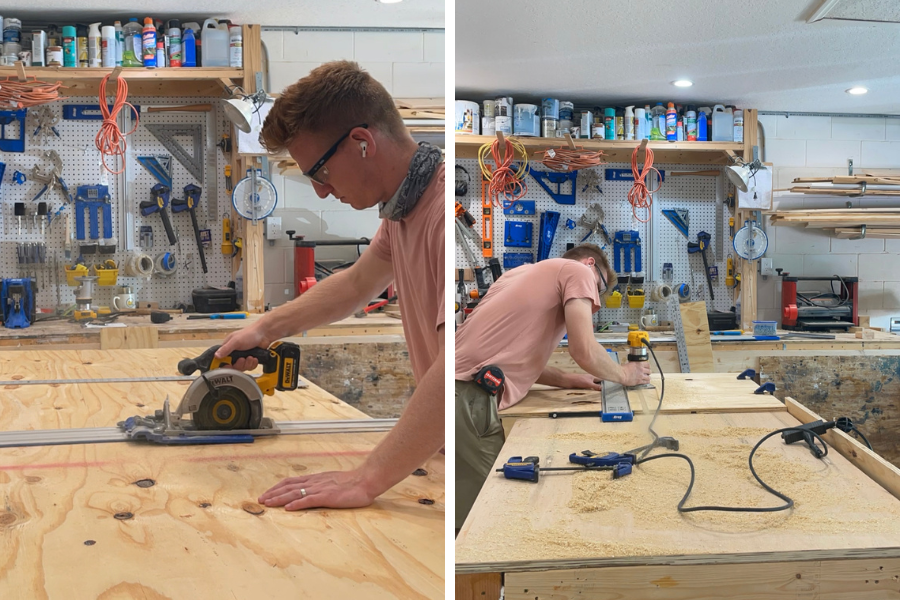
Front, Back and Bottom Panels
Front Panel: Cut/rip a piece that’s 40” wide by 8 ¼” tall.
Back Panel: Cut/rip a piece that’s 40” wide by 38” tall.
Bottom Panel: Using a new sheet of plywood, cut/rip a piece that’s 40” wide by 36” deep.
-
Horizontal Divider Panels
Using a new sheet of plywood, cut 3 panels that will be used for the row inserts dividing the storage cart into 4 sections horizontally:
- Top (largest) divider panel: 39” wide by 38” tall
- Second divider panel from the back: 39” wide by 28” tall
- Third divider panel from the back: 39” wide by 18” tallCreate grooves on each of the divider panels/front panel for the column inserts dividing each row into sections.
Top divider panel: Route a ¾” wide ¼” deep groove in the middle (18 ½”) from top to bottom.
Second divider panel from the back: Route a ¾” wide ¼” deep groove in the middle (18 ½”) of the backside of the panel (from top to bottom). Route two (2) ¾” wide ¼” deep grooves in the frontside of the panel (from top to bottom). Measuring from the side, one groove at 13” and the other at 26”, dividing the panel into three equal sections.
Third divider panel from the back: Route two (2) ¾” wide ¼” deep grooves in the backside of the panel (from top to bottom). Measuring from the side, one groove at 13” and the other at 26”, dividing the panel into three equal sections. Route three (3) ¾” wide ¼” deep grooves in the frontside of the panel (from top to bottom). Measuring from the side, with the grooves at 9 ½”, 19 ½” and 29 ½” dividing the panel into four equal sections.
Front panel: Route three (3) ¾” wide ¼” deep grooves in the backside of the panel (from top to bottom). Measuring from the side, with the grooves at 10”, 20” and 30” dividing the panel into four equal sections.
-
Vertical Divider Panels
Utilizing the leftover pieces of plywood, rip/cut the following pieces of wood for the vertical dividers that will slide into each section.
- Top section: 1 piece | 9 ¾” wide by 38” long
- Middle section: 2 pieces | 9 ¾” wide by 28” long
- Front section: 3 pieces | 10 ¼” wide by 18” longAfter these pieces are ready, cut a 45 degree angle off the top.
-
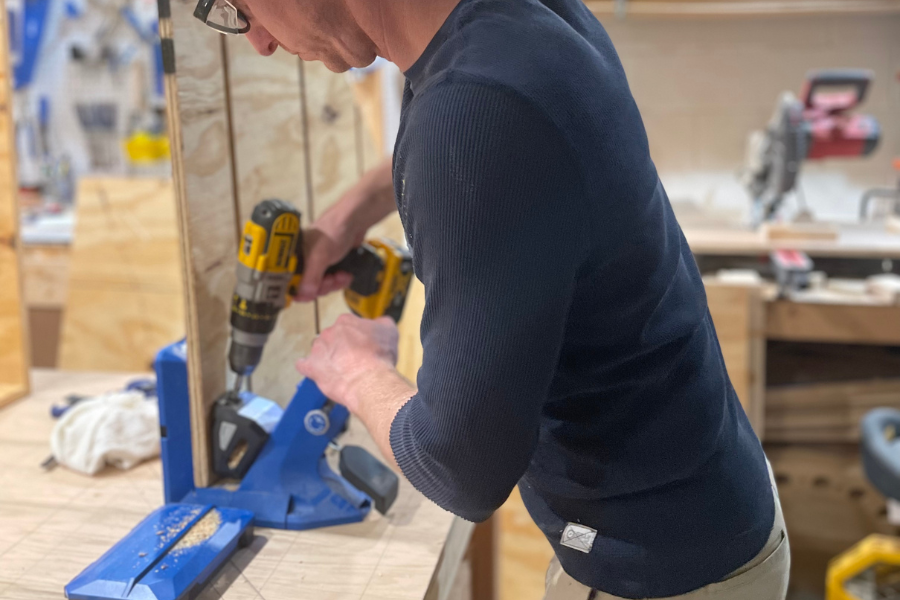
Pocket Holes
Drill several evenly spaced pocket holes across the bottom of the frontside of the back panel.
Drill several evenly spaced pocket holes across the 2 sides of the side panels that will secure the side panels to the bottom and back panels. Do this for both side panels.
Drill an additional pocket hole on the top the front the side panel that will secure the front panel to the side panels.
Drill several evenly spaced pocket holes across the bottom inside of the front panel that will secure the front panel to the bottom panel.
Drill several evenly spaced pocket holes across the bottom of each horizontal divider that will secure the dividers to the bottom panel.
Drill pocket holes on the bottom of each vertical divider (at least one on each side) that will secure the dividers to the bottom panel.
-
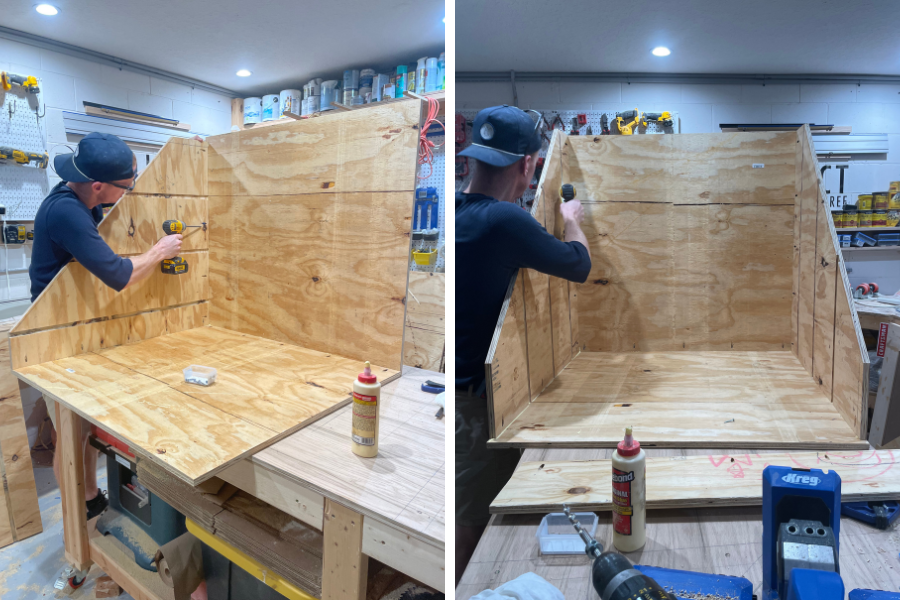
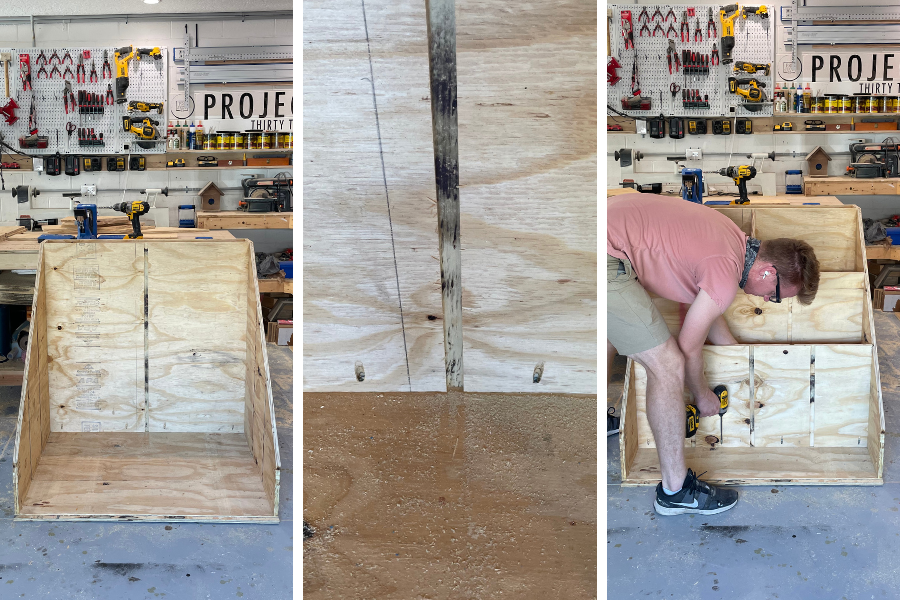
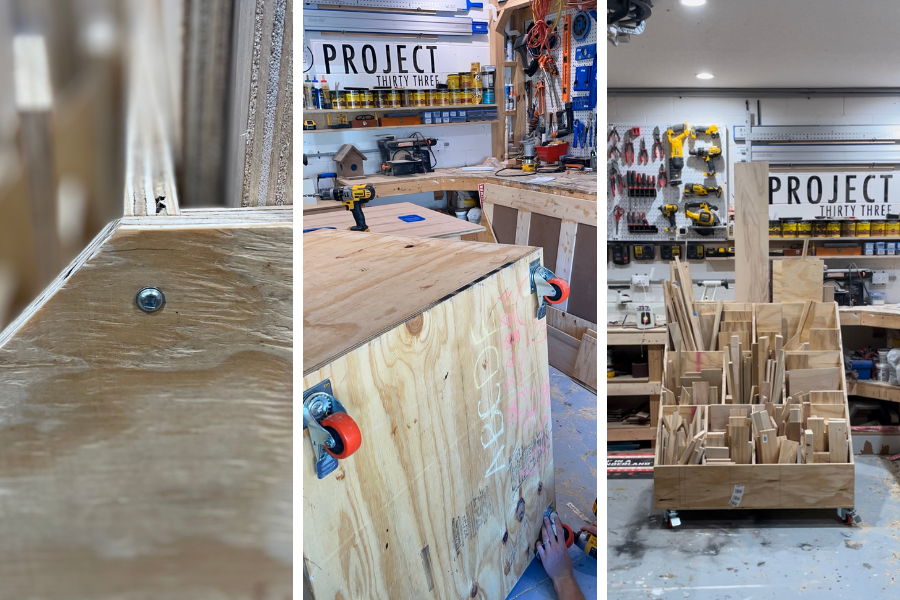
Assembling the Outer Box
Connect the back panel to the bottom panel utilizing wood glue and 1 ¼” pocket hole screws (with the back panel sitting on top of the bottom panel).
Connect the two side panels to the back and bottom panel utilizing wood glue and 1 ¼” pocket holes screws.
-
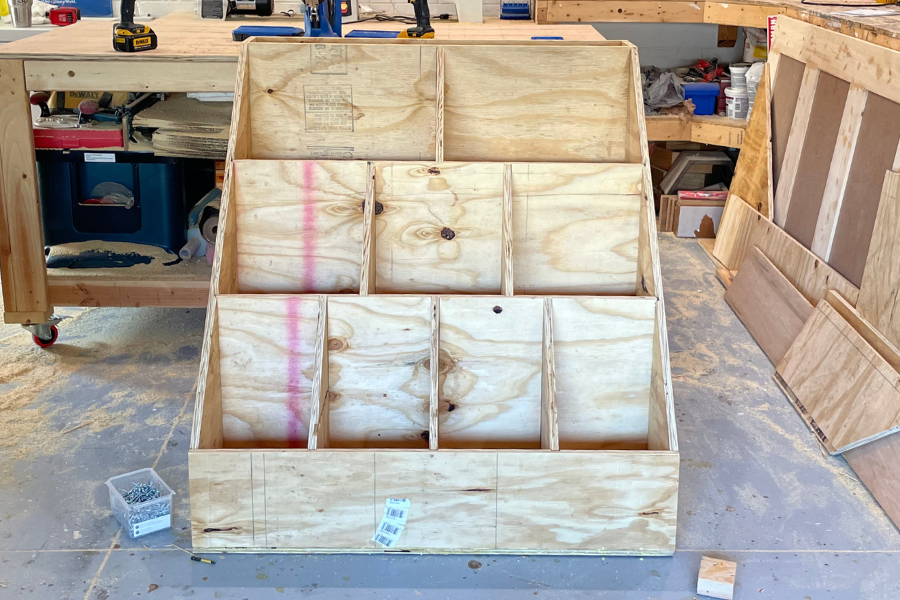
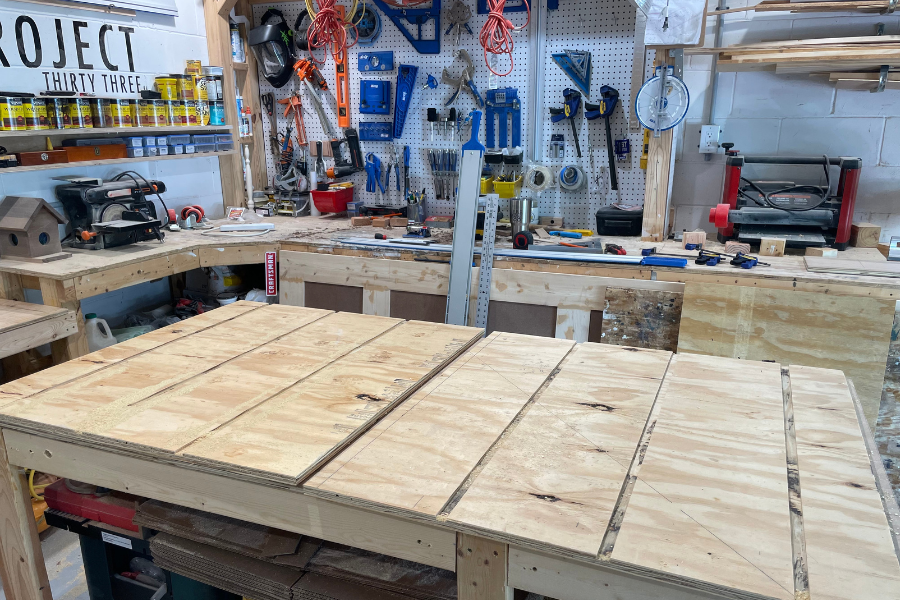
Insert the Horizontal Divider Panels
Slide the top divider panel into the designated grooves and secure to the bottom panel using 1 ¼” pocket hole screws.
Slide the second divider panel from the back into the designated grooves and secure to the bottom panel using 1 ¼” pocket hole screws.
Slide the third divider panel from the back into the designated grooves and secure to the bottom panel using 1 ¼” pocket hole screws.
Secure the front panel utilizing wood glue and 1 ¼” pocket hole screws.
-
Insert the Vertical Divider Panels
Slide the vertical dividers into the designated grooves and secure them with the bottom panel utilizing 1 ¼” pocket hole screws.
-
Finishing Touches
Add 1 ¼” screws on the outside to make the panels more secure.
Add 4 caster wheels to the bottom.
Fill it with scrapwood!
https://www.instagram.com/project33design/
https://www.facebook.com/project.33.diy
https://www.youtube.com/@projectthirtythree