

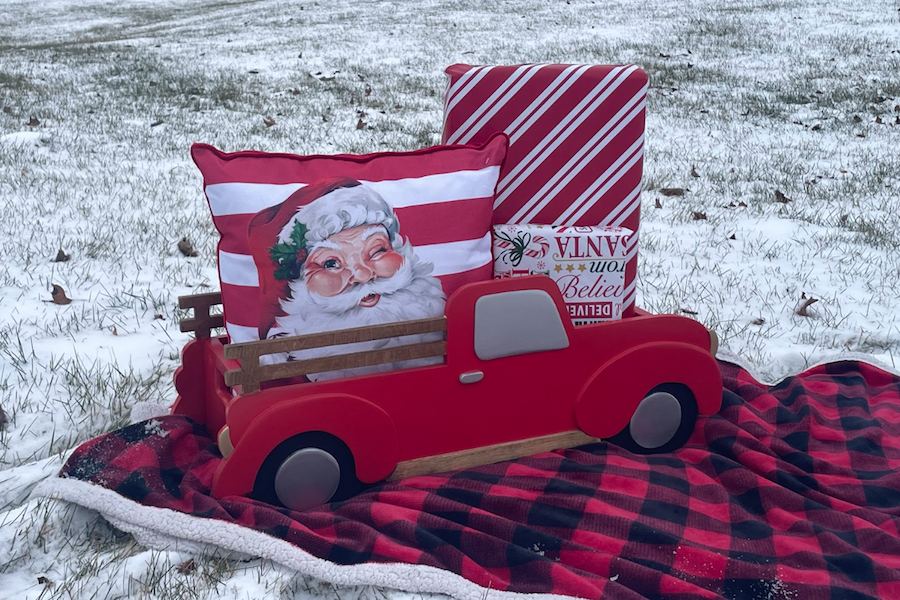


When I asked my daughter what I should make to hold presents under our tree, she said a box that looks like a red truck. Easy right?? Ha. I’d never seen anything like it, so I got to work!
Tools
Kreg Tools


Other Tools
-
Miter saw

-
Tape measure
-
Speed square
Materials
Wood Products
- 1 Pine , 1" x 10" x 36”
- 1 Birch Plywood , 32” x 32” x 1/2”
- 1 Plywood or MDF (optional- for details if desired) , 1/4” or 1/8”
Hardware & Supplies
- 1 Box of 1 ¼" pocket hole screws (see tools list)
- 1 Box of Box of 1" pocket hole screws (see tools list)
- 1 Box of Kreg pocket hole plugs
- 1 Wood glue
- 1 Paint of choice
- 1 Red truck design of choice (I used a design from Canva)
- 1 Wood filler
Directions
-
Step one
Using your miter saw, cut the pine board so you have one 10”x 24” piece (bottom) and two 10” x 6” pieces (sides).
Tip:
Optional 1/4” or 1/8” MDF - Details in example - handle, window, tires, hubcaps, and fenders
-
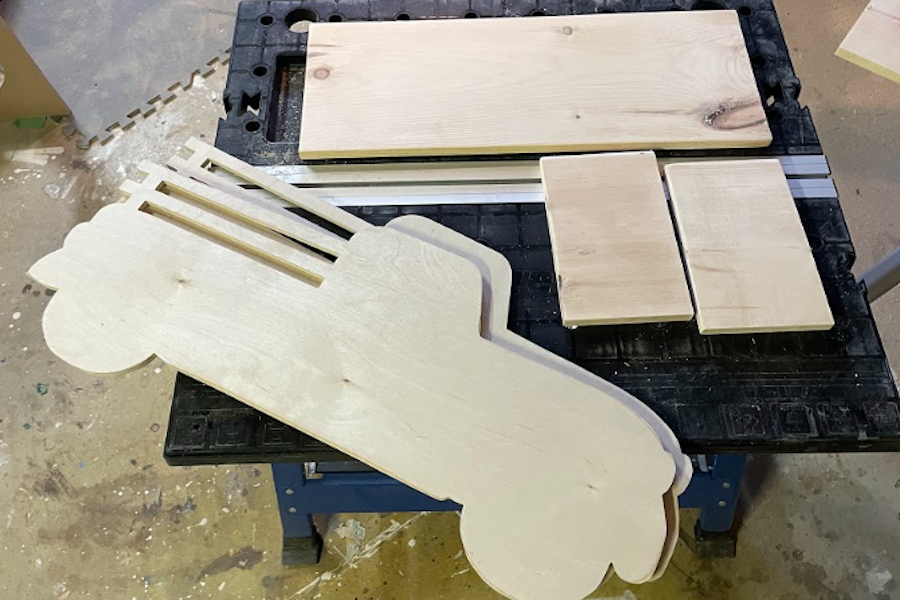
Step two
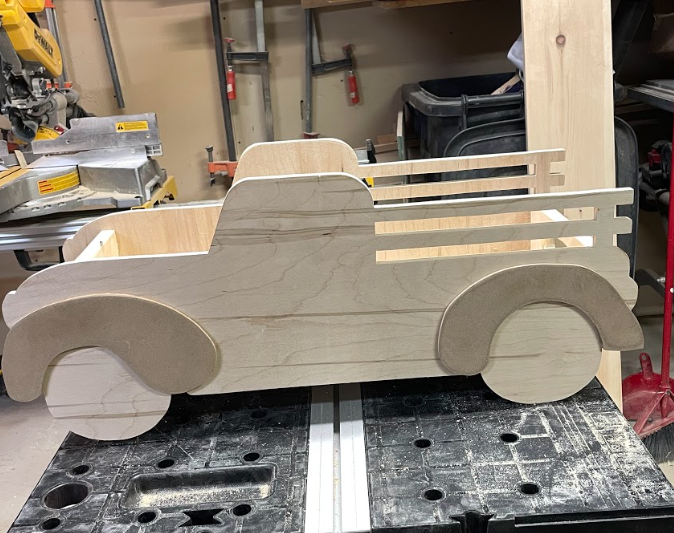
With either a jig saw or scroll saw, cut out two 30” trucks from the 1/2” birch plywood. You can trace the design onto your board to cut, or cover your material in painters tape then glue the pattern on as I did.
-
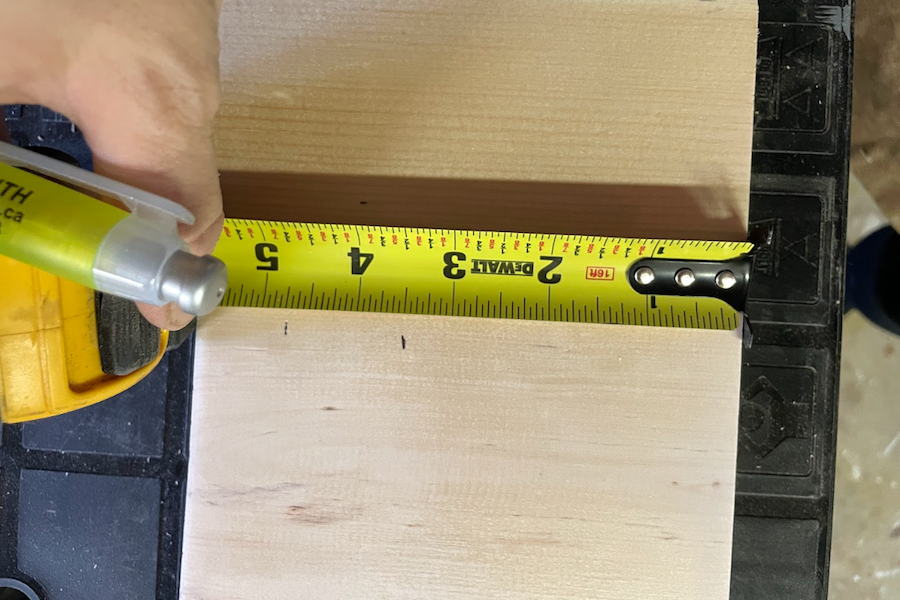
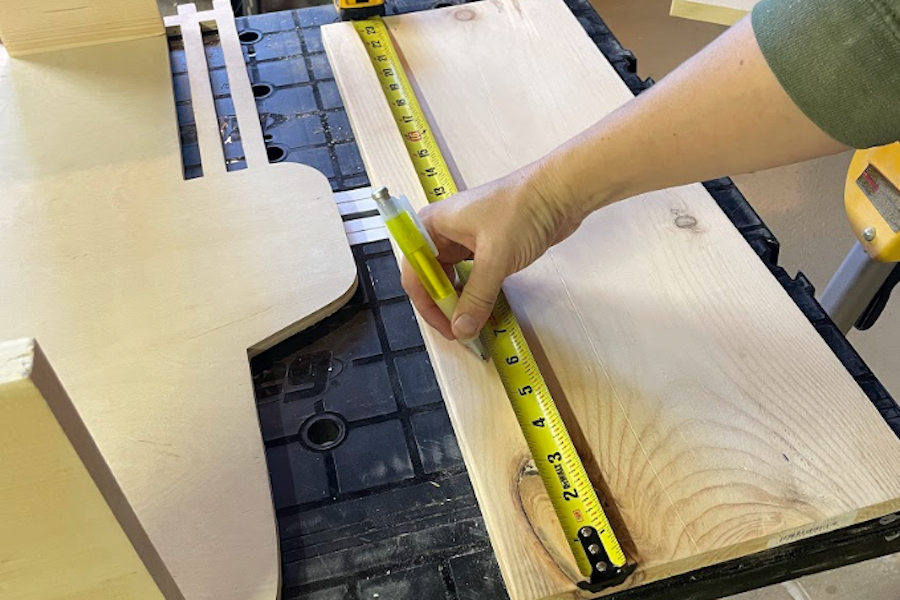
Step three
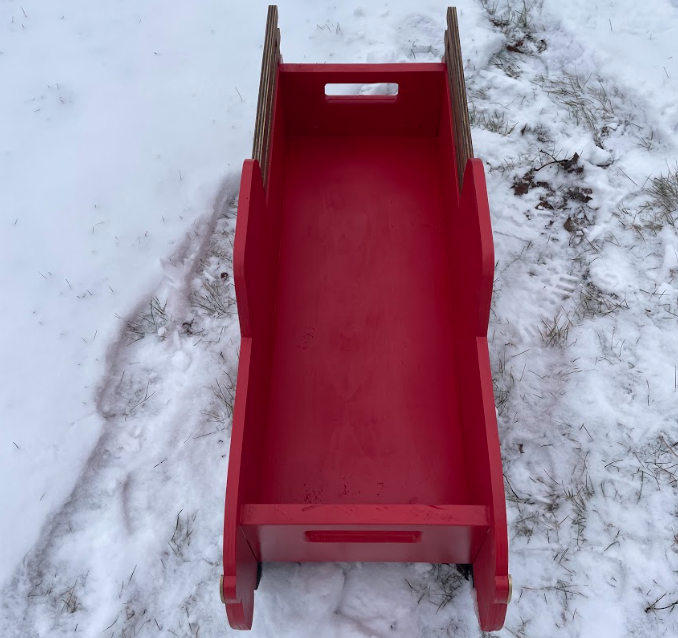
On each of the 10" x 6" sides, draw the handle to cut out. Mark 1" from the top, 2.5" from the sides, and 3.5" from the bottom and connect using your speed square to create a rectangle.
-
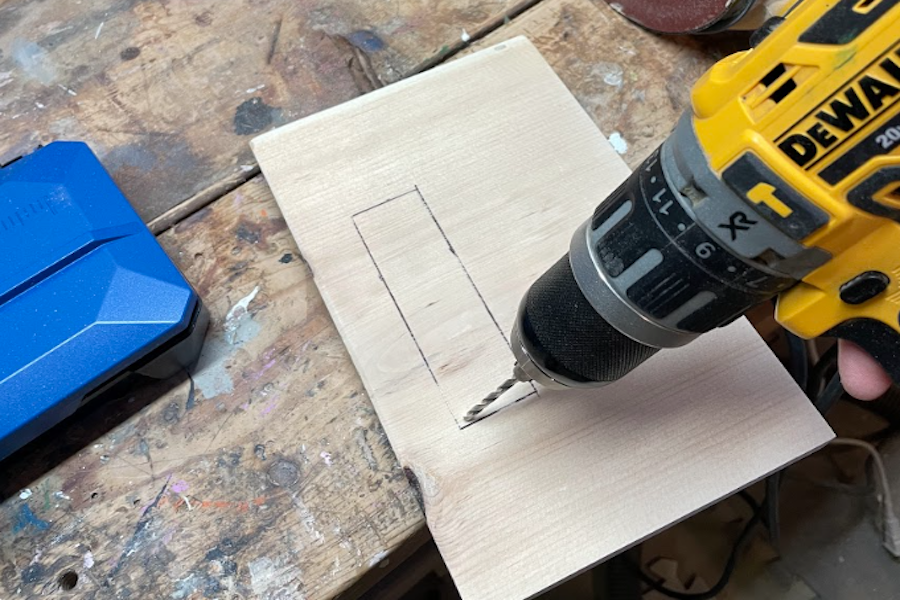
Step four
Drill a hole in the marked handle space big enough for your jigsaw or scroll saw blade to go through. Cut out the hole.
-
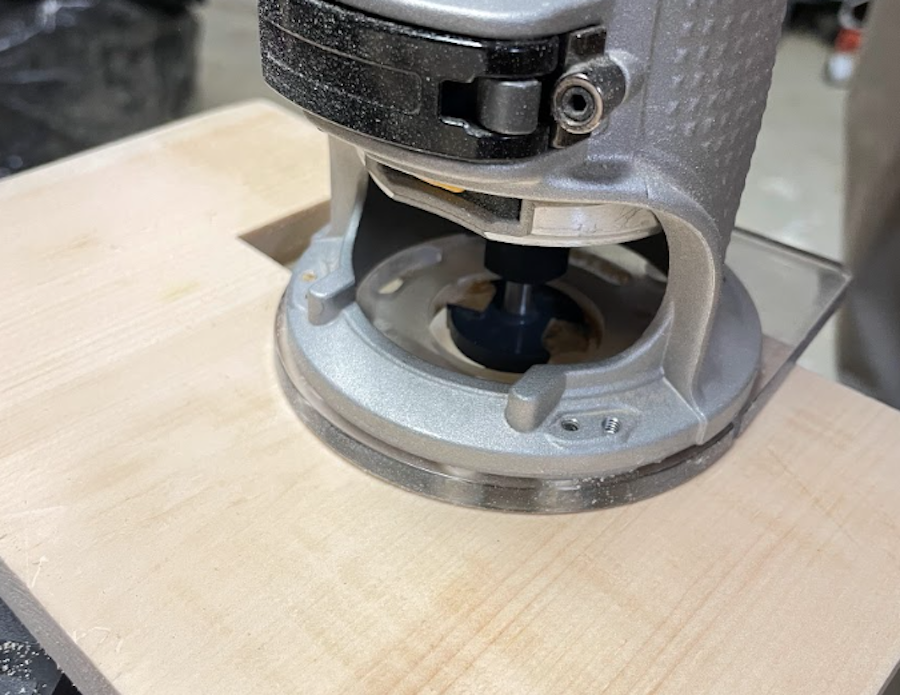
Step five
Using a round-over bit in your router, round the edges of the handles from the front and back sides.
-
Step six
Sand all your pieces
-
Step seven
On the bottom and sides, mark where you will place your pocket holes. For the bottom, I used 3 on each long side at 6”, 12” and 18” and 2 on each sort sides at 2.5” and 6.5”. On the sides, I used 2 on each short side at 1” and 4”.
-
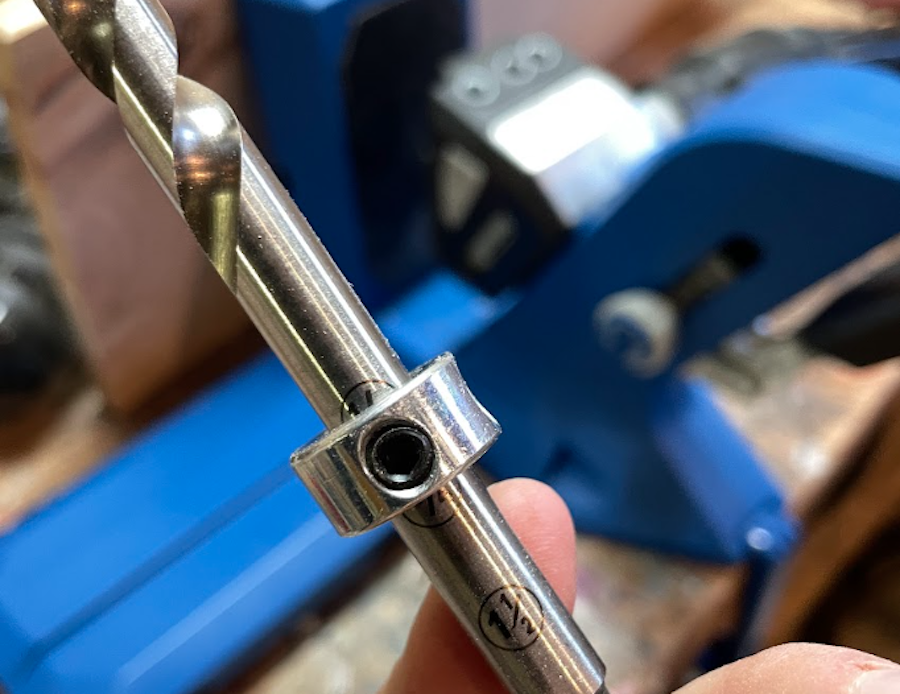
Step eight
Set your pocket hole depth between the 1/2” and 3/4” markers.
-
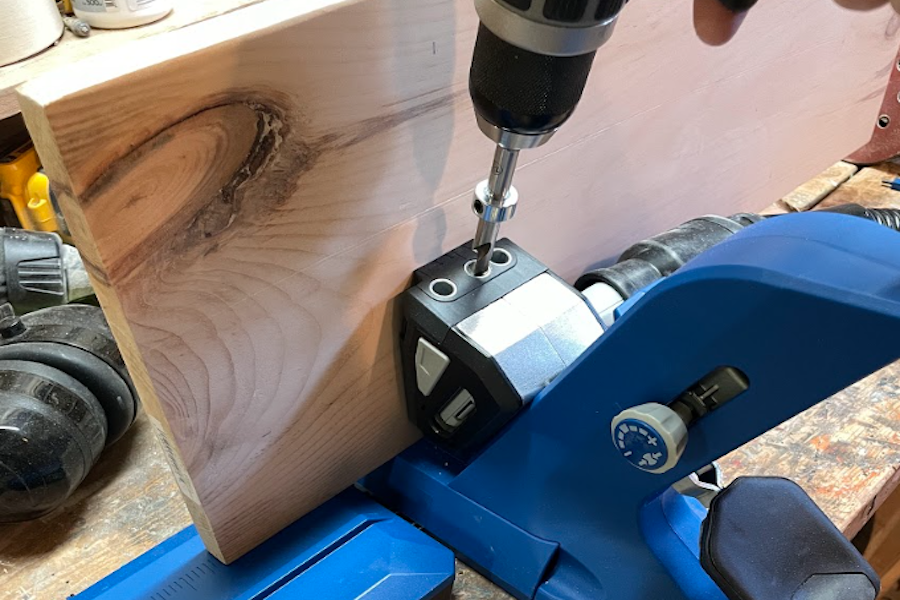
Step nine
Drill pocket holes using your Kreg Pocket Hole Jig.
-
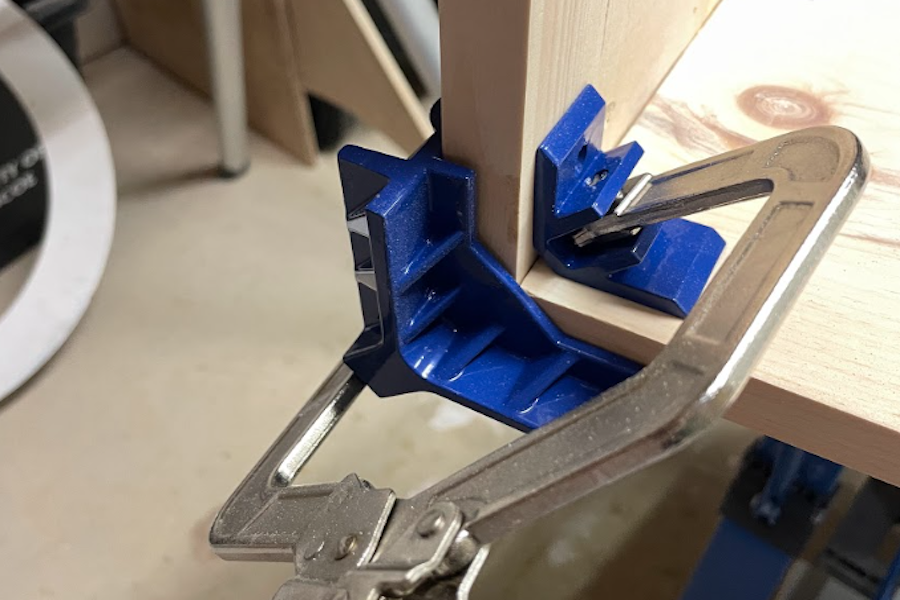
Step ten
With the pocket holes on the bottom of the bottom piece, use your Kreg Corner clamps to attach the sides with the pocket holes on the inside using wood glue and a 1 1/4” pocket hole screw.
-
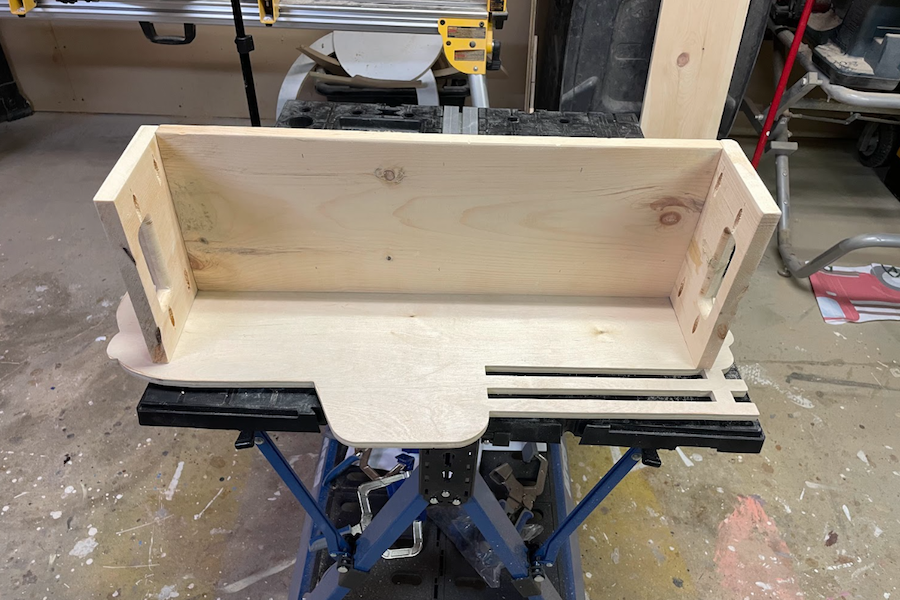
Step eleven
Once the sides and bottom are attached, line up the box along one side of your truck and clamp in place with wood glue. Attach using 1” pocket hole screws.
-
Step twelve
Repeat on the other side.
-
Step thirteen
Fill pocket holes with pocket hole plugs and wood glue. Use wood filler to cover any gaps.
-
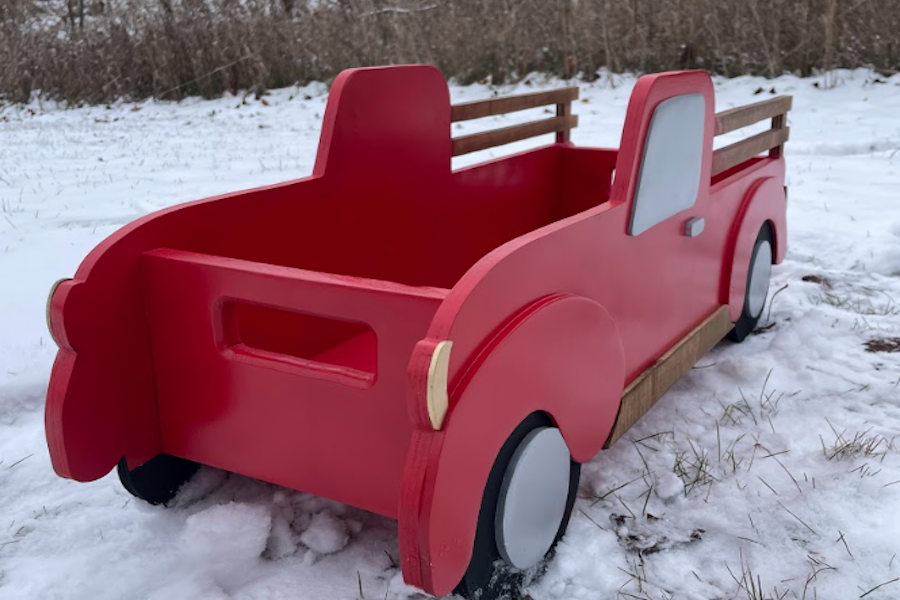
Step fourteen
After the glue has dried, you are ready to paint. You can cut out other details to make your design more 3D using 1/4” or 1/8” plywood or MDF. I chose to add windows, lights, hubcaps, a door handle and fenders. This is where your creativity can shine!
-
Step fifteen
Fill with gifts and place under your tree! Follow Lesley @oakandfeatherdecor for more DIY content!