

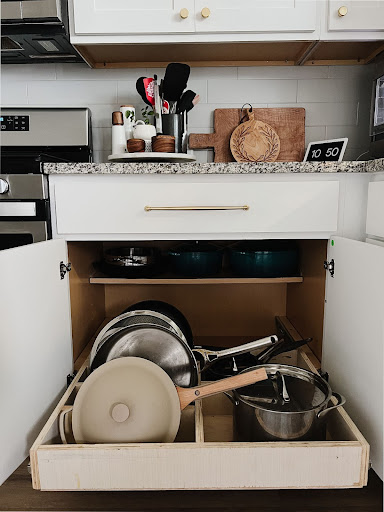


Do you need some help keeping your pots and pans organized in your cabinet? You aren’t alone! Here’s a quick and easy DIY pull-out pot and pan organizer that is beginner-friendly and a game-changer for the kitchen.
Tools
Kreg Tools


Other Tools
-
Pin Nailer

Materials
Wood Products
- 1 Quarter sheet Plywood , 3/4"
- 1 Half sheet Plywood Project Board , 1/4"
Hardware & Supplies
- 1 Pair of drawer slides
- 1 Wood glue
- 1 Box of nails for pin nailer
Directions
-
Step One: Measure + Plan
Start by measuring the cabinet and planning the size of your drawer. This will vary depending on the cabinet opening, the style of cabinet, and the drawer pulls you buy. A few things to take into account:
-Your drawer pulls will tell you how much space you need to add to account for the hardware. Mine was 1”.-If you need to add ledger boards to the side of the cabinet (I did, for a framed cabinet opening), be sure to also include the thickness of those boards when measuring your space.
-For most standard cabinets, a depth of 21” or 22” will work great for your drawer.
Tip:
*Important note: The size of your drawer will vary greatly depending on the size of your cabinet. Do not just go off of this cut list - follow directions on your drawer slides and use the measurements of your specific cabinets as you plan.

-
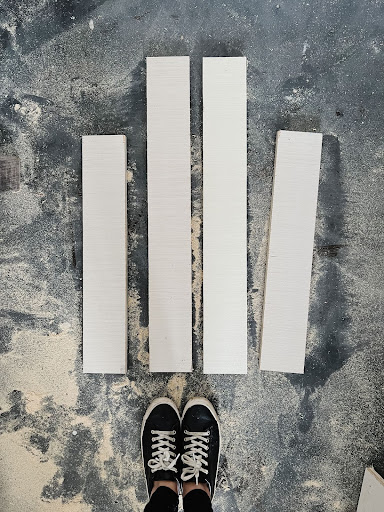
Step Two: Cut boards
After you’ve finished planning and measuring, cut the boards for your drawer. You’ll need two longer boards and two shorter boards. Be sure to consider that one side will overlap the other, so when planning your cut you should subtract the thickness of those two sides. For example, I made a 30.5” drawer and used ¾” plywood. So, I needed to subtract 1.5” from my longer side to make it 27.5”.
-
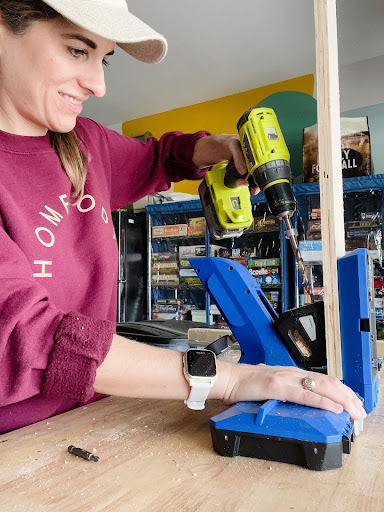
Step Three: Add pocket holes
Drill pocket holes in both sides of the two longer pieces. This is how you’ll assemble the box for the drawer.
-
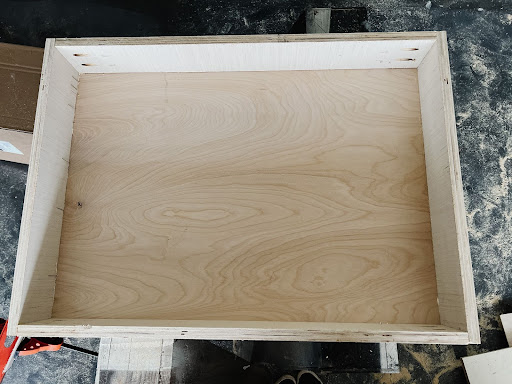
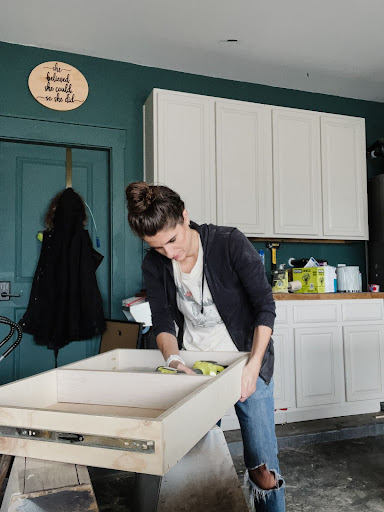
Step four: Assemble drawer
After drilling the pocket holes, use them to assemble the box for the drawer. You can use Kreg’s corner clamps to ensure everything stays square as you work.
After assembling the box of the drawer, attach your ¼” plywood bottom with wood glue and pin nails.
-
Step Five: Test Fit!
Before adding any dividers to your drawer, test the fit of the drawer in your cabinet. Install the drawer slides in the cabinet and on your drawer, then slide the drawer into place to ensure it fits. If necessary, you can use 2x2 wood to create a ledger board on each side of the cabinet - this will give you something to mount the drawer slides to and help push them out far enough to allow for clearance past the frame of the cabinet and the hinges.
-
Step Six: Add dividers
Finally, you’re ready to plan the organization for your pull out drawer. Test fit your pots and pans in the drawer before installing anything, then use the leftover plywood to cut strips of wood to divide the drawer into sections.
You can use pocket holes to install these dividers - just don’t add wood glue, in case you want to change things up down the line!
-
Step Seven: Put in place and add pots and pans
Once your dividers are installed, you’re ready to put the drawer in place and fill it up!
I found it worked best to install my pans on their side so they stand up - it takes up less space and is less likely to move around a lot.