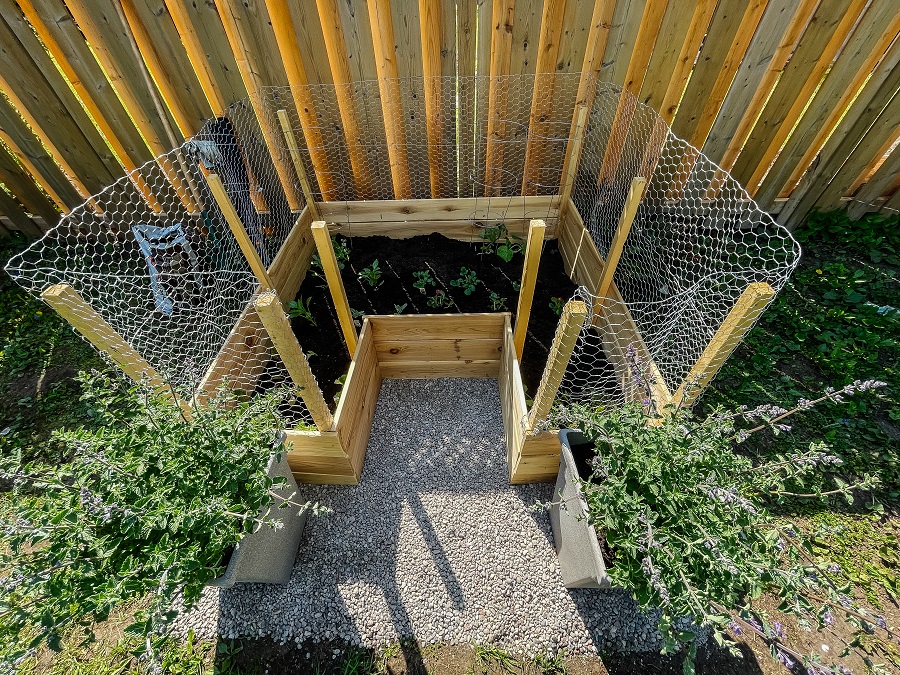
How To Build a Raised Garden Bed – DIY Raised Garden Bed
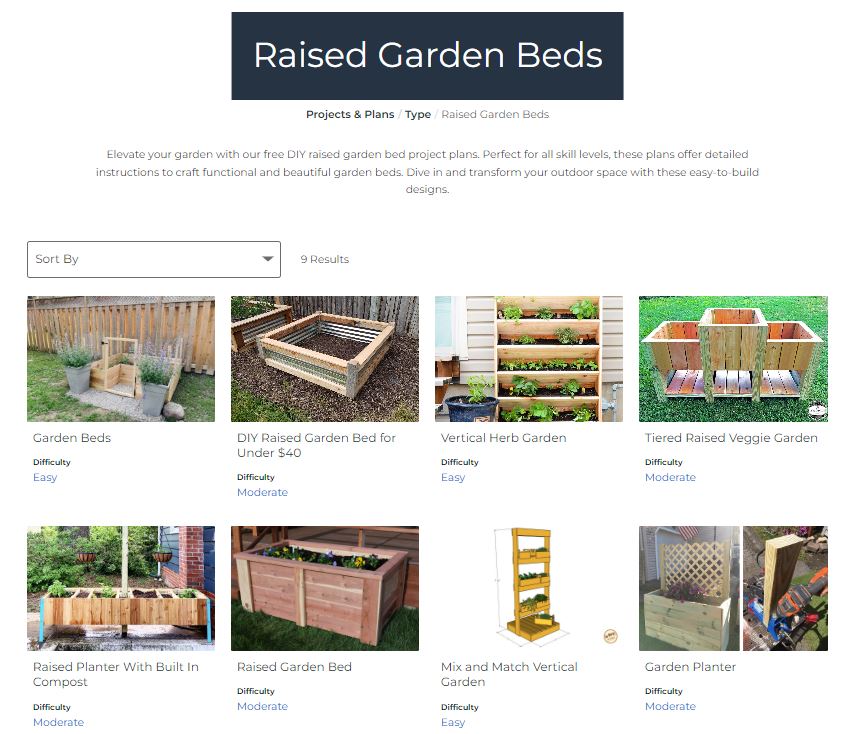
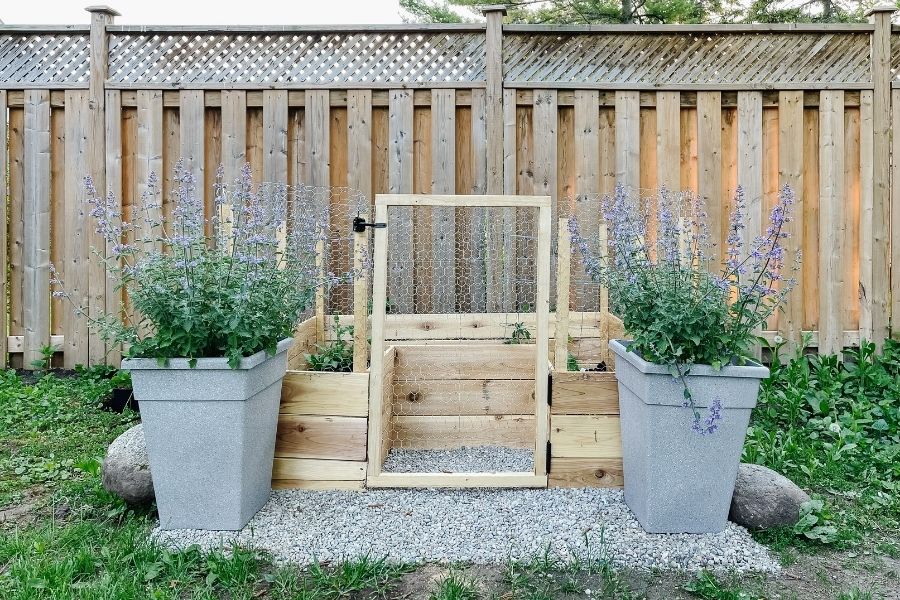
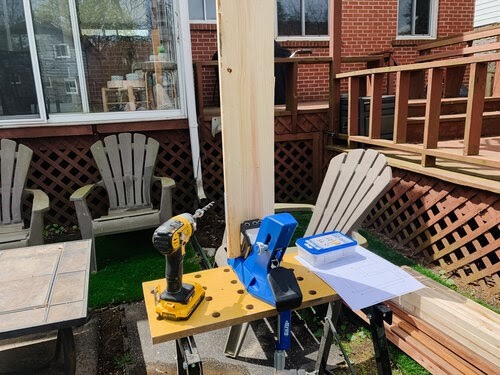
By The Learner ObserverI’ve wanted to have a garden bed for so long, and though we tried a small veggie garden last year, the bunnies and squirrels got to every single fruit and vegetable we planted! This year I decided to up my game with a proper garden bed and my trusty Kreg Pocket-Hole Jig® 720PRO.
Directions
-
Step 1. Cut wood.
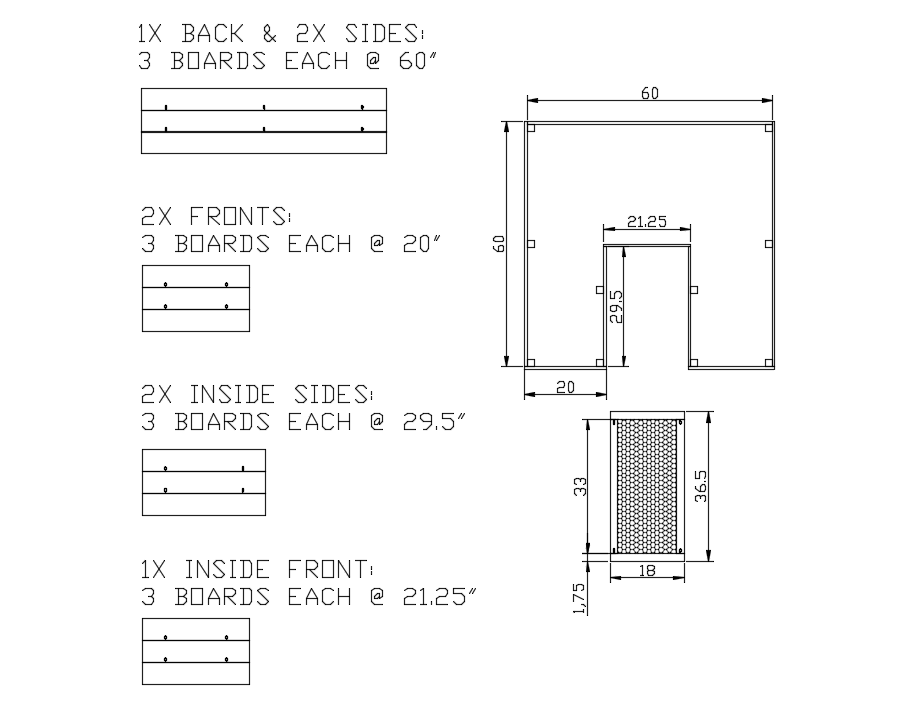
Cut all of your pieces down according to the cut list.
-
Step 2. Drill pocket holes
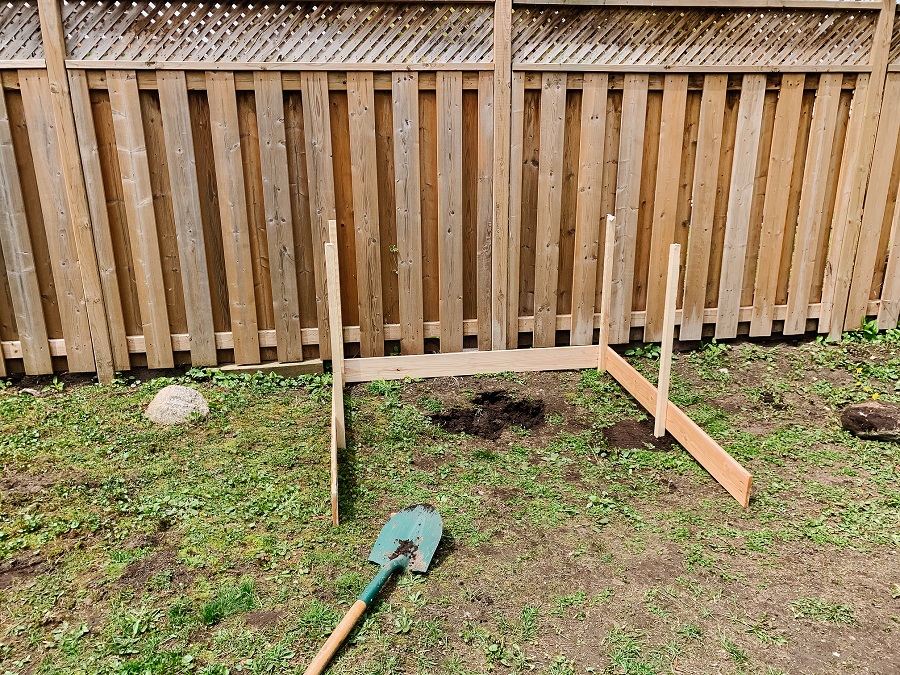
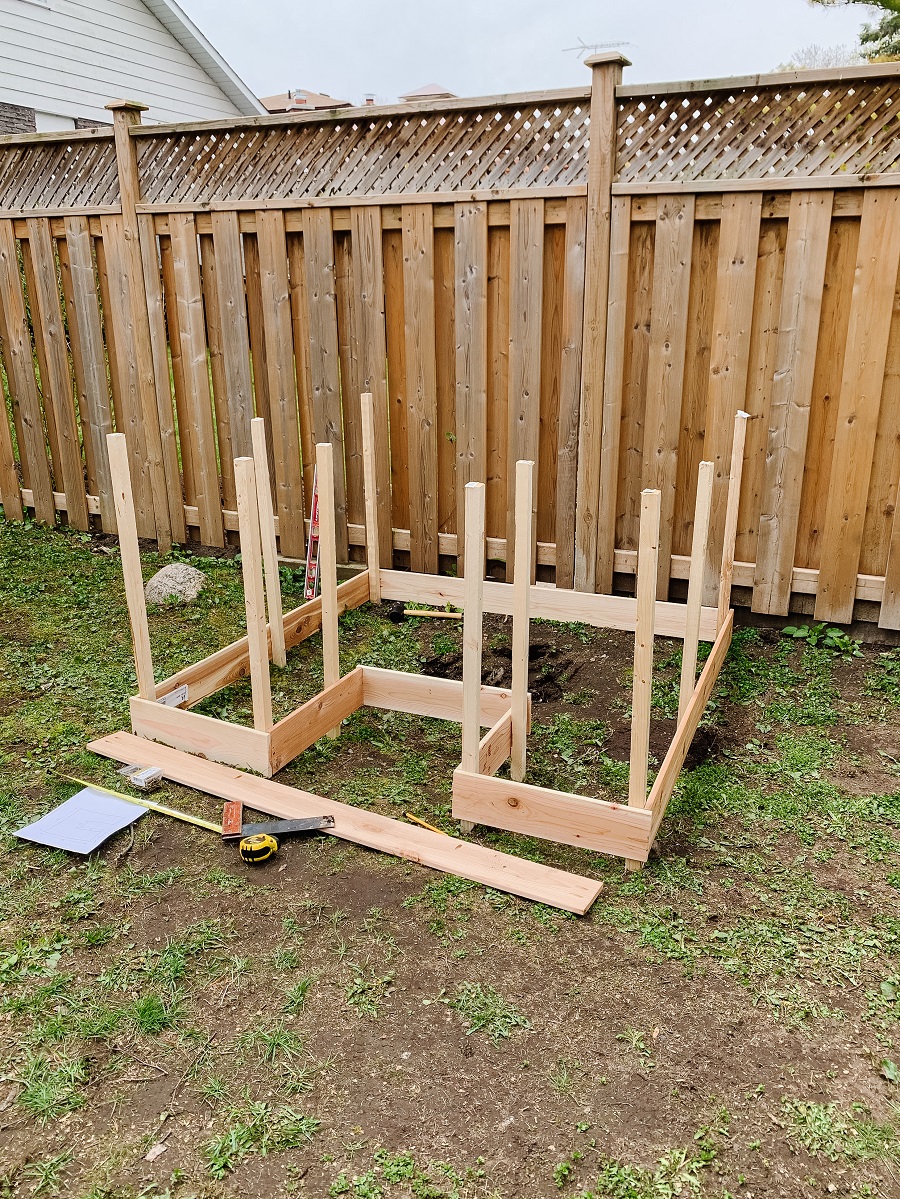
Once all of the pieces were cut and pocket holes were in place (you’ll notice I originally had pocket holes in the ‘corners’ as well, but ultimately found them not to be necessary because of the landscaping stakes that the fence boards could be screwed into) we placed them where the garden was going to go and added in the stakes.
-
Step 3. Lay out your garden bed design.
Start laying out your cut and pocket-holed boards in the shape of your bed. Attach them to garden posts at each corner.
-
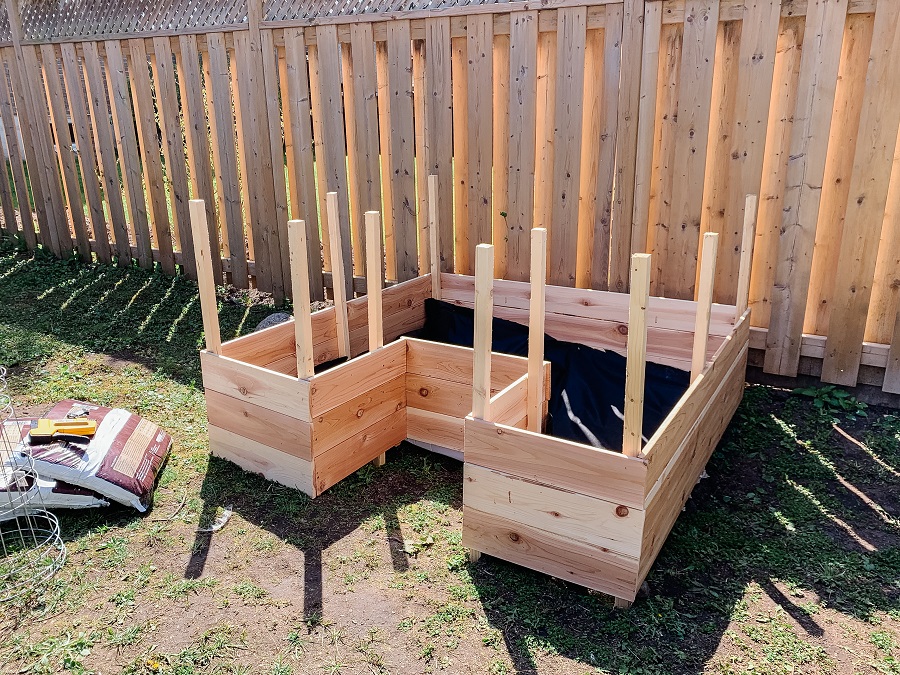
Step 4. Pocket screw the boards together
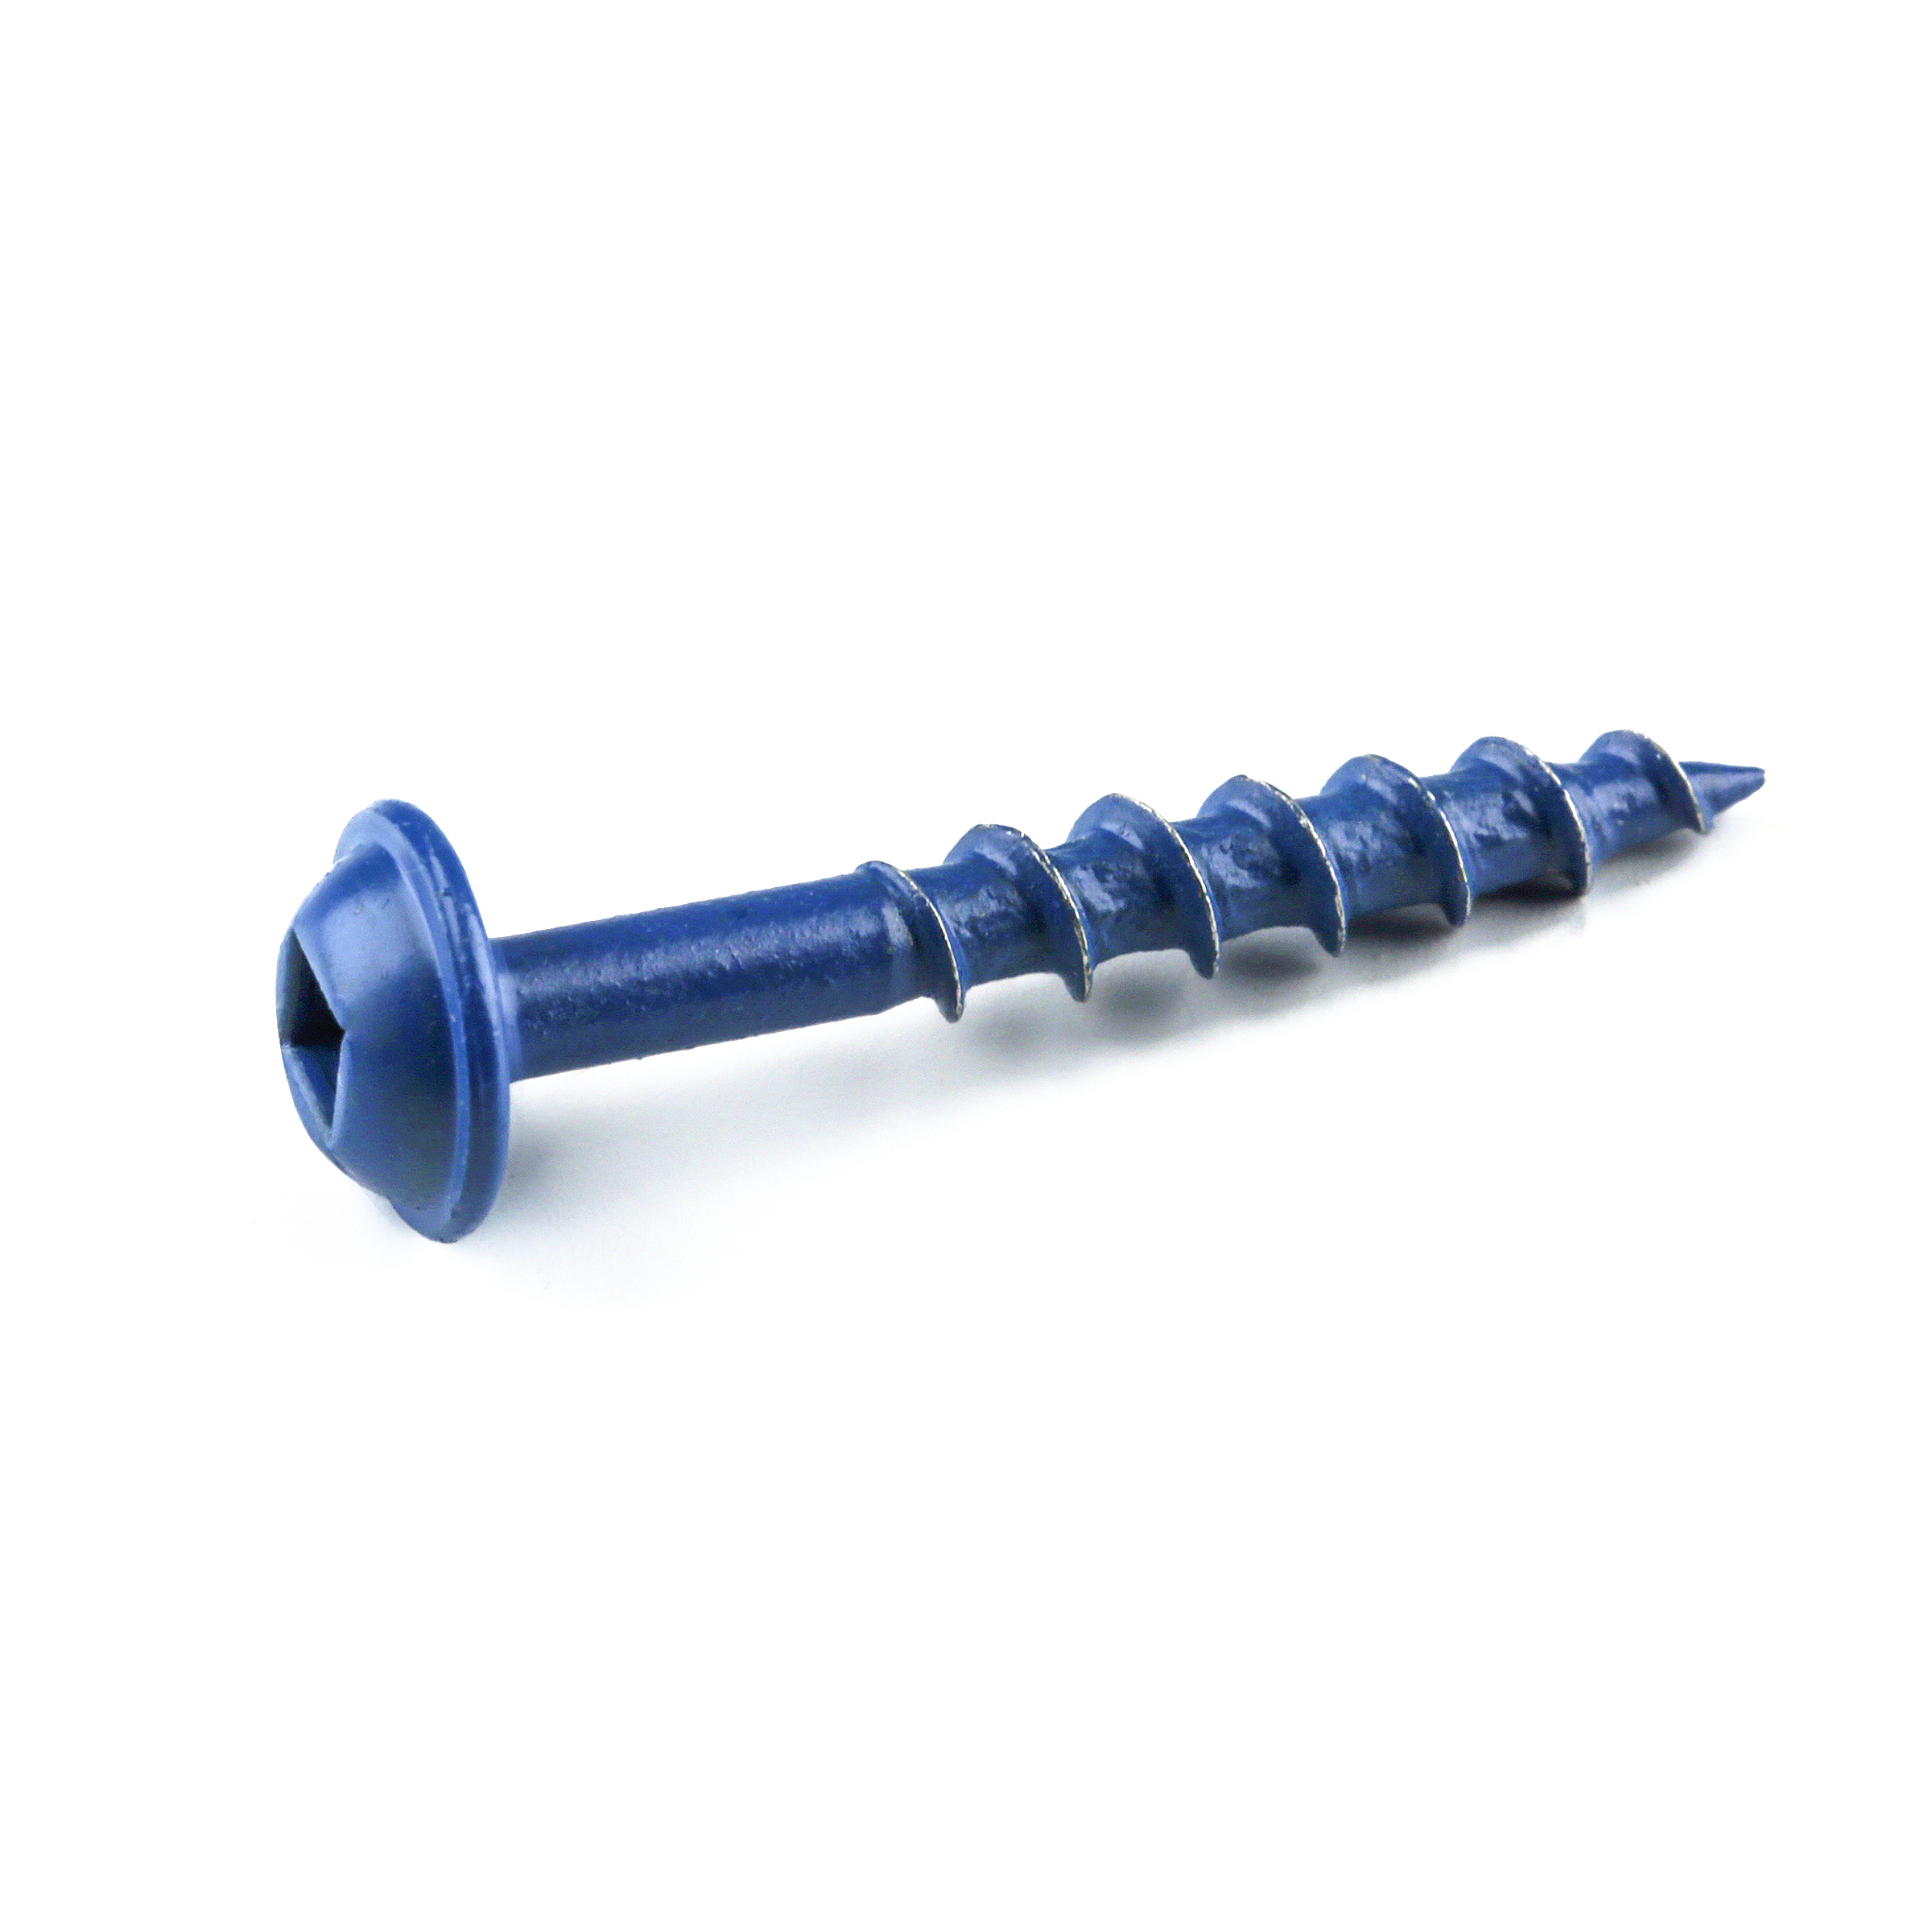
Join your boards together appropriately using Kreg screws.
-
Step 5. Add limestone screening and pea gravel
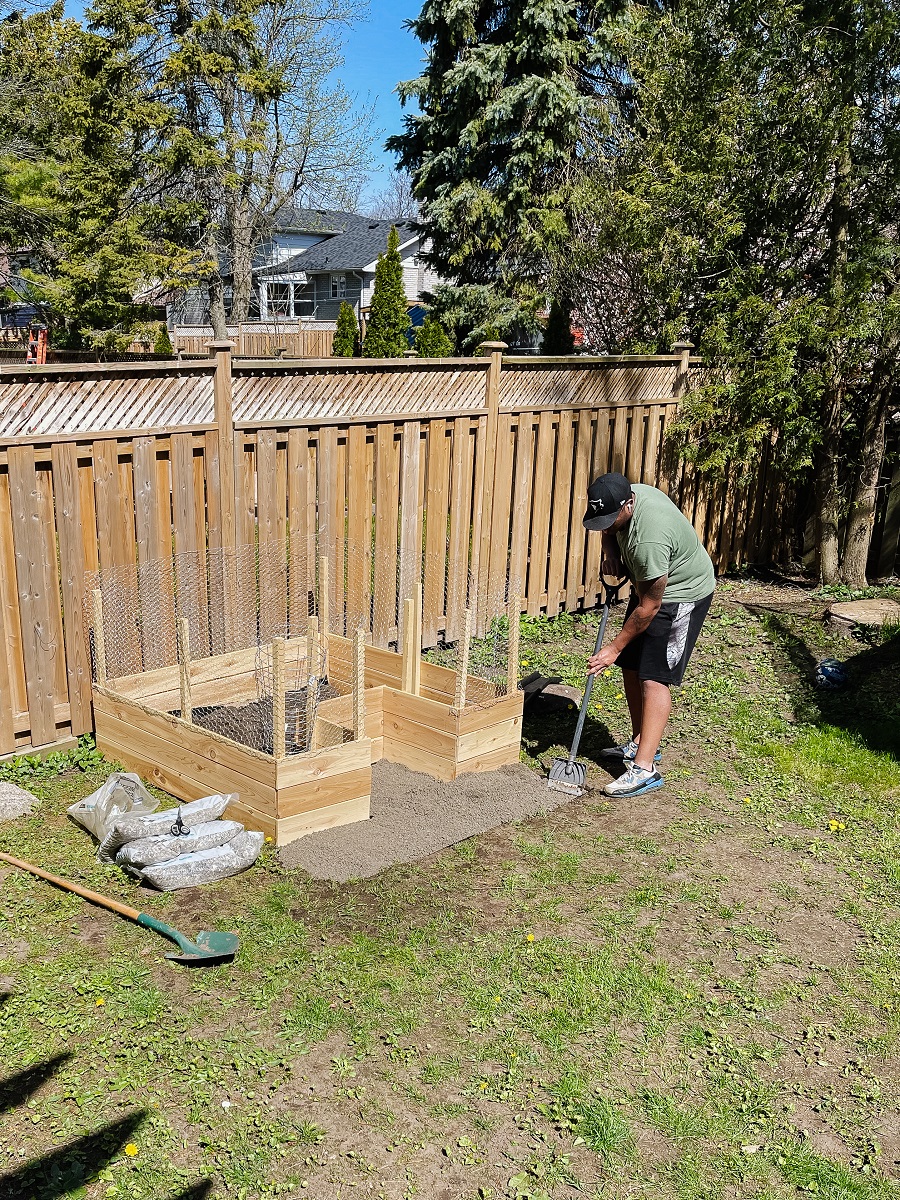
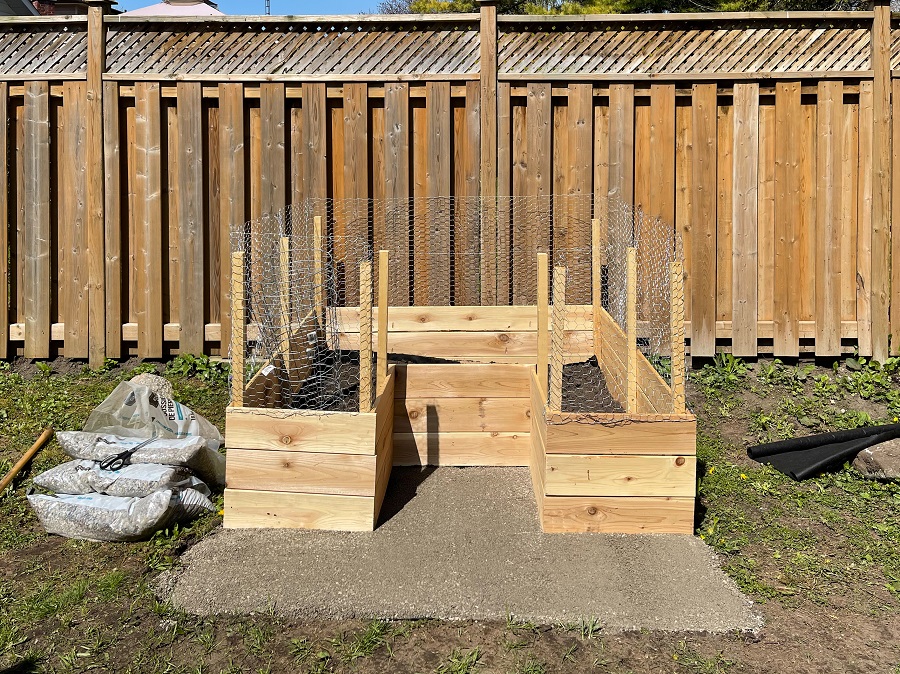
Before filling your beds with dirt, add limestone screening and pea gravel.
-
Step 6. Fill in the beds with dirt
Fill your beds with the desired amount of dirt.
-
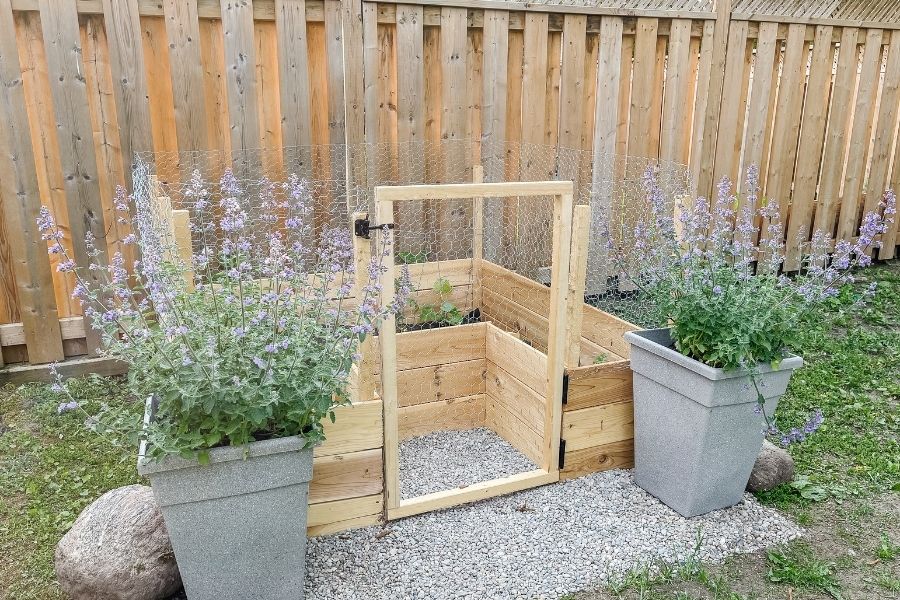
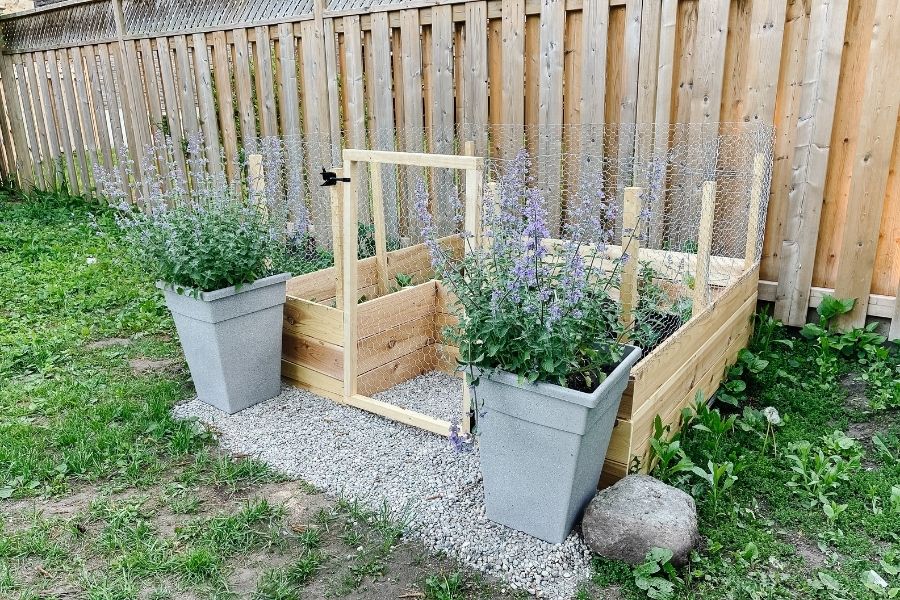
Step 7. Add chicken wire
With everything in place, add chicken wire around the whole thing. The whole height of this is roughly 39” with the chicken wire, but 36” to the stakes only.
-
Step 8. Make a gate
Lastly, I made a gate to keep the bunnies and squirrels away from my strawberries, and it was super simple - literally a rectangle with chicken wire stapled around it! I added hinges and a gate latch, and voila! I also cut the stakes on the inside down so they don’t get in the way when we’re tending to the plants.
Instagram
thelearnerobserver.com
Be sure to check out our top 9 garden bed plans for all skill levels:
