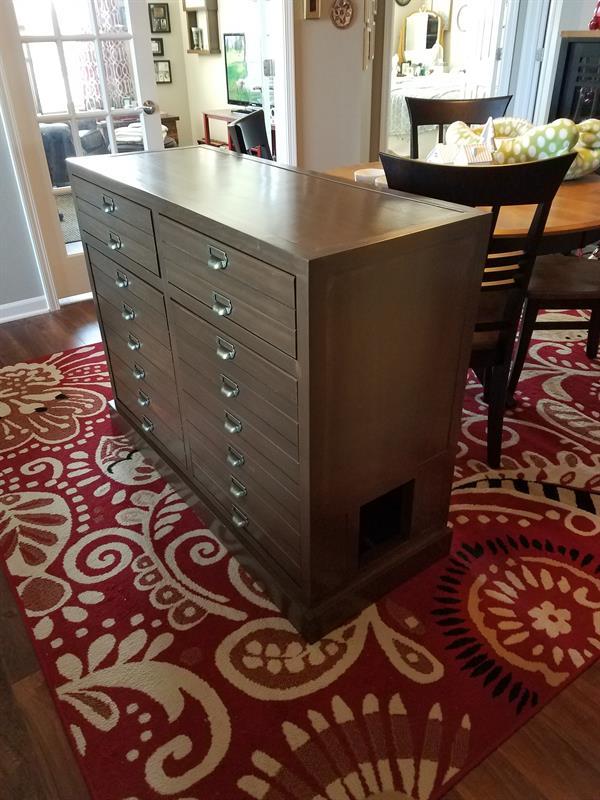
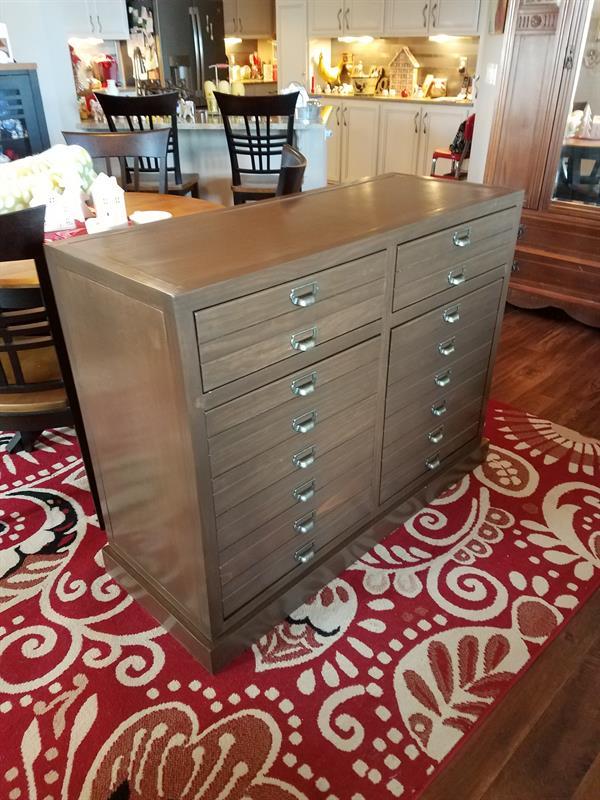
Printers Cabinet Cat Litter Box Enclosure
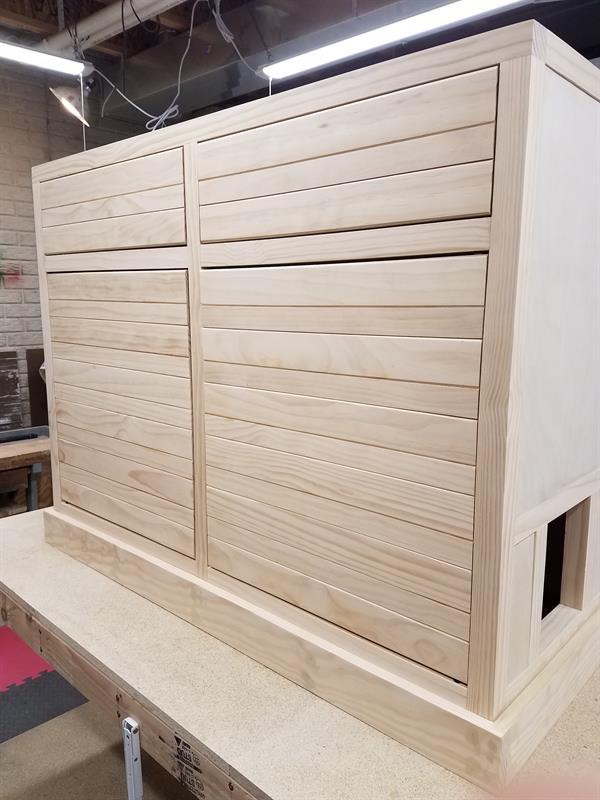
By 1frostCat litter box enclosure that is an attractive piece of furniture for any home.
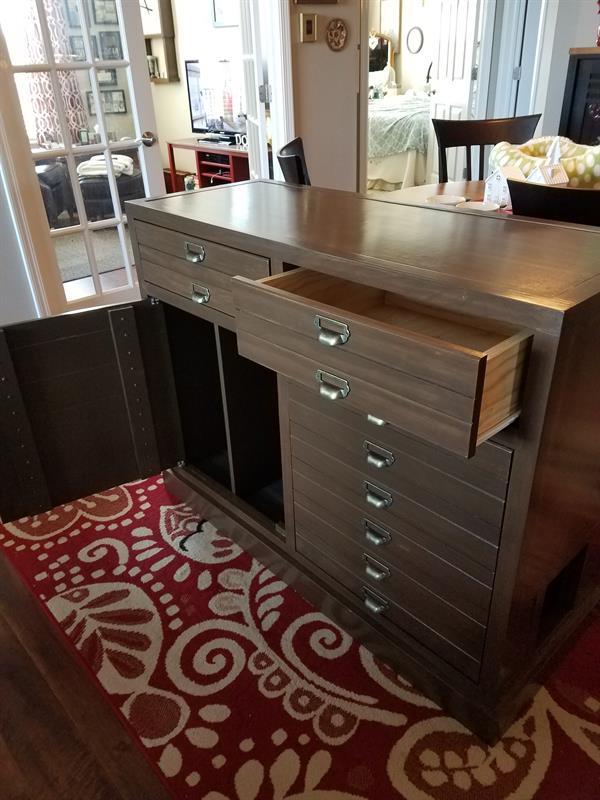
Provides space for the litter box and for storage of litter and other supplies.
Enclosed base so that kitty litter does not get underneath. This is an Ana White modified design.
Directions
-
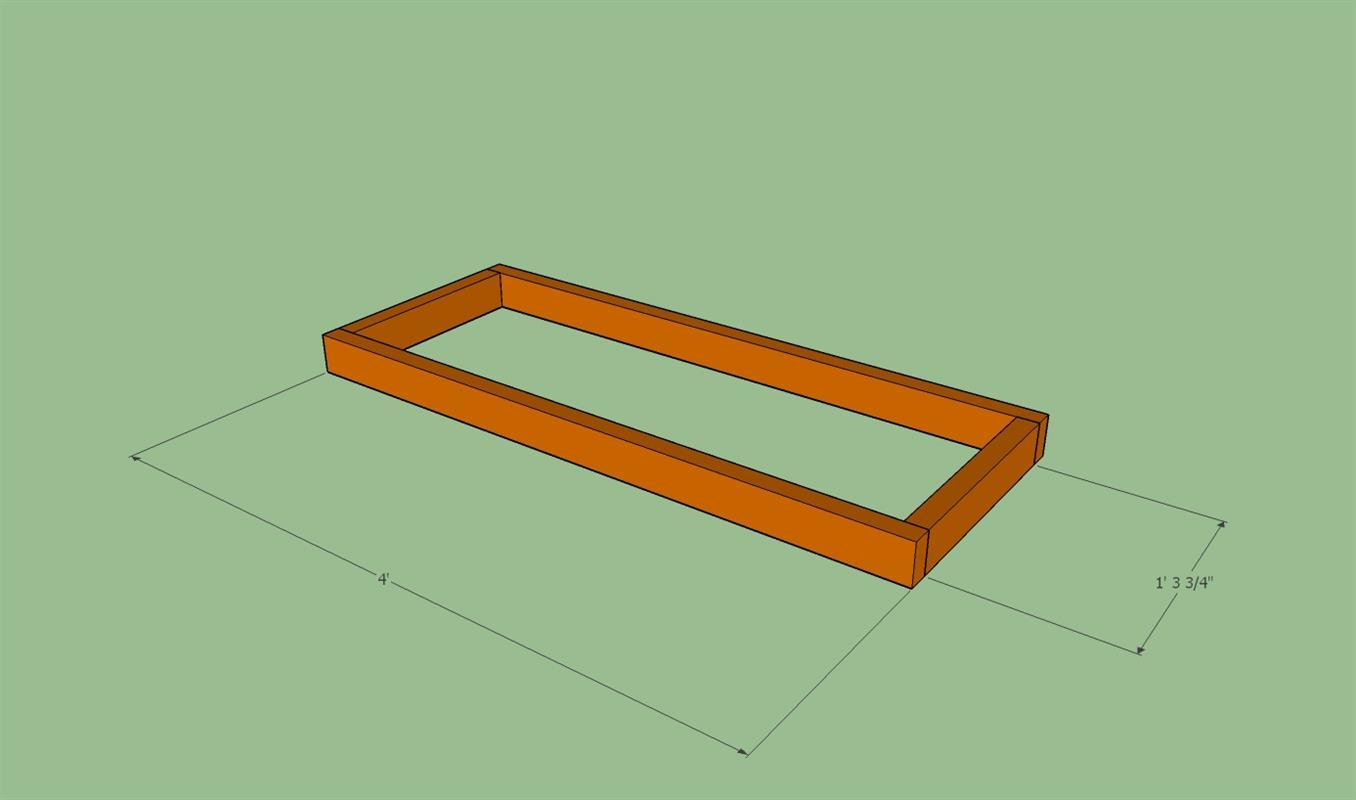
Construct the base
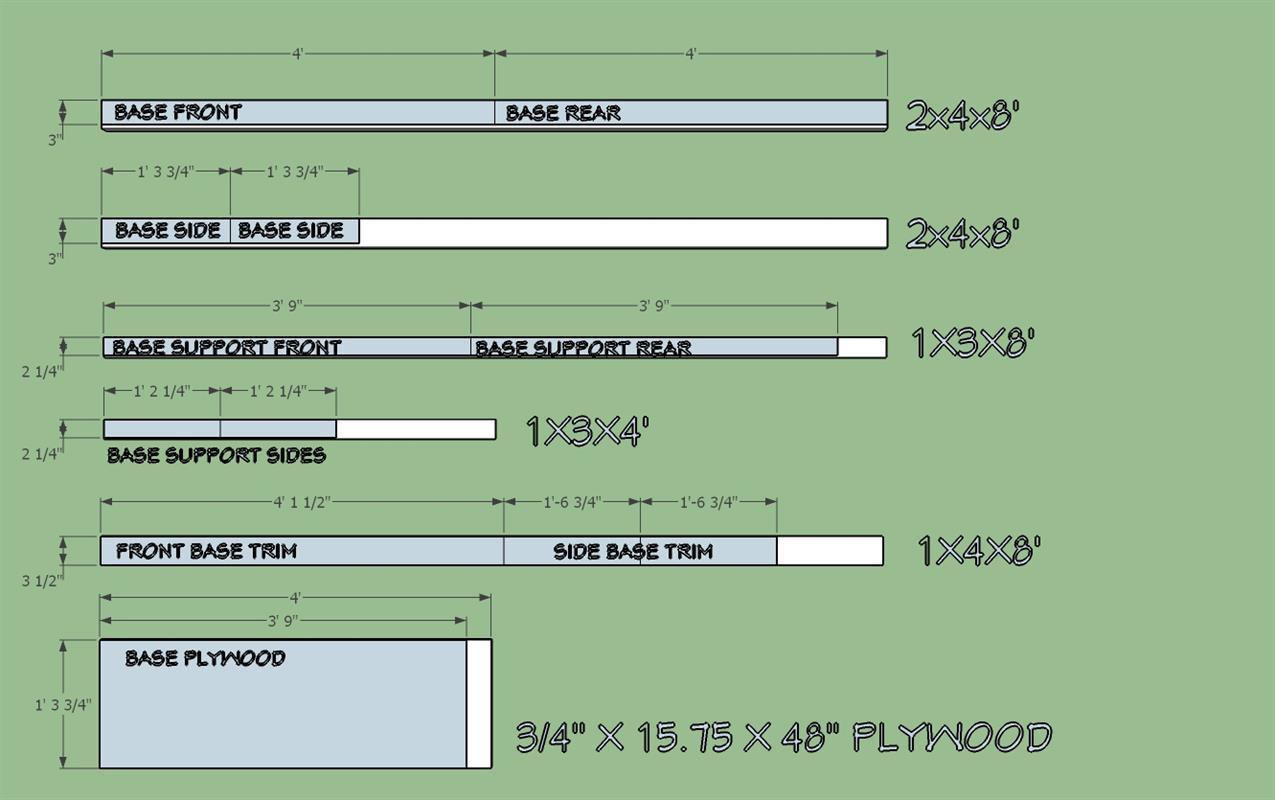
Join the base pieces with 2 1/2" pocket hole screws
-
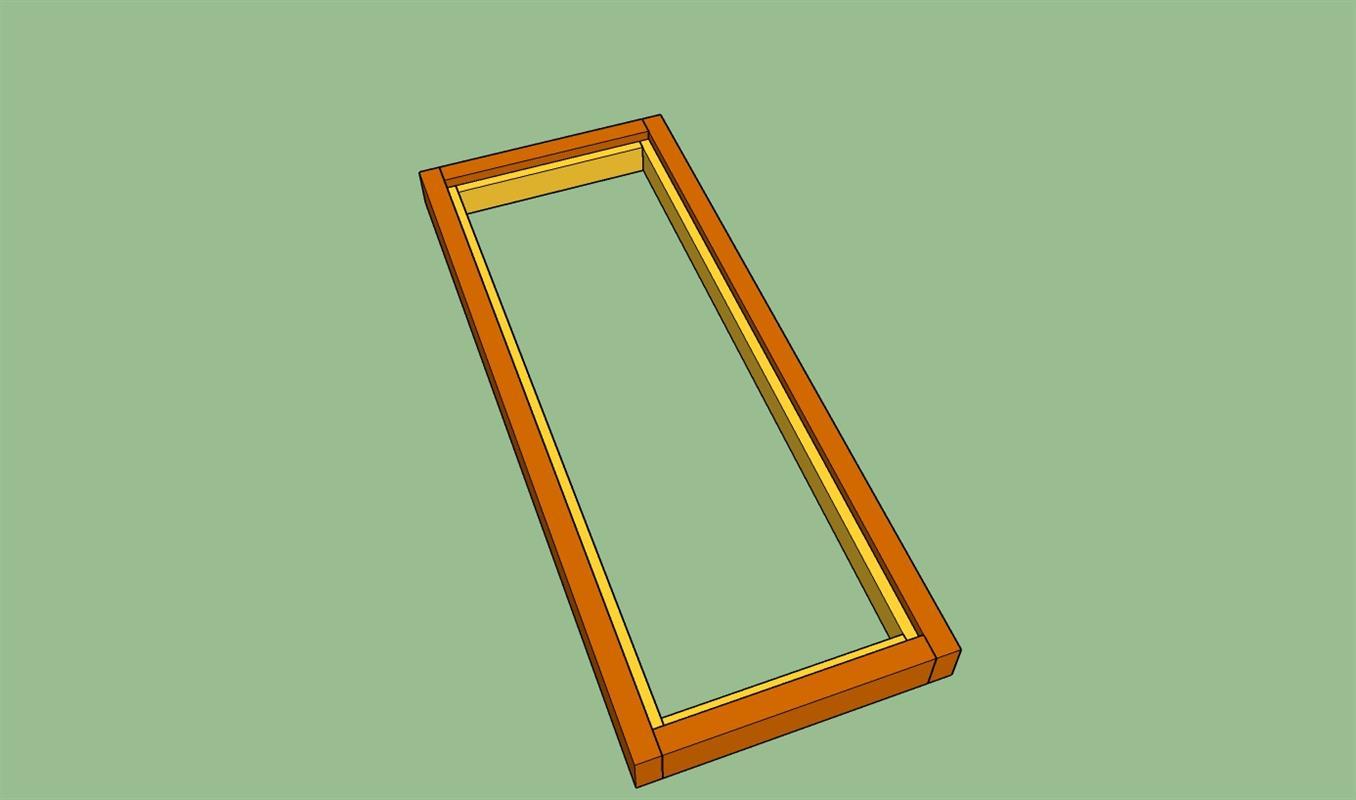
Add the plywood supports
Install the (4) plywood supports on the 2x4 base. Glue and attach with
1 1/2" nails with your nail gun. -
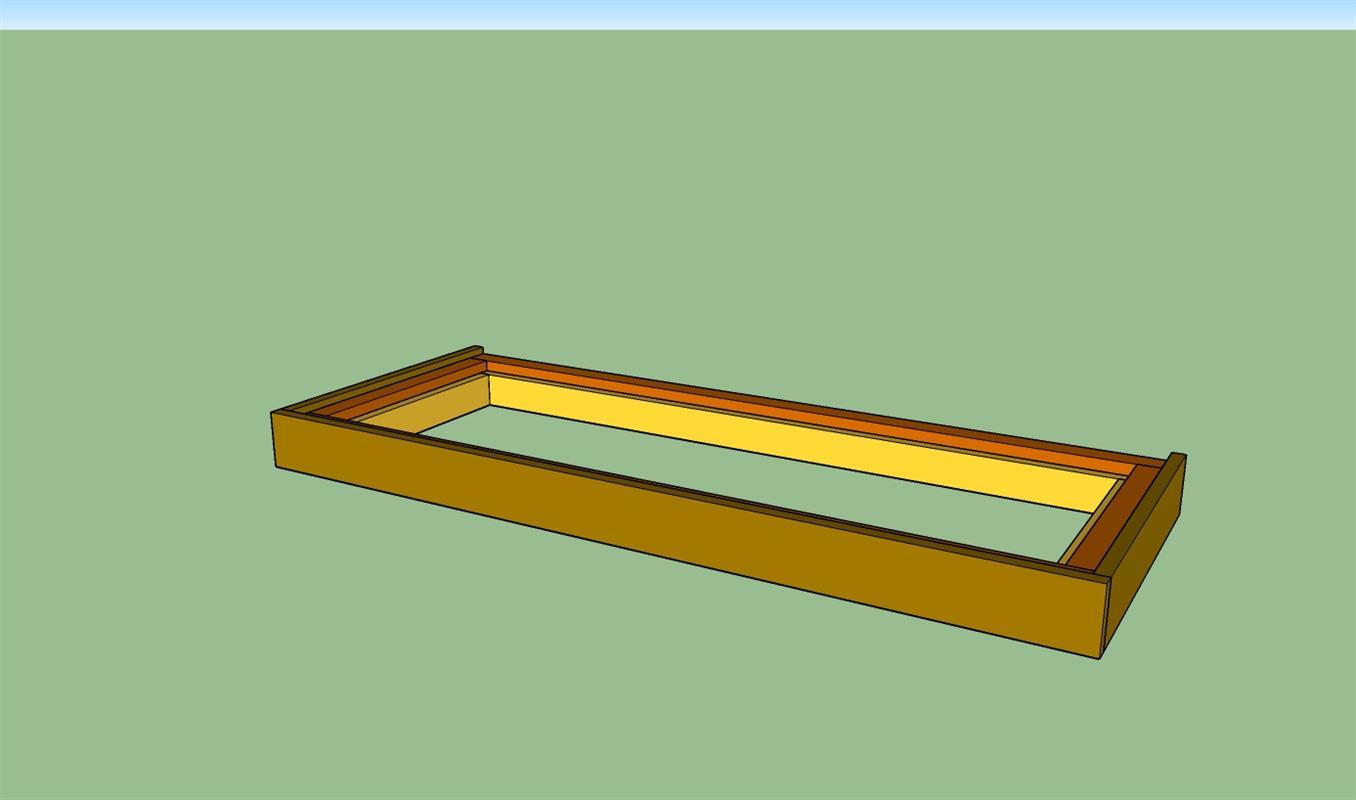
Install the base trim
Add the base trim to the base assembly. Glue and attach with
1 1/2" nails with your nail gun. -
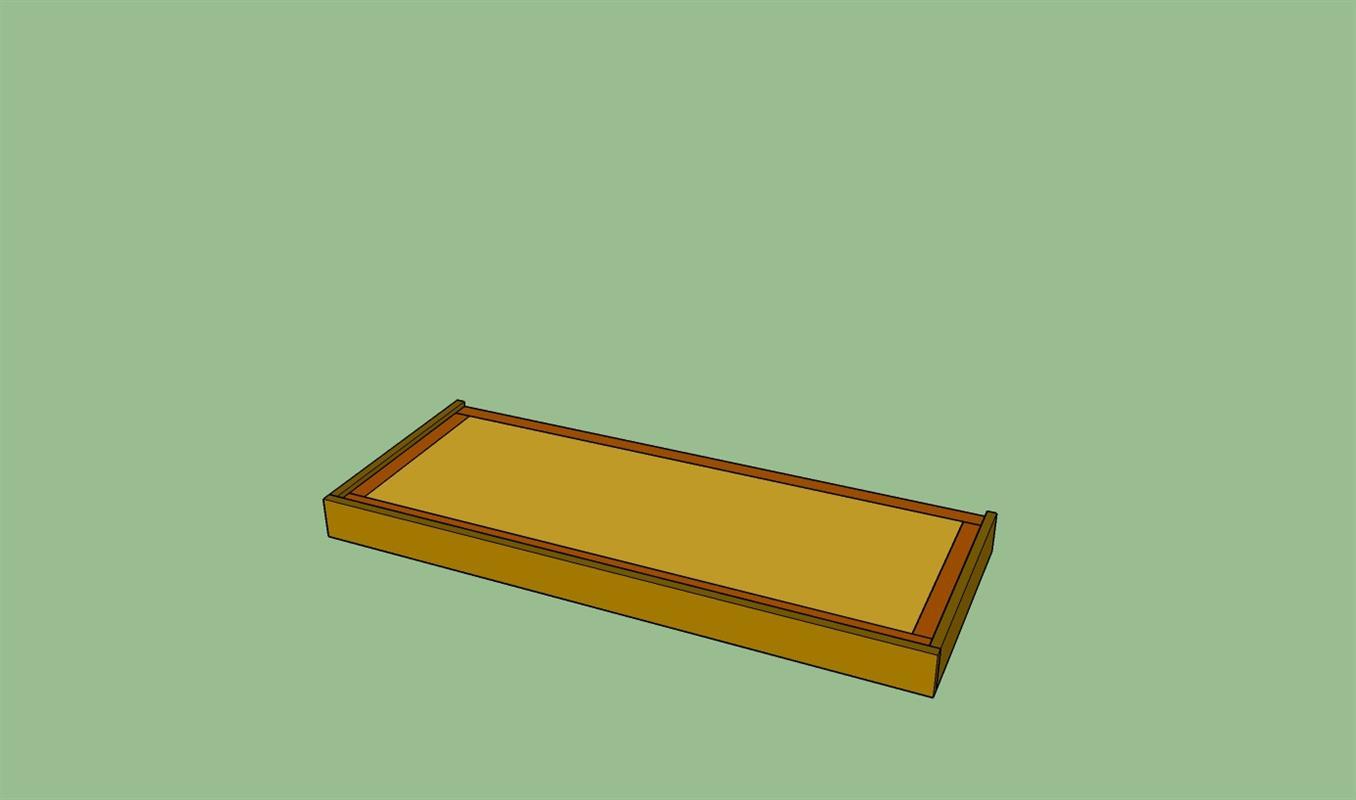
Install the bottom shelf
Install the 3/4" plywood bottom shelf. Glue and attach with
1 1/2" nails with your nail gun. -
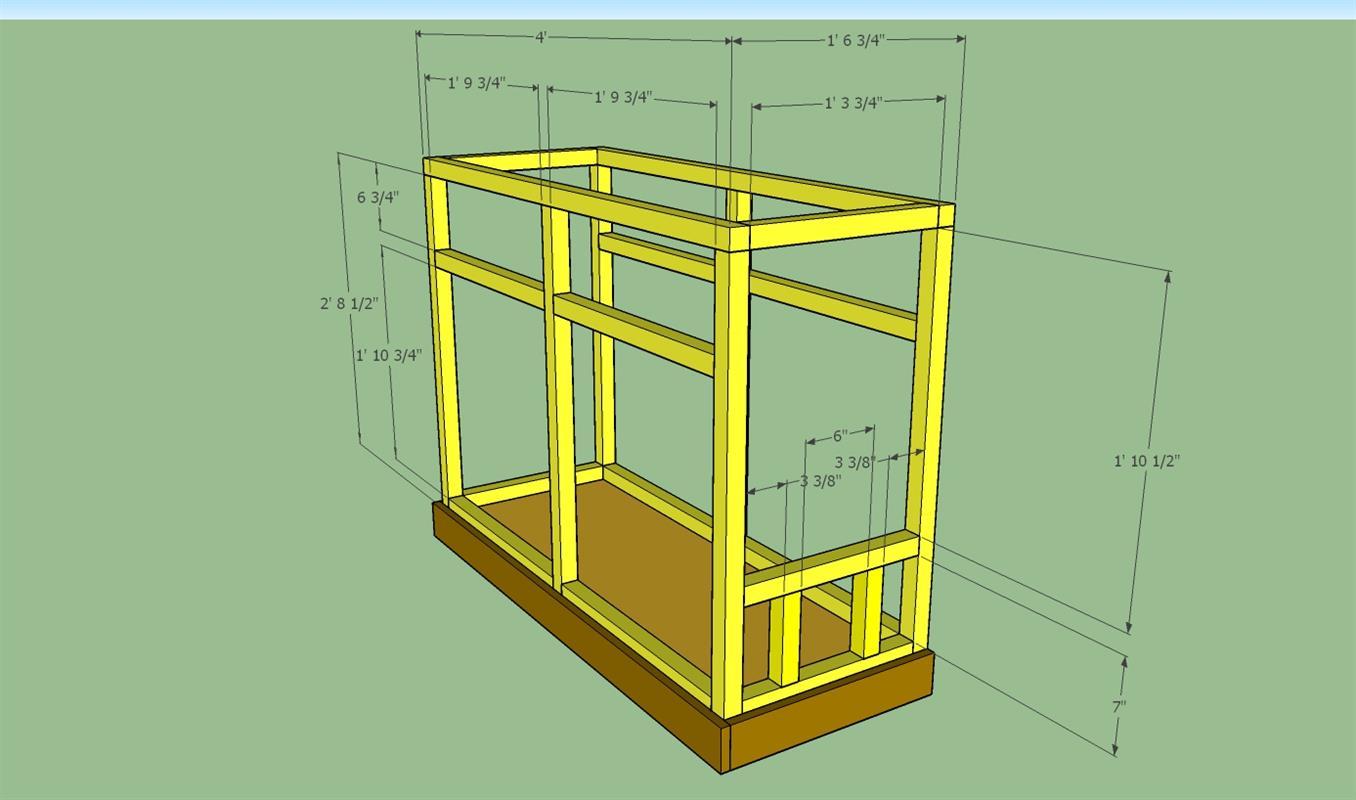
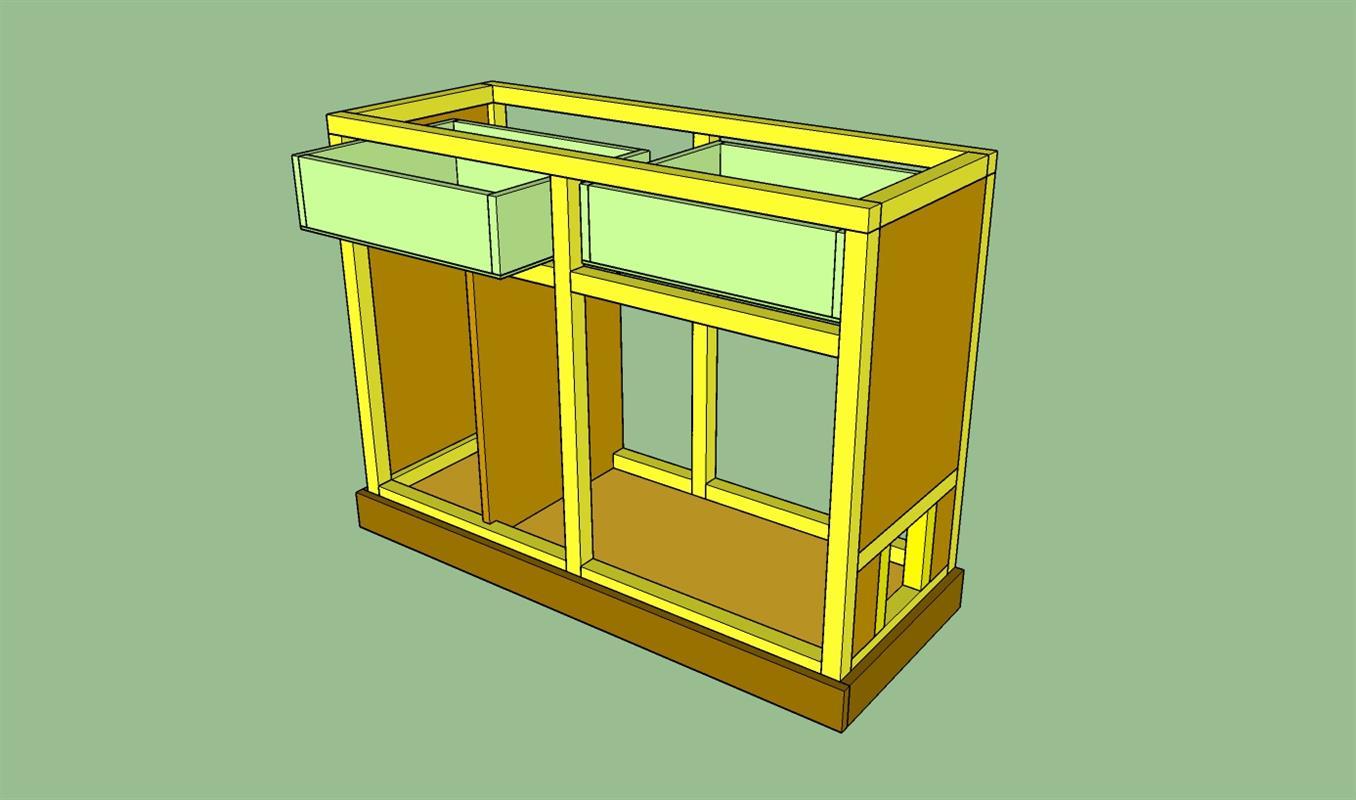
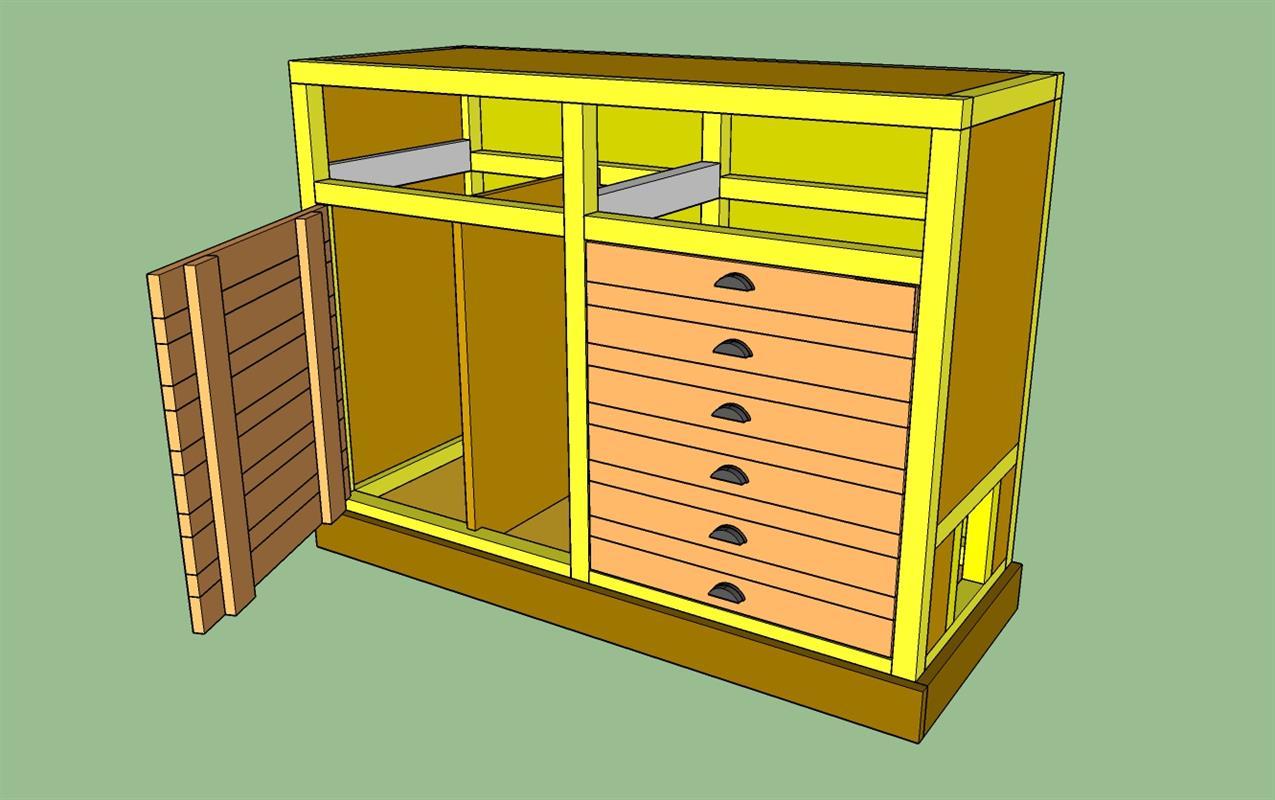
Construct the cabinet frame
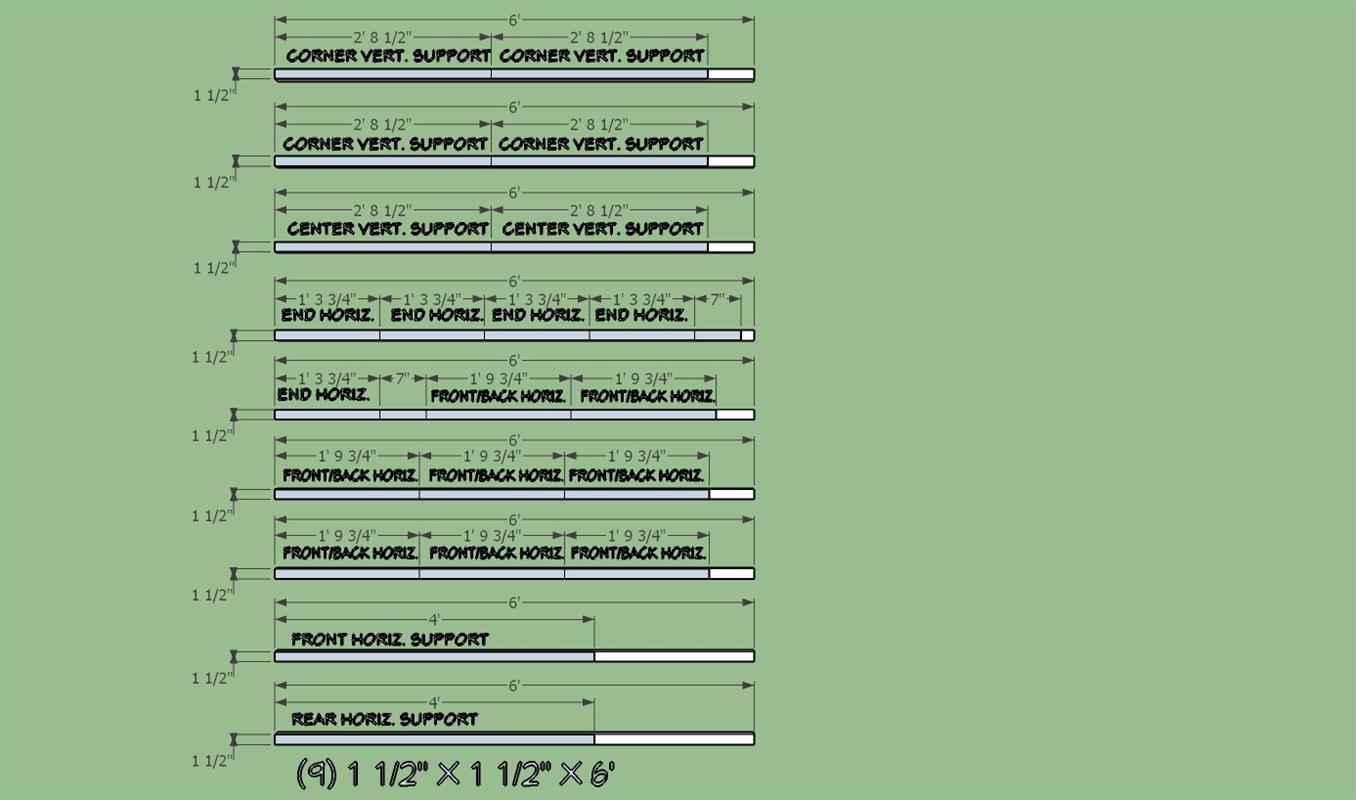
Construct the cabinet frame as shown utilizing 2 1/2" pocket hole screws.
Locate pocket holes on the bottom or towards the inside surfaces so that they are less visible when the doors are open. Attache the frame to the base assembly with 3 1/2" screws.
If you do not need a litter box enclosure, eliminate the framing for the opening on the right-hand side and install plywood the full width and height as on the left-hand side. -
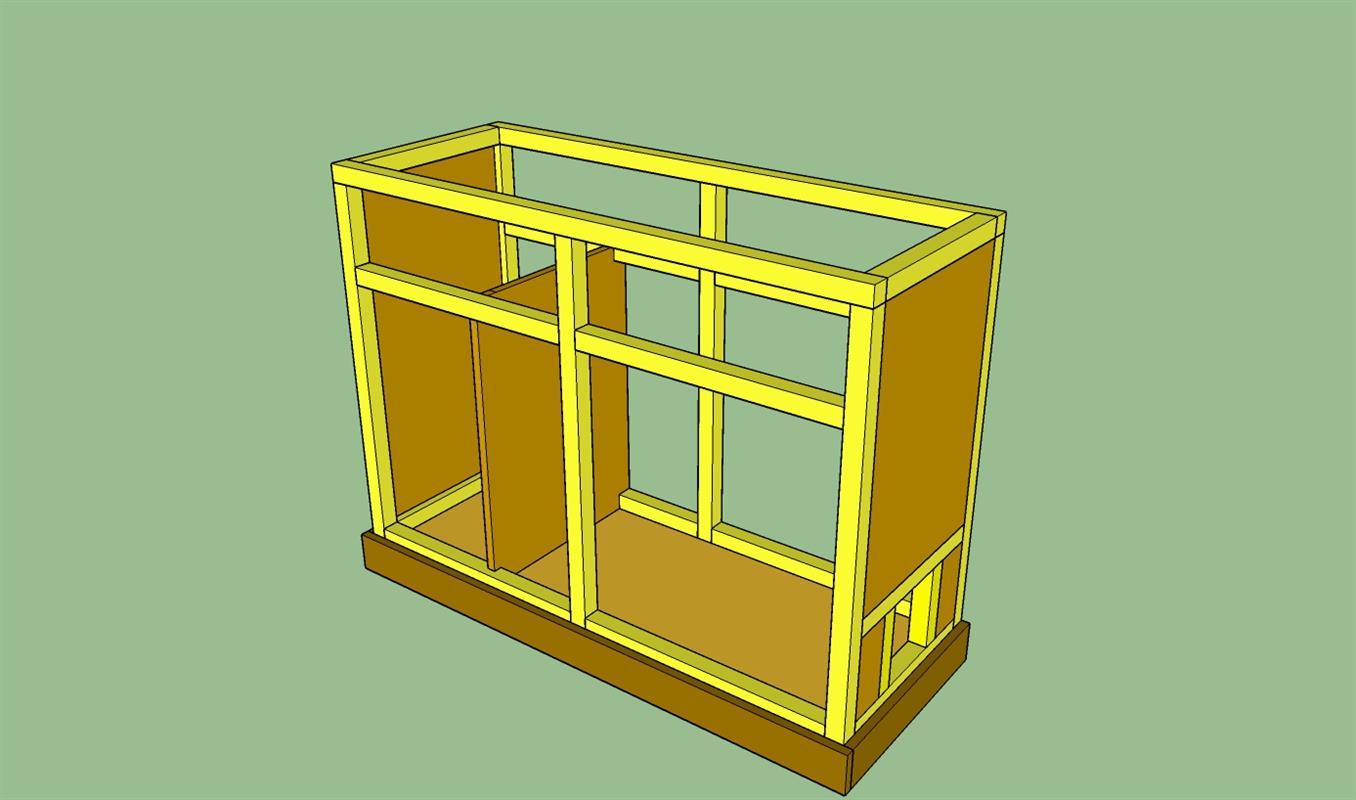
Install the side plywood
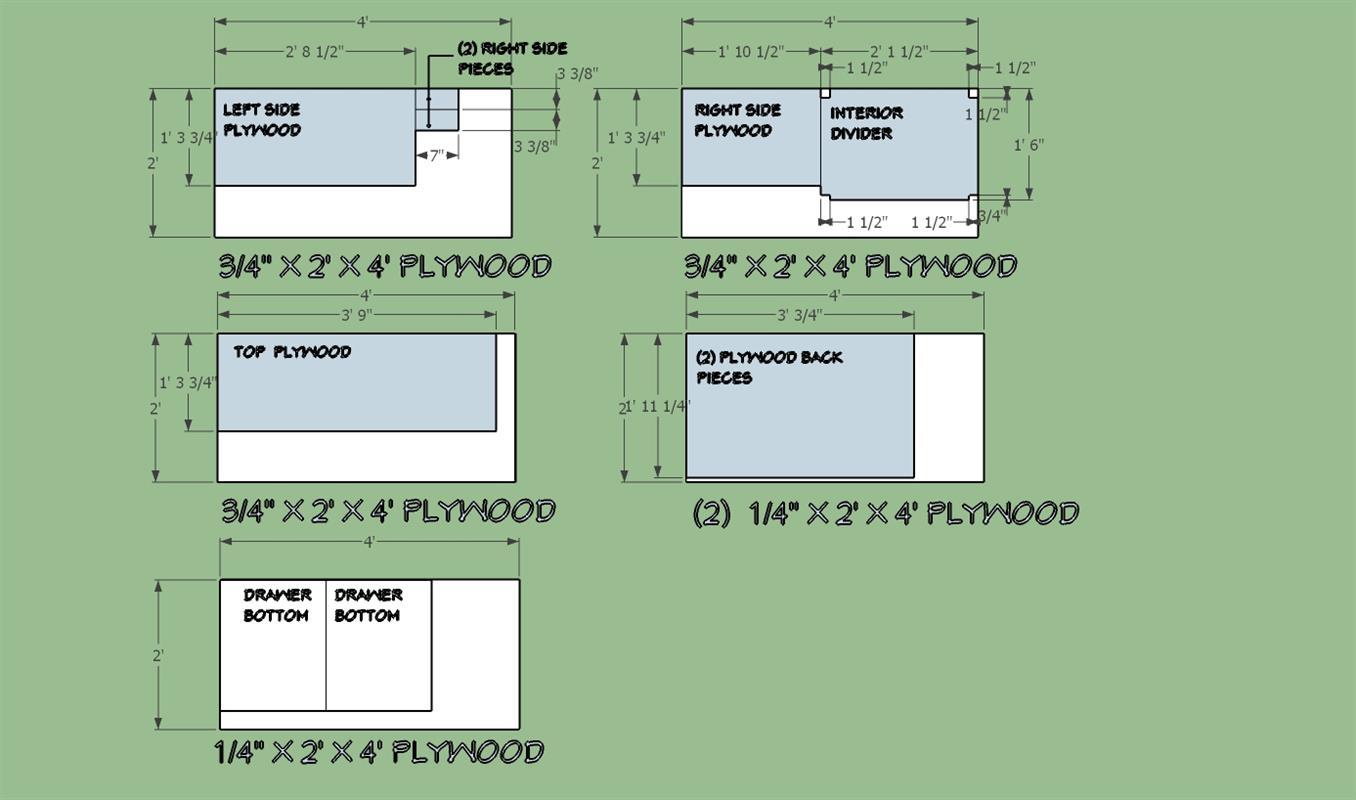
Install the side plywood utilizing 1 1/4" pocket hole screws. Space screws at approx. 8" o.c. around the perimeter.
You can eliminate the interior plywood divider if you are not going to use this as a litter box. -
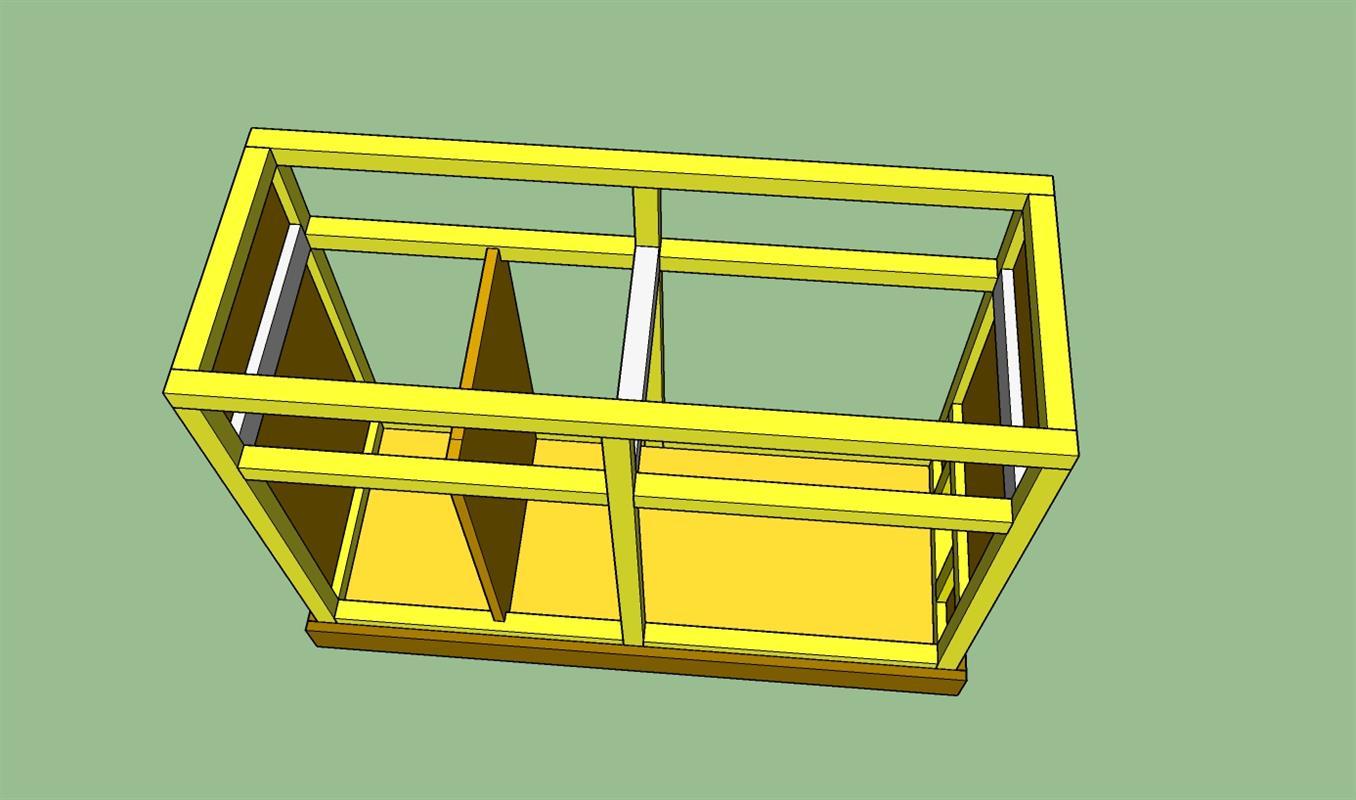
Install the drawer slide supports
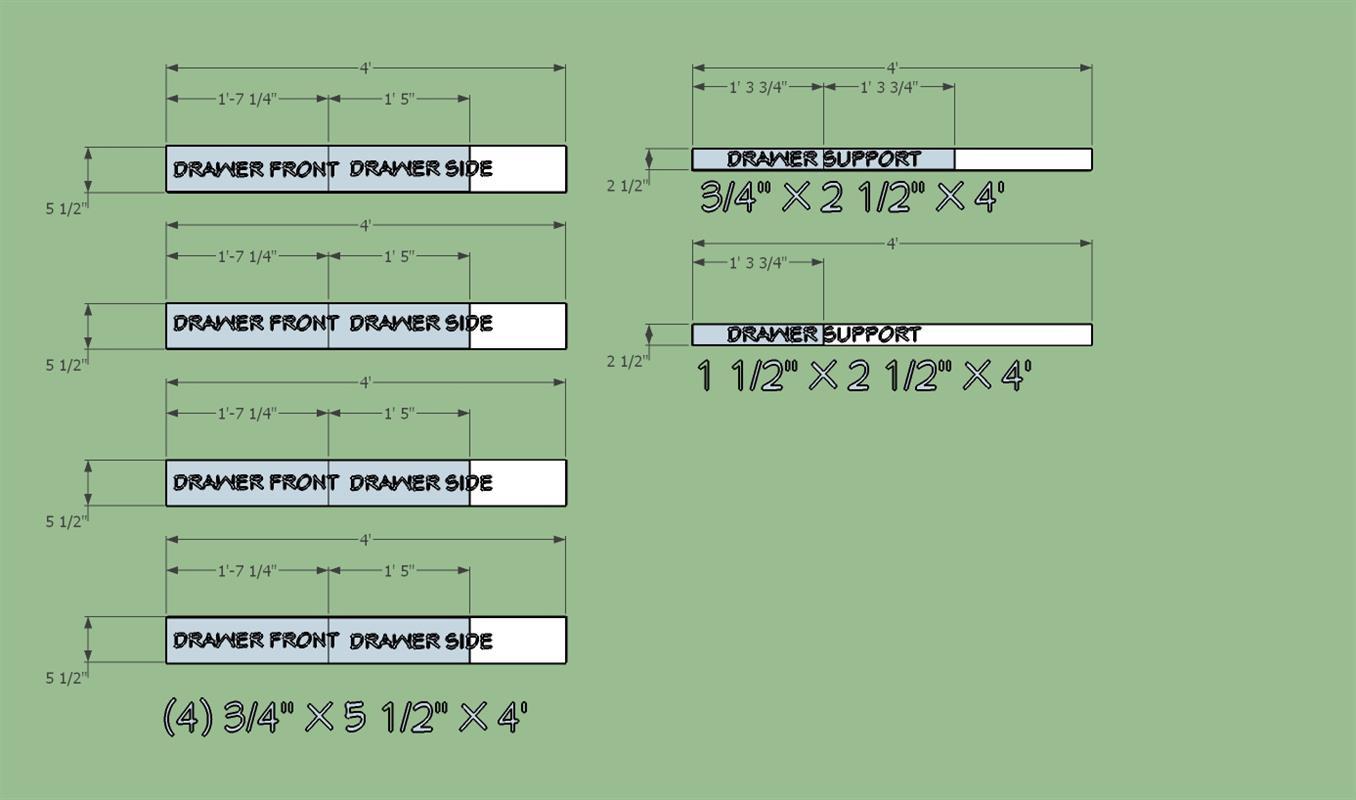
Install the 1x3 and 2x3 slide supports as shown. Utilize 1 1/4" pocket hole screws on each end of the boards
-
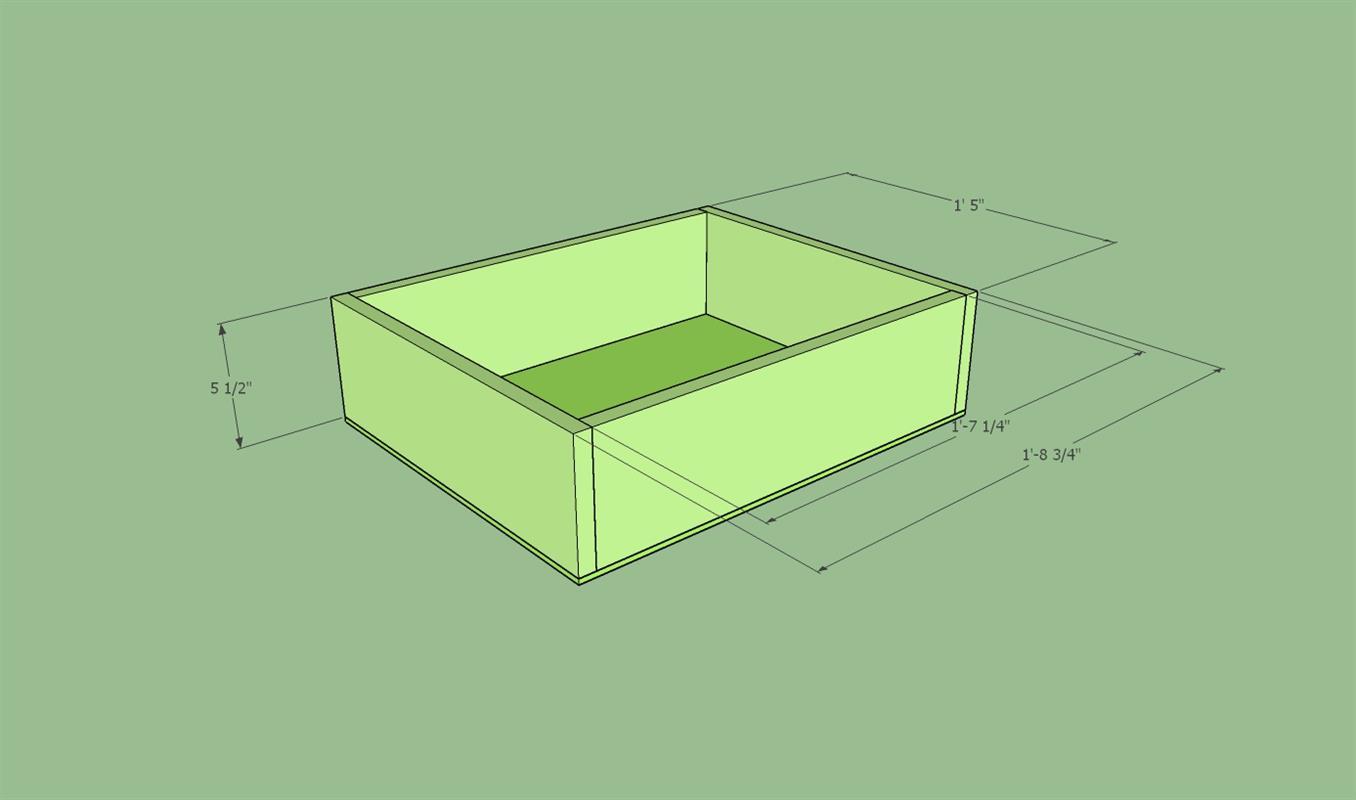
Construct the drawer boxes
Construct the drawer boxes as shown. Use 1 1/4" pocket holes on the front and back pieces. The will eliminate the visibility of the pocket holes.
-
Install the drawers
Install the drawer slides as per mfg installation instruction. Install the drawers to verify correct operation of the drawers. Slides to be installed to allow 3/4" drawer front inset.
-
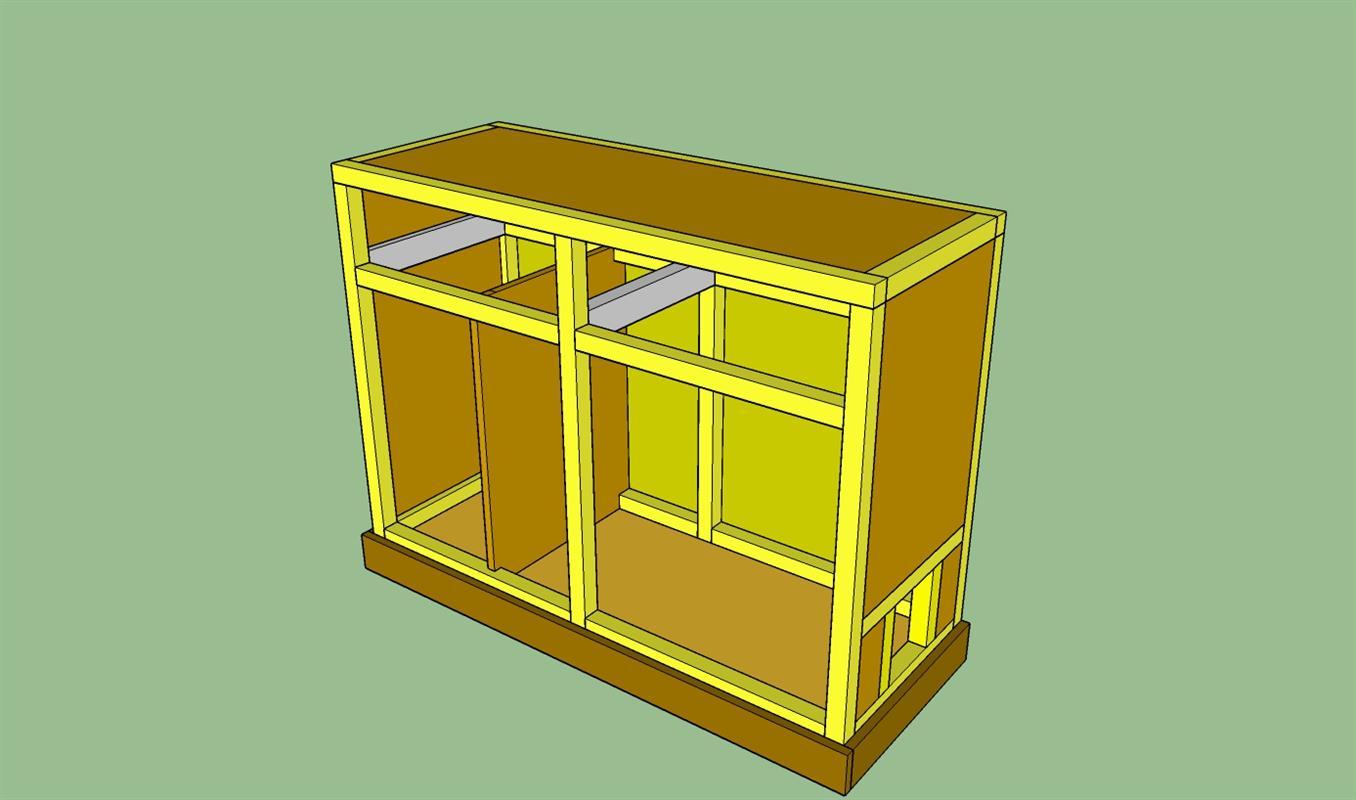
Install the top plywood
Take the drawers out. Install the top plywood with 1 1/4" pocket hole screws spaced at approx. 8" o.c. around the perimeter
-
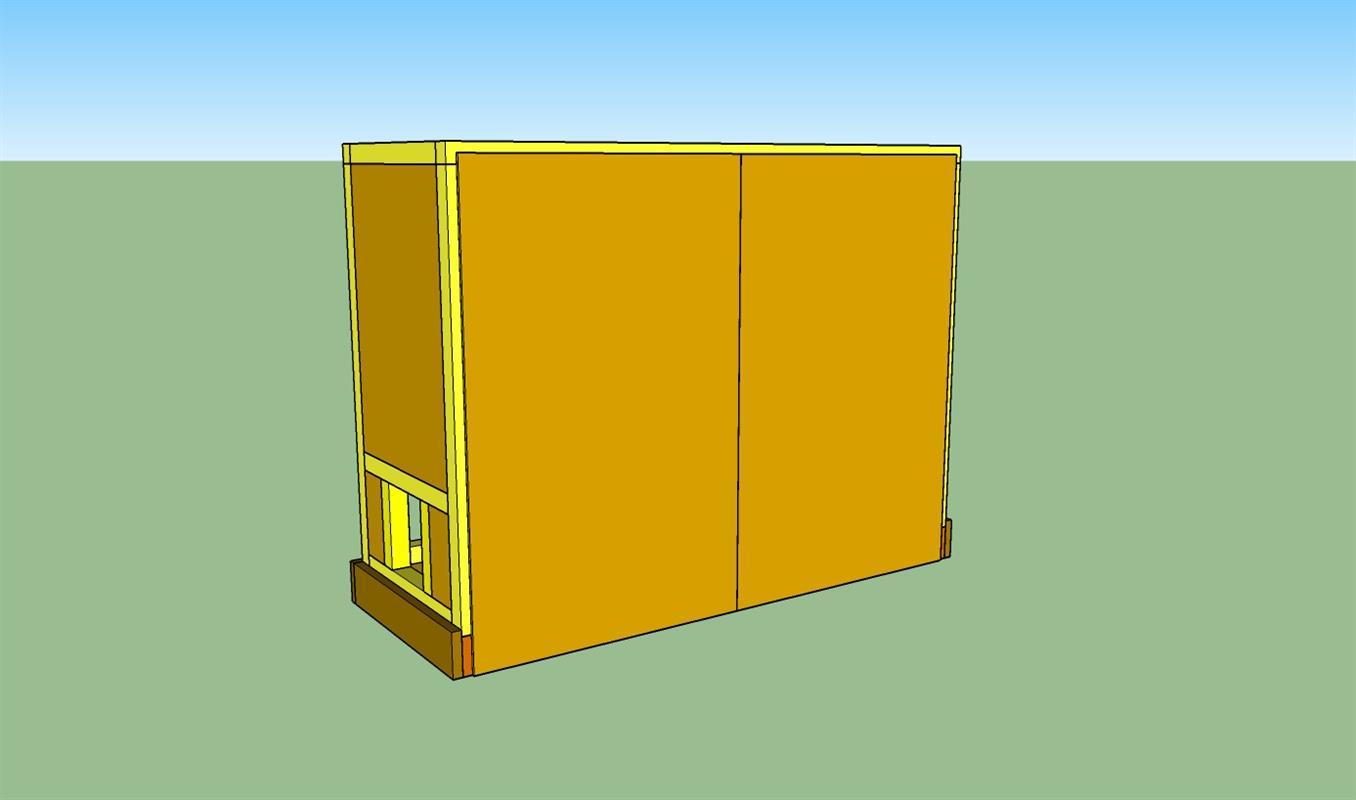
Install back plywood
Install the two pieces of 1/4" plywood on the back of the cabinet.
Utilize your nail gun and 3/4" nails. -
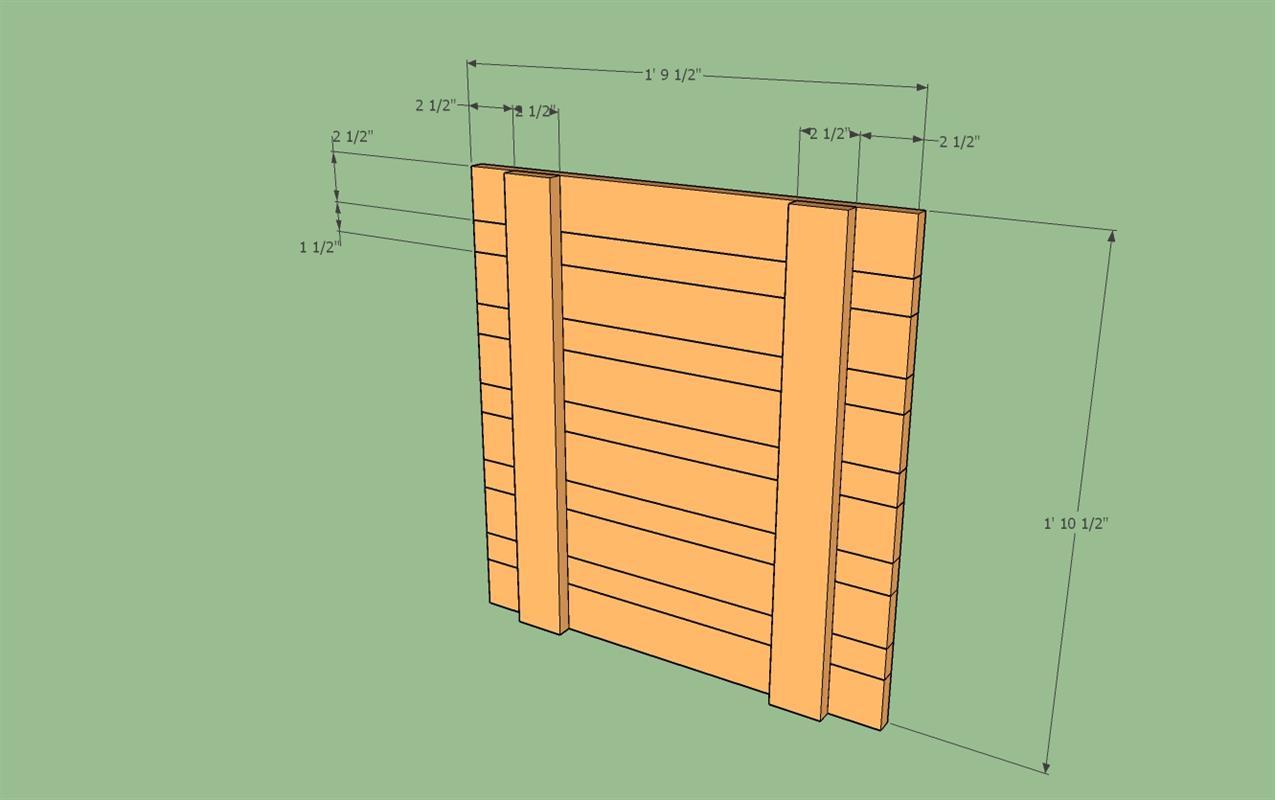
Construct the door faces
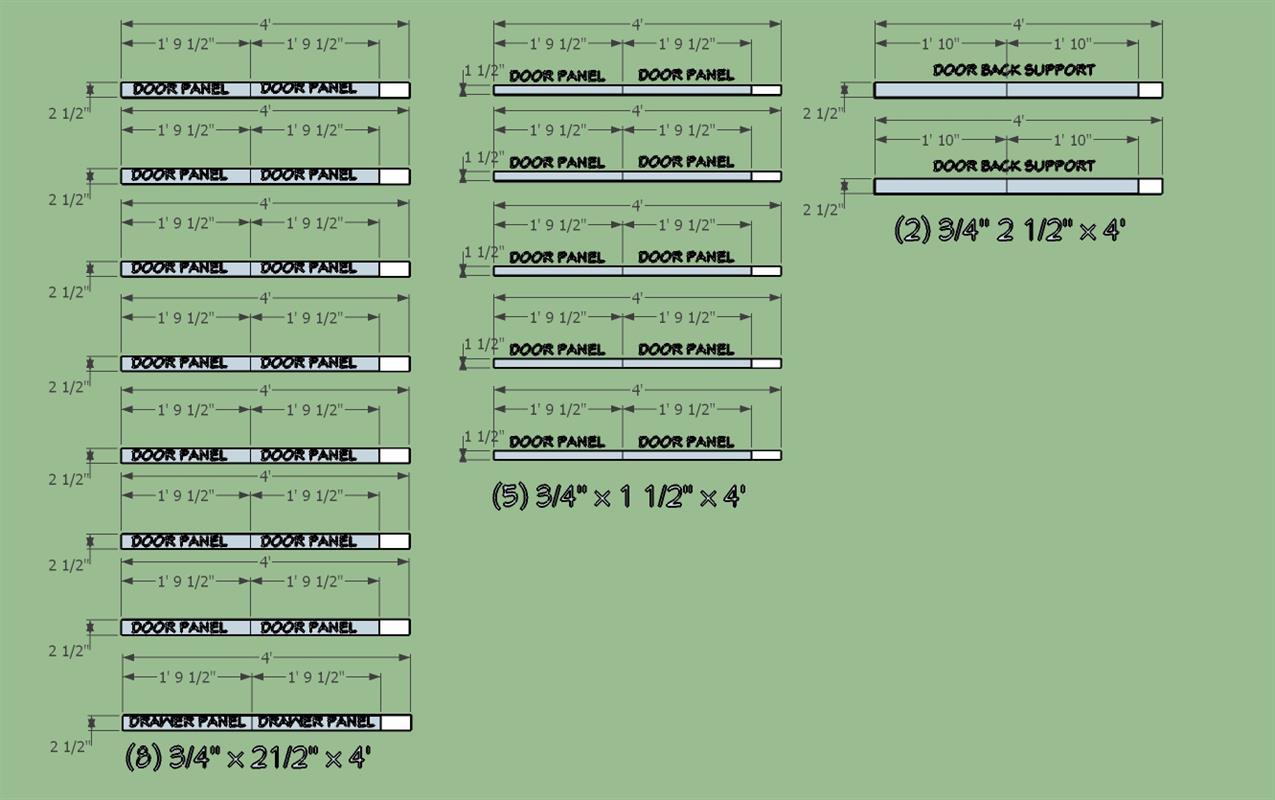
Construct the cabinet doors utilizing the 1x3's and 1x2's as shown.
Use 1 1/4" pocket hole screws to join the boards.
Add 1x3's to stabilize the doors and cover the pocket holes. -
Install the doors
Install the doors utilizing the hinges per mfg. installation instructions. See extra's for pivot hinges
-
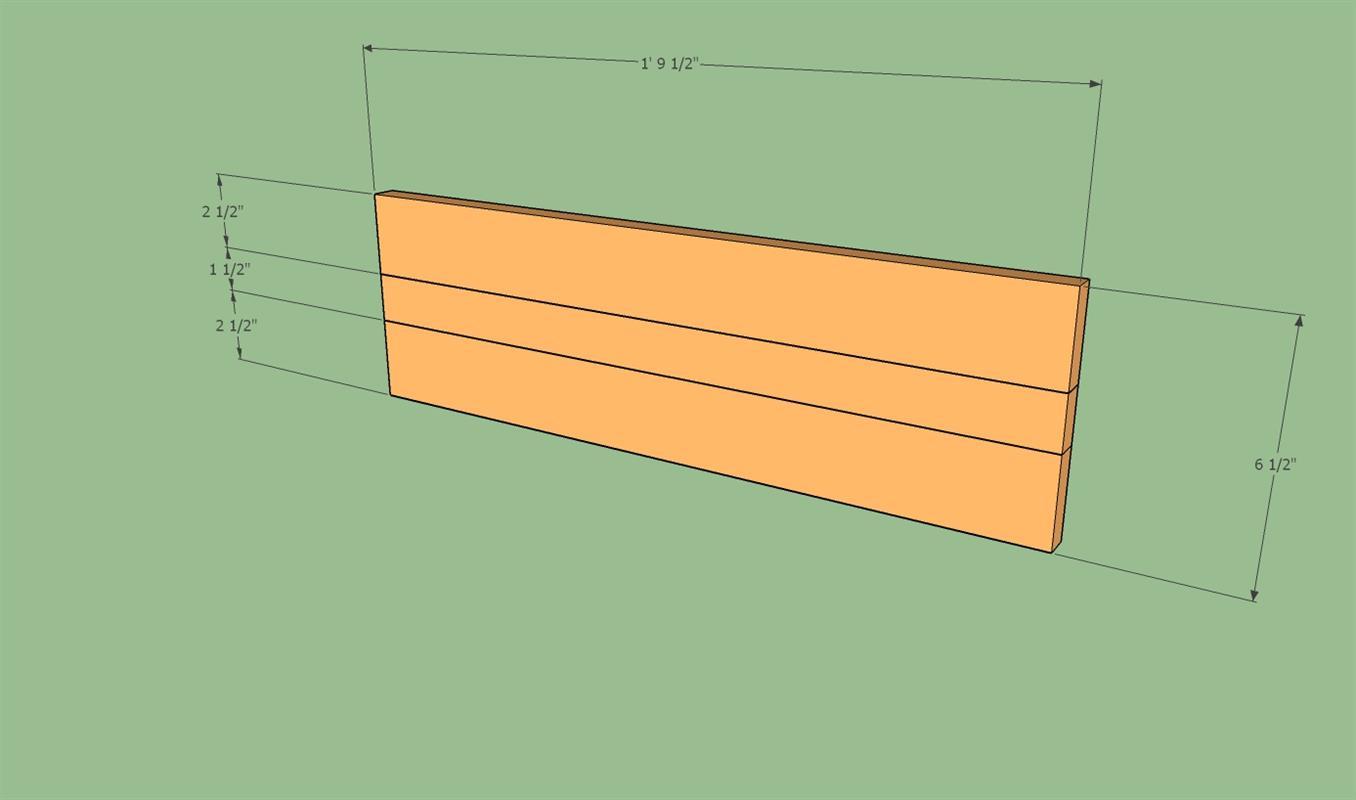
Construct the drawer faces
Construct the drawer faces with the 1x3's and 1x2's as shown.
Utilize 1 1/4" pocket hole screws.
See extra's for pivot door hardware -
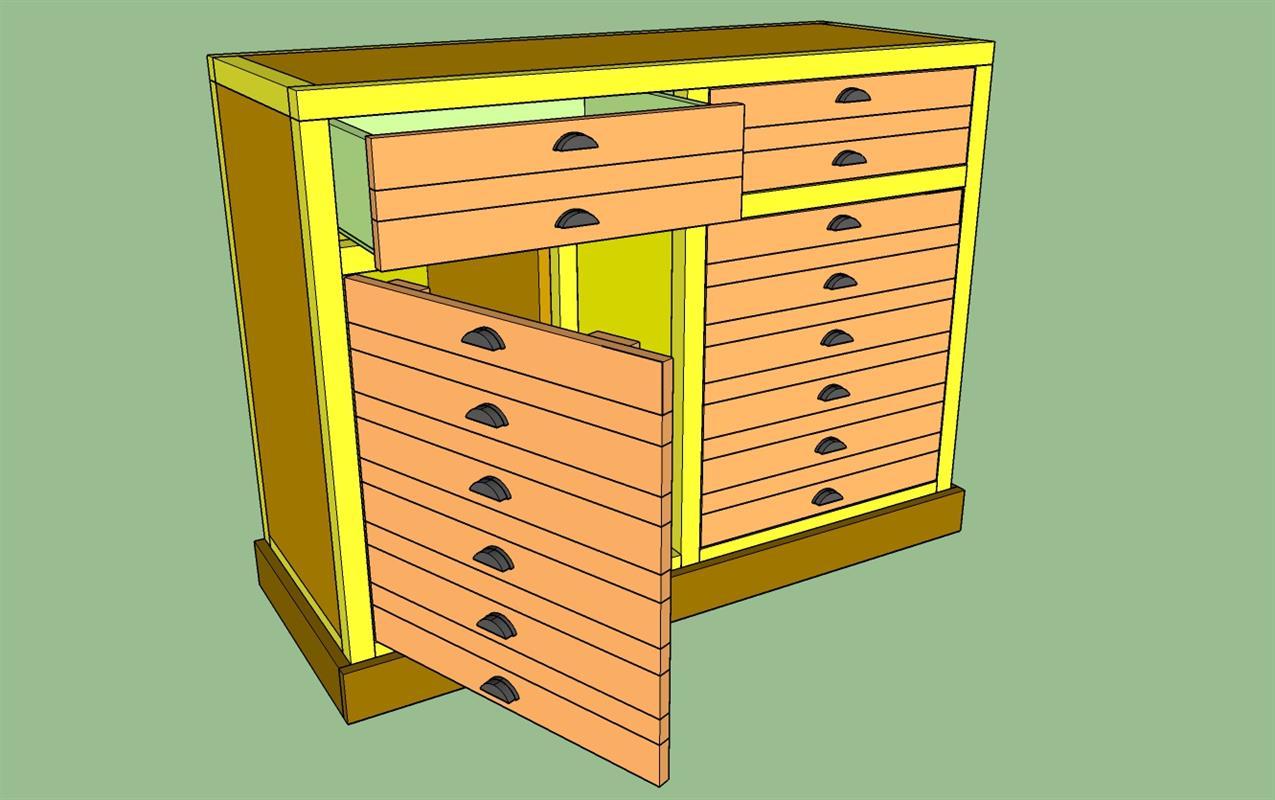
Install the drawer faces
Attach the drawer face to the drawer box allowing a 1/8" gap on all sides with screws from the inside. Use double sided tape to position and 1 1/4" screws to attach thru drawer boxes. See extra's for source of handles.
-
Finish
Stain or paint the cabinet.
See extra's for pre-stain for finishing pine.


