
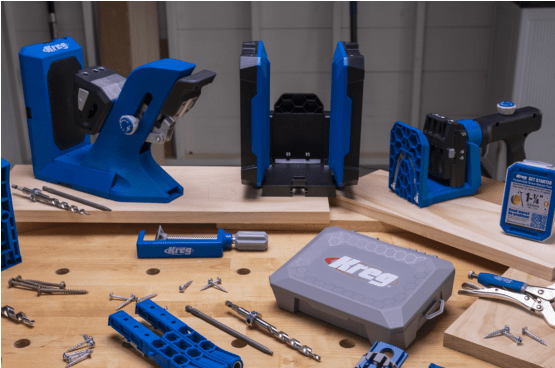
Building projects with Kreg® Pocket-Hole Joinery is fast and easy for a lot of reasons. You only need a few tools, the techniques are easy to master, and setting up the pocket-hole jig is surprisingly simple.
What makes it so simple is that you really just need to know the thickness of the material you’re using. Material thickness will tell you everything you need to know, including how to set up the pocket-hole jig, where to set drilling depth for the drill bit, and what length screw to use.
Those things together create the strongest possible pocket-hole joint, so you can be confident that your project will go together easily and stay together for the long haul.
1. Find your material thickness to set the stage
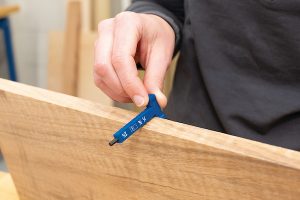
The easiest way to check the thickness of your material is to use the Material Thickness Gauge that comes with every new Kreg 300-, 500-, and 700-Series Pocket-Hole Jig.
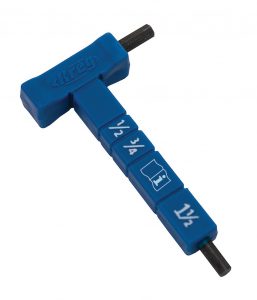
The Material Thickness Gauge is easy to use. Just hold it along the edge of your material, and you can see which of the thickness numbers lines up. You’ll see three thicknesses: 1/2″, 3/4″, 1 1/2″. Those are the most-common actual thicknesses of boards and plywood sold in home centers and lumber yards
You’ll also see that those numbers are between molded-in lines, which create thickness ranges. As long as your material lines up anywhere within the range, you can use the corresponding thickness. You don’t have to be exact.
There’s also a range that’s shown with a small letter “i” for materials that are thicker than the 3/4″ range, but not as thick as the 1 1/2″ range. The “i” shows that you can find more information about that thickness range in your owner’s manual.
Like details? Here are the material thicknesses for each range on the gauge:
- 1/2″ range = 7/16″ – 5/8″ thick
- 3/4″ range = 5/8″ – 7/8″ thick
- “i” range = 7/8″ – 1 5/16″ thick
- 1 1/2″ range = 1 5/16″ or thicker
2. Use thickness to set the Pocket-Hole Jig
Once you know the thickness of your material, the hard part of setting up a Kreg Pocket-hole Jig is done. That’s because, from here on, all you have to do is match the jig and the bit to the thickness you found using the Material Thickness Gauge. It’s super easy. Here’s how it works with each of our current pocket-hole jigs.
300-Series Pocket-Hole Jigs
If you have a Pocket-Hole Jig 310 or Pocket-Hole Jig 320, simply move the thickness sliders until the thickness you measured shows up in the small window. Set the sliders on each drill guide you’re using , whether it’s one, two, or more. That’s it. Your 300-Series jig is ready to go.
- 1/2″ thickness range = 1/2″ setting
- 3/4″ thickness range = 3/4″ setting
- “i” thickness range = 3/4″ setting
- 1 1/2″ thickness range = 1 1/2″ setting
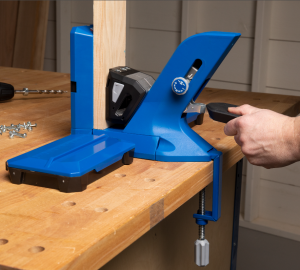
Pocket-Hole Jig 520PRO2
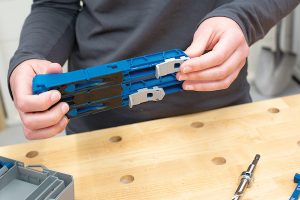
To set up the Pocket-Hole Jig 520PRO2, squeeze the tabs on each side of the drill guide block, and slide the block up or down until it clicks into the correct setting. If you don’t hear the tabs click in, you can double check by trying to move the drill guide up or sown without depressing the tabs. It should stay put. With that, your 520PRO is set to go.
- 1/2″ thickness range = 1/2″ setting
- 3/4″ thickness range = 3/4″ setting
- “i” thickness range = 3/4″ setting
- 1 1/2″ thickness range = 1 1/2″ setting
Pocket-Hole Jig 720 & 720PRO
Setting the Pocket-Hole Jig 720 or Pocket-Hole Jig 720PRO is even easier—because you don’t have to. These jigs are equipped with our exclusive Automaxx® one-motion clamping mechanism. With it, you just press the large one-motion lever, and the drill guide moves up or down automatically to the correct position for any material thickness. It doesn’t get much easier than that.
- 1/2″ thickness range = automatic
- 3/4″ thickness range = automatic
- “i” thickness range = automatic
- 1 1/2″ thickness range = automatic
3. Use thickness to set the Pocket-Hole Drill Bit
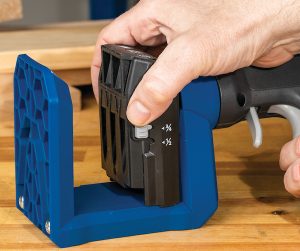
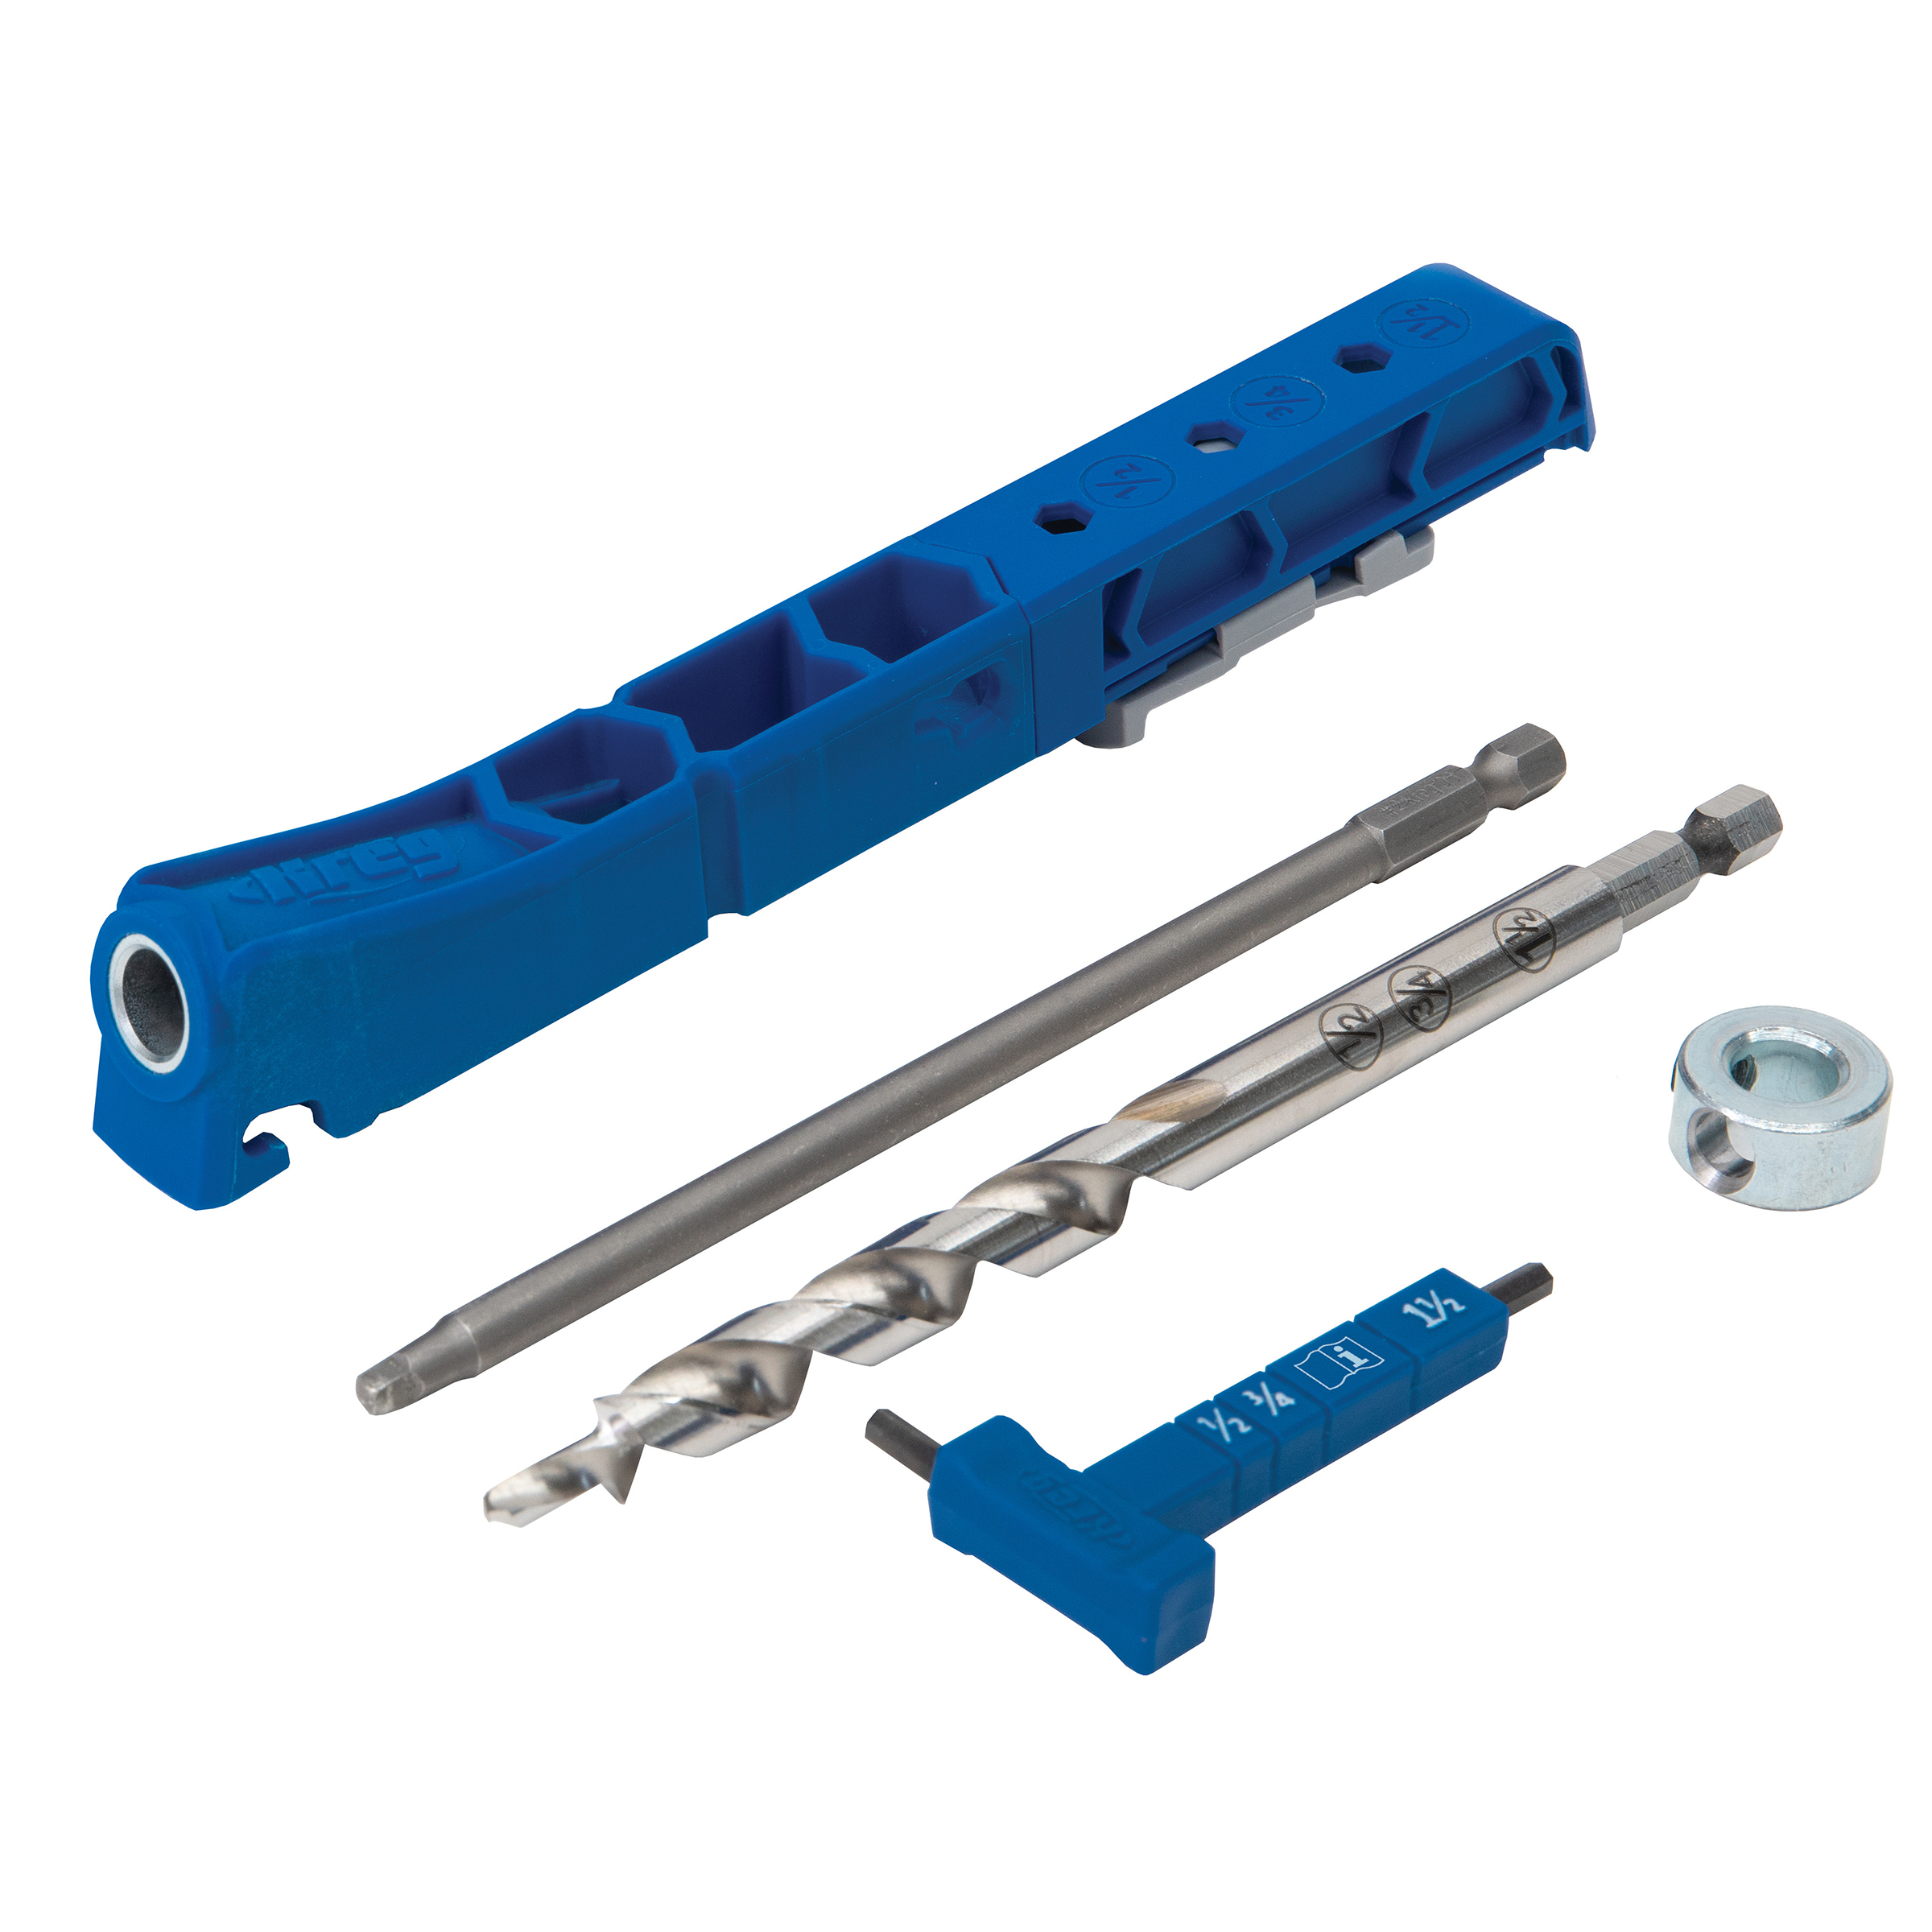
Now you can set the pocket-hole drill bit. Whichever of our jigs you have, it’s done in the same simple way, thanks to our Easy-Set Pocket-Hole Drill Bit design. The thicknesses are etched permanently into the bit, and there’s a “window” in the stop collar.
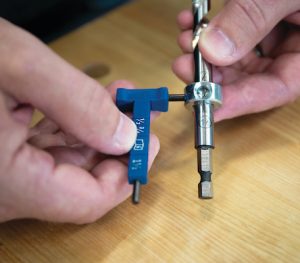
The process is a breeze, simply slide the collar until the thickness you need is in the window, and then tighten a setscrew to lock the collar in place. The hex wrench you’ll use if built into the Material Thickness Gauge.
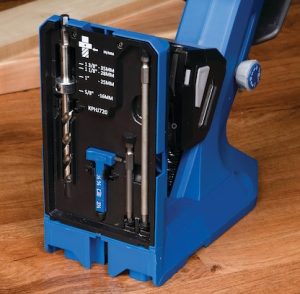
If you have the Pocket-Hole Jig 720 or Pocket-Hole Jig 720PRO, you can fine-tune the stop-collar setting even further to exactly match different material thicknesses, if you wish. To do that, use the scale that’s molded into the the jig alongside the bit storage area.
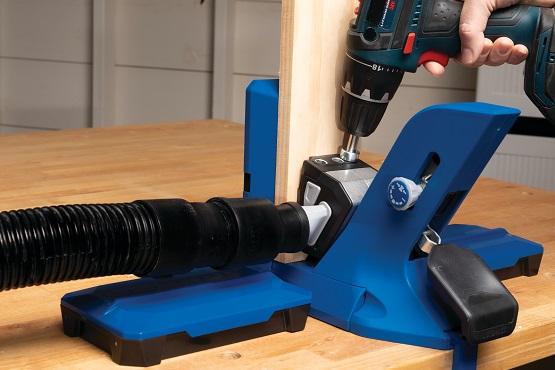
4. Drill Pocket Holes with Confidence
With the simple process of setting up the jig and bit complete, you’re ready to drill. Whether you need to drill one pocket hole or a hundred, the settings will stay put. That means you won’t have to change a thing until you switch to building with a material of a different thickness.
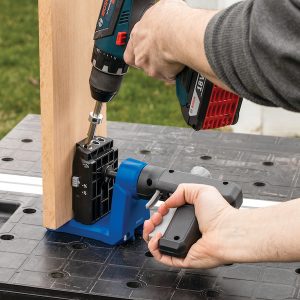
All the guess work is removed. Just drill until the stop collar on the bit contacts the drill guide. You’ll end up with pocket holes that are positioned perfectly and drilled to the correct depth every time.
5. Use thickness to select the right Pocket-Hole Screw
With your pocket holes all drilled, it’s time to move on to project assembly, which is incredibly easy using our pocket-hole screws. You can use the information below to find the correct length for most applications. And you’ll find a chart for selecting the right screw length in your owner’s manual.

- 1/2″ range = 1″ screw (3/4″ in 1/2″ ply)
- 3/4″ range = 1 1/4″ screw
- “i” range (520PRO) = 1 1/2″ screw
- “i” range (720, 720PRO) = 2″ screw
- 1 1/2″ range = 2 1/2″ screw
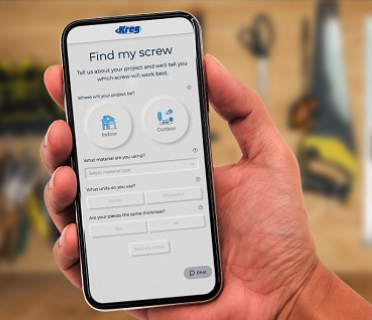
You can also make selecting the right screw really easy by using our online screw selector. With it, you simply answer a few questions about your project, as well as the thickness of your materials, and the screw selector will show you the correct length and type pocket-hole screw to choose.
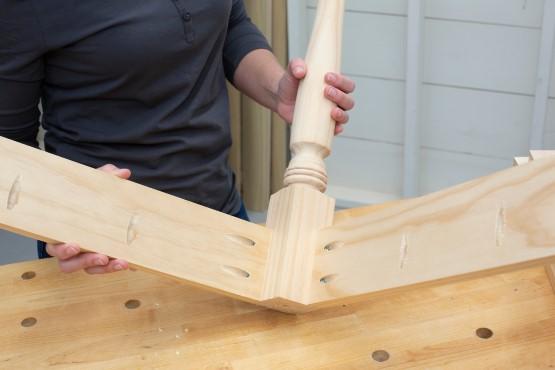
What happens when you’re joining different thicknesses?
For most projects, you’ll usually be joining two pieces that are the same thickness. But what if you’re using pieces of two different thicknesses—like attaching a 1×4 to a 2×4?
We recommend that you attach the thinner piece to the thicker one whenever possible. That means you’ll drill the pocket hole in the thinner piece. So, use that thickness to set your pocket-hole jig and drill bit.
It’s when you’re selecting a screw length that things may vary. It all depends on how the joint goes together. These examples show that, in some cases, you may be able to use a longer screw for greater strength. It all depends on the location and orientation of the mating pieces.

If you are joining the pieces with the outside faces flush and the pocket hole on the inside, the joint works just like when the pieces are the same thickness.
In this case, choose the screw length based on the thinner material.
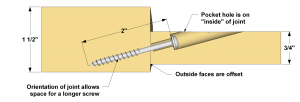
If the joint can be offset, with the face of the thinner piece not flush with the face of the thicker one, then you can use a longer screw.
In this case, the pocket hole stays hidden on the “inside” of the joint, but you can use a longer screw for more strength.
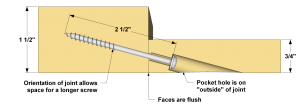
If your project allows the pocket hole to show on the “outside” of the joint, you can choose an even longer screw.
In this case, you can choose the screw length based on the thickness of the thicker material.
When you understand why the thickness of your material matters, you know what you need to succeed with creating pocket-hole joints. Now it’s time to build some projects, confident that they’ll go together easily and fast, and knowing that they’ll last.
Associated Products


Kreg® Pocket-Hole Jig 520PRO

Kreg® Pocket-Hole Jig 320

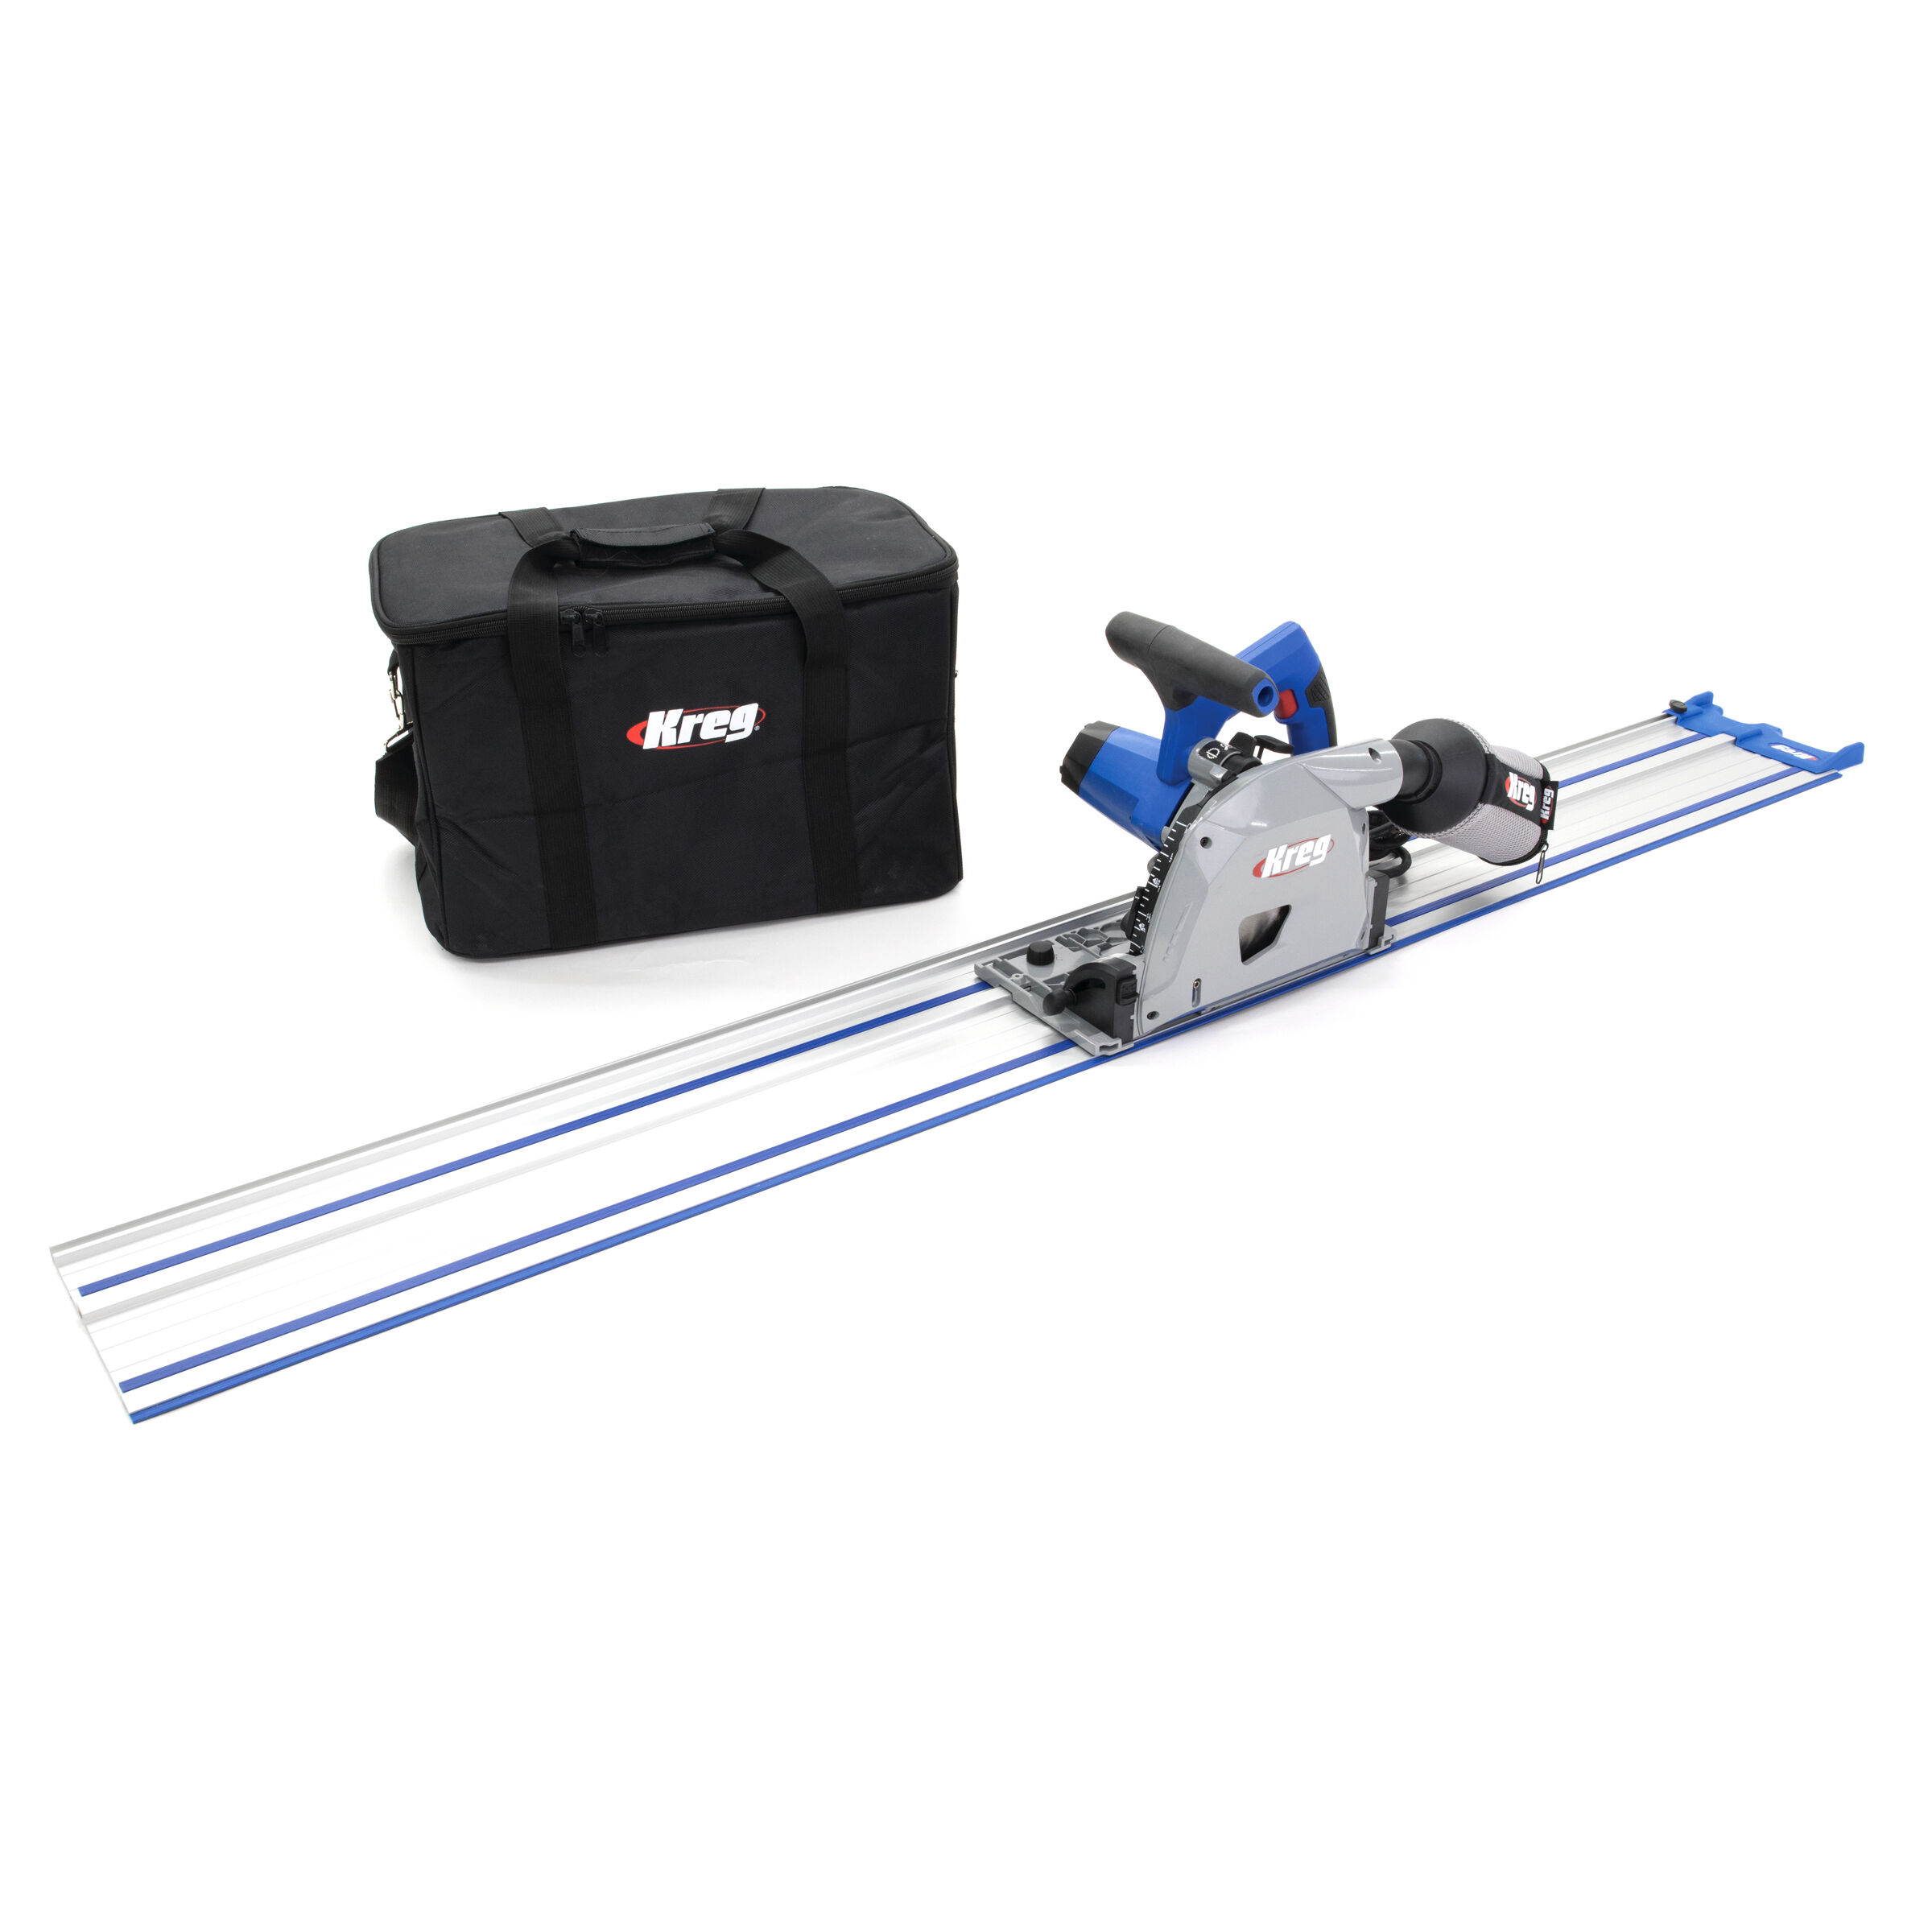
Crosscut Station

Portable Crosscut

Straight Edge Guide

90° Corner Clamp

Mobile Project Center
