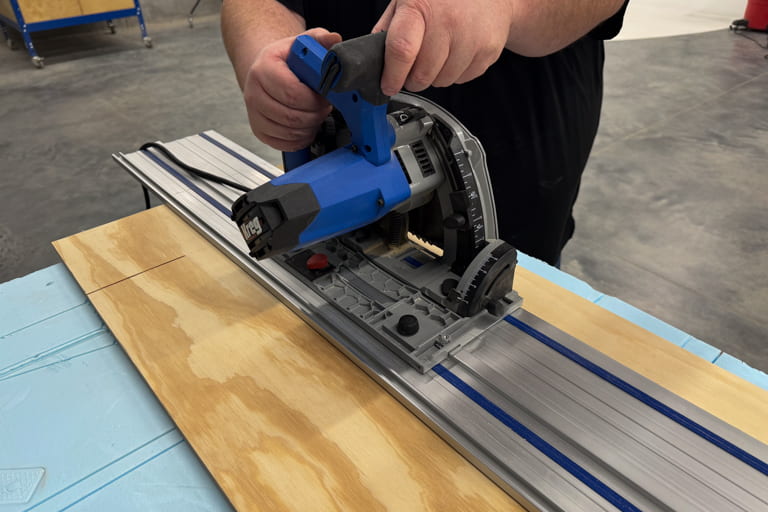
If you need to cut trim, remove grout or similar tasks, this is one of the most versatile power tools you can own. There are so many uses for an oscillating multi-tool and it replaces a handful of single-purpose tools, fits into tight spaces, and handles detailed work that other tools can’t.
What Is an Oscillating Multi-Tool?
An oscillating multi-tool (often called a multi-tool or oscillating tool) is a compact, handheld power tool that uses rapid side-to-side motion to cut, scrape, sand, and more. Unlike a spinning blade, the tool vibrates in a small arc — usually just a few degrees — giving you incredible control in tight spaces and on delicate materials.
How This Versatile Tool Transforms Project Efficiency
Think of an oscillating tool as a project problem-solver. One tool can handle dozens of tasks:
- Plunge cuts without pre-drilling.
- Flush-cutting wood, nails, or PVC pipes.
- Scraping old caulk, paint, or flooring.
- Sanding corners and awkward angles.
- Removing grout without damaging tiles.
It’s especially handy where a circular saw, jigsaw, or reciprocating saw can’t fit.
Key Applications and Benefits Overview:
Precision
Great for fine control and detail work.
Versatility
Works on wood, metal, drywall, tile, plastic, and more.
Compactness
Fits into tight spaces larger tools can’t reach.
Accessory variety
Swap blades, scrapers, and sanding pads as needed.
Essential Parts and Attachments
Before you start, get to know your tool and its accessories.
Core Components
Tool head
Where blades and attachments lock in — most are tool-free for quick changes.
Motor housing
Powers the oscillation; located in the main body.
Variable speed control
Adjusts oscillation speed for different materials.
Corded or cordless power
Corded tools deliver constant power, while cordless tools add mobility and convenience.
Must-Have Attachments
You don’t need a huge collection to get started. Stick to the essentials:
Bi-metal plunge-cut blade
Cuts wood, nails, drywall, and PVC — the ultimate general-purpose blade.
Wood-cutting blade
Faster, cleaner cuts in wood.
Scraper blade
Removes old paint, adhesive, or caulk.
Grout-removal blade
Carbide or diamond-tipped for precision grout work.
Sanding pad + hook-and-loop sandpaper
Detail sanding in corners or small surfaces.
Getting Started: Setup and Safety
Before using an oscillating tool, set it up correctly and follow safety best practices.
Choose the Right Attachment
Pick the right blade or accessory based on the job:
Wood-only cuts
Use a fine-tooth wood blade.
Metal or mixed cuts
Use a bi-metal blade.
Tile grout removal
Use carbide-grit or diamond blades.
Scraping paint or adhesives
Go with a flexible scraper blade.
Detail sanding
Use a triangular sanding pad with the right grit paper.
Safety Gear You’ll Want
Even though oscillating tools feel approachable, they’re still power tools and you need to take the proper precautions with the right gear:
- Eye protection
- Hearing protection
- Dust mask
- Gloves
Set the Right Speed
If your tool offers variable speeds, match the speed to the material:
- Low speed — sanding or working with delicate materials
- Medium speed — standard wood cutting and detail work
- High speed — metal, tile, or hardened adhesives
How to Use an Oscillating Multi-Tool
Using a multi-tool is straightforward once you’ve got the basics down.
Step 1: Attach the Blade
Unplug the tool or remove the battery.
Align the blade opening with the mounting post.
Lock it securely using the lever or wrench.
Double-check the blade direction before powering up.
Step 2: Test First
Practice on scrap material to:
Get used to the tool’s vibration.
Dial in the right speed.
Find the best pressure and cutting angle.
Step 3: Start Cutting, Sanding, or Scraping
Plunge cuts
Angle the blade slightly, then rock gently into the material.
Flush cuts
Keep the blade flat against the surface for clean results.
Scraping
Use a shallow angle and slow movements.
Sanding
Keep the pad flat and moving — don’t linger in one spot.
Beginner Tips for Better Results
Keep the following in mind to make it easier to cut cleanly, extend blade life, and stay in control:
Use both hands
One for power, one near the head for control.
Let the tool work
Don’t force the blade; slow, steady pressure gives smoother results.
Mark your depth
Use painter’s tape as a visual guide on the blade.
Control vibration
Relax your grip and take breaks during longer jobs.
Work with the right angle
Keep blades flat for flush cuts; tilt slightly for plunge cuts.
Advanced Techniques to Try
Once you’re comfortable, you can tackle more challenging tasks:
Plunge Cuts with Precision
One of the tool’s standout features is making cuts without pre-drilling:
- Mark your cut clearly with painter’s tape.
- Start at a slight angle, then straighten as you go deeper.
- Use a guide board clamped alongside the cut line for perfect results.
Common Oscillating Tool Projects and Uses
Oscillating tools excel in dozens of situations. Here are a few:
Trim and Woodwork
- Undercut door jambs for flooring.
- Flush-cut baseboards or shims.
- Trim spacers during cabinet installs.
Drywall and Renovation
- Cut drywall for electrical boxes.
- Trim edges cleanly during patches.
- Scrape off adhesive or wallpaper.
Tile and Bathroom Work
- Remove grout without chipping tiles.
- Trim cement board for tight fits.
- Scrape caulk or sealant cleanly.
Flooring and Demolition
- Cut nails or fasteners during tear-outs.
- Remove vinyl, carpet glue, or thinset.
- Undercut trim to fit new flooring.
Metal and Finishing Tasks
- Cut screws, nails, or pipes.
- Sand away rust spots.
- Remove old paint drips or overspray.
Complete Accessory Guide: The Right Tool for Every Job
The real power of a multi-tool comes from matching the attachment to the task:
Round vs. straight blades
Use round blades for plunge cuts and curves; straight blades excel at long, controlled cuts.
Scraper vs. grout blades
Scrapers lift paint and adhesives; grout blades grind away grout without damaging tiles.
Specialty blades
Choose metal-only, wood-only, or combo blades for projects that require cutting multiple materials.
Sanding pads
Triangular pads for corners and detail sanding
Rectangular pads for larger flat areas
Start coarse, finish fine: 80 grit → 150 grit → 220 grit for smooth results
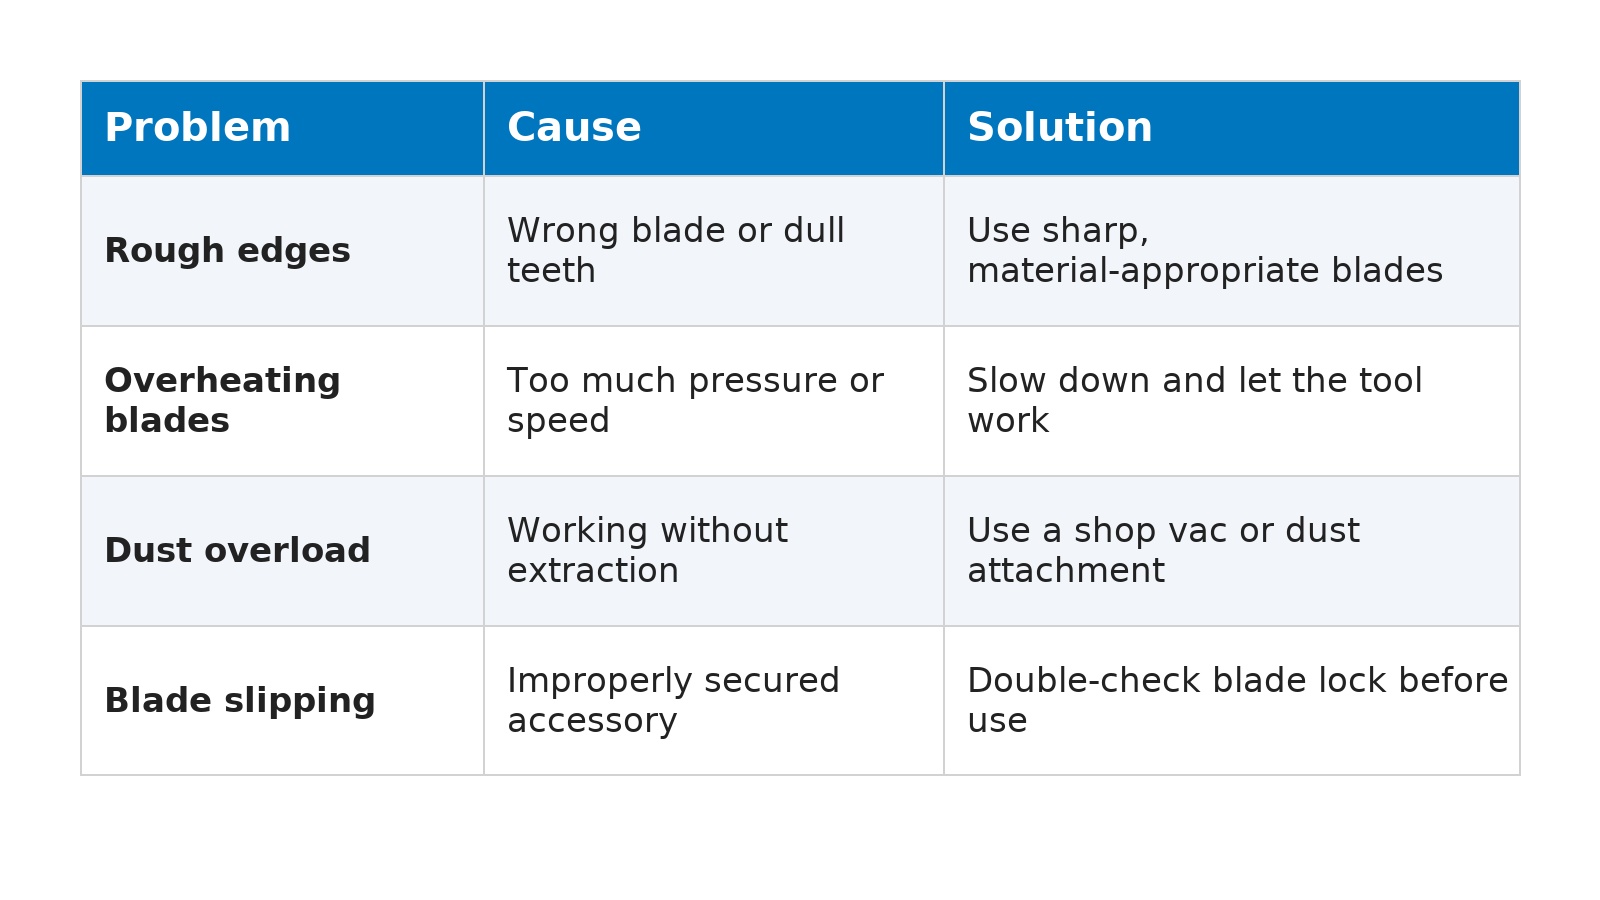
Troubleshooting Common Problems
Associated Products
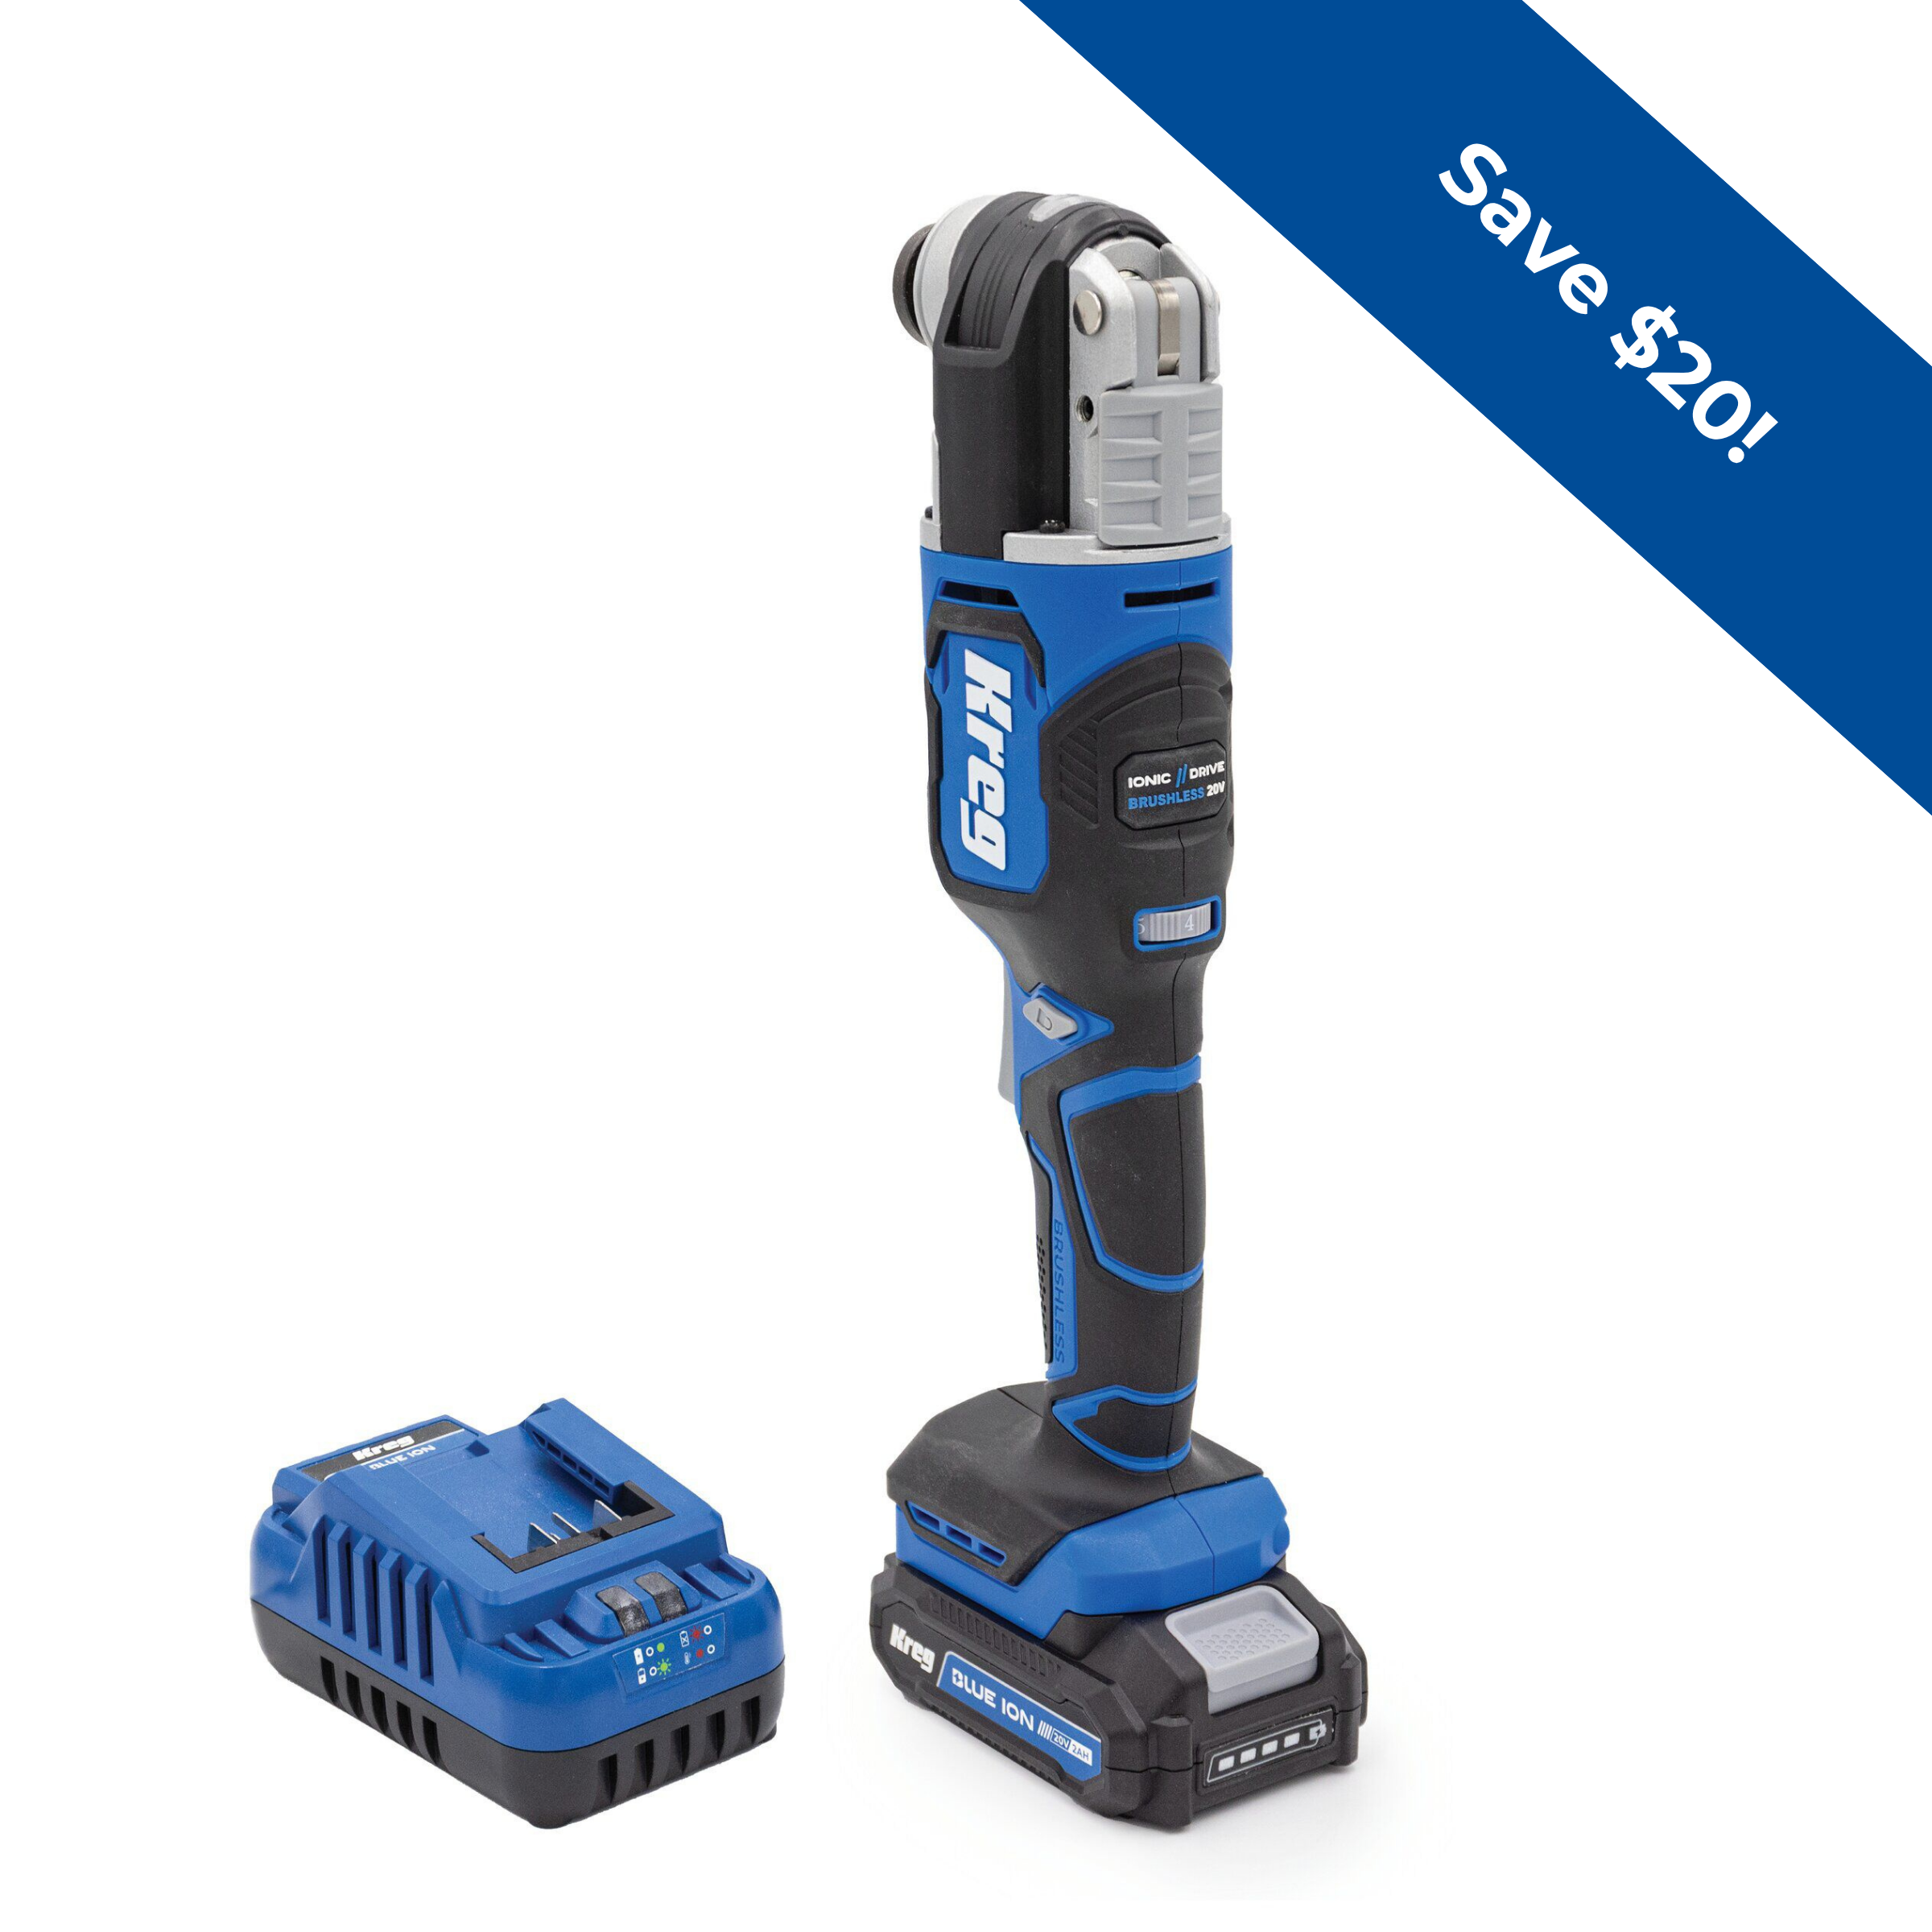
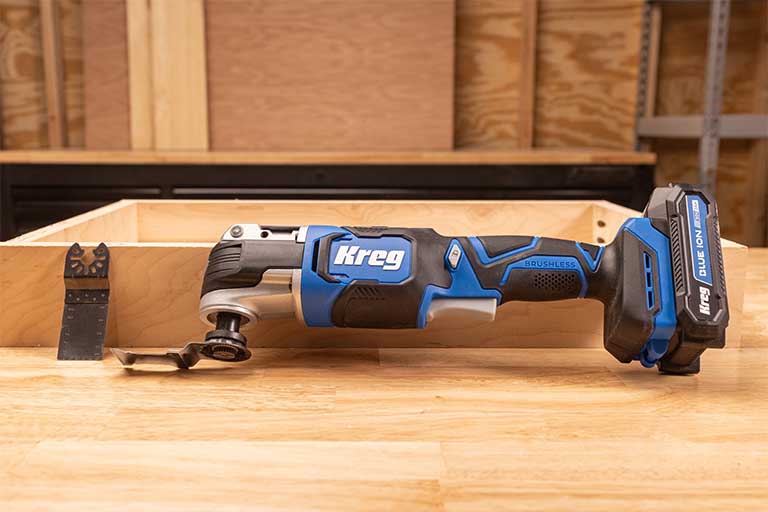
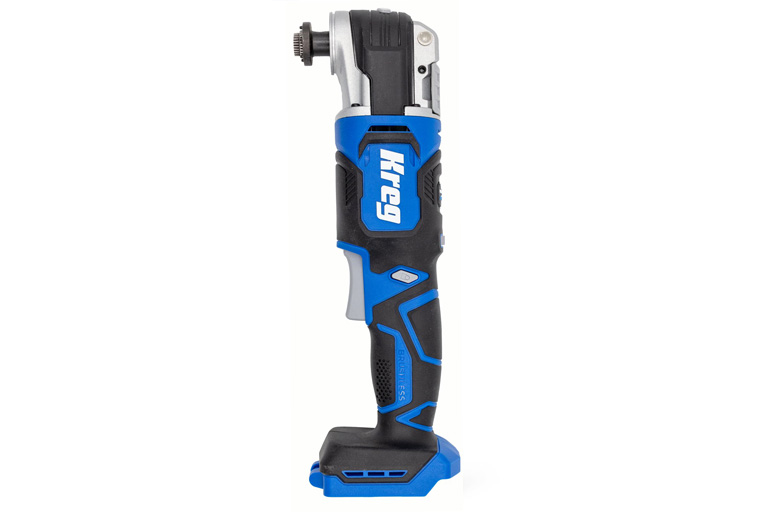
Kreg 20V Ionic Drive™ Oscillating Multi-Tool Kit