In the world of woodworking, precision is paramount. Whether you’re crafting a delicate cabinet or constructing a sturdy table, accurate measurements are the foundation of every successful project. At the heart of precision measurement lies the humble tape measure, a universal tool whose mastery is often taken for granted.
The Basics of Measuring Tapes
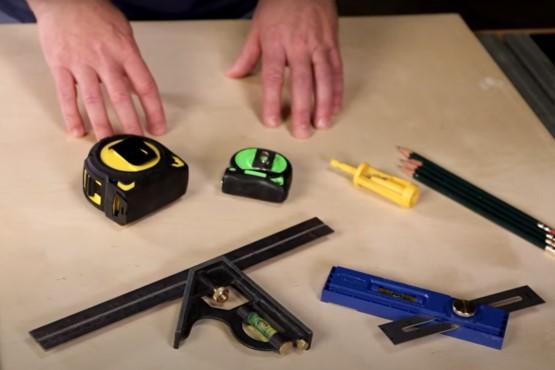
Before we dive into the nitty-gritty of reading a tape measure, it’s good to get familiar with the individual parts and what functions they serve. A typical tape measure comprises several key components:
The Case
The case serves as the housing for the tape measure, protecting the delicate mechanism inside from wear and tear.
Thumb Lock
A mechanism on the case to hold the tape in place when taking measurements.
The Blade / Tape
The blade or tape is the long, slender metal strip that extends from the case. It is marked with measurements and is designed to be both flexible and durable, allowing it to be extended and retracted easily.
The Hook
Located at the end of the blade, the hook is a crucial feature that enables accurate measurements. Its shape ensures that it catches onto the edge of the material being measured, preventing slippage and ensuring consistency in readings.
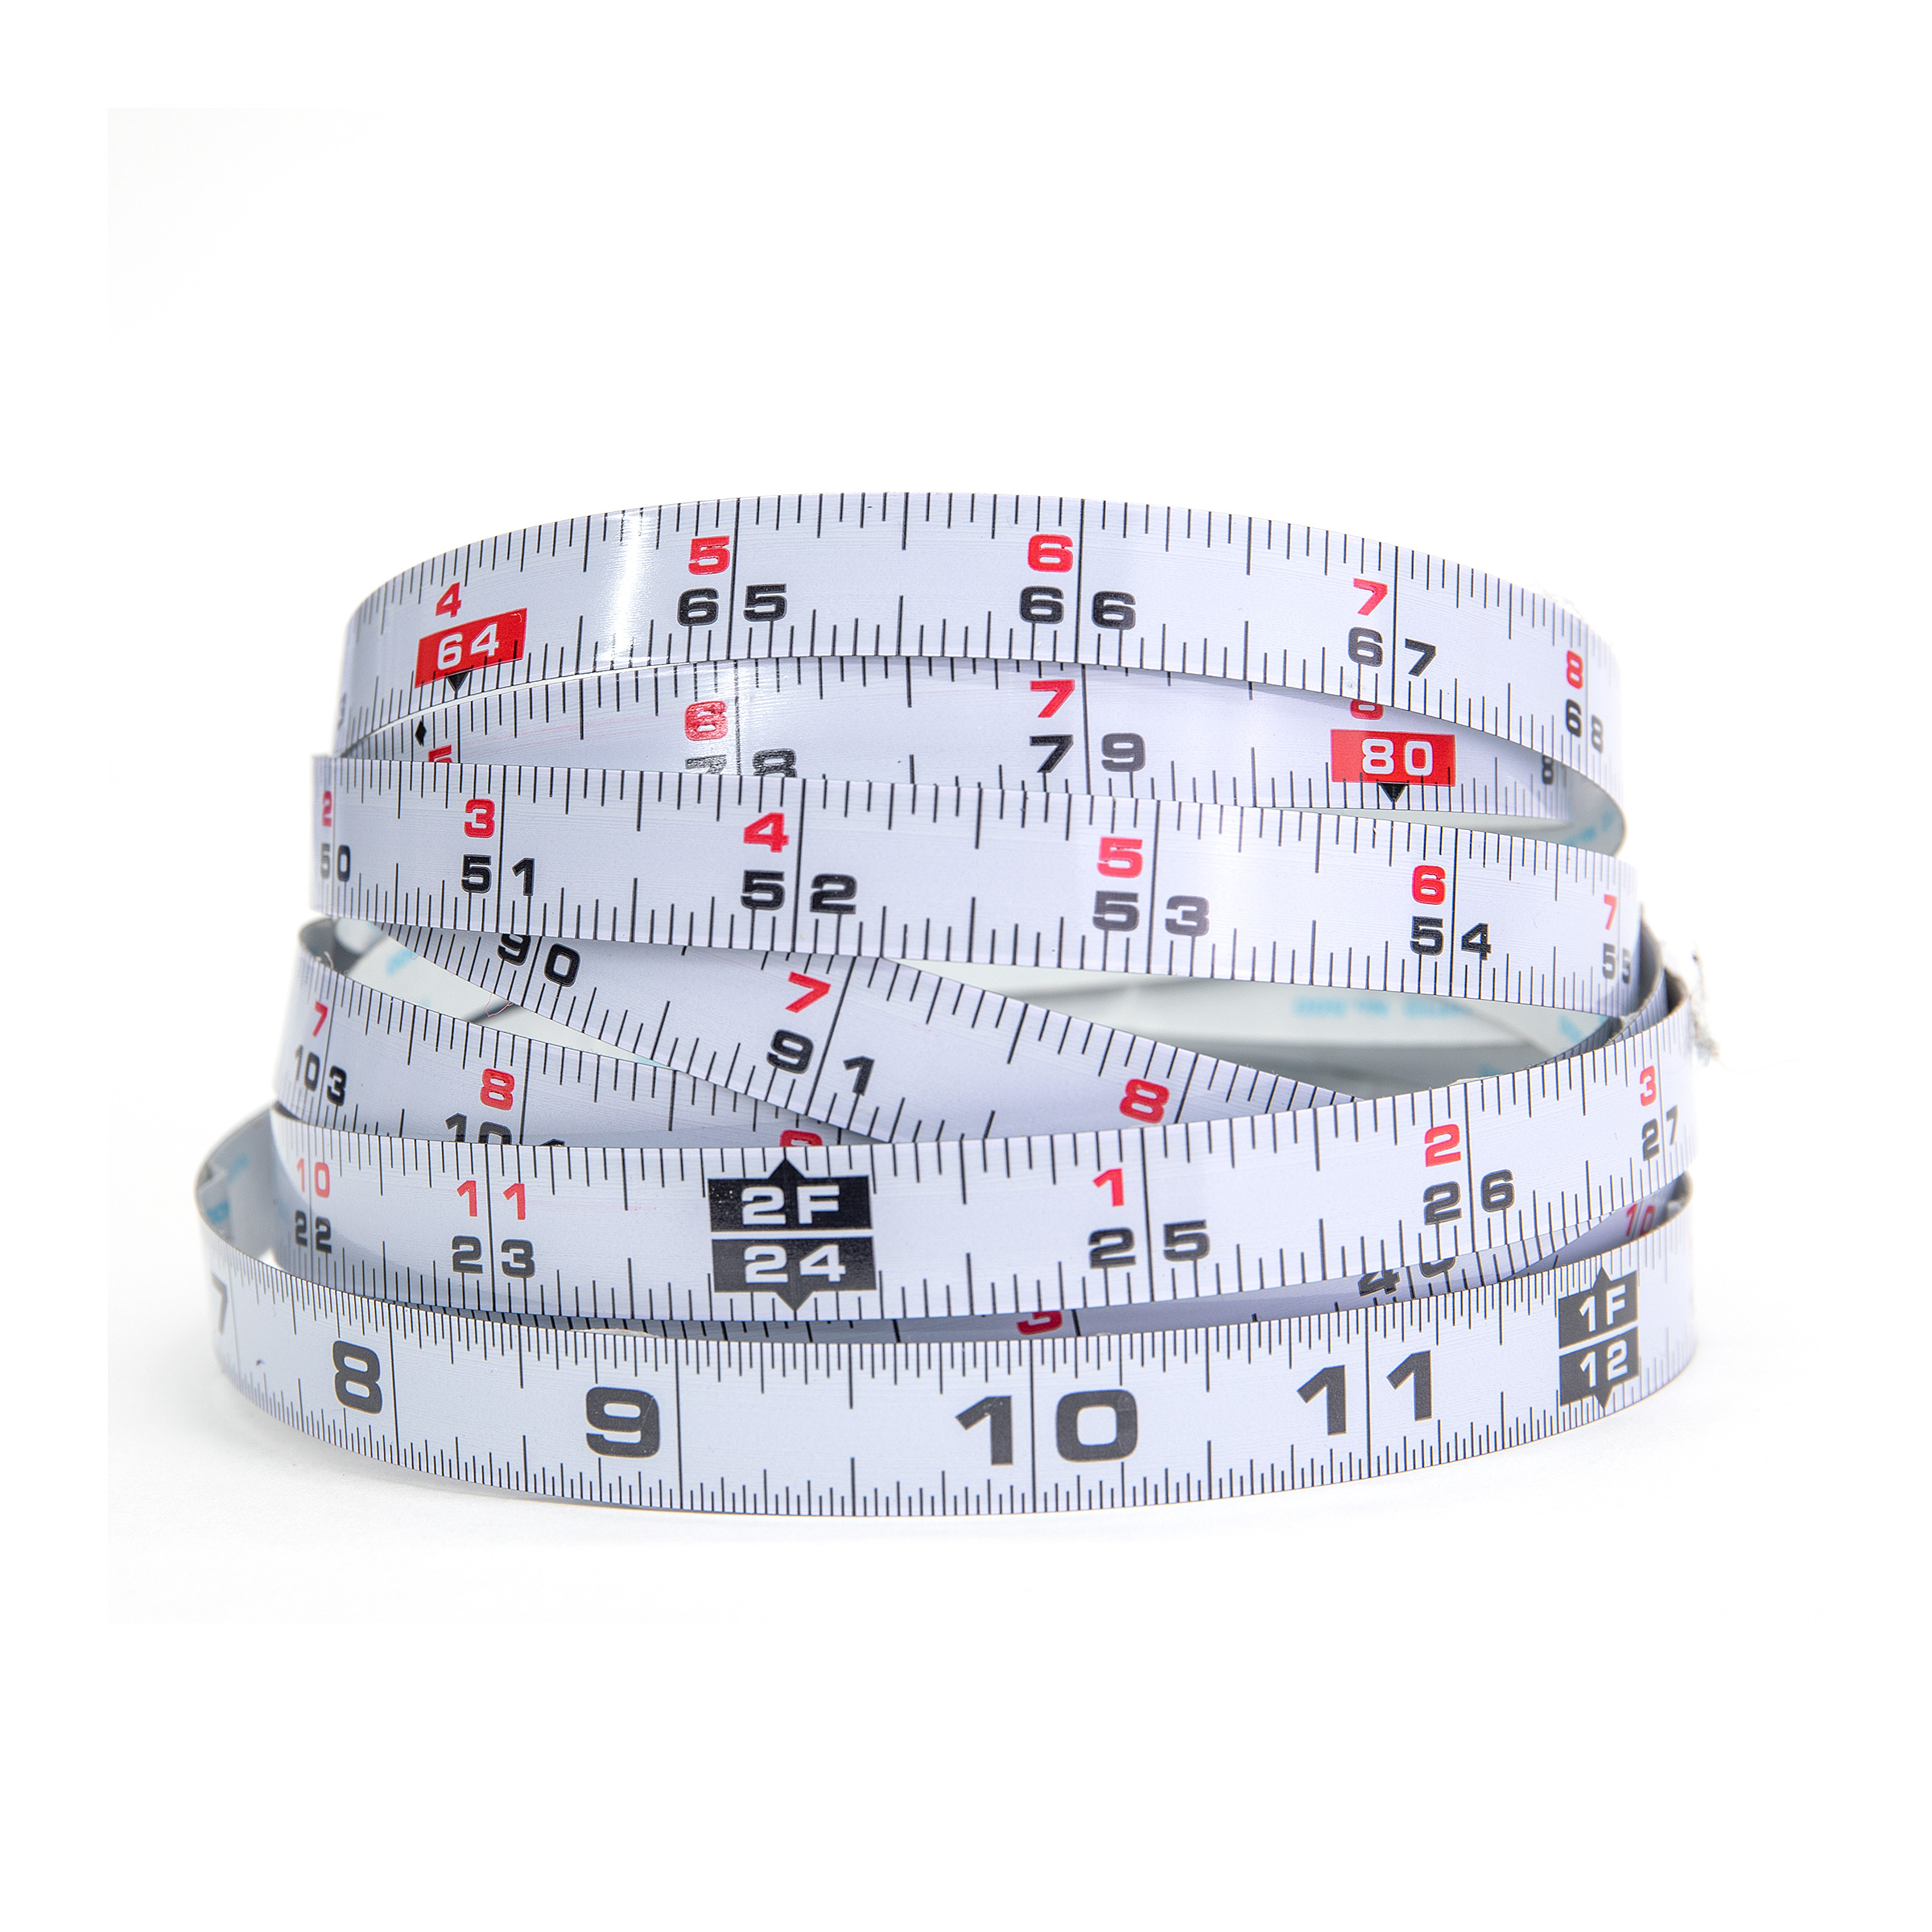
The Markings
What are the lines on a tape measure?
The lines on a tape measure serve as the visual indicators of measurement increments. They help determine the precise length of their measurements.
What are the units of measurement on a measuring tape?
On a tape measure, the units of measurement can vary depending on whether it follows the imperial system or the metric system.
On an Imperial (Standard) Tape Measure:
1. Whole Inches: The longest lines on the tape measure represent whole inches. They are usually numbered sequentially, starting from one end of the tape measure, and extending to the other.
2. Half Inches: Between each whole-inch marking, you’ll find shorter lines indicating half-inch increments. These lines are typically shorter than the whole-inch lines and help measure to the nearest half-inch.
3. Quarter Inches: Between each half-inch marking, there are even shorter lines denoting quarter-inch increments. They allow for measurements to be taken with precision down to a quarter of an inch.
4. Eighth Inches: For even finer measurements, there are lines between the quarter-inch markings, indicating eighth-inch increments. These lines are the shortest and most closely spaced on the tape measure.
On a Metric Tape Measure:
1. Centimeters: Metric tape measures have lines representing centimeter increments. Each centimeter is typically labeled with a number, indicating its position along the length of the tape.
2. Millimeters: Between each centimeter marking, there are smaller lines indicating millimeter increments. These lines allow for precise measurements in the metric system, with each millimeter representing a smaller subdivision of length.
How To Read a Standard Measuring Tape
Standard tape measures are a staple in every woodworker’s toolkit, offering a familiar yet versatile means of measurement. Here’s how to decipher the markings on a standard tape measure:
The Divisions on a Standard Measuring Tape:
Standard tape measures are typically divided into inches and feet, with each inch further subdivided into fractions or increments. The most common increments include:
Whole Inches
Represented by numerical markings (e.g., 1, 2, 3) along the length of the tape.
Half Inches
Indicated by shorter hash marks between whole-inch markings.
Quarter Inches
Often denoted by even shorter hash marks between half-inch increments.
Eighth Inches
These smallest subdivisions on the tape are represented by the shortest hash marks between quarter-inch intervals.
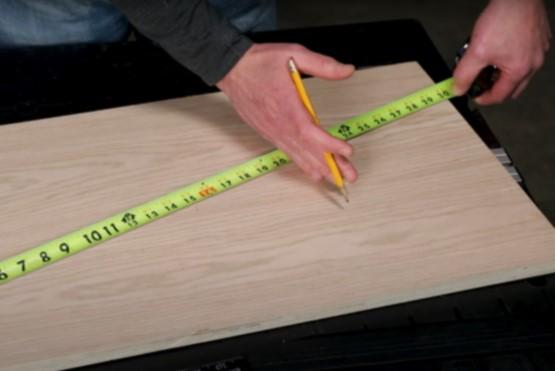
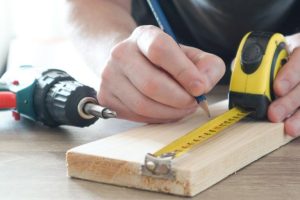
How to Interpret Measurements:
When reading a standard tape measure, simply identify the nearest whole-inch marking to the end of the material being measured. Then, determine any additional fractional increments by counting the hash marks between the whole-inch markings.
Which is CM on a tape measure?
On a tape measure, “CM” typically stands for centimeters. Centimeters are a unit of length in the metric system, commonly used in many countries worldwide.
How to Read a Metric Measuring Tape
While standard tape measures are widely used, the metric system offers a standardized approach to measurement that is embraced by woodworkers worldwide. Here’s how to navigate a metric tape measure:
The Metric System and Its Relevance in Woodworking:
The metric system, based on units of ten, provides a straightforward and consistent method of measurement. In woodworking, where precision is paramount, metric measurements offer greater accuracy and ease of calculation.
The Markings on a Metric Measuring Tape:
Metric tape measures feature markings in centimeters and millimeters, providing a finer degree of granularity compared to the imperial system.
Centimeters
Metric tape measures have lines representing centimeter increments. Each centimeter is typically labeled with a number, indicating its position along the length of the tape.
Millimeters
Between each centimeter marking, there are smaller lines indicating millimeter increments. These lines allow for precise measurements in the metric system, with each millimeter representing a smaller subdivision of length.
Conversion Between Metric and Standard Measurements:
For woodworkers accustomed to the imperial system, converting between metric and standard measurements may seem daunting at first. However, with practice and familiarity, this transition becomes second nature. Many modern measuring tapes feature dual-scale markings, allowing users to toggle between metric and standard measurements effortlessly.
Dual-Scale Tape Measures
Some tape measures have markings for both imperial and metric units of measurement. These dual-scale tapes allow for switching between inches and centimeters, providing flexibility for different measurement needs and compatibility with various projects.
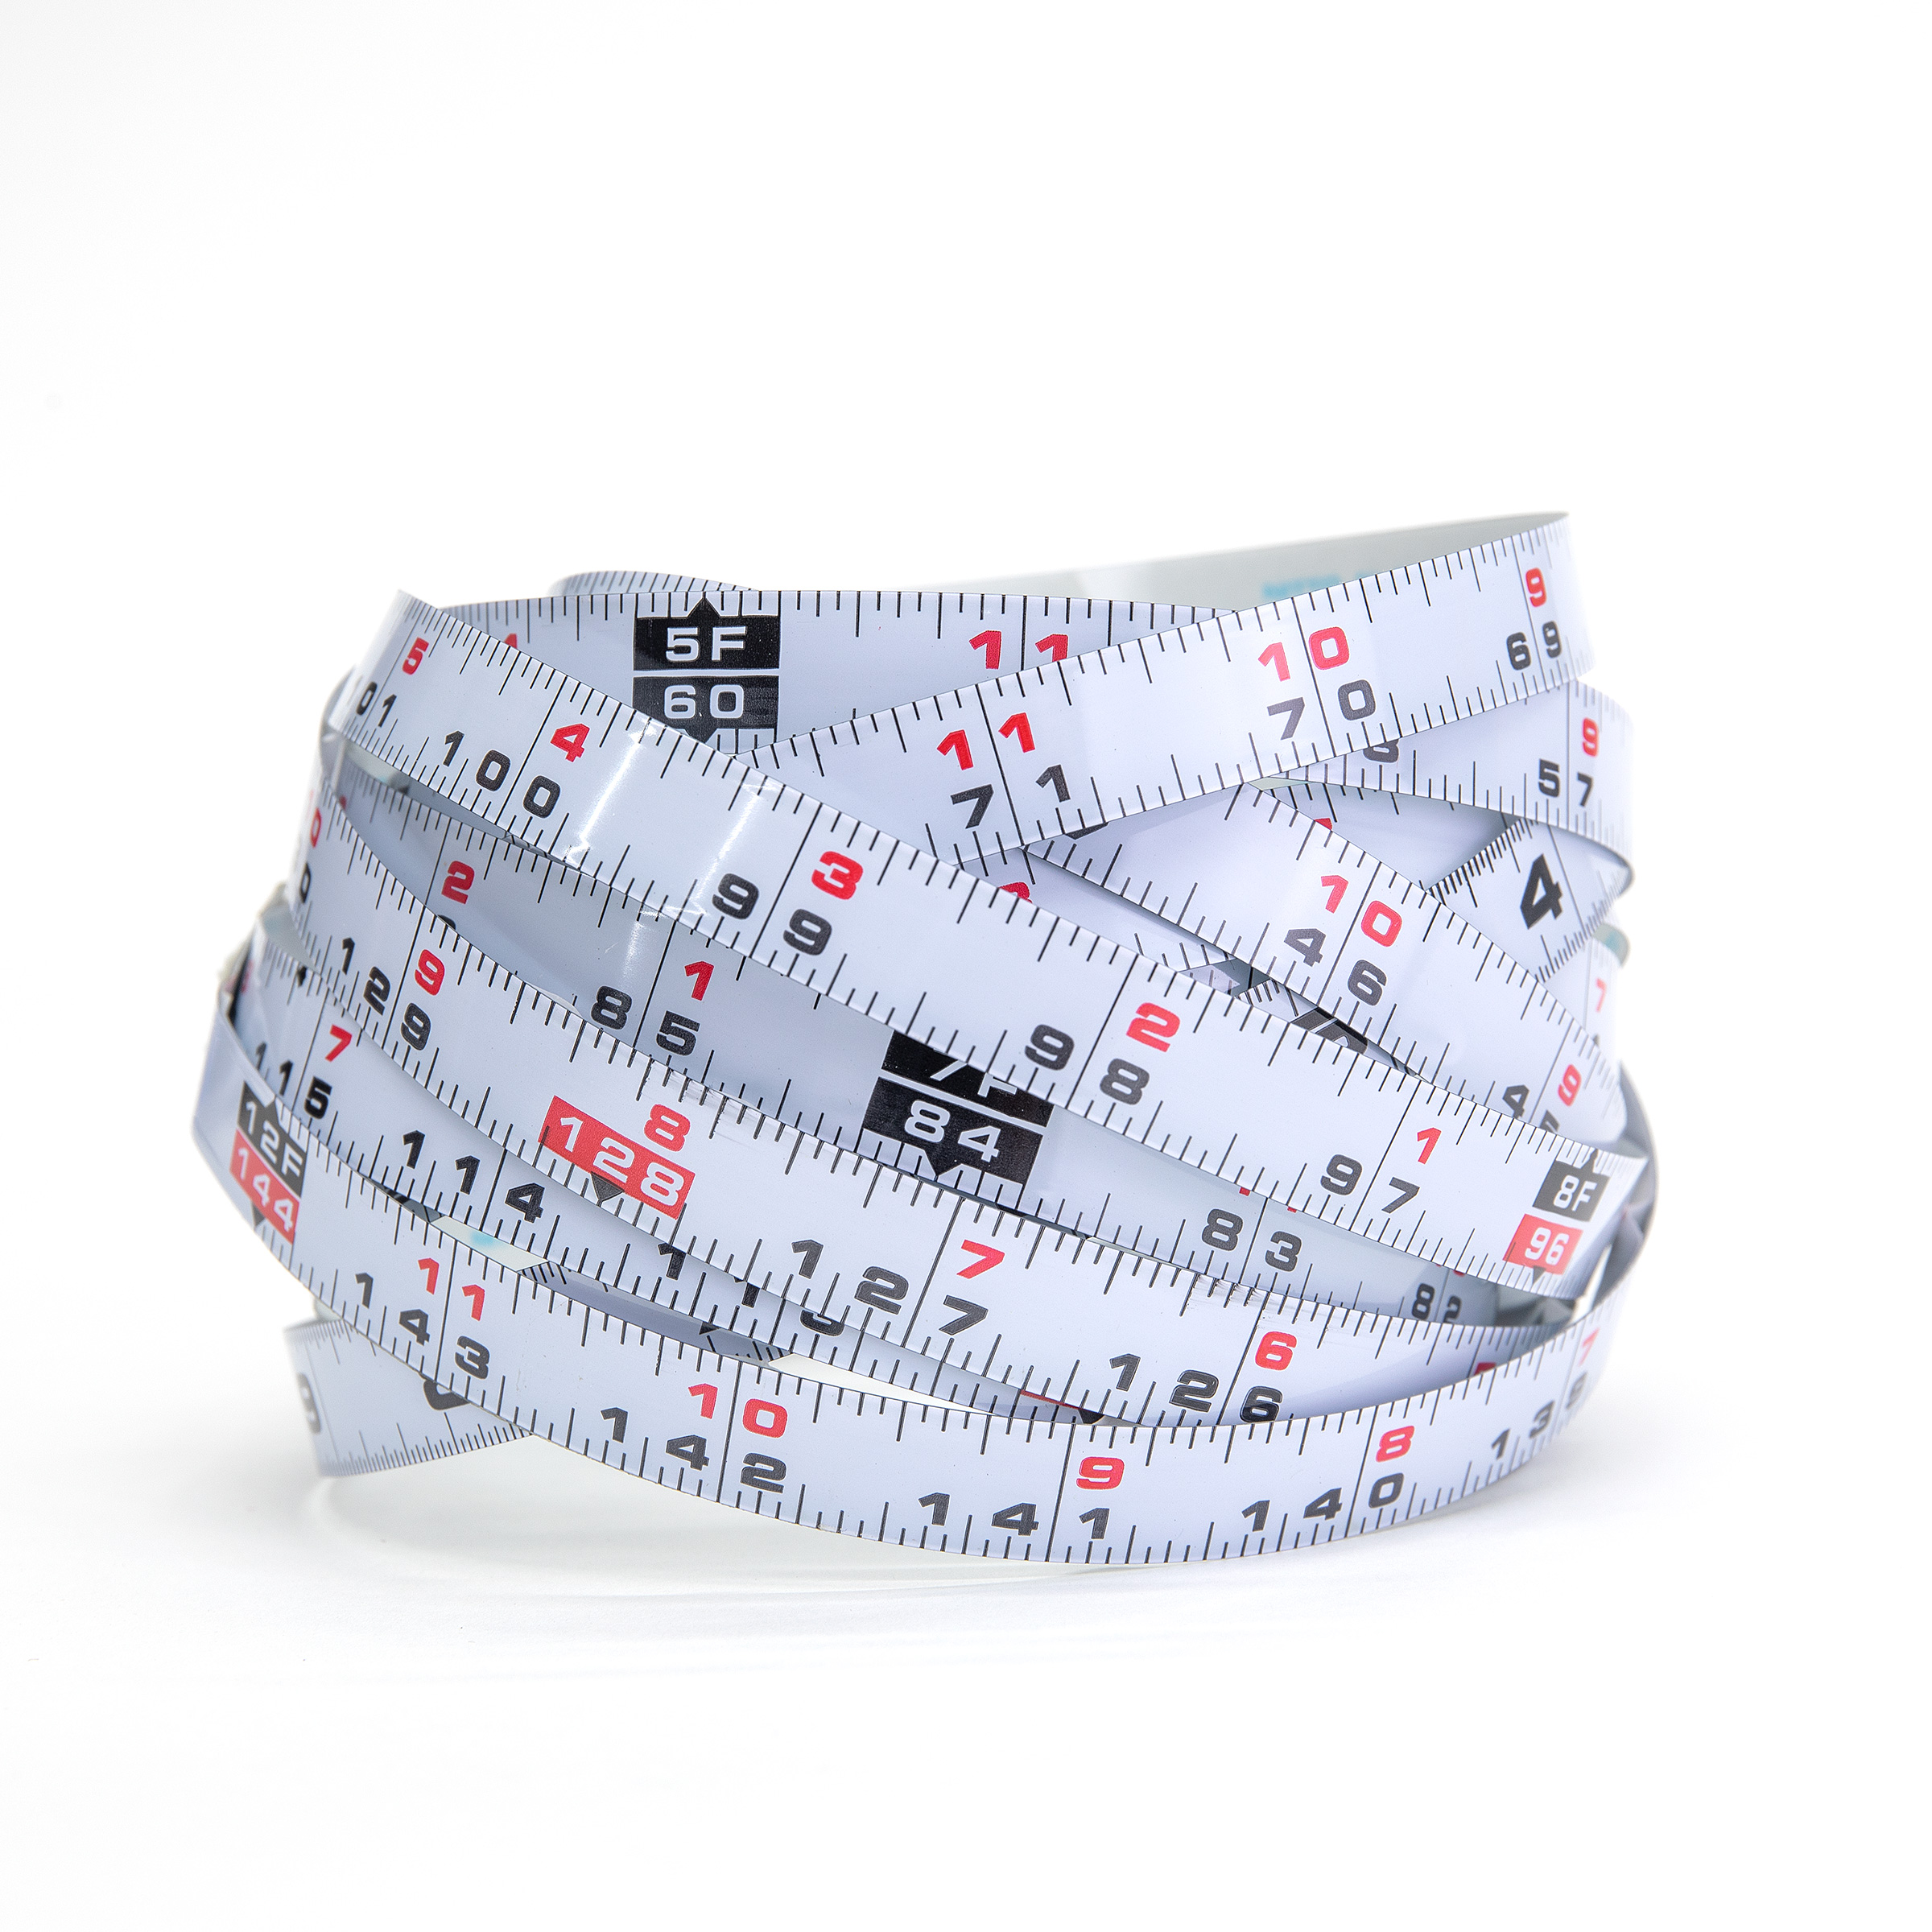
Fractional Tape Measures
Fractional tapes are designed to provide measurements in fractional increments, making them ideal for woodworking tasks that demand meticulous accuracy.
Understanding Fractional Measurements
Fractional measurements play a crucial role in woodworking, where precision is often measured in fractions of an inch. here’s what you need to know about fractional measurements:
The Significance of Fractional Measurements:
In woodworking, even the smallest discrepancy can have a significant impact on the final product. Fractional measurements allow craftsmen to achieve precise cuts and joinery, ensuring a seamless fit and finish.
How Fractional Measurements are Displayed:
Fractional measurements are typically displayed as fractions of an inch, with common fractions including halves, quarters, and eighths.
Tips for Handling Fractional Measurements Accurately:
-
Go slow and pay attention to detail
-
Double-check measurements and ensure consistency throughout the project
-
Invest in a high-quality tape measure with clear and legible markings to minimize errors
What is the easiest way to read a tape measure?
The easiest way to read a tape measure is to follow these steps:
Identify the units
Determine whether the tape measure is in inches (imperial) or centimeters (metric). Most tape measures have both imperial and metric units marked on them, so ensure you’re looking at the right scale.
Locate the numbers
Find the whole numbers (e.g., 1, 2, 3), as these indicate the full units of measurement, whether inches or centimeters, and they give you a basis to work from.
Look for additional markings between the whole numbers
These represent fractions of an inch (e.g., halves, quarters, eighths) or millimeters in the metric system.
Read the measurement
Once you’ve identified the whole number and any fractional or decimal markings, combine them to determine the total measurement.
Consider the end hook
Remember that the end hook of the tape measure adds a certain amount to the measurement, usually around a sixteenth of an inch. Ensure the end hook is properly aligned with the edge of the object you’re measuring to get an accurate reading.
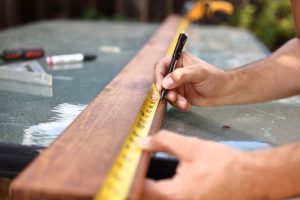
Maintain tension
Keep the tape measure taut and straight while taking measurements to prevent inaccuracies caused by sagging or bending.
Double-check
Always double-check your measurements to ensure accuracy, especially when precise cuts are crucial for your project.
By following these simple steps and practicing regularly, you’ll become more comfortable and proficient at reading a tape measure accurately, making your woodworking projects smoother and more precise.
Techniques for Accurate Measurement
What is the most accurate way to measure using the tape measure?
The accuracy of measurements taken with a tape measure depends on several factors, including the technique used and the condition of the tape measure itself. Follow the steps above to ensure accurate, consistent measurement.
Advanced Tips and Tricks
For seasoned woodworkers looking to elevate their measuring game, here are some advanced tips and tricks to consider:
Measuring Irregular Surfaces and Objects:
When measuring irregular shapes or surfaces, use a flexible tape measure or contour gauge to capture accurate dimensions. Take multiple measurements from different angles to ensure precision.
The Use of Story Poles and Measuring Aids:
Story poles, long strips of wood marked with measurement increments, are invaluable tools for complex projects. Use them to transfer measurements and dimensions accurately, eliminating the need for repeated measuring and reducing the risk of errors.
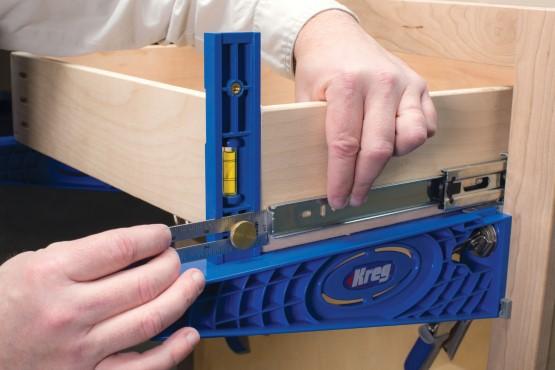
Measuring Techniques for Angles and Diagonals:
For angled cuts and diagonal measurements, consider using a combination square or bevel gauge to establish precise angles. Take extra care to ensure that your measurements are consistent and symmetrical to achieve optimal results.