Mid-Century Modern Side Table
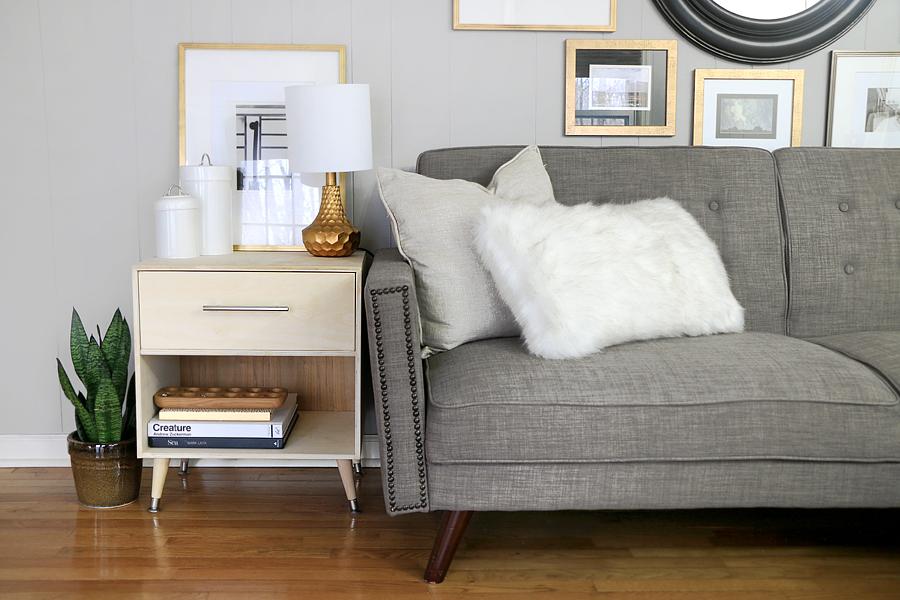
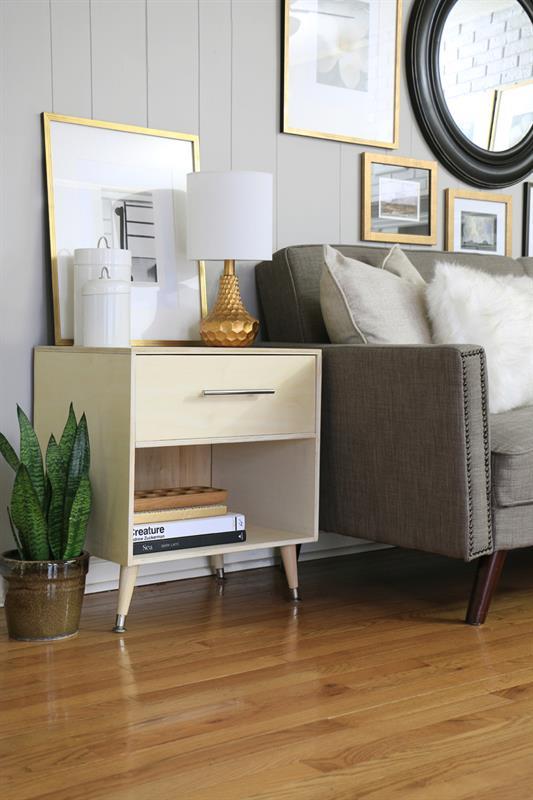
By Home Made by CarmonaMake a simple mid-century styled piece as a side table for your bedroom, or an end table for your living room! The simple design is an easy assembly and is great for a small weekend project!
Directions
-
Cut Boards to Size
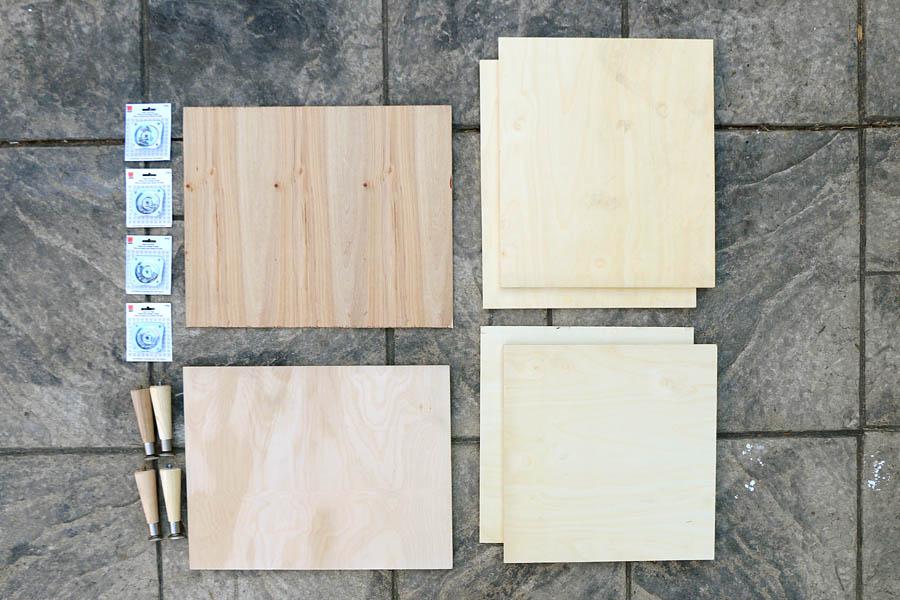
Using the provided cut list, cut your white birch wood, and 1/4" backing to size. Sand the edges as smoothly as possible since they will show!
-
Drill Pocket Holes
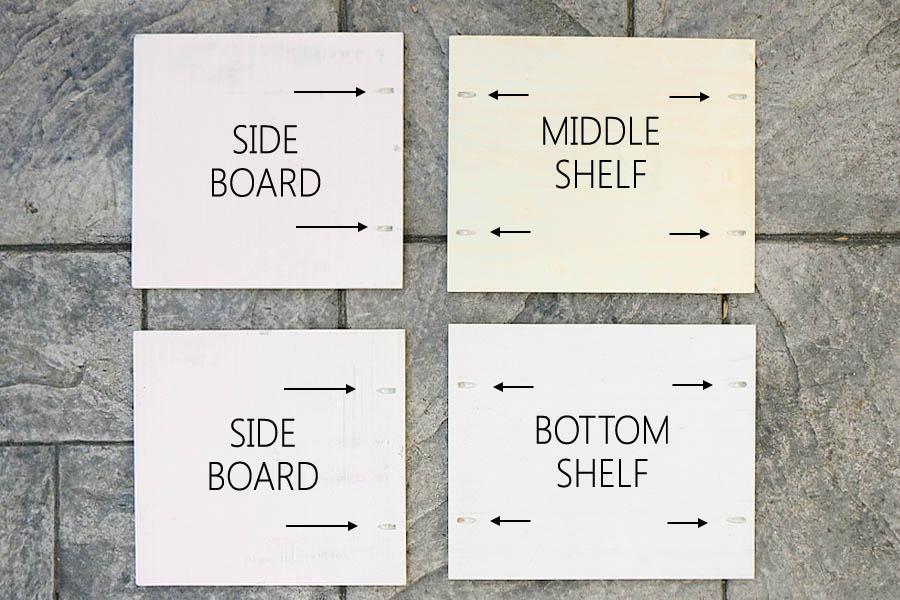
Using a Kreg jig, drill pocket holes for 1" Kreg screws. Drill two pocket holes in the long end of both 17" side boards. Drill two pocket holes in both long ends of the 19" middle shelf and bottom shelf. Be sure the pocket holes are drilled on the "back" side (the side you don't want seen), except for the middle shelf.
-
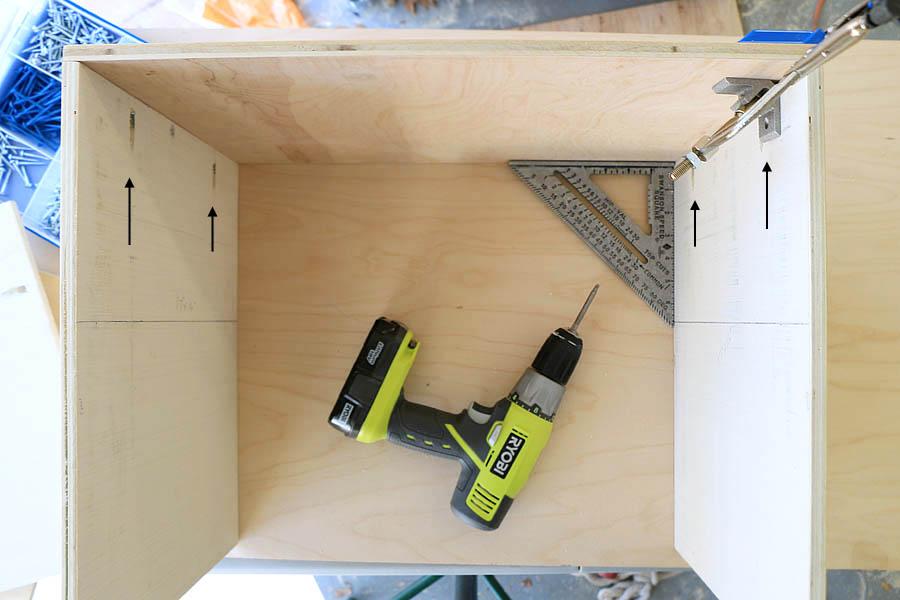
Attach Side Boards to Top
Screw the 17" side boards into the 20" nightstand top via the pocket holes. Use a carpenter's square to ensure the angles are perfect, and use Kreg clamps to hold the piece together.
-
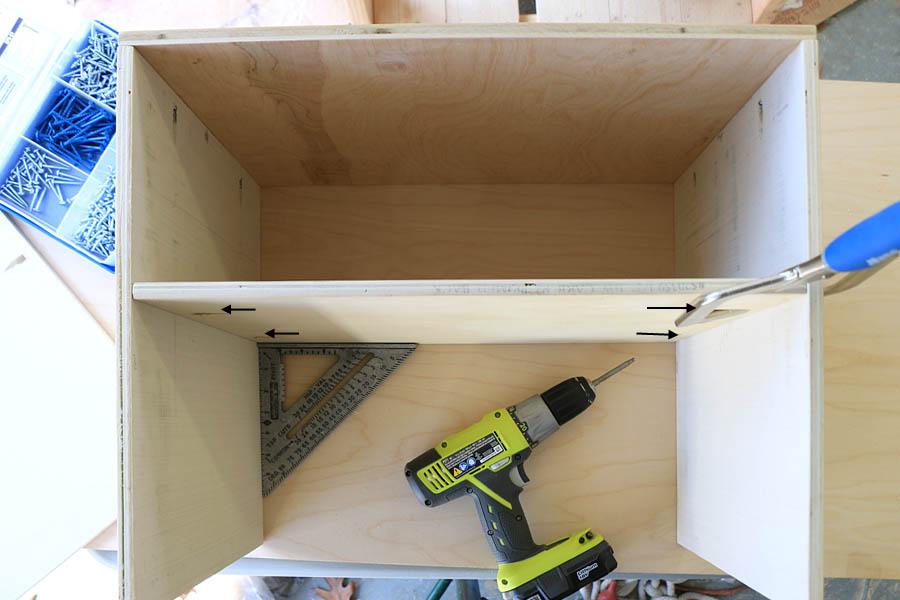
Add the Middle Shelf
Measure and mark a line on each sideboard, 7 inches from the top. That 7" opening will be where your drawer goes. Place your 19" middle board to the line, square it off, clamp, and attach via the pocket holes.
-
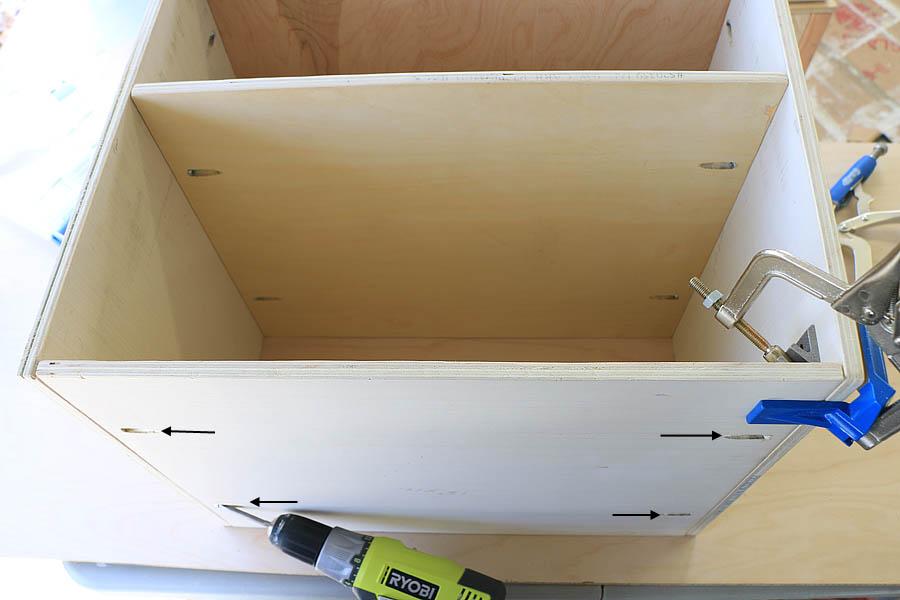
Attach Bottom Shelf
Finally, attach the bottom shelf via pocket holes, this time the pocket holes face outward (this is the bottom of your end table). Set your drawer base aside, it is time to build your drawer!
-
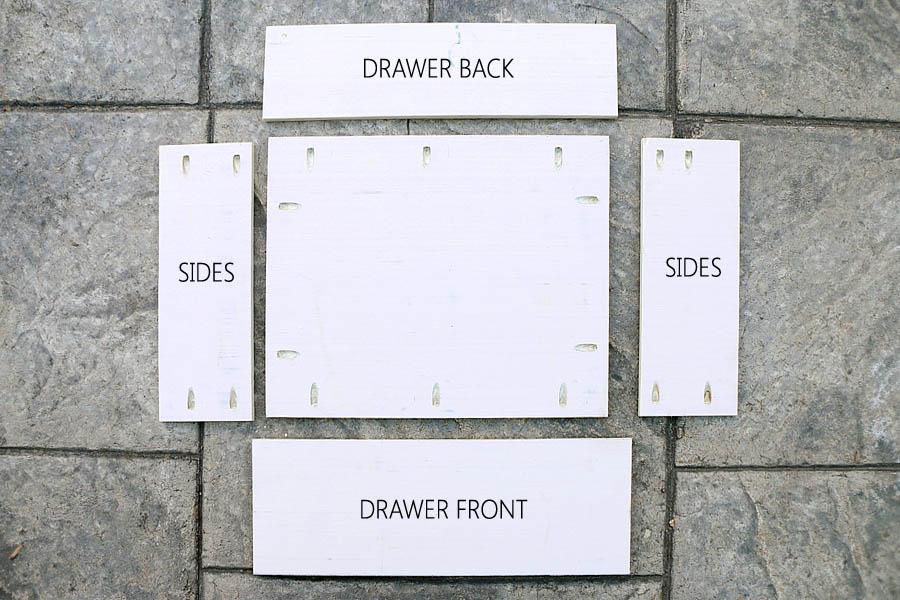
Drawer Pocket Holes
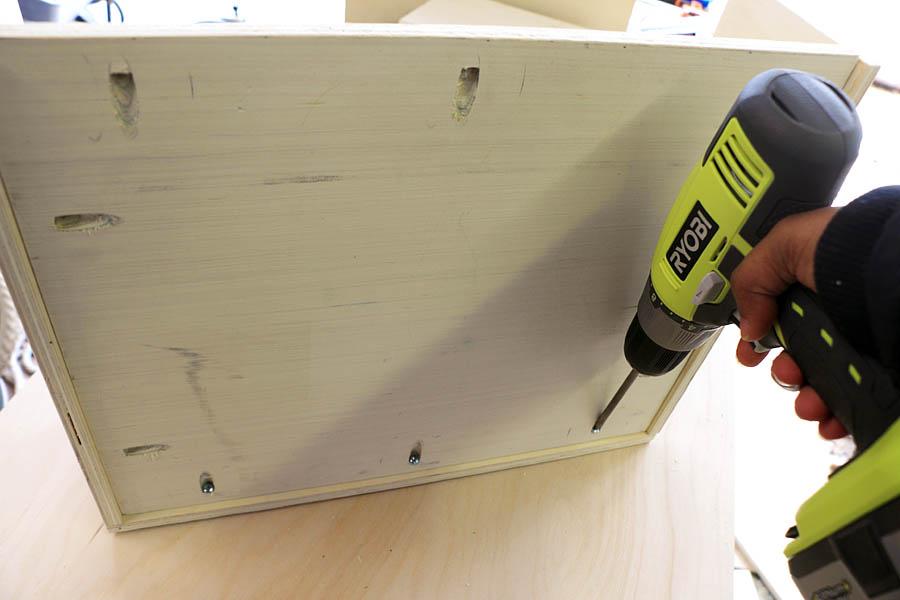
Drill holes on the side of the wood that will be the outside pieces. Two holes in the long sides of both 5"x14" drawer sides, and two to three holes in all four sides of the 17"x14" drawer base.
-
Attach Drawer Sides
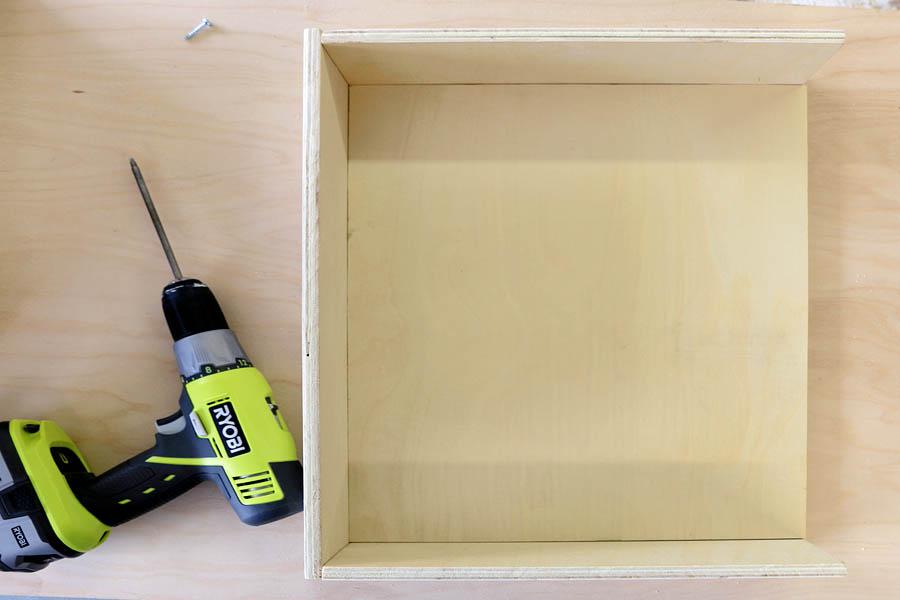
Clamp, and screw three of the four drawer sides (pocket holes facing out). Leave off the 6-7/8"x18-7/8" drawer front until later. Be sure to attach the pieces around the drawer base, this will keep it square and tight around the base.
-
Attach Drawer Base
Gently flip the drawer upright, keeping the base intact with the sides. Recess the base by an 1/8 to 1/4 of an inch (this ensures screw heads won't scrape the bottom when pulling the drawer in and out). Attach the base to the three sides via the pocket holes.
-
Attach Drawer Slides & Front
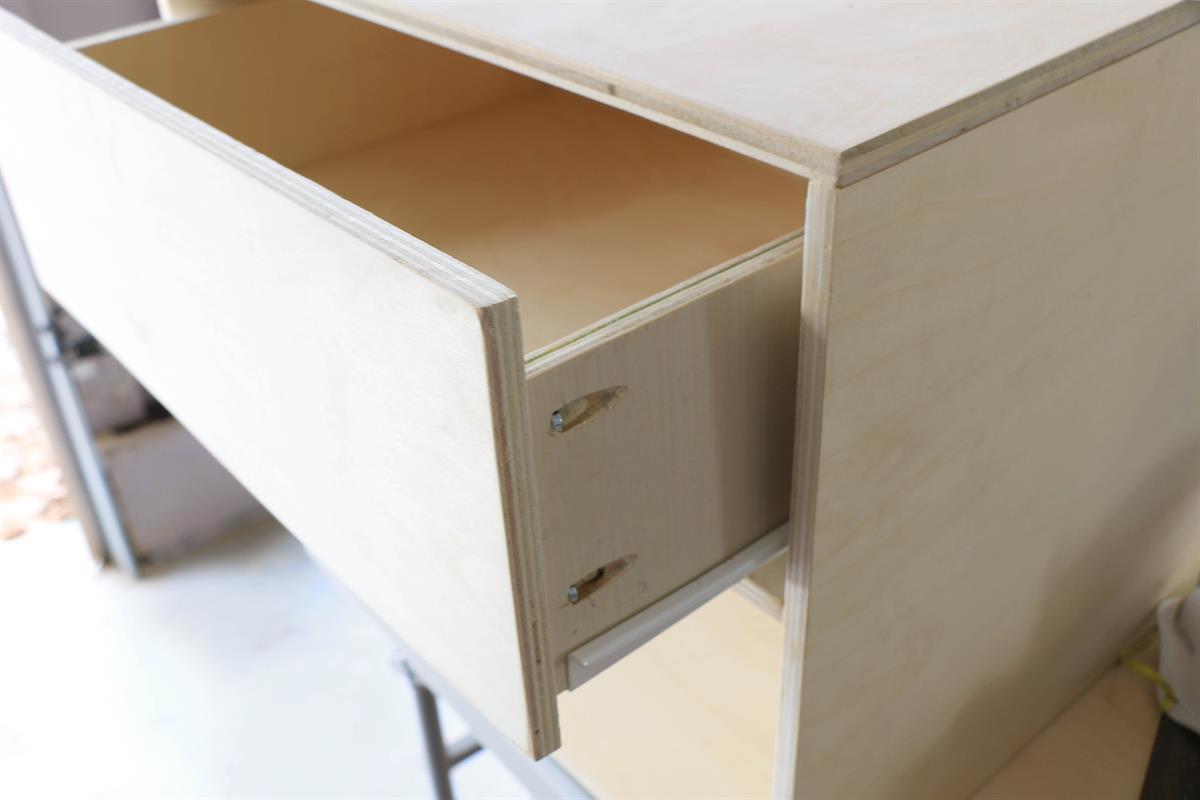
Attach drawer slides to the drawer base, and drawer. Now slide your three sided drawer into place. To attach the drawer front, place a band clamp (a thin strap...if not thin enough a thick ribbon will do)around the back of the drawer, through the sides, and wrapped around the drawer front panel. With the drawer closed, adjust the front panel to float in the center of the slight gap (there should be a total of a 1/8" gap on one side), tighten the strap, slowly open the drawer just enough to reveal the pocket holes on either side, and screw into the front panel. Remove the drawer and screw into the front panel via pocket holes on the underside.
-
Add Feet, Backing, & Pulls
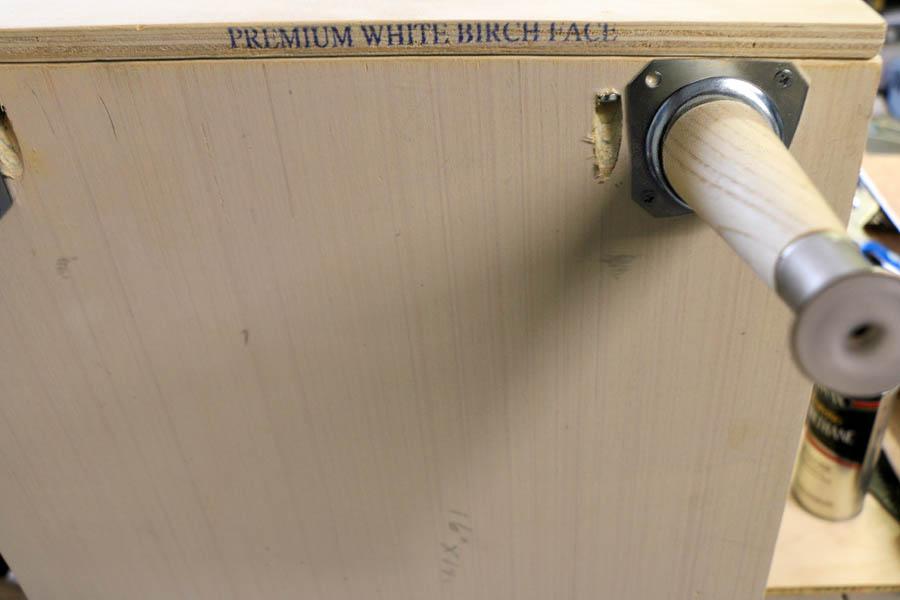
This is the time to paint or stain your side table / end table. Or if you prefer the natural wood grain, simply seal it with polyurethane. Add feet of choice, and drawer pulls. Finally, nail on the backing with the wood grain showing forward. Enjoy your gorgeous new side table or end table!!


