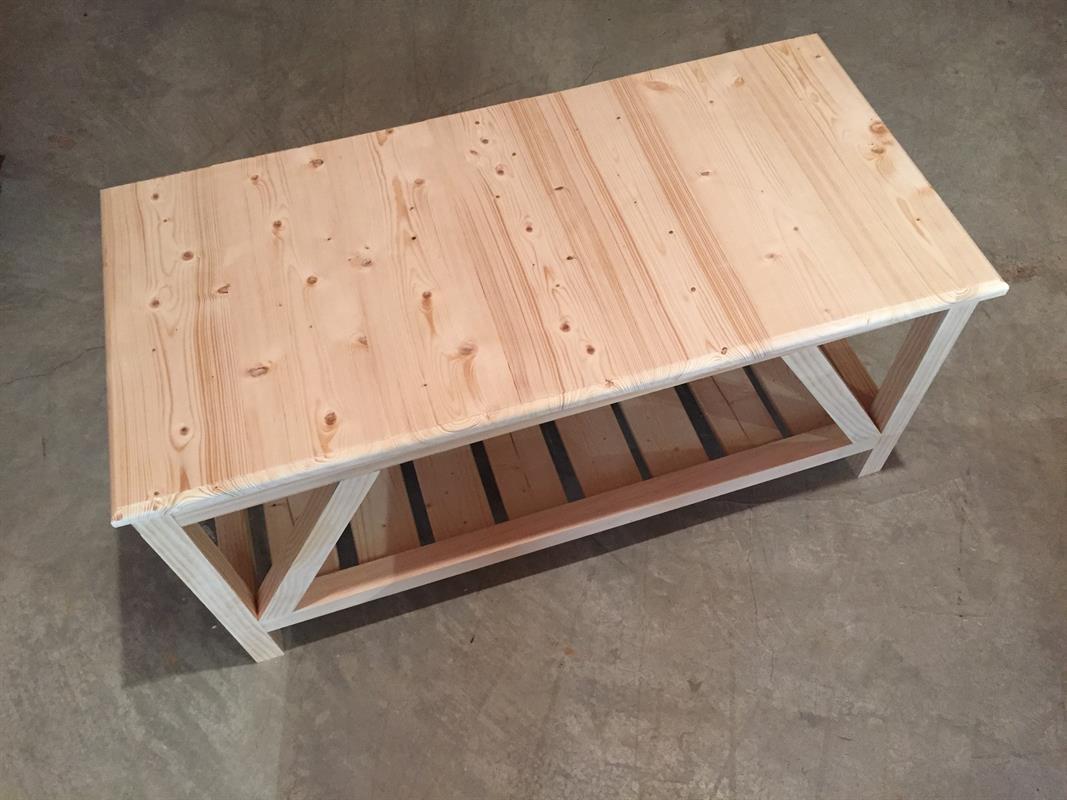


This coffee table is sized for a love seat, but could be made larger. I made this for my granddaughter's college apartment. I used wood glue and dowel pins on the frame and wood screws and glue on the top. I also have plans for a matching end table.
Tools
Kreg Tools

Other Tools
-
Miter Saw

-
Square
-
Tape Measure
-
Clamps
-
Drill (cordless)
-
Router
-
Router Table
-
Sander
Materials
Wood Products
- 5 Board , 2x2 , 72"
- 3 Board , 1x4 , 72"
- 2 Board , 1x6 , 72"
Hardware & Supplies
- 16 3/8" wood dowels
- 8 Kreg 1 1/2" Pocket Screws
- 1 TiteBond wood glue
- 1 Minwax Pre-stain
- 1 Varathane Traditonal Cherry Stain
- 1 Black Paint
Cut List & Parts
- 4 Legs , 1.5" x 1.5" x 18"
- 4 Short Rails , 1.5 x 1.5 x 15"
- 4 Long Rails , 1.5 x 1.5 x 35"
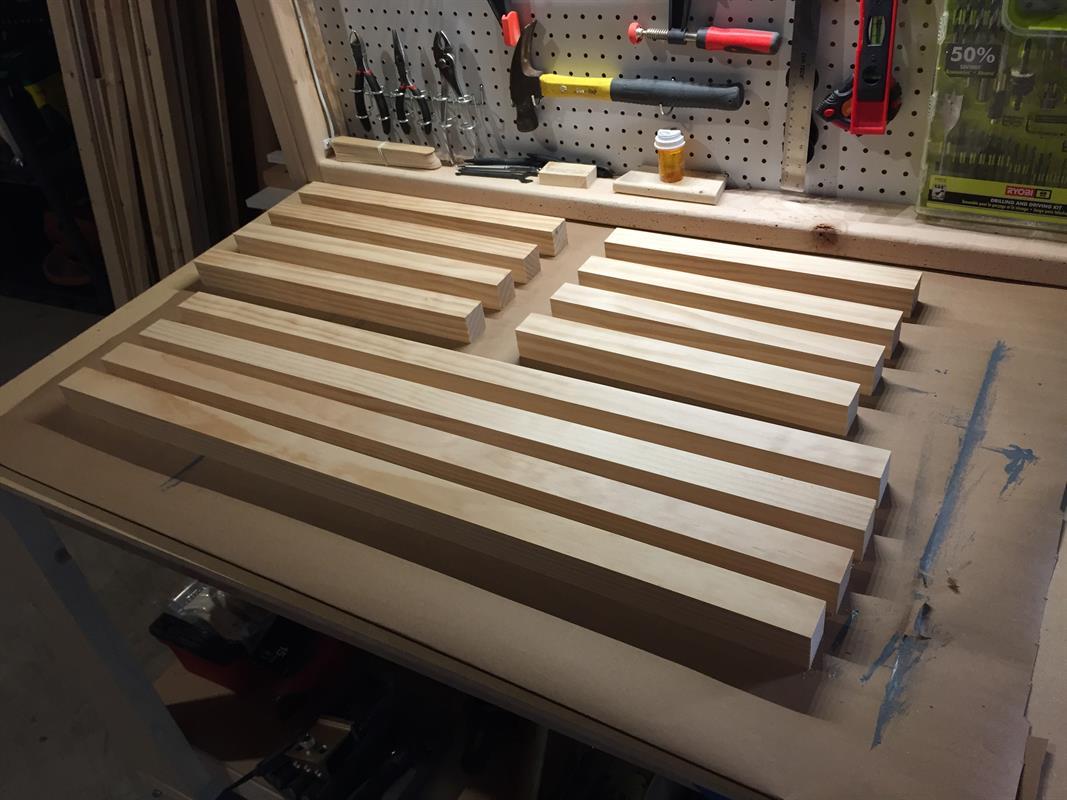
- 8 Slats , 5/8" x 3 1/2" x 15 3/4"
- 4 Angled Rails , 1.5 x 1.5 x 15"
- 6 Wide Table Top Boards , 3/4" x 5 1/2" x 20"
- 2 Narrow Table Top Boards , 3/4" x 3 1/2" x 20"
Directions
-
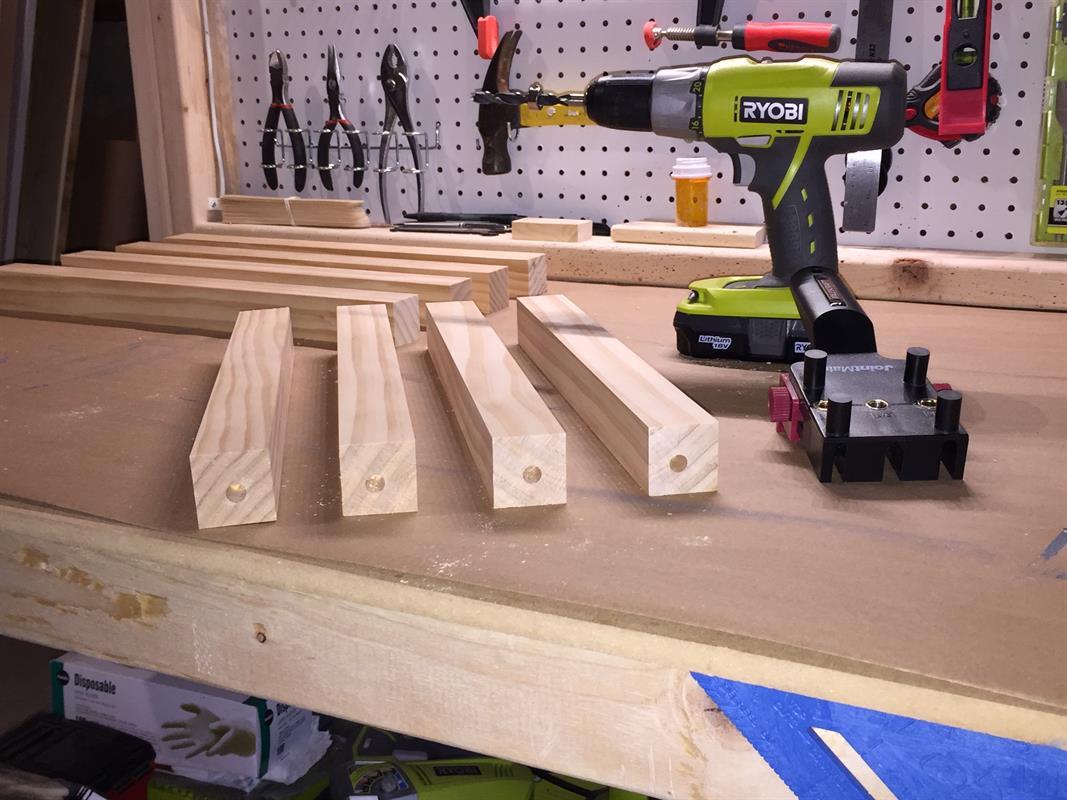
Drill 3/8" holes for dowels
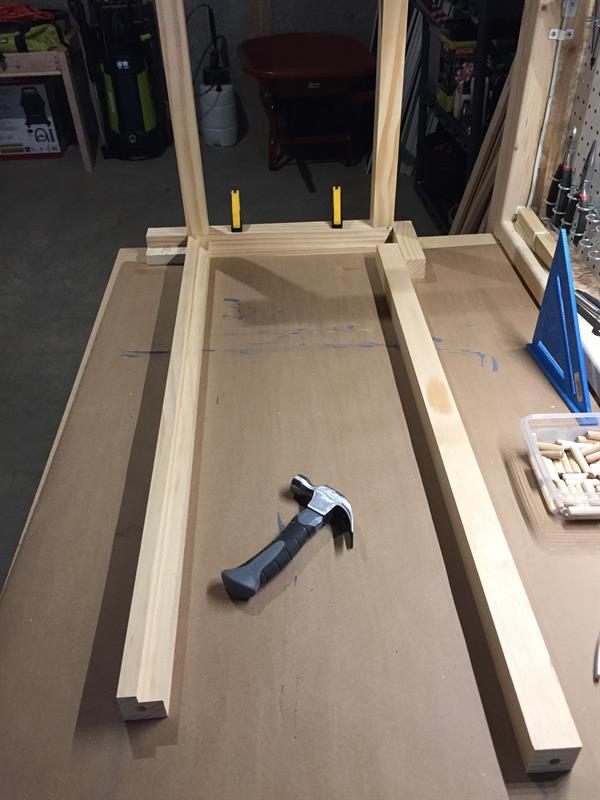
The short rails will be joined to the legs using dowels and glue. Using a dowel jig, drill one hole in both ends of the short rails. You may note that I didn't get the holes centered very well. I compensate for that later.
-
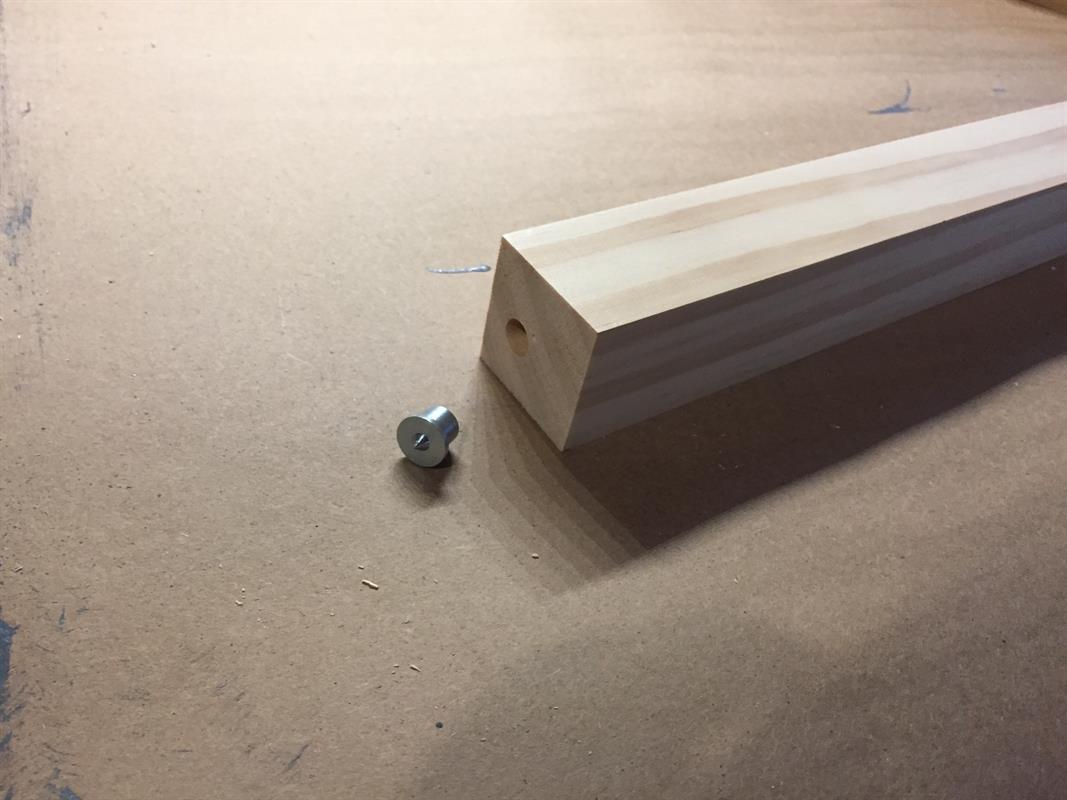
Insert dowel center pin
Insert a dowel center pin as shown in the photo into the short rail. This will be used to locate the desired drill point on the leg.
-
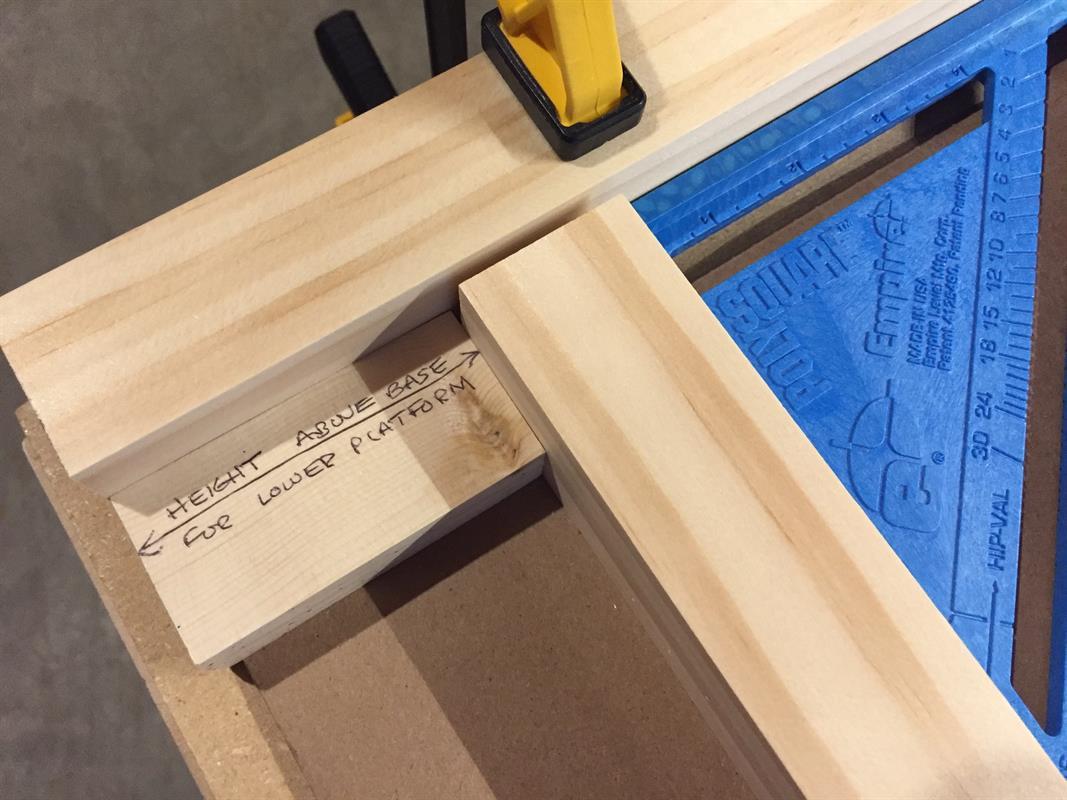
Drill 3/8" holes in legs
Secure a leg to your bench. To ensure the bottom part of my frame will be the right height I created a little jig from scrap wood. The height can be anything you want - I made mine 3" above the floor level. Once the bottom short rail is aligned in place, tap it with a hammer to create a pinhole in the leg. Align the top short rail flush with the top of the leg and tap it with the dowel center pin, too. Drill holes in the leg with 3/8" drill bit.
-
Complete side frame of table
Remembering that my dowel holes are not exactly centered, once I have drilled the holes in the leg I go ahead and attach the short rail right away so the joint will match up exactly. Once one leg is done, repeat the process for the opposite leg.
-
Glue and set aside
One shortcoming of using dowel pins is that the pace of the build slows to account for time for glue to dry.
-
Prepare long rails
Create a ledge for the bottom slats to rest on. I used a router to make a rabbet on two of the long rails. Since my slats are 5/8" thick, I made the rabbet 6/8" deep and 7/16" wide. This allows room to glue the slats in place. Next drill a 3/8" hole in each end of the long rails to hold the dowel pins. Take care to see the holes do not overlap the rabbets.

-
Attach long rails to side frames
Using the same technique used to locate and drill dowel holes in step 3, drill the 3/8" holes in the legs to accept the long rails. The rabbets must face inward so that a ledge is created on both sides for the slats to rest upon.
-
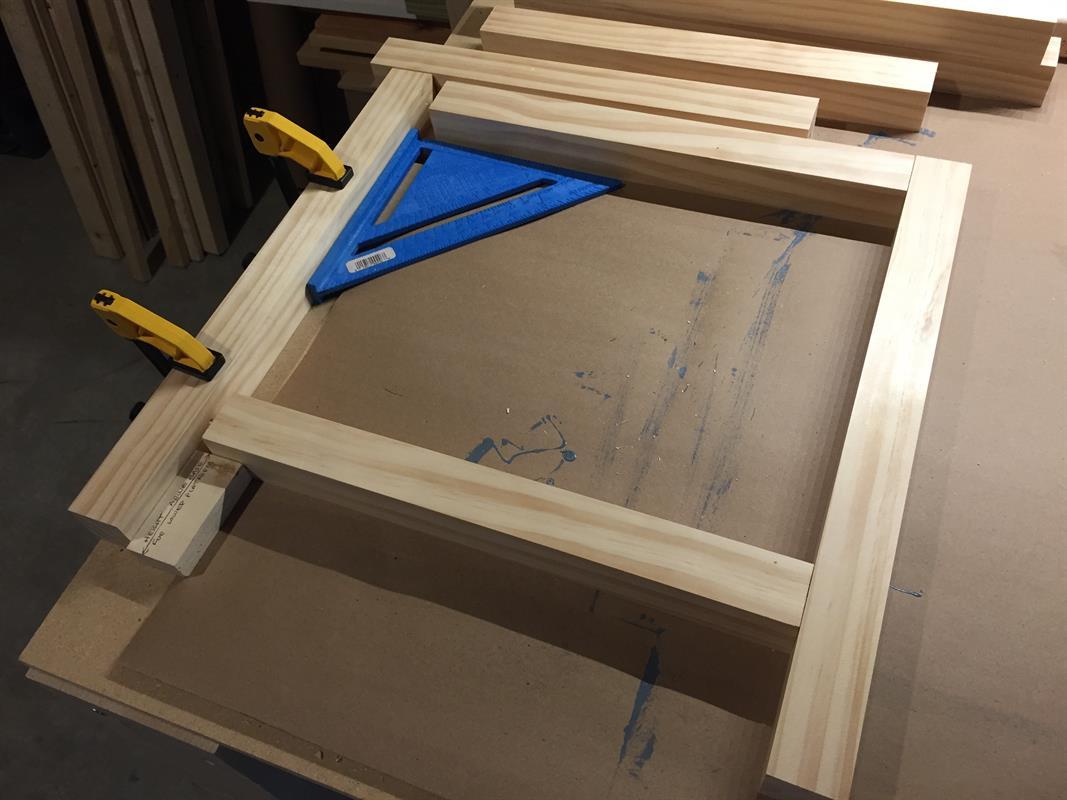
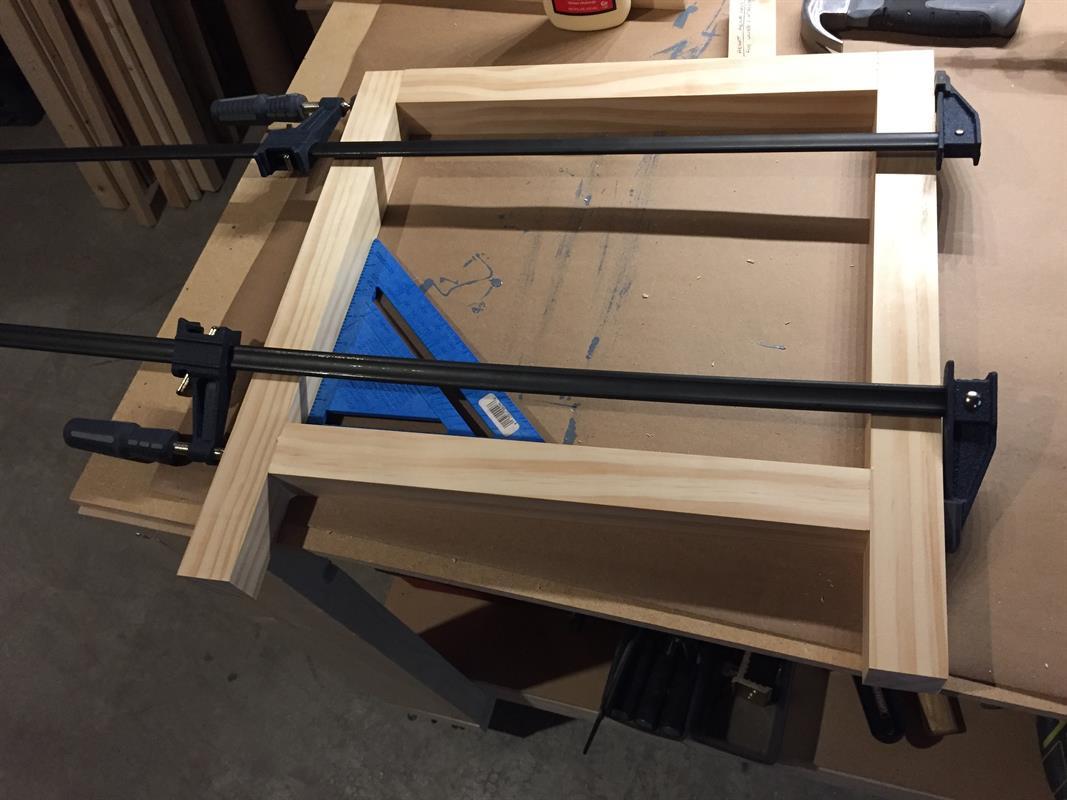
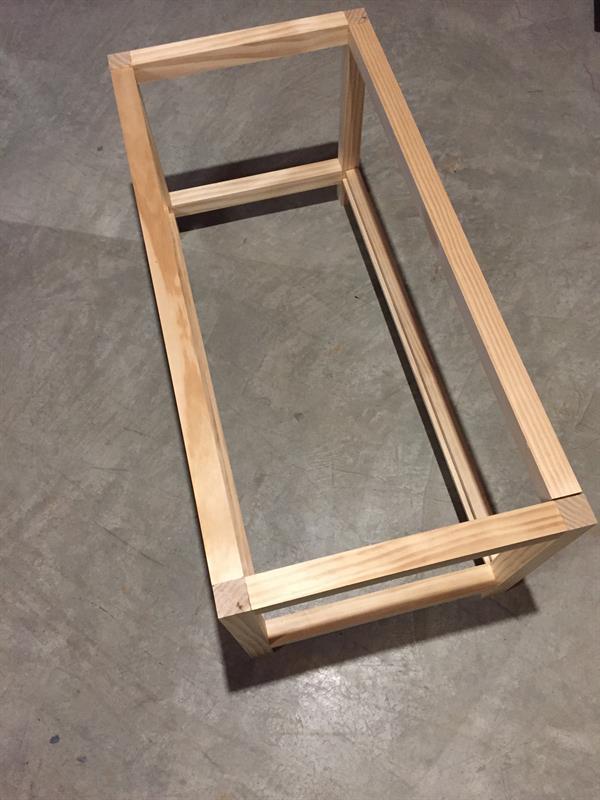
Frame completed
Here is your table frame assembled and ready for gluing.
-
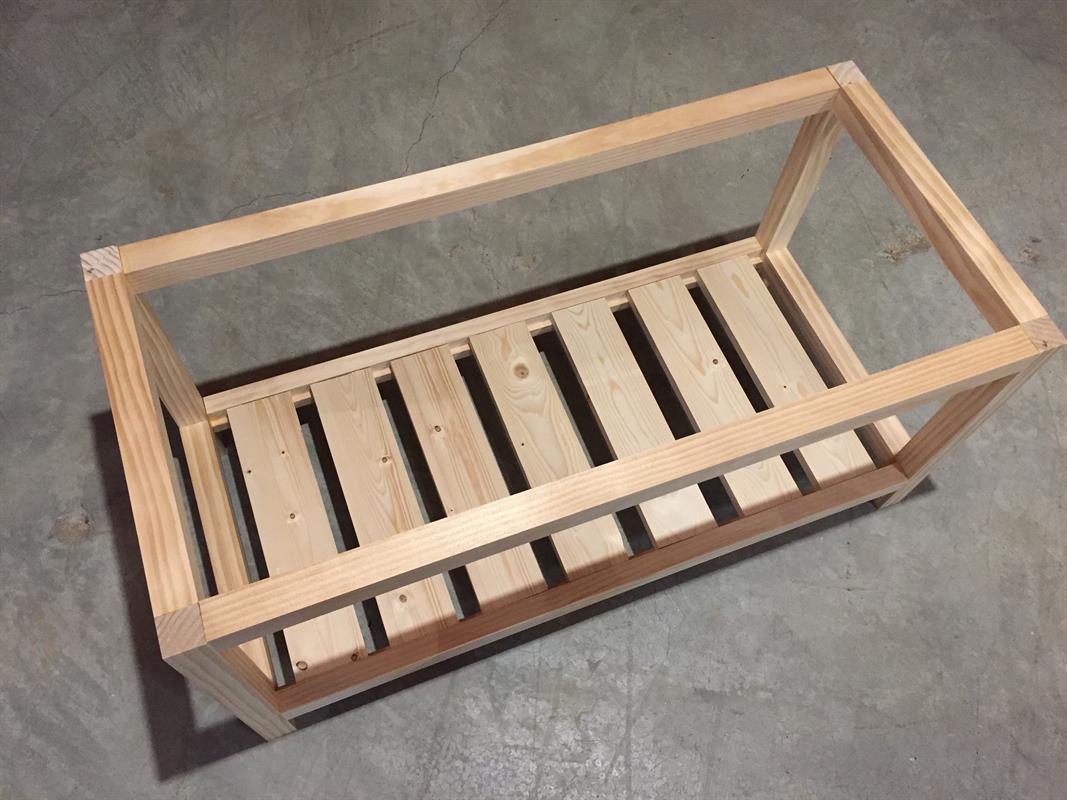
Glue Slats in Place
Slats should fit snugly atop the ledges in the bottom long rails. Run a bead of glue on the underside of the slat (each end) and press into place.
-
Attach Angled Rails
This step is a little subjective and the measurements you use may differ from mine. Miter the 1.5" x 1.5" x 15" angled rails with parallel cuts on each end so that the rail fits between the long rails on the front and back sides of the table. My miter saw has a detent at 22.5 degrees so I used that as the angle to cut. Make additional small cuts as needed to shorten the angled rail until you get a perfect fit as shown between the long rails. My angled rails ended up being 13" in length after all cuts. Glue in place.
-
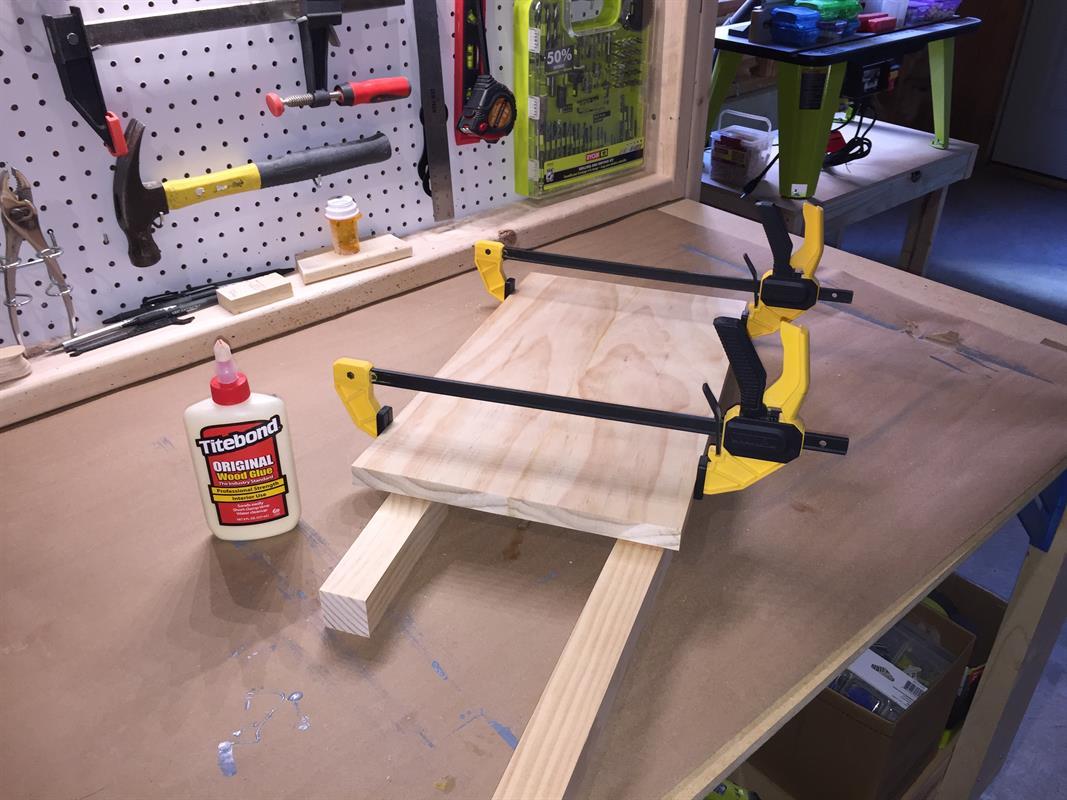
Assemble table top
Glue Wide Table Top Boards together to form the table top. To achieve the desired overhang, I use the Narrow Table Top Boards at each end. I glue the table top together two boards at a time until complete.
-
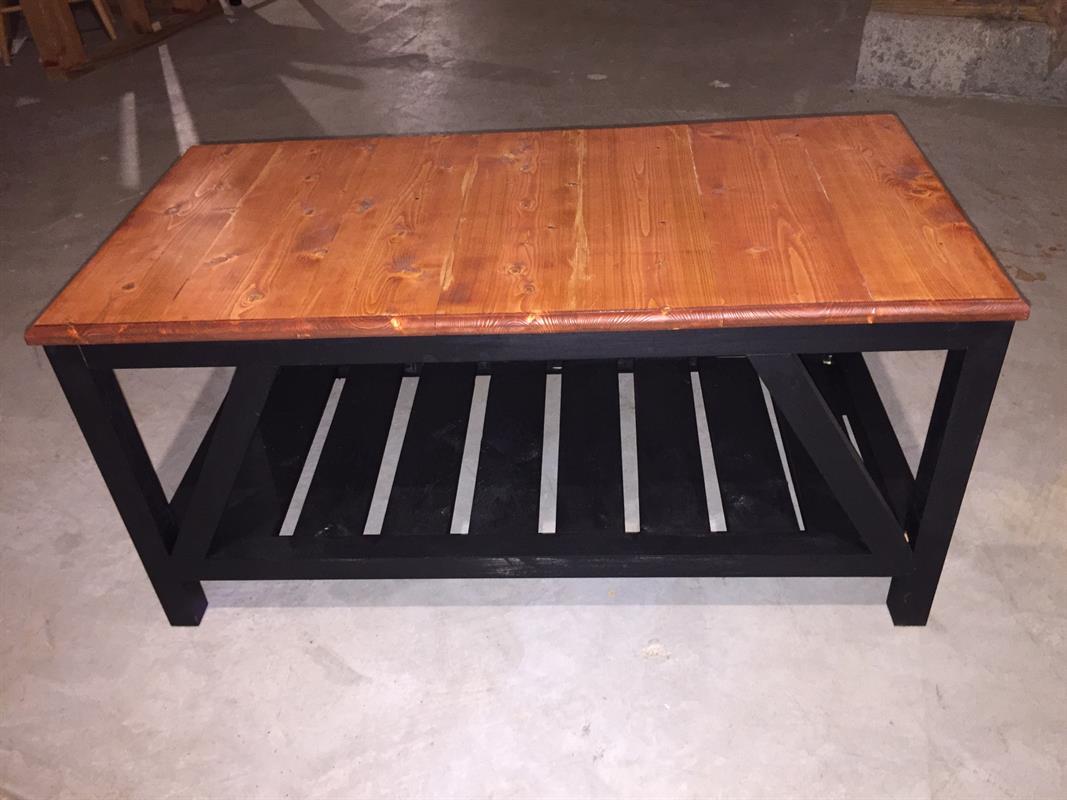
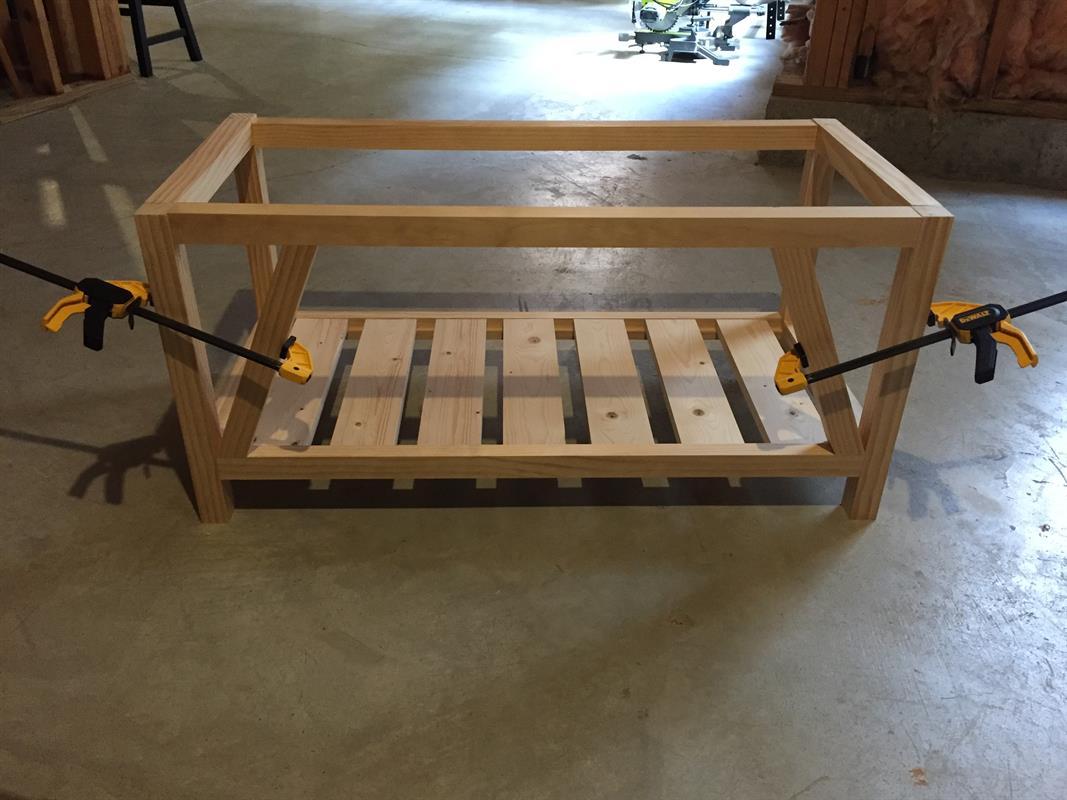
Secure table top to frame
Picture shows completed unfinished table. Glue and screw table top to frame to complete. Before securing table top, paint the frame as desired (I used black) and stain the top (I used Traditional Cherry).