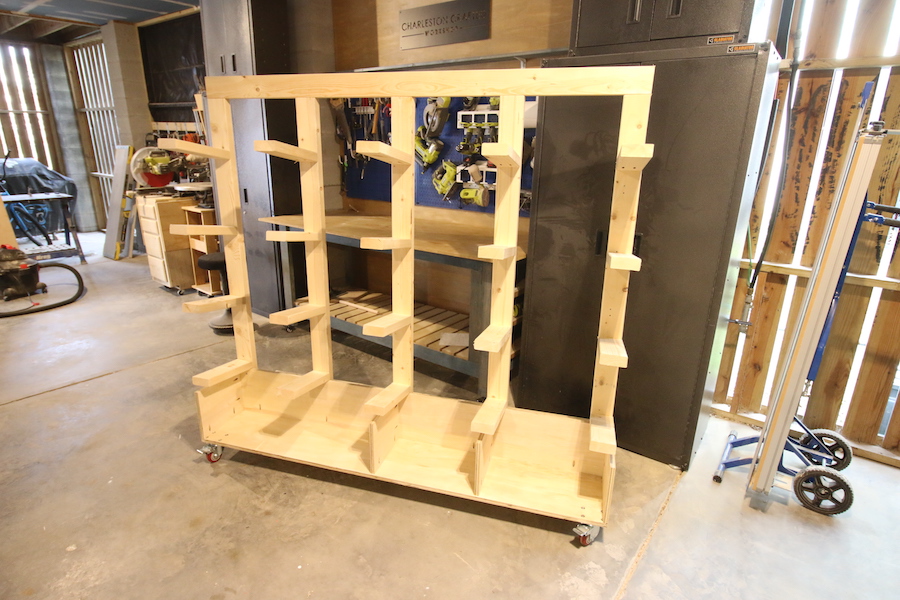
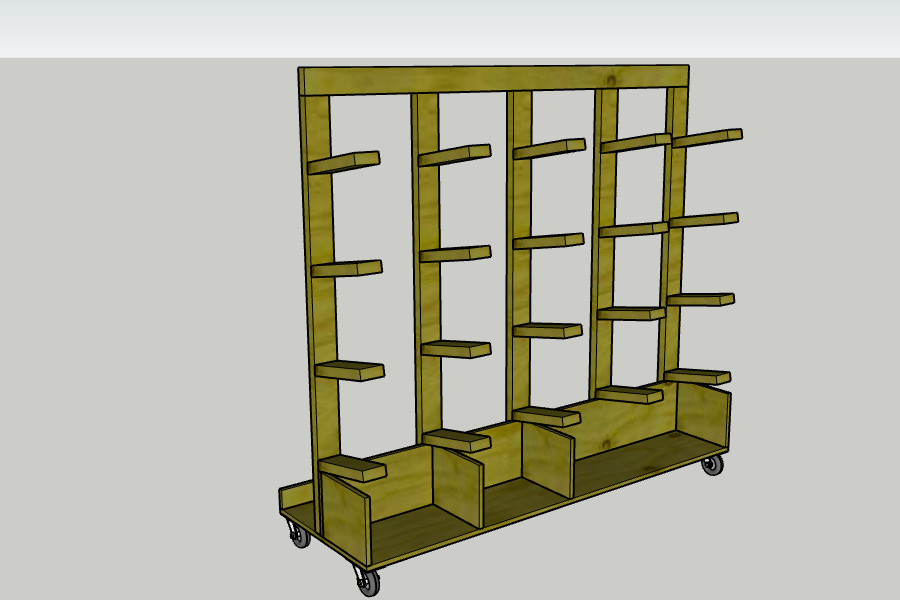
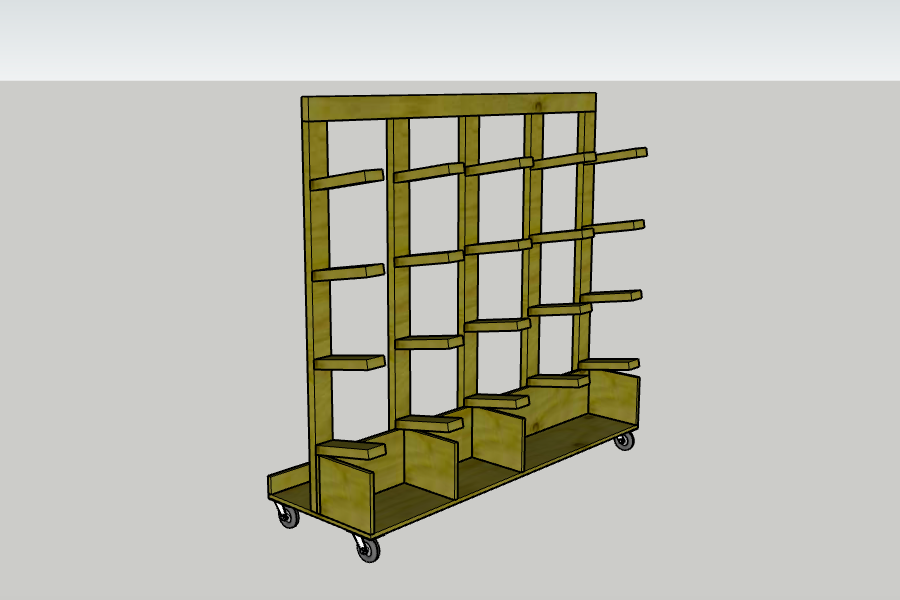
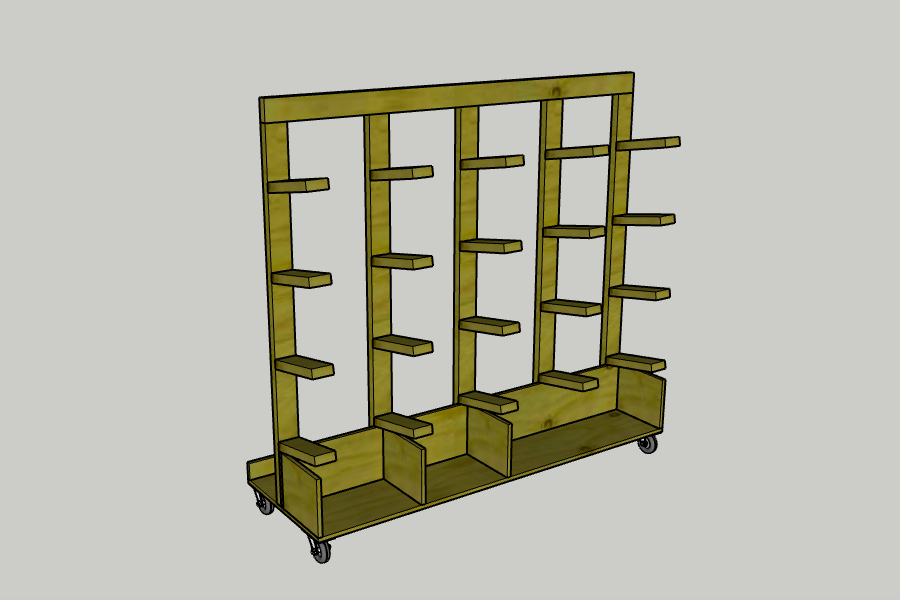


If you have scrap wood piling up all around you, you need this rolling vertical scrap wood storage station. This is the perfect scrap wood storage system because it includes racks for laying long pieces of boards, cubbies for shorter cutoffs, and space for leaning plywood.
Tools
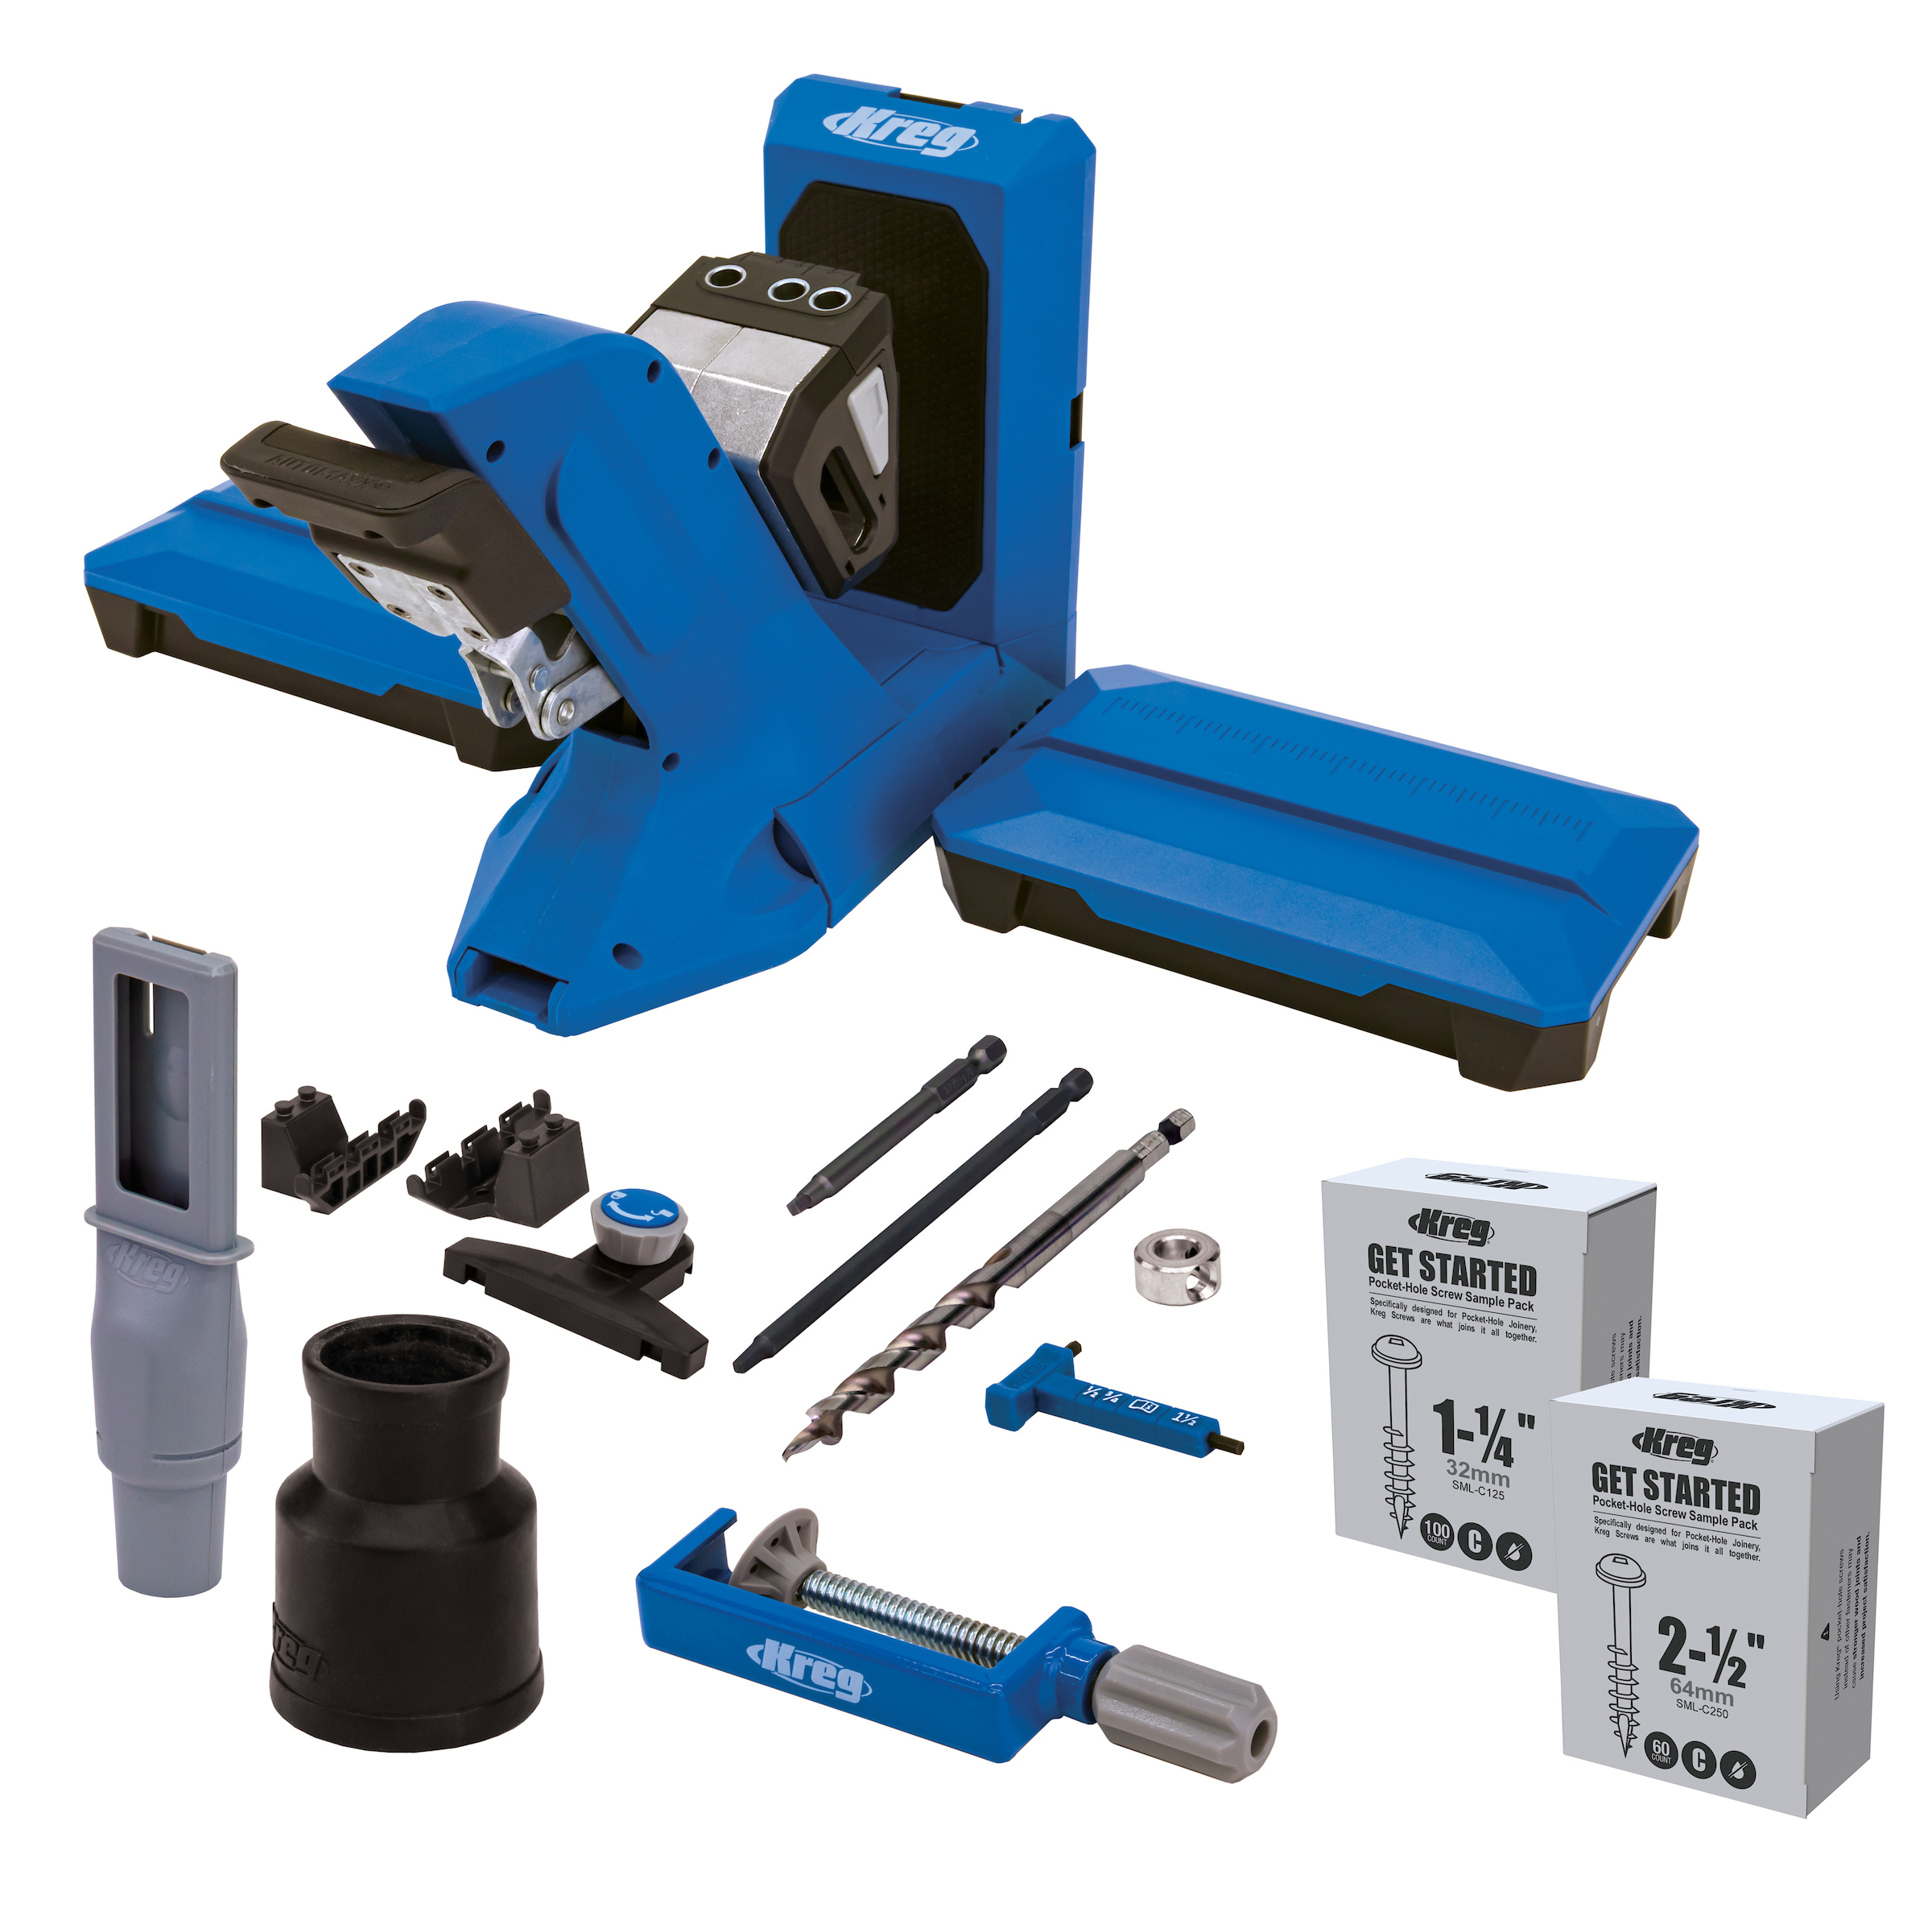
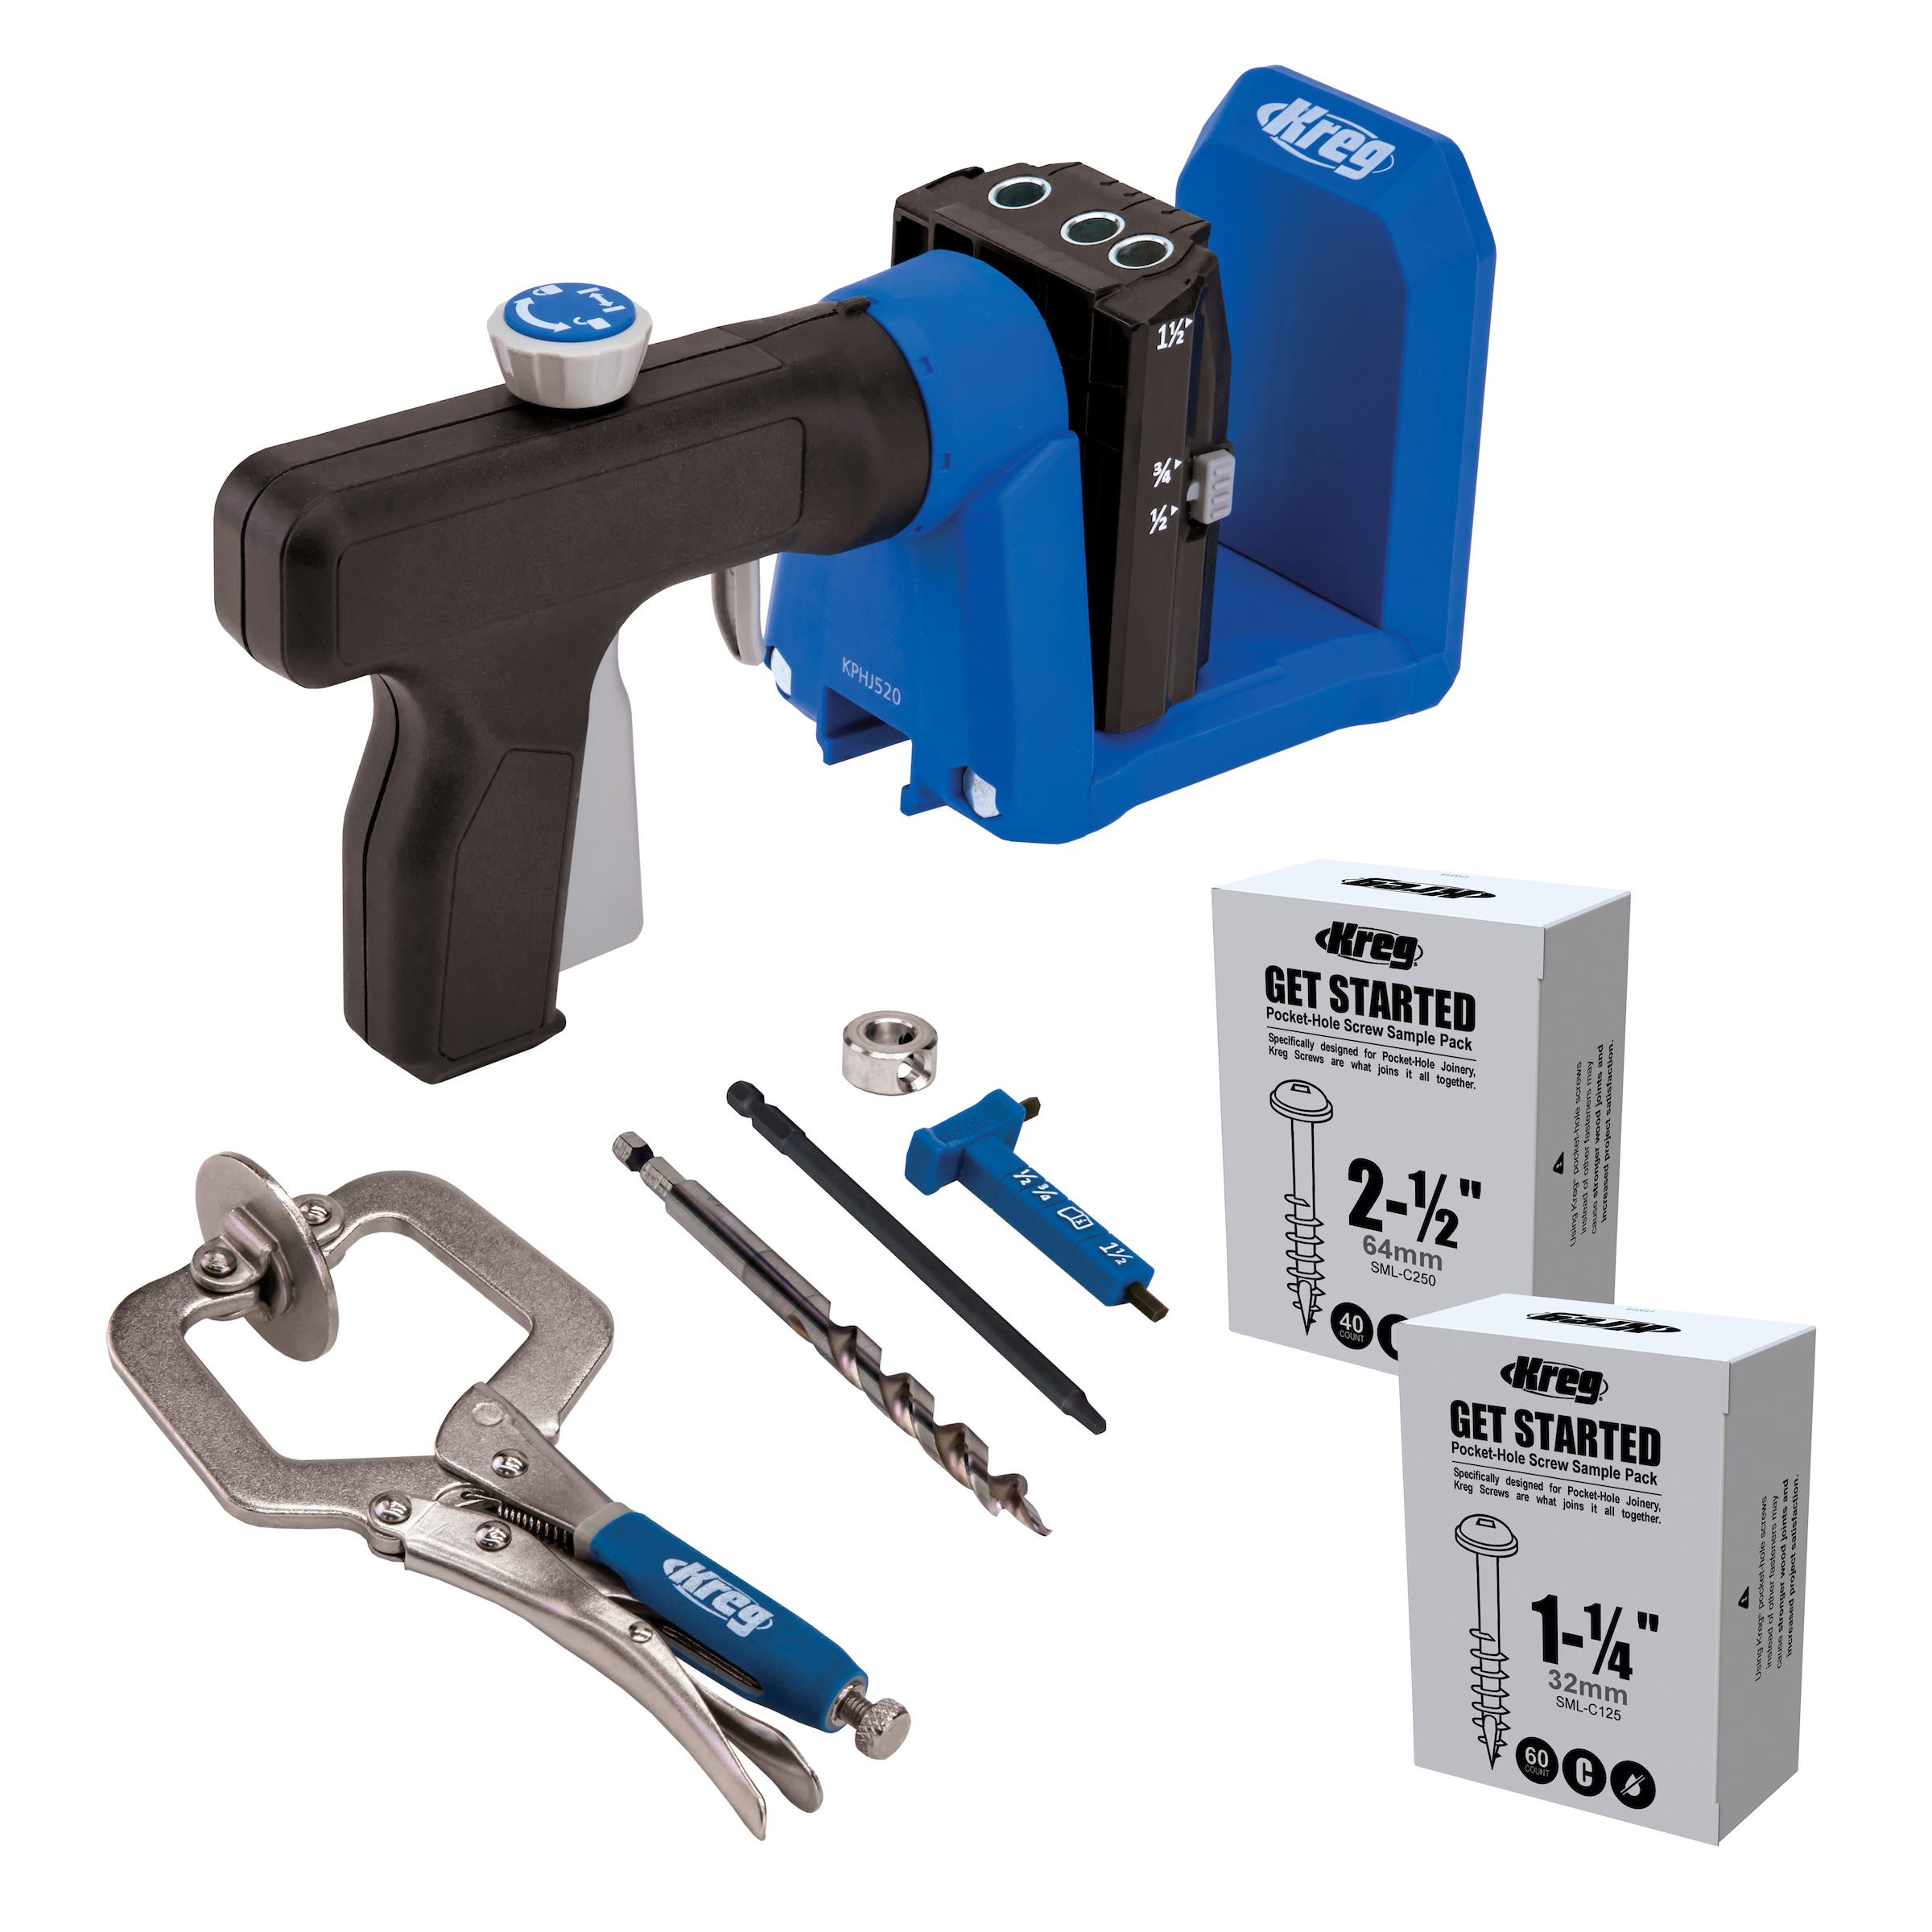
Kreg Tools
Other Tools
-
Table saw

-
Miter saw
-
Cordless drill
-
Orbital sander
-
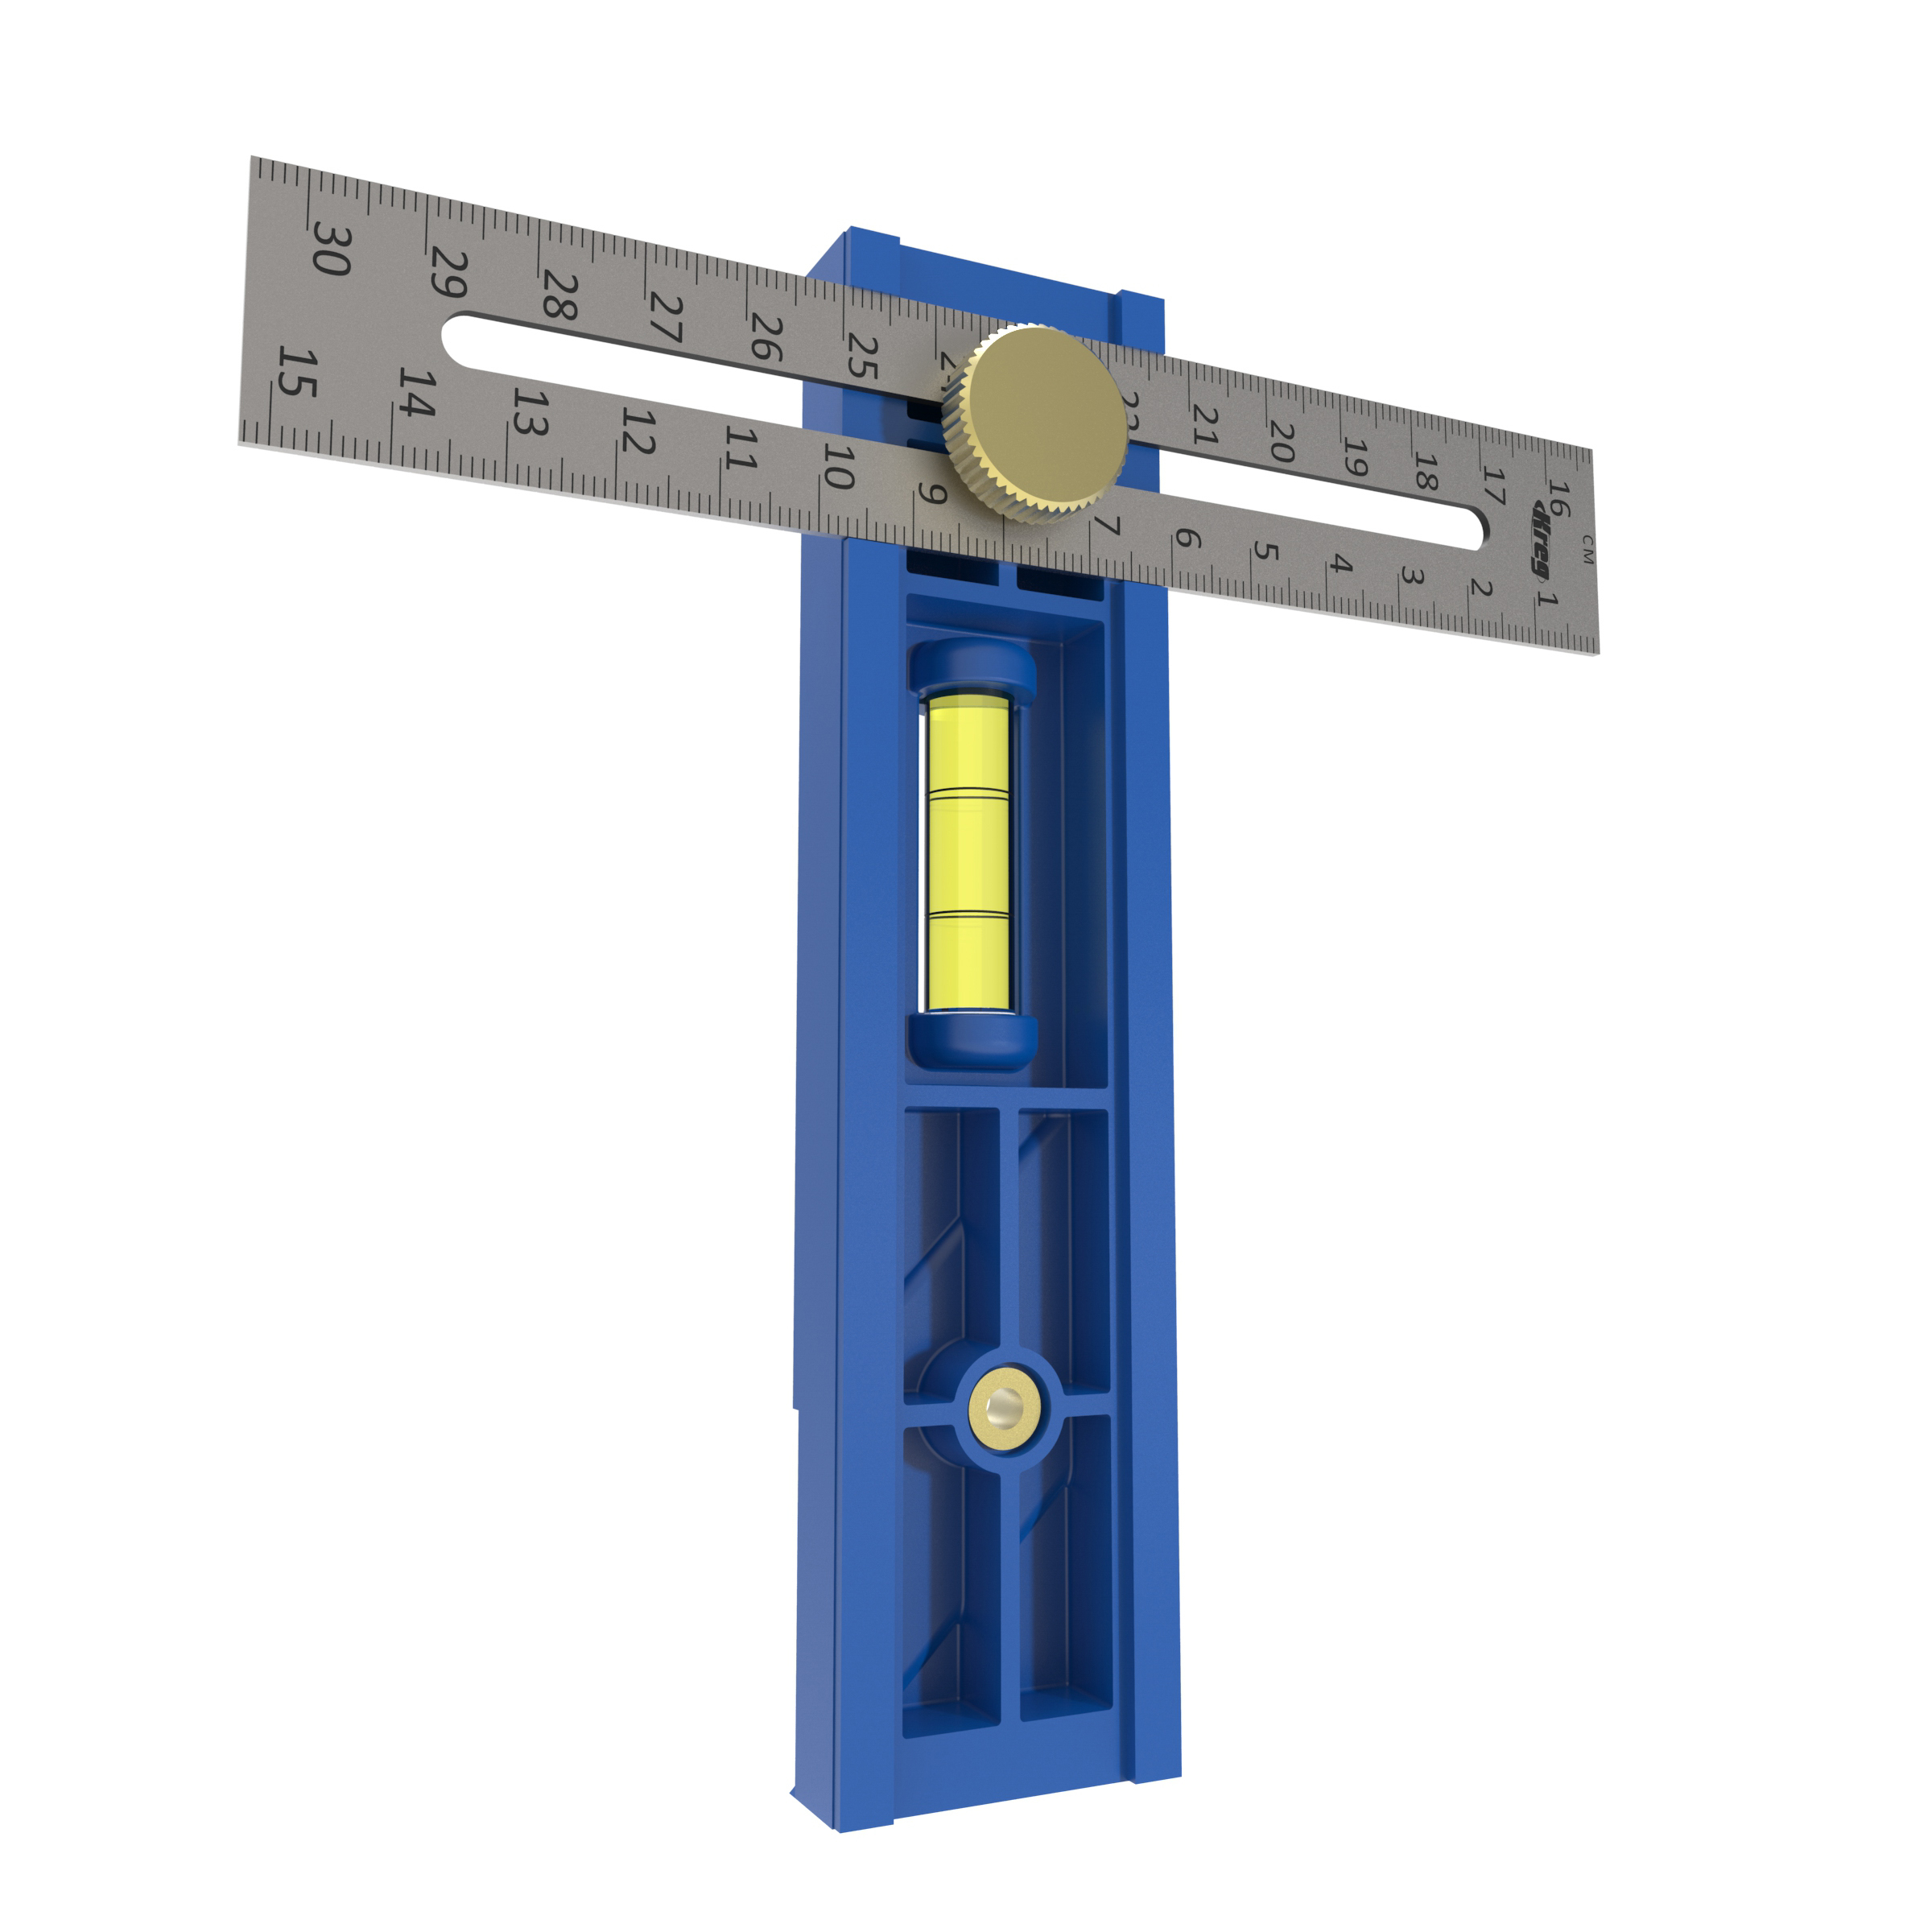
Measuring tape
Materials
Wood Products
- 1 Plywood sheet , 3/4" x 4' x 8'
- 7 Boards , 8' x 2" x 4"
Hardware & Supplies
- 4 3" Locking casters
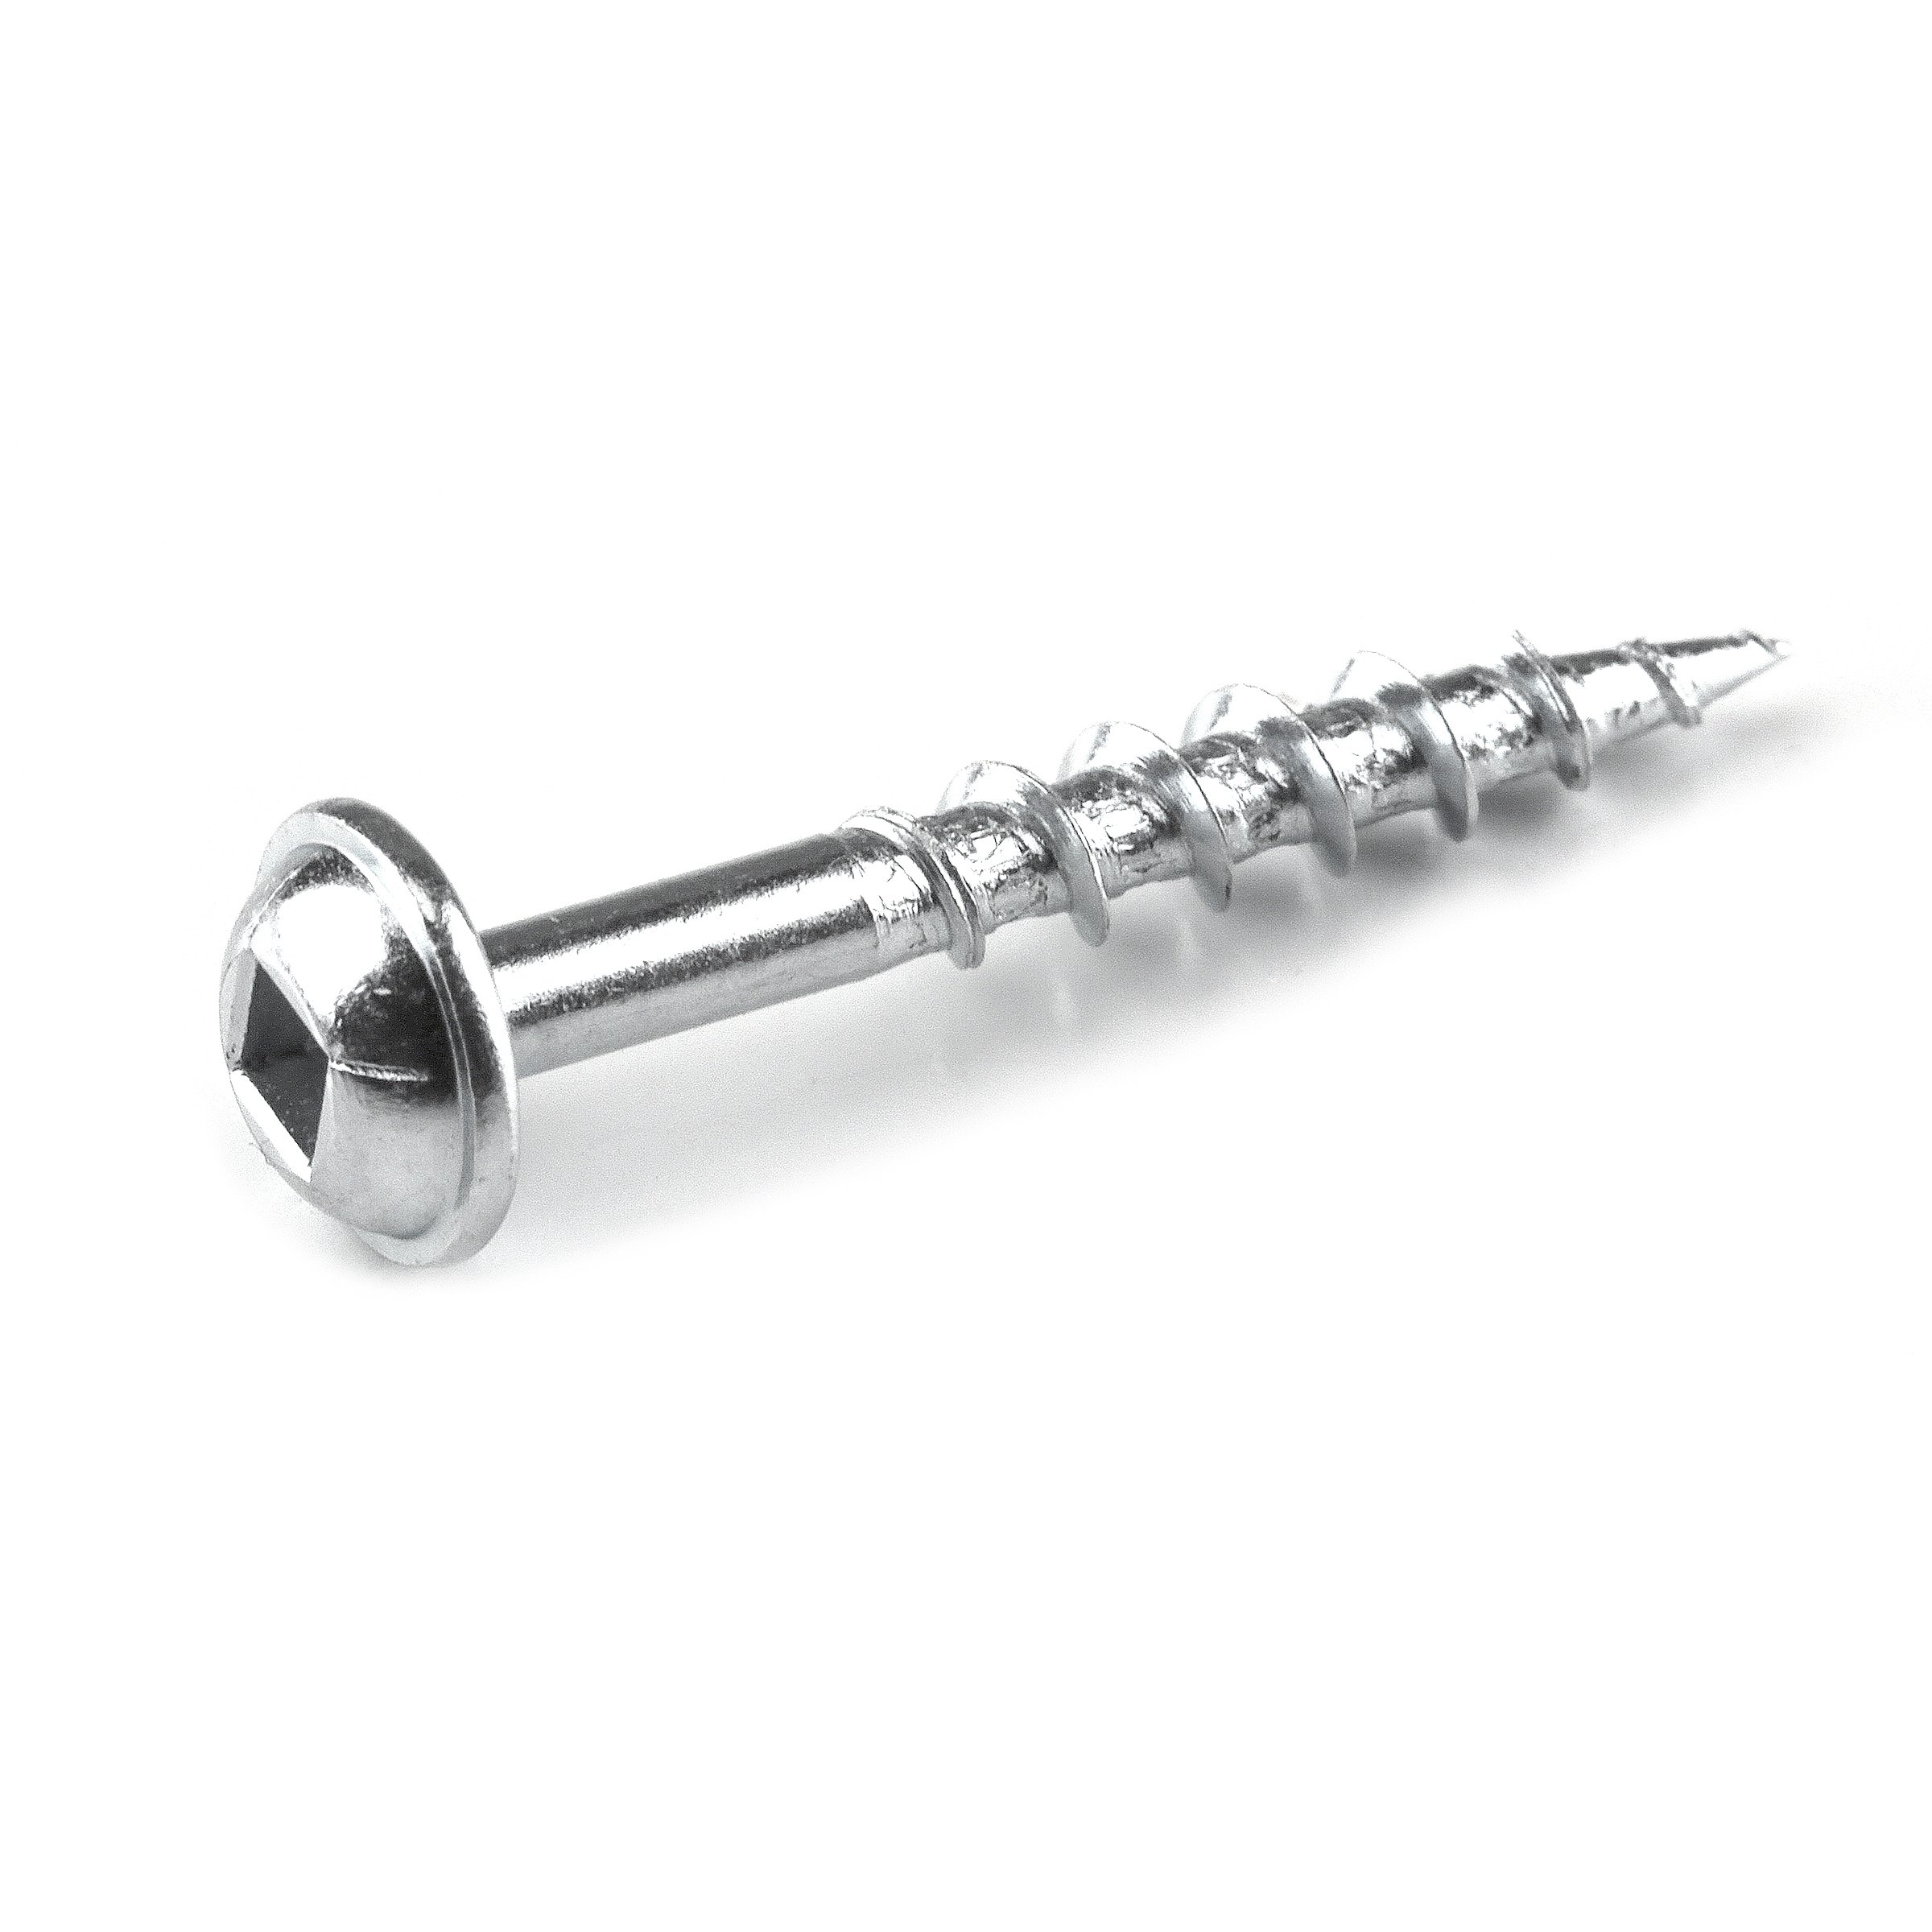
- 1 Box of 1 1/4" Kreg pocket hole screws (see tools list)
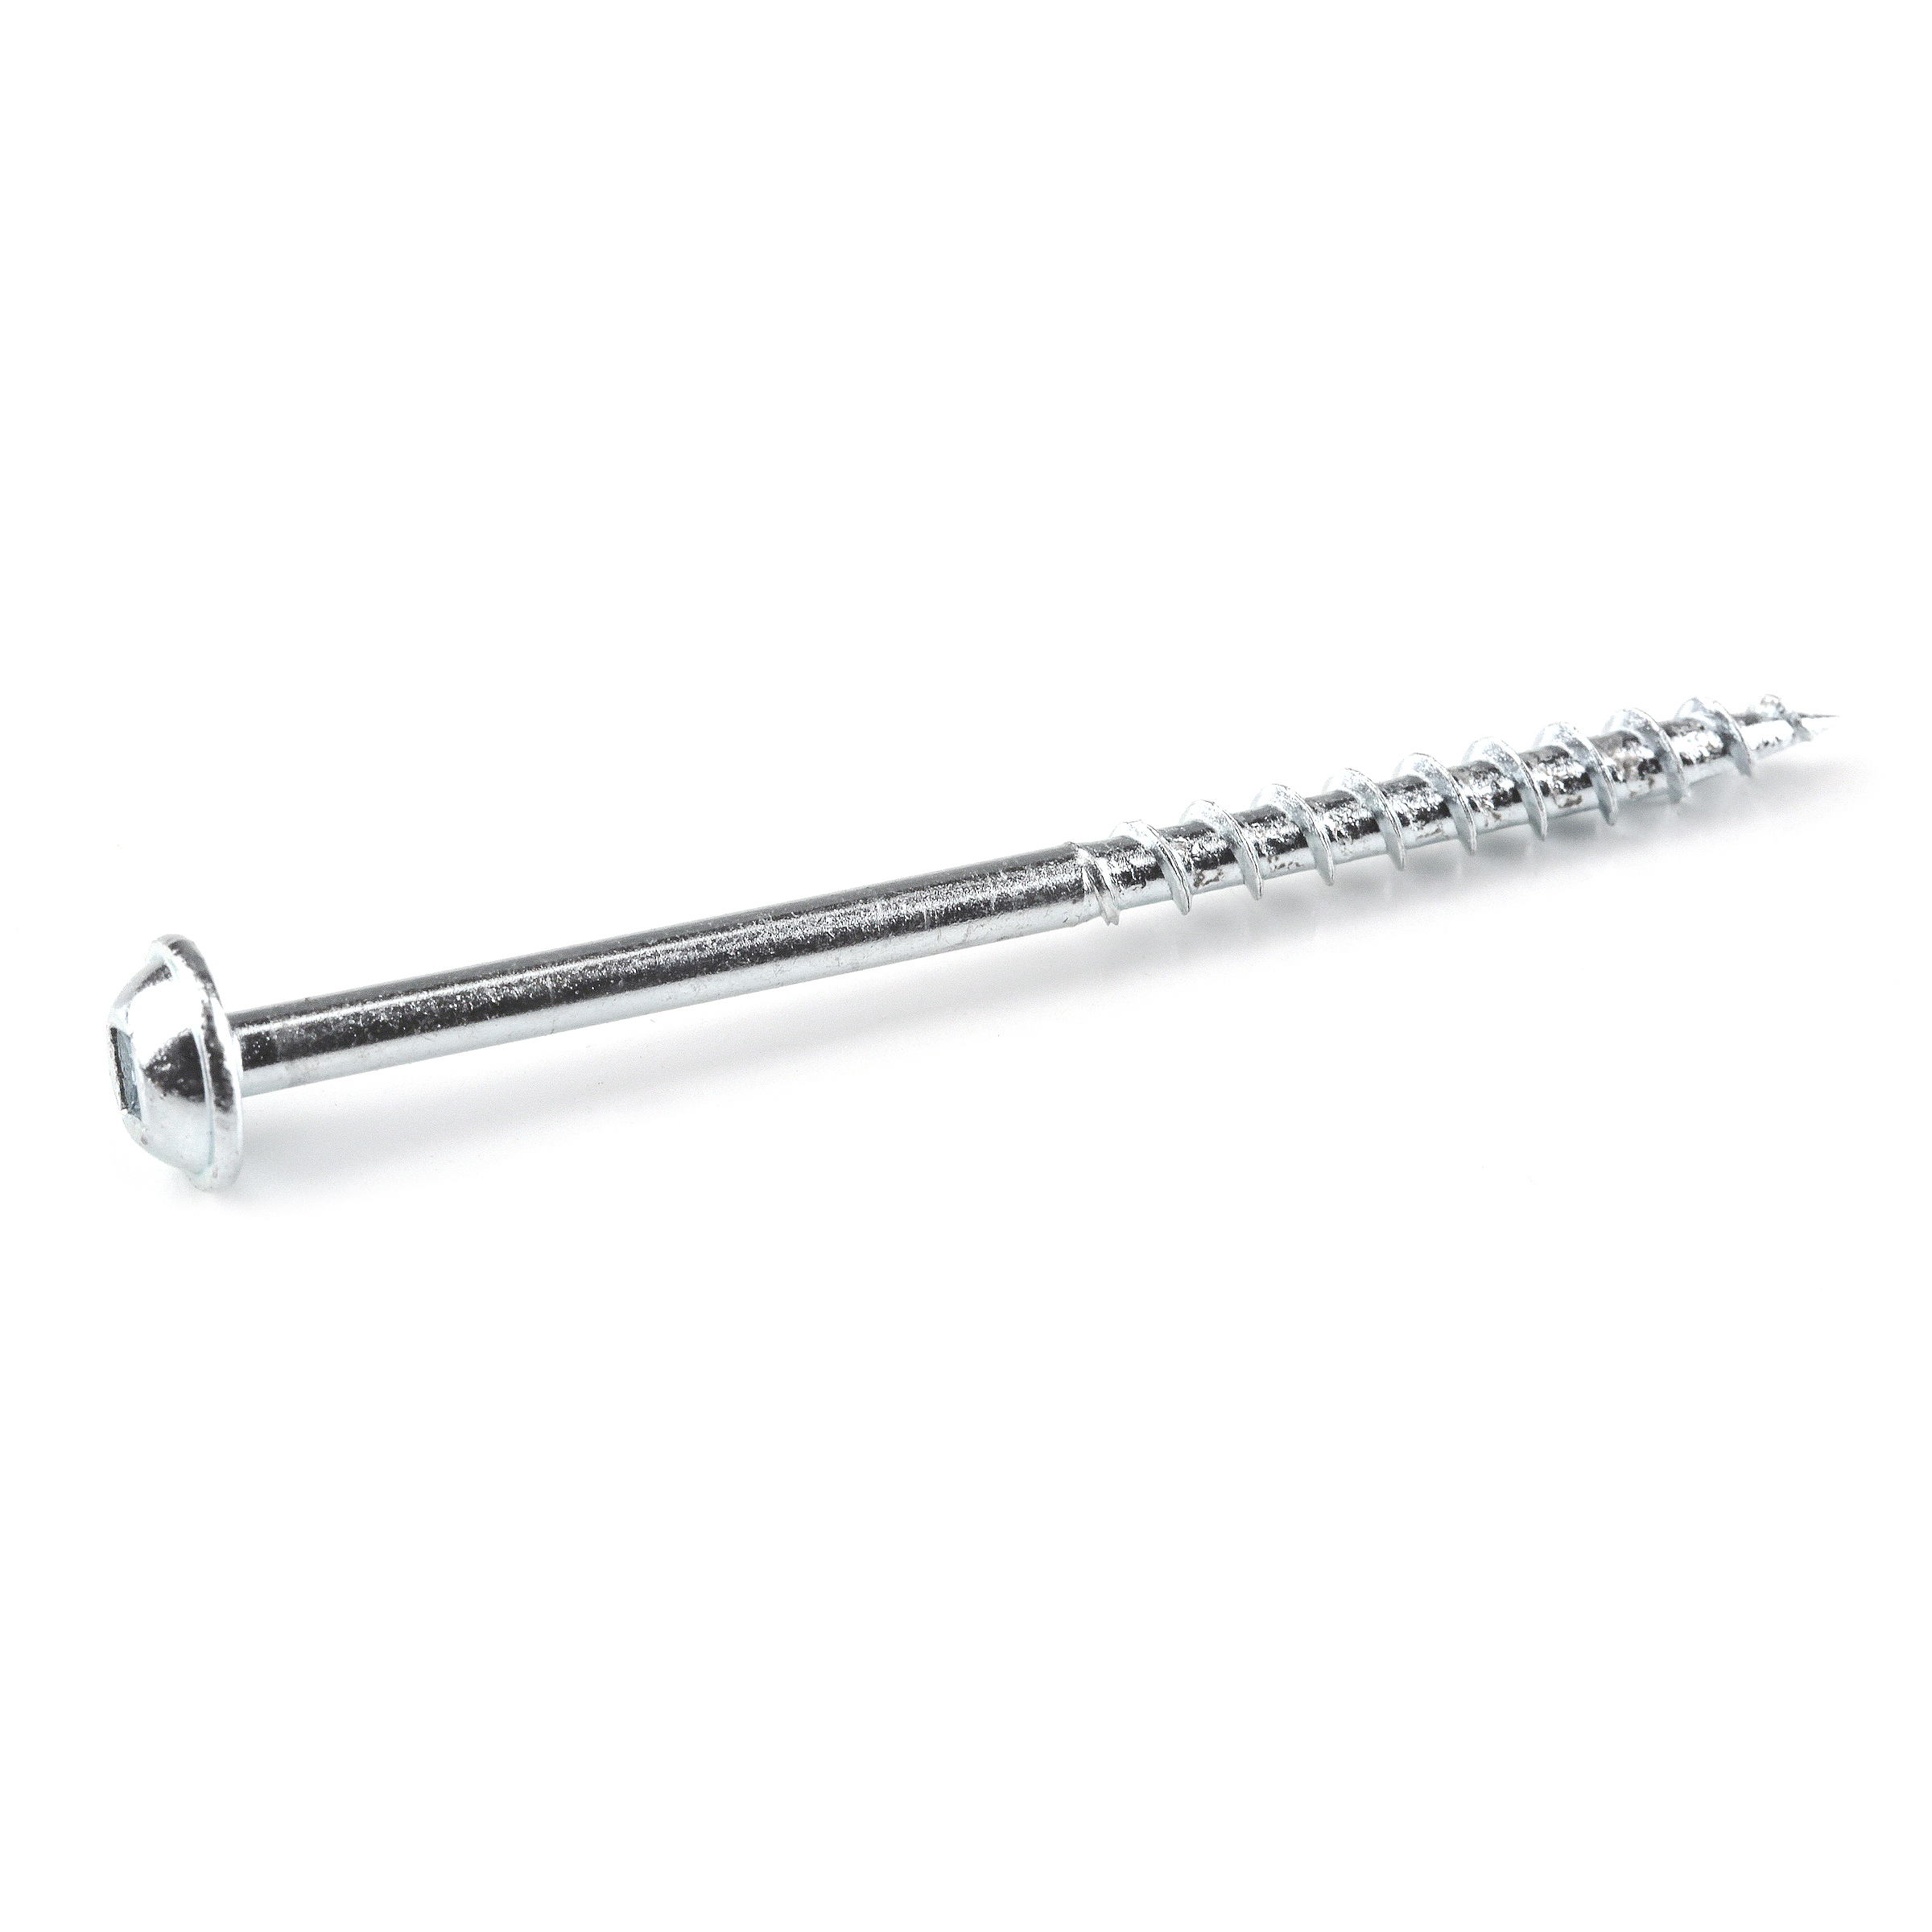
- 1 Box of 2 1/2" Kreg pocket hole screws (see tools list)
- 1 Wood glue
Directions
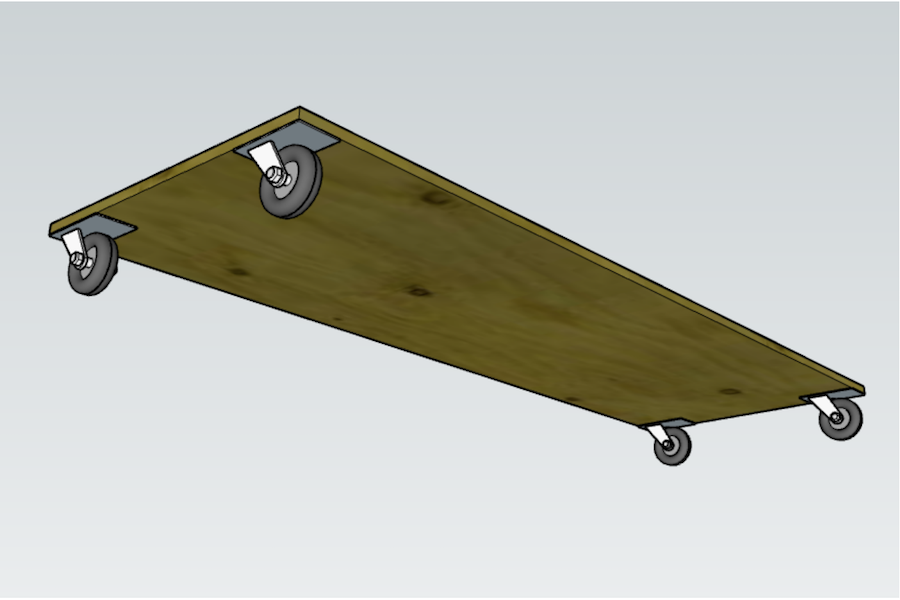
-
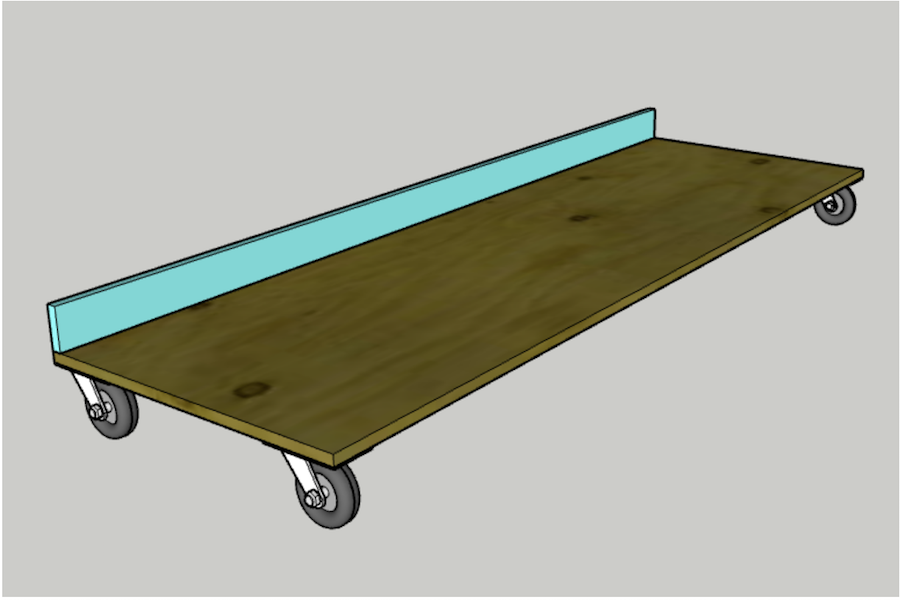
Attach Casters
Attach casters to the underside of the Base.
-
Attach Plywood Edge
Drill five pocket holes along one long side of the Plywood Edge.
Using wood glue and pocket screws, attach the Plywood Edge along one side of the Base.
-
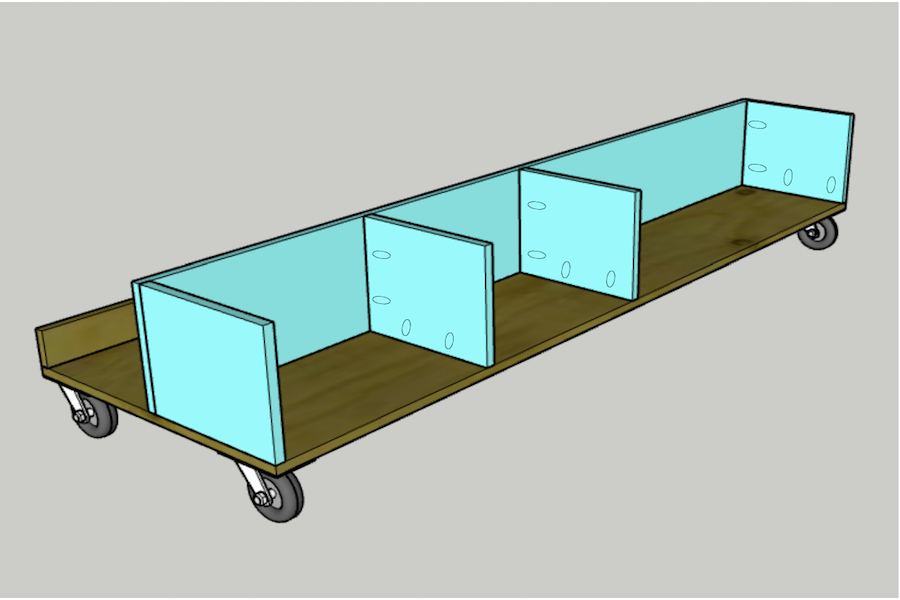
Attach Scrap Cubbies
Drill five pocket holes along one long side of the Cubby Back.
Using wood glue and pocket screws, attach the Cubby Back to the Base 11 1/4" from the edge.
Drill two pocket holes on one 9 1/2" and one 11 1/4" side of each Cubby Side.
Using wood glue and pocket screws, attach two of the Cubby Sides on the far edges of the Base and the other two Cubby Sides spaced out depending on your needs.
-
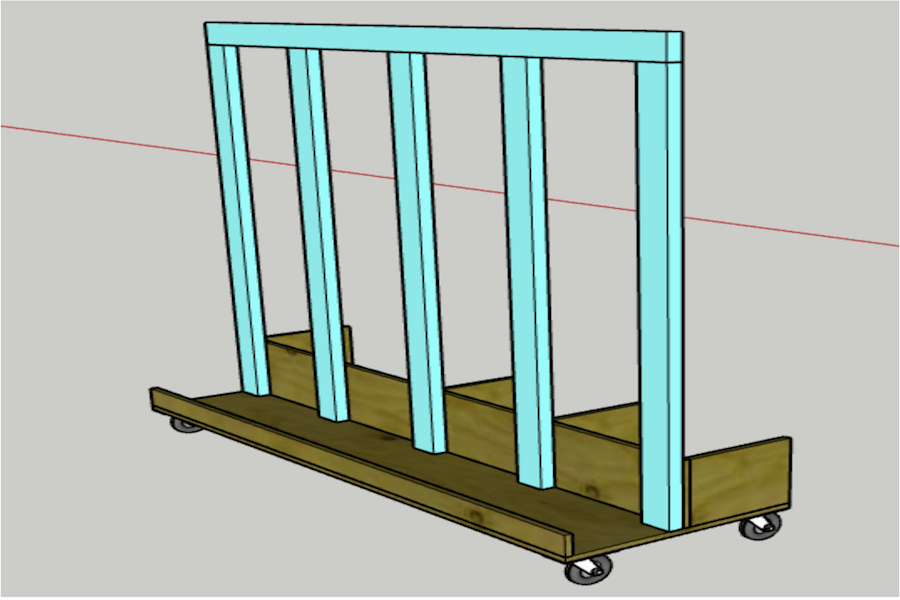
Attach Vertical Beams
On each of the Vertical Posts, drill two 3/4" pocket holes on one end and two 1 1/2" pocket holes on the other end.
Using wood glue and pocket screws, attach the Vertical Posts to the Horizontal Post with the 1 1/2" pocket hole side. Attach one Vertical Post on each end, one in the middle and the other two spaced evenly between.
Using wood glue and pocket screws, attach the five Vertical Posts to the Base flush along the back of the Cubby Back.
Insert a 2" screw through Cubby Back into each Vertical Post for added stability.
-
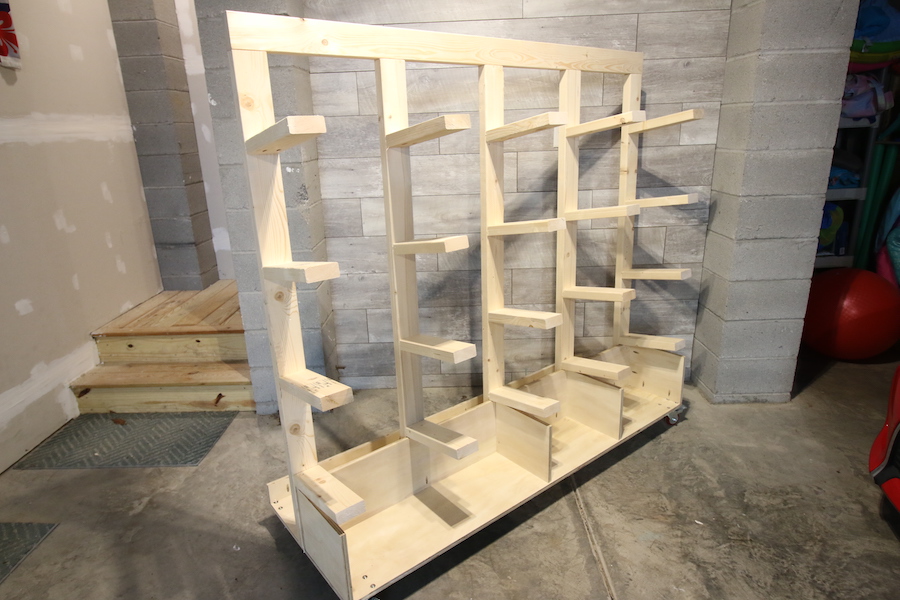
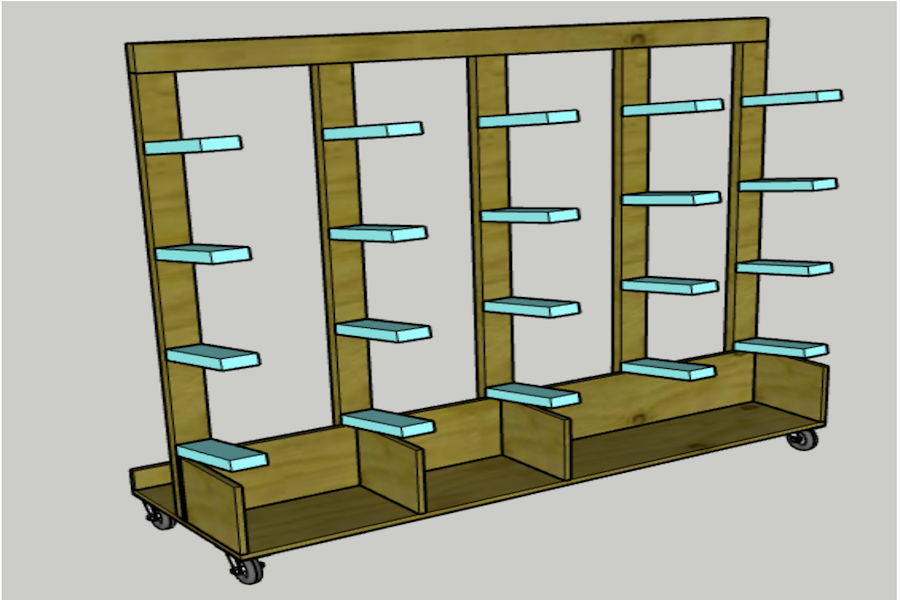
Attach Racks
Drill two pocket holes on the angled end of each of the 20 Racks.
Using wood glue and pocket screws, attach the first five Racks into the Vertical Posts along the top edge of the Cubby Back.
Using a Rack as a spacer, continue to attach each Rack up each Vertical Post.
-
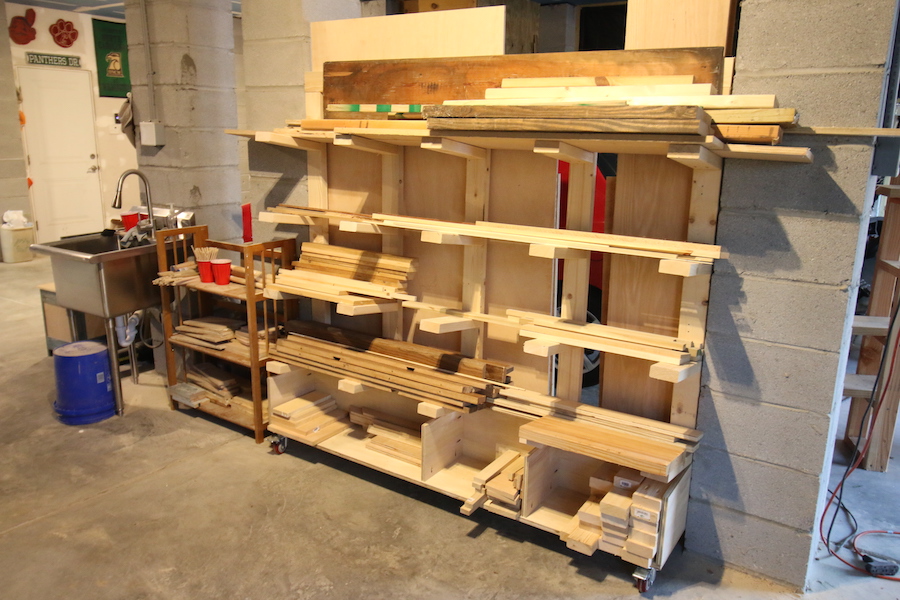
Load It Up
Load in all your wood. Place long boards along the racks, small scraps in the cubbies, and lean plywood on the back side.

-
Enjoy!
Enjoy your handiwork and tag @CharlestonCrafted on Instagram with a picture!