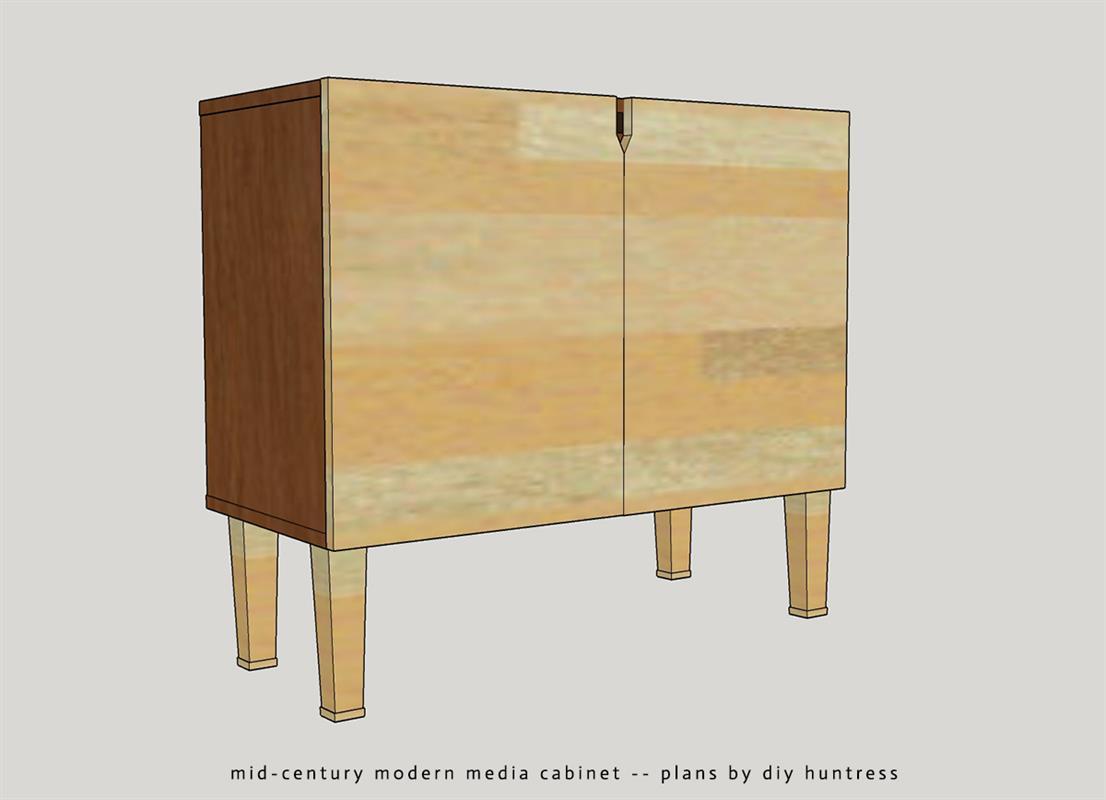


Mid-Century Modern media cabinets don’t have to break the bank. Check out how simple it is to build trendy storage on a tight budget! Hint: it only took one sheet of plywood to build!
Tools
Kreg Tools


Other Tools
-
Circular Saw (cordless)

-
Jigsaw
-
Square
-
Clamps
-
Drill (cordless)
-
Sander
Materials
Wood Products
- 1 Plywood , 3/4" Thick , Full Sheet
Hardware & Supplies
- 4 Full Overlay Door Hinges
- 25 1 1/4" Pocket Hole Screws
- 4 Tapered Legs & Hardware
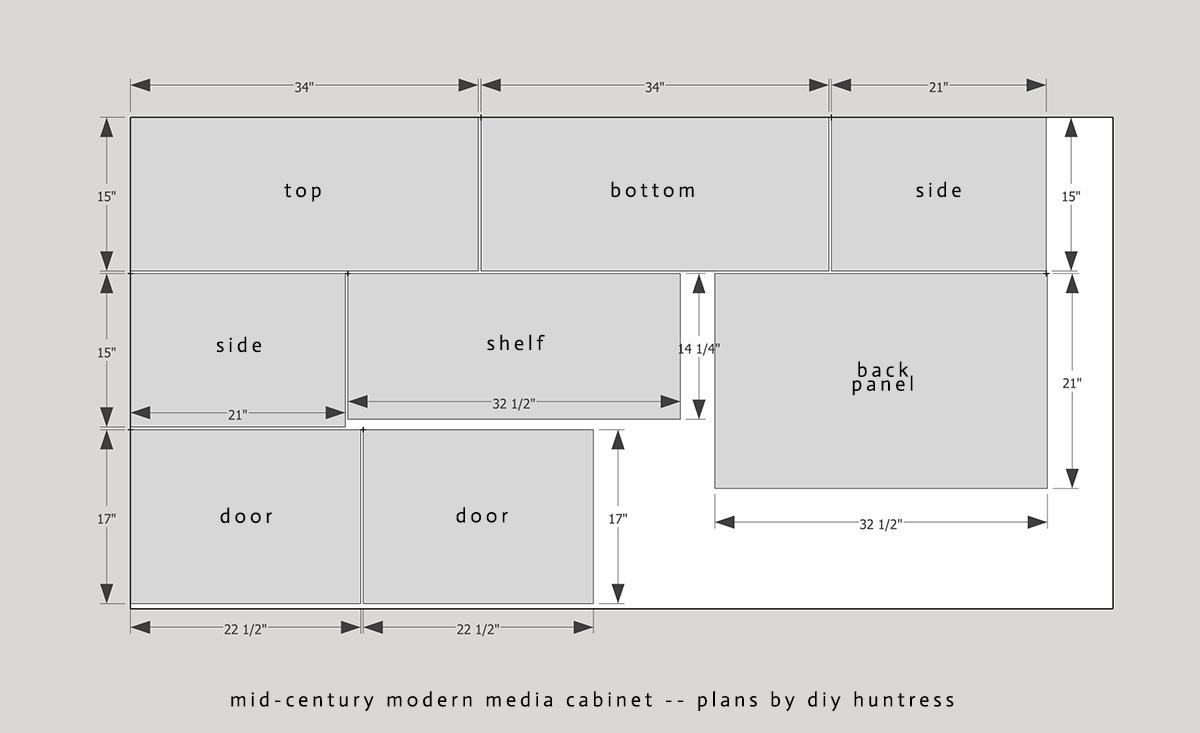
Cut List & Parts
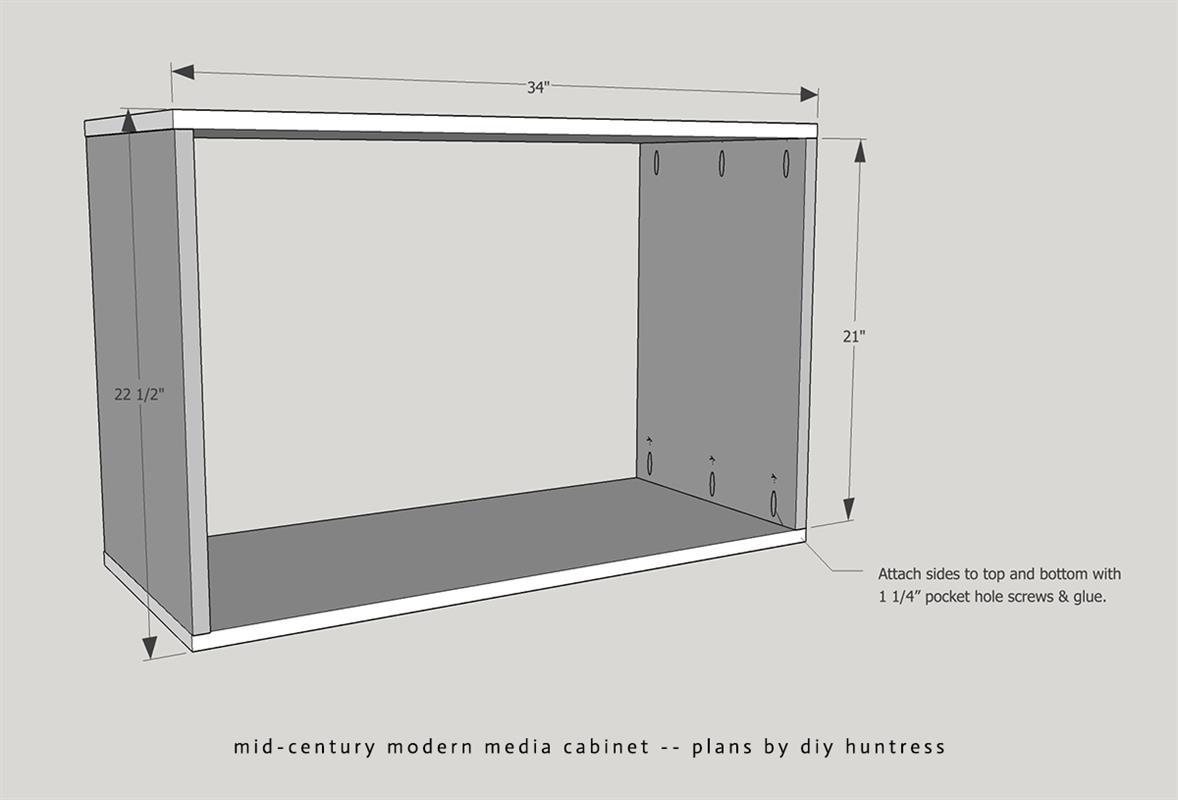
- 1 Top , 15 x 34"
- 1 Bottom , 15 x 34"
- 2 Sides , 15 x 21"
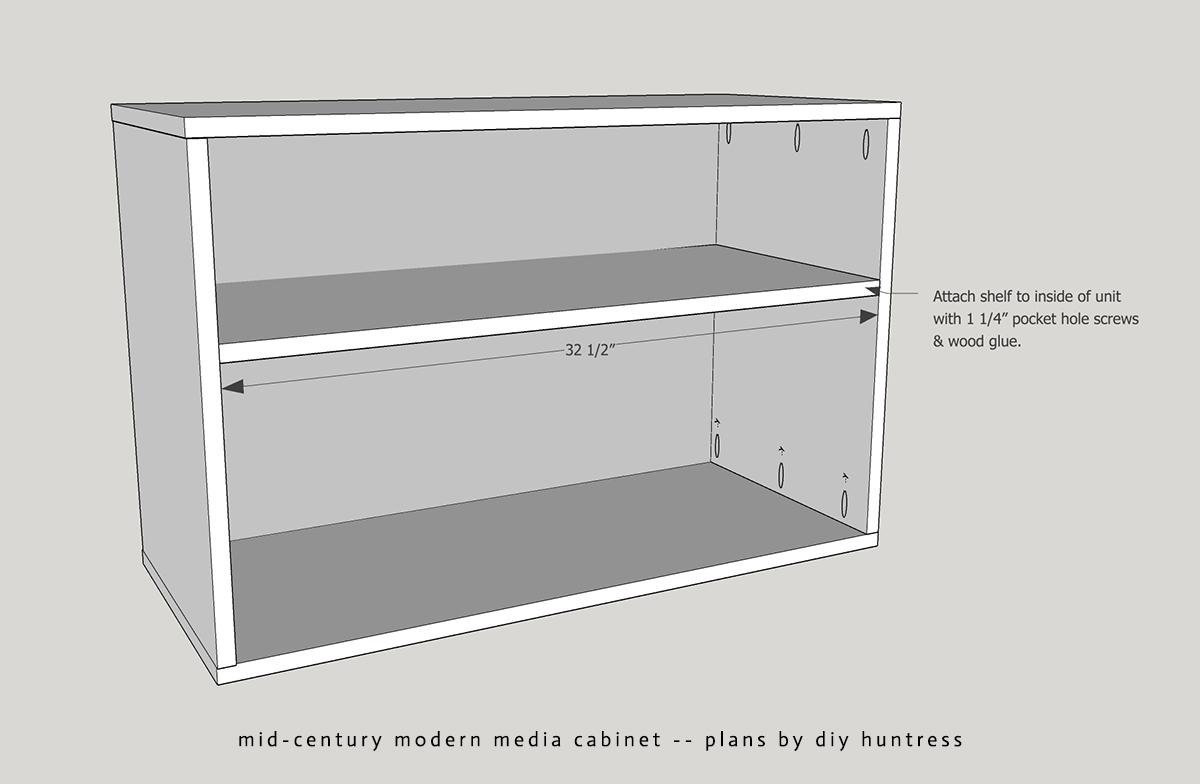
- 1 Shelf , 14 1/2 x 32 1/2"
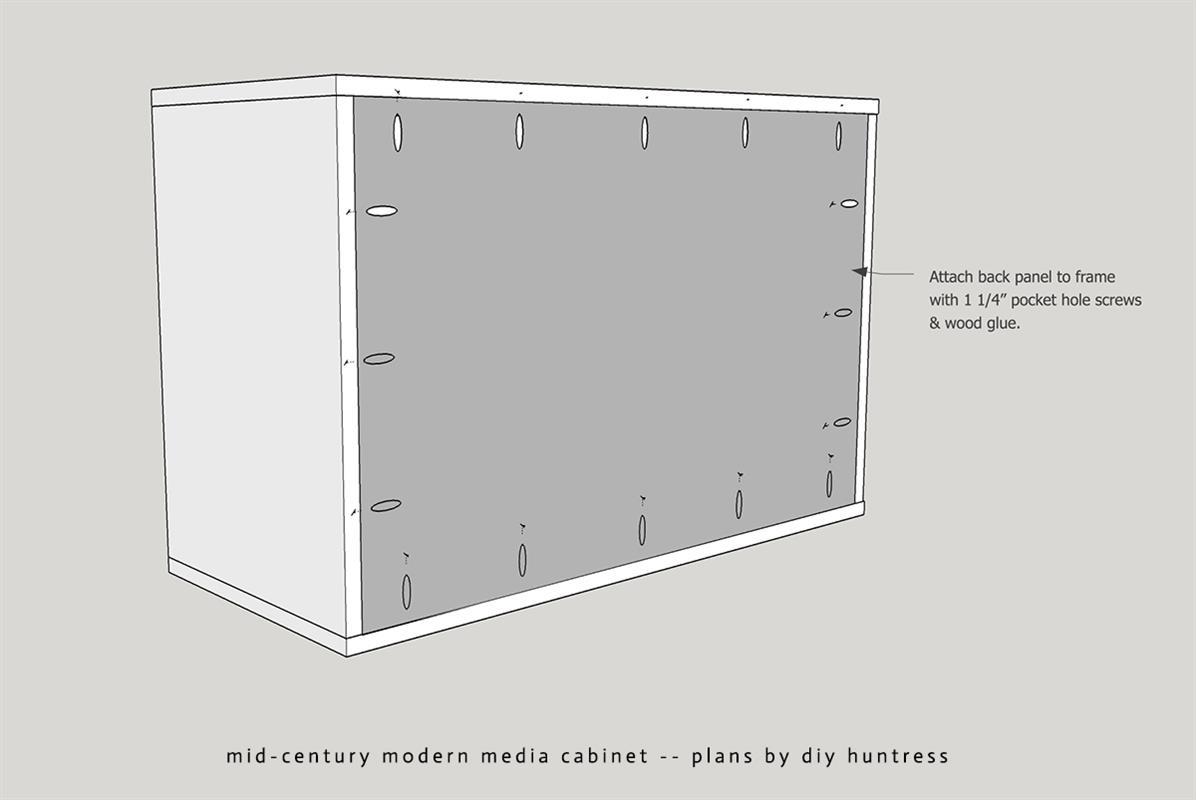
- 1 Back Panel , 21 x 32 1/2"
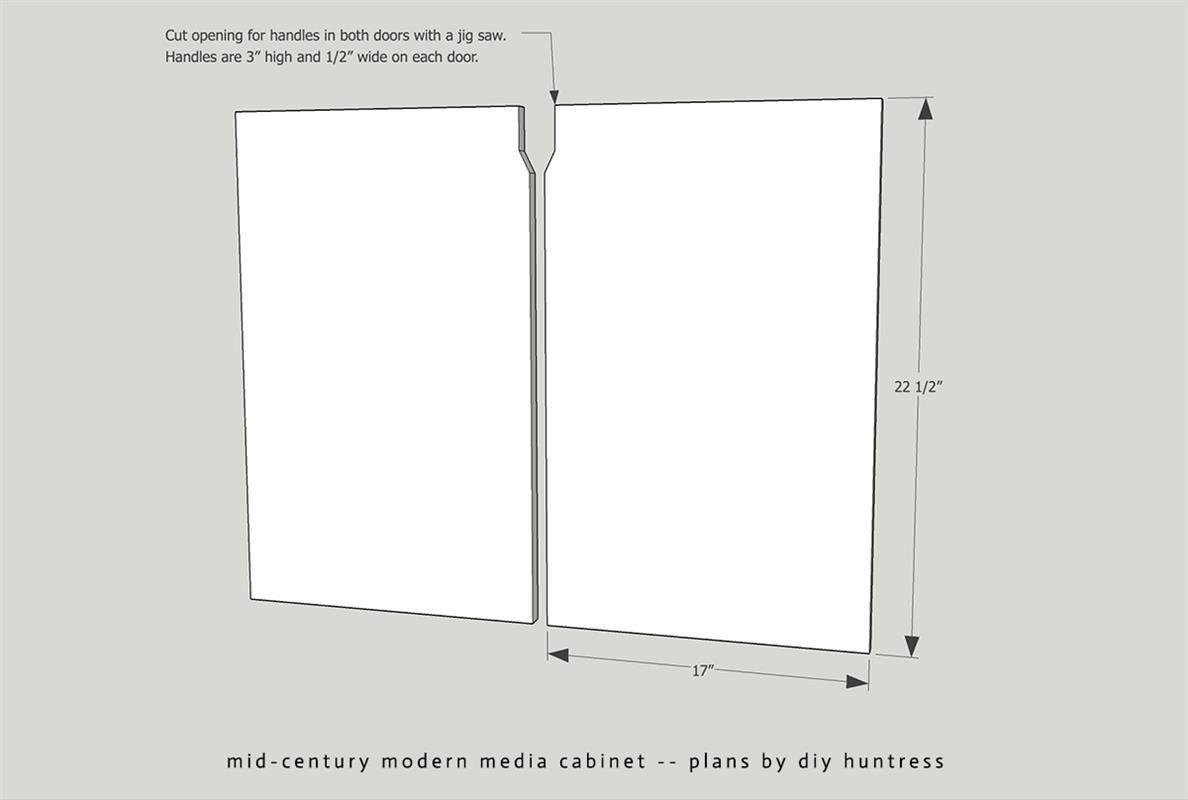
- 2 Doors , 17 x 22 1/2"

Directions
-
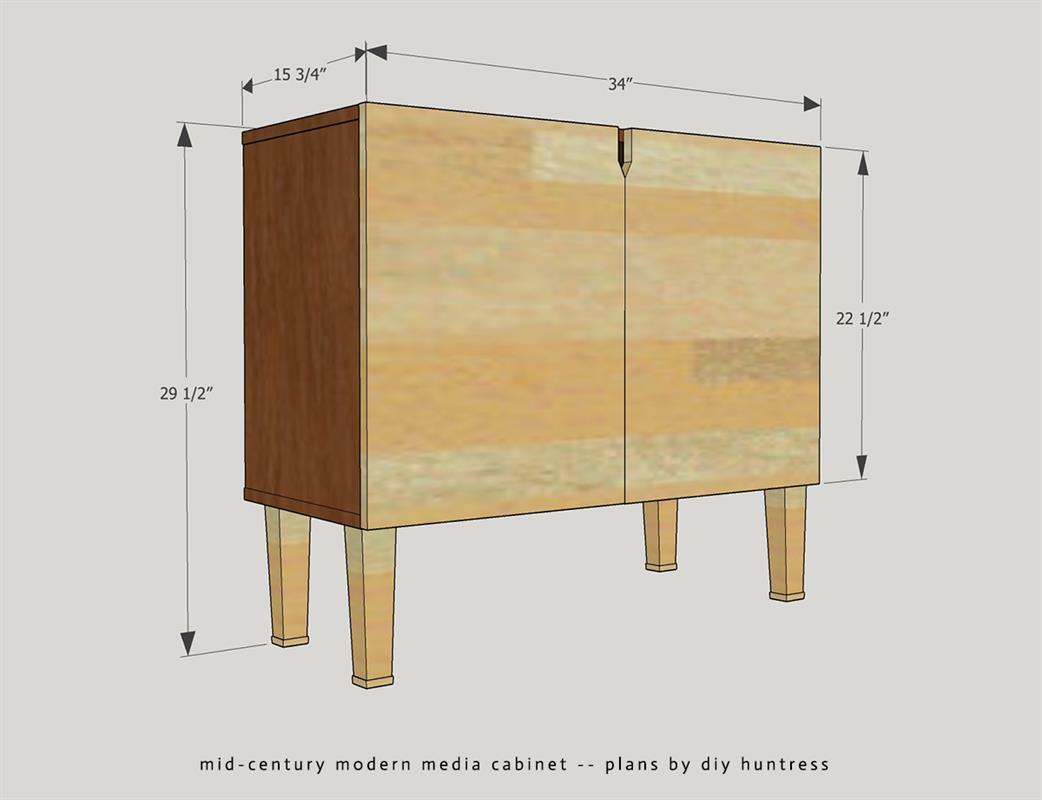
Check Dimensions
Check the dimensions of the project to make sure it fits your space.
-
Make Cuts
Use the cut list to make your cuts.
-
Create Frame
Create your frame by attaching top, bottom, and side pieces with 1 1/4" pocket hole screws and glue.
-
Add Back Panel
Add back panel with 1 1/4" pocket hole screws and wood glue.
-
Add Shelf (Optional)
Add a shelf to your build with 1 1/4" pocket hole screws & wood glue, if needed. I used mine for a 3D printer, so no shelving was added!
-
Create Handle Cut Outs
Use a jig saw to create cut outs for the door handles. The ones on this particular cabinet are 1/2" wide and 3" tall on each door.
-
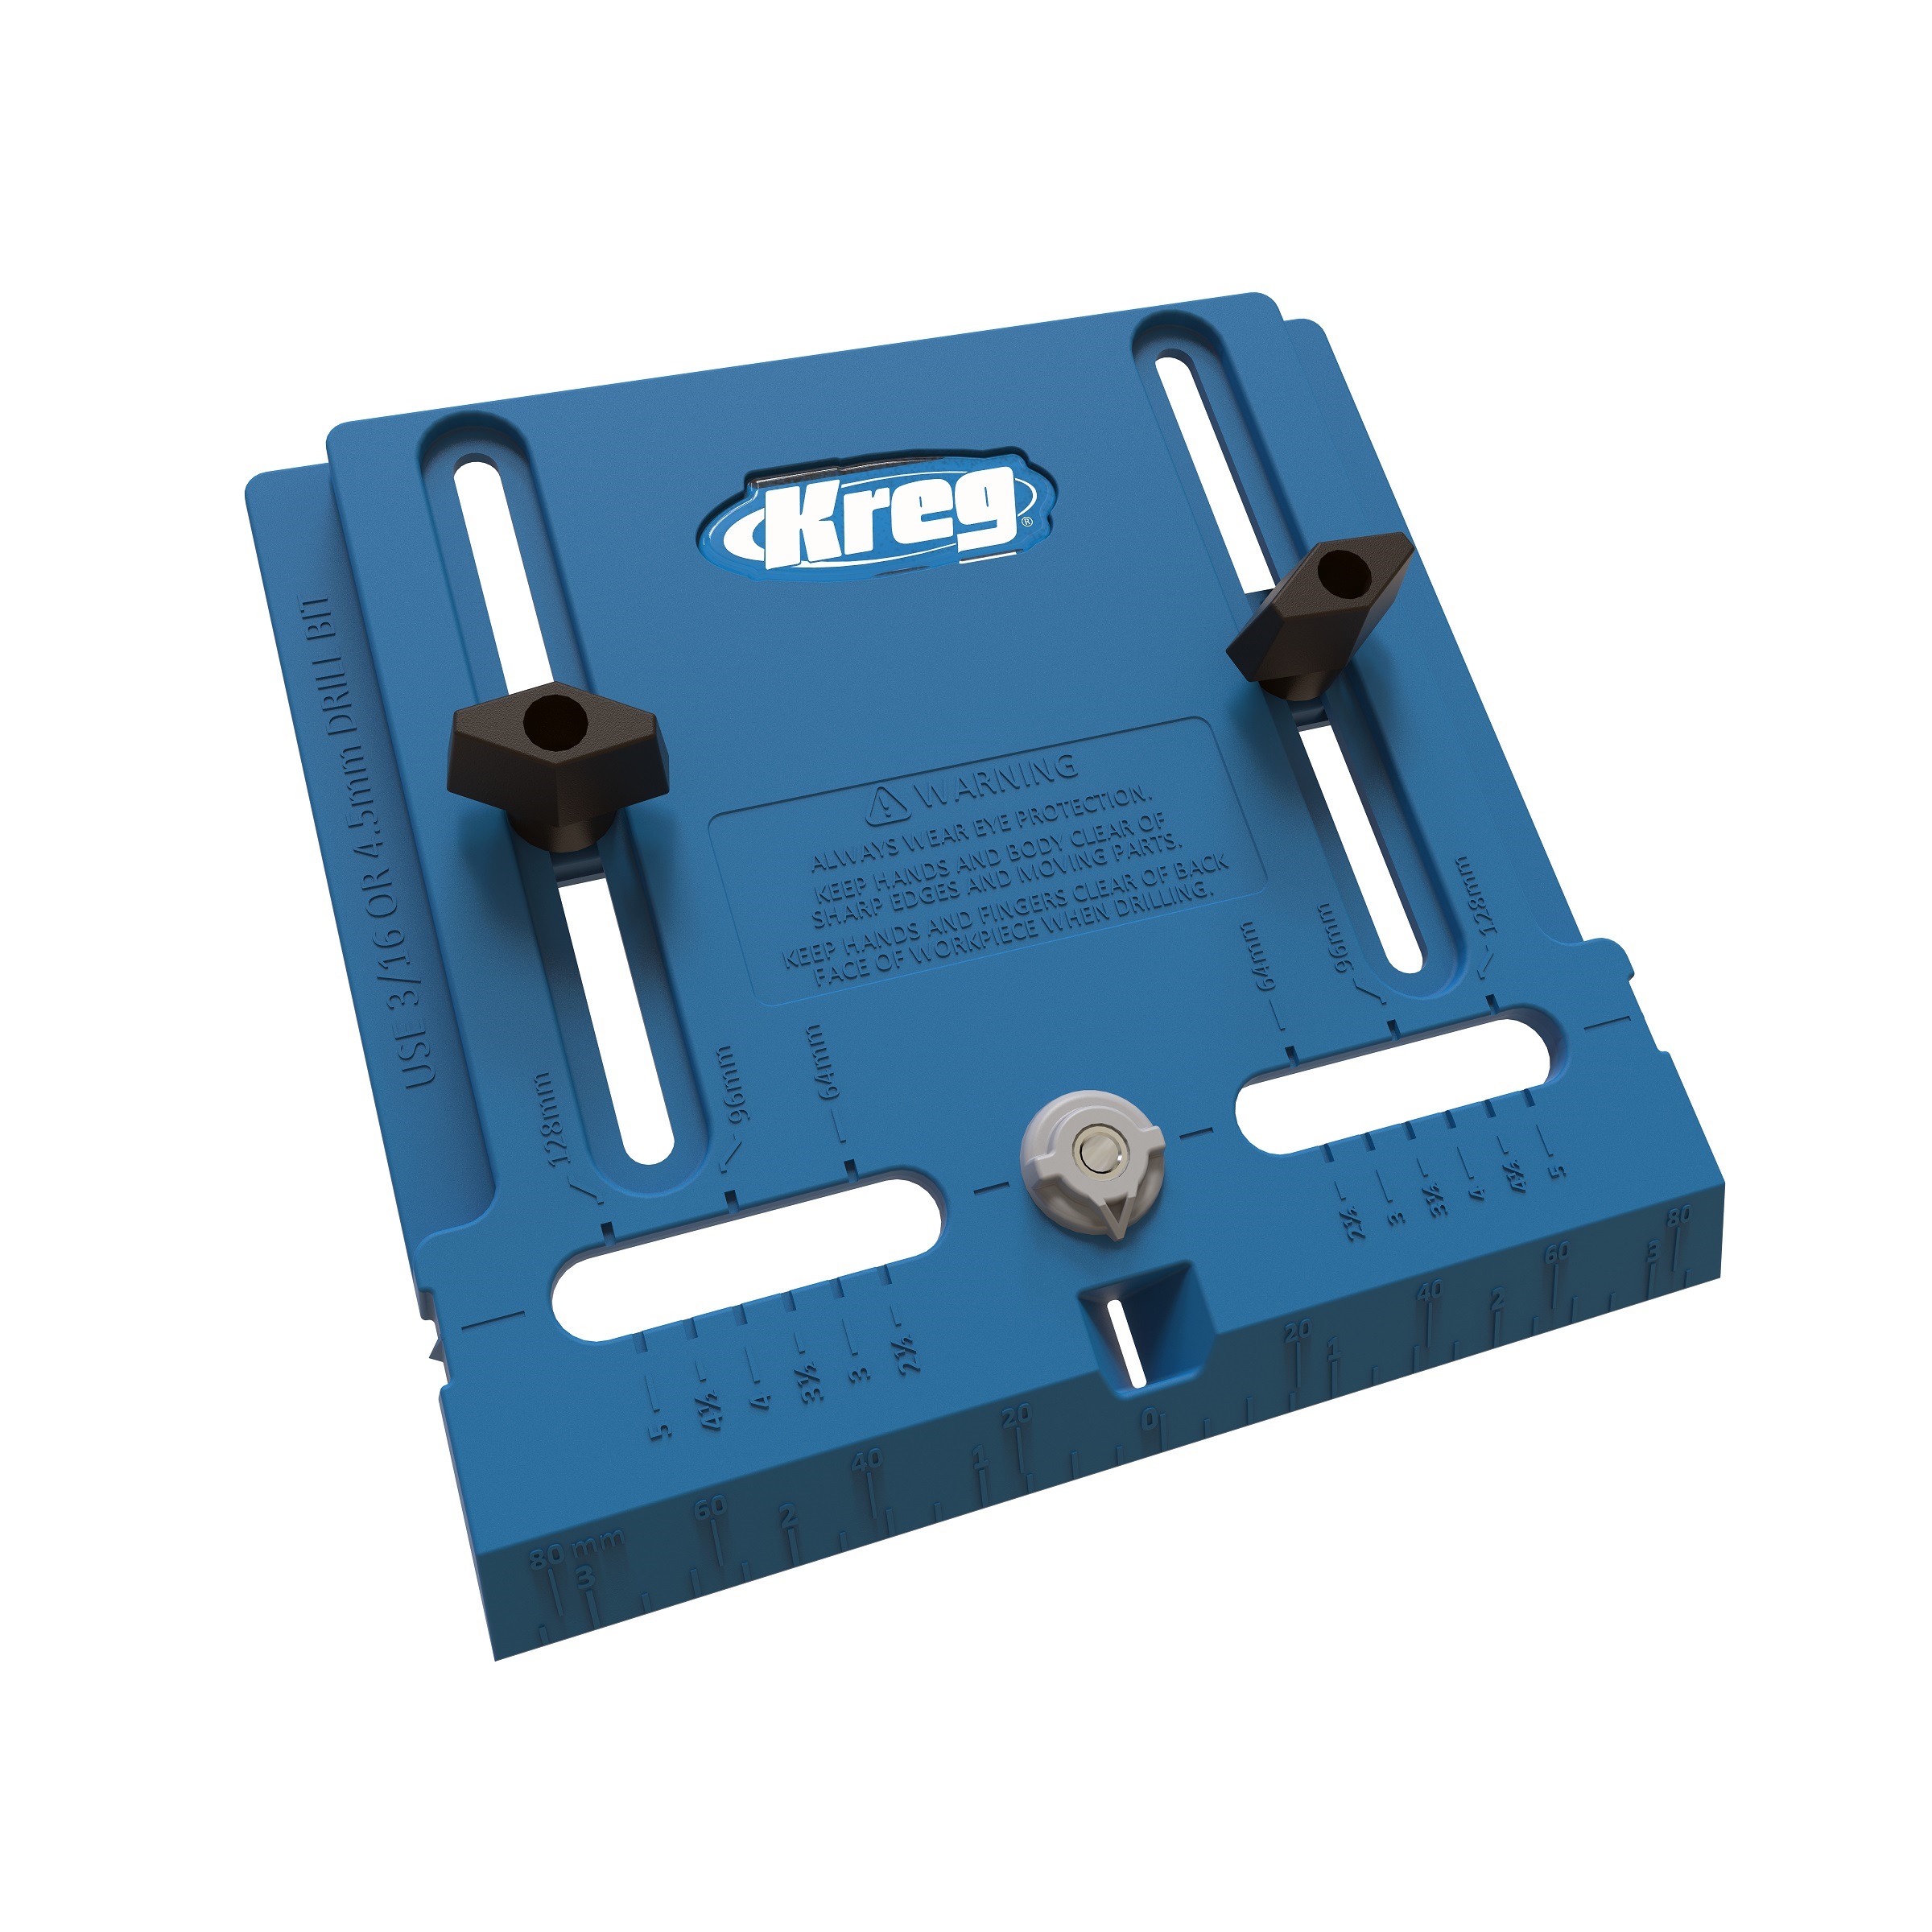
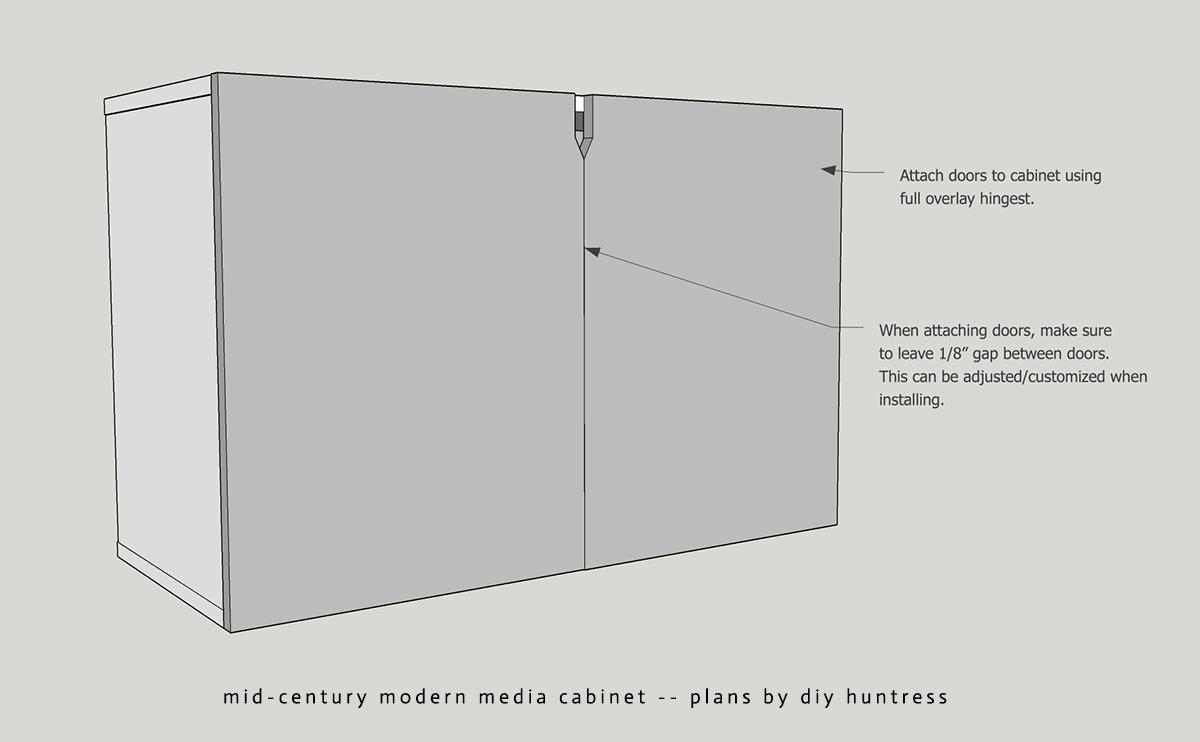
Attach Doors
Use the Kreg cabinet hardware jig to add your full overlay concealed hinges.
-
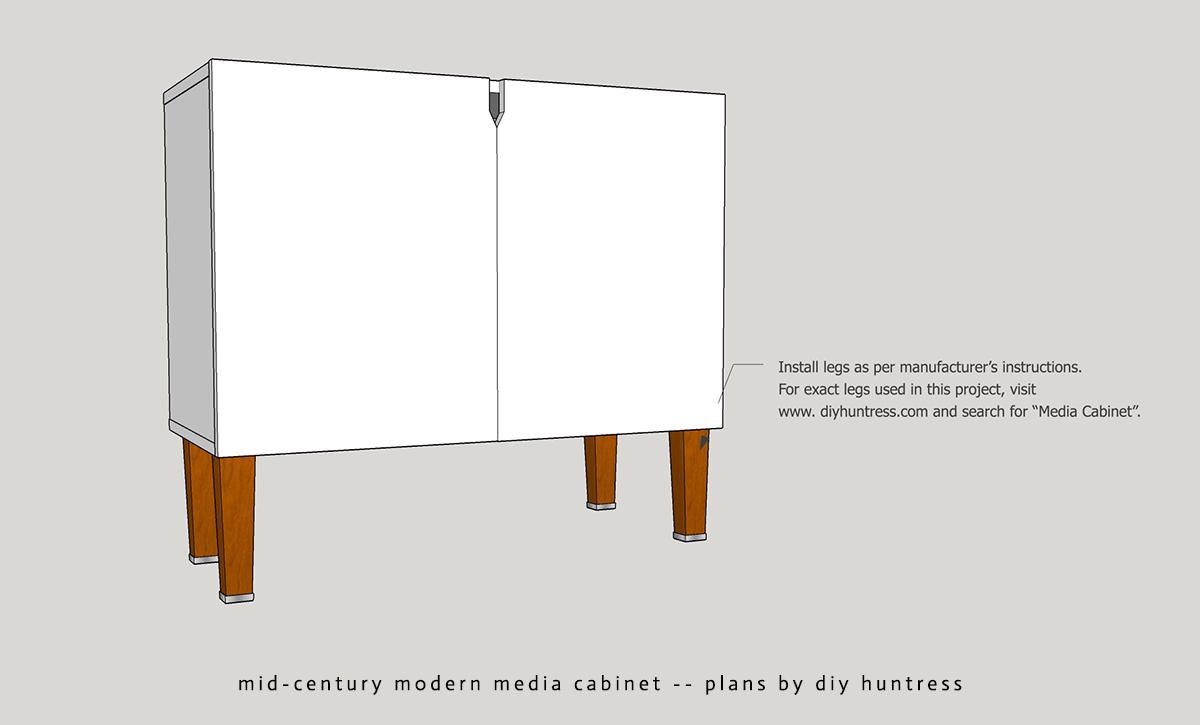
Add Legs
Add your legs as per manufacturer directions. Visit my website at diyhuntress.com for a link to the exact legs used in this build.
-
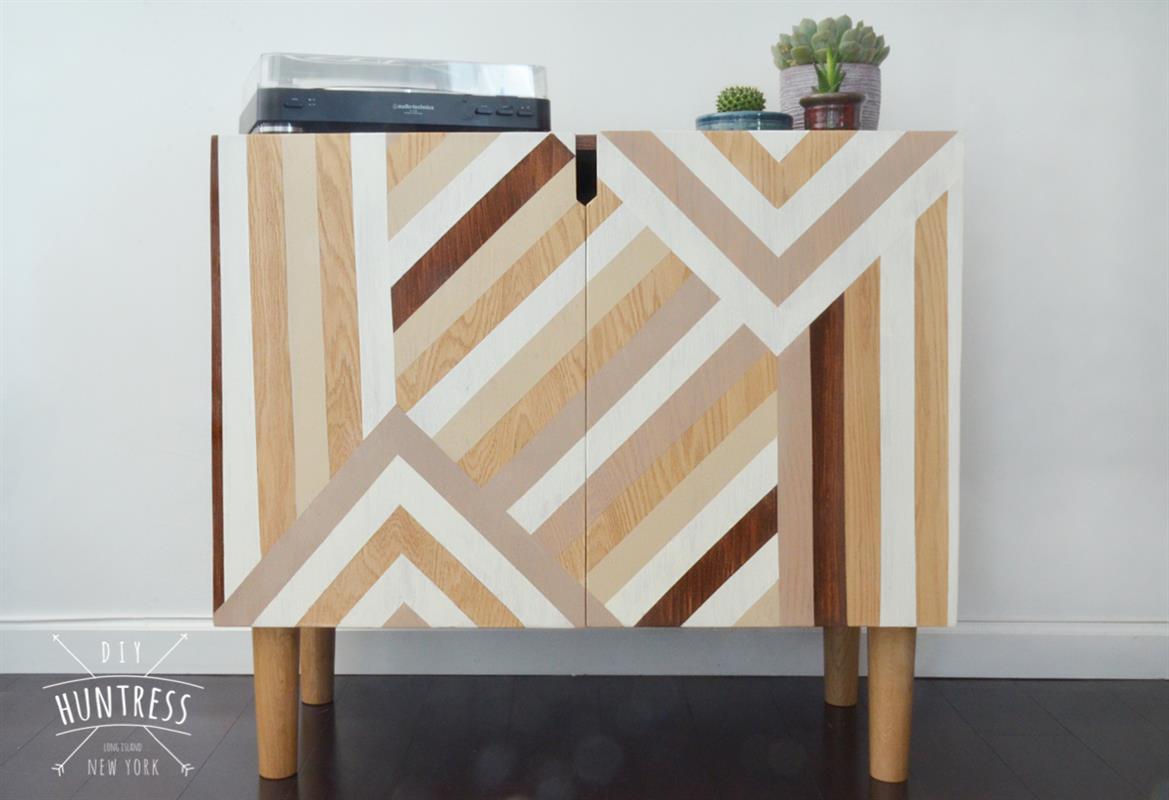
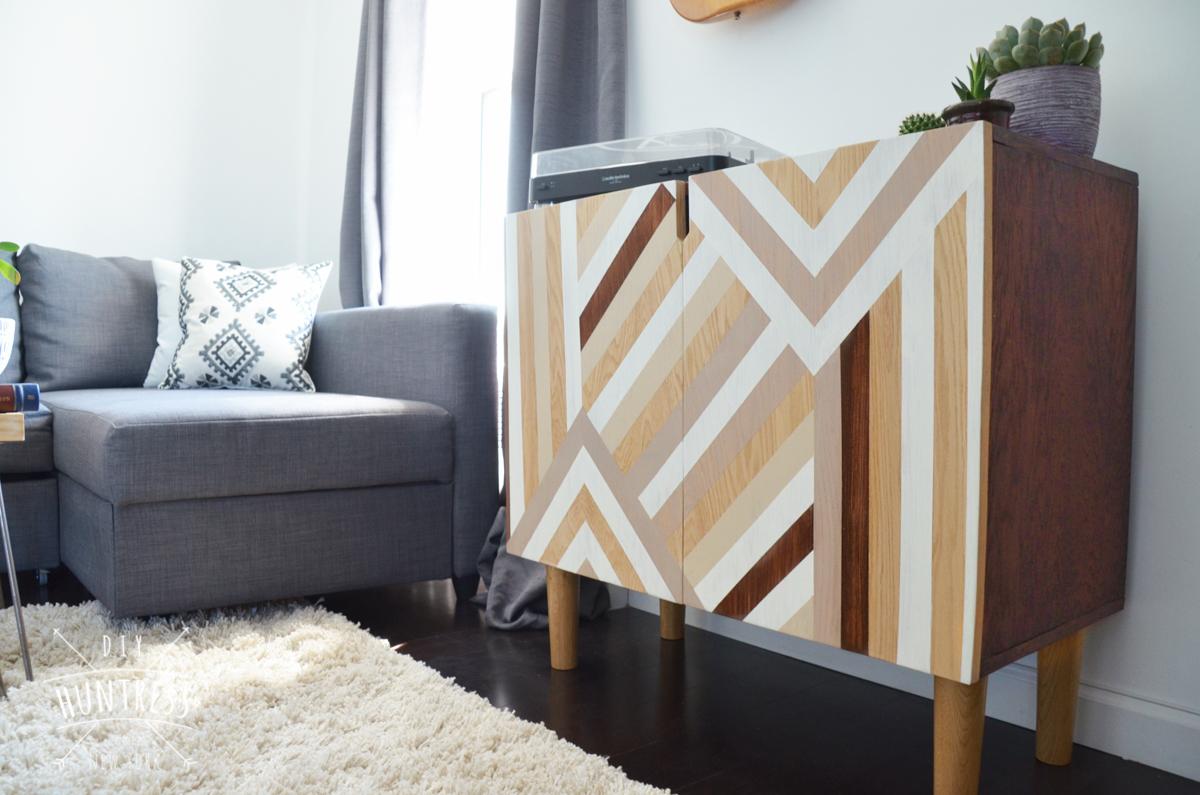
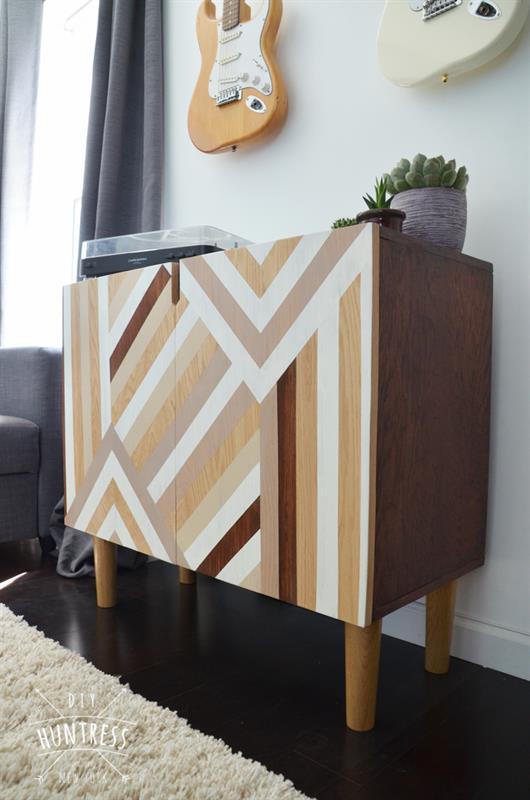
Sand & Stain
Stain your piece! Add artwork to the front to help the unit pop!