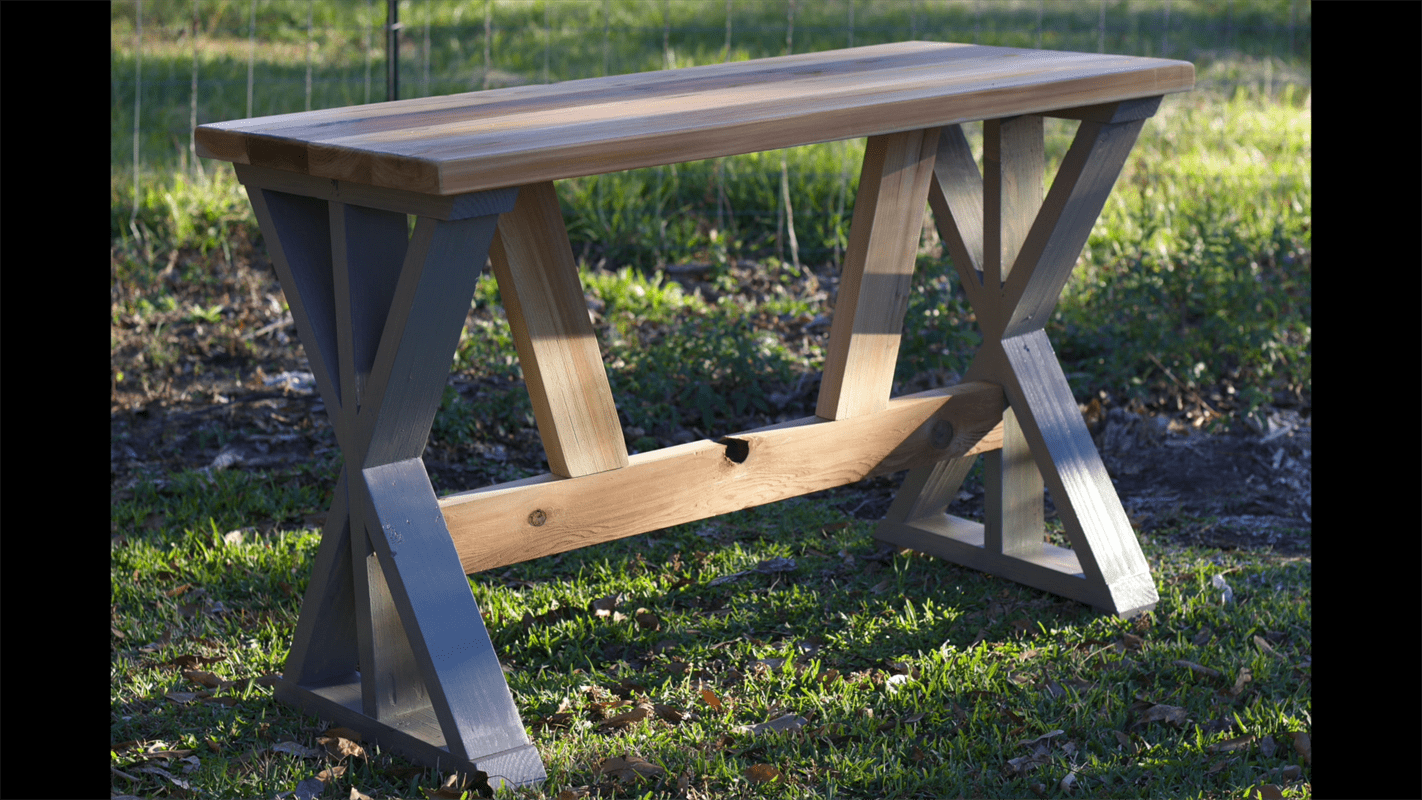


Cedar desk top. Doug Fir painted base. Small simple desk. Cheap desk build. Rustic modern desk. This build was inspired by the need for a desk/Entertainment Center in my boys' room. This desk is such a simple build and easy to do, it can fit in any room in the house.
Tools
Kreg Tools

Other Tools
-
Circular Saw (cordless)

-
Miter Saw
-
Tape Measure
-
Thickness Planer
-
Clamps
-
Impact Driver
-
Sander
-
Sawhorse
-
Workbench
Materials
Wood Products
- 3 Board , 2x6 , 96"
- 3 Board , 2x4 , 96"
Hardware & Supplies
- 50 2 inch pocket hole screws, Kreg
- 8 L brackets (optional)
Directions
-
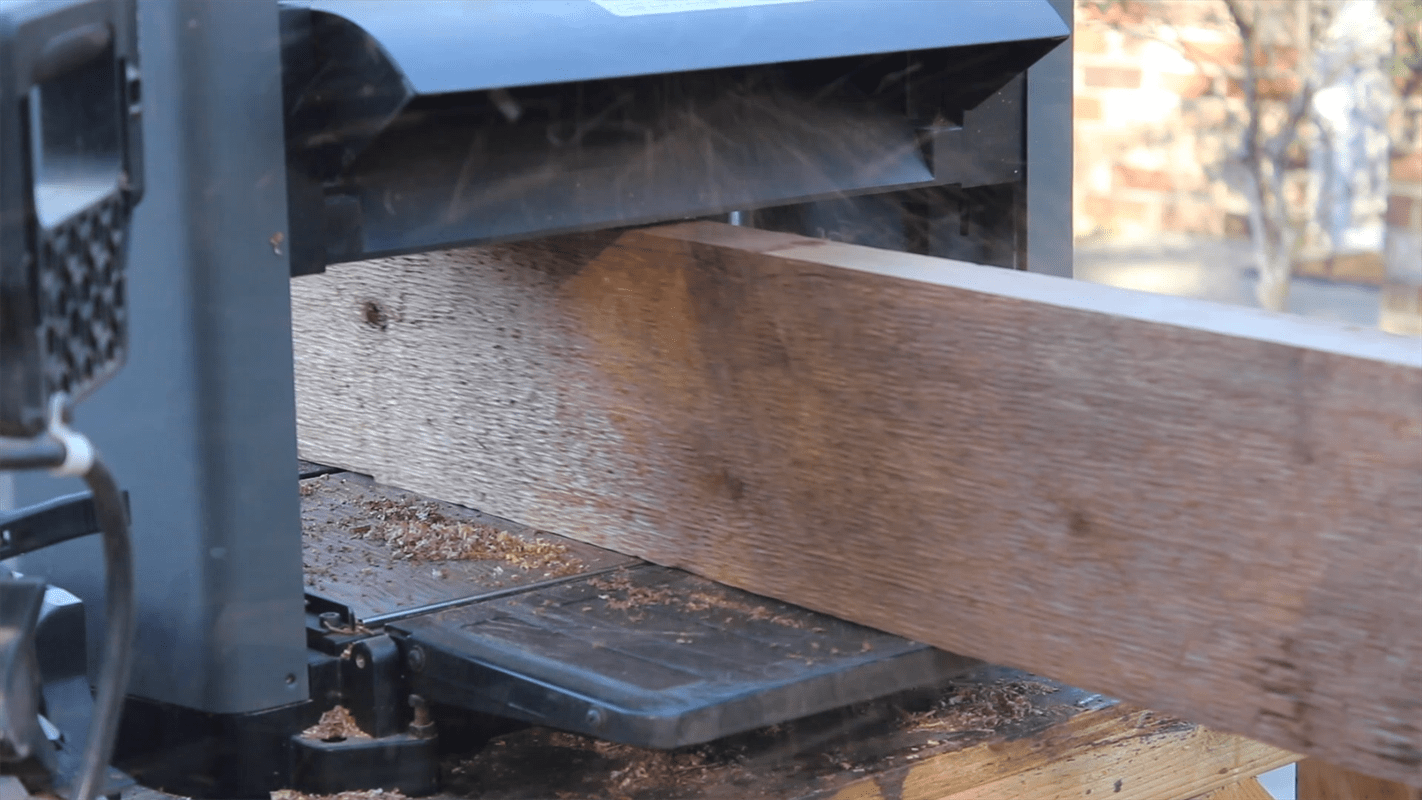
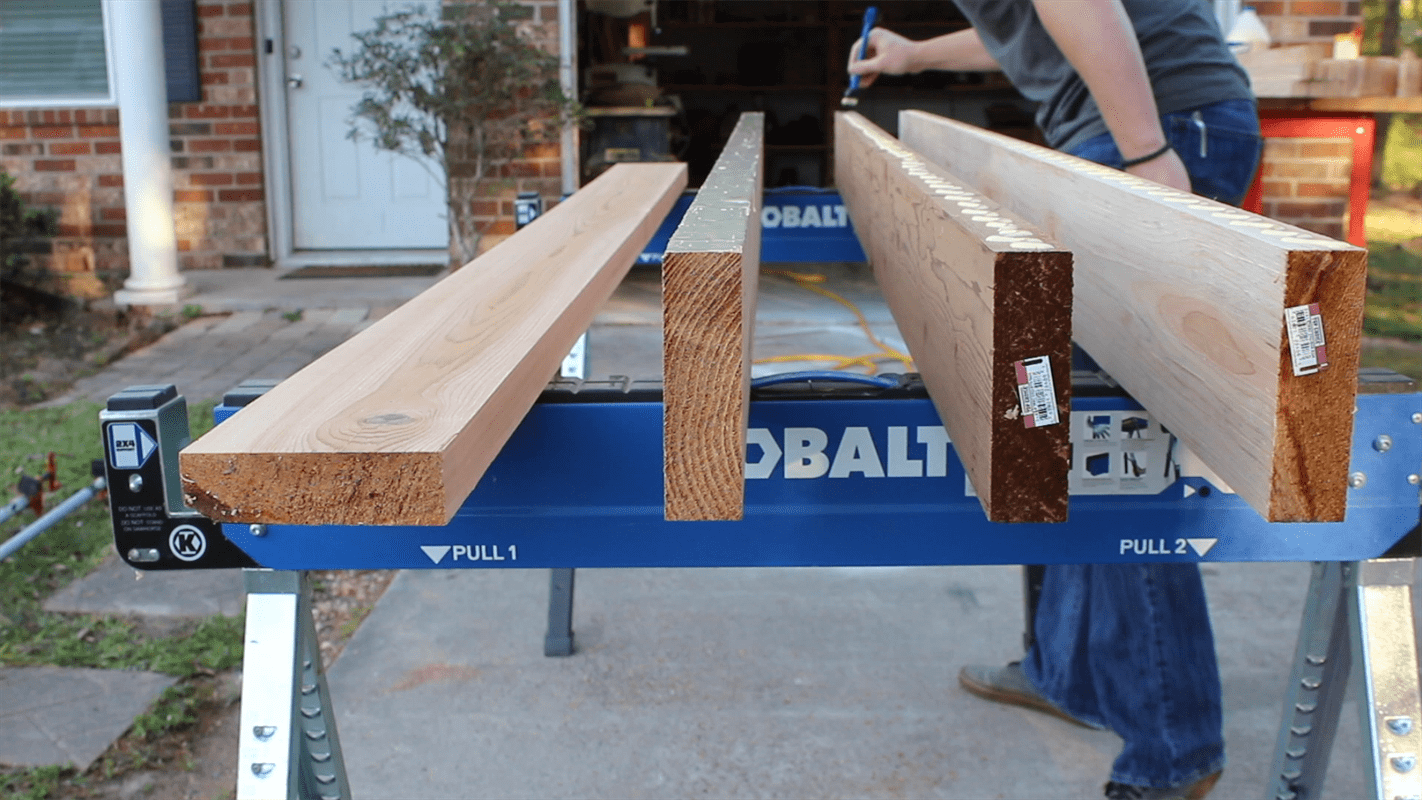
Surfacing Boards
You do not have to start with this step. You can glue up your boards without surfacing them. I wanted to make sure there were no rough edges on any of the boards. Buying cedar from the big box stores, are usually rough cut. But, I however choose to plane all my boards first.
-
Gluing up the top
Also, you do not have to glue the top together. You can choose to individually attach each board to the base after the base is built. However, I almost always glue my table tops together for a smooth seamless finish. It's easier to maintain, and nothing get caught in the cracks later on. I glued up 4 x 48 inch long boards at 6 inches wide each.
-
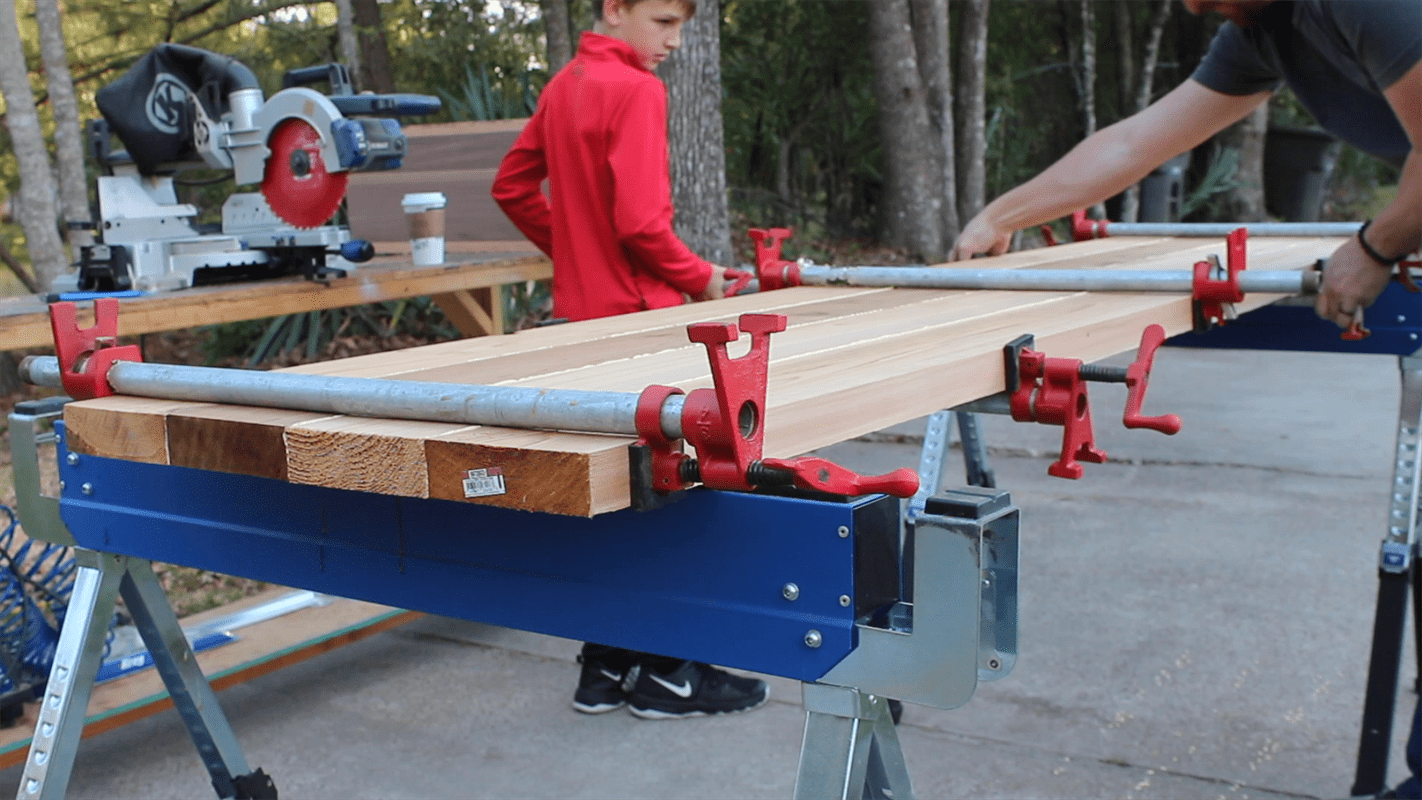
Clamping your pieces
Any time you glue boards together it's nice to use some clamps. They don't have to be pipe clamps, but something with some strength will do the trick. I use pipe clamps on all my builds and they work great. This allows the glue to make contact on the entire joint and seamless later for sanding. Plus, it's nice when you have a cool helper join you with the bottom clamps.
-
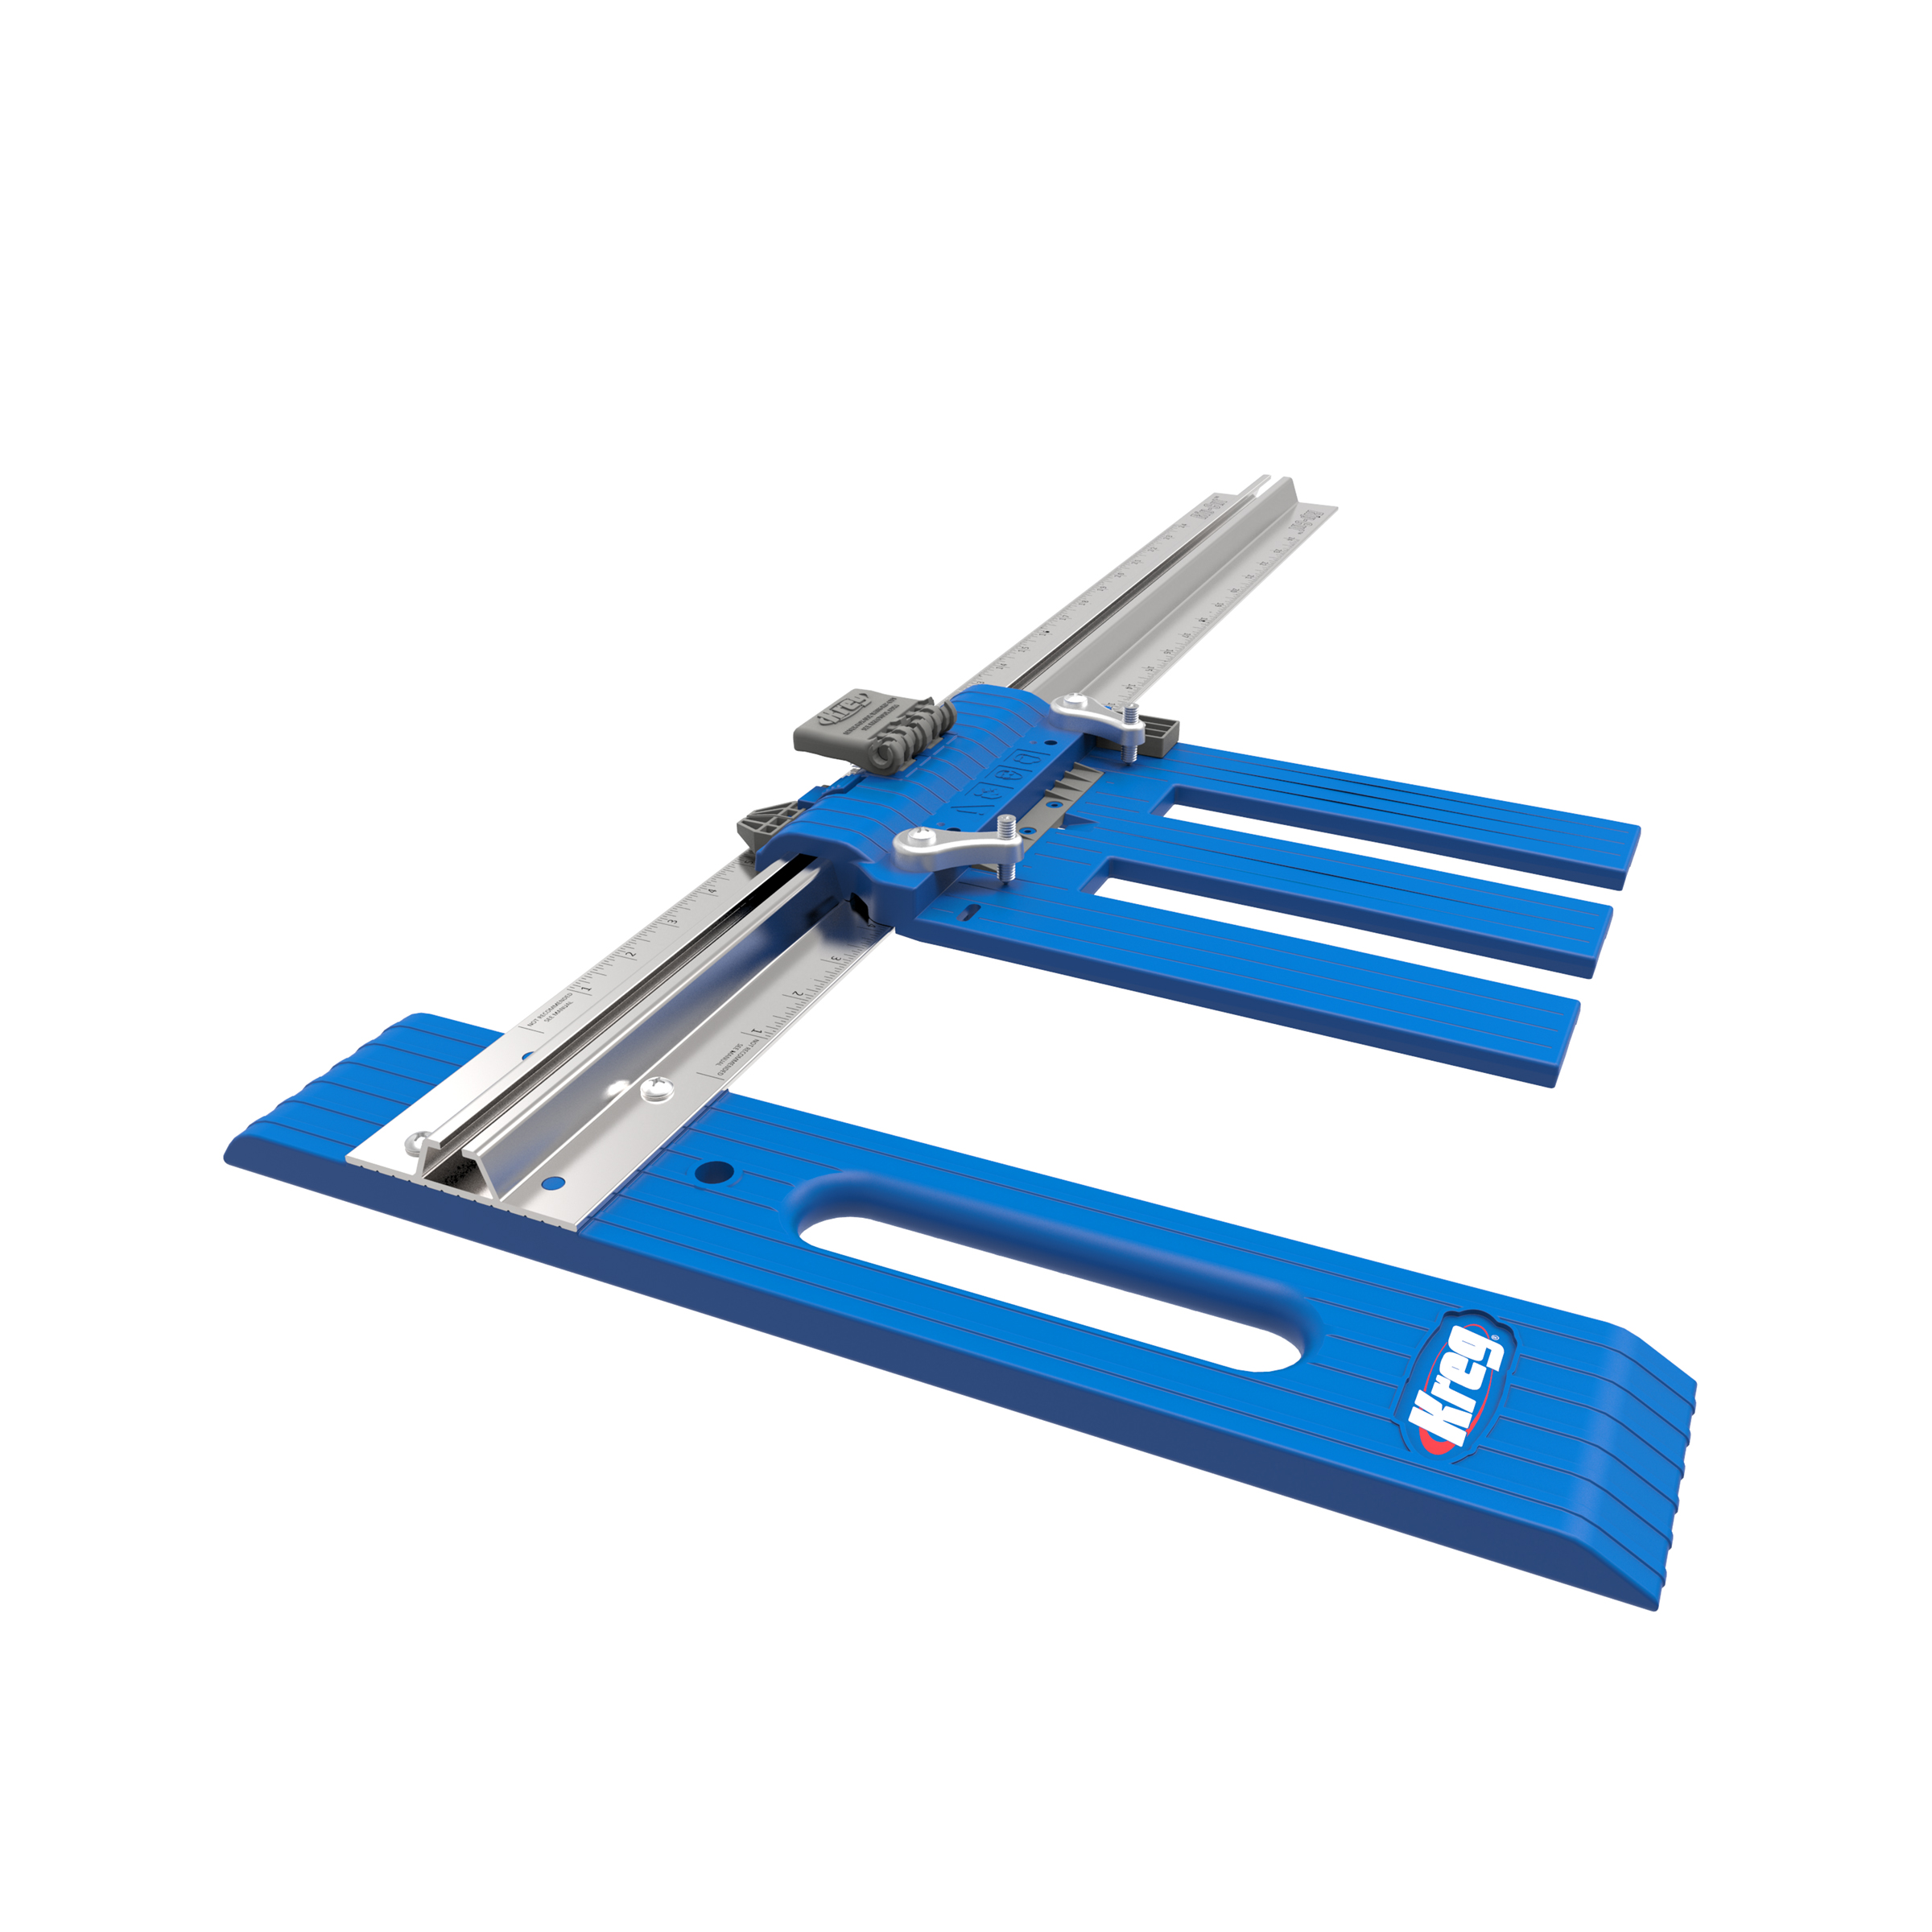
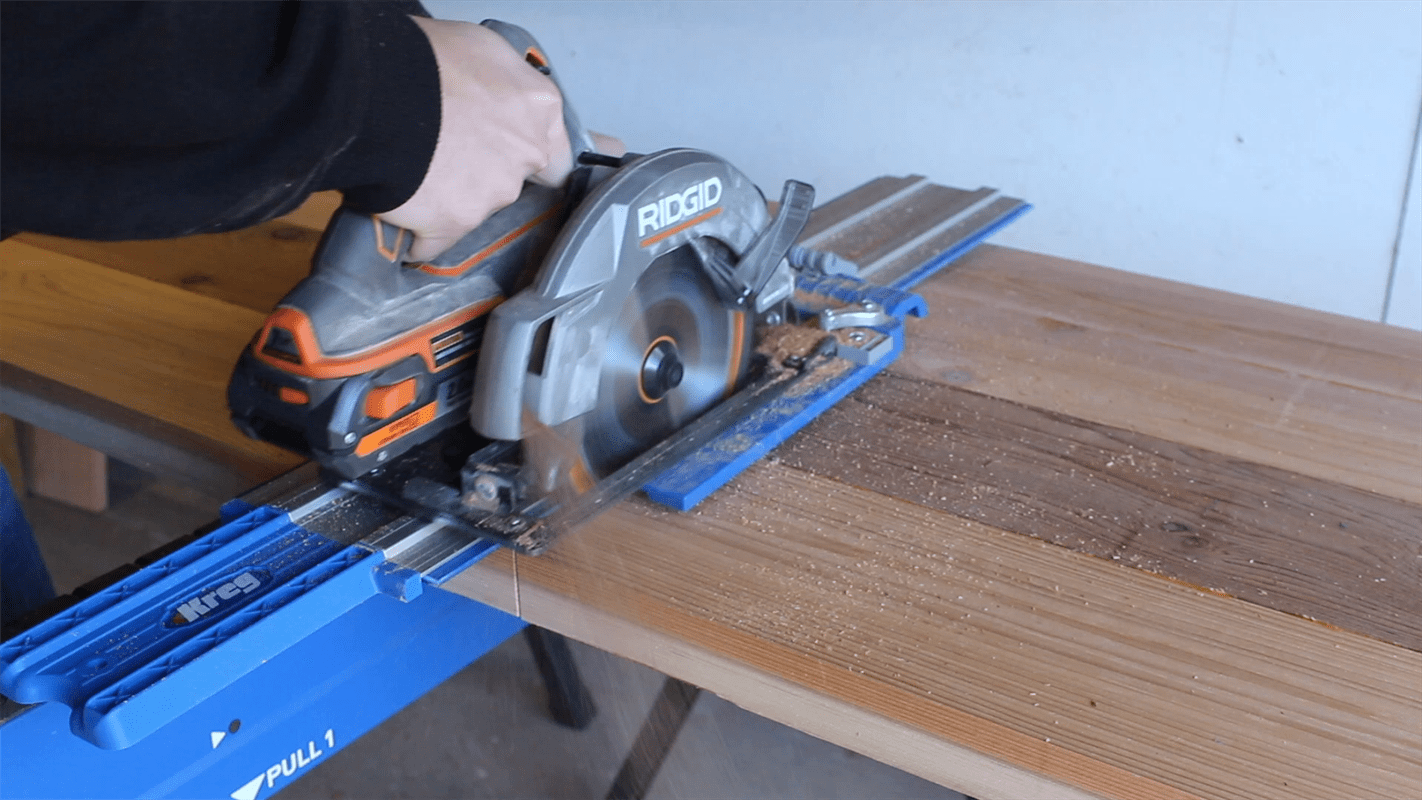
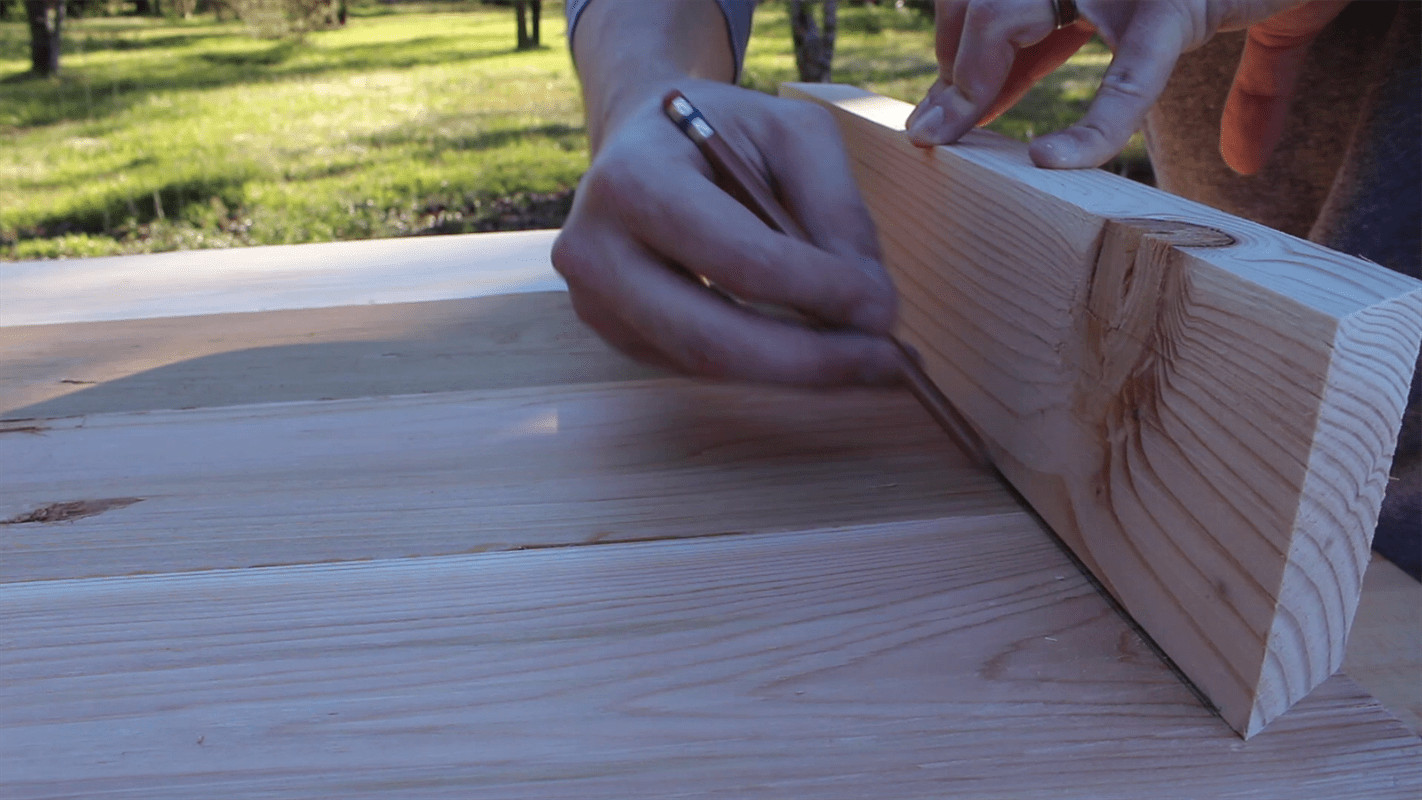
Trimming the edges
The next thing I do is trim the ends off. Here, I'm using the Kreg Accu Cut, and I absolutely loved how convenient and easy it was to use. You draw your line, set the saw up on the piece provided, clamp down the Accu Cut, and slide your saw down the middle or the edge. As simple as pie. If pie were simple. So let's say as simple as sugar.
-
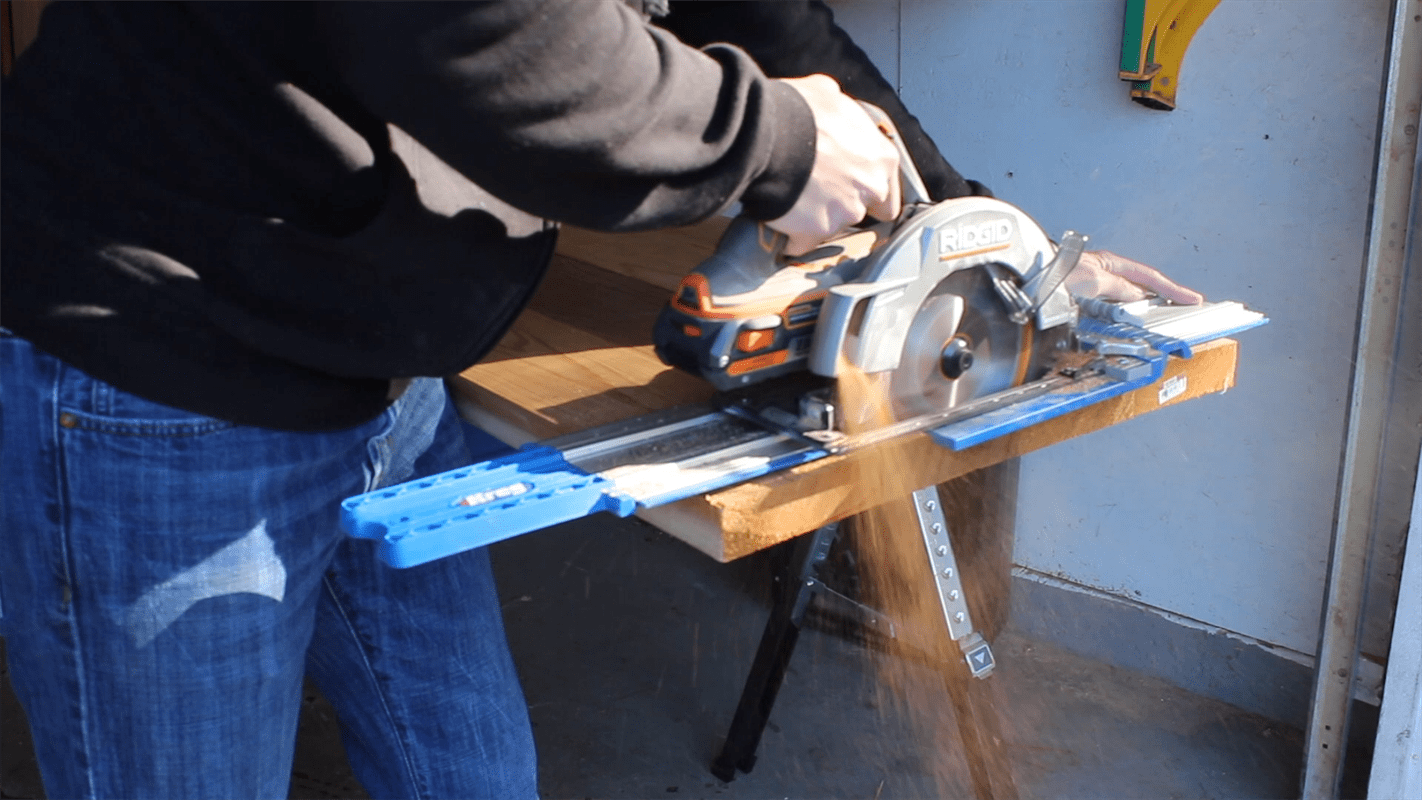
Trimming edges 2
Here's another shot of me trimming the edges with the Accu Cut. The first step I was cutting the cedar in half. I had glued up 8 foot sections to make two desks at the same time. So, first I cut the middle, then I trimmed the edges to make it square. Now you know.
-
Cutting your boards to length
Cut all your boards to length based on the cut list provided in this plan. You can do this as the first step, but I personally don't cut any boards for the base until I have the top assembled and prepped.
-
X angle pieces
You'll have a lot of small and large pieces, so try to keep them organized and separate from your others until they are attached. There are a few angles you'll have to cut using your miter saw as well. Like these. Take any of the 2x4 pieces and you can use it as a guide on the underside of the table to give you a 1.5 inch line from the outside of the table. This is where you'll start attaching your table base. Here attach 2 of the 20 inch boards with 31.6 degree ends opposite each other.
-
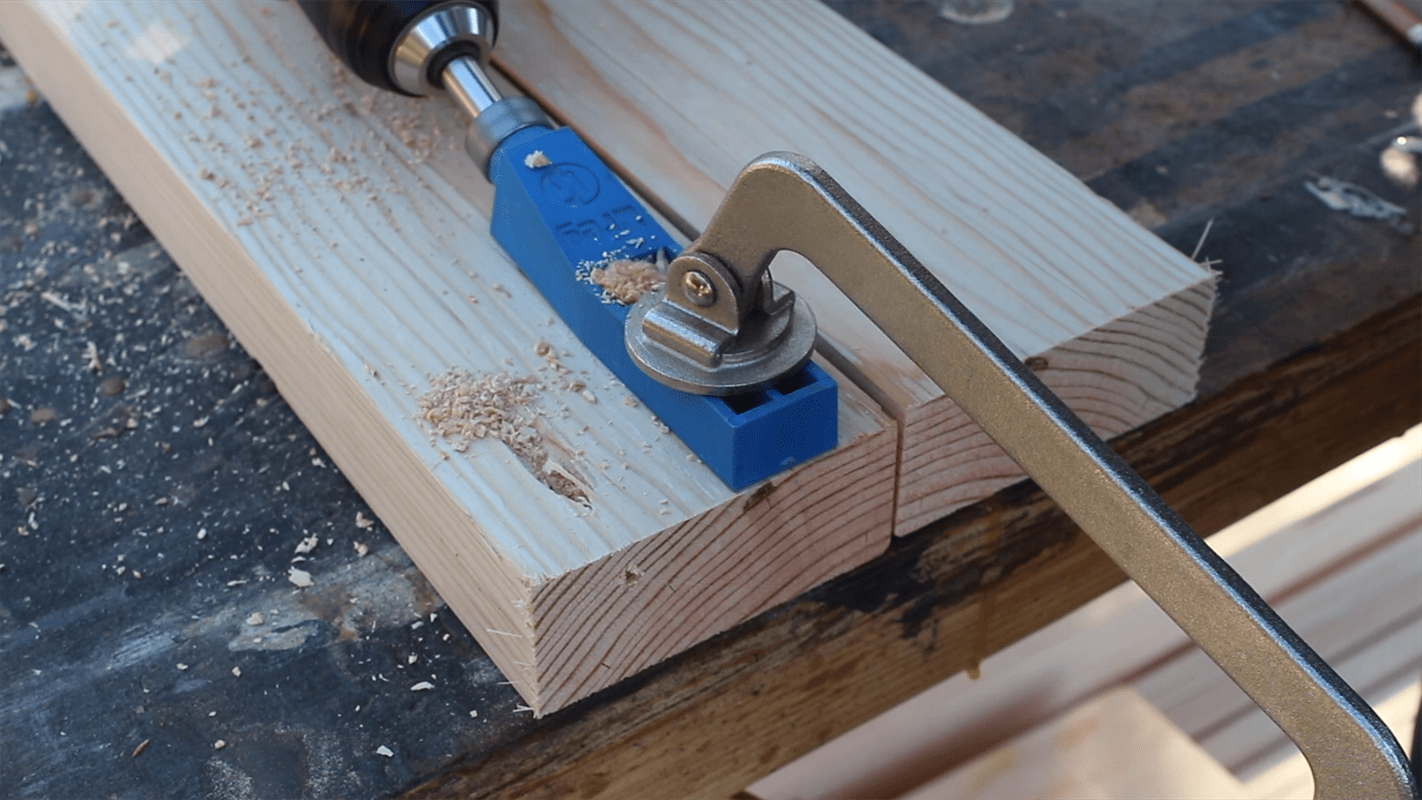
Pocket Holes
I like to use this simple Kreg Pocket Hole Jig that I can clamp up anywhere with easy, and use a Kreg Clamp as well. Drill 2 holes at the end of each of your 25 inch 2x4s. You can alternate sides of each board or keep the pocket holes all to one side. It's personal preference to me.
-
Attaching the center 2x4
Attach the 25 inch 2x4 in the center of your 20 inch piece you've already attached to the underside of the table. This picture does not depict that here, but I made the entire "I" frame of the base before I attached it. Which is also an option. You'll see understand more in later steps.
-
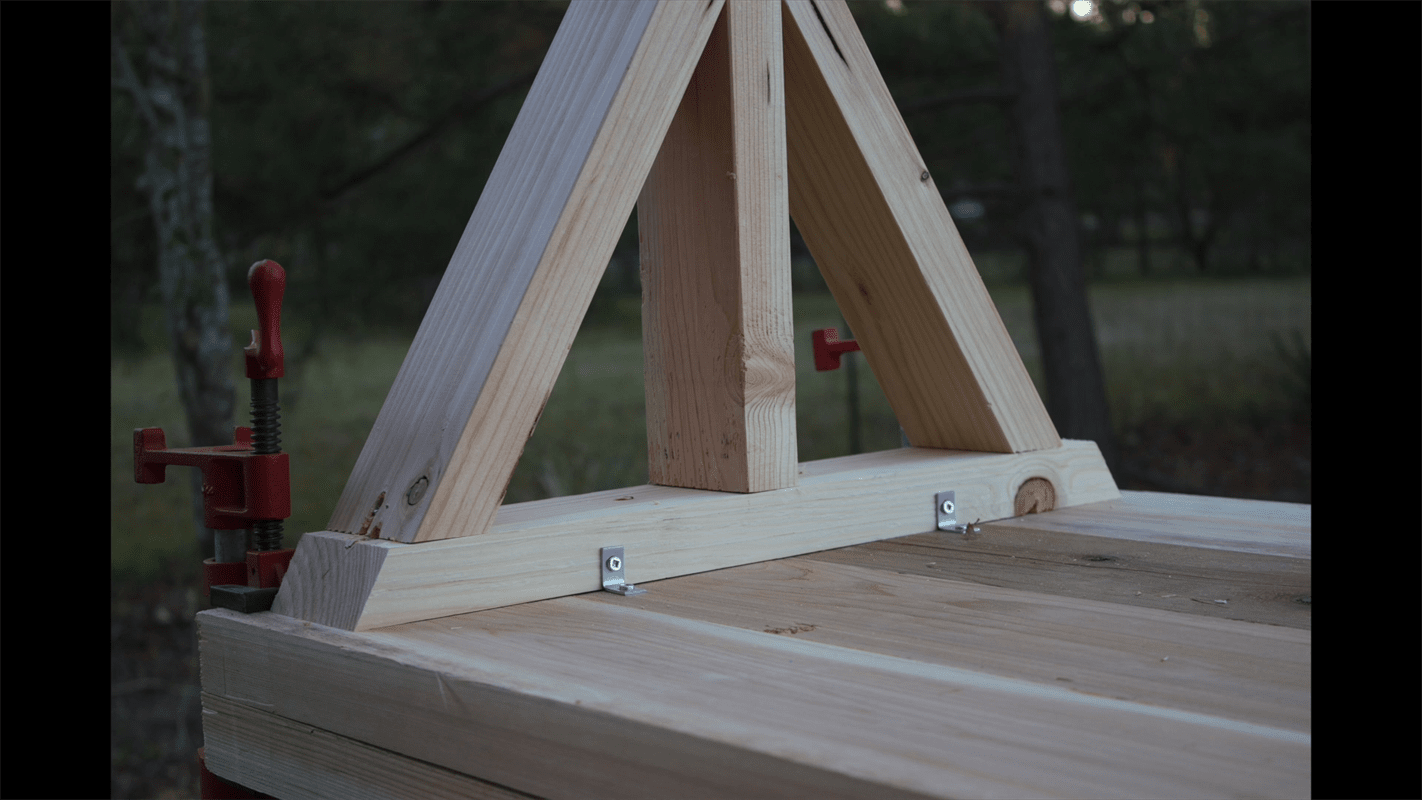
Attaching the half X pieces
Before you attach the half X pieces you can attach the foot of the table to help support these. The half X pieces are 14.5" with one end cut at 31.6 degrees and the other 58.6 degrees. You should have 8 of these cut. Pre drill all of your holes and screw it flush to the center piece. The 31.6 degree end will be facing toward the top of the table and the feet. The 58.6 degree end will all touch the middle of the center 2x4.
-
Securing the top
I also add small L brackets to help hold the top in place and attached to the base. You can use this option or attached through the table base. Another option is to use Z clips, which I have yet to use, but I hear great things.
-
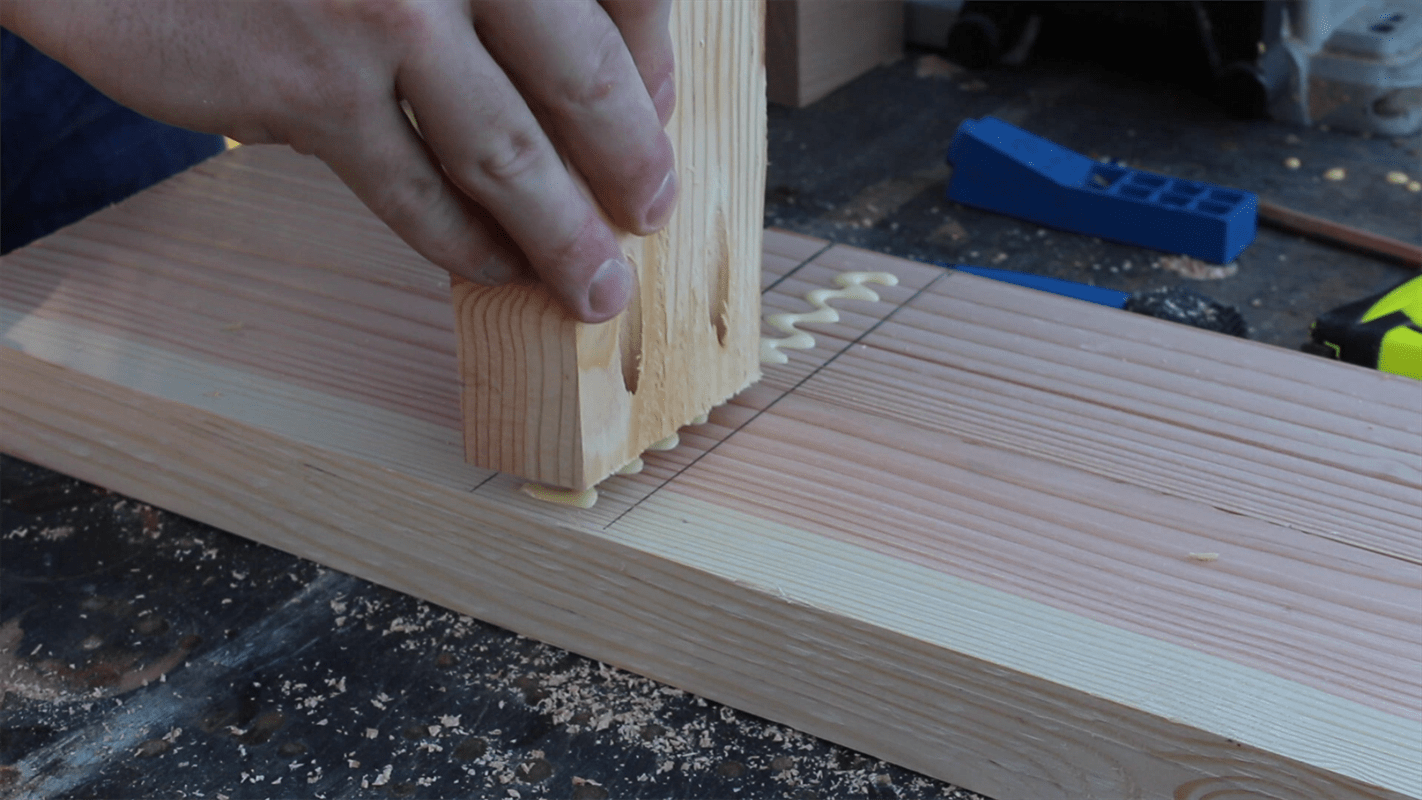
Table Feet
Something that will ad a little flair and also stability to your table are feet. You can buy your own hardware or cut a small 3.5 x 3.5 x 1 inch square block. I decided to cut my own and blend them in with the table. Pre drill your screw hole and counter sink the screw. Use glue as well for extra strength.

-
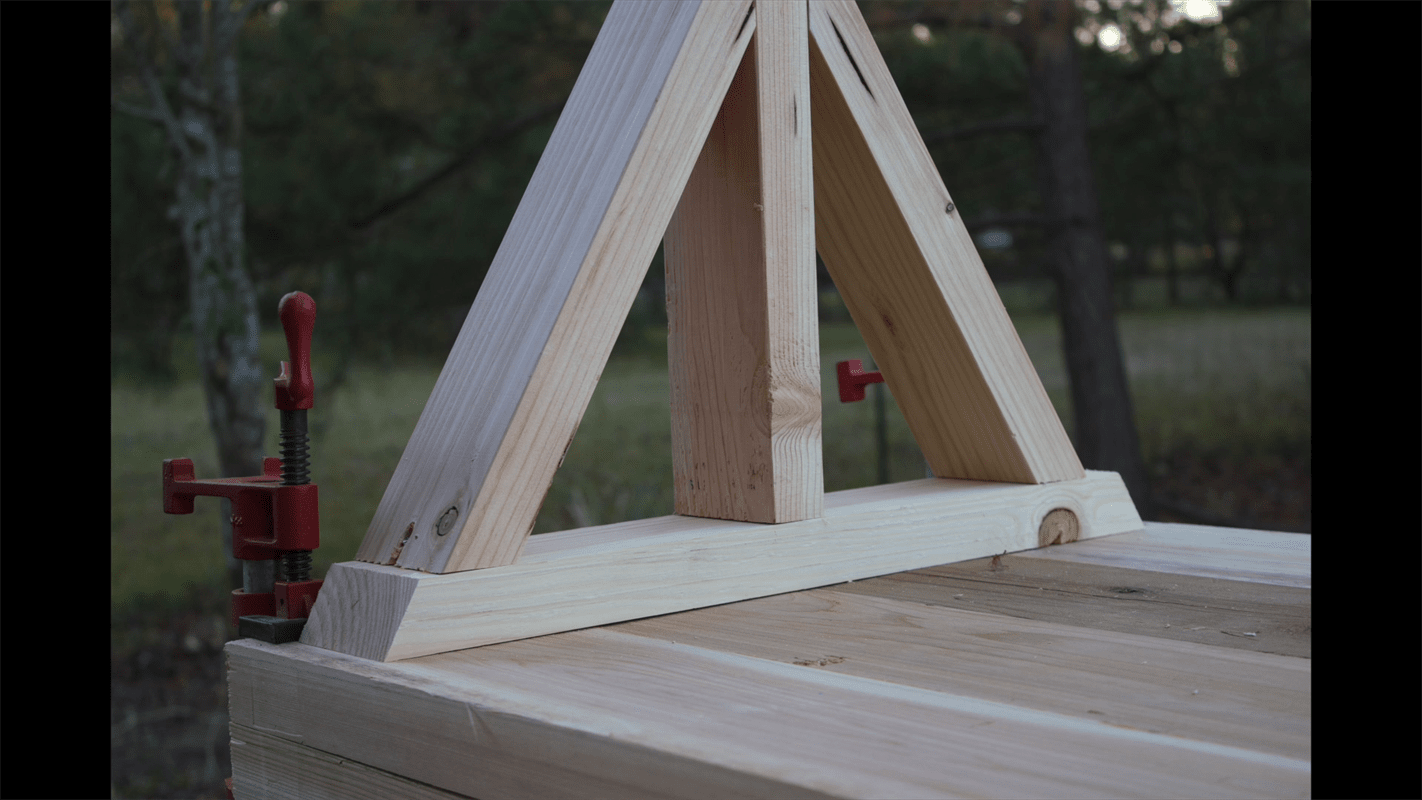
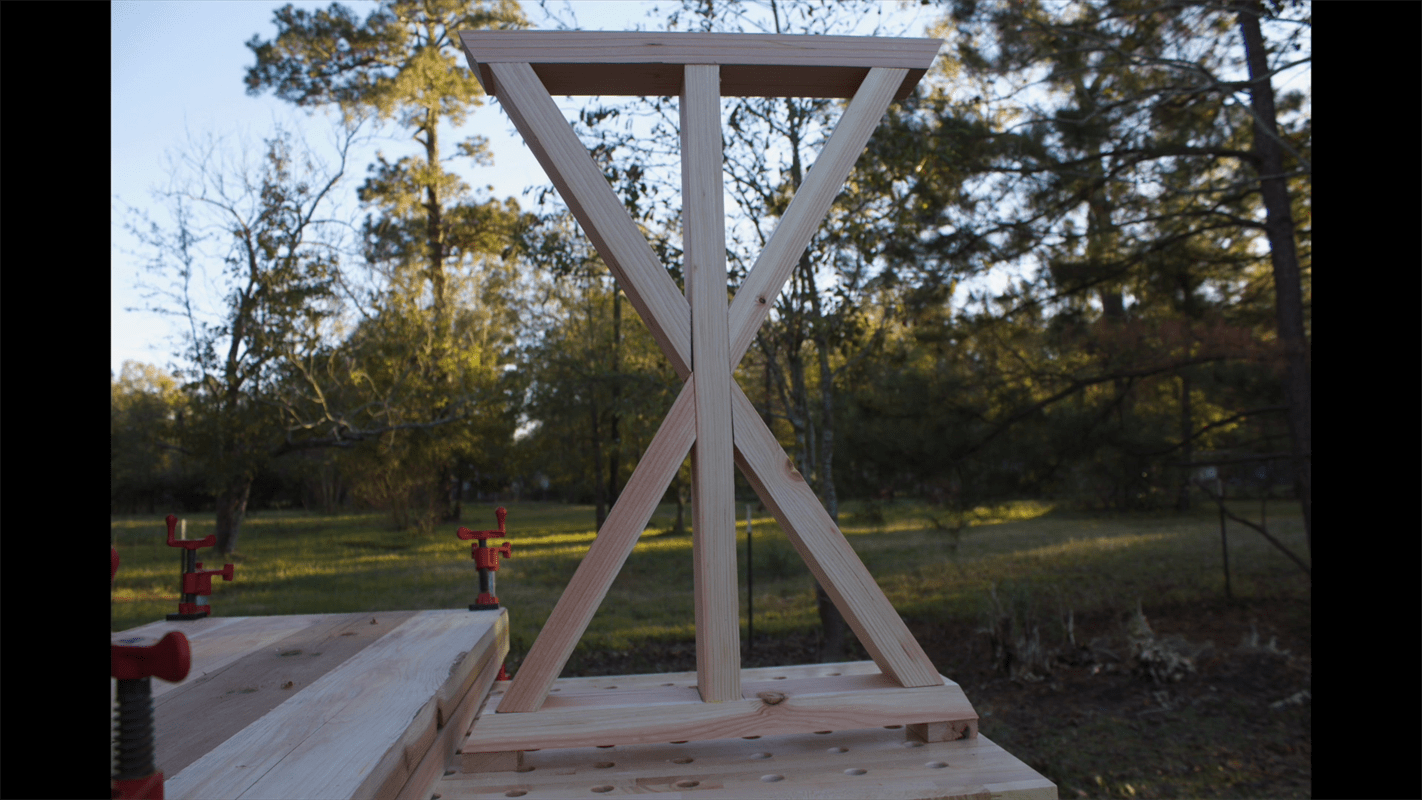
Table base example
Here's what one side of the table should look like. Notice the little block feet on the bottom. And notice the gaps of the angles. I had a few issues with some of the cuts, but that is user error. As long as you connect it snuggly face to face, you'll be fine. Especially if you use any glue with your screws. The next step will help you make things fancy though.
-
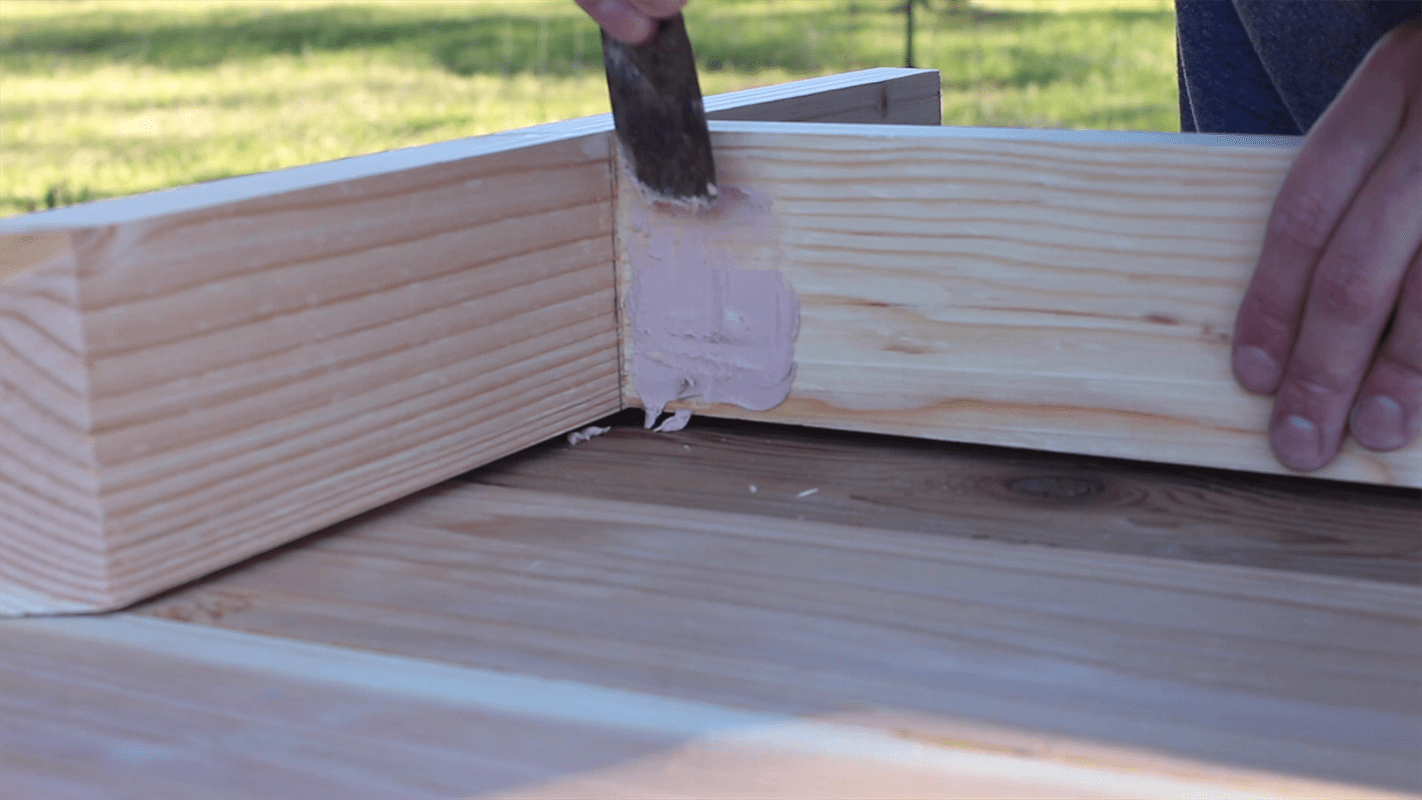
Boom! Fill the cracks!
No one is perfect. So go back and fill any unsightly cracks, screw holes, or unwanted areas you can paint over later. You're welcome! Pro tip.
-
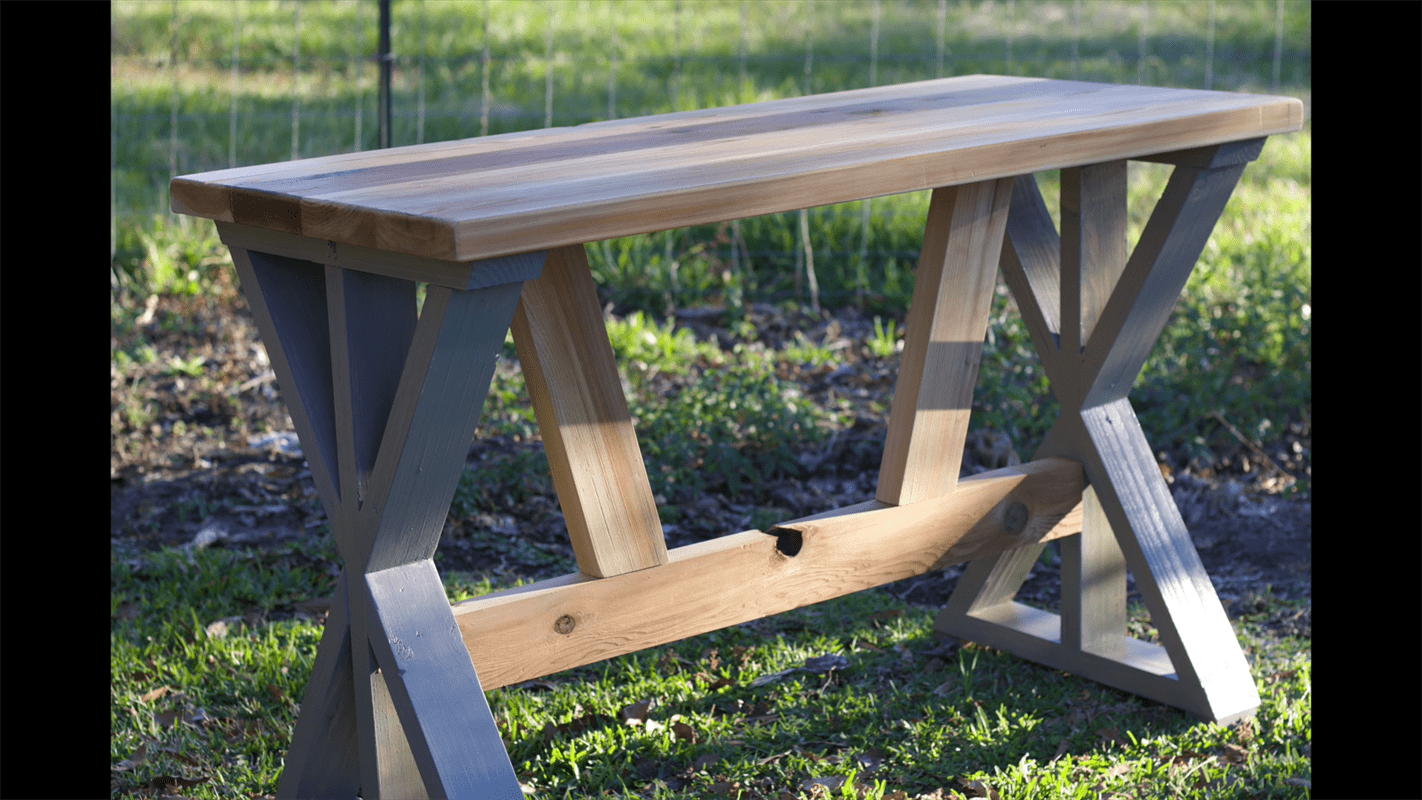
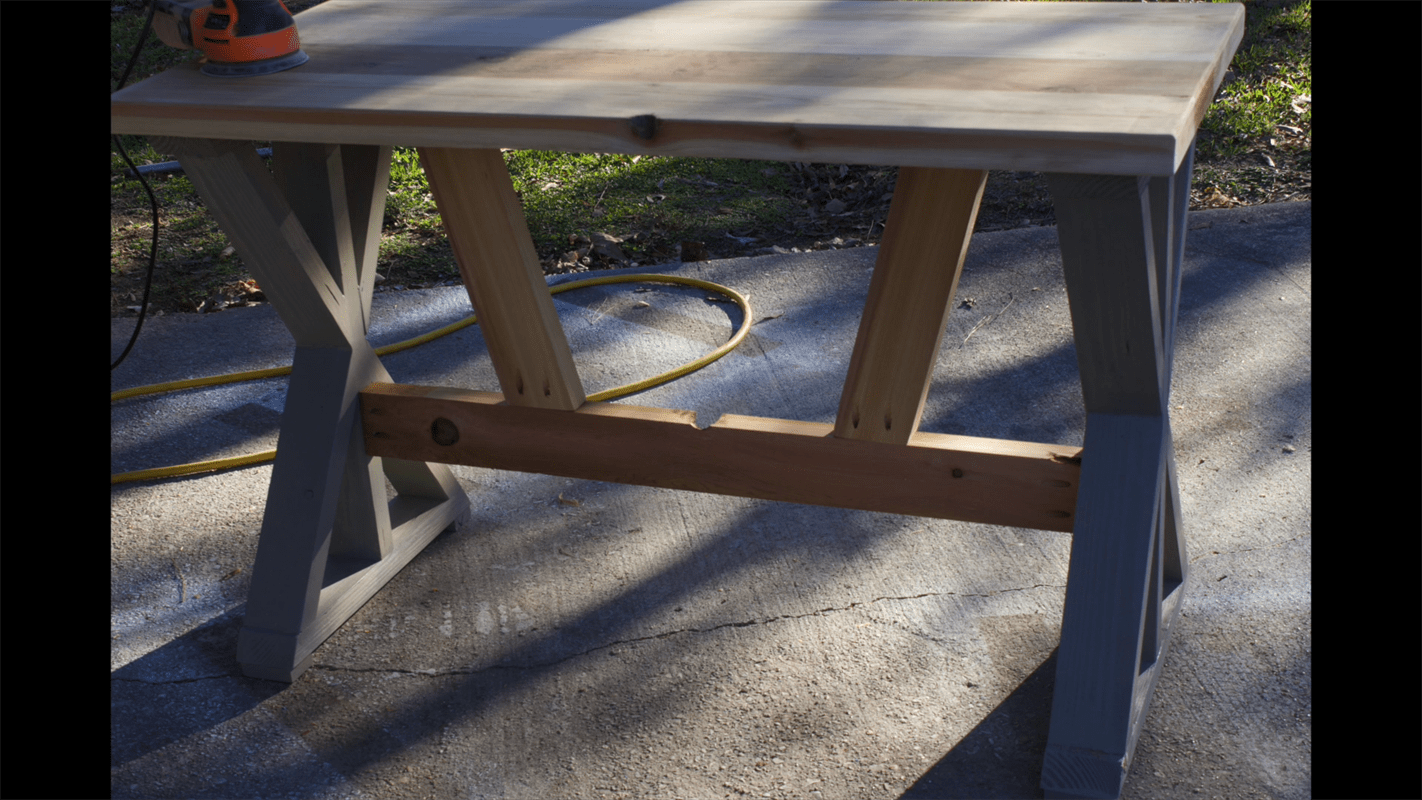
Fancy it up
An extra step for extra support would be to add some connectors to the base. This will keep everything sturdy and connected to each other as well. You'll notice the base is painted gray now, and the fancy supports are left raw. This is personal preference. Finish your table any way you want. Make sure to measure down 16.5 inches to attach the 37.75 inch horizontal support. Next, measure in 8.5 inches from the horizontal support and attach the 18 inch supports with 15 degree ends parallel to each other. All attached with pocket holes.
-
You're Finished!
Your desk should look something like this. You may use different wood types and come up with a completely different combination! But ultimately, this is a fairly simple and cheap build that most beginner woodworkers can accomplish in an afternoon.