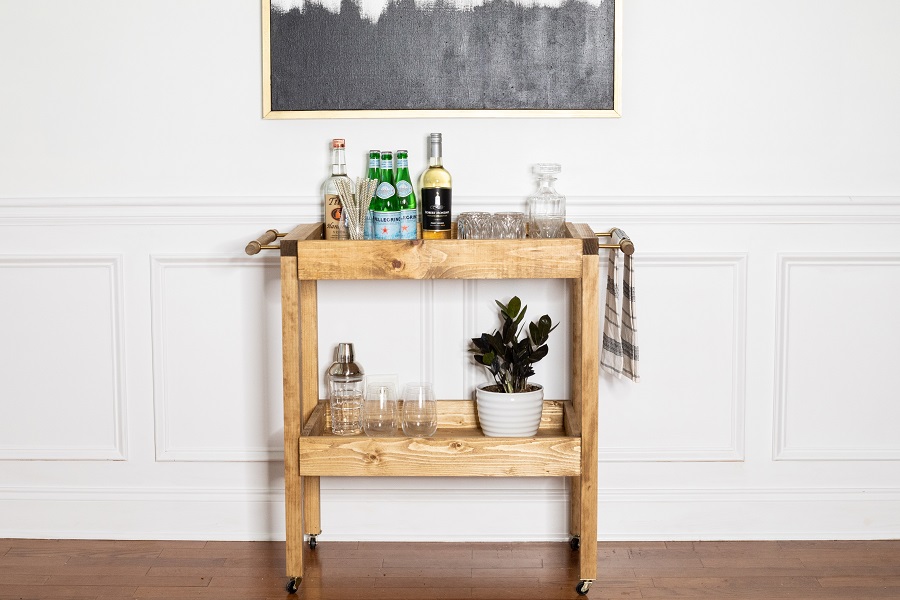
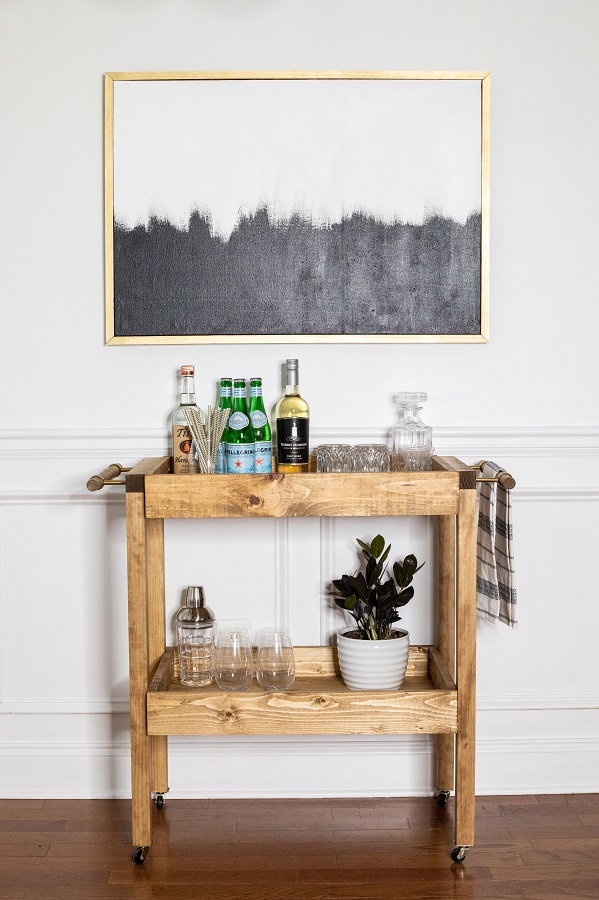


Learn how to build this DIY bar cart! This bar cart is perfect for entertaining, and the build is great for beginner woodworkers. You can customize it with whatever paint or stain you choose.
Tools
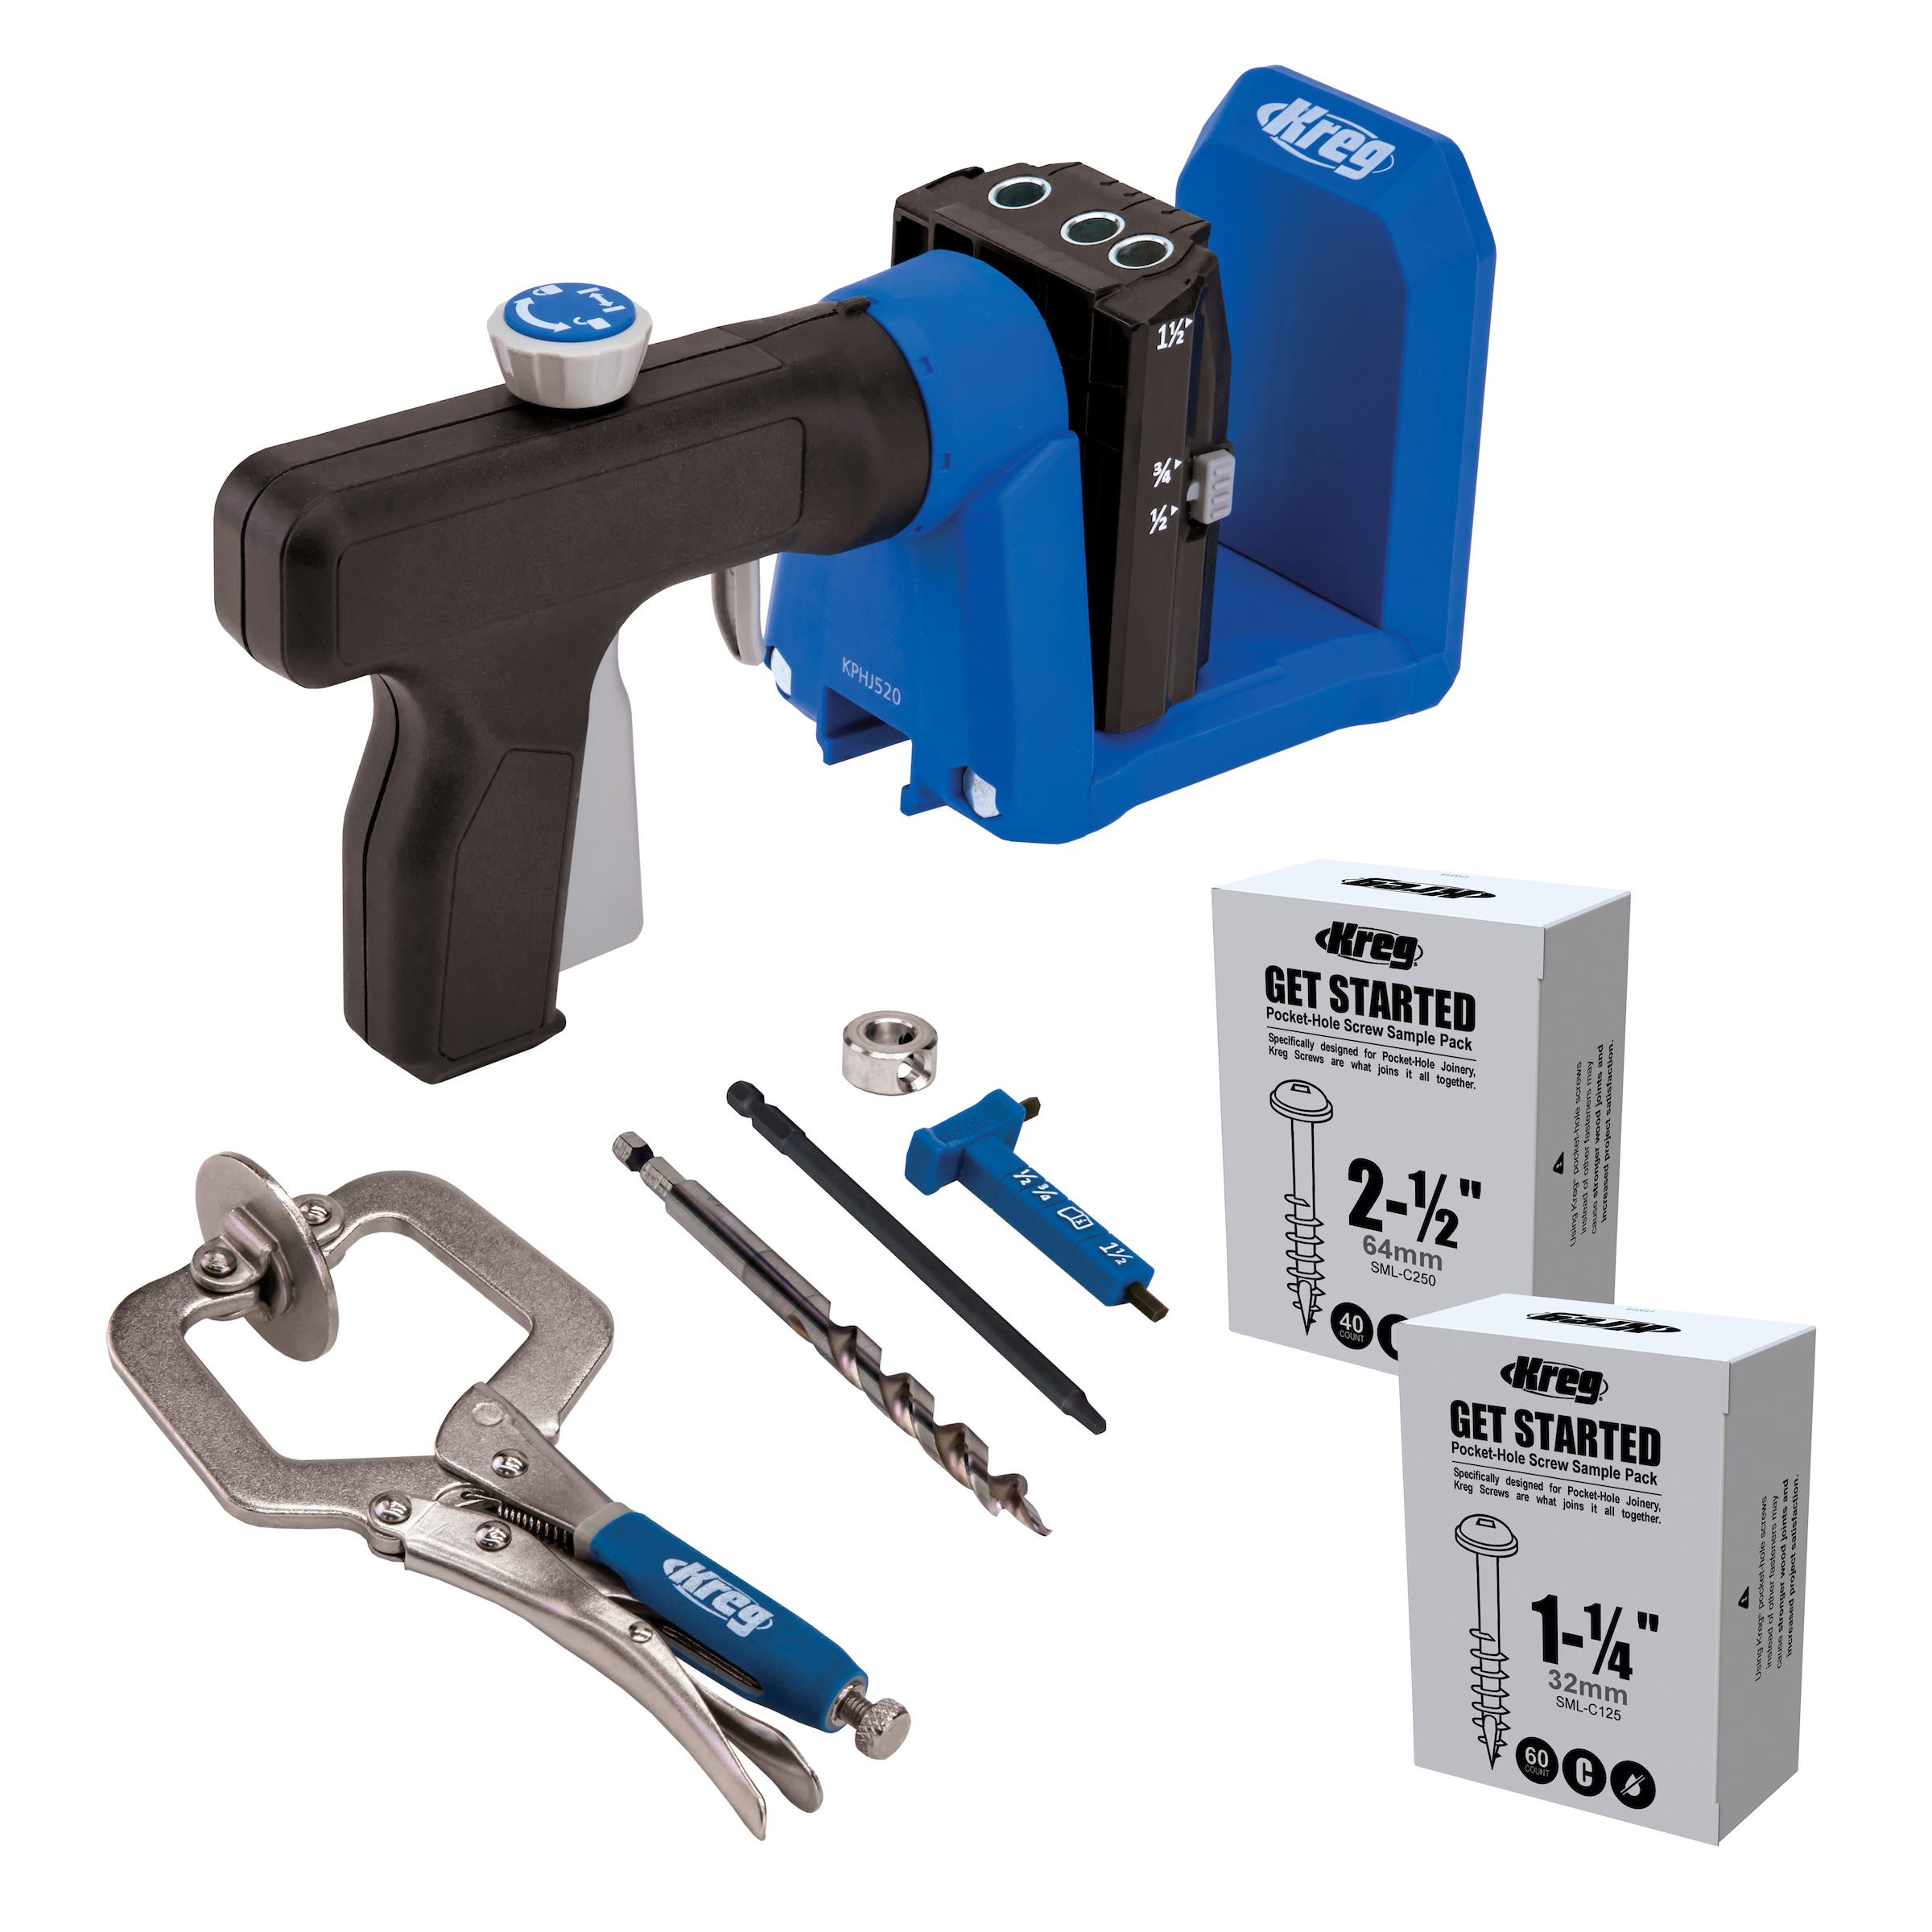
Kreg Tools
Other Tools
-
Saw

-
Drill/Driver
-
Sander
-
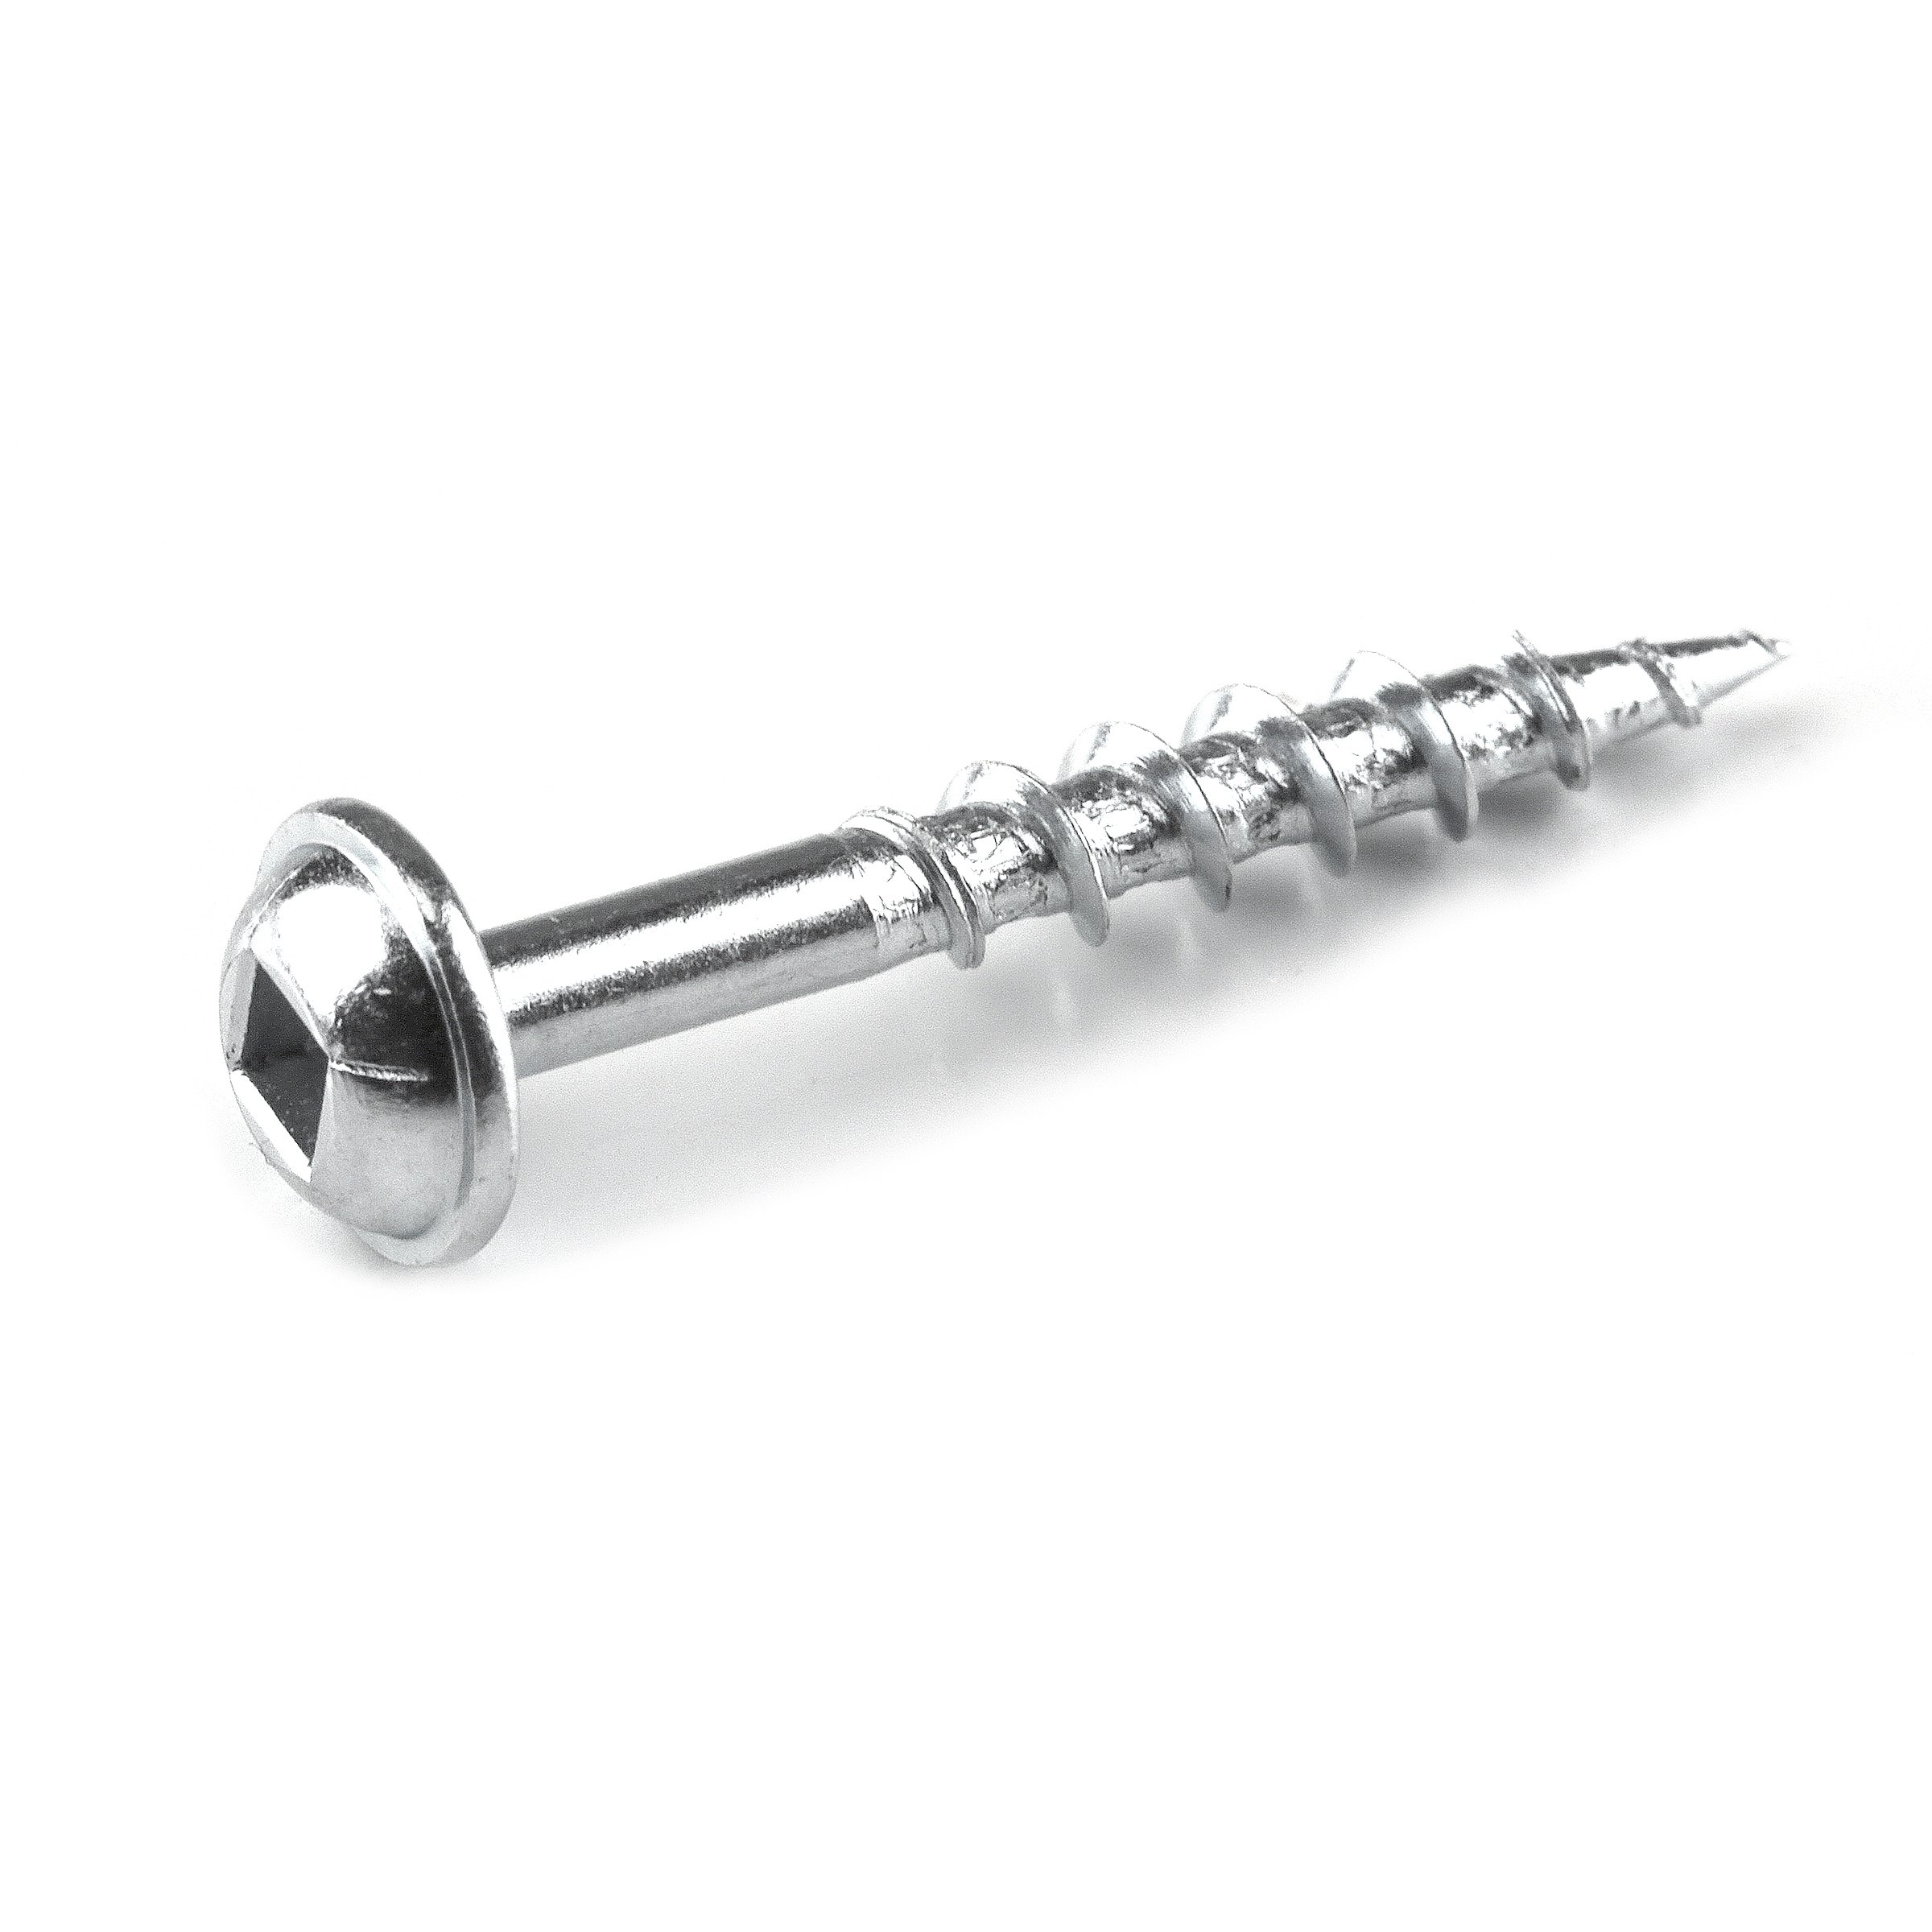
½” Screws
-
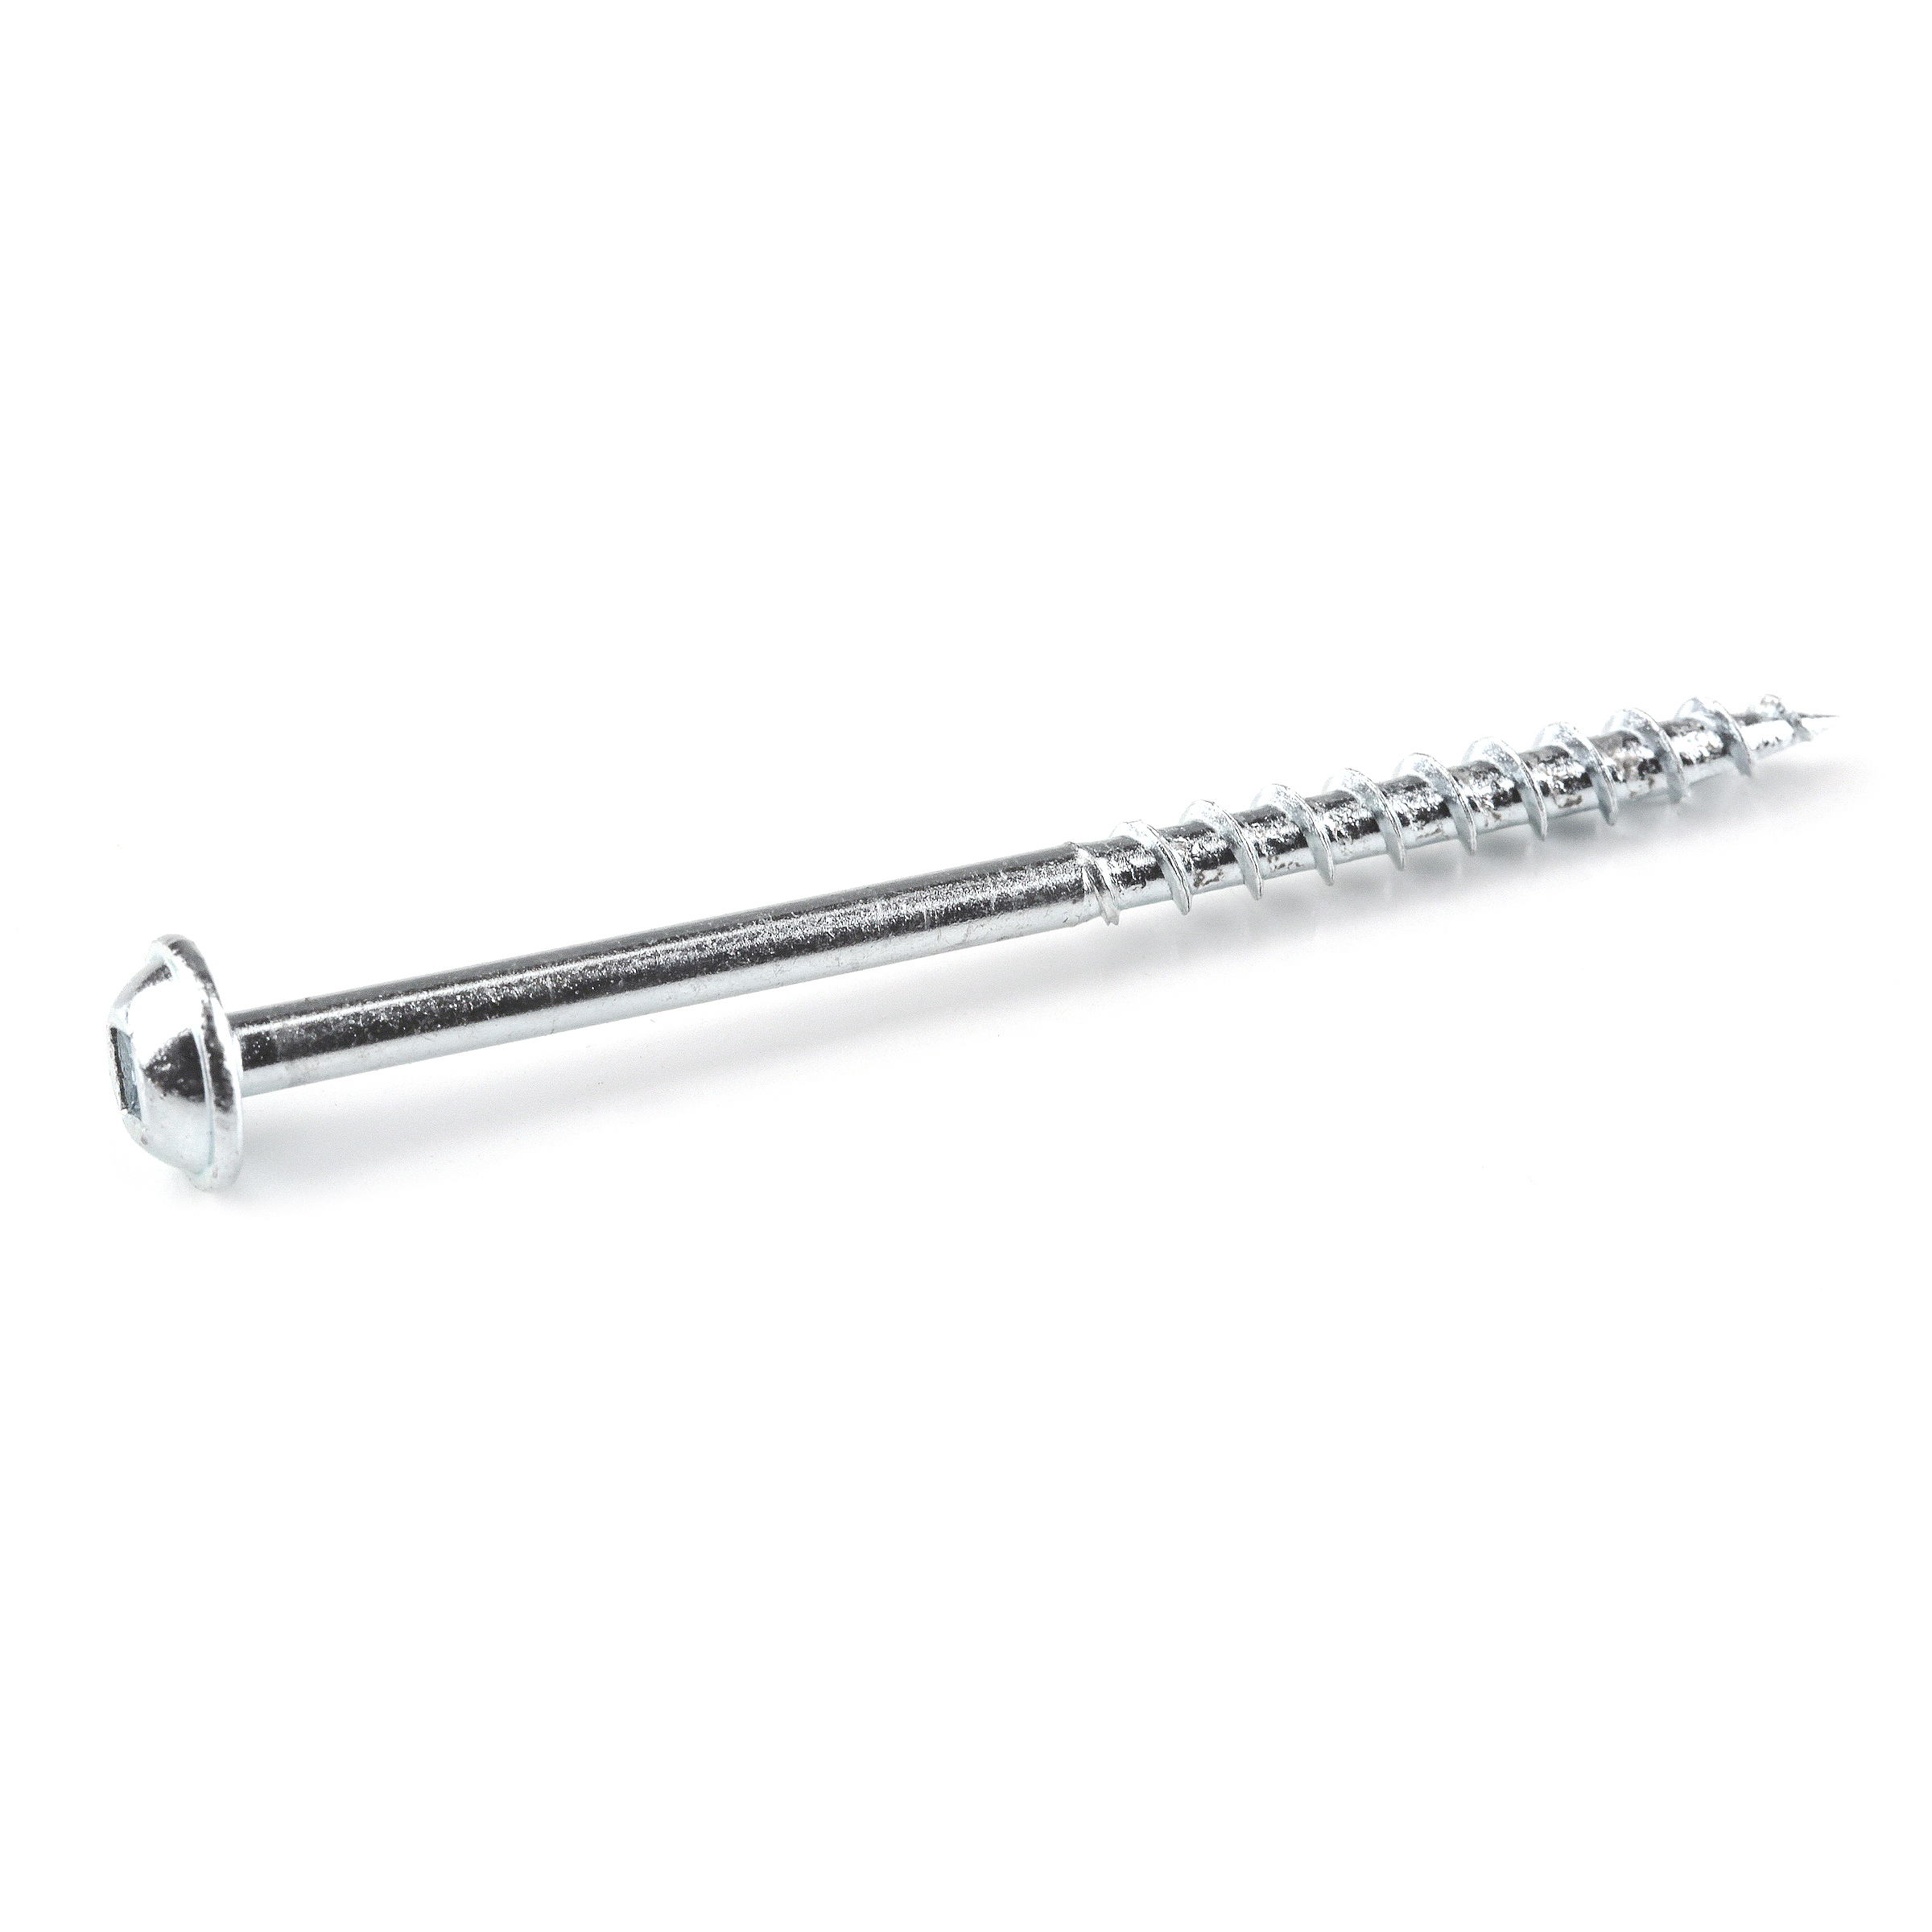
1 ¼” Wood Screws
-
Countersinking Drill Bit (optional)
-
Screwdriver
Materials
Wood Products
- 2 Sheets of plywood , ¾” thick project panels
- 1 Boards , 1x4
- 1 Boards , 2x2
Hardware & Supplies
- 4 Curtain rod brackets
- 4 Casters
- 1 Stain or paint
- 1 Staining pads/cotton cloth/paintbrush
- 1 Topcoat
- 1 1" dowel rod
Directions
-
Cut your wood
I used a miter saw but any saw will do. See cut list for this step.
-
Sand
Sand everything smooth using an orbital sander.
-
Drill Pocket Holes
Using the Kreg Jig 520PRO, drill pocket holes as follows:
3 pocket holes on each of the 4 sides of your project panels
2 pocket holes at each end of your 15 ¾” L 1x4 boards
2 pocket holes at each end of your 15 ½” 2x2 boards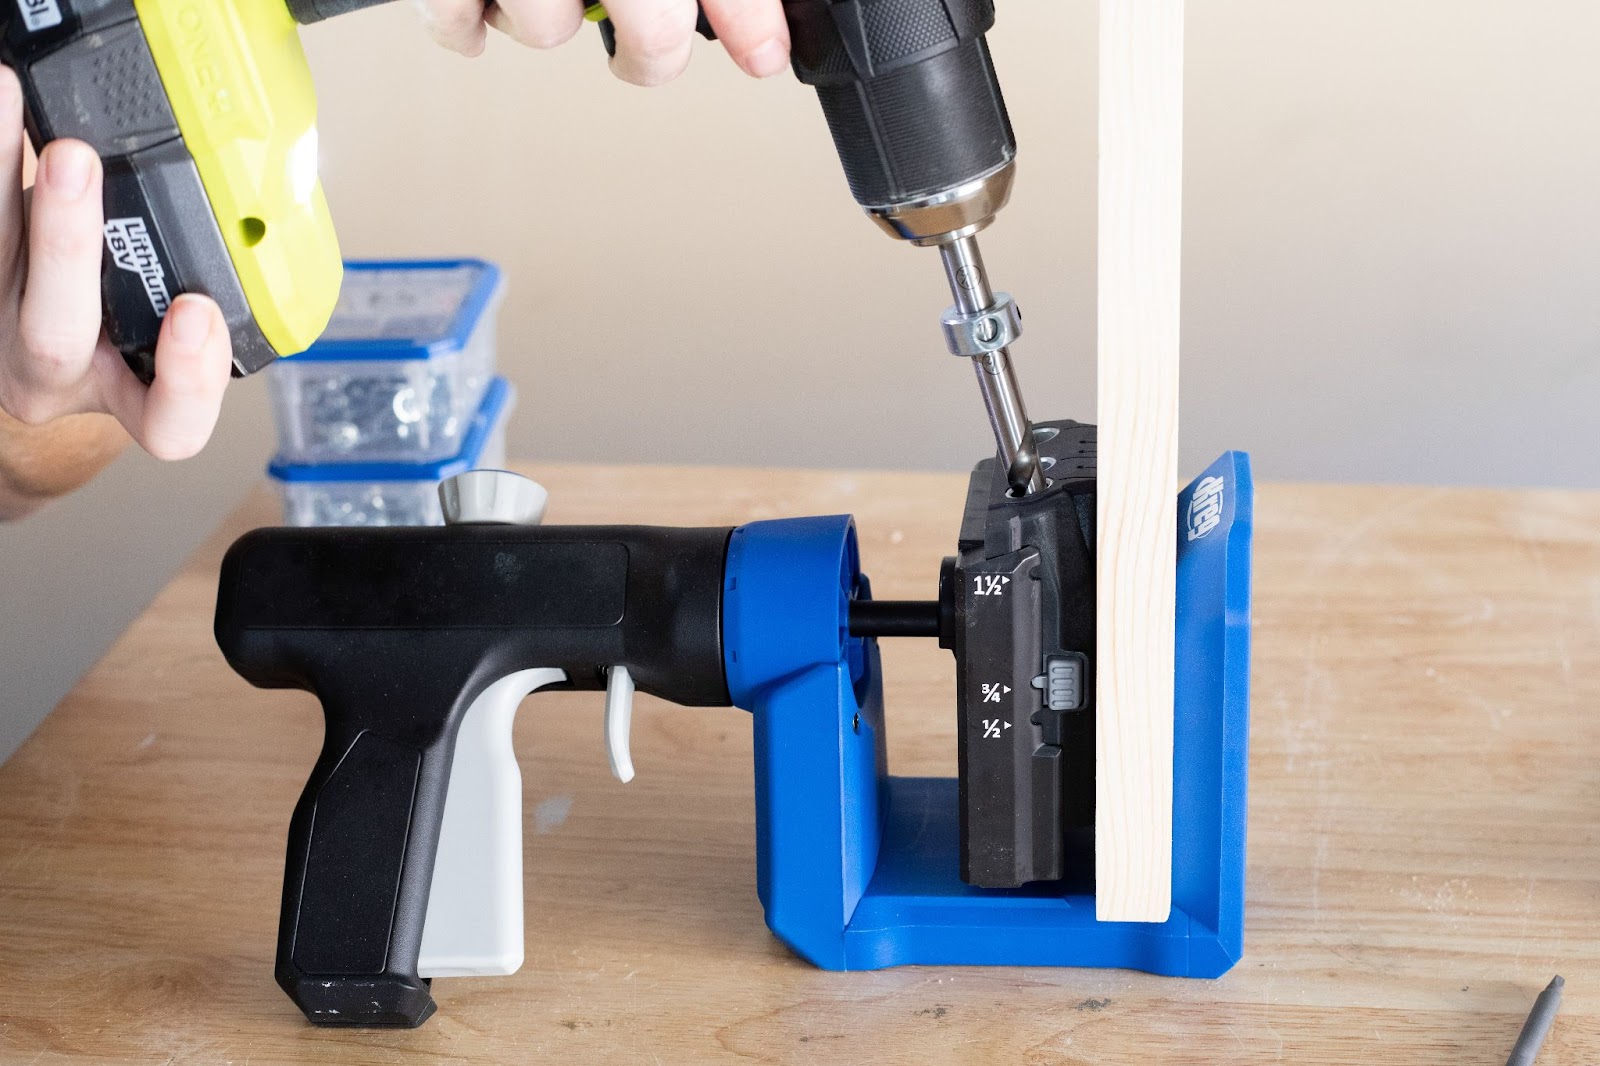
-
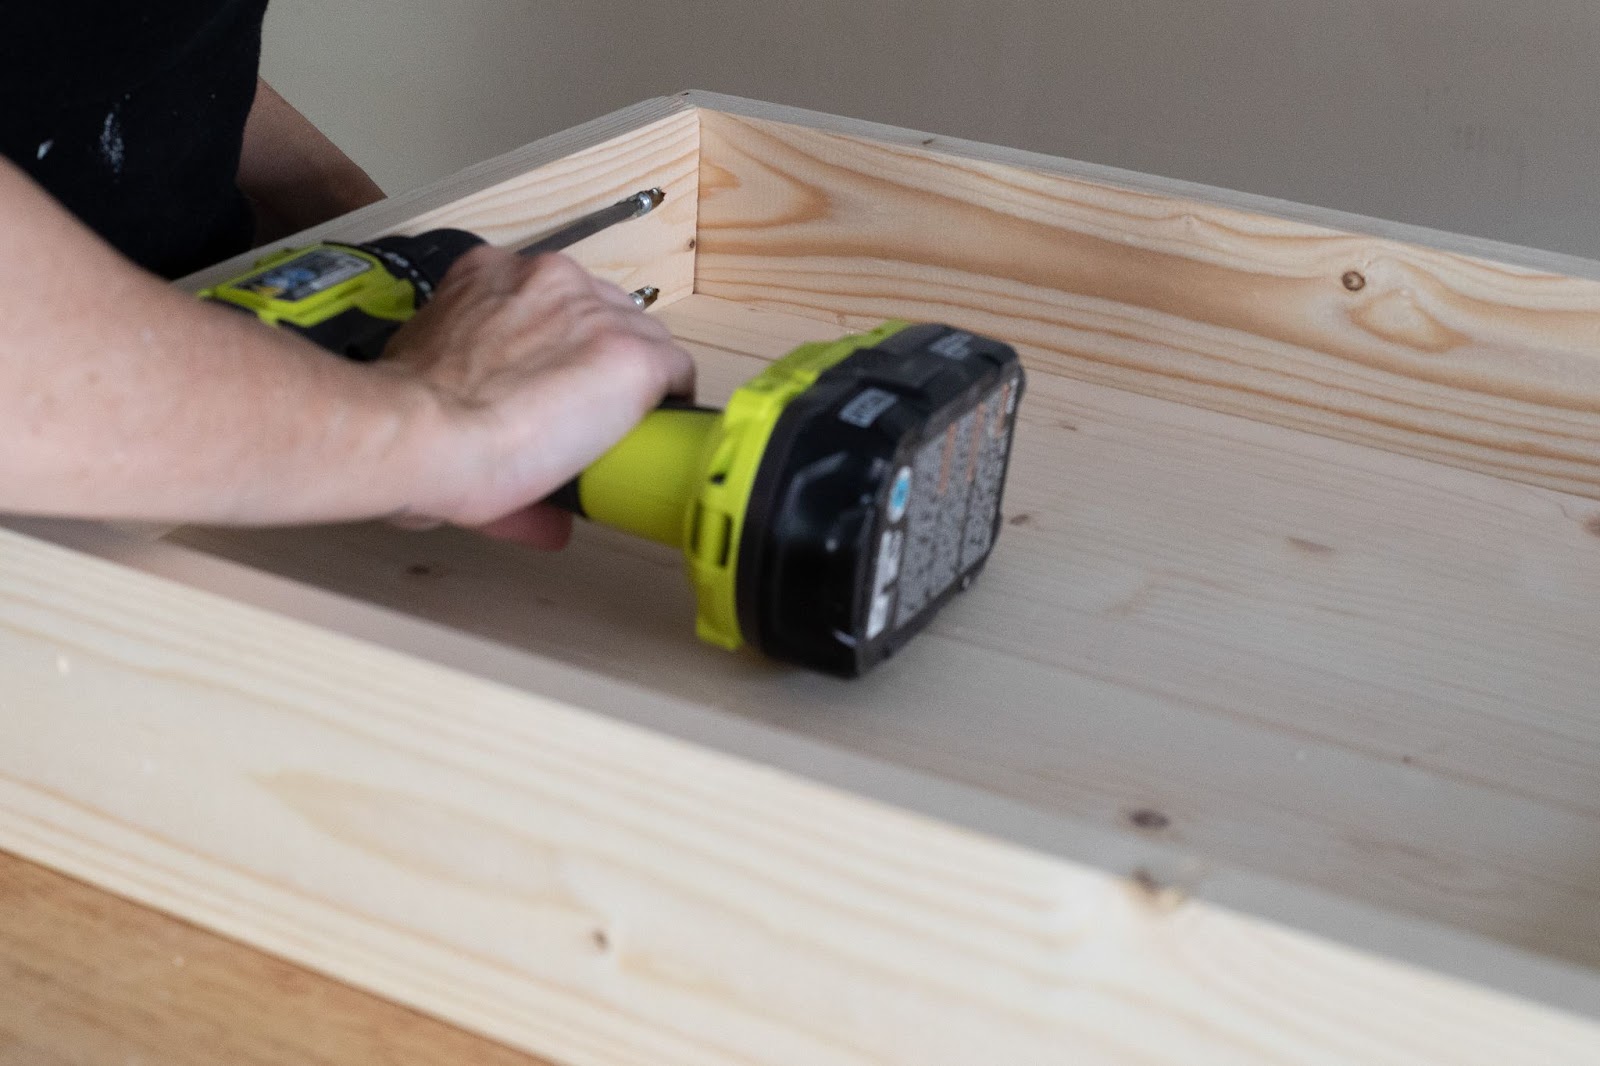
Assemble Shelves
The project panels will serve as the bottom of each shelf, and the 1x4 boards are the sides. Attach your 1x4s to the project panels using 1 ¼” pocket hole screws. You will attach the 15 ¾” long boards to each of the shorter ends of your project panels, and the longer 1x4 boards will serve as the sides. Flip it over and drill from the bottom to attach the project panel to each 1x4, and then flip it back over and attach the 1x4s to each other for added reinforcement.
-
Assemble and attach legs
Attach one of your shorter 2x2 boards to two of your longer 2x2 boards using 2 ½” pocket hole screws. This will form one set of legs. Repeat the process for the other set of legs.
Attach your legs to the shelves using 1 ¼” wood screws, drilling from the inside of each shelf. You can measure and mark the position of your shelves first to make sure you attach everything evenly. I measured about 10” up from the bottom of the legs for my bottom shelf.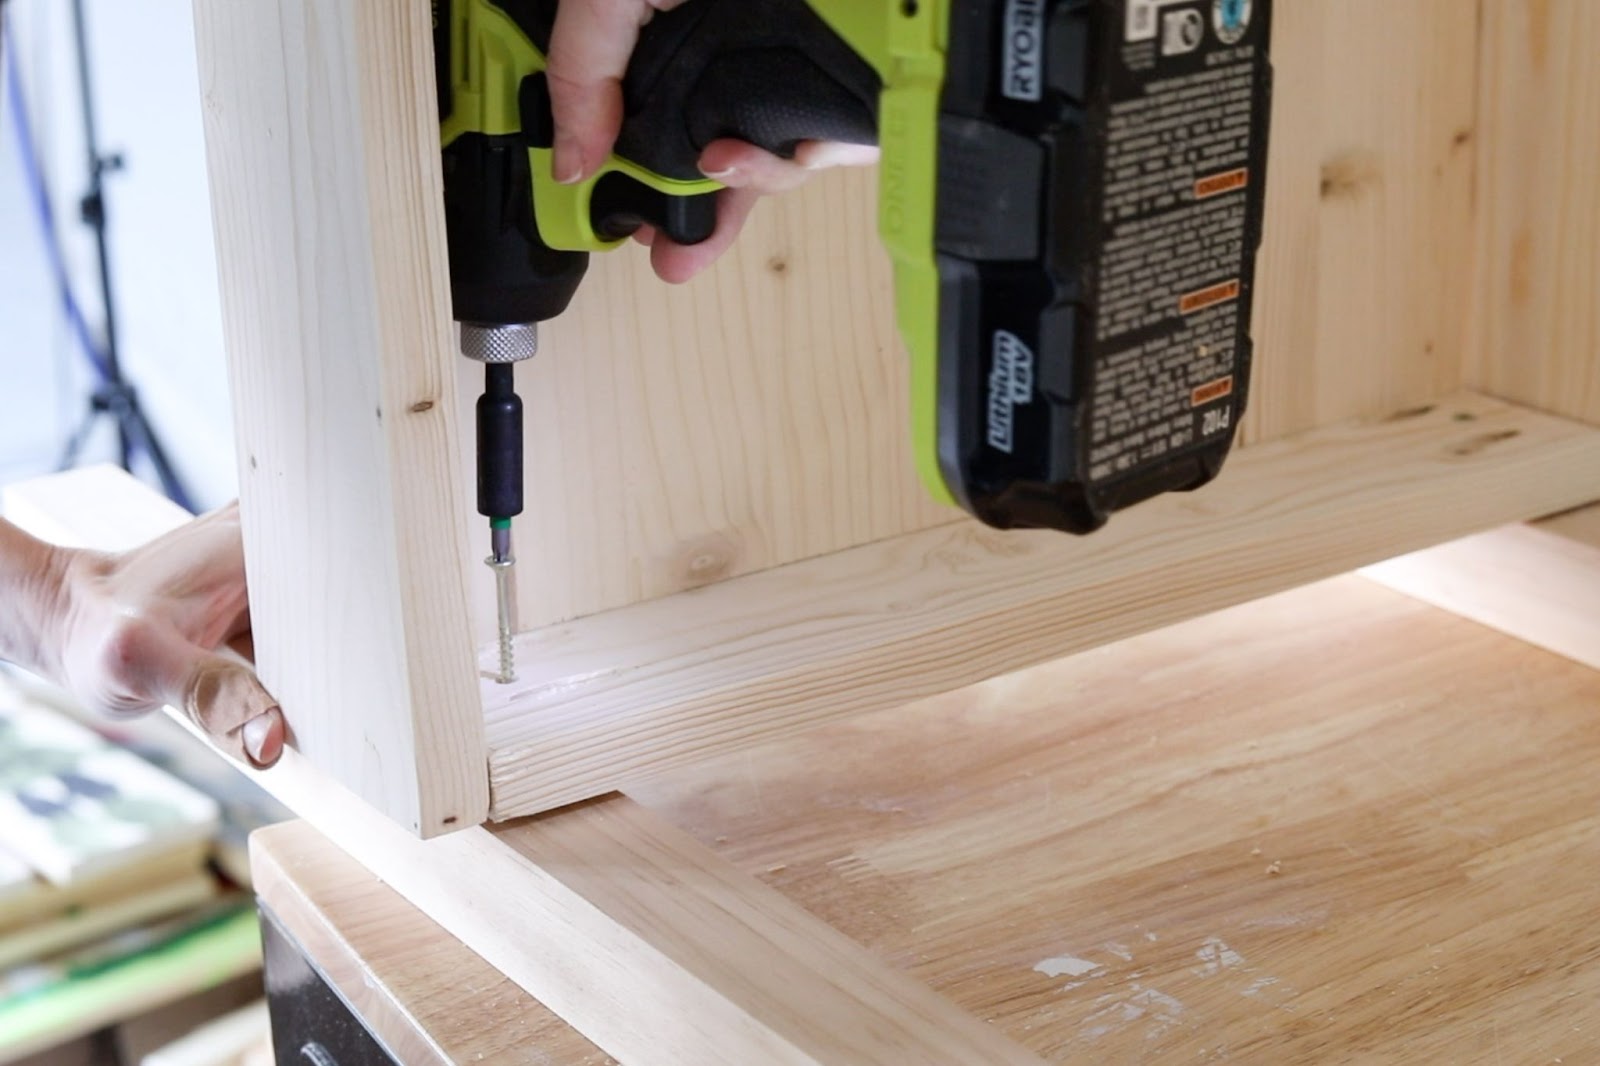
-
Paint or Stain
I opted to stain this bar cart with an Early American stain and used a polycrylic topcoat. You can customize it however you choose!
-
Add casters
I attached small casters using ½” screws.
-
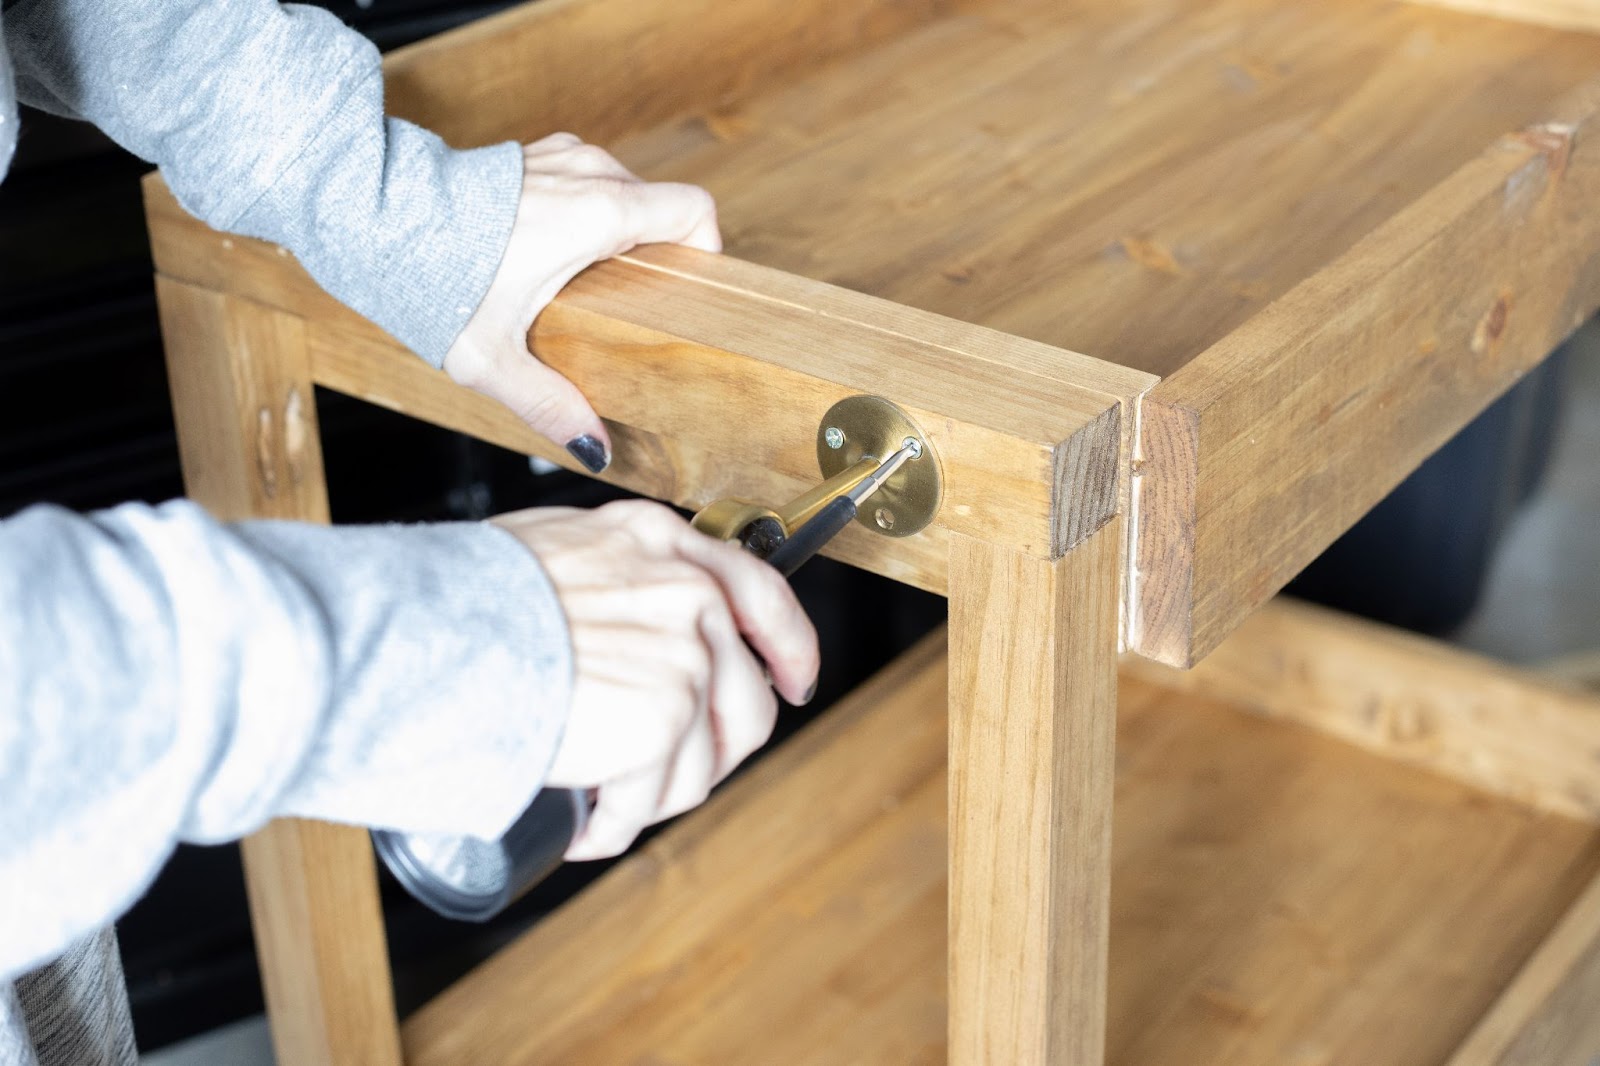
Add handles
I attached 2 curtain rod brackets to each side of the bar cart using ½” screws. I used a screwdriver since I found it easier to maneuver than my impact driver. I lined them up with each end of the 15 ¾” long 1x4 board, then slid my dowel rod through leaving a couple of inches of dowel rod on each side of the bracket.